A buried NASA secret, a shattered Earth, and a fateful meeting on the Moon-Starfield’s “Unearthed” quest thrusts you into the heart of the game’s biggest moral crossroads. As you uncover humanity’s lost past, you’ll face a pivotal choice: ally with the righteous Emissary, the ruthless Hunter, or trust no one and stand alone. Your decision will shape the final battle and determine who stands with you-and who becomes your greatest enemy.
In this Starfield guide, we’ll walk you through the “Unearthed” mission and help you decide between The Emissary, The Hunter, and yourself.
A possible bug at launch is that players are sometimes unable to follow the scanner. If this happens to you, we recommend returning to orbit and waiting by passing time. Consider shutting the game off and launching it fresh as well, just in case.
Also, when you make to re-land on the planet, be absolutely sure you’re picking the Scanner Anomaly Site. If you land anywhere else by accident, the temple won’t appear on the map and you won’t be able to find it.
To the moon
Your journey in the “Unearthed” quest begins on Luna, Earth’s moon, where you must land at the Nova Galactic Research Station. Using the Moon Base Key provided by The Emissary, you enter the deserted base to investigate its secrets and gather crucial lore by collecting digislates scattered throughout the facility. As you explore, you’ll uncover the remnants of humanity’s past efforts to reach the stars, setting the stage for the pivotal choices and revelations that follow in the mission.
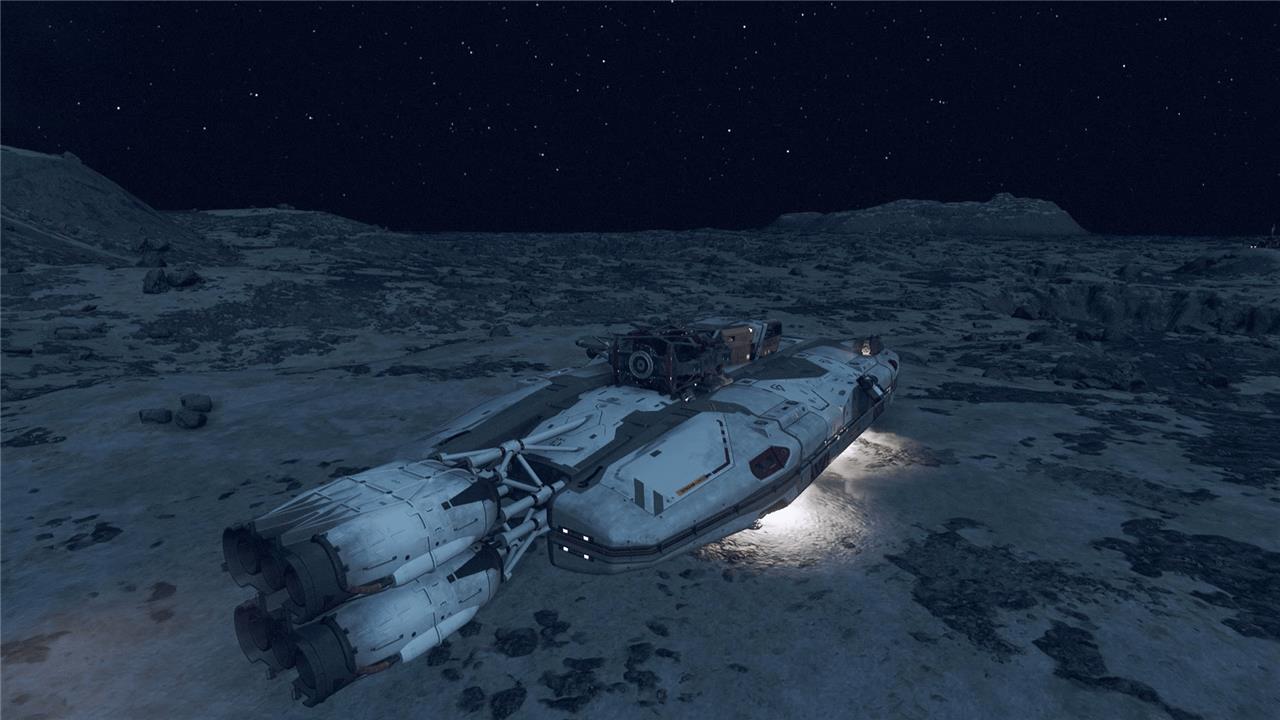
When you get the “Unearthed” quest, the game will tell you to fly to earth’s moon to check out some of NASA’s old goings on. Head to the Sol system to start off.
Go to Nova Galactic Research Station // Investigate the Research Station
Land on Luna at the Nova Galactic Research Station. When you load onto the moon, putter on over to the research site. Use the Moon Base Key (you should already have it) on the door and head into the airlock. Activate the Nova Galactic Research terminal computer and read both entries.
Play the recording on the roof
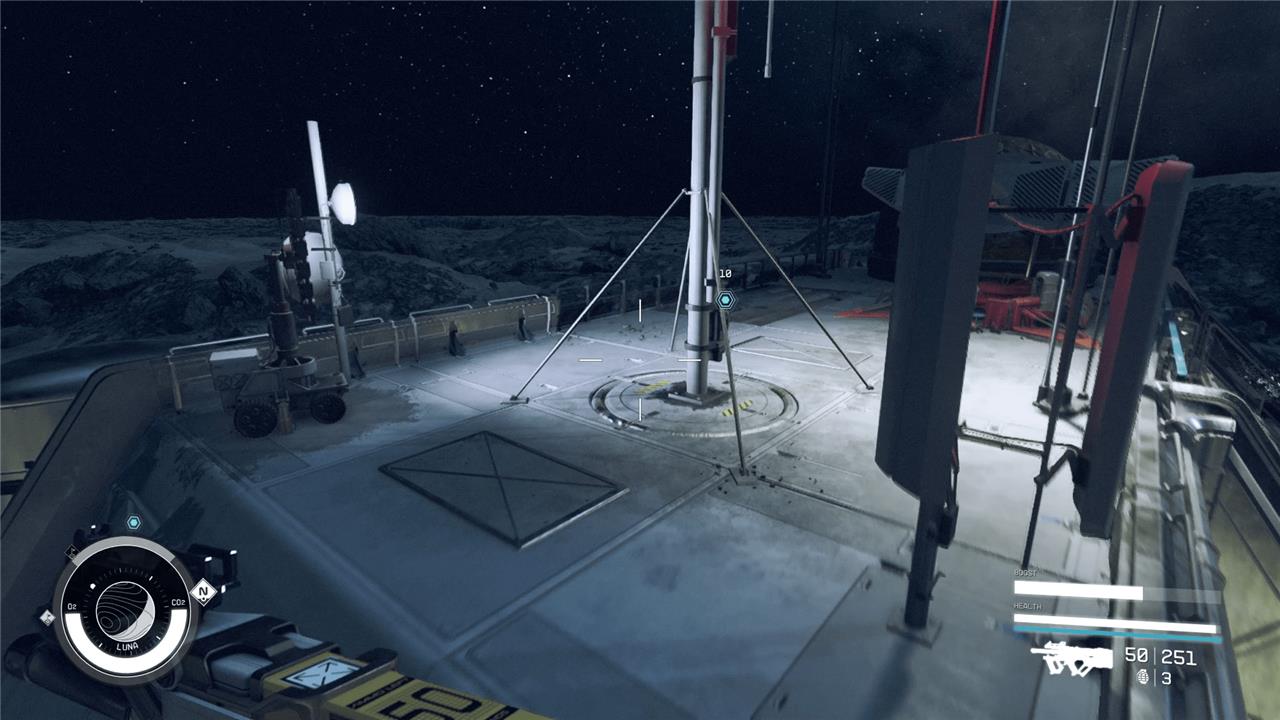
Leave the research center once you’ve read the computer and jump up onto the roof of the building. Interact with the big antenna and you’ll hear a very old recording of Lan Hsu and Victor Aiza. Once the message finishes, head down to Earth and NASA HQ.
Down to Earth
The “Unearthed” quest in Starfield takes players on a grounded journey back to humanity’s origins, as you explore the remnants of NASA headquarters on Earth. This mission stands out for its unique setting, requiring you to navigate abandoned research stations and uncover the secrets behind early Grav Drive experiments. As you piece together logs and artifacts, the quest not only reveals the fate of Earth’s space pioneers but also sets the stage for a pivotal confrontation between the Starborn factions, bringing the cosmic stakes of Starfield down to the very soil where humanity first looked to the stars.
Once you’re done with the moon, it’s time to figure out what happened to Earth to make it barren.
Go to NASA // Find a way inside // Enter NASA
Get back in your ship, head to Earth’s orbit, and select the NASA Launch Tower landing zone.
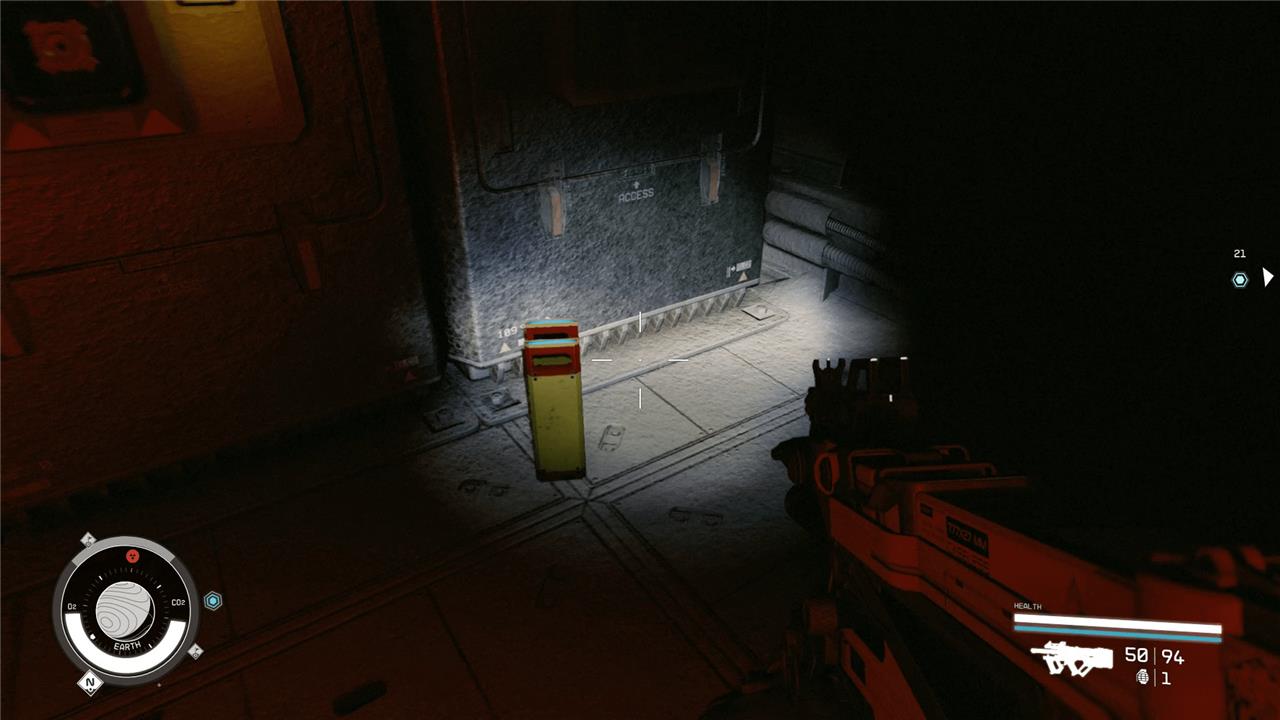
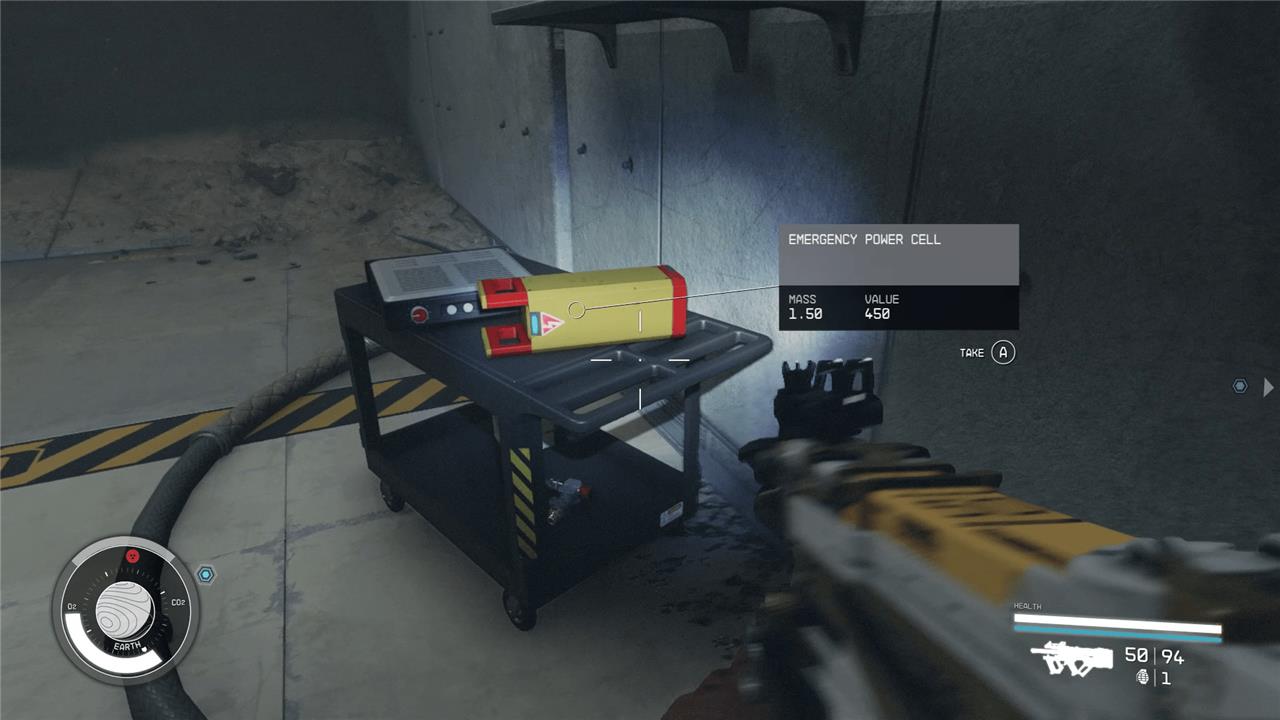
When you reach the surface, go toward the massive flight tower. Climb up the stairs on the tower to reach the elevator that leads into NASA itself. Unfortunately this “ancient” tower doesn’t have any power. Follow the yellow cable into the other room, where you’ll find a generator.
Grab both the emergency power cells (you’ll need more later) and plug one into the generator. Return to the elevator and take it down.
Find information about NASA // Find information about the Martian Sample
As soon as the elevator opens up, walk over to the L-shaped desk and the computer attached to it. Read both logs and you’ll be told to find information about the “Martian Sample.”
Follow the waypoint and head through the NASA museum. You’ll find an audio recording on a counter. Pick it up and head down, down, down, into the research center and the cave.
Find Information about the Prototype Grav Drive
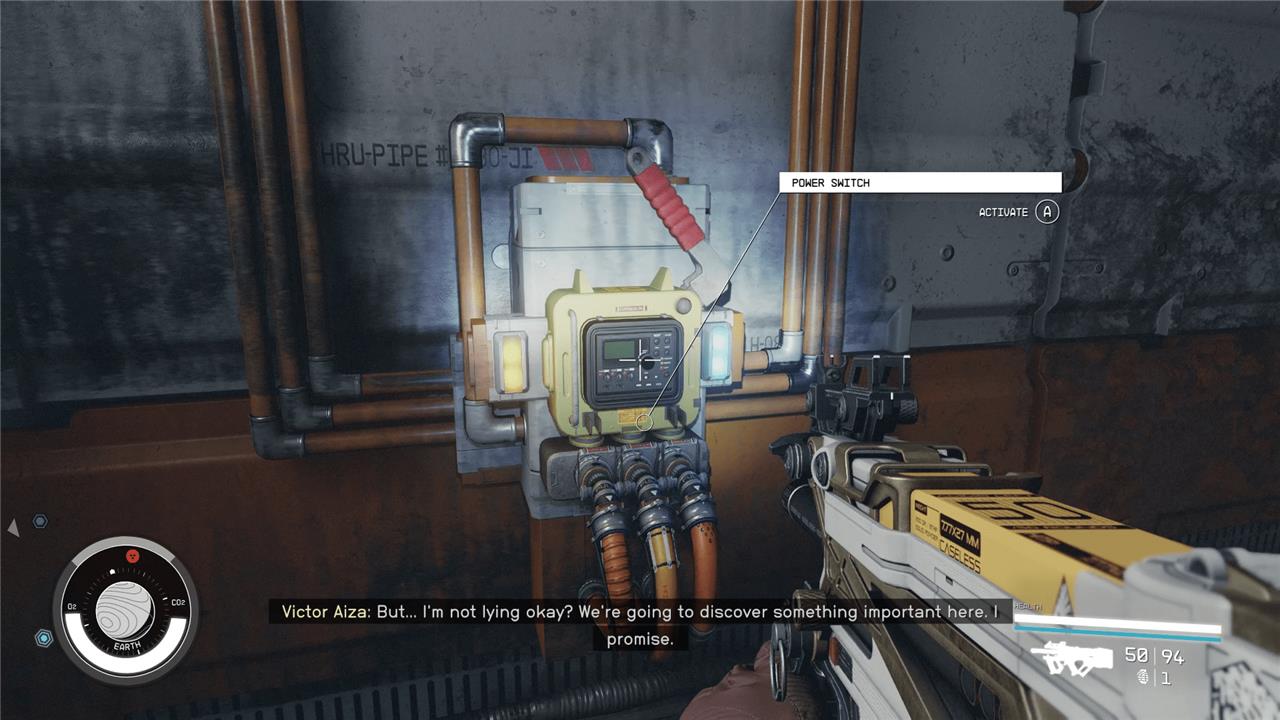
Follow the waypoint until you reach the area where you need power to get through the door. Climb up the rock on the left side of the room, go through the door, and follow the hallway until you reach the yellow door. Open it and flip the switch to turn on the power. Use the switch in the other room to open the emergency door.
Head down the next hallway and take a left at the T junction. When you get to some stairs, go down them and insert the power cell into the generator near the big “NASA” sign on the floor. Go behind the stairs and grab another back-up power cell for later (it’s sitting on a cart).
Throw the switch to open the emergency door and continue your descent into NASA HQ by following the path. Eventually you’ll run into some lvl 30 robots. Throw a quicksave up and then take it slow, blowing up both the turrets and the robot. Once you’re safe, go around to the blown-out door on your left or use a digipickon the advanced lock directly across where you came in. Throw the power switch in the dark room.
With the power on, hit the switch on the gate and continue down. Finally, you’ll reach another computer. Read both logs to progress the quest once again.
Find Information about Grav Drive side effects // Release the artifact // Take the artifact
This next area is a little less linear, and you have a few ways to get to the next information dump you need. Feel free to explore, but here’s how we got there:
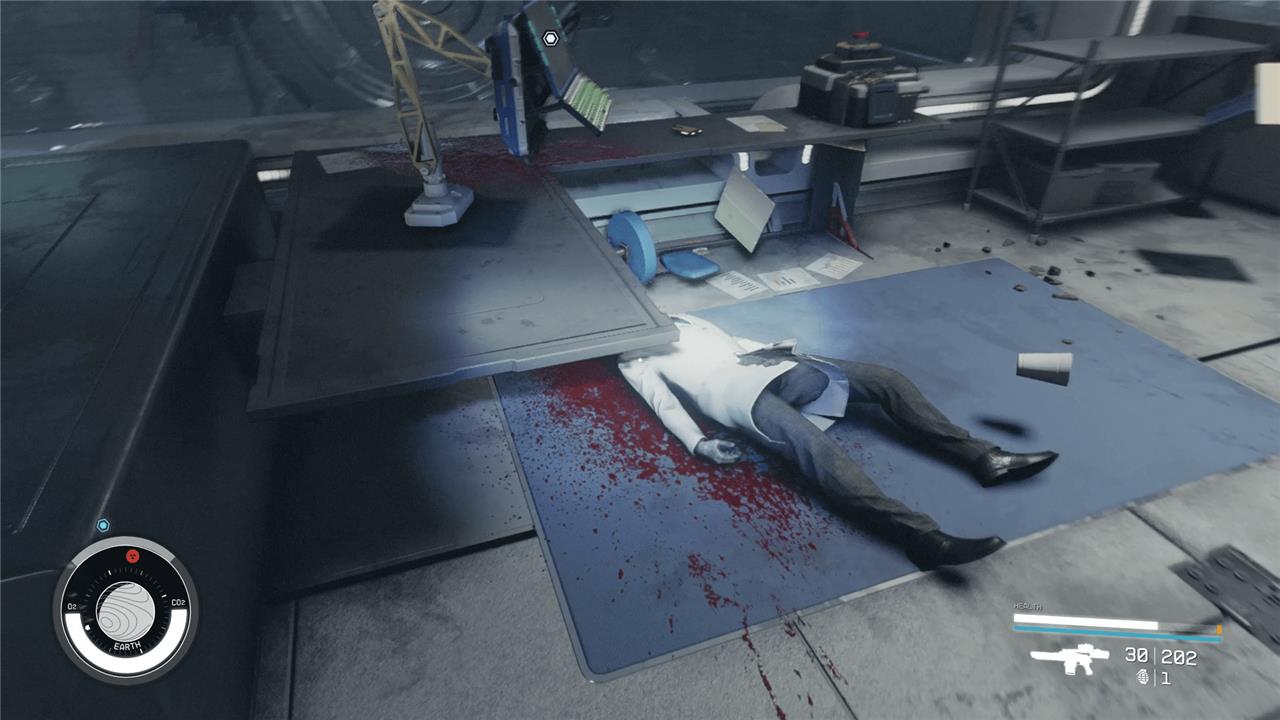
Walk into the anti-gravity area and float down the elevator shaft until you reach floor B2. Go down the hallway on your right, which will lead you into the observation office. Head inside and loot the skeleton of Victor Aiza for a digipick if you want it. Then access the computer.
Listen to the logs and then grab the Nasa Maintenance Key on the desk. Use it to release the artifact with the machine that has a big red button on it (also on the desk). This will change the gravity of the room, returning it to normal.
Now you need to actually grab the artifact. Head into the hallway and take the door into the stairwell. Head down to the first floor and open the door with the switch. Walk up to the artifact chamber, open it, and take it from its resting place.
Confront the Starborn
After retrieving the artifact from NASA, you’ll be confronted outside by the two powerful Starborn: The Emissary and The Hunter. This pivotal moment forces you to choose which of these enigmatic figures to side with-or to reject both entirely. Your decision will shape the final stages of the main quest. Siding with the Emissary means you’ll face the Hunter as your enemy in the climactic battle, while siding with the Hunter puts you against the Emissary. Choosing neither leads to the toughest path, requiring you to fight both Starborn adversaries alone, but also offering the potential for the greatest rewards. This confrontation is not just about combat; it’s a defining choice that determines your allies, your opposition, and the outcome of your journey toward the Unity.
As soon as you take the artifact, The Emissary and The Hunter will warn you that other Starborn are on their way to hunt you. You’ll have to fight your way out of the area.
Leave NASA
Go back through NASA HQ the way you came in, following the waypoint.
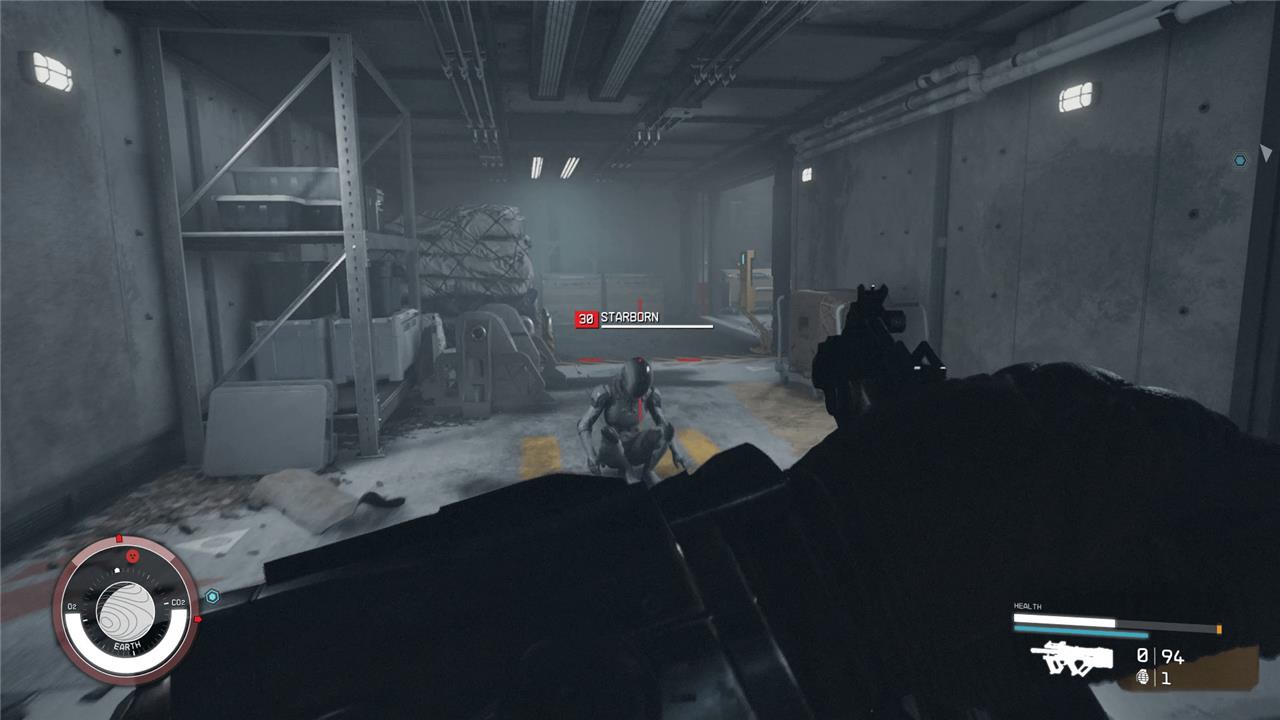
Normally, this would be a simple objective, but you’ll be rushed by multiple lvl 30 Starborn on your journey out. If you’re low on levels or ammo (or both) this section can be a serious pain. The Gravity Wave power can be used to push the Starborn down, if you have it, and it’s a godsend.
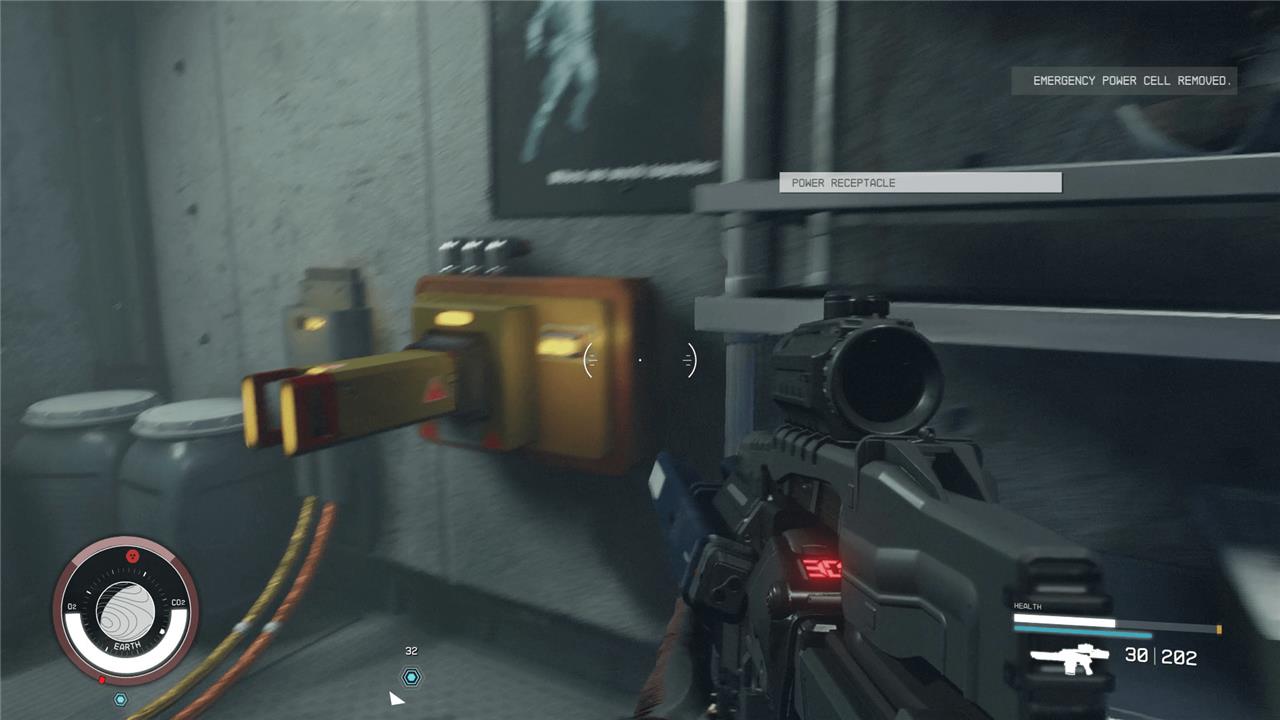
Between fights, you will need to use your extra emergency power cell to activate a shortcut. Just follow the yellow wires and plug it in like you have a few times already in this mission. When you reach the locked door, grab the key on the shelf in the maintenance room (right next to the door) and open it. You should find yourself in a familiar spot now – by the first generator.
Take each of the Starborn out as you go and you’ll eventually return to the surface. This section’s difficulty depends entirely on your arsenal, but we recommend quicksaving after every encounter with the Starborn – you’ll need to take down several squads.
The Emissary or The Hunter ally choice
During the pivotal “Unearthed” quest in Starfield, you must choose to ally with either The Emissary or The Hunter, or reject both, shaping the game’s ending and your final battles. Siding with The Emissary means you’ll fight The Hunter and their forces in the “Revelation” mission, aiming to keep the Unity safe from the unworthy, and you can earn the Unmitigated Violence laser rifle as a reward. If you side with The Hunter, you’ll instead battle The Emissary, supporting the idea that the Unity should be accessible to all, and you may receive the Eternity’s Gate particle beam rifle. The third option is to oppose both, facing a tougher fight alone but with the potential to claim both unique weapons-though this route is considered the hardest. Each choice impacts the story’s resolution and the fate of the Unity, but none of the rewards carry over into New Game Plus.
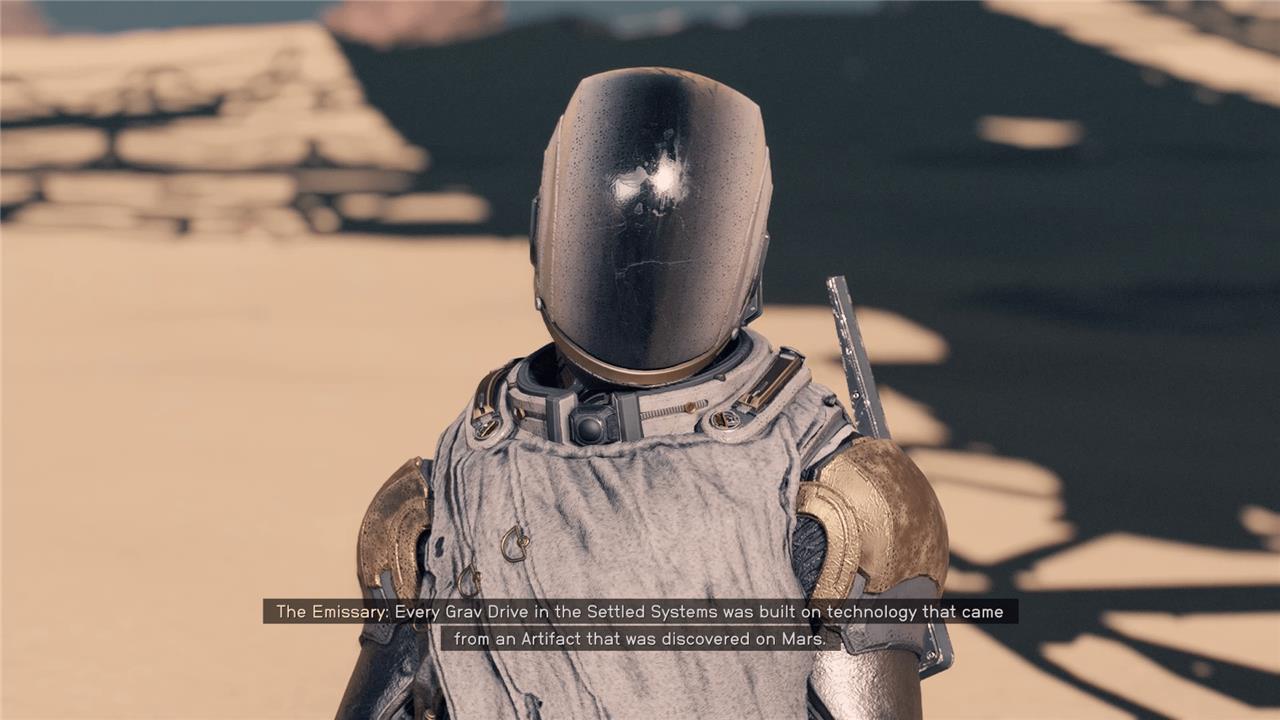
Eventually, you’ll find The Emissary and The Hunter. Both of them will have pitches for you about what to do about the final artifact.
Your three options
Unfortunately, both Starborn have diametrically opposed views. You’ll need to pick one of them to ally yourself with before you can finish the quest. Here are your choices:
- Ally yourself with The Emissary
- Ally yourself with The Hunter
- Tell them you don’t want to ally with either of them
This choice doesn’t actually impact anything in “Unearthed” but it will come back to bite you in “Revelation,” the game’s real final mission. Whoever you choose as an ally will join you in an assault against the other during that mission. If you tell them both to go kick rocks, they’ll ally together and you won’t have either of their help in the final mission and – potentially – need to fight them both.
Which should you choose?
This is a very narrative focused choice and is completely up to you. However, if you’re under-leveled, you may want to forgo the “I’ll do it myself” choice. Whichever Starborn you choose is a big help in the final mission, which has a lot of combat in it. If you’re looking for the “good” or “bad” choice, the answer is in the color of their clothing. The Emissary is definitely the nicer of the two choices, while The Hunter is far more chaotic (plus that guy murdered your friend, so you know he’s a jerk).
How do my choices between The Emissary and The Hunter affect the final battle outcomes in Starfield
How Your Choice Between The Emissary and The Hunter Affects the Final Battle in Starfield
Choosing between The Emissary and The Hunter during the “Unearthed” quest is one of the most significant decisions in Starfield, directly impacting the final battle and the game’s ending.
Outcomes Based on Your Choice
-
Side with The Emissary
-
The Emissary becomes your ally in the final mission (“Revelation”).
-
You will face The Hunter and his forces as your main adversary.
-
If you defeat The Hunter in combat, you receive the unique laser rifle Unmitigated Violence.
-
The Emissary remains in your universe, continuing to judge who is worthy of becoming Starborn.
-
-
Side with The Hunter
-
The Hunter becomes your ally in the final mission.
-
You must fight The Emissary and their forces.
-
Before the final battle, The Hunter asks you to eliminate Keeper Aquilus (you can kill or persuade him to hide).
-
If you defeat The Emissary, you receive the unique particle beam rifle Eternity’s Gate.
-
The Hunter moves on to another universe, leaving a legacy that challenges power structures.
-
-
Side with Neither (Go Solo)
-
You face both The Emissary and The Hunter as enemies, making the final battle more challenging.
-
If you defeat both, you can potentially claim both unique weapons: Unmitigated Violence and Eternity’s Gate.
-
This path is considered the hardest but offers the highest rewards.
-
Additional Notes
-
If you use persuasion to talk down either The Emissary or The Hunter instead of fighting, you will not receive their unique weapon as a reward.
-
The choice does not carry over rewards into New Game Plus mode.
In summary:
Your allegiance determines your final ally, your main enemy, and which unique weapon you can earn. Siding with neither raises the difficulty but allows you to potentially claim both rewards. The narrative outcome and the fate of the Unity also shift based on your decision.
How does choosing The Emissary or The Hunter change the final boss I face in Starfield
Choosing between The Emissary and The Hunter in Starfield directly determines who you face as the final boss:
-
If you side with The Emissary, The Hunter becomes your final boss in the “Revelation” mission. The Emissary will fight alongside you as an ally against The Hunter and his forces.
-
If you side with The Hunter, The Emissary becomes your final boss in the same mission. The Hunter will be your ally, and you’ll battle The Emissary and their forces instead.
-
If you choose neither and go solo, you must fight both The Emissary and The Hunter as enemies in the final battle, making it the most challenging outcome.
Your choice thus determines which powerful Starborn stands against you at the climax, with the other serving as your ally-unless you reject both, in which case you face them both alone.