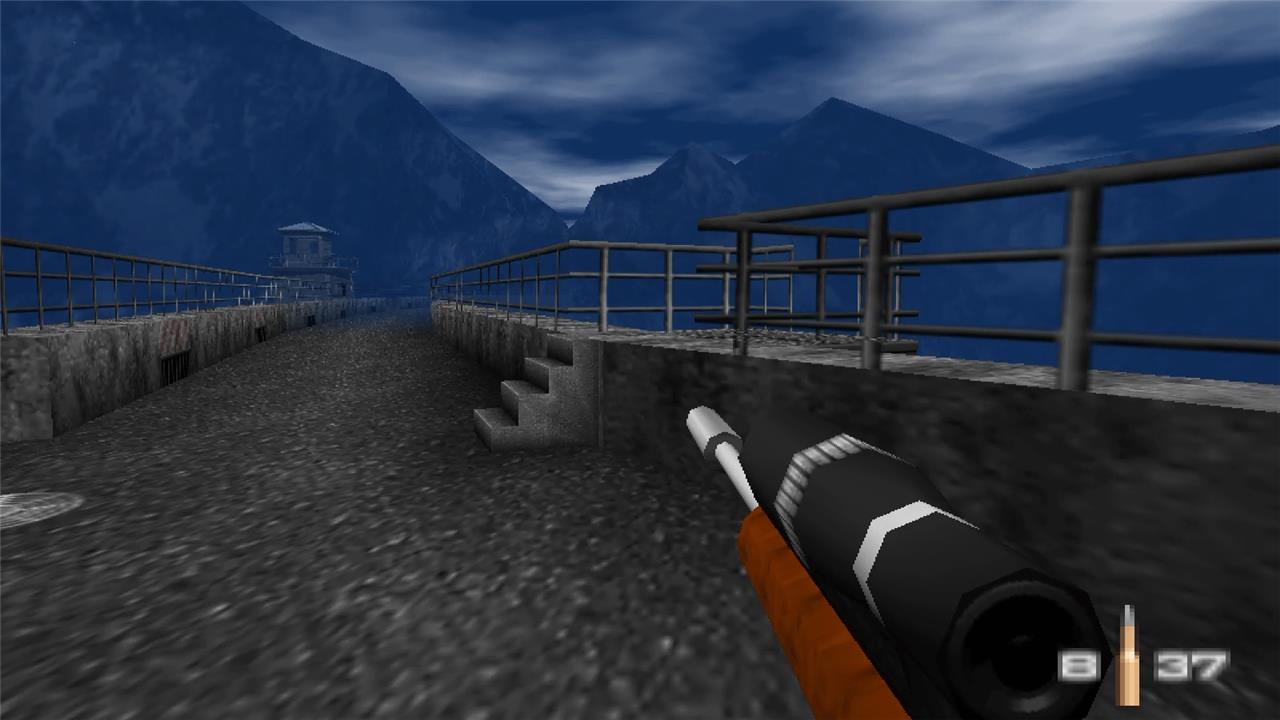
Cold concrete, guarded gates, and a plunge into danger – the Dam mission in GoldenEye 007 sets the stage with precision shooting, stealthy sabotage, and a leap that defines Bond’s daring.
Tips before starting Dam in Goldeneye 007
Master the dam by first scouting the surrounding terrain for patrol patterns, stock up on ammo and items, and memorize the guard routes to minimize encounters during the climb.
- If you’re used to regular aiming conventions, switch your aim from inverted to upright in the start menu.
- On default control schemes, interacting with objects and doors is done by pressing the “B” button on the Nintendo Switch and the “A” button on Xbox. When it comes to aiming, use the aim feature, “L” on the Nintendo Switch and “LT” on the Xbox, to aim at the alarms and the small screen for the Covert Modem.
- When shooting the alarms, use the silenced pistol to prevent more enemies from coming out of nowhere and setting it off.
- Allow enemies to come to you in the tunnel to easily pick them off one by one, especially if you have the sniper rifle to hand.
- On the Nintendo Switch, you can create your own check points in the Suspend menu. Press the “-” button to open the Suspend menu, and create a Suspend point to make your own check point. This is particularly useful on 00 Agent difficulty. And no – there is no suspend on the Xbox version!
Dam objectives
The Dam mission tasks Agent 007 with infiltrating a heavily guarded Soviet facility to gather intelligence and prepare the area for deeper operations. Objectives include neutralizing alarms to avoid raising security levels, collecting data from a terminal in the communications room, photographing the dam structure, and reaching the bungee jump exit at the end of the level. Completing each step requires stealth, precision, and careful use of available weapons and gadgets.
Depending on the difficulty, you can have up to four primary objectives to complete at the Dam. The four objectives are as follow:
- Obj. A – Neutralize all alarms (Secret Agent difficulty and above)
- Obj. B – Install covert modem (00 Agent difficulty)
- Obj. C – Intercept data backup (00 Agent difficulty)
- Obj. D – Bungee jump from platform (Agent difficulty and above)
Here is how to complete each objective, step-by-step.
Dam Security Area
The Dam Security Area is heavily guarded and requires stealth to avoid triggering alarms. Players should disable security cameras, neutralize guards quietly, and locate the keycard needed to access the control room. Watchtowers provide a clear view of patrol routes, making them useful for planning movements. Before heading to the next sector, check for hidden objectives or items that can assist in completing the mission smoothly.
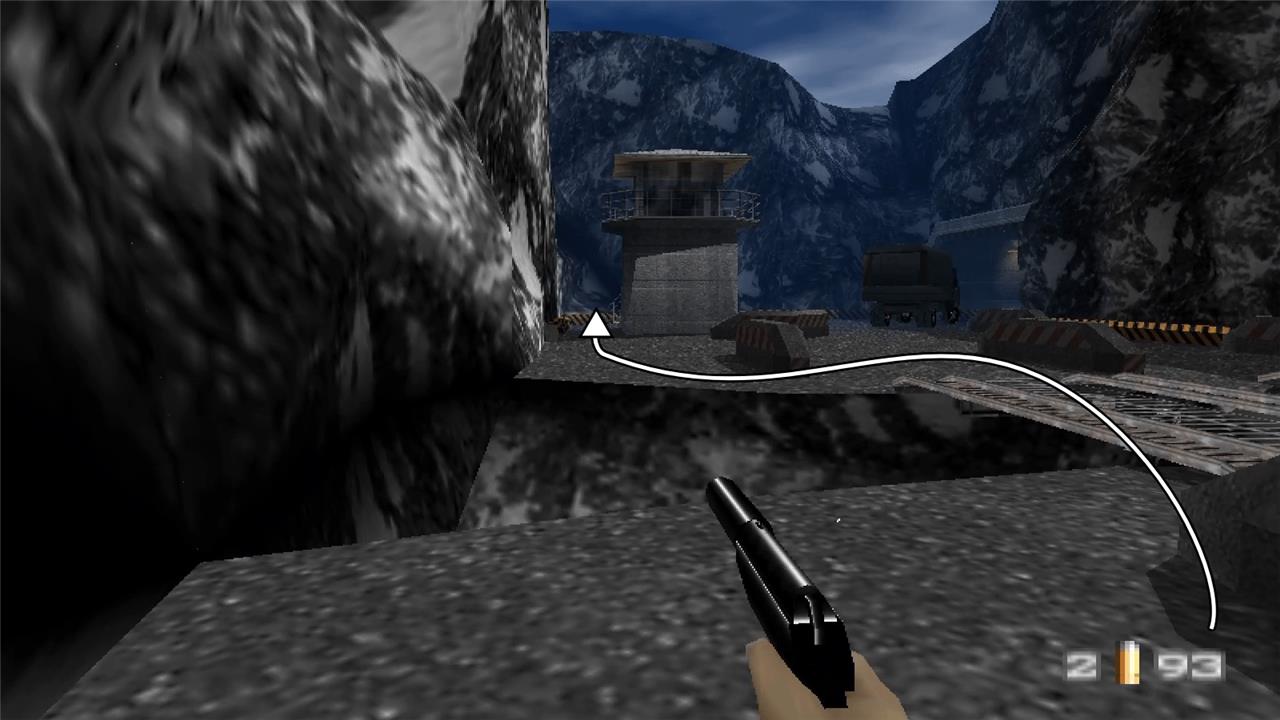
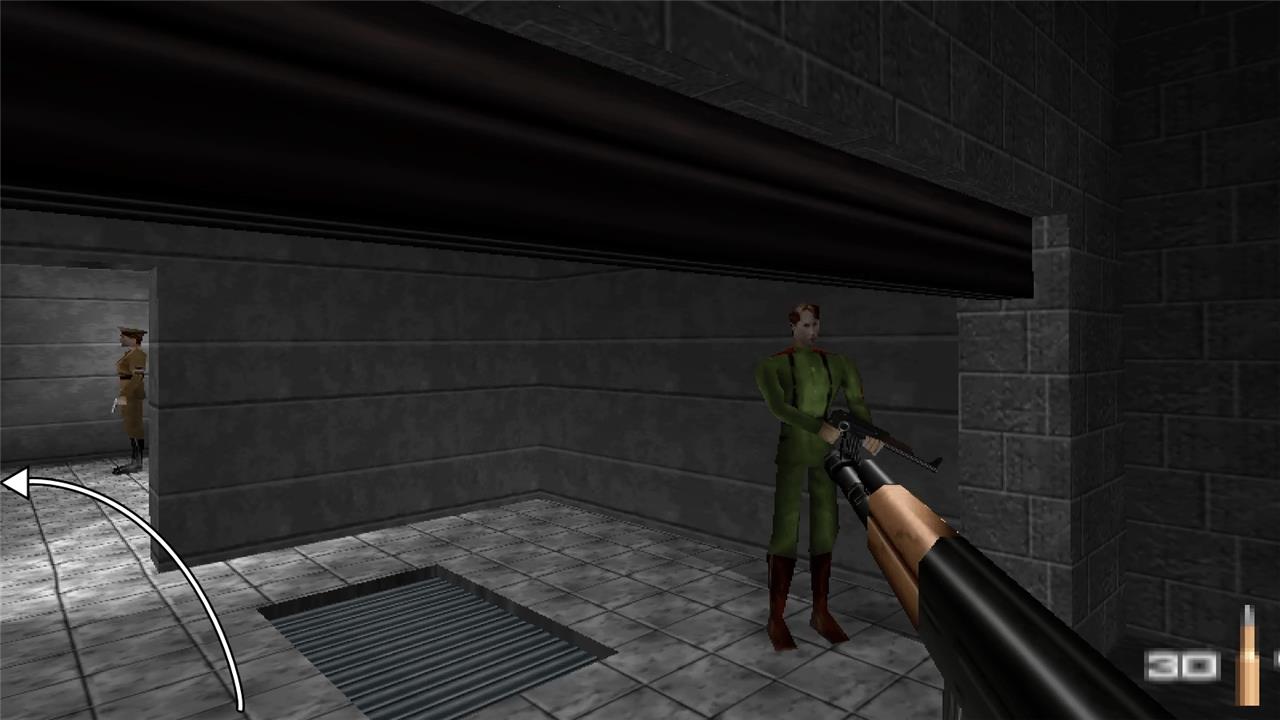
- Head to the left and quickly take out the guard with your pistol.
- Pick up the guard’s rifle and defeat the guards around the guard tower with your pistol or rifle. Also, there is a sniper rifle that you can pick up at the top of the tower to use against upcoming enemies.
- Defeat the two guards inside the tunnel either from a distance with the sniper or head on with your other weapons.
- Follow the green truck through the tunnel to the next area.
Installing the Covert Modem
After clearing the guard rooms, move to the far end of the dam where the small control room sits near the main radar installation. Equip the covert modem from your inventory and approach the terminal on the wall marked with communication equipment. Place the modem on this terminal to transmit a signal later in the mission. Ensure enemies nearby are neutralized first, as being spotted during installation can alert the guards and disrupt your operation.
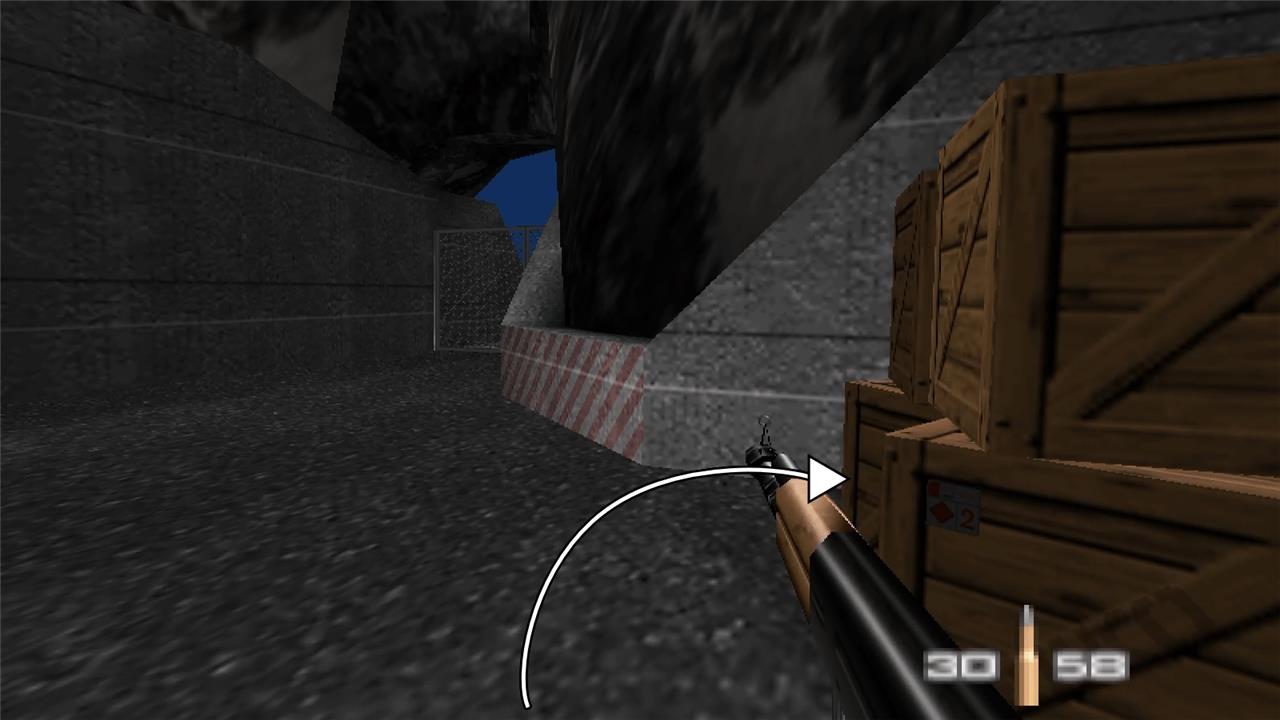
- Take cover behind the boxes on the left and take down the five enemies in this area. You can skip the two in the bunker if you act quickly.
- Interact with the switch to open the gate, and activate the next switch to open the following gate.
- Take out the two enemies in the next area quickly to prevent them from setting off the alarm.
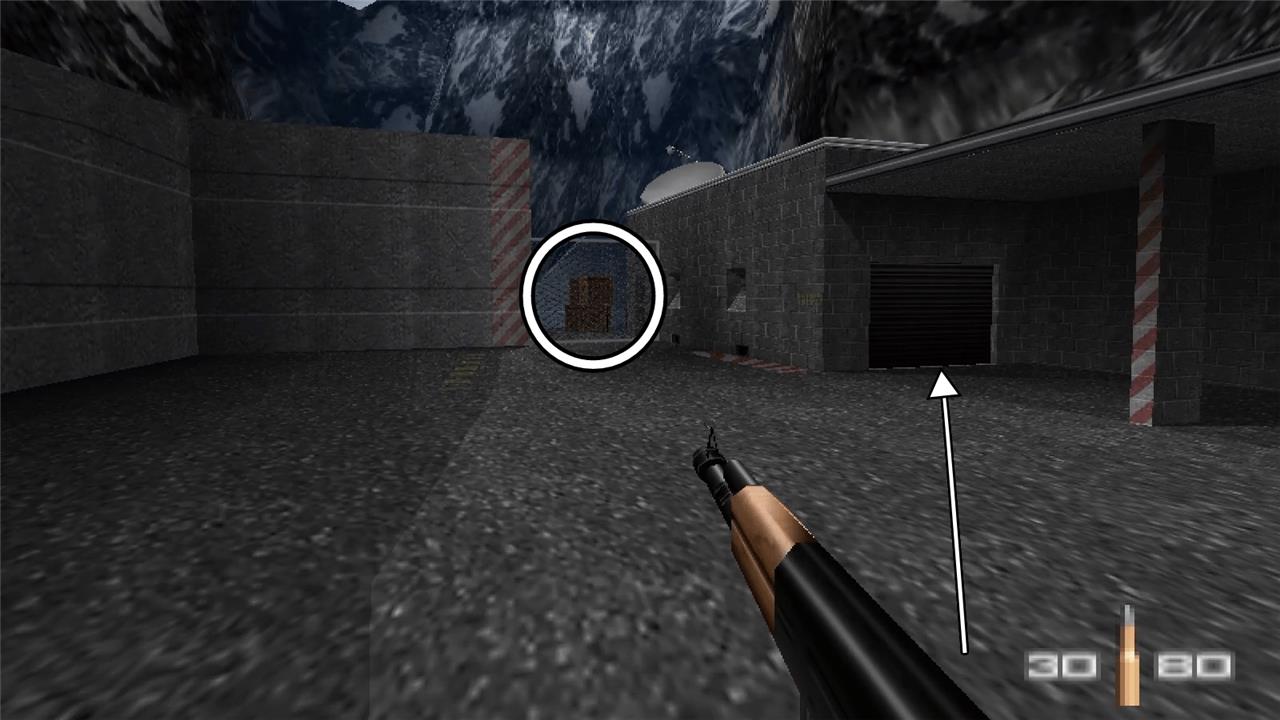
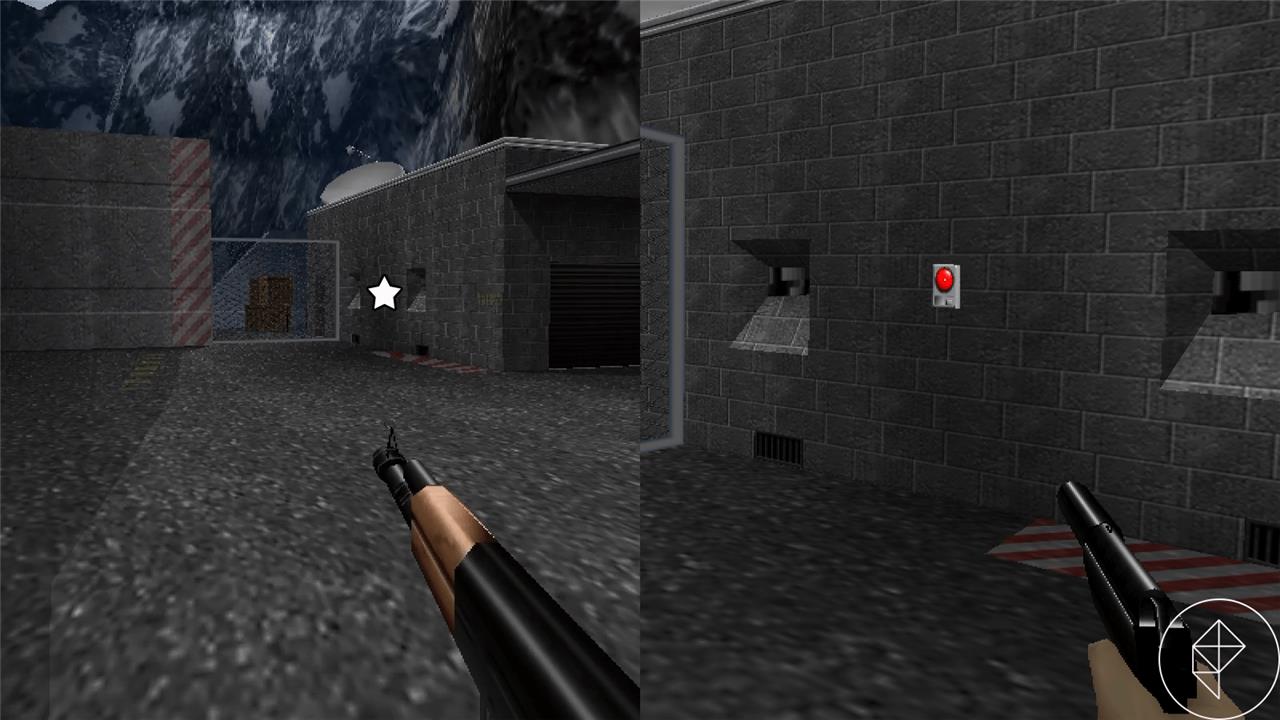
- Continue forward and shoot the red alarm on the wall to neutralize one of the alarms. (This is one of four – if you want to see all locations at a glance, see the next section.)
- Proceed inside the building by entering the gate on the right side of the wall, and defeat the enemies inside.
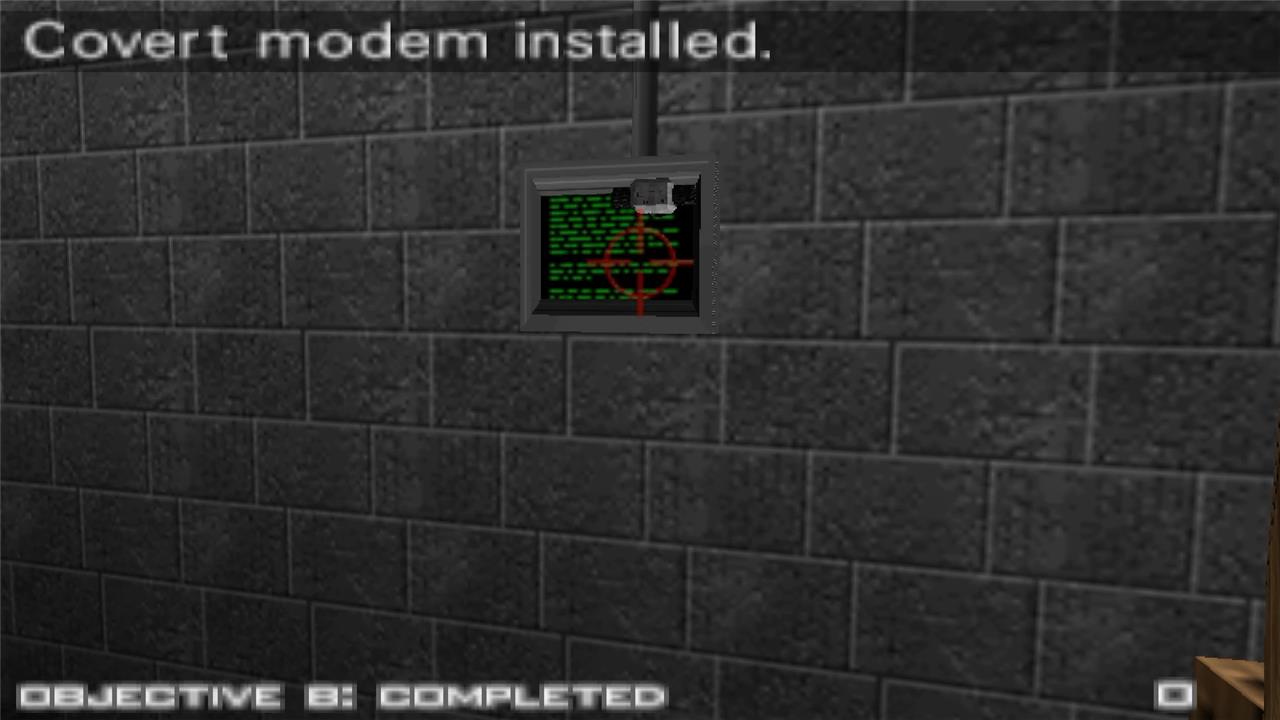
- Turn right out of the building, and move behind the stacked crates beside the building to find a screen on the wall. You can see what it looks like in the above image gallery.
- Open the start menu to bring up your watch, and switch to your inventory.
- Select the covert modem from your inventory, and carefully throw it onto the screen by using the fire button. You only have one modem, so do not miss. This step completes Objective B.
- Turn right out of this area, and shoot the lock on the gate to open it.
- Proceed forward to the top of the dam.
Intercept data backup
Inside the control room, approach the computer terminal near the center console to intercept the data backup. Equip your covert modem from the inventory and connect it to the main data port to begin the transfer process. Remain cautious of guards entering the area during the upload, as their detection can interrupt the mission. Once the interception completes, leave the equipment in place and prepare to move toward the dam’s final section.
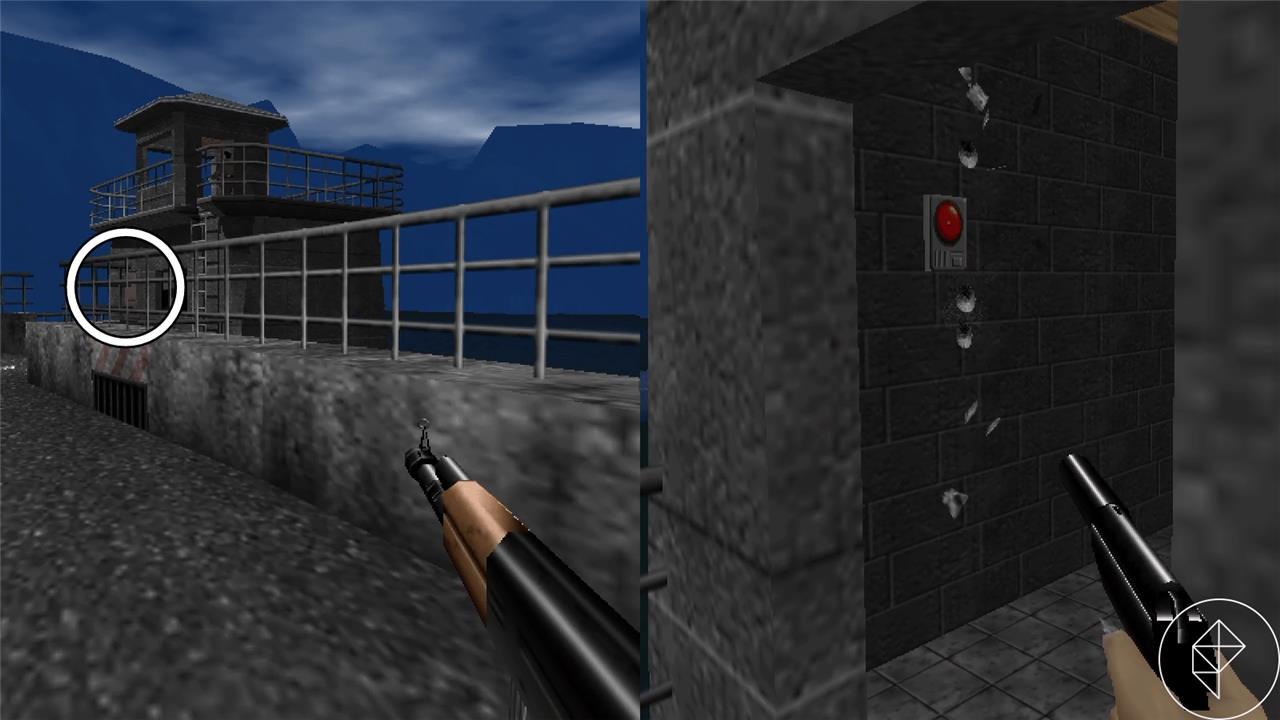
- Head towards the first guard tower, and quickly take out the guard inside.
- Find the red alarm inside, and shoot it to neutralize it.
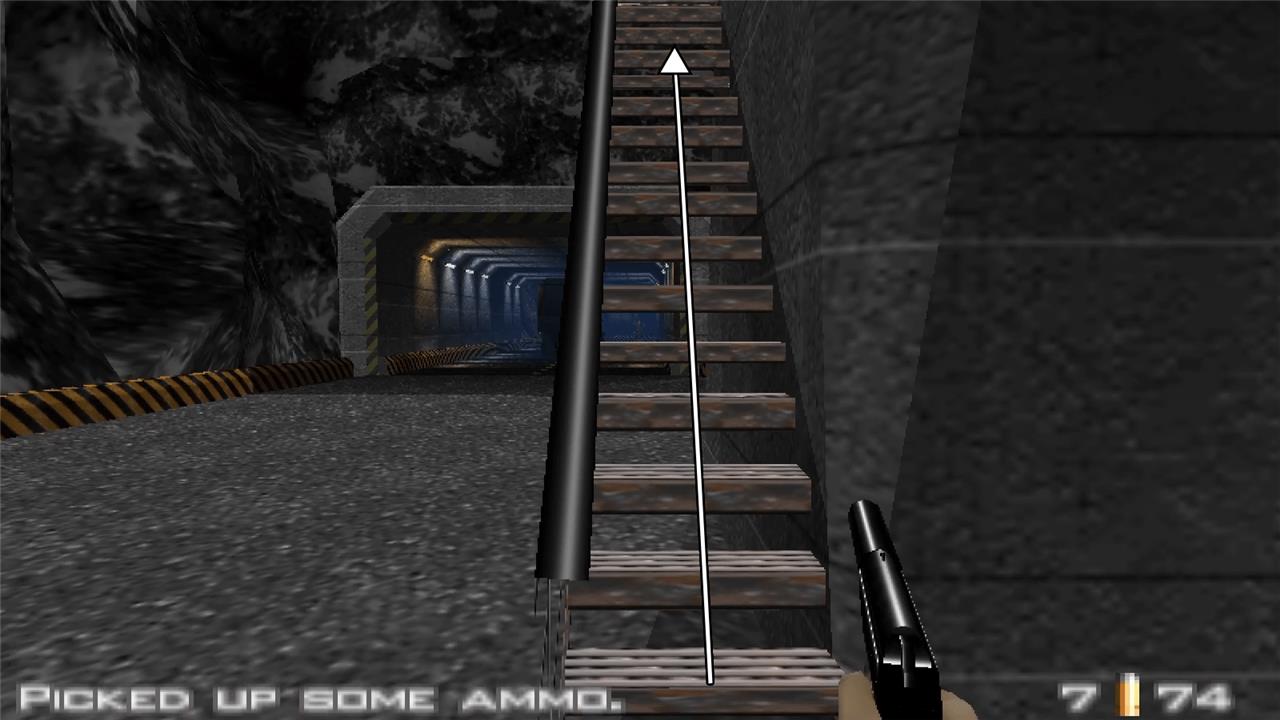
- Go down the stairs inside the tower to find an underground tunnel system filled with enemies.
- Proceed through the gate and turn left defeating any enemy along the way. Make sure to check your corners as there are enemies hidden everywhere.
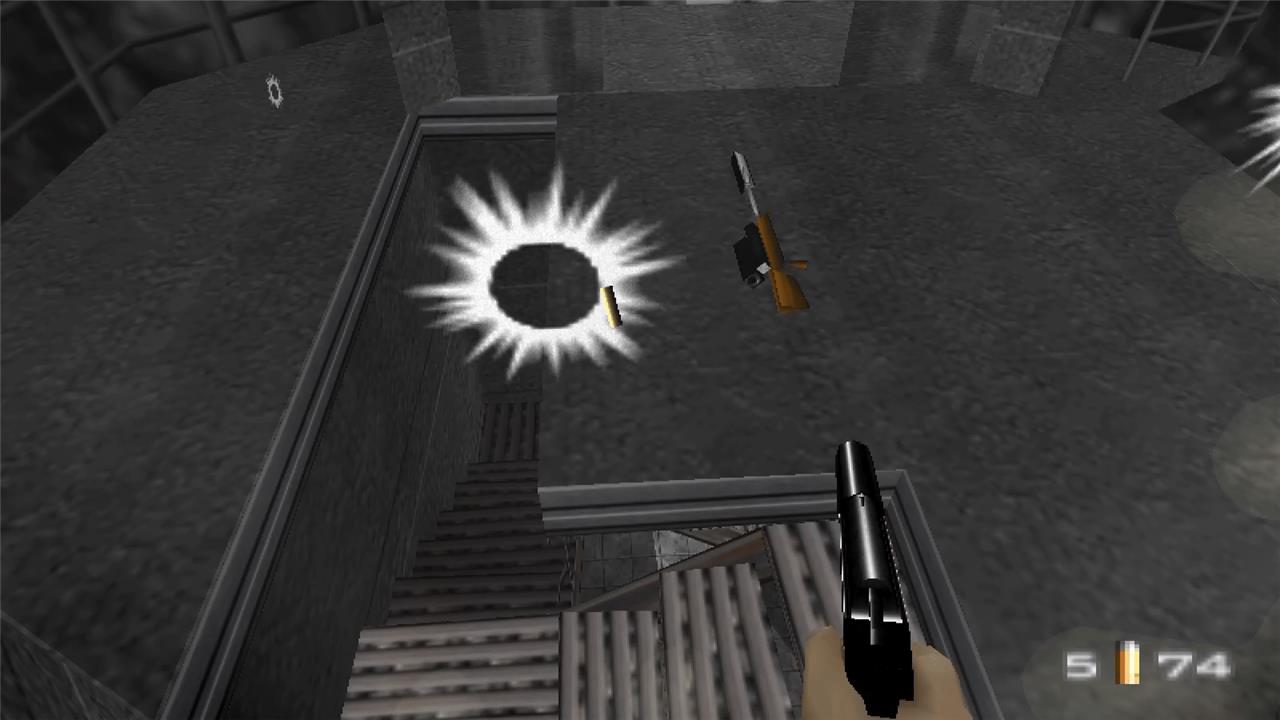
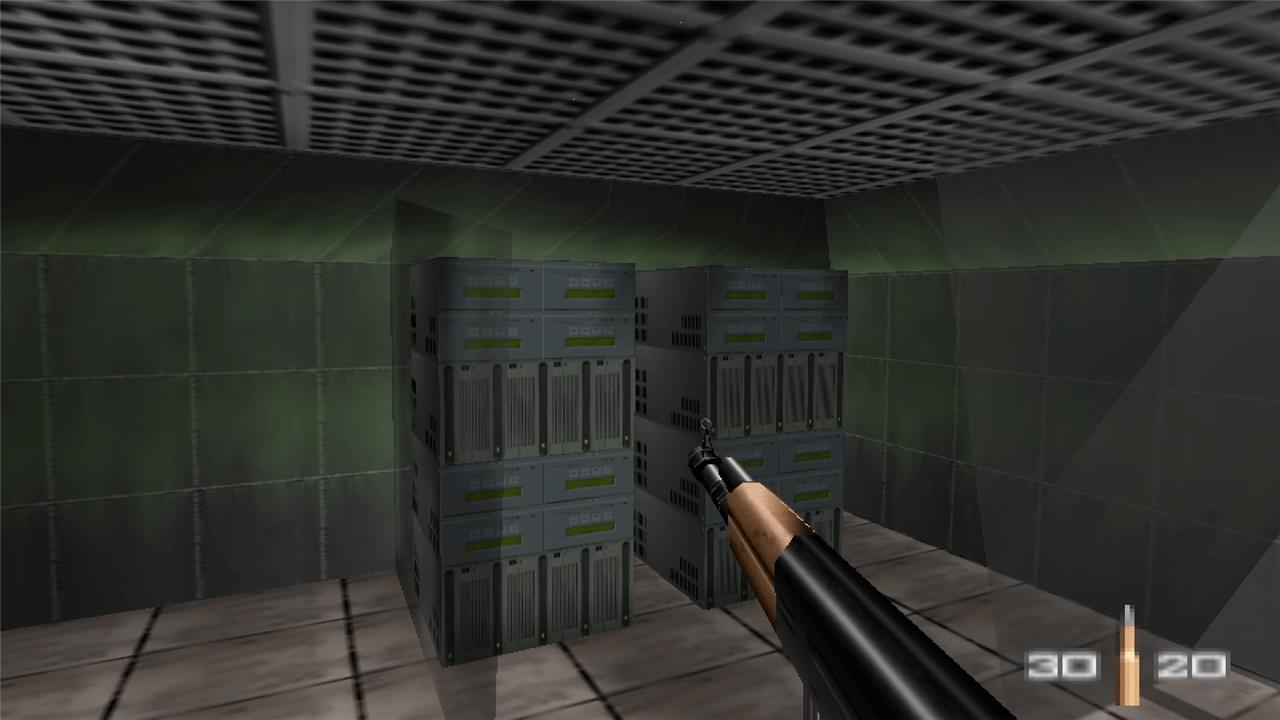
- Open the door at the end of the corridor to find a room filled with even more enemies, but wait at the opened door. Allow the enemies to come to you to easily clear the room.
- Interact with the rectangular servers on the left side of the room, which will start a timer depicting how long it’ll take to transfer the data due to your covert modem – completing Objective C.
- Exit the room, and return up the stairs you came down before. The entrance to the stairs will be depicted with the number two on the wall.
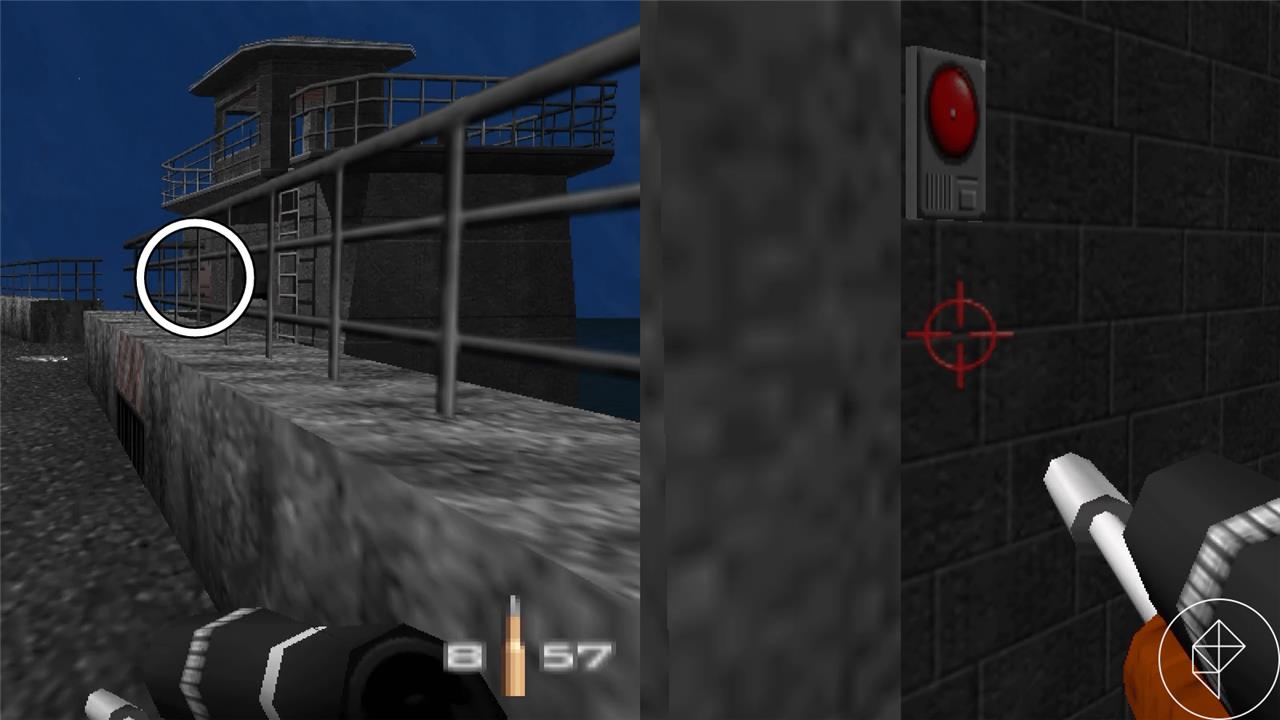
- Make your way to the second guard tower, and take out the guard inside.
- Find the alarm inside, and neutralize it.
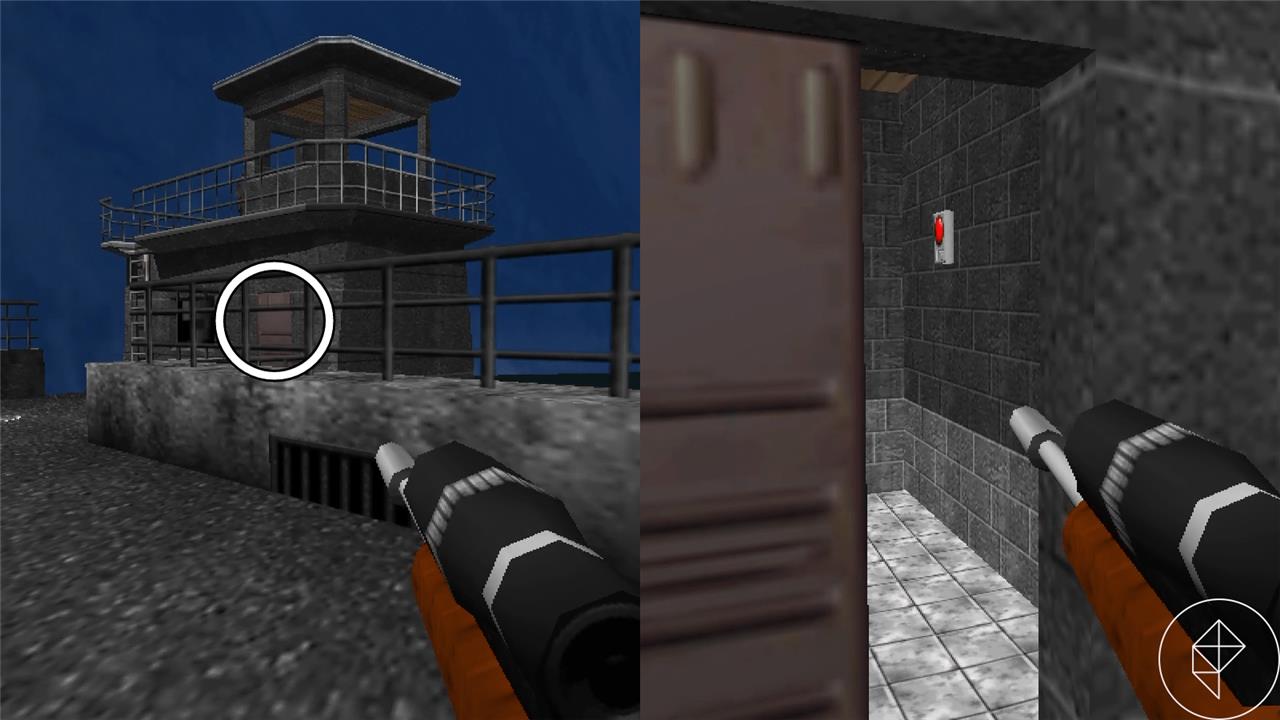
- Repeat steps 8 and 9 for the third guard tower.
Dam alarm locations
Several alarm panels are scattered across the Dam, with key ones located near the control tower, guard barracks, and the main gate building. Disabling these alarms quietly prevents reinforcements from being called, making it easier to complete objectives without triggering heavy resistance. Keep an eye on patrol routes nearby, as guards often react quickly if they notice tampering with the alarm systems.
Though we’ll cover these as we go in the above sections, here is at a glance the four alarm locations, in the event you finished the mission and managed to miss one or two:
- Before you install the covert modem and reach the guard towers on top of the dam proper, the alarm is on the wall before the gate.
- On the dam there are three guard towers. The second alarm is inside the door of the first tower.
- The second guard tower features the third alarm – again, just inside the door on the wall.
- The third and final guard tower has, you used it, the fourth and final alarm. Open the door and destroy it. Provided you have also done the others, this objective should be complete.
Bungee jump from platform
After completing all objectives on the dam, move to the platform at the far end and equip your bungee cord. Approach the edge carefully, facing outward toward the valley. Press the action button to trigger the jump sequence. Bond dives headfirst off the platform, beginning the cinematic bungee scene that closes the mission and leads into the next level.
Once you have completed all the other objectives, within the dam area, you can find a small set of stairs leading to a platform.
From here, simply move through the railings into the water below to escape and complete the mission.
GoldenEye 007 Facility mission walkthrough
GoldenEye 007’s Facility mission follows the Dam, taking Bond inside a chemical plant to meet 006, sabotage tanks, and limit scientist deaths. Objectives build across difficulties: Agent focuses on lab access, 006 rendezvous, tank destruction, and scientist safety; Secret Agent adds contacting Dr. Doak; 00 Agent includes all prior tasks with stricter rules.
Agent Difficulty
Drop from the vent into the bathroom, silently kill guards in stalls, and grab body armor downstairs. Pick up the Clearance B keycard from a guard, use it on the opposite door’s console to unlock the lab path-sprint through the timed security door. Fight through hallways to the lab area (objective complete), head downstairs past scientists to 006 by the bottles, plant remote mines on tanks, detonate after he moves, and escape via conveyor.
Secret Agent Difficulty
Follow Agent route but seek Dr. Doak in side labs or hallways (often near the end lab with a keycard scientist)-approach to get his door decoder (objective B). Use it from watch inventory on the locked bottling room door before reaching 006.
00 Agent Difficulty
Combine Secret Agent steps precisely: avoid killing scientists (max 2-3 allowed), don’t destroy security consoles or you’ll need extra keycards, check labs thoroughly for Doak. Plant 5 remote mines efficiently on rear tanks for chain reactions, detonate only after 006 kneels by Ourumov to clear the blast.
Tips
Stealth early with silenced pistol; KF7 Soviet for crowds. Skip unnecessary rooms like canister areas unless hunting Doak. Xbox controls: LT aim, RT shoot, watch timed doors.
GoldenEye 007 Silo mission walkthrough
GoldenEye 007’s Silo mission is a stealth-focused infiltration of a missile launch facility in Kirghizstan, where Bond gathers intel on satellite launches, collects components, and sabotages the site. Objectives ramp up by difficulty: Agent requires photographing the satellite and minimizing scientist casualties (max 2 deaths); Secret Agent adds obtaining telemetric data and satellite circuitry; 00 Agent includes planting bombs in all four fuel rooms.
Agent Difficulty
Spawn on a catwalk near a missile silo, open the door ahead to clear initial guards-silenced pistol for stealth. Rush linearly: grab keycards from scientists (shake them down), photo the GoldenEye satellite in the final fuel room via watch camera, then chase fleeing Ourumov past soldiers to the elevator exit. No timer, so pace conservatively to avoid killing scientists.
Secret Agent Difficulty
Follow Agent path but collect items: in first fuel room, snag circuit board (circuitry objective) and keycard; second room has another board. In third room, approach the scientist in the right corner-he drops telemetric data (DAT cassette). Photo satellite last, plant no bombs, and exit with ≤2 scientists dead. Timer starts at 7:30.
00 Agent Difficulty
Complete Secret Agent tasks across all four fuel rooms, planting plastique explosives (from watch) in each-first by computer corner, others in similar spots. Stealth early with silenced weapon, go loud later using KF7 Soviet on gas canisters and guards. Maintain pace for 8:30 timer; body armor hides in side rooms. Confront Ourumov at end but prioritize escape.
Tips
Prioritize keycards from back-left scientists to unlock doors without alarms. Avoid 3+ scientist kills or fail instantly. Xbox: LT aims precisely for headshots; lean corners for cover.