
GTA 6 launched on November 19 for PS5 and Xbox Series X|S, and its settings menu is much bigger than most Rockstar players will expect. This guide covers the options worth changing first, with the defaults noted so you know what you're moving away from. The game is console-only for now, so everything below applies to PS5, PS5 Pro and Xbox Series X|S.
Where to Find Everything
All settings live in the pause menu under Settings. There are seven gameplay tabs, plus an Account tab with Rockstar's general and legal information. Here is what each one holds.
| Tab | What you'll find there |
|---|---|
| Control Scheme | Button layouts for on foot, aiming, melee, land and water vehicles, aircraft, bicycle, swimming, and parachute |
| Controller | Aim and look sensitivity, inverted controls, and DualSense options on PS5 |
| Gameplay | Combat, movement, and accessibility options |
| Display | HDR calibration, visual effects, and high-contrast shaders |
| UI | Text size, subtitles and captions, minimap and compass, reticle, HUD elements, notifications, and units |
| Camera | On foot, vehicles, aircraft, underwater, and cinematic cameras, plus a Comfort section |
| Audio | Setup toggles, volume sliders, and narration |
Performance and Image Quality
GTA 6 targets 30 FPS on every console, and the Display tab has no resolution, frame rate or quality presets. Digital Foundry measured an internal resolution of 1440p on PS5, PS5 Pro and Xbox Series X, while Series S renders at 720p and uses FSR 4 to reach roughly 1080p. The PS5 Pro adds PSSR upscaling and ray-traced shadows, but not extra frames. Digital Foundry also found that the base PS5 can drop to about 23 FPS in heavy action like long fights full of explosions, while the Pro holds 30 far more reliably.
Camera response is on the heavy side too. Digital Foundry measured around 180ms of camera latency on Series X, similar to Red Dead Redemption 2, so no setting will make this game feel snappy. A few of them can still make it feel better.
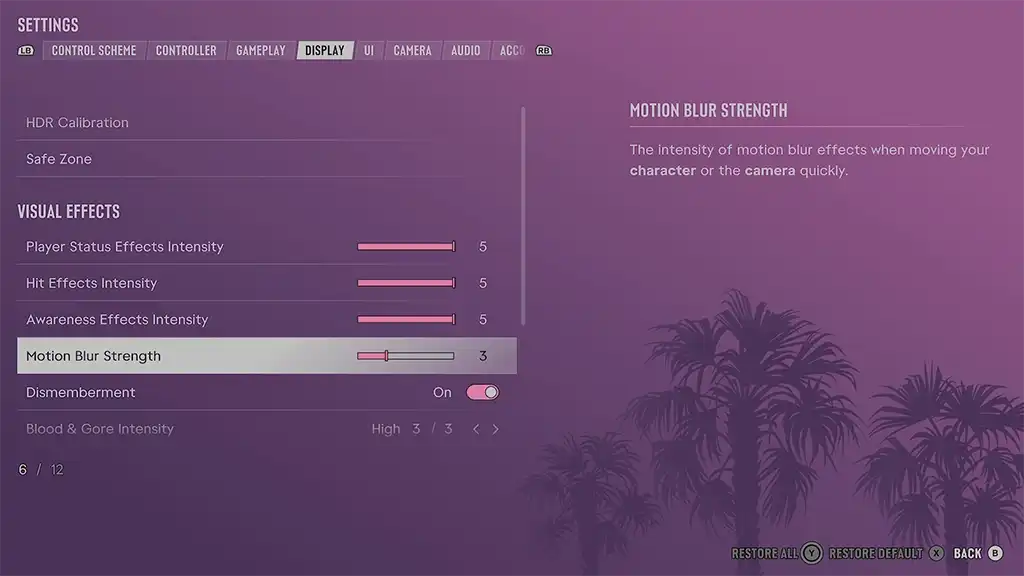
Motion blur. Open the Display tab and look under Visual Effects for Motion Blur Strength. It defaults to 3. At 30 FPS some players like a little blur to hide choppy camera pans, and others find it smeared and nauseating. Most guides land between 0 and 2: use 0 for the sharpest image or if blur gives you a headache, and 1 or 2 if camera movement looks stuttery without it. Turning it off won't raise your frame rate.
TV settings. Switch your TV to Game Mode and turn off motion smoothing. A 120Hz panel won't add frames to a 30 FPS game, but Xbox Series X|S has a small advantage here. Digital Foundry found that both consoles run GTA 6 inside a 120Hz VRR container at system level, which softens frame drops. If your TV supports it, enable variable refresh rate under Settings, General, TV & display options, Video modes. On PS5, system VRR only works above 48 FPS, so it does nothing for this game.
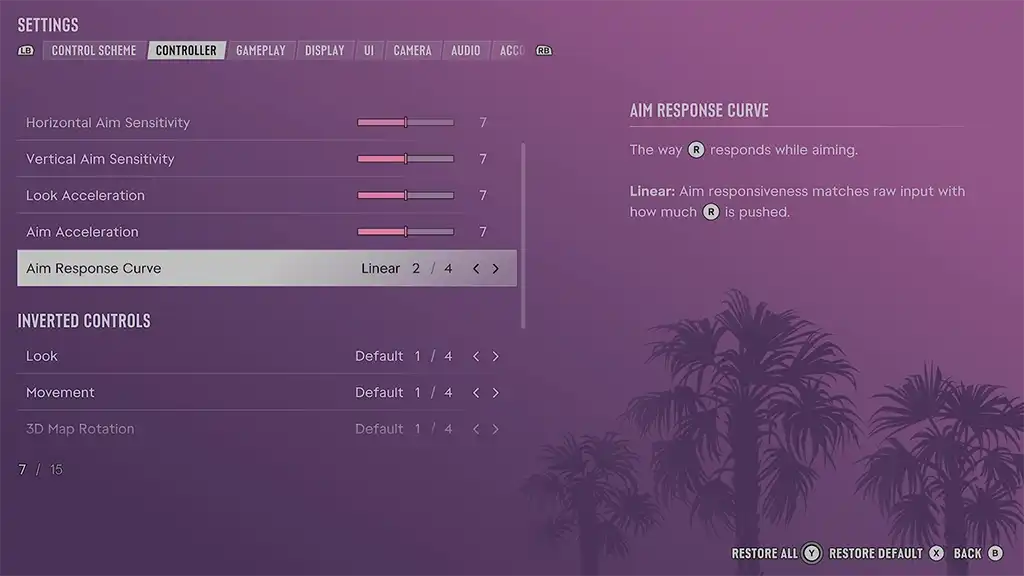
Sensitivity. Look and aim sensitivity run from 0 to 14 and sit at 7 by default. If the camera feels sluggish, go a point or two higher. If you overshoot targets while aiming, bring aim sensitivity back down. Change one slider at a time so you can tell what helped.
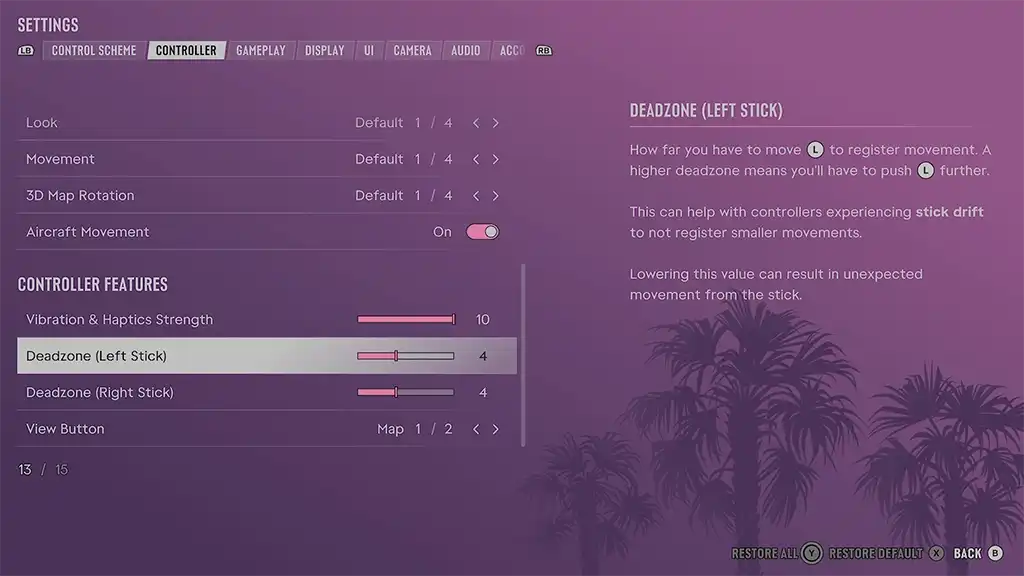
Deadzone. Each stick has its own Deadzone slider from 0 to 10. Reported menu captures show a default of 4 on PS5 and 5 on Xbox. The best value is the lowest one that stops the camera drifting when you aren't touching the stick, so a new pad can often go lower, while a worn one may need a higher setting. Zero isn't automatically the right answer.
Aim Response Curve. There are four options: Standard (the default), Linear, Precision, and Aggressive. Linear maps stick tilt directly to camera speed. Precision slows small inputs near the center and ramps up toward the edge. Aggressive is the fastest of the four. Many guides favor Linear or Precision at 30 FPS because Standard's gentle ramp can feel like input lag. Settle on a sensitivity first, then try the curves one by one.
Targeting and Control Scheme
Targeting has three modes. Lock-On hard-locks the nearest enemy, Partial (the default) nudges your aim toward close targets, and Free Aim gives you no help at all. Lock-On suits a relaxed story playthrough, and Free Aim is the challenge option.
Aim Assist Strength runs from 0 to 5 and defaults to 4. Leave it there, or drop it to 0 if you switch to Free Aim. Shooting Assist and Drive-By Assist can both be turned off if you want fights to be harder.
The Default control scheme sprints with a click of L3. If you still have GTA 5 in your hands, the Classic scheme brings back tapping Cross or A to sprint. There is also a Left-Handed scheme.
TV and HDR
Before you touch anything in the game, check your TV's HDR settings. HDTVTest's Vincent Teoh recommends switching on HGiG, because without it the TV applies its own tone mapping on top of the game's calibration and the sliders stop behaving as intended. On LG sets the option is called HDR Tone Mapping and sits in the Brightness menu. If your TV has no HGiG, at least turn off dynamic tone mapping.
Then calibrate. Run your console's own HDR setup first (Adjust HDR on PS5, Calibrate HDR for Games on Xbox), but know that Teoh reports GTA 6 ignores those console values, so the in-game screen is what actually counts. You'll find it under Settings, Display, HDR Calibration. The defaults are Max Brightness 600, Black Levels 50 and Paper White 50, and the three sliders affect each other, so expect to go back and forth.
Paper White works as an overall brightness control. Every 5-step drop dims the picture by roughly 17%, shadows included, and it also lowers the real peak brightness below what the Max Brightness slider claims. Guides suggest 40 to 50 for a dark room. Teoh argues the default 50 pushes midtones too bright, and his starting point for TVs that reach 1,000 nits or more is Max Brightness 2,000, Black Levels 20 and Paper White 35. He describes this as a baseline that could change if Rockstar patches the calibration screen. If your TV is dimmer, start Max Brightness at its real peak and adjust from there.
For Black Levels, 50 is the default. Lower it for deeper blacks on an OLED. Teoh's method is to drop it to 0, hide the UI, and raise it slowly until the checkerboard background just becomes visible.
Other Display Settings
The Brightness Calibration test screen asks you to adjust the value until the Rockstar logo is just visible, so follow that instead of copying someone else's number. Leave Safe Zone alone unless your TV crops the edges of the picture.
Brightness Reduction is off by default, and it's best left that way unless bright lights bother you. Blood & Gore Intensity has three levels and defaults to High. The Display tab also holds the High-Contrast Shaders, which Rockstar lists as an accessibility feature for making characters and objects easier to pick out.
Some things you can't change. Motion Blur Strength is the only blur setting, there's no film grain or depth of field toggle, and the vignette can't be turned off.
Camera and Comfort
Camera Shake is a simple on/off toggle and defaults to On. Switching it off makes chases and shootouts easier to follow. Camera Bob is adjustable, so lower it if walking around makes you uneasy. The cinematic kill-shot camera and the vehicle crash camera can both be dialed down on a scale that goes up to 5, which helps if the slow-motion replays keep interrupting the action.
The Camera tab also has a Comfort section, which is the first place to look if the camera makes you queasy.
Audio
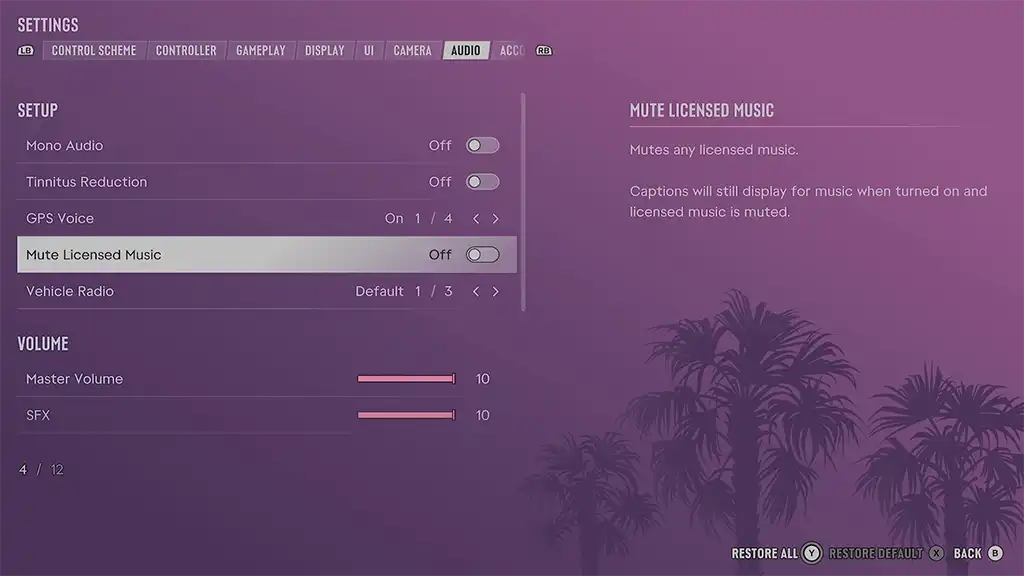
If you stream or upload videos, go to the Audio tab and turn on Mute Licensed Music. It sits in the Setup group and is off on a fresh install. Captions still show for the muted tracks, and only licensed songs are affected, so music composed for the game keeps playing.
Vehicle Radio has three settings (Default, On, Off), so you can have the radio stay off whenever you get into a car. Master Volume, SFX, UI, Dialogue, Music and Media each get their own slider from 1 to 10, all starting at 10. If the score drowns out conversations, pull Music and SFX down a notch instead of raising Dialogue.
Tinnitus Reduction tones down the ringing after explosions, and Mono Audio helps if you play with one earbud or have hearing loss in one ear. Both are off by default. Screen Narration, which reads menu text aloud, is also in the Audio tab.
GPS and Minimap
GPS Voice is off by default and has four choices, including different voices and plain tones. Turn it on if you keep missing turns.
At first boot the game asks for a Navigation Experience: Minimap (Dynamic), Minimap & Compass (Dynamic), or Minimap Always On. The dynamic options show navigation info when the game decides you need it, while Always On keeps the minimap on screen. Always On is the easier choice while you're still learning the map. You can change it later in Settings, UI, Navigation, where the minimap and compass each have their own setting. If icons are hard to read, Map Blip Size, Minimap Blip Size and In-World Marker Size can all be enlarged in the UI tab.
Making the Game Easier
You're playing a singleplayer game, so use whatever helps. The Accessibility group in the Gameplay tab includes Accessible Combat, Reduced Vehicle Damage and Simplified Mini Games, and all of them are off by default. It also has Tap Assist, Hold Assist and Hold Delay, plus hold-or-toggle options for actions like aiming and interacting. PS5 players can lower the DualSense adaptive trigger resistance in the Controller tab if long sessions tire your hands.
Text is worth a look too. UI Text Size has four steps and defaults to Small, which is hard to read from a couch, so try Medium or Large. Subtitles start limited: the first-start screen defaults to Off, and the UI tab's Subtitles & Captions group includes a Mission Only option. Switch to the setting that also covers dialogue outside missions so you catch radio, phone calls and street chatter. Subtitle size, background, Closed Captions and Speaker Names are all adjustable there.
FAQ
Can you remap the buttons in GTA 6?
Not in the game's own menus, which only offer the preset control schemes. Remap at the console level instead. On PS5 go to Settings, Accessibility, Controllers, Custom Button Assignments. On Xbox use Settings, Accessibility, Controller, Button mapping, or the Xbox Accessories app.
How do I reset my GTA 6 settings?
Restore Default and Restore All sit at the bottom of the Settings screen. Use them to reset what you've changed, which makes it easy to experiment.
Does GTA 6 have a fuel system?
Yes. Vehicles burn fuel as you drive, gas stations refuel and repair them, and electric vehicles need charging. Previews reported that the fuel gauge stays hidden until you're running low. Whether boats and aircraft use fuel hasn't been confirmed, and no fuel-gauge toggle has turned up in the settings menu.
Why are Xbox players turning off automatic uploads?
Some Xbox Series X|S players report two-day suspensions after GTA 6 clips were uploaded automatically to the Xbox network and flagged, with beach scenes among the examples mentioned. Xbox hasn't publicly commented on the GTA 6 cases, so the exact trigger is unclear. To be safe, go to Settings, Preferences, Capture & share, Automatically upload, and choose Don't upload. You can still take screenshots and clips, and you can upload them yourself later. There are no similar reports from PS5 players.
Can I avoid spoilers from other players on PS5?
Yes. Go to Settings, Saved Data and Game/App Settings, Spoiler Warnings, and turn on Warn About Game Spoilers. You can hide only the content developers have flagged as a spoiler, or everything you haven't seen yet in the game.
