A shaft of sunlight pierces the dust-choked darkness, illuminating a cryptic array of ancient symbols-welcome to the Light Chamber puzzle in Indiana Jones and the Great Circle. Deep beneath the sands of Gizeh, Indy’s path to the Idol of Ra is blocked by the formidable Three Eyed Gate, a challenge that demands not just wit, but mastery of light itself. Can you manipulate mirrors, decipher hidden clues, and unlock the secrets of this legendary chamber before the sands of time run out?
Our Indiana Jones and the Great Circle guide will show you how to solve the Light Chamber puzzle.
How to start the Light Chamber puzzle
To begin the Light Chamber puzzle in Indiana Jones and the Great Circle, you’ll enter a large room with a central gate featuring three main discs and six smaller symbols on either side. Initially, only one mirror is active and shining a beam of light. Your first step is to use this mirror to aim at the top-right symbol on the wall, which corresponds to a door on your left. Doing so will open the door, allowing you to access another room where you can reposition a mirror to activate a second beam of light-this is the key to unlocking the next stage of the puzzle.
As part of the “Idol of Ra” main story adventure, you’ll have to solve the Resonance Chamber puzzle in the Chamber of Resonance. That will drop you into the Ancient Caves.
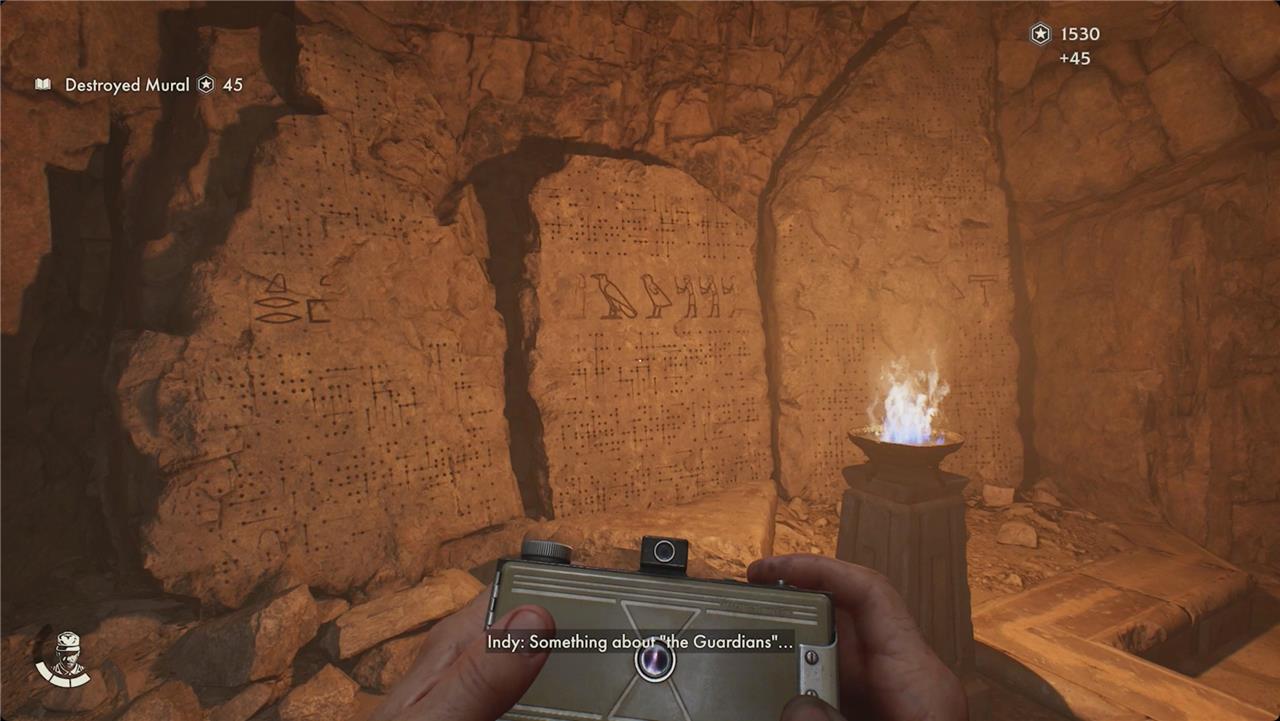
As you continue, you’ll find several murals and cressets to photograph. Use those to lead you through the caves.
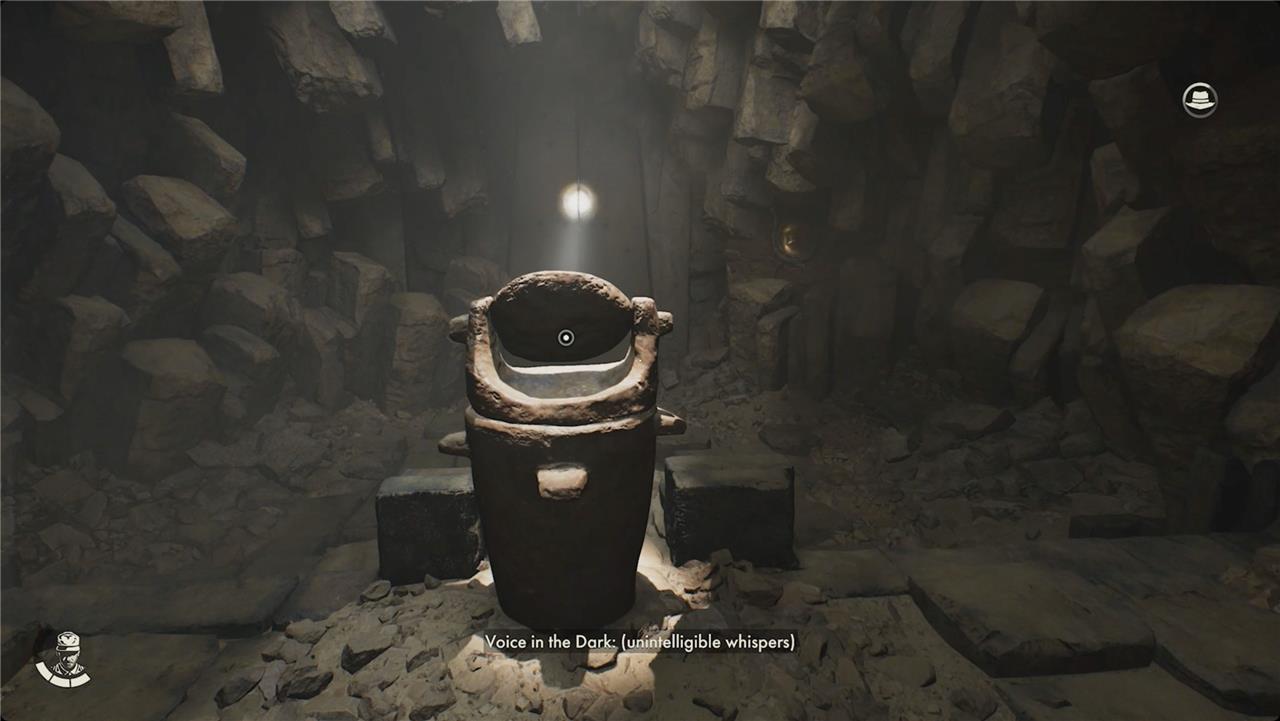
Eventually, you’ll come to a mirror in front of a closed door. Point it at the disk to the right of the door to open it.
The next room you come to is the Light Chamber.
Light Chamber solution
The Light Chamber puzzle in Indiana Jones and the Great Circle challenges players to unlock the Three-Eyed Gate by manipulating beams of light to recreate specific symbol combinations on a massive door. Upon entering the chamber, only one beam is active, so your first task is to activate two additional beams by solving smaller puzzles in adjacent rooms and retrieving a missing mirror disc. Once all three light beams are operational, you must align each beam to shine on the correct symbols surrounding the gate, effectively combining them to match the patterns displayed in the three central “eye” circles. Correctly positioning the beams-by referencing the symbol clues and using the mirrors-will unlock the gate and allow Indy to progress deeper into the temple.
The disks on the wall ahead of you look complicated, and they kind of are. What you’re looking at is three locks down the center (you can ignore these for now) and six symbols on the sides. Those are what we’ll focus on first. To solve the Light Chamber puzzle, you’ll need to get three beams of light to work with, so that’s where we’ll start.
Light Chamber left door solution
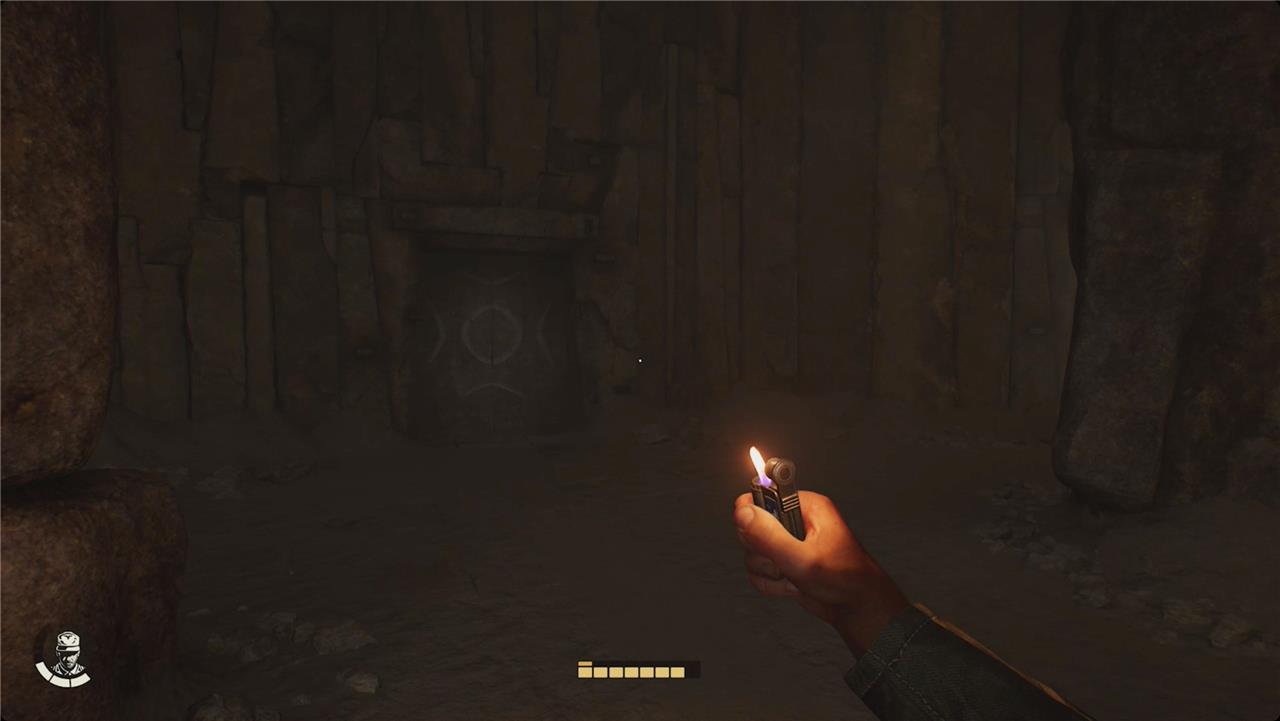
When you start the Light Chamber puzzle, you only have one beam of light. If you look at the door on your left, the symbol on it matches one of the symbols on the wall – the one in the top right.
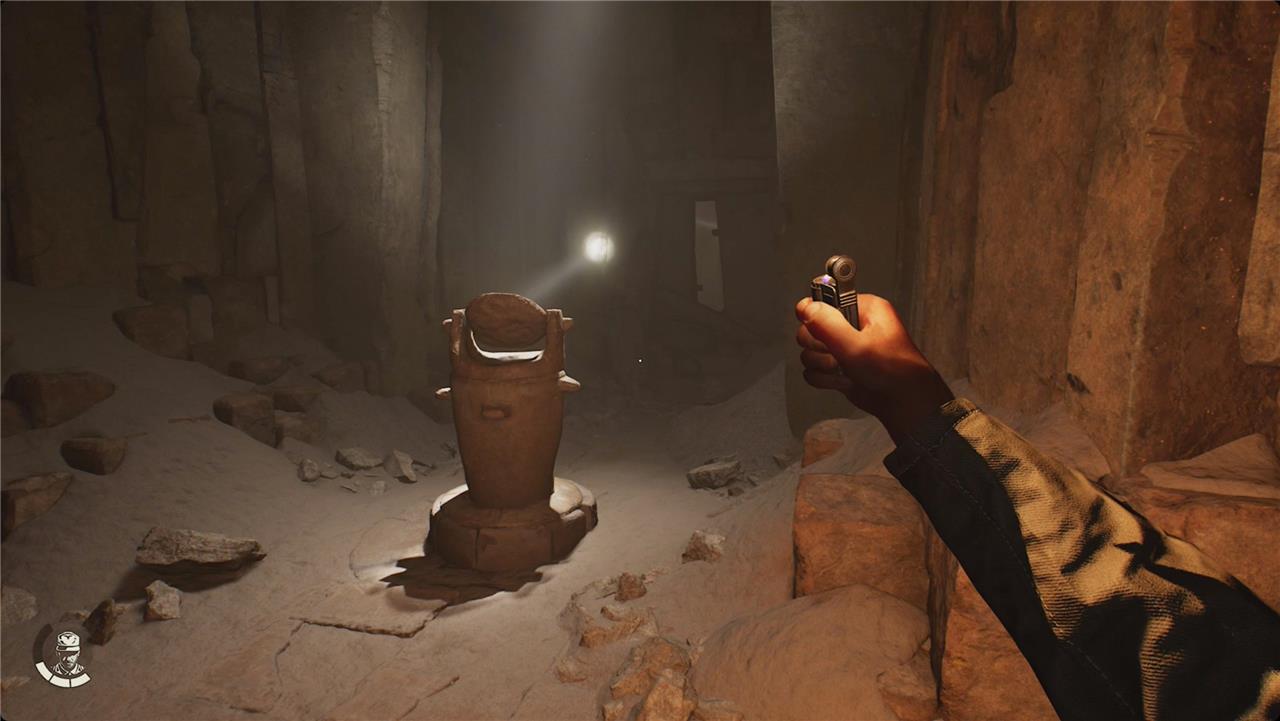
Point the mirror at that one, and head through the door that opens.
Follow the rooms around to the right until you reach another mirror. Point the beam through the gap in the collapsed doorway and it’ll hit another mirror in the main room.
Head back to the main room.
Light Chamber right door solution
With a second beam of light, we can now combine symbols on the wall.
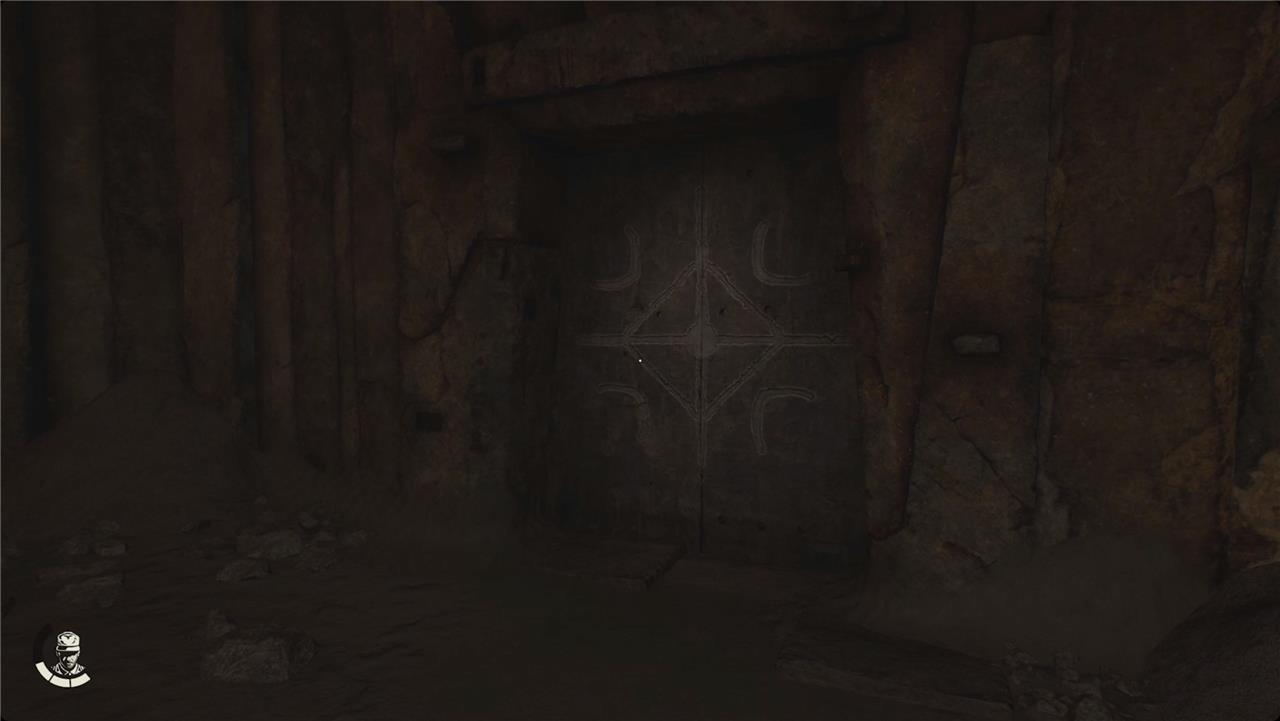
Look at the door on the right side of the room to find the next symbol(s).
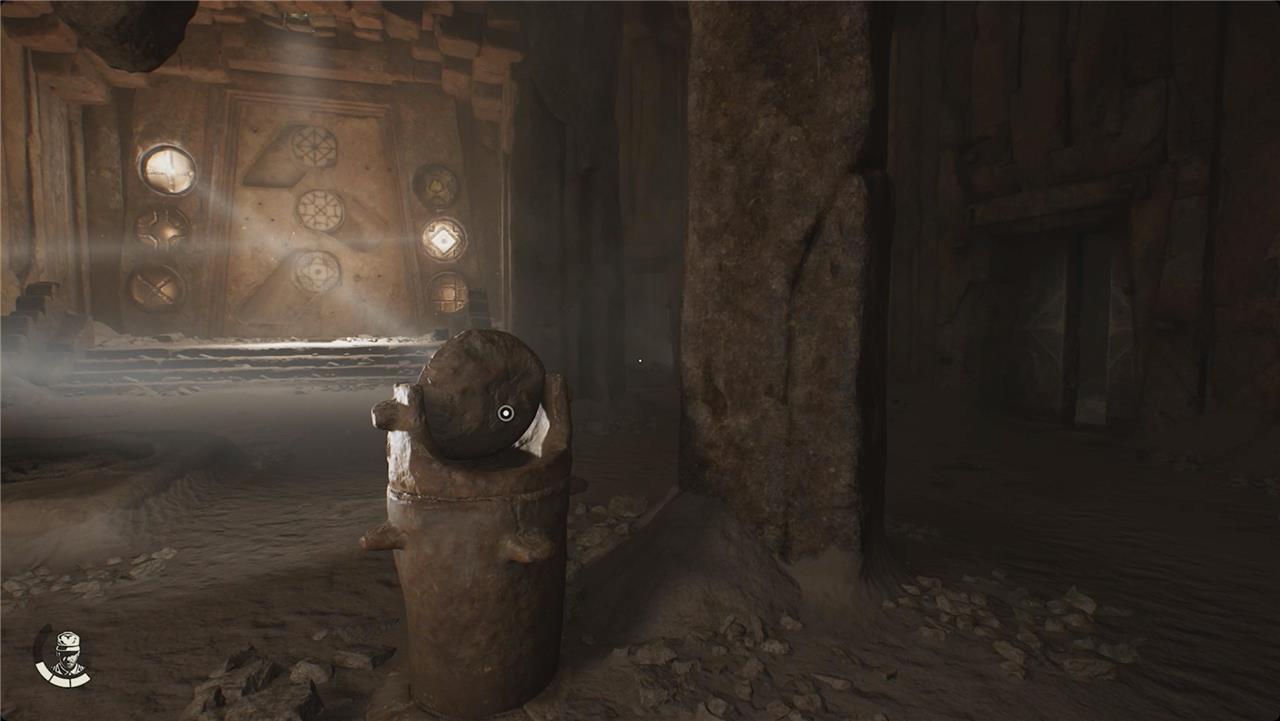
Back at the mirrors, point the beams at the top left and middle right disks to open the door.
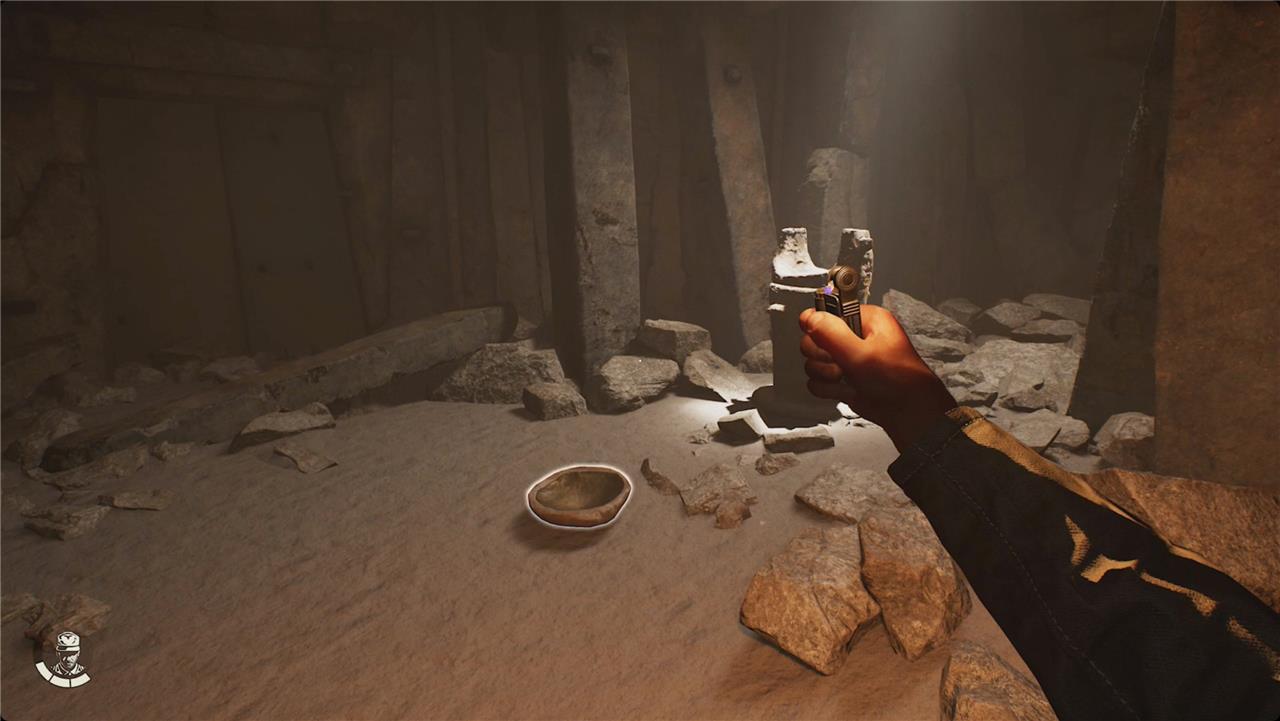
Inside, follow the rooms around to the right to find a mirror on the ground. Don’t place it in the pedestal here, though.
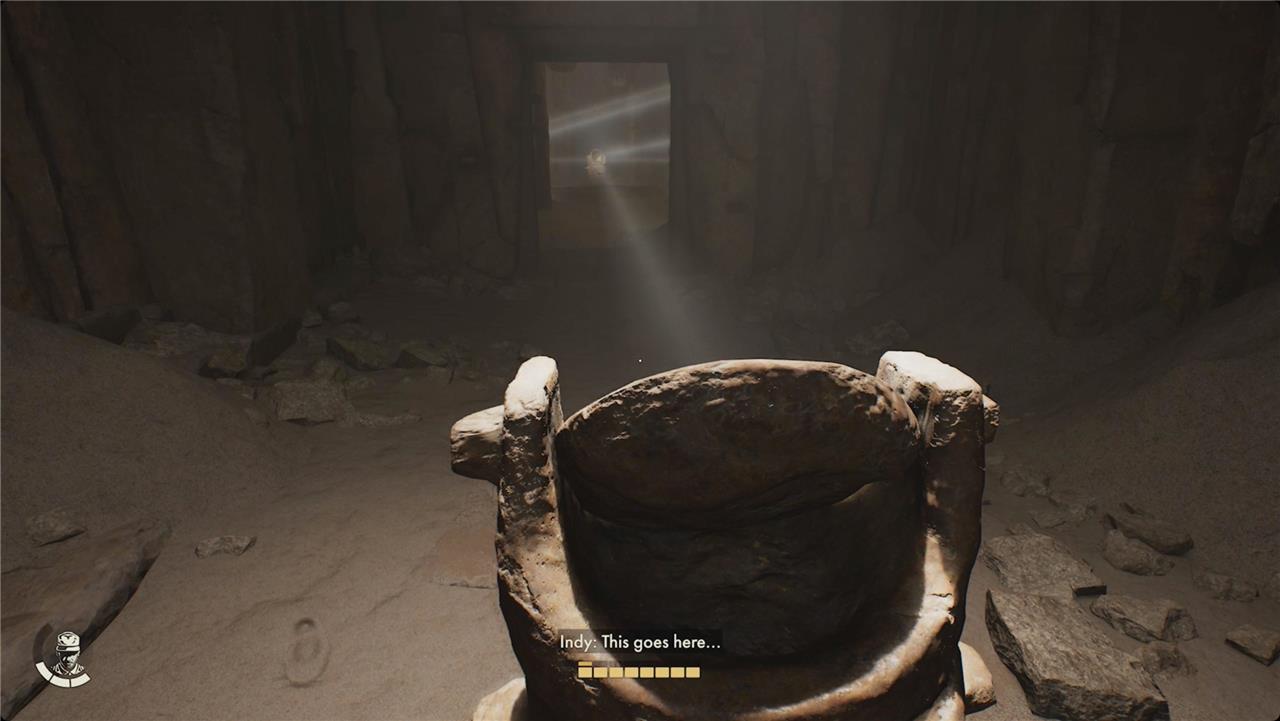
Instead, that it back to the main room. Just to the right of the puzzle wall, there’s an open doorway. Inside is another pedestal, this one with light above it and a clear line back to the main mirrors. Place the mirror and point it back at the final mirror in the main room.
Three-Eyed Gate combinations
The Three-Eyed Gate combinations are the final step in solving the Light Chamber puzzle in Indiana Jones and the Great Circle. Once all three mirror pedestals are activated, you must direct the beams of light onto specific symbols around the gate to match the patterns displayed in the three central “eye” discs. Each eye requires a unique combination: for the top eye, shine the beams on the middle right, top left, and bottom left symbols; for the middle eye, target the top right, middle left, and bottom left symbols; and for the bottom eye, align the beams with the middle left, middle right, and bottom right symbols. Correctly highlighting these symbol groups with the light beams will unlock the Three-Eyed Gate and allow you to proceed deeper into the pyramid.
With all three beams, you can now start solving the locks on the door – each of which are made up of three symbols.
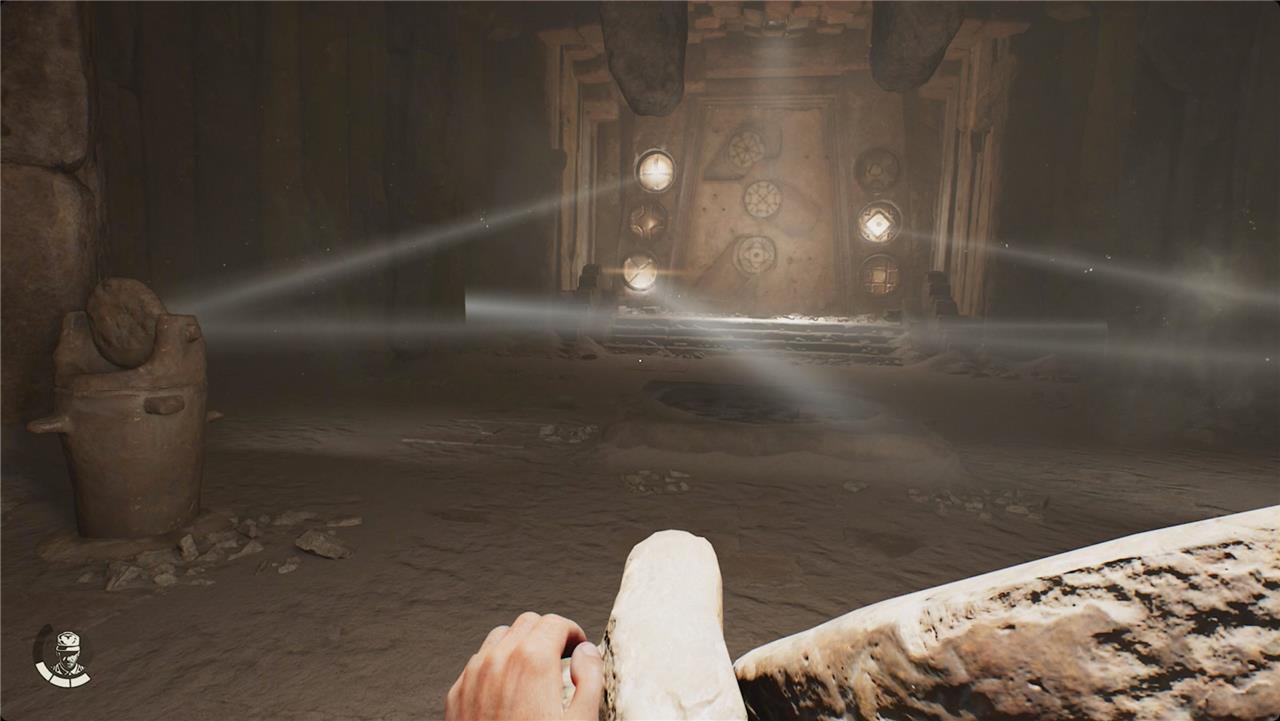
The top lock needs you to point beams at the top left, bottom left, and middle right.
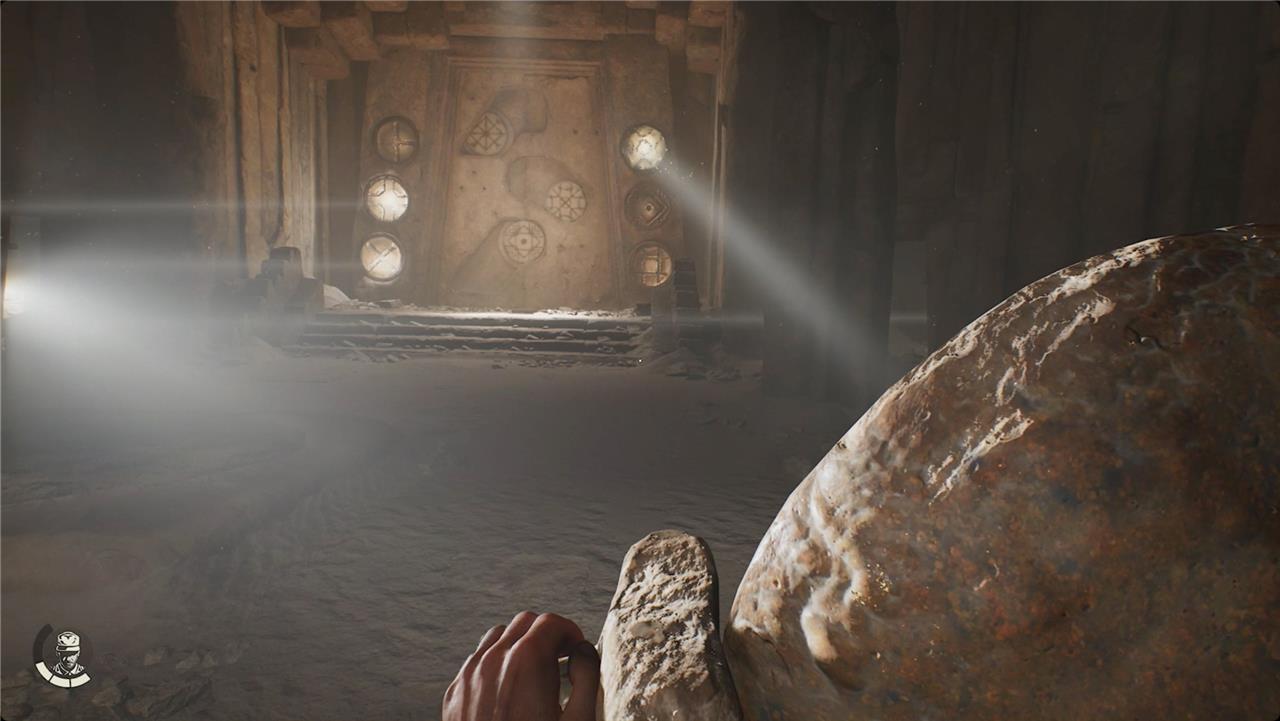
The middle lock is made of the middle left, bottom left, and top right.
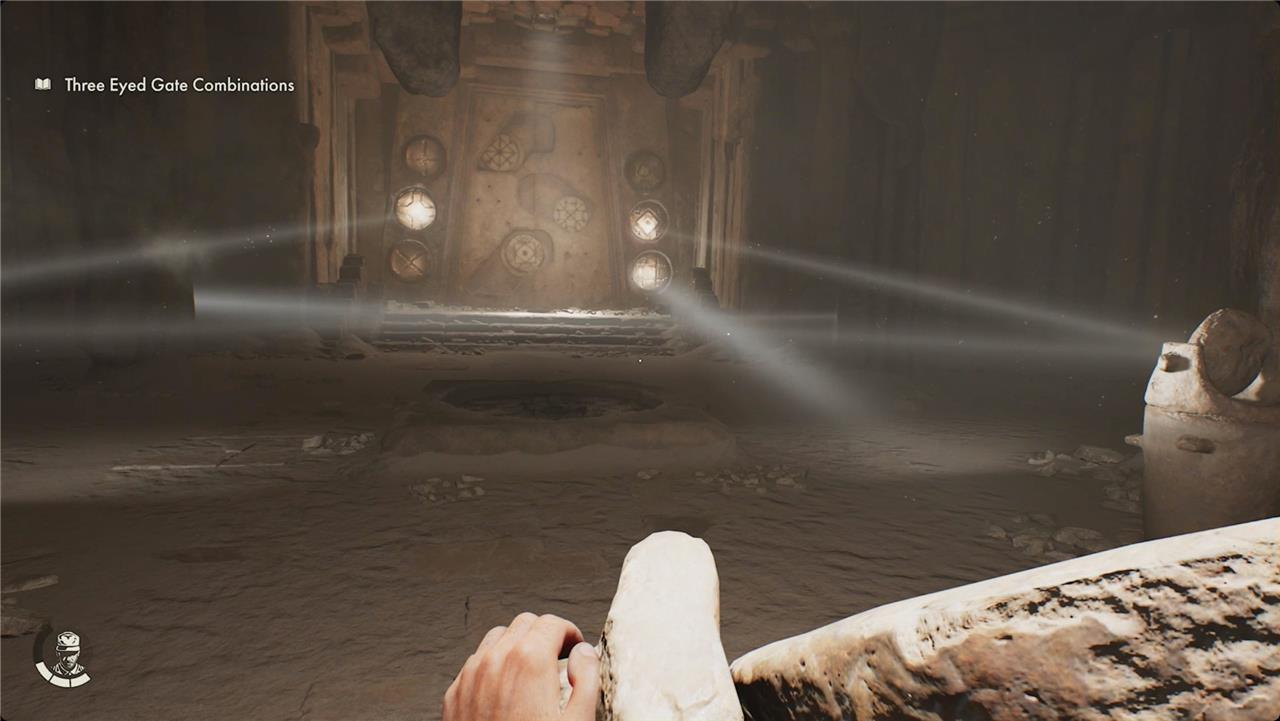
The bottom lock is middle left, middle right, and bottom right.
What secret clues will help me align the light beams perfectly
To align the light beams perfectly in the Light Chamber puzzle, look for these secret clues:
-
Examine the environment for ancient symbols or markings near the mirrors or light sources; these often indicate the correct angles or positions for each mirror.
-
Pay close attention to how the sunlight or artificial beams interact with the chamber-sometimes, subtle changes in the beam’s color or intensity signal you’ve found the right alignment.
-
If there are movable objects or panels, try repositioning them to see if they cast shadows or highlight hidden glyphs that guide your adjustments.
-
Listen for audio cues or changes in ambient sounds, as games sometimes use these to confirm correct placement.
-
Finally, follow the path of the light from its source to the target, making minor adjustments to each mirror or reflector until the beam hits the intended spot, often triggering a visual or sound effect as confirmation.
These clues, combined with careful observation and experimentation, will help you solve the puzzle and unlock the next stage of your adventure.
What specific markings or measurements help align beams accurately
Specific markings and measurements that help align beams accurately include:
-
Alignment Marks: Rectangular alignment marks are highly recommended for consistent and accurate alignment, as they are easier for systems to detect compared to cross-shaped marks. These should be placed at multiple levels or locations to improve overall alignment precision.
-
Reference Dots: When aligning mirrors, use target tape to create test dots at key positions (such as the corners of the area or in front of each mirror). Proper alignment is indicated when all test dots overlap or are indistinguishable from each other.
-
Adjustment Indicators: Use the adjustment screws on mirrors to fine-tune the beam’s position. Small changes in screw position can be tracked by observing the movement of the test dot on the target tape, allowing for precise vertical and horizontal alignment.
-
Measurement Tools: Tools like string lines, laser levels, or quadrant photodiodes can be used to measure and ensure that the beam is centered and follows a straight path, with the center of the beam serving as a reference for alignment.
-
Marking Comparison: After each adjustment, compare the new mark to the previous one to ensure the beam remains consistent and is moving toward perfect alignment.
These markings and measurement techniques provide clear visual and positional feedback, making it easier to achieve precise beam alignment.
