Embark on the thrilling climax of Starfield’s main story with the “Revelation” quest, where you’ll journey to Masada III, confront relentless Starborn Guardians like Musa, Athaliah, Teutra, Rinn, and the formidable Fionn, and navigate mysterious anomalies to uncover the final artifacts that unlock the secrets of The Unity. Master strategic combat, including disabling defenses and focusing fire on duplicates, to overcome these otherworldly foes and claim victory in this epic sci-fi adventure.
“Revelation” plays out a little bit differently depending on who you decided to side with in the “Unearthed” mission: The Emissary, The Hunter, or neither. We’ve checked our experience (siding with The Emissary) against other players who made different choices, and it sounds like the mission is very similar. However, know that your “Revelation” might have some small deviations from what you see in this guide, depending on your decisions.
In this Starfield guide, we’ll walk you through how to finish the “Revelation” mission and collect all of the artifacts so you can finally reach The Unity.
A possible bug at launch is that players are sometimes unable to follow the scanner. If this happens to you, we recommend returning to orbit and waiting by passing time. Consider shutting the game off and launching it fresh as well, just in case.
Also, when you make to re-land on the planet, be absolutely sure you’re picking the Scanner Anomaly Site. If you land anywhere else by accident, the temple won’t appear on the map and you won’t be able to find it.
Land at the temple
After defeating the Starborn ships, you will land at the Buried Temple on Massada III, where your companion from the fight will join you if you sided with one. From there, head east into the temple, looting the scattered Ecliptic bodies for valuable supplies like ammo and med packs. As you approach the temple entrance, you will encounter Guardian Musa, a Starborn who can replicate himself, making the fight challenging. Keep your distance, avoid explosive containers, and focus on eliminating the clones to clear the way. Once the area is secure, proceed deeper into the temple to continue your quest for the artifact.

Once you’ve finished “Unearthed” and collected the final artifacts in the “Final Glimpses” quest, you’ll be able to meet up with your chosen ally – either The Emissary or The Hunter – in order to chase down the final objects in a mysterious temple.
Go to Masada III // Hail The Scorpius or Helix // Defeat the Starborn Ships // Hail the Helix or Scorpius
Wherever you are in the galaxy, take off to Masada III – unless you’ve explored the far reaches of space, there’s a good chance this will take multiple jumps in your ship.
When you finally reach orbit, you’ll see a Starborn ship, depending on who you sided with. Hail it. No matter which option you choose, you’ll enter into a massive space battle with your enemy and a few other Starborn ships. These things hit really hard, so make sure you keep your shields up and use ship parts to repair your hull whenever you need to. Focus on the main Starborn’s allies first, and then turn your attention to the big ship.
As long as you didn’t tell both The Hunter and The Emissary to go kick rocks, your ally will show up after a few seconds to assist you mid-combat.
Once all the Starborn are dead, talk to your ally (if you have one) and prepare to exit orbit.
Land at the Buried Temple
Select the Buried Temple landing zone on Masada III.
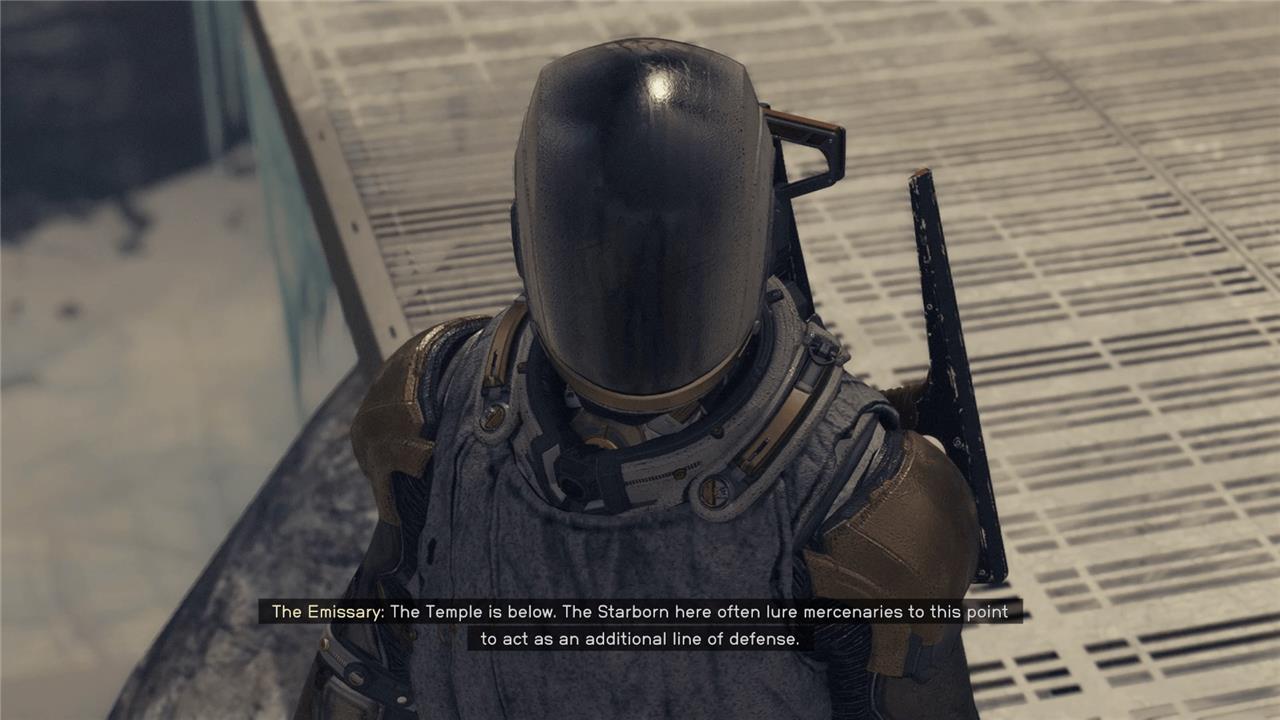
When you land, get out and make your way toward the temple. If you have an ally, speak to them when you land to get an idea of what’s ahead of you.
Battle your way through the Starborn
Battle your way through the Starborn by facing a series of challenging Guardian encounters throughout the Revelation mission. You will need to strategically defeat powerful bosses like Guardian Musa, who duplicates himself, and Guardian Athaliah, who resurrects Ecliptic mercenaries, forcing you to manage both the boss and waves of enemies. Later, confront Guardian Teutra and Guardian Rinn alongside security robots, and prepare for the toughest fight against Guardian Fionn, who creates confusing duplicates of you and your companion. Focus on taking down the main Guardians quickly to clear their clones or minions, and use the environment and loot gathered from Ecliptic bodies to your advantage. Successfully overcoming these battles is key to progressing through the mission and securing the final artifacts.
This mission is essentially a handful of mini boss battles back to back. Here’s how to beat them.
Defeat the Starborn – Guardian Musa
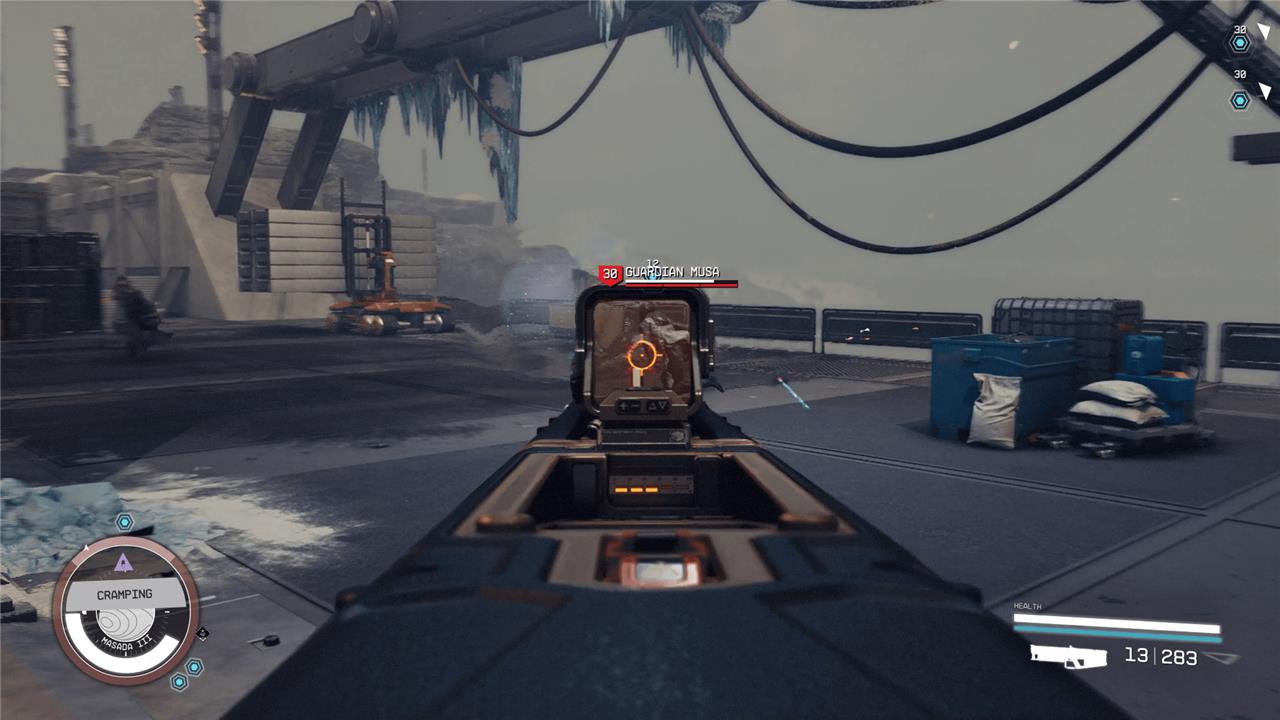
When you reach the bridge, you’ll be ambushed by Guardian Musa. This Starborn uses the duplicate ability to create multiple copies of themselves. You’ll need to run up and down the stairs, chasing every copy down and killing it before you can move on.
Defeat the Starborn – Guardian Athaliah // Find a way to open the door
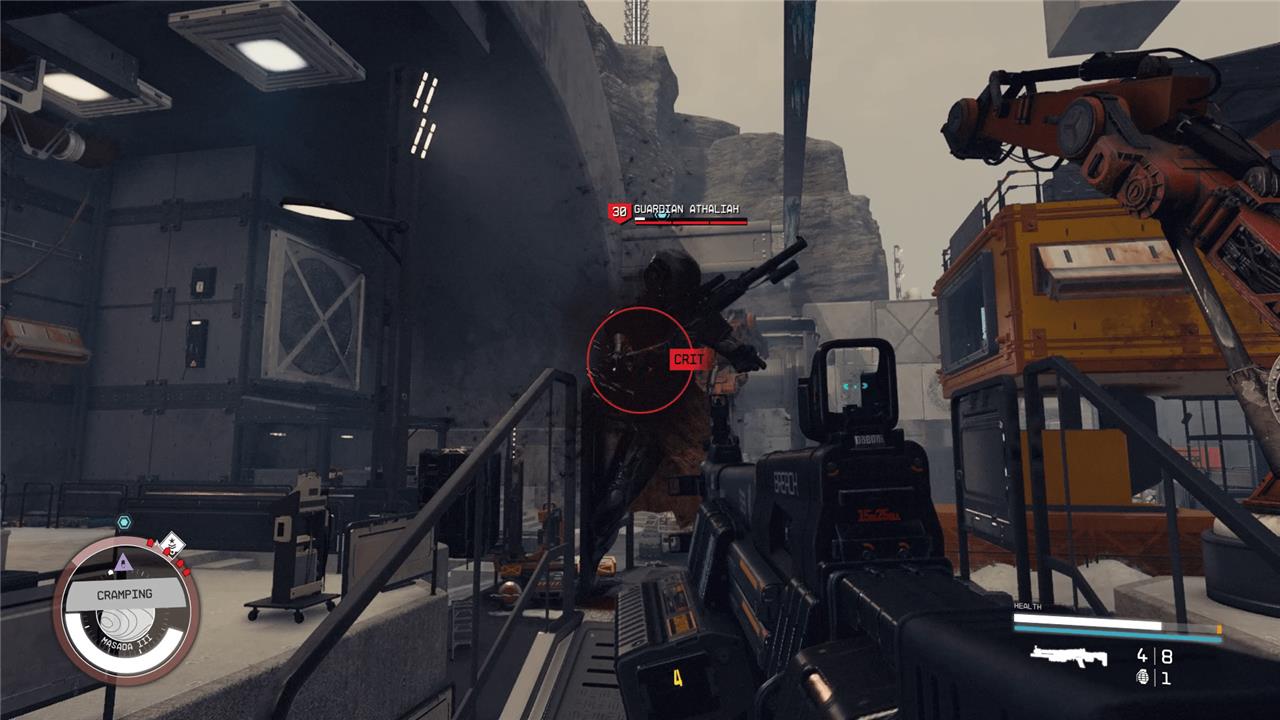
Head into the temple proper, through the tunnel, into what looks like a construction site. Now you’ll battle Guardian Athaliah, who will resurrect zombified versions of the nearby Ecliptic Merc corpses to attack you. Run around and look for the Guardian herself, otherwise she’ll just keep spawning minions. Kill her as quickly as possible and then kill the Ecliptic Mercs until one of them drops a key for the door. Use it to enter the complex.
Enter the Anomaly
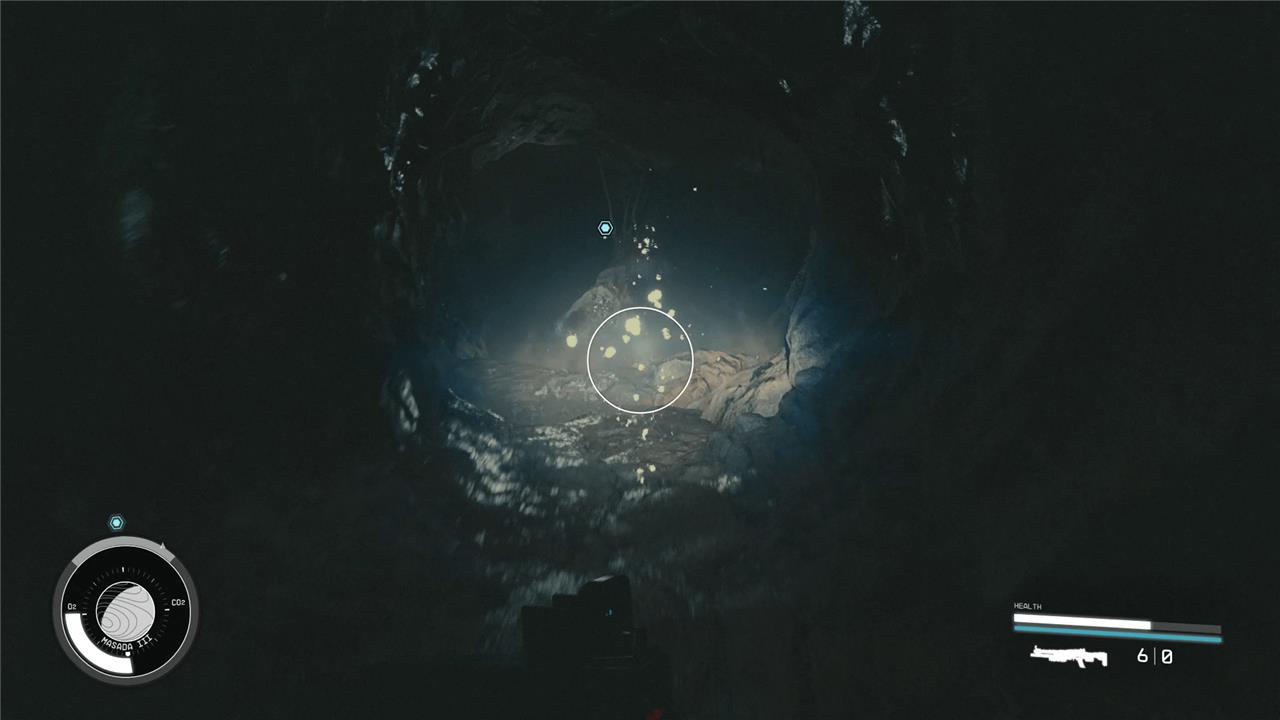
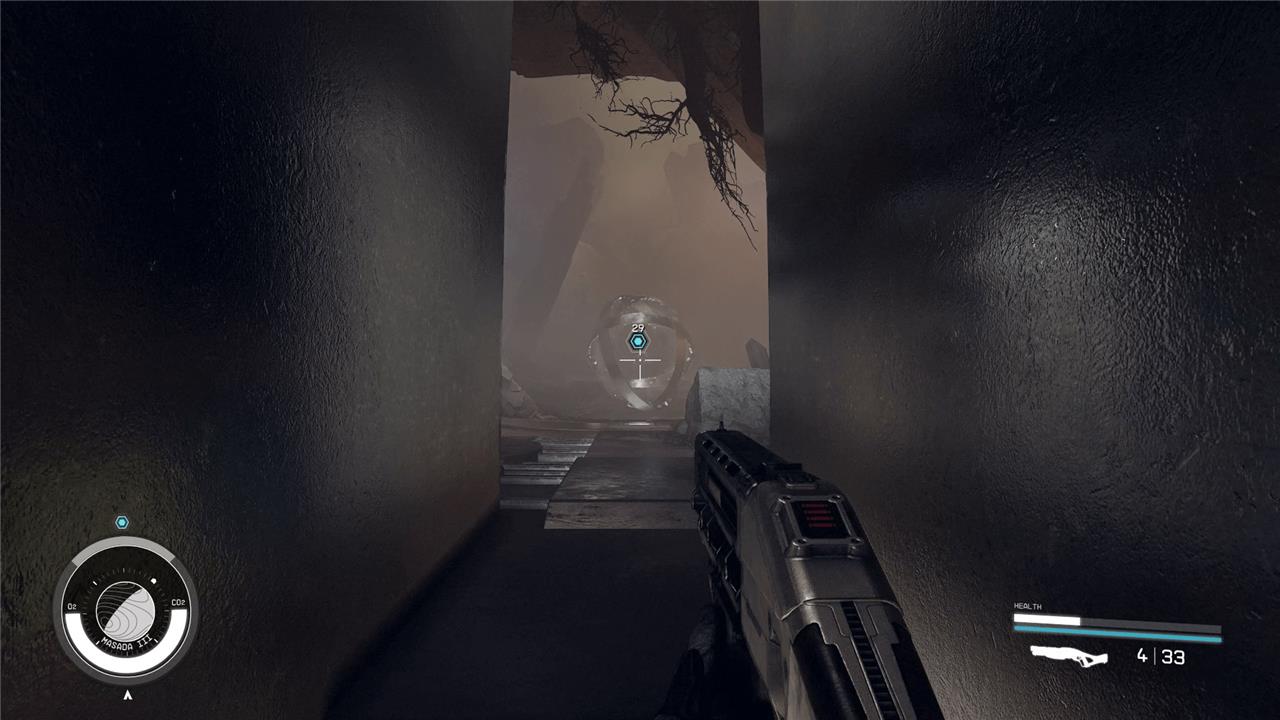
Follow the waypoint inside the building and eventually find an anomaly, which will teleport you to another universe. You’ll find yourself back in the cave with Supervisor Lin and Heller. Progress forward to exit the vision/anomaly and continue on your way.
Defeat the Starborn – Guardian Teuta and Rinn – (Optional) Disable the Defenses – Find a way to open the door
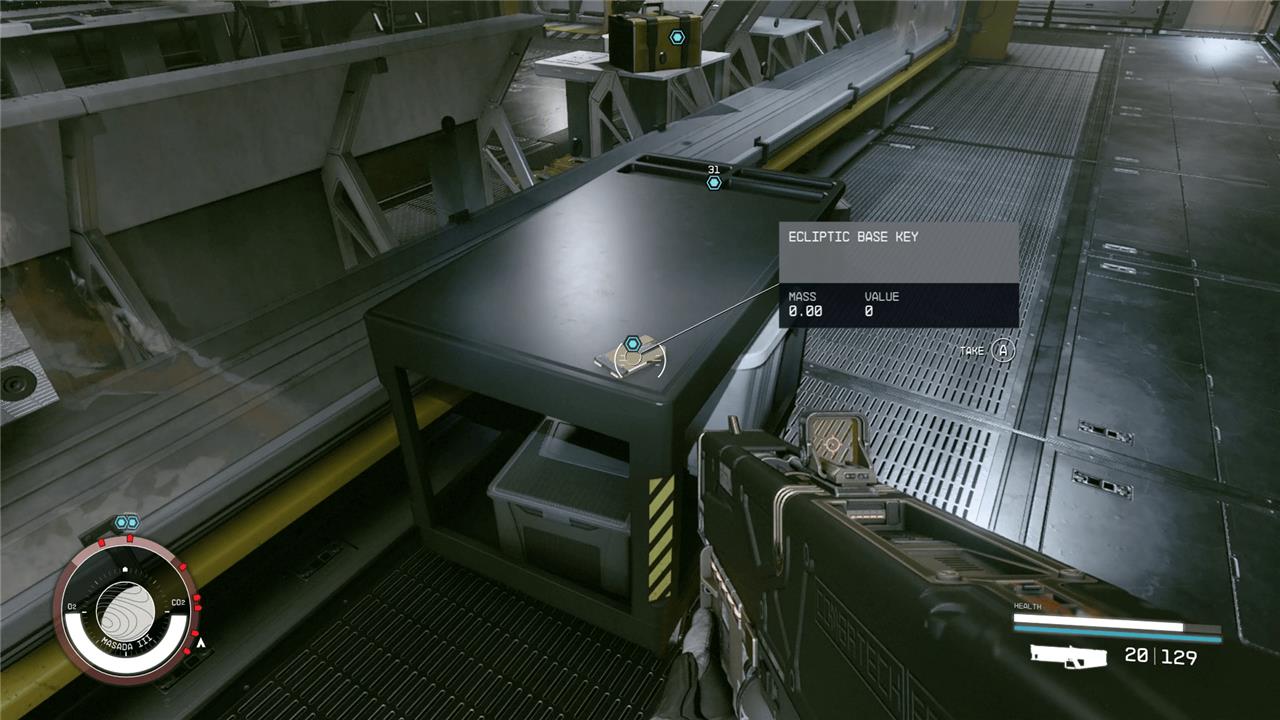
After you get out of the Anomaly, you’ll be attacked by Guardian Teuta and Guardian Rinn, who have an army of security robots at their disposal. Focus on both of them, as usual. When both are dead, head up into the control room. Grab the key that’s sitting on the cart in front of the main glass of the office. Use the key to get inside the room and turn off the security.
Head under the office and back to find the door to the next room.
Enter the Anomaly // Find a way out of the Anomaly // Leave the Anomaly
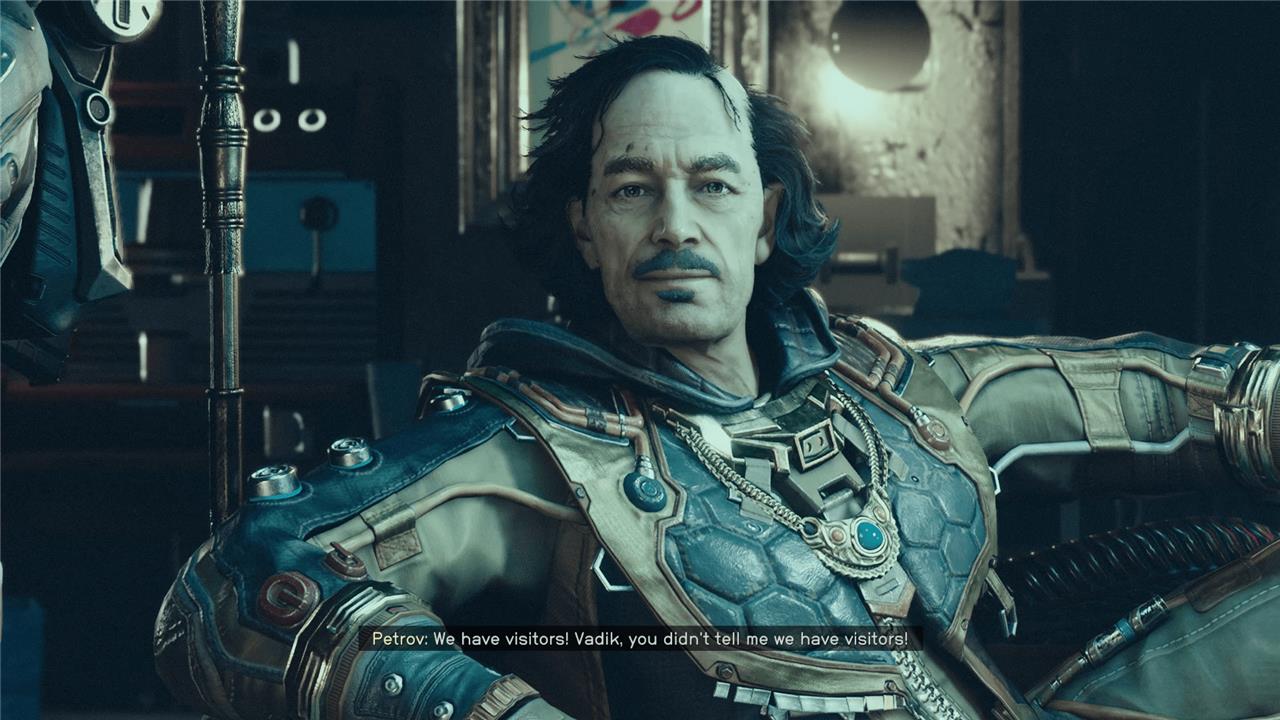
Follow the path until you reach another anomaly. This time you’ll be back talking to Captain Petrov. Talk to him until he and his goons attack. Kill them all and loot Petrov. Use his key on the door behind his throne and walk into the anomaly.
Defeat the Starborn – Guardian Fionn
Once out of the anomaly, take the elevator down and you’ll pop into another anomaly, where Vladimir is cradling your dead body. Talk to him for a second and leave through the anomaly blip.
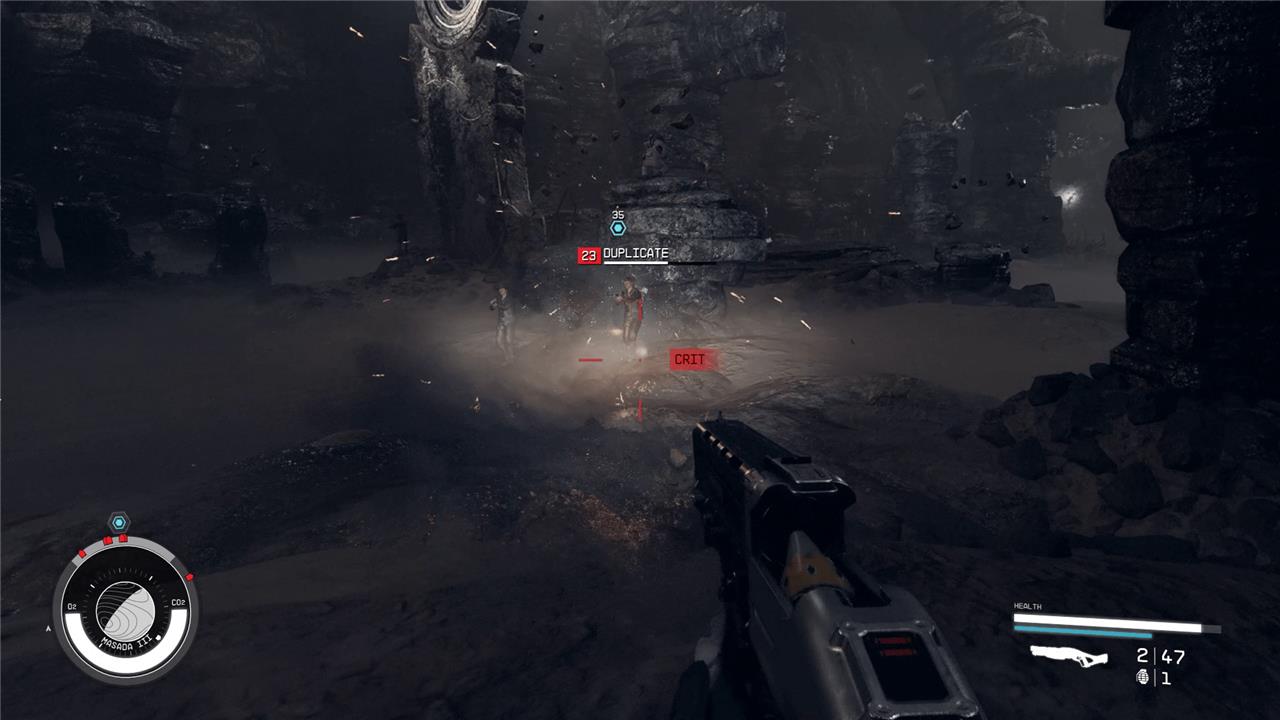
When the elevator stops, grab all the ammo and weapons on the blanket – there is a ton of good stuff here – and head out into the wide, open area. This is the most obnoxious fight in this mission. You’ll be battling Guardian Fionn here, who will duplicate you, your ally, and your companion, and use the duplicates as fodder. It’s very confusing as to who you’re actually shooting – your ally Sam Coe or the clone that looks just like them.
Keep killing duplicates as they get in your way, but focus primarily on Guardian Fionn. Once they’re dead, head to the back of the room and you’ll meet with the Starborn you chose not to ally with.
Finish gathering the artifacts
To finish gathering the artifacts in the “Revelation” quest, head to Masada III and proceed through the Buried Temple, defeating several Starborn Guardians such as Musa, Athaliah, Teutra, Rinn, and Fionn along the way. You will need to enter and leave multiple anomalies, navigating through distortions and alternate universes. Depending on your earlier choices, you will confront either the Hunter, the Emissary, or both, with the option to persuade them peacefully or engage in a challenging multi-stage battle. After overcoming these trials and defeating the final Guardian, you can collect all the remaining artifacts to complete your collection and progress the mission.
Now you’ll have the final showdown, whether it’s a boss battle or a battle of wits.
Take the Hunter/Emissary’s Artifacts
Head into the room with the Starborn you’re at war with and either tell them you want to fight or use Persuade on them so they’ll want to just give you their artifacts. This persuasion is difficult, as it requires eight pips. However, this is the final mission in the game, and if you’ve invested at all in the Persuade skill, you can pass it if you’re even a little lucky. If you do succeed, the enemy Starborn will just give you their artifact in what is a hilariously anti-climactic moment. If you chose not to ally yourself with either Starborn, the persuasion will still result in you getting all the artifacts.
If you don’t want to talk it out, you can always attack the Starborn, which will end in a fight to the death. Once the Starborn is dead, take their artifacts for yourself.
Talk to the Emissary or Hunter // Take the Artifact
Regardless of how you got the other Starborn’s artifacts, turn around to your ally and talk to them. They’ll give you their artifacts so you can complete the set.
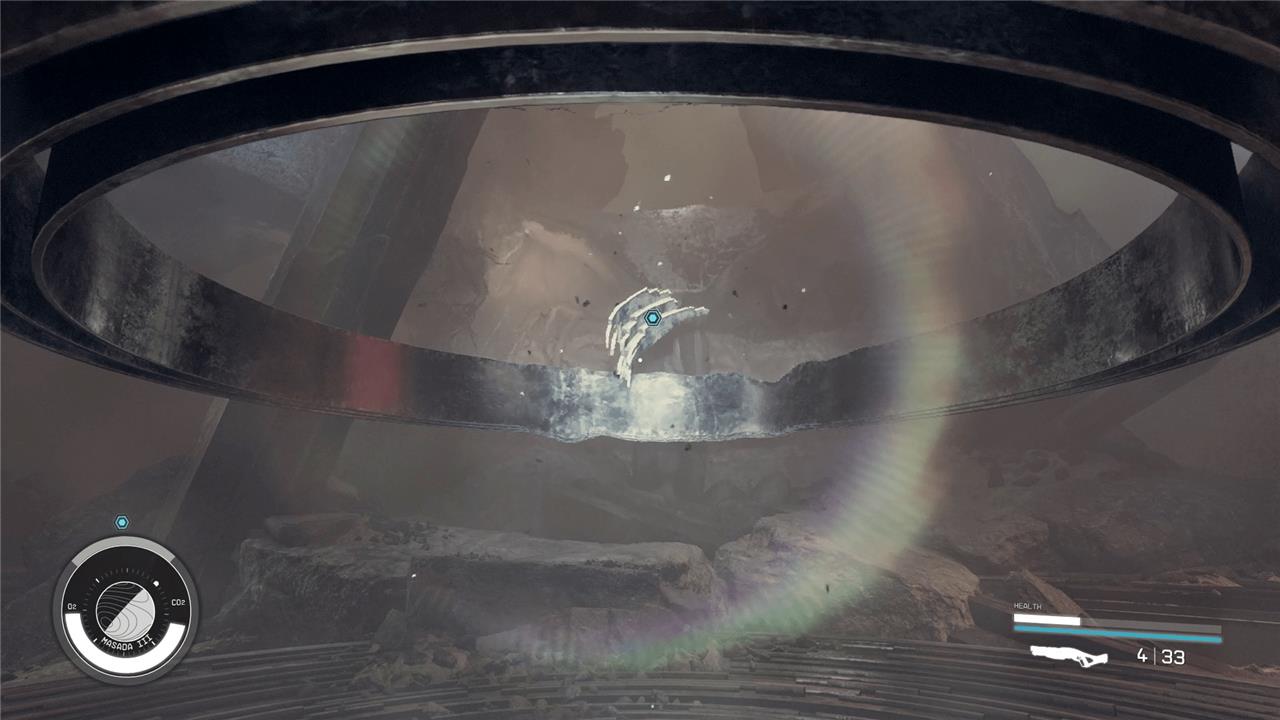
Grab the final artifact from the spinning circles in the middle of the temple and you’ll finish this mission as it teleports you back to your ship.
With “Revelation” done, you’ll still have the “One Giant Leap” mission left, but it’s more of an epilogue than a real mission. If you went fast through the second half of the campaign, it’s also distinctly possible that you haven’t attended the funeral for your fallen companion yet, which is the “Missed Beyond Measure” quest. You’ll want to say farewell to your friend before you do “One Giant Leap.”
How can I effectively defeat the Starborn Guardians in Revelation
To effectively defeat the Starborn Guardians in the “Revelation” quest of Starfield, follow these key strategies:
-
Focus on Guardian Fionn first: Taking down Fionn will eliminate all of their duplicates simultaneously. When Fionn disappears and reappears close to you for a lunge attack, use close-range weapons to deal heavy damage.
-
Stay mobile: Avoid standing still to reduce damage from grenades and teleporting attacks. Keep moving to dodge attacks and avoid flammable containers exploding near you.
-
Use powerful close-range weapons: Weapons that stagger or deal high damage quickly, like shotguns or the Micro Gun, are effective against Starborn Guardians. Charging them at close range while keeping healing items handy is recommended.
-
Employ Reactive Shield: This ability can deflect enemy shots and protect you, especially against cloned player weapons. Use Quantum Essence to recharge it quickly.
-
Manage shields and distance: Use a strong shield and retreat to let it regenerate when low. Boost away from lunging attacks to avoid damage.
-
Prioritize targets: When fighting multiple Starborn ships or Guardians, focus on one at a time-start with Starborn ships or the Hunter and Emissary ships before moving to the main Guardians.
-
Against Guardian Musa: Keep moving to avoid grenade attacks and use the environment to your advantage by luring Musa into flammable containers.
-
Against Guardian Athaliah: Focus attacks on Athaliah while simultaneously clearing out resurrected Ecliptic soldiers to prevent being overwhelmed.
-
Prepare with consumables and enhancements: Use damage enhancers like Frost Wolf and stock up on healing items and ship parts for repairs.
By combining mobility, focused firepower, shield management, and strategic target prioritization, you can overcome the Starborn Guardians and complete the Revelation quest successfully.
What are the key tactics for taking down Guardian Fionn quickly
To take down Guardian Fionn quickly in Starfield’s “Revelation” quest, use these key tactics:
-
Switch to a melee weapon immediately: Since Fionn and his duplicates use the player’s weapon, switching to melee helps avoid ranged damage from clones and allows you to focus on close combat.
-
Track Fionn’s location carefully: He often spawns near the back of the cavern, frequently on large rock stalagmites. Keep an eye on the blue quest marker to pinpoint his position.
-
Engage when Fionn lunges: Fionn will disappear and reappear close to you for a lunge attack. Use this moment to deliver heavy melee hits or close-range weapon damage for maximum effect.
-
Use powerful damage enhancers: Apply extreme damage boosts like Frost Wolf and use aid items such as Battlestim or Heal Gel to increase survivability and damage output.
-
Employ Reactive Shield: This ability helps mitigate damage from cloned weapons and can deflect shots back at enemies, improving your defense during the fight.
-
Stay mobile and avoid standing still: Movement is crucial to dodge attacks and grenades, reducing incoming damage.
-
Focus all attacks on Fionn: Defeating him will instantly eliminate all duplicates, so prioritize him above all else.
-
Optionally, use powerful ranged weapons briefly: After locating Fionn precisely, you can switch to a strong gun or rifle for quick bursts of damage, but be prepared for clones to shoot back.
Following these tactics will help you quickly and effectively defeat Guardian Fionn, clearing the way to progress in the Revelation quest.