Venture into the treacherous depths of the Empty Nest, a gang-infested hideout where danger and mystery collide in Starfield’s gripping main quest. Join Sam Coe on a perilous hunt for a rare artifact, navigating hostile enemies, locked gates, and high-stakes confrontations with the ruthless Shaw Gang. Will you outsmart, outfight, or outpay your foes to claim the prize and unravel the secrets hidden within? This walkthrough guides you step-by-step through every twist and turn of “The Empty Nest” on PC and Xbox, ensuring you don’t miss a single collectible or critical choice along the way.
“The Empty Nest” is part of the first major block of Starfield quests, and the game will serve up “Into the Unknown” and “Back to Vectera” at the same time. We recommend saving “The Empty Nest” for last, as it’s the least rewarding quest in this chain. This mission is still a rootin’-tootin’-space-tumbleweed of a time, however, so don’t let our recommendation lower your expectations too much.
In this Starfield guide, we’ll walk you through “The Empty Nest” quest and show you how to solve a bank robbery and find an artifact all in one mission.
A possible bug at launch is that players are sometimes unable to follow the scanner. If this happens to you, we recommend returning to orbit and waiting by passing time. Consider shutting the game off and launching it fresh as well, just in case.
Also, when you make to re-land on the planet, be absolutely sure you’re picking the Scanner Anomaly Site. If you land anywhere else by accident, the temple won’t appear on the map and you won’t be able to find it.
Tracking down the artifact maps
To track down the artifact maps in the “The Empty Nest” quest in Starfield, you first need to speak with Sam Coe and then travel to Akila City to meet him again. After completing the “Job Gone Wrong” task, you will talk to Jacob Coe to obtain the crucial maps. You can either persuade Jacob, use Sam as a distraction to steal the maps, or pick the lock if persuasion fails. Once you have the maps, your next destination is the Empty Nest, a gang-controlled cave where the artifact is hidden. This sets the stage for the mission’s main exploration and combat challenges.

When you first meet Sam Coe, he’ll tell you about some artifact maps that he knows about back in Akila City. These maps will guide you to another of Constellation’s mysterious artifacts, but you’ll need to find them first.
Talk to Sam Coe
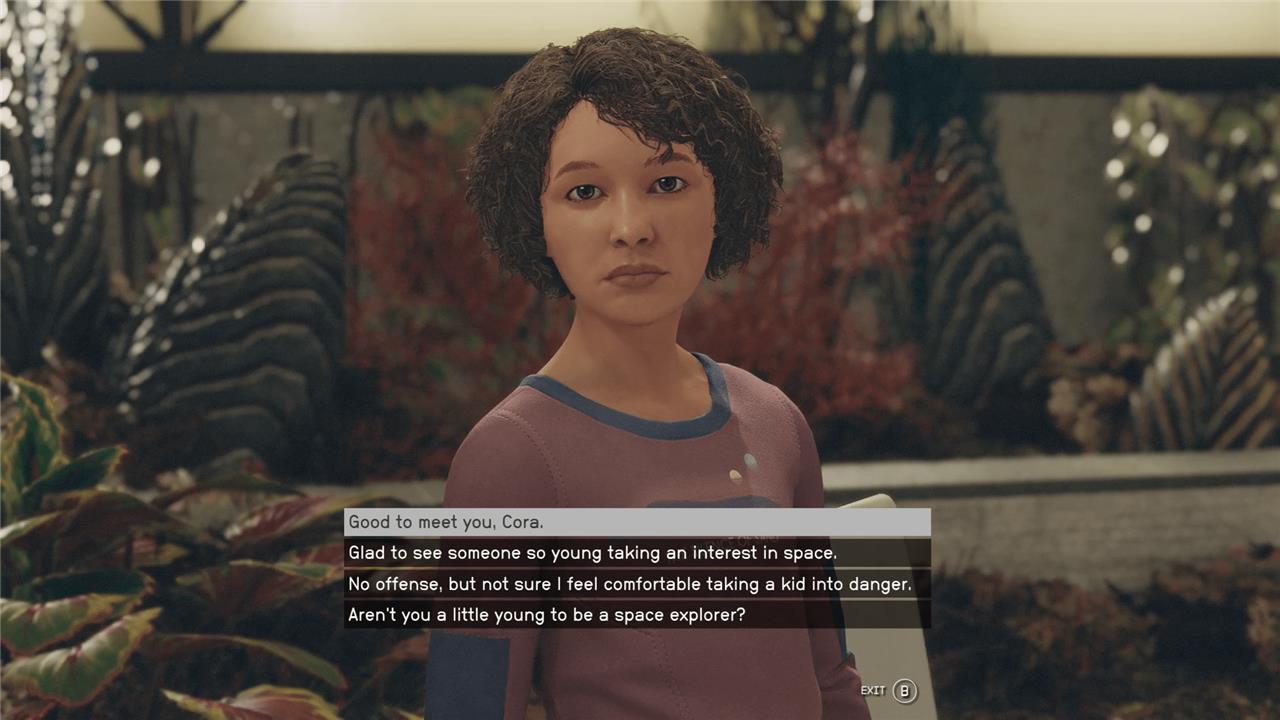
In Constellation, walk through the glass doors into the garden and you’ll find Sam Coe and his daughter, Cora. Sam is an expert in the Freestar Collective, and has a potential lead on an artifact. Talk to him and his daughter for a bit and Sam will head to your ship.
Travel to Akila City // Talk to Sam

With Sam in tow, head back to your ship and fly to Akila City, which you can find in the Cheyenne system.
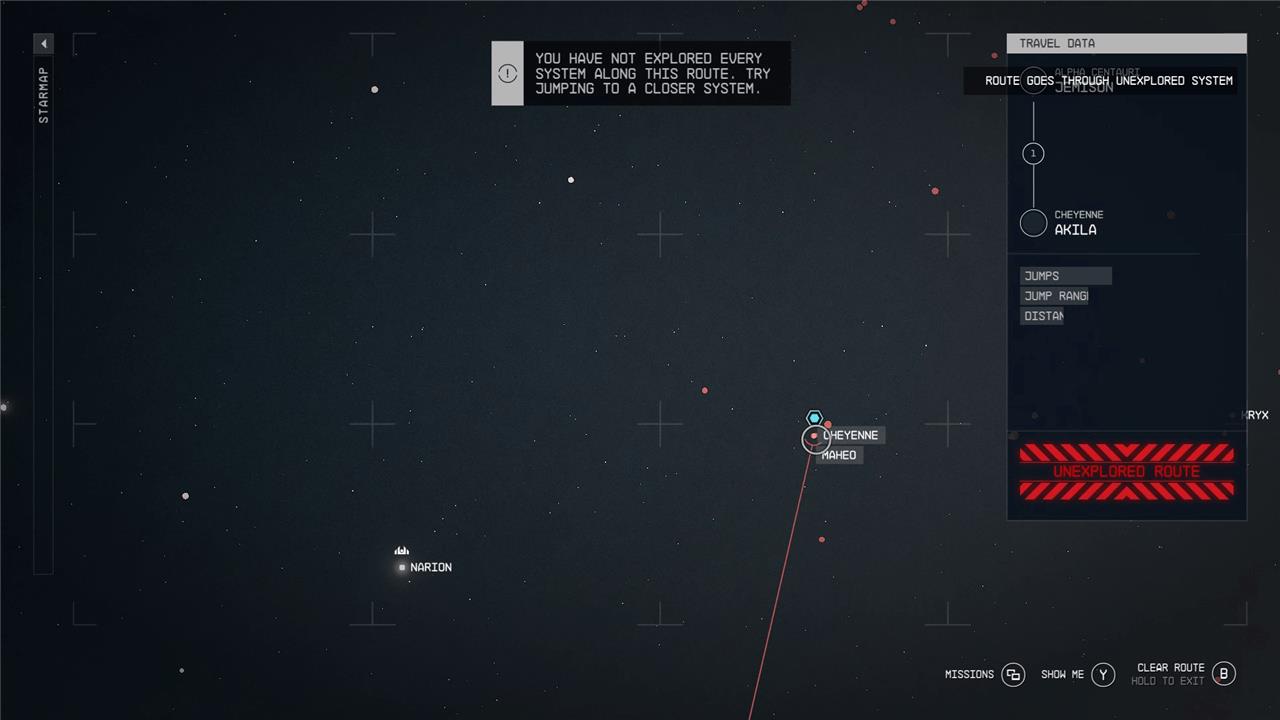
You might run into a problem when carting your way to Cheyenne: the “unexplored route” prompt. If the system is red, that means you haven’t traveled to a close enough system to make Cheyenne – and therefore Akila – active.
To remedy this, follow the red line until it turns white. Then travel to the closest white dot that’s connected to the red – the Olympus system, in this case. Jump your way to Olympus and then, once you’ve loaded in, Grav Jump up to the Cheyenne system and Akila.
Once you’ve awkwardly made your way into Akila’s orbit, use your scanner on the planet and land in Akila City. Talk to Sam and he’ll join you as your temporary companion and tell you about Solomon’s maps, which he thinks might lead to an artifact.
Go to the Galbank Vault // Complete “Job Gone Wrong” // Search for the maps // Talk to Sam
Head into the heart of Akila City and a guard will stop you. He’ll tell you the city isn’t safe at the moment since robbers are holding hostages in the local bank. Tell him you want to help and follow the waypoint until you reach the marshal of the town: Daniel Blake. Talk to the marshal and volunteer your services. You’ll start the “Job Gone Wrong” quest, and will need to deal with the bank robbers while saving the hostages – a bit on the nose for this western-themed town, no?
For this section, you just need to follow the quest marker and waypoint until you solve the bank problem. I was able to use Persuade on the bank robbers to get them to come quietly and release the prisoners. You get multiple shots to persuade them, so don’t sweat it if you fail the first one. Still, it’s a tough persuasion with eight pips needed. If you fail too many times, you’ll have to sneak into the bank and take them out violently. If you have an auto-persuade banked, this is a good opportunity to use it.
With the bank robbers dealt with, talk to the marshal to finish the quest, then head inside the bank and go to Sam’s vault. Search through the lockers that Sam marks and you’ll eventually find a note addressed to him aptly called the “Note for Sam.” Grab it and talk to Sam. He’ll see that it’s from a guy named “Jacob” and be pissed before you even get the chance to read it. However the following convo goes, you’ll need to pay Jacob a visit.
Talk to Jacob // Talk to Sam
For this section, follow the waypoint until you reach Jacob’s house. You’ll mostly be a fly on the wall for a bit as you watch this awkward familial interaction go from bad to worse. You can let Sam talk for himself or speak up for him. Either way, Jacob won’t simply hand over the maps, and you’ll need to get them yourself. You have a few options here:
- Ask Cora for help.
- Use Sam as a distraction while you snoop around.
- Persuade Jacob directly.
Get the maps // Talk to Sam

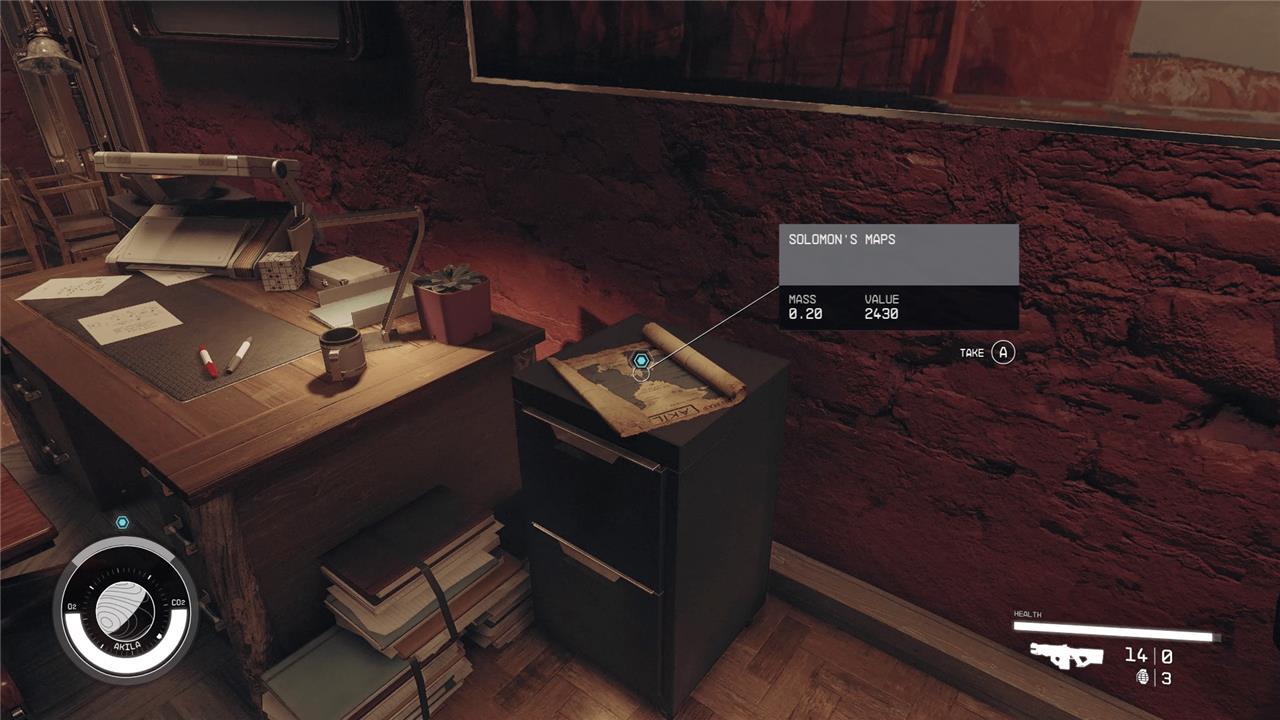
If you use the Persuade tactic, you’ll need to pass a low difficulty (four pip) persuasion conversation. If you succeed, Jacob will just let you into his office so you can grab the maps on the cabinet.
Letting Jacob hash it out with Sam while you get sneaky is a little messier. You’ll need to pass a Novice lock-picking puzzle to get into his office. Once inside, grab the maps off the cabinet to your right and get out of there.
Regardless of what you end up doing, talk to Sam once you have the map and he’ll suggest you head out to The Empty Nest, a cavern on the outskirts of town.
Infiltrating The Empty Nest
To infiltrate The Empty Nest in Starfield, players must first prepare for a hostile environment guarded by the Shaw Gang, turrets, and robots. Approaching from the southwest, either by ship or on foot from Akila City, requires careful combat tactics to neutralize these threats, especially the turrets and mines. Once the outer defenses are cleared, entering the hideout reveals more gang members and flammable containers that can be used strategically to dispatch enemies. Inside, players will find valuable loot including the Shaw Gang Cave Key, essential for progressing deeper into the cave system where the sought-after artifact is located. Navigating through locked gates and hostile territory demands both combat readiness and exploration skills to successfully retrieve the artifact and complete the mission objectives.

Once you have the maps in-hand, you’ll actually need to use them to find the artifact. Now you’ll need to follow the waypoint to The Empty Nest cave to find your buried treasure – and maybe deal with some enemies and wildlife along the way.
Travel to The Empty Nest // Get the artifact // Leave the hideout
From Akila City, open your planetary map and travel to The Empty Nest, which looks like a mine.
Once you load in, walk forward and up to the small village. You’ll find it overrun by the Shaw Gang. Use a little old west violence to dispatch them before heading into The Empty Nest – just take special care of their turrets and robot, as they can both drop you (or Sam) fast.
Inside The Empty Nest, you’ll come across a few more members of the Shaw Gang. Kill them as you navigate the cavern. When everyone else is dead, make your way to the waypoint and you’ll find the artifact buried behind some crystals, as usual. Use your Cutter to liberate the artifact and pocket it.
Walk out of The Empty Nest and prepare yourself for an ambush.
Deal with Shaw // (Optional) Kill the Ashta
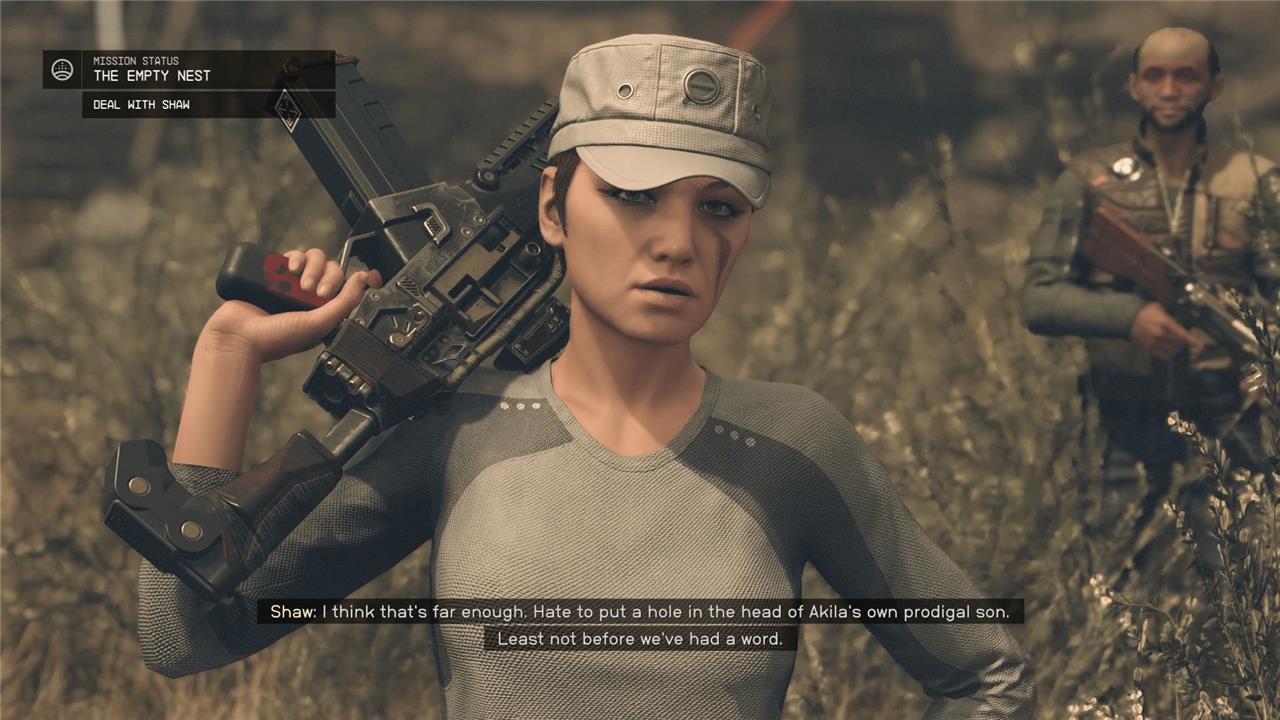
Outside you’ll run into Shaw – you know, of “Shaw Gang” fame. She’ll be pretty pissed about the whole situation.
You have a few options for dealing with Shaw. You can:
- Persuade her to let you go.
- Pay her 4,000 Credits.
- Attack her and her cronies.
Shaw is a six-pip persuasion conversation, so if you have Persuade, it’s a good option here but you really can’t go wrong with any approach.
Where things get complicated is when the Ashta attack. Essentially space cougars, they’ll swarm the camp as soon as you finish talking to Shaw. You can help her out for a reward or you can leave Shaw to her fate. If you decide to help, keep in mind that if you accidentally hit one of her goons, she’ll turn on you instantly – even if you passed the persuasion check. If you’re using an explosive weapon, be especially careful, as even incidental splash damage can cause Shaw to turn on you.
Return to the Lodge // Add the artifact // Wait for Sam // Talk to Sam
With the artifact in your pocket and Shaw either in the ground or on your side, head back to New Atlantis and the Lodge. Head into the library and drop the artifact on the central console, as usual. Wait for Sam to catch up and talk to him about your little adventure together. He’ll thank you for the help and offer his services to your cause – as long as you’re cool with Cora tagging along.
What secrets does The Empty Nest hide inside its caves
The Empty Nest caves in Starfield conceal a dark, foreboding environment lit only by your flashlight, filled with hostile Shaw Gang members lurking in the shadows. Inside, players will find valuable mining resources such as antimony, cobalt, aluminum, and nickel scattered throughout the cave. Deeper within lies an expert-level contraband cache requiring advanced security skills to unlock, alongside a locked metal gate accessible via the Shaw Gang Cave Key. At the cave’s dead end rests the sought-after artifact, the primary objective of the quest. The caves are not only a battleground but also a trove of hidden loot and strategic challenges, making them a critical and dangerous location in the game.
What hidden artifacts or clues are concealed in The Empty Nest caves
The Empty Nest caves in Starfield conceal a rare and valuable artifact known as the “Artifact Chi,” which is the primary objective of the quest. This artifact lies at the dead end of the cave, beyond a locked door with an advanced lock or a gate that can be bypassed by climbing over boxes. Along the way, players encounter hostile gang members and can mine various mineral deposits. The caves themselves hold no additional hidden artifacts or cryptic clues beyond this main artifact, but the environment is fraught with danger and guarded by the Shaw Gang, making the retrieval of the artifact a challenging task.
