Dive into the heart of rebellion with our complete walkthrough for “The Saboteur of Paradise” quest in The Outer Worlds 2. Uncover secrets, navigate dangerous choices, and master the sabotage that could change the fate of a paradise lost. Ready to disrupt the status quo? Let’s get started.
Would you like the lead to hint at major spoilers or keep it mystery-focused?
Find information on De Vries in Fairfield
De Vries in Fairfield is a key character you’ll encounter during “The Saboteur of Paradise” quest. Gathering information about De Vries will help you understand his motivations and uncover clues essential for progressing in the story. Look for his whereabouts in the central areas of Fairfield, interact with locals, and gather intel from various sources to piece together his role in the unfolding events.
If you want to do this part the proper way, head to the town hall – the large building towering over the rest of Fairfield with a garish hologram at the top – and take a right once you’re inside to enter the records room. If this is your first visit to the town hall, Kaur will be standing in front of it, but since the room isn’t off limits, you can just ignore her and go inside. Read the data pad on the table in the center of the room to learn that De Vries lived in a home with red trim and rounded windows.
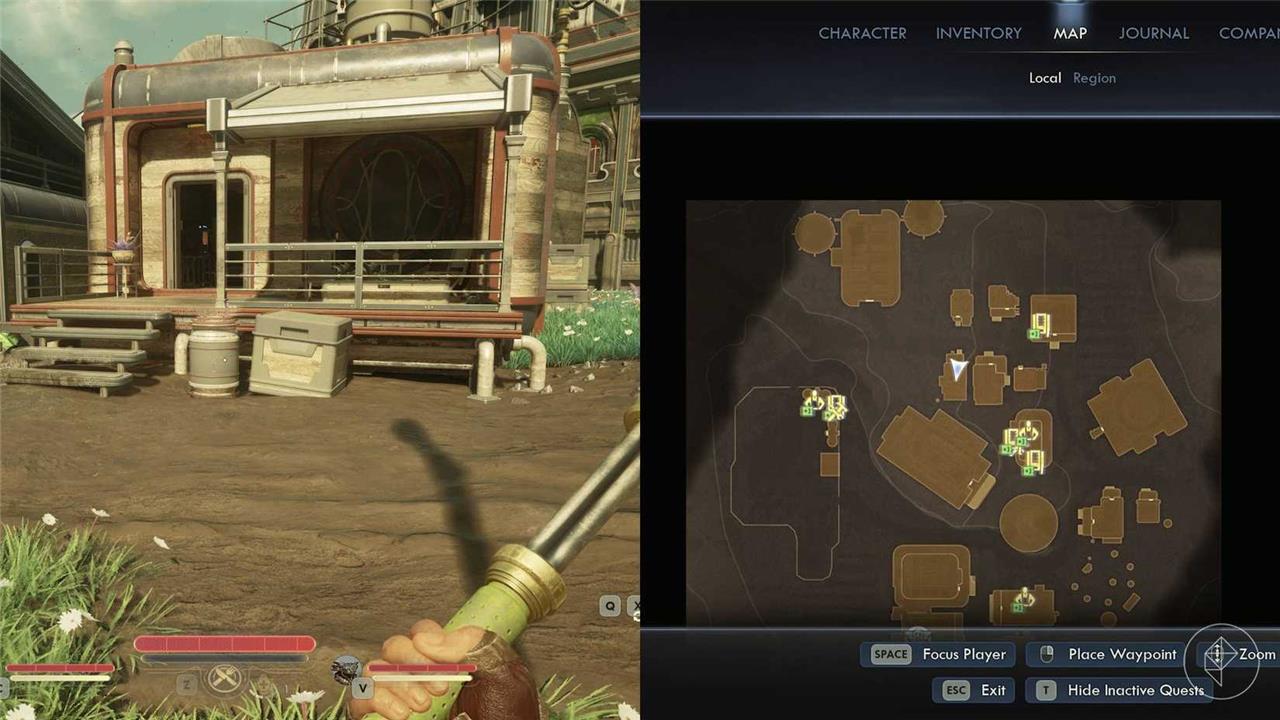
Or you can just go straight to De Vries’ house. The quest progresses whether you tick all the optional boxes or not.
Interact with the terminal in De Vries’ house, then look at the toilet, where you’ll notice a lever next to the bowl.
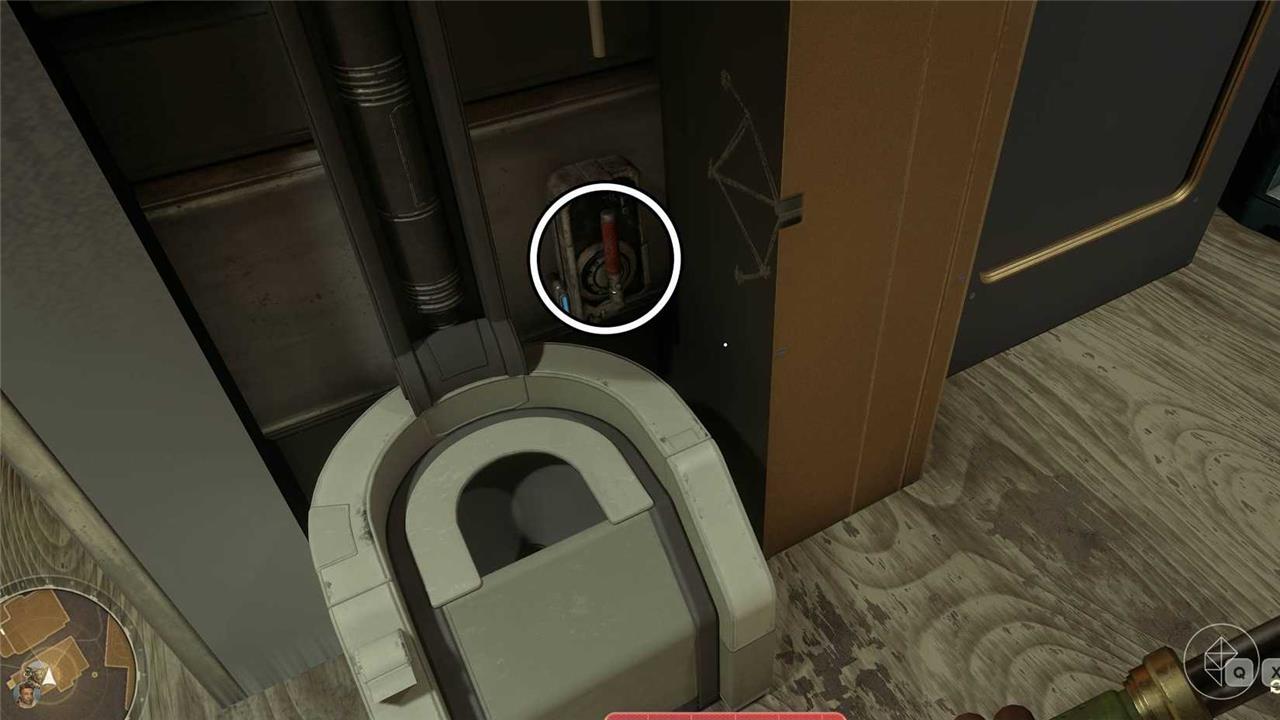
Interact with the lever to open a secret room that contains a looted safe, De Vries’ tracker, and another terminal. Check out with the tracker, and read everything on the terminal to learn that De Vries made a hidey-hole for herself at the Vox Relay Station on the northern side of Paradise Island.
Getting there is your next main objective, but first, you have to figure out a safe way to reach the northern half of the island.
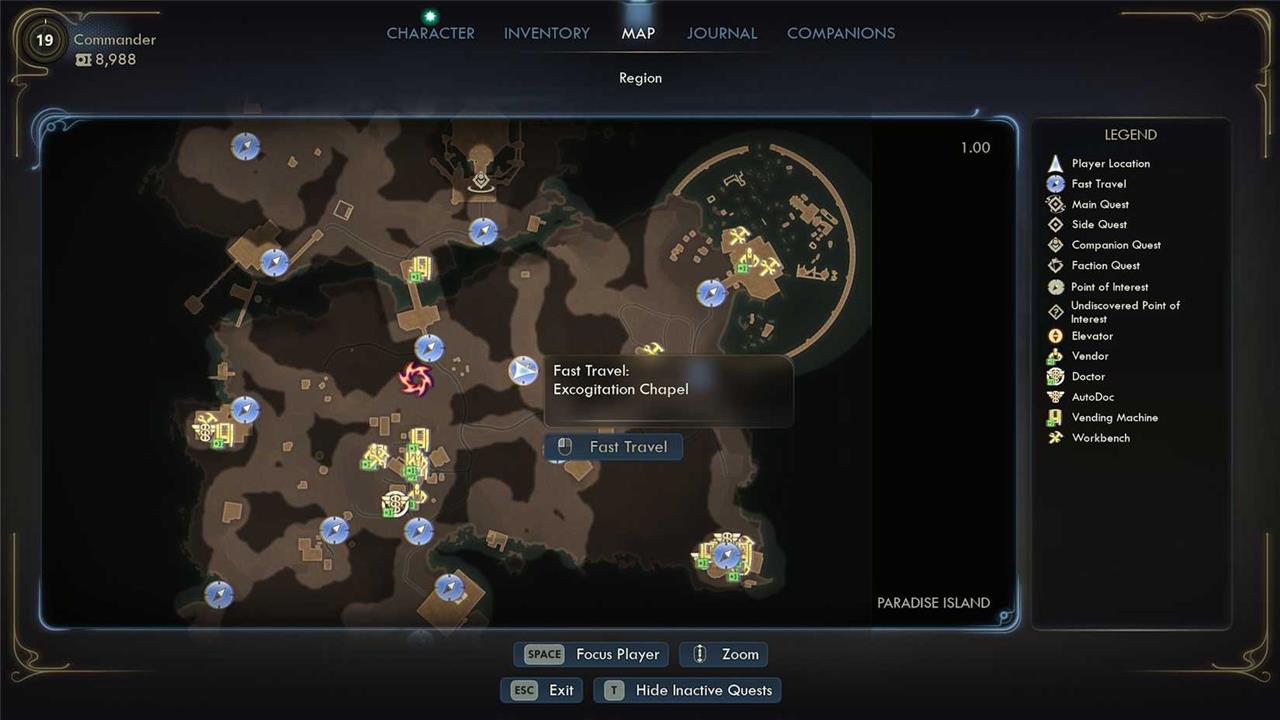
An optional thing you can do first that’ll help a bit in the long run is to visit the Excogitation Chapel north of Fairfield and speak with Savannah there. She’ll discuss her friendship with De Vries and tell you the code De Vries always used for her passwords, both of which are useful bits of information at separate, spoiler-y points later in the game.
Reach the northern part of Paradise Island
To reach the northern part of Paradise Island in “The Saboteur of Paradise” quest, navigate through the dense jungle terrain while avoiding patrols and environmental hazards. Use stealth to bypass hostile enemies and locate hidden pathways leading toward the mission’s objective. Keep an eye out for interactive elements that can aid your progress, such as zip lines or concealed tunnels, to efficiently make your way north.
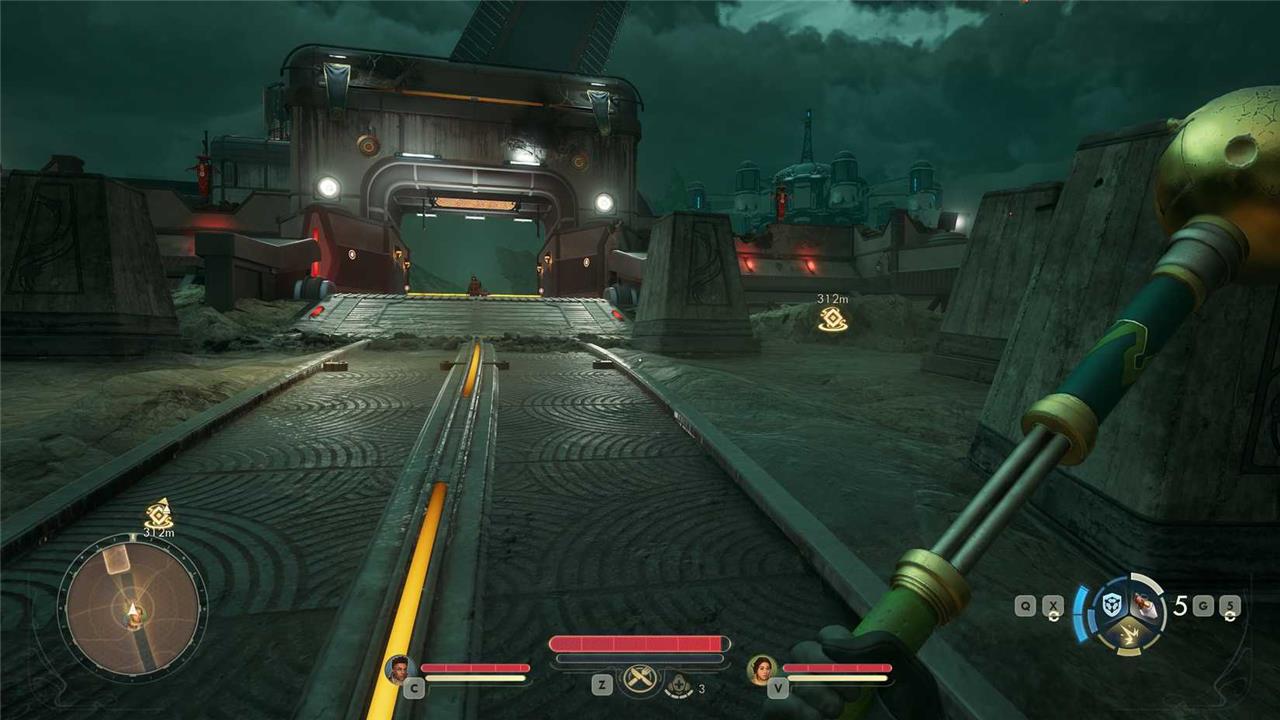
There’s a bridge connecting both sides of Paradise Island, which sounds convenient, except it’s in hostile Protectorate hands and out of commission. You’ve got more than a few ways to reach the northern part of Paradise Island, though.
- Retake the bridge by defeating all Protectorate forces. If you find Scrabbles the Stuffed Sprat for Commander Torres at the camp, you can convince him to fight alongside you with his soldiers, which makes the invasion much easier.
- Obtain the shield gadget from the Euphoria automech factory by helping the Protectorate forces stationed there. Doing this bars you from completing Kaur’s quest. With gadget in hand, take the zyranium-drenched bridge north of the Ministry of Accuracy. (You can cross the bridge without the gadget, if you’re fast, but you’ll gain a lot of toxicity.)
- Complete Vigilant Hogarth’s Malfunctioning Mechanicals quest or help Milverstreet relocate Westport’s citizens to Fairfield to obtain a Writ of Conscription. You can leave and explore the northern part of the island at any time.
- Speak to Weintraub, the guard at the bridge gate, and agree to find two traitors for her. You’ll earn free passage across the bridge.
- Take the secret route to the east near Westport, but make sure you have the double jump boots to make the trek easier.
- Enter the base from the southwest, by climbing through the trench and slipping through a hole under the wall. Sneak up to the control room, and lower the bridge.
If you reach the northern side of the island without completing Weintraub’s quest, she’ll order her troops to attack if you speak to her at the bridge again. However, you can still attack the bridge with Torres, which will give you access to the bridge armory (the key to which is in the gatehouse on the northern side of the river).
Explore the Vox Relay Station
As you approach the Vox Relay Station, you’ll find it partially powered down and crawling with hostile patrols. To gain entry, look for an alternative path along the rocky ridge to avoid direct combat. Inside, several terminals hold crucial data logs revealing the station’s link to the wider sabotage plot. Restoring power not only opens up new areas but also unlocks a secure communication line that advances the investigation into who’s behind the Paradise disruption.
After you infiltrate the Vox Relay Station, your next objective is the rather unhelpfully named “explore Vox Relay Station.” It’s a multi-part objective that takes you into both wings of the station and the central hall before your final showdown against the brutal Commander Montelli.
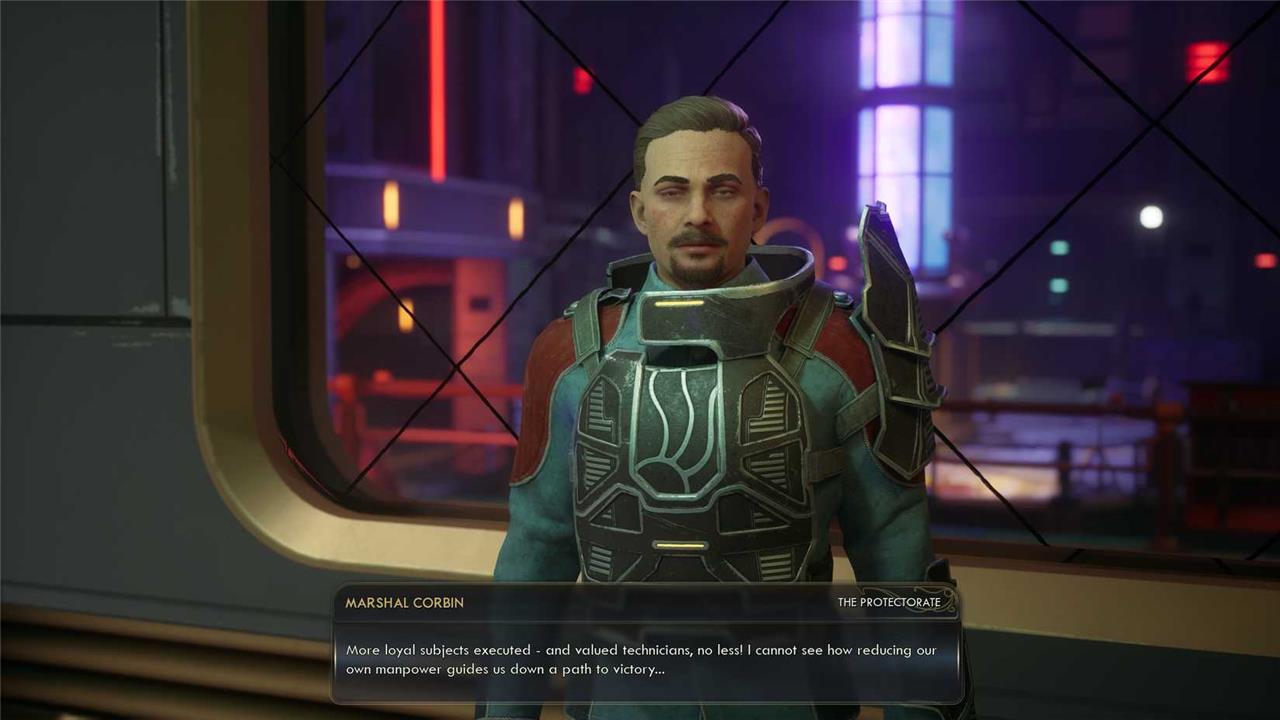
First, though, it’s time for a reunion with Marshal Corbin. You may or may not remember him from the bridge at Horizon Point – but he certainly remembers you. And he’s not very happy about it, either. The only way to get Corbin’s help and avoid having to murder him is if you either have:
- Two points in Speech and convince him to cooperate, or
- The Writ of Conscription from Hogarth, which you get by completing his automech quest or by helping Milverstreet relocate Westport’s citizens to Fairfield
Your next task, whether Corbin lives or dies, is getting a blank keycard that you can encrypt the right credentials on. The card is in the station’s eastern wing, which is heavily guarded. You can sneak in, turn, left, and use the vent system to reach the next room without alerting too many guards, though even if you want to take the violent approach, we recommend picking your fights carefully. Multiple soldiers are patrolling the corridor, and once combat starts, an autoturret deploys from the roof, and a few wasps emerge from their mechanical nest in the wall. You can, however, retreat into the vents to let the heat die down some before re-emerging and starting the fight again.
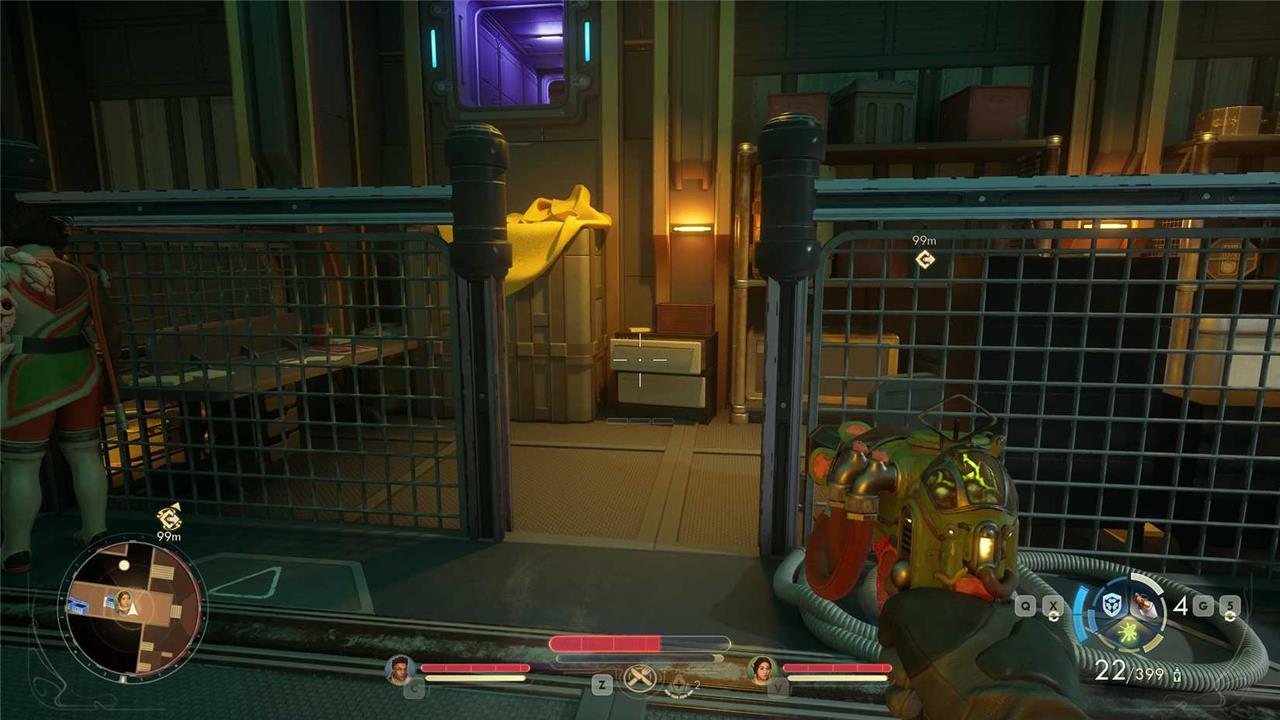
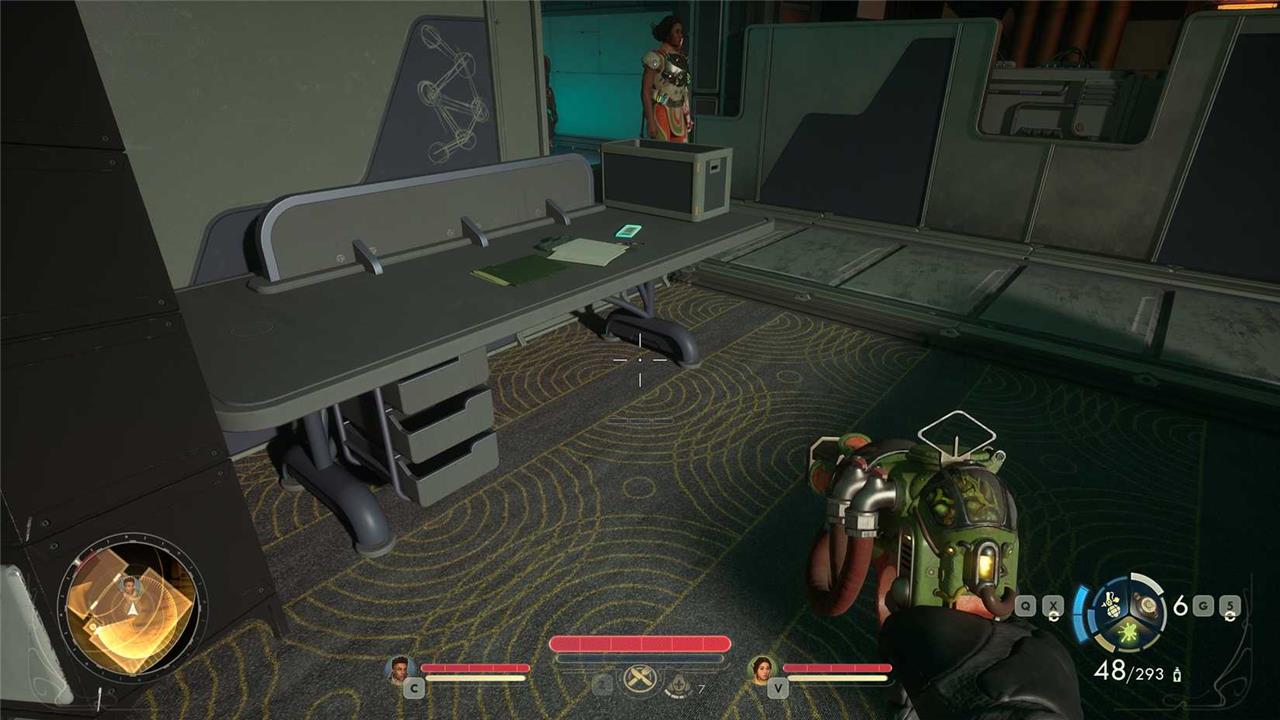
Either way, enter the room at the end of the hallway, and grab the key from the brown box to your left. If you mark the quest as active in your journal, you can follow the quest marker to find it. The terminal where you can encrypt the key is in the station’s western wing. You can take the vent above the table the keycard was on to reach that side of the station or, if you infiltrated via the sewers, just go back the way to came in.
The situation here is similar to the one in the eastern wing. Fight or sneak your way to the room at the end of the hall, and then interact with the terminal to encrypt the keycard. Return to the room where Corbin is (or where the mortal remains of Corbin are, if you killed him), and use the card to enter the locked room.

Your goal is reaching the elevator at the opposite end of the room, and you can get there by fighting your way through or sneaking around the many soldiers in your way. If you do accidentally end up in combat, we recommend just running toward the elevator and interacting with the control panel there. It’ll instantly activate and cut you off from the wave of oncoming enemies.
The elevator lets you out in a hallway with two rooms, one in front of you and one to the right, along with an Autodoc station and a vending machine. If you want to resolve the Montelli situation peacefully and are working with Corbin, enter the room to your right and interact with Montelli’s terminal before heading in to face the commander. If you don’t want to resolve things peacefully, get ready for a fight (and consider modding your armor to reduce shock damage).
Find De Vries’ safe room
You’ll need to infiltrate the upper floors of the Harmon Dynamics facility to locate De Vries’ hidden safe room. Use your Persuade or Hack skills to bypass the security checkpoints without raising alarms. Once inside, scan the office logs for a clue mentioning a wine cabinet-it conceals the safe room’s biometric panel. Activate the hidden door, and be prepared for a confrontation with De Vries’ personal guards before you can access his encrypted data core.
After resolving the Montelli situation, your next task in “Saboteur of Paradise” is to find where De Vries holed up. Enter the room behind where Montelli was. If you have at least three points in Hack, you can interact with the terminal at the room’s far end and open De Vries’ secret office. If not, grab the White Chocolate Yummies from the table in the middle of the room to get De Vries’ rootkit, then access the terminal. Enter De Vries’ work room, interact with the terminal, and exhaust all options. The final step is deciding where to land the Vox Relay Station.
Best route to infiltrate the Vox Relay with minimal combat
The best route to infiltrate the Vox Relay Station with minimal combat in The Outer Worlds 2’s “The Saboteur of Paradise” quest involves utilizing stealth, careful preparation, and avoiding the front entrance.
Recommended Minimal Combat Infiltration Route
-
Side Entrance via Cliff Ledge: Near the bridge to the Vox Relay, find a less obvious side entrance by following a power cord north of the bridge to a ledge overlooking the station entrance. From there, drop down into the building below then enter the courtyard. This route avoids most guards at the front gate and reduces direct confrontation risk.
-
Engineering Room and Stealth: Once inside the courtyard, use Lockpicking (at least level 3) to get into the engineering room, where there are fewer guards to sneak past. Avoid combat by sneaking around patrols or using non-lethal options.
-
Writ of Conscription and Speech Checks: Progress through side quests for Minister Milverstreet or Officer Kaur to get Vigilant Hogarth’s writ. Presenting this at the gate can get you direct access, bypassing many enemies. Having Speech skill level 3 or above can help persuade guards like Sentry Lehman to allow entry without violence.
-
Use Gas Shield for Poisonous Gas Area: Another infiltration method is going through the poisonous gas route to the west, which requires a shield from a side quest (’The Saga of Malfunctioning Mechanicals’). This is a stealthy approach avoiding heavy enemy encounters.
-
Avoid Front Entrance Combat: The main gate is heavily guarded and challenging to pass without combat. Even though you can try to manipulate automechs to attack enemies as a distraction, this still involves combat and risk.
Summary
For minimal combat, prioritize entering through the side passage on the cliff, enhancing Lockpicking and Speech skills, and completing relevant side quests for access credentials. This lets you bypass the courtyard combat-heavy areas and slip inside the Vox Relay more safely.
This approach balances skill use, quest completion, and tactical positioning to achieve a mostly non-violent infiltration.
Which entrance requires the least stealth checks
Among the different entrances to the Vox Relay Station in The Outer Worlds 2 during the “The Saboteur of Paradise” quest, the entrance that requires the least stealth checks is typically the one that involves presenting proper credentials, such as the Writ of Conscription, or using speech and persuasion to bypass guards rather than relying on sneaking.
This means that the main gate entrance, although heavily guarded, can become the route with the least stealth requirements if you have acquired the necessary quest items and achieved a sufficient Speech skill level to talk your way through the guards without sneaking past them. This approach minimizes or even eliminates stealth checks because you gain authorized access.
In contrast, stealth-heavy routes like the side entrance via the cliff ledge or the poisonous gas route involve multiple stealth or lockpicking checks as you sneak past guards and open locked doors.
So, if you want to minimize stealth checks, the best option is to complete relevant side quests to get credentials and boost Speech, then enter through the main entrance using dialogue for a non-stealth infiltration. If the credentials or Speech skill are insufficient, the side entrance involves more stealth.