Near the cliff’s edge in Chapter 2 of Black Myth: Wukong, a tipsy warthog known as the Yellow-Robed Squire lies in wait-drunken, mysterious, and in need of your aid. Helping this elusive figure sober up sets off a chain of quests that leads to a thrilling boss fight and unlocks a hidden secret area, rewarding you with rare items and experience. Ready your Sobering Stone and Jade Lotus, and prepare to chase the Yellow-Robed Squire through the Crouching Tiger Temple to unveil the secrets he guards in the shadows of Fright Cliff.
In this Black Myth: Wukong guide, we’ll walk you through where to find the Yellow-Robed Squire, how to sober him up, and where to chase him around the world so you can reach the secret area.
Where to find the Sobering Stone in Black Myth: Wukong
The Sobering Stone in Black Myth: Wukong can be found in a vase inside a small hut in the village at Yellow Wind Formation – Windrest Bridge. To reach it, from the Crouching Tiger Temple – Temple Entrance Shrine, defeat the Tiger Vanguard and proceed up the hill to the Windrest Bridge Shrine. Cross the bridge and keep left, then enter the back left corner of the village where the hut with the vase is located. Breaking the vase will yield the Sobering Stone, a key item needed to help the Yellow-Robed Squire in Chapter 2 and unlock the Kingdom of Sahali secret area.
To get to the Sobering Stone – the item you need to help the Yellow-Robed Squire – you’ll first need to make your way through the Crouching Tiger Temple. On the other side, you’ll unlock the Windrest Bridge Shrine in the Yellow Wind Formation area.
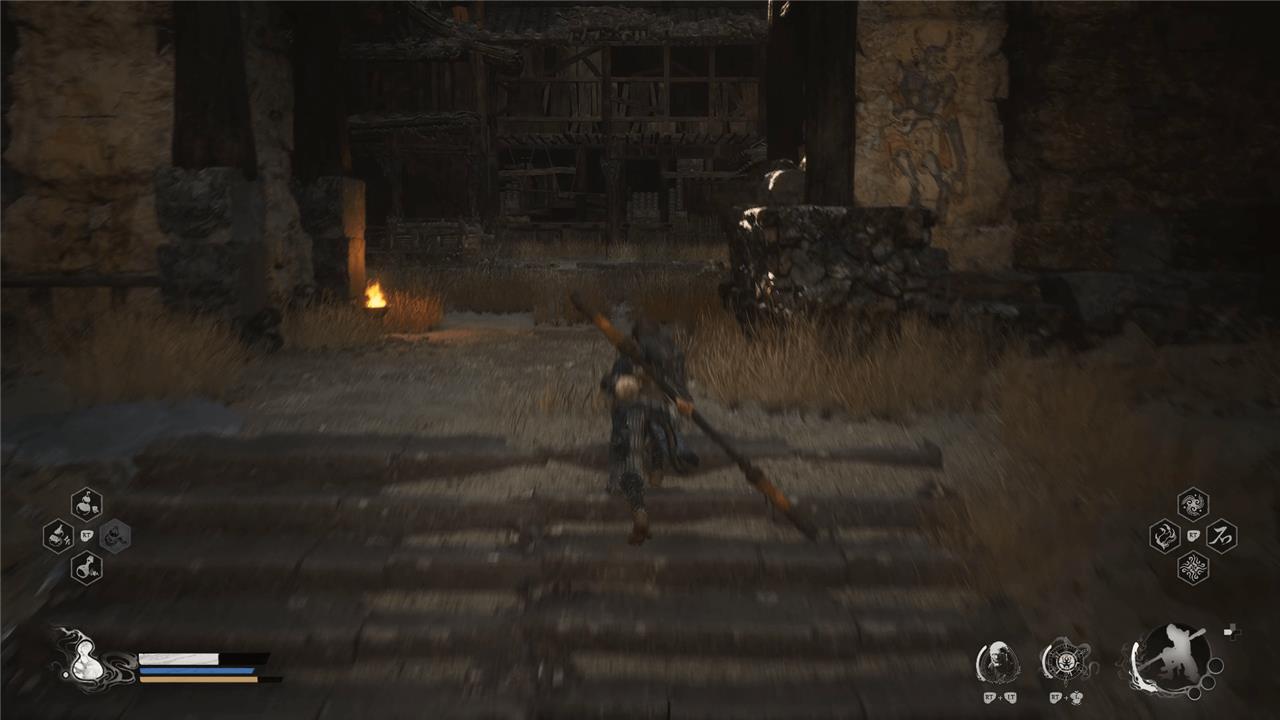
Cross the bridge and hang a left. Eventually, you’ll reach a dead end, so turn right and go up the stairs and through the threshold (pictured above). A rat enemy will jump off the roof and attack you. Dispatch the rat and look left. You’ll find a ranged enemy spitting projectiles at you. Kill the enemy and then look immediately to your right. In a little alcove, you’ll see a glowing jar. Roll through or hit the jar to collect the Sobering Stone.
Note: If you get here and the Sobering Stone doesn’t appear in the jar, go visit the Yellow-Robed Squire and talk to him first. If you need help finding him, look at the next section of this guide. Alternatively, if you’ve unlocked the Man-In-Stone shop in Fright Cliff, you can also buy a Sobering Stone off of him.
Where to bring the Sobering Stone in Black Myth: Wukong
The Sobering Stone in Black Myth: Wukong is found in a vase inside a small hut near the Windrest Bridge Keeper’s Shrine in the Yellow Wind Ridge area. After obtaining it, you need to bring the Sobering Stone back to the Yellow-Robed Squire, located near the Rockrest Flat Keeper’s Shrine in the Fright Cliff region. Giving him the Sobering Stone will sober him up and trigger a side quest that eventually unlocks the Kingdom of Sahali and new boss fights in Chapter 2.
Once you have the Sobering Stone, complete chapter 2, ensuring that you fully clear both the tiger and cliff paths leading to the final boss (this includes defeating the First Prince of Flowing Sands boss in the cave to the left of “Valley of Despair” Shrine). When you start chapter 3, travel back to the Rockrest Flat Shrine in Fright Cliff.
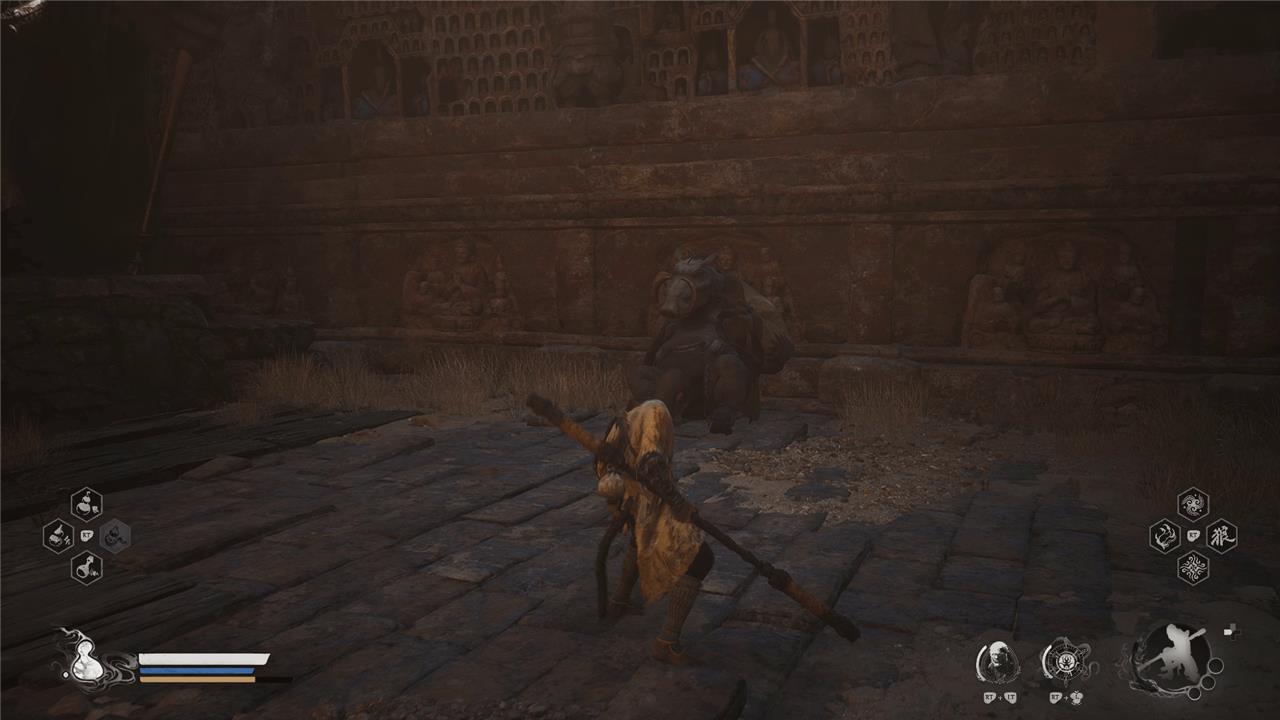
When you load in, go around the rock ahead and turn right. You’ll see two undead porcupine enemies. Skip the first one and go to the second one in the distance. Kill it and then roll through the wooden fence behind it. You’ll find yourself in a large area with a big door on the right. An anthropomorphic warthog will be seated in the middle of the area – the Yellow-Robed Squire. Talk to him and deliver the Sobering Stone to progress his quest. Once he’s sobered up, he’ll tell you he’s headed for some food. Talk to him more and he’ll just tell you he’s headed to the Crouching Tiger Temple.
Where to find the Yellow-Robed Squire in Crouching Tiger Temple in Black Myth: Wukong
The Yellow-Robed Squire can be found at the entrance of the Crouching Tiger Temple in Chapter 2 of Black Myth: Wukong. Specifically, he is located in the second right-hand alcove on the stairs leading up to the temple, near the temple’s front gate. To help him, you will need to find a Jade Lotus, which can be purchased at any Keeper Shrine or found in the wild early in Chapter 2. Delivering the Jade Lotus to the Yellow-Robed Squire at the temple entrance progresses his questline, which is essential for unlocking a secret area later in the game.
Travel to the “Temple Entrance” Shrine in the Crouching Tiger Temple. From there, walk up the steps to the third landing – the one before you reach the top. To your right, you’ll find an alcove and the warthog. Talk to him and he’ll complain about the rat meat, saying it’s disgusting. He’ll then ask for a tasty treat: Jade Lotus. At this point in the game – assuming you’ve been picking up plants when you see them – you should have plenty of Jade Lotus to offer. If not, go explore the world a bit and pick up plants until you find some. Talk to him again to deliver the Jade Lotus.
The Yellow-Robed Squire will then tell you a cryptic message about the realm of god and the sun setting. If you keep talking to him, he’ll say he’s headed to the “right place” to use a piece of gold he received from his senior brother. You’ll need to find him again.
Where to find the Yellow-Robed Squire in the ’right place’ in Black Myth: Wukong
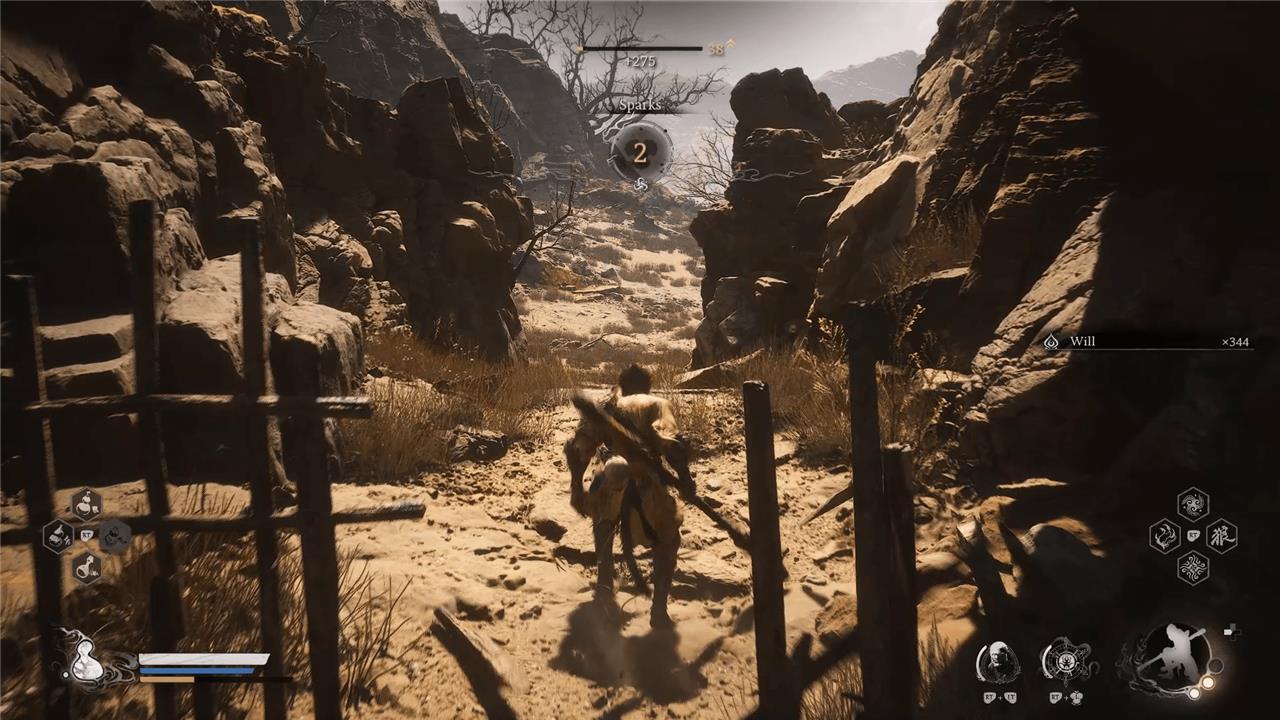
The Yellow-Robed Squire can be found at the far end of the Fright Cliff area in Chapter 2 of Black Myth: Wukong. To locate him, start from the “Rockrest Flat” Keeper’s Shrine and head north past a breakable wooden fence until you reach a wide open plain where the drunken boar is sitting near a rock. After interacting with him there, you will need to follow his questline, which includes finding a Sobering Stone and later meeting him at the Crouching Tiger Temple to give him a Jade Lotus. Completing these steps will eventually lead you back to Fright Cliff for a boss fight that unlocks a secret area.
Return to where you first met the Yellow-Robed Squire and you’ll find him standing to the right, near the stairs. Based on our testing, to progress this section of the quest you need to complete chapter 2, defeat the Yellow Wind Guai, and have the Arhat Gold Piece from the First Prince of Flowing Sands.
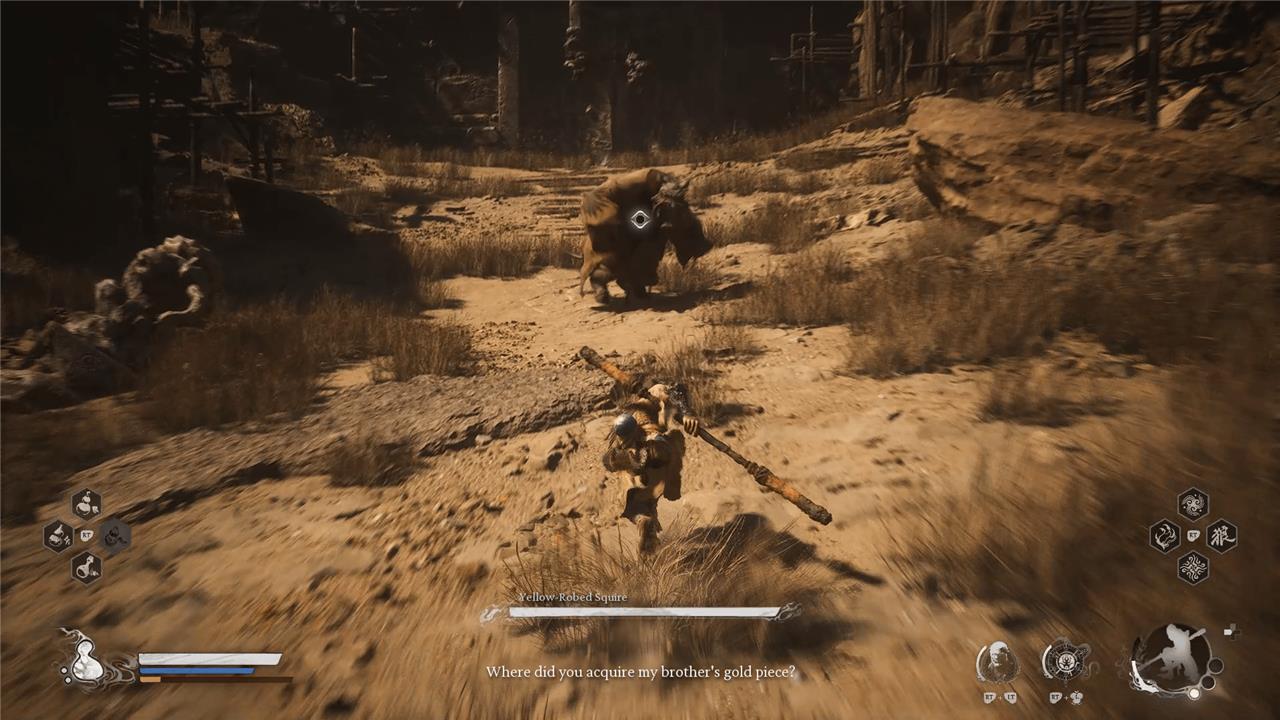
If you approach the warthog under the right conditions, he’ll ask you where you acquired his brother’s gold piece and attack you. Once you’ve dealt with the Yellow-Robed Squire mini-boss, you’ll earn the Snout Mask, and he’ll lead you to the secret realm for chapter 2. Follow him through the door to enter.
How to beat Fuban in Black Myth: Wukong
To beat Fuban in Black Myth: Wukong, start by conserving your spells and mana during the initial phase of the fight. Fuban will frequently burrow underground and attack from beneath the sand, so watch for the rumbling to anticipate his movements and dodge his attacks carefully. Use hit-and-run tactics to avoid his powerful thrashing and wait for the Yellow Wind Sage to join the fight in the second phase. The Sage will help stagger Fuban, giving you openings to unleash your strongest attacks with charged strikes, Spirit Attacks, and Transformation Spells. Focus on attacking Fuban’s exposed areas when he is stunned on his side, and use the Pillar Stance to avoid damage from his underground horn strikes. With patience and the Sage’s support, you can defeat Fuban and claim the valuable Wind Tamer vessel.
Once you follow the Yellow-Robed Squire through the door, he’ll tell you about the desert area you find yourself in and the giant beetle hidden in the sand. Remember that echo of a giant sand monster that the Yellow Wind Guai would occasionally summon to crush you? Time to take that thing out.
When the warthog finishes his story, you’ll regain control in the Secret: Kingdom of Sahali area. Activate the nearby “Sandgate Pass” Shrine and proceed forward. A Tiger miniboss called the Tiger Vanguard will block your path forward. Dispatch him to earn the Tiger Tally Curio before moving into the wider area. Open the chest in the building to your left for some rare materials and then activate this area’s second Shrine, “Sandgate Bound.”
When you’re ready, approach the Yellow Wind Guai standing on the edge of the ridge next to the drum. After a short cutscene, he’ll summon the beetle boss. Jump down and play defense until it emerges from the sand. Once it surfaces, attack Fuban’s hands until you see another cutscene and are able to climb on top of its head to steal an item from the statue attached to its shell. Once you liberate the eye from the statue, the Yellow Wind Guai will jump down and assist you in finishing off Fuban. As you know from the end of chapter 2, the Yellow Wind Guai is no joke, and the two of you should make quick work of Fuban while working together.
With Fuban down, the Yellow Wind Guai will teleport you out of the secret realm and give you the Wind Tamer Vessel. This thing will increase your damage reduction passively while you have it equipped, and you can activate it to drastically improve that effect for a short window. Just like in the first chapter, you can return to any of the Shrines inside the secret realm by using the fast travel system.
What secret strategies can help me defeat the Yellow-Robed Squire easily
To defeat the Yellow-Robed Squire easily in Black Myth: Wukong, use these secret strategies:
-
Stay close to him to avoid some of his ranged attacks; when he twirls and throws sand, it usually signals an incoming headbutt. Use the Rock Solid deflection skill to make him stumble if he headbutts you, or dodge twice to evade both single and double headbutts.
-
When he throws dust to obscure vision, be extra reactive and use the Thrust Stance retreating move after your combos to create space, then follow up with attacks while he recovers.
-
Interrupt his speech at the start of the fight to get early damage and try to corner him against walls to limit his movement, making it easier for your minions to attack.
-
Use Spirit and Transformation spells combined with immobilize effects to quickly burn his health while dodging his charge and swipe attacks.
-
Watch for audio and visual cues: when he yells, he’s about to throw sand and follow with a spear attack; when he flicks sand up, prepare to dodge and counter his spinning attack.
-
Avoid standing behind him as some attacks can’t be countered from that angle; position yourself outside his arms to better see and dodge his moves.
These tactics, combined with timely use of Rock Solid and careful dodging, will make the Yellow-Robed Squire fight much more manageable.
How can I predict the Yellow-Robed Squire’s dust cloud attacks effectively
To predict the Yellow-Robed Squire’s dust cloud attacks effectively, pay close attention to his hand and body movements as they telegraph his next move:
-
When he raises and flicks sand up from the ground, it signals an imminent spinning attack with his claws; this is your cue to dodge and counterattack quickly.
-
If he twirls and throws sand while close to you, this usually means a headbutt or charge attack is coming next. Listen for audio cues-if he sounds exerted, expect a double headbutt; otherwise, it’s a single one. Using Rock Solid deflection or dodging twice can help you avoid or interrupt this attack.
-
At a distance, after throwing dust clouds, he often follows up with a fast charge or spear throw. Watch for a brief hesitation before the spear throw, which can be dodged sideways.
-
His dust clouds mainly serve to obscure your vision, so staying alert to these visual and audio signals is key to anticipating and reacting to his follow-up attacks without being blindsided.
By combining these visual cues with sound signals, you can reliably predict when the Yellow-Robed Squire will use dust clouds and prepare to dodge or counter accordingly.