Few Exotic weapons in Destiny 2 spark curiosity like the Wicked Implement-an icy scout rifle hidden behind cryptic quests and timed missions. Here’s how to claim this chilling weapon for yourself and master its precise, frostbitten power.
The new Exotic comes from a special mission called Whetstone, which Bungie has hidden inside the Deep Dive seasonal activity. And in order to unlock it, at least one of your fireteam members is going to need to spend a lot of time gathering Exotic fish.
Each time you catch an Exotic fish for the first time (outside of the Kheprian Axehead) you’ll get a Broken Blade. These items add special perks to your Fishing Tackle, which allow you to interact with Thrall Hive statues in the Deep Dive activity. Only one member of your fireteam needs to have all three Broken Blades to start the quest. (Our guide on collecting all of the Broken Blades can help you get started.)
In this Destiny 2 guide, we’ll tell you how to unlock the Whetstone Exotic mission, how to beat it to earn the Wicked Implement Exotic scout rifle, and how to earn the Wicked Implement’s Exotic Catalyst.
Statue 1: Broken Blade of Strife
The first statue, Broken Blade of Strife, is found in the Deep Dive activity. To activate it, you must carry the Whispering Knife collectible dropped from Taken enemies. Bring the knife to the statue before the timer expires to complete the interaction. This step prepares one of the three statues required to advance the process of obtaining the Wicked Implement Exotic scout rifle.
Once one of your Fireteam members has all three Broken Blades, start a Deep Dive activity from the HELM.
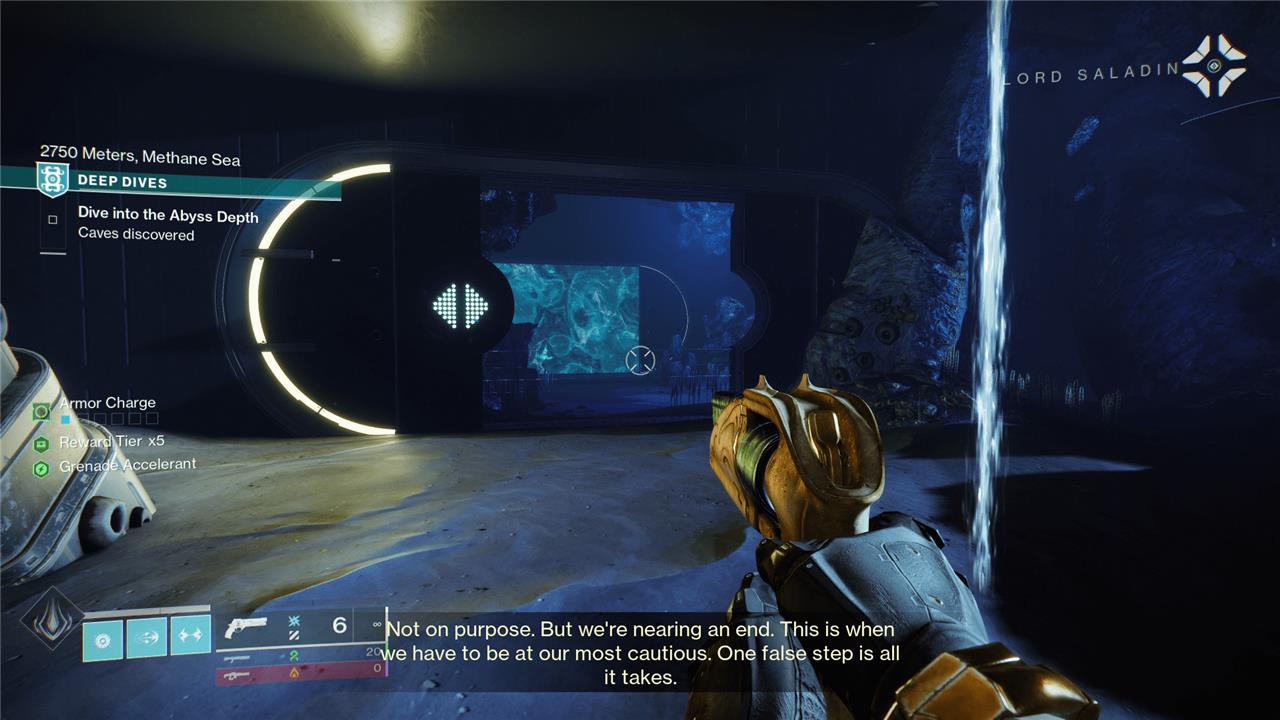
After you load in, walk forward, pick your perk, and dive into the water. Continue forward until your feet hit the underwater cave (rather than the man-made tile).
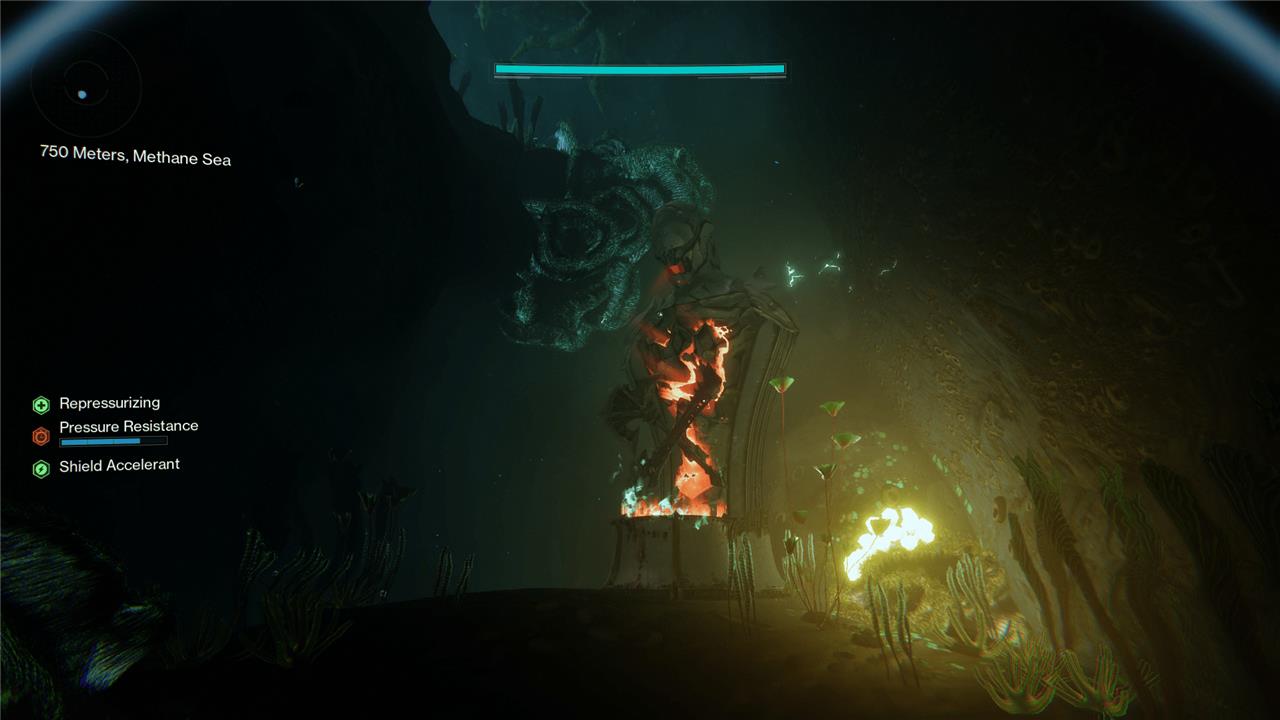
After landing on sand and rock, walk forward and jump into the pit in front of you. However, do not float all the way down. Do a 180 degree turn so you’re facing the direction you just jumped from and look for a cave in the side of the wall. (It’s illuminated by a glowing plant if you’re having trouble seeing it).
Inside the cave, you should be able to look up by your radar and see that you’re at: 750 meters, Methane Sea. Continue forward and follow the path when it turns right. You’ll see a Hive Statue sitting dormant against a wall, next to some coral. Have the player who has the Broken Blade of Strife walk forward and interact with the statue.
This will activate the statue for the entire group, so only one player needs to do this. The only caveat is they won’t be able to interact with the statue without the Broken Blade of Strife.
Once you’ve lit the statue on fire, Xivu Arath – seasonal antagonist and sister to both Savathun and Oryx – will start yelling at your entire Fireteam. Once you hear her, proceed to the first combat encounter.
Statue 2: Broken Blade of Ambition
Hidden within the depths of Seraph Station, the second statue known as the Broken Blade of Ambition challenges players to coordinate timing and precision. Interacting with the statue requires collecting Resonant Shards found throughout Deep Dives, then offering them to awaken the blade’s dark power. Completing this phase advances the secret questline that leads toward obtaining the Wicked Implement Exotic scout rifle.
Complete the first combat encounter in the Deep Dive activity. Once all the enemies are dead and the door opens – prompting you to move on – stop. Do not leave the encounter arena or you will fail the secret objective.
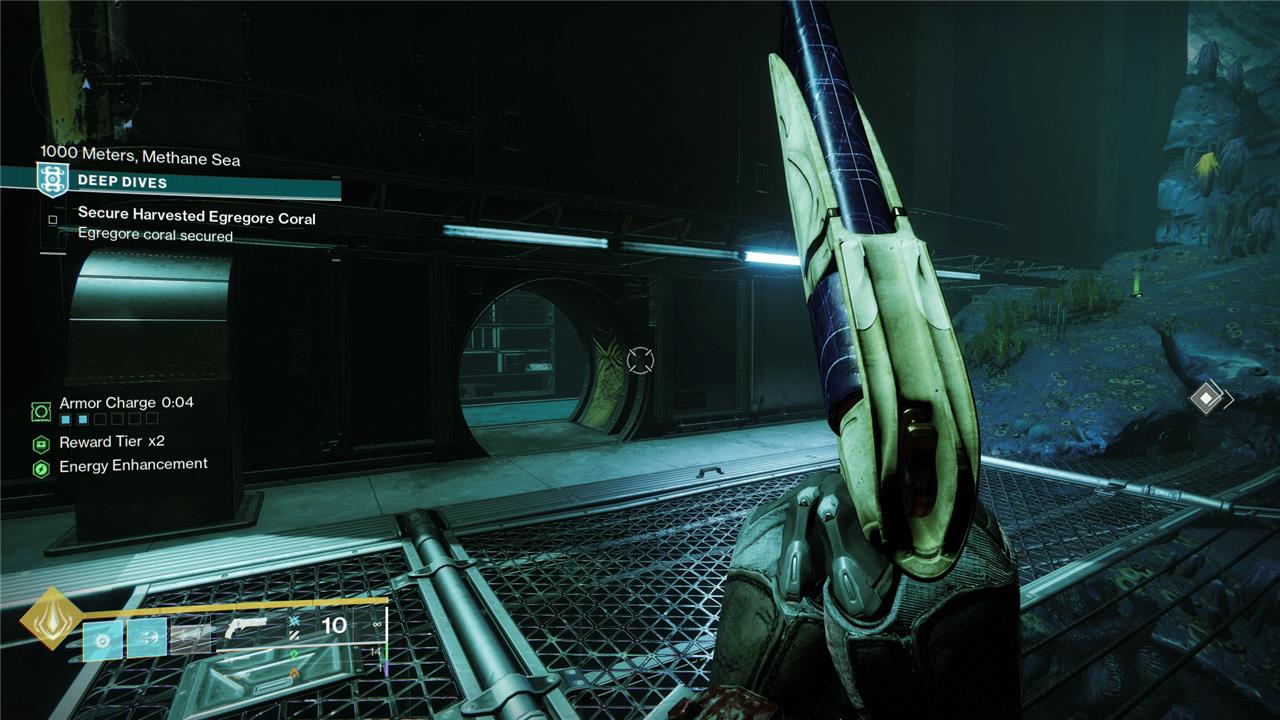
When the area is clear, go toward the exit door and look on the left side of the arena. You’ll see a small balcony and an open door on the platform above it. Jump up to the balcony and go through the door. Once inside, turn to the right and you’ll see another Thrall Hive statue.
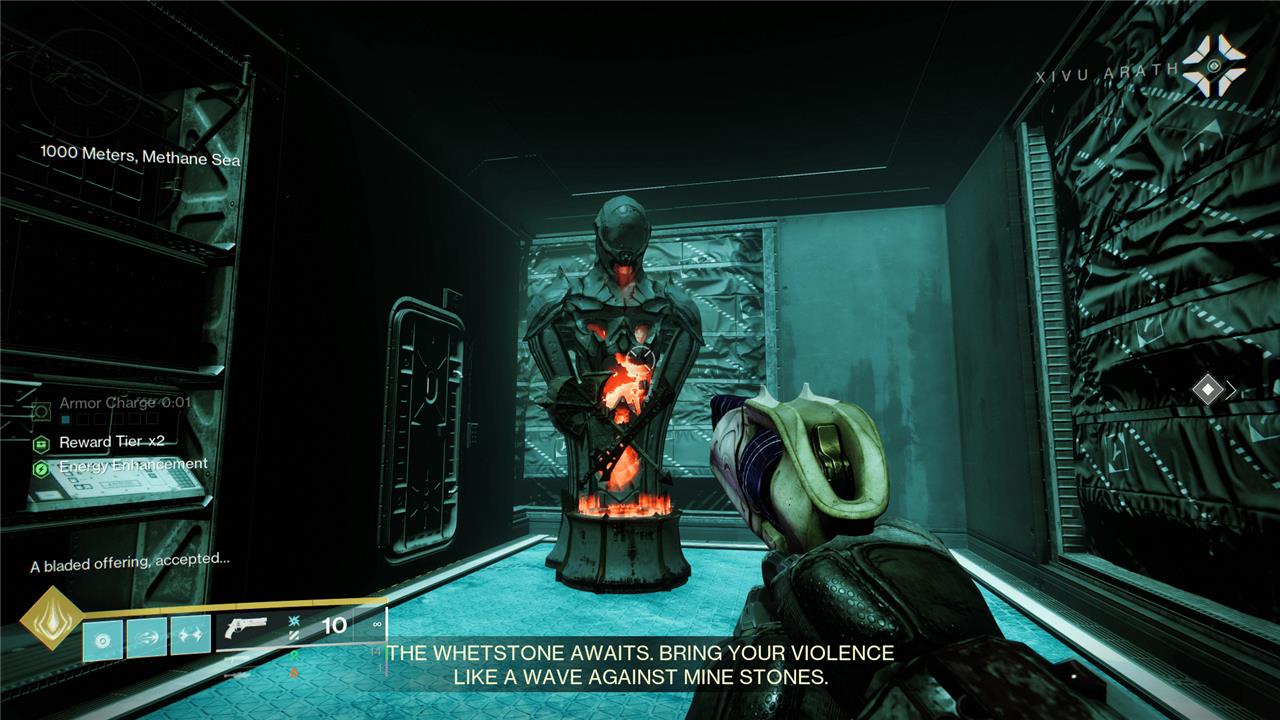
Have any player who has unlocked the Broken Blade of Ambition interact with it to light it on fire. Xivu will yell at you again, signaling that you’ve officially activated this statue for the entire group.
Statue 3: Broken Blade of Cunning
Shatter the third statue in the Dark Priory’s shadowed hall by firing at the Broken Blade of Cunning. Position yourself on the upper balcony overlooking the central chamber, then aim through the arched window toward the blade’s jagged edge protruding from the wall below. A precise shot from your equipped scout rifle activates the break, advancing your progress toward claiming the Wicked Implement.
The final statue is both the hardest to find and the most difficult to describe, so take this next section very slowly. Once you’ve activated the second statue, proceed into the underwater section that will lead you to the second combat encounter.
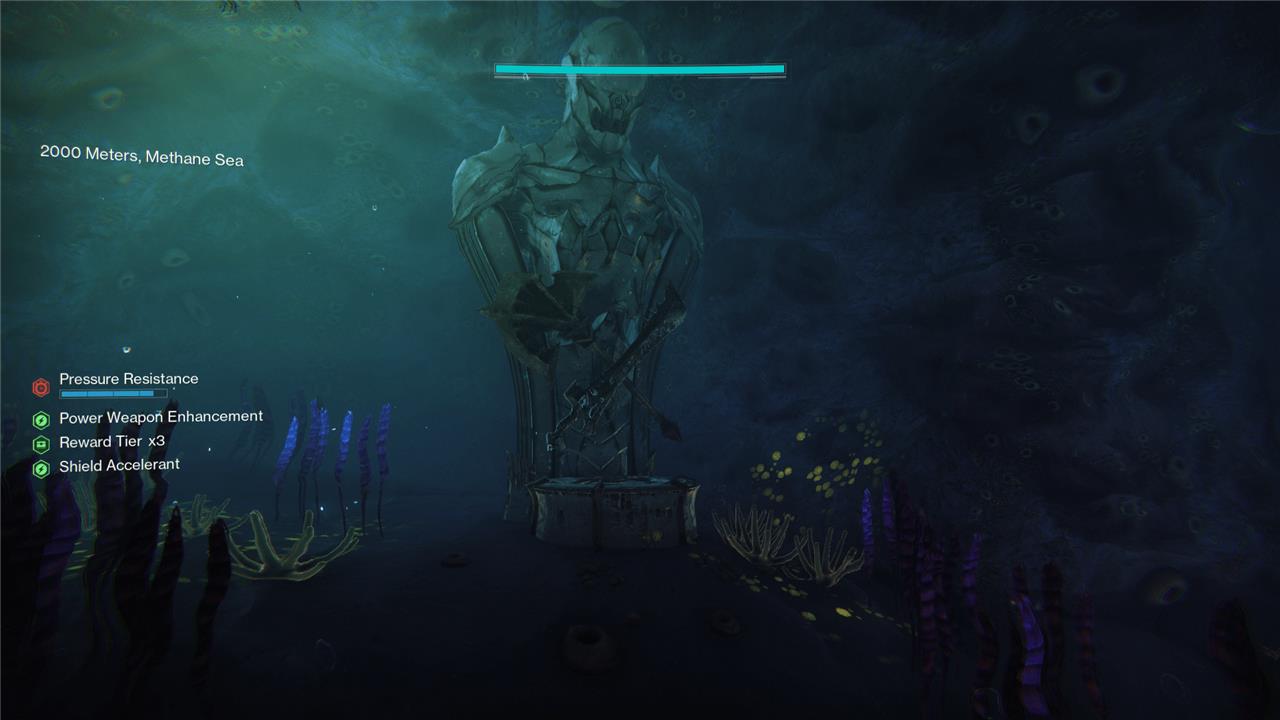
Drop down further into the water but keep an eye on your depth. Once you reach 2,000 meters, stop dropping down. Do not take the final big drop that leads to the next encounter.
At 2,000 Meters, walk toward the final pit, but turn left instead of jumping down. Around the corner and back, you’ll see the final Thrall Hive statue sitting next to some plants in the dark. Activate the statue using the Broken Blade of Cunning. Xivu will yell at you once again.
If this is the third time you’ve heard Xivu speak, you’ll know you’ve unlocked the Whetstone mission. Proceed into the second combat encounter.
How to activate and prepare for the Whetstone Exotic mission
To access the Whetstone Exotic mission, players must first collect three Broken Blades from Deep Dive activities-Broken Blade of Strife, Broken Blade of Ambition, and Broken Blade of Cunning. After gathering these items, head to the Deep Dive playlist and deposit them at specific statues hidden throughout a run. Completing this step reveals a new pathway that leads to the Whetstone mission’s entrance. Once activated, prepare by equipping weapons suited for sustained damage and crowd control, as the encounters feature powerful Taken enemies and timed mechanics that test your coordination and speed.
Once you’ve activated all three Thrall Hive statues, proceed deeper and complete the next combat encounter in Deep Dive. Once all the enemies are dead and the path to the third encounter unlocks, stop. Do not proceed any further with the Deep Dive activity or you will fail the secret mission.
Instead, look toward the exit door and turn right. You’ll see a new door open and a water barrier leading to another underwater section. If you go through, you’ll notice a barrier blocking your path. In order to unlock the barrier, every player in your Fireteam must interact with one of the Thrall Hive statues in the corridor before the underwater wall.
Interact with a statue that says “Carve a Path of Violence.” Once all the statues are lit, the barrier will drop and you’ll be able to proceed. (The number of statues changes depending on the number of players in your instance, so you can technically solo or duo the mission, although we don’t recommend it for your first time).
Before you proceed into the water, take a moment to adjust your loadout. This next section is difficult and timed. If you wipe or run out of time, the game will kick you back to Orbit and you’ll need to do both the Deep Dive and the Whetstone encounter all over again.
The final boss here is a powerful Tormentor, so don’t pick a roaming Super unless it’s for survivability or crowd control – like Stasis Warlock or Strand Titan. One-off damage supers like Golden Gun (or Gathering Storm) and Thundercrash are good here. Chaos Reach for Warlocks is also good, but note that the Tormentor can and will knock you out of it if you’re not careful.
As for weapons, we recommend using a precision heavy weapon like a linear fusion rifle or even a machine gun. Ammo is going to be a major problem here, so at the time of this writing we recommend you put on two Special weapons in order to increase your Heavy ammo drop chance. If one of your Fireteam members has it, the Divinity Exotic trace rifle is also amazing here, as it allows you to very easily damage the erratic Tormentor.
Once your loadout is set, enter the water wall and proceed forward.
How to get the Wicked Implement Exotic scout rifle
Visit the Monument to Lost Lights in the Tower, located between Lord Shaxx and Banshee-44. Select the Exotic Gear Archives 2’s Lightfall Exotics section and purchase Wicked Implement for 1 Exotic Cipher plus 100,000 Glimmer. This method applies after The Final Shape expansion and remains available for players who missed Season of the Deep. Once bought, the rifle stays in collections for future retrieval.
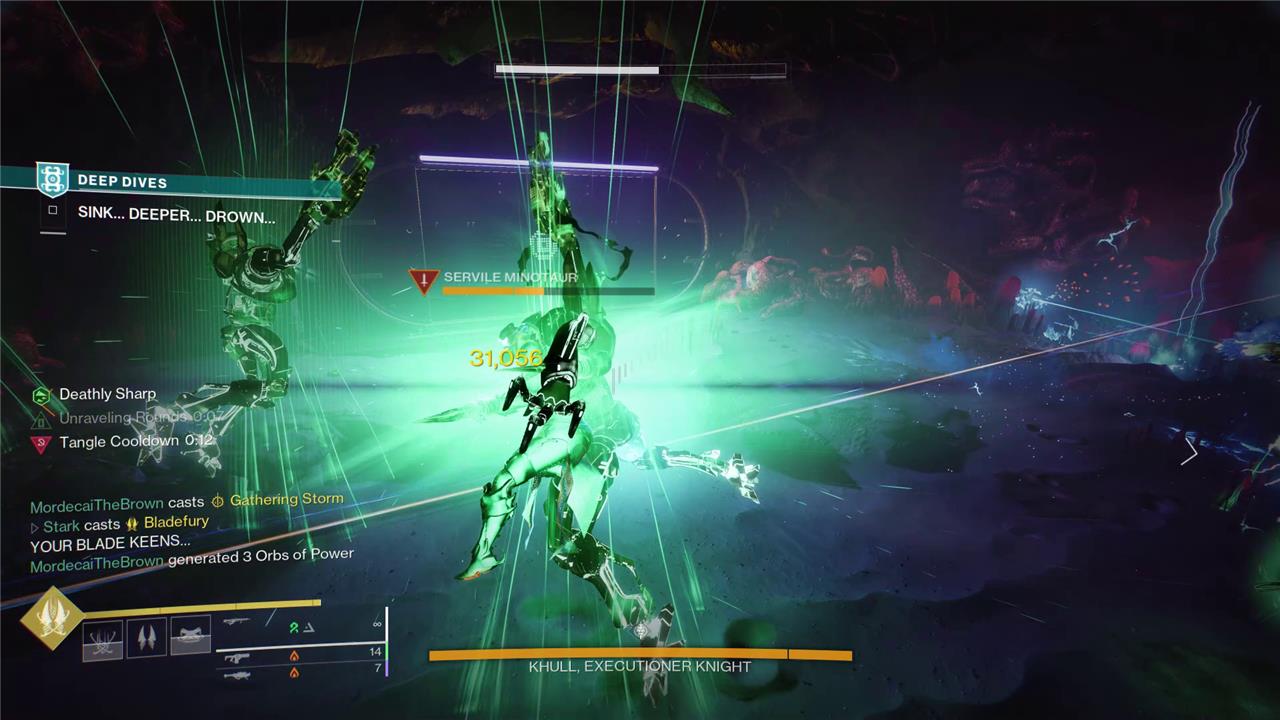
Jump through the water – ignoring the slowing mines as much as you can – until you drop down into an arena where the game will present you with a boss health bar for Khull, Executioner Knight.
Khull is here to teach you the primary mechanic for the entire Whetstone mission: Deathly Sharp.
The idea is very simple. The boss is essentially immune without a special buff. To get the buff, you need to kill three Servile Minotaurs (later called Honed) in the room. Each kill will give you one stack of Deathly Sharp. When you have Deathly Sharp x3, you’ll gain a timer for one minute and 15 seconds – an extremely long damage window in Destiny. During this time, you’ll deal a ton of bonus damage to the boss.
Kill the three Minotaurs in this first room, get the buff, and obliterate the tiny, segmented health bar of Khull to progress the mission. When he teleports away, you’ll get the Darkness Zone notification and a timer for 10 minutes will start. This is the beginning of the real Whetstone mission. All Fireteam members dying or failing to kill the final boss within 10 minutes will fail the mission, kicking you and your party back to Orbit. Tread lightly but quickly.
Move into the pyramid and start slaying out. The first two rooms will ask you to clear them of enemies and then shoot the little darkness Crux. The first Crux is easily visible in the middle of the room. The second is hiding under the stairs. These rooms are really just here to make you waste time, so go as quick as you possibly can as the enemies aren’t particularly lethal – yet.
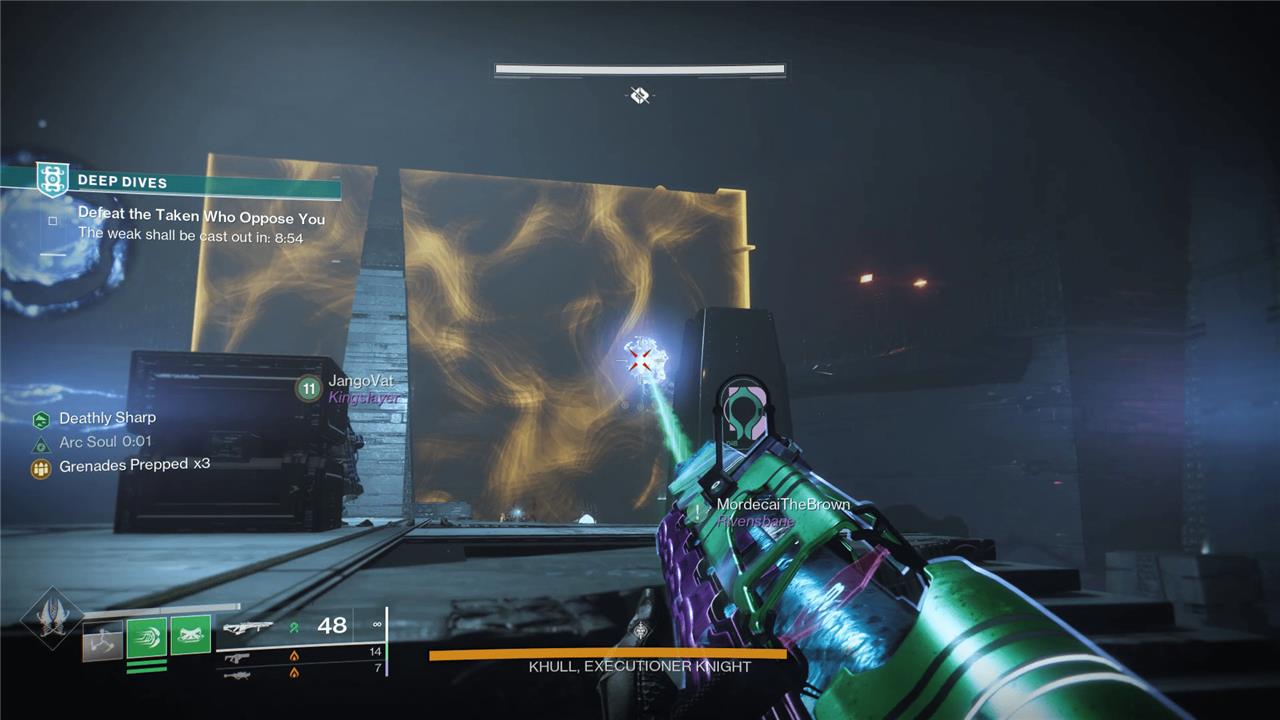
After the Crux rooms, you’ll find Khull again. Kill the Taken Hobgoblin snipers on the upper platforms as quickly as you can, as they’ll really hurt. Then kill the first Minotaur that spawns to start Deathly Sharp up. The timer for Deathly Sharp only beginswhen you get x3, so you don’t need to smoke all three Minotaurs at the same time. When Minotaur one is down, look for the Darkness Crux around the four pillars in the middle of the room. Shoot it to open the barriers on the sides, releasing the other two Minotaurs.
Once you have Deathly Sharp x3, you should be able to smoke Khull very quickly. Do not be afraid to use all of your Heavy ammo and your Super, as you’ll get a rally flag immediately after you kill Khull.
With Khull dead, run forward and place the rally flag to get your ammo and Supers back. Then drop into the maze. You should have between seven and eight minutes here. If you’re under that, you’re really going to have to book it during this next section.
When you land and walk forward, you’ll meet the boss: Omen, Blade of the Black Terrace. This dude has a sweet name, but is a major pain in the ass. It’s a boss-level Tormentor, and it will kill you in one hit if it gets close enough to grab you.
Run away from the Tormentor and observe your surroundings. This encounter takes place entirely in a maze. There’s a big, open room in the middle and a bunch of small corridors leading to four corners. You’re looking for Honed Minotaurs here, and they spawn in one of the four corners. In all of our runs, we only found Minotaurs in the Northeast, Northwest, and Southwest corners (orienting from the rally flag).
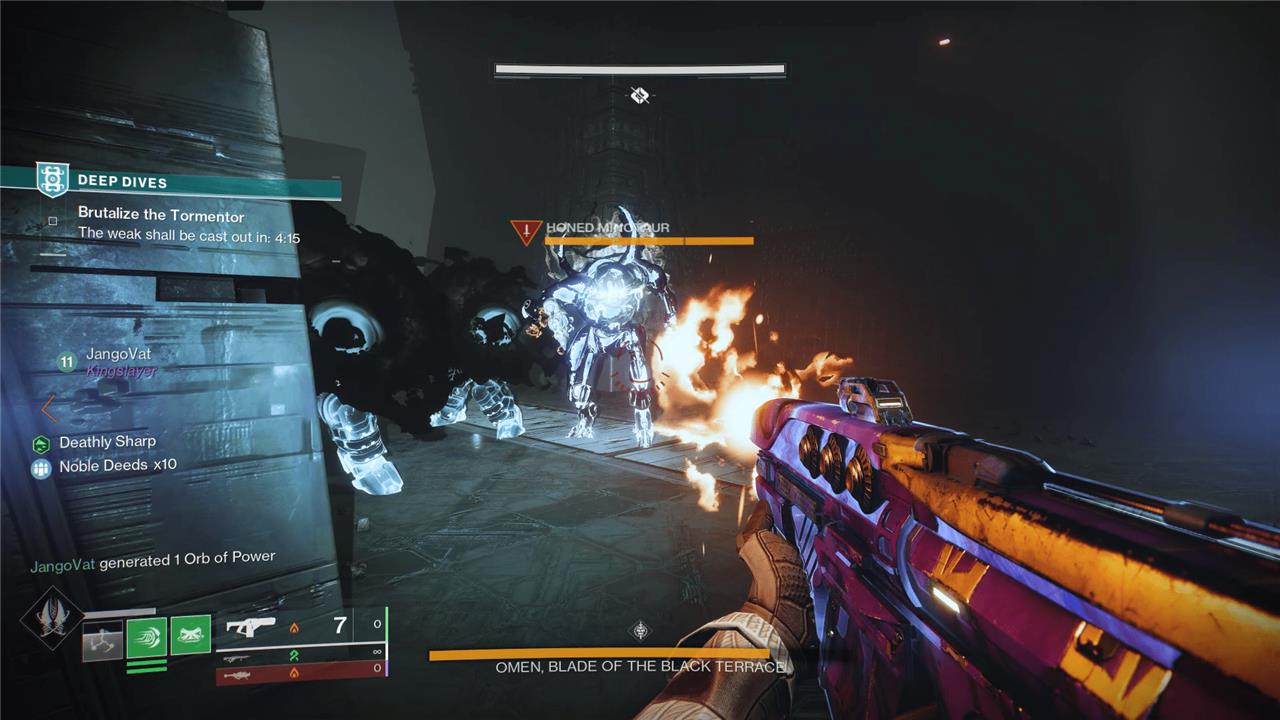
Split your group up and have each player go for a Minotaur. Each Minotaur also comes with two Taken Phalanx, so be careful not to get booped into a wall. Kill the Minotaurs and then run to the center. The Tormentor should find you pretty quick. With Deathly Sharp x3, do your best to hit as many precision hits into the boss’ chest as possible. You’ll need to be patient and accurate if you don’t have Divinity with you, as Tormentors really only take meaningful damage from precision hits.
When the buff timer runs out, repeat this entire process. The boss has a lot of health, and depending on your team you’ll likely need between three and four full damage phases to kill it – that’s about five minutes of Deathly Sharp x3, so you need to kill those Minotaurs very quickly.
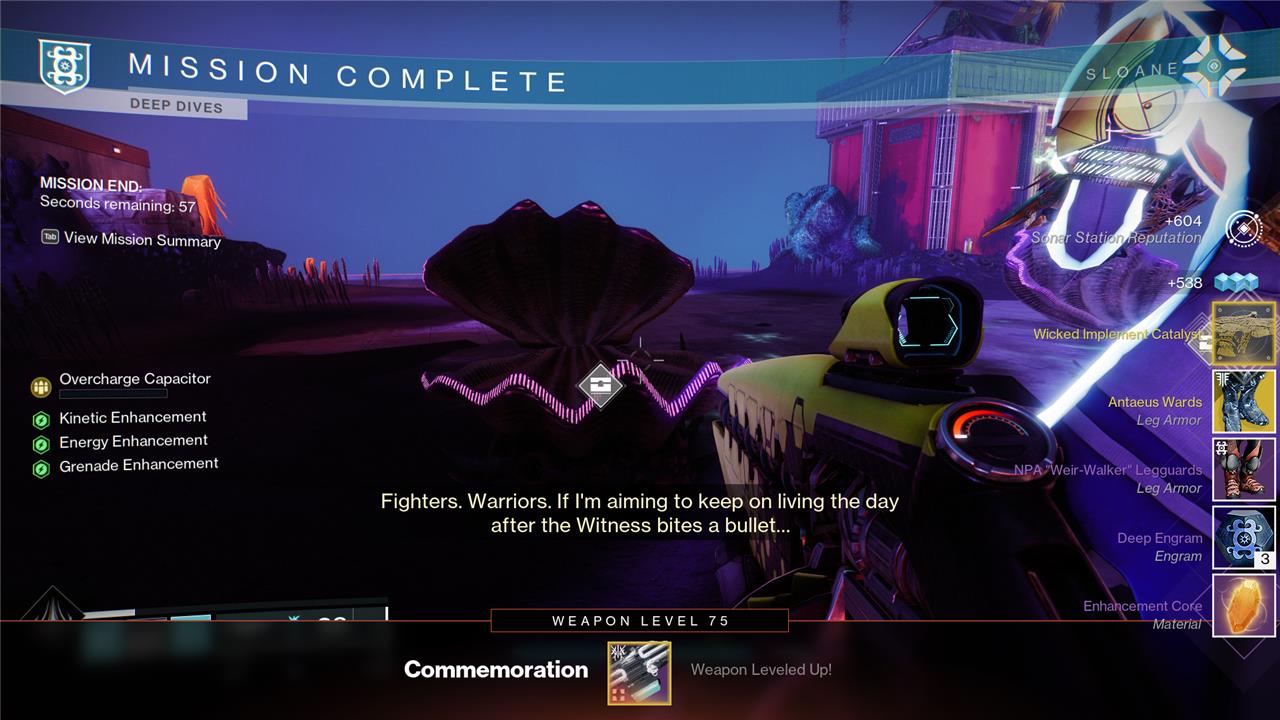
If you kill the boss in time, a new doorway will open, leading to a giant Darkness statue. Commune with it to get the Wicked Implement Exotic scout rifle.
What does Wicked Implement do?
Wicked Implement is an Exotic Stasis scout rifle that rewards precision and patience. It generates Stasis shards on precision kills, allowing players to reload the weapon automatically and extend its magazine. Consecutive precision hits also trigger a unique perk that slows targets and boosts the gun’s damage output. This makes it especially useful in activities where control and sustained fire are key to keeping enemies frozen and vulnerable.
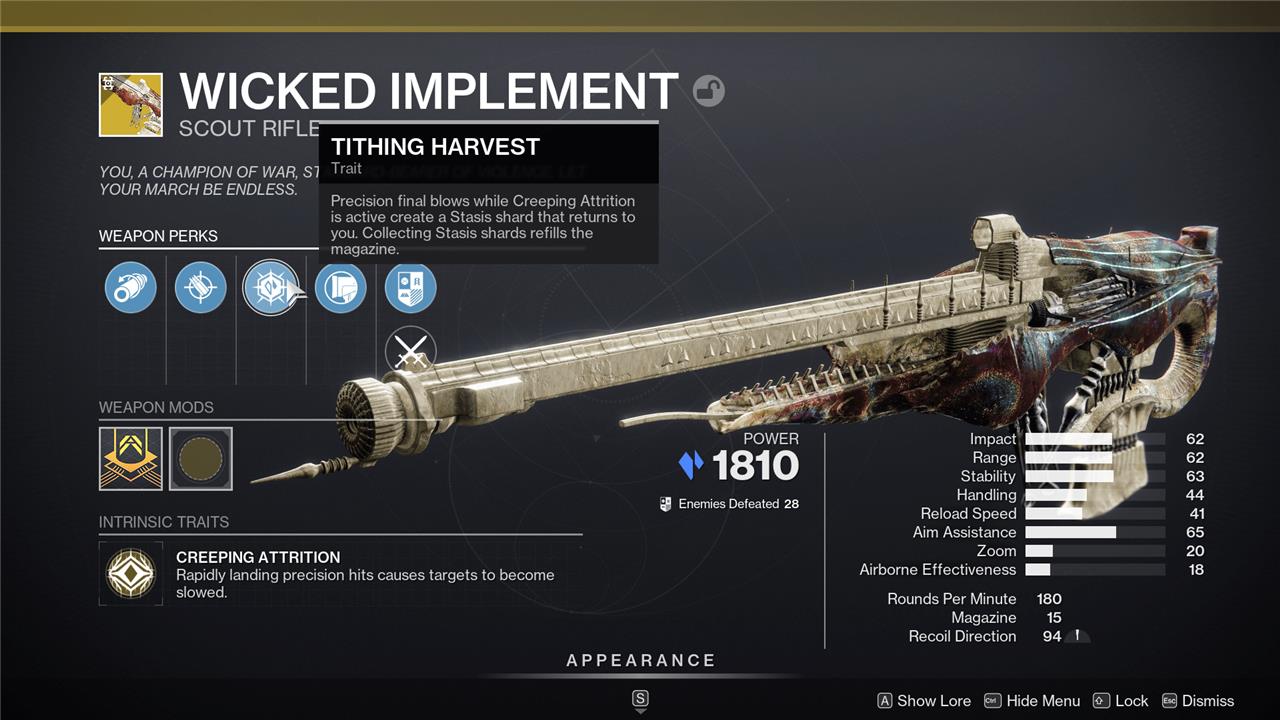
Wicked Implement is a gorgeous 140 RPM Exotic scout rifle with some perks that will really benefit Stasis-lovers in endgame content.
Its Intrinsic perk is Creeping Attrition, which causes rapid precision hits to slow targets. Its Exotic perk is Tithing Harvest, which causes kills on enemies slowed by Creeping Attrition to spawn a Stasis Shard that returns to the player. Collecting this shard reloads Wicked Implement. Even better, this Stasis Shard counts as a normal Stasis Shard, meaning you can pair it with a variety of armor mods and Stasis Fragments for bonus synergy.
This gun isn’t very impressive in the damage department, and you’re going to have a bad time with it if you take it into low-end content where enemies die very quickly. But Wicked Implement has a lot of potential for any activities with Champions (the slow and freezing effect can stun Overload and Unstoppable Champions) and basic enemies that live long enough to get frozen, like those in Grandmaster Nightfalls.
How do you get the Wicked Implement Catalyst?
Players obtain the Wicked Implement Catalyst from playlist activities including Vanguard strikes, Crucible matches, and Gambit rounds. A fireteam coordinates Deep Dive runs to tier 7 for a shot at the drop during Season of the Deep, though random chances apply after unlocking the weapon. Complete 700 kills with the rifle to activate its Headstone trait, which drops Stasis crystals on precision final blows.
A week after the Wicked Implement scout rifle made its debut in Destiny 2, Bungie dropped the Wicked Implement Catalyst.
In order to earn the Catalyst, get a group of two friends together and jump into the Deep Dive seasonal activity. You’ll need to upgrade Deep Dive all the way to Tier 7, which you can do by finding the hidden Taken orb (which some players refer to as Toland) in each of the three combat arenas and then completing the optional objective it presents to start a Pressure Trial. If you successfully complete all three Pressure Trials in a single run, you’ll get a Tier 7 boss fight.
It’s worth noting here that you can technically do this in any random, matchmade Deep Dive group. But as all players need to interact with the orb to start the Pressure Trial, and as Pressure Trials make the activity much harder, we recommend you find some friends or at the very least use an LFG service for like-minded players.
Once you kill the final boss and open the Tier 7 rewards chest, you’ll get a bunch of loot and – as long as you’ve already unlocked the gun – the Wicked Implement Catalyst.
As usual, you’ll need to get a bunch of kills using Wicked Implement to activate the Catalyst. Doing so will give the weapon a third Exotic perk. This new perk causes any Stasis Crystals you pick up (including the one created by Tithing Harvest) to Overflow the magazine instead of just reloading it.
While it’s not going to drastically change the viability of Wicked Implement – which needs a Stasis or scout rifle meta to be useful – the Catalyst is a nice bonus that should help the gun feel even better in endgame content.
Walkthrough for the Whetstone mission step by step
The Whetstone mission in Destiny 2 is a timed secret exotic quest (10 minutes) within the Deep Dive activity, activated after inserting the three Broken Blades into Hive statues. It features two bosses-Khull Execution Knight and Omen the Tormentor-requiring a stacking “Deathly Sharp” buff from killing Minotaurs to deal damage.
Initial Clearing
Spawn into the mission and clear waves of Hive enemies in the opening arena, including Wizards and Knights, while progressing through pyramid-shaped Darkness constructs by shooting their weak points. Interact with the final statue at the end to commune and receive the Wicked Implement scout rifle. Rally at checkpoints for ammo if needed.
Khull Execution Knight Fight
Enter the boss arena and defeat Khull, a beefy Knight mini-boss. Kill spawning Minotaurs (3 total per cycle) to build “Deathly Sharp x3” stacks, then unload on Khull during the buff window-Precision weapons and crowd control like Divinity excel here. Clear all adds in the room before the exit door unlocks; repeat 1-2 phases based on DPS. Advance through the now-open door.
Labyrinth Navigation
Traverse the pyramid maze: Follow Hive symbols underwater or on walls for correct paths, clearing rooms of enemies (Thrall, Acolytes) to open doors. Watch for Minotaur spawns in side rooms; killing them grants more stacks for upcoming fights. Avoid dead ends by backtracking if doors stay locked.
Omen the Tormentor Fight
In the final arena, repeat the mechanic: Kill Minotaurs for Deathly Sharp stacks (they spawn based on boss health, e.g., after ~75% damage), then burst Omen during the window while dodging his suppressors and slams. Clear remaining adds between phases; finish under timer for success and the exotic drop.
What are the required fireteam roles and recommended loadouts
No strict fireteam roles are required for Destiny 2’s Whetstone mission, as it supports solo or group play (up to 3 players) within the 10-minute timer. Coordination helps: designate one player to carry all three Broken Blades (Strife, Ambition, Cunning) for statue activation, while others handle adds or provide utility.
Recommended Fireteam Setup
-
Blade Carrier: Focuses on progression; uses mobility perks for quick statue runs.
-
DPS Lead: Handles boss bursts; brings Divinity or Well of Radiance for Precision damage.
-
Add Control/Support: Clears Thrall/Acolytes/Minotaurs; provides healing or crowd control.
Solo players succeed by self-managing Minotaur kills for Deathly Sharp stacks.
Loadout Recommendations
Use Stasis/Strand for synergy, prioritizing add clear, Precision hits, and survivability:
| Slot | Primary | Special | Heavy | Subclass/Mods |
|---|---|---|---|---|
| Blade Carrier | SMG/Hand Cannon (e.g., Osteo Striga) | Rocket Sidearm/Shotgun | Linear Fusion (e.g., Cataclysmic) | Mobility-focused; Bomber mod |
| DPS Lead | Divinity or Precision Scout (e.g., Dead Man’s Tale) | Fusion Rifle | Rocket Launcher (e.g., Gjallarhorn) | Well of Radiance; Empowering Rift |
| Add Control | Auto Rifle/LMG (e.g., Lament) | Grenade Launcher | Machine Gun | Bleak Watcher or Well; add-clear mods |
Prioritize heavy ammo economy (e.g., via immunities, rallies) and Minotaur prioritization for stacks.