Hidden high among Hyrule’s stormy peaks, the Rutafu-um Shrine challenges players with shifting platforms and precision timing. This guide reveals its exact coordinates, puzzle mechanics, and how to claim the hidden reward waiting at its heart.
When you’re done, our shrine locations page or interactive Hyrule map can direct you toward something else to do.
Rutafu-um Shrine location
Rutafu-um Shrine is found in the Tabantha Frontier region, perched high in the Hebra Mountains. Its exact coordinates are (-2996, 3102, 0515), and the shrine sits near the Rospro Pass Skyview Tower, making it easier to spot from the air. The area is cold, so prepare cold-resistant gear or meals before traveling there. The shrine stands on an elevated platform surrounded by snowy cliffs, offering a clear view once you reach its ledge.
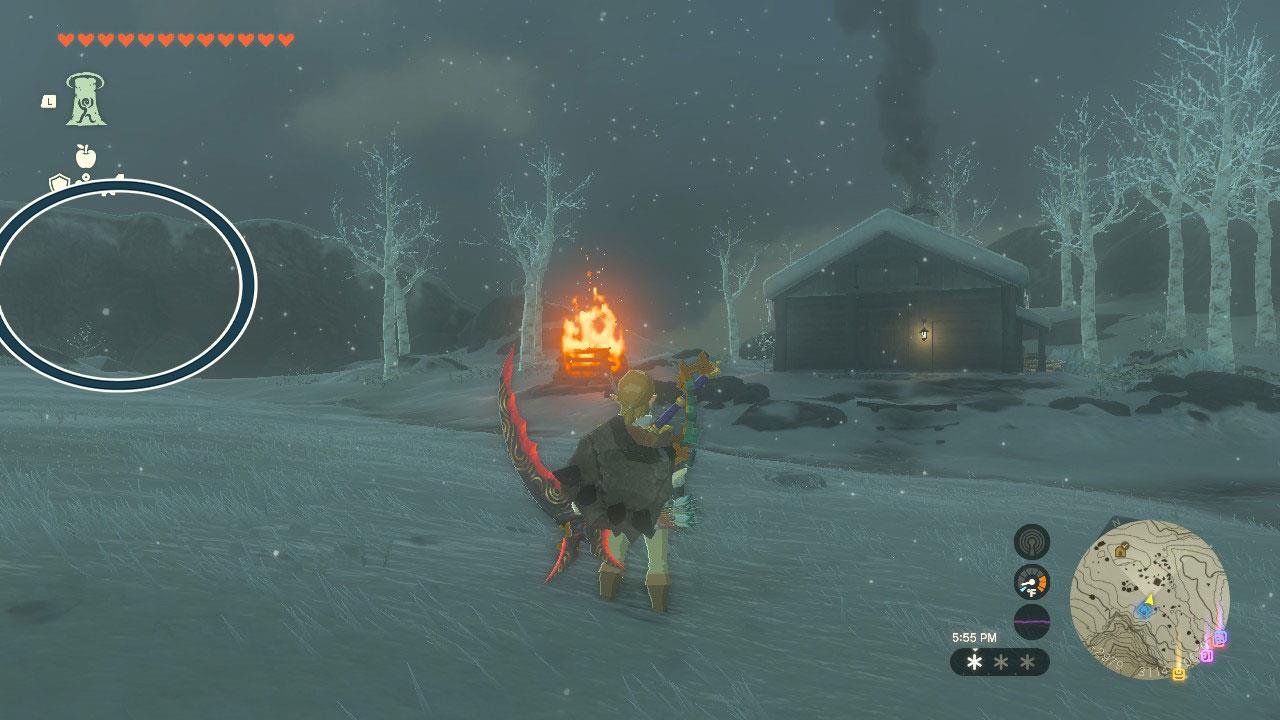
The Rutafu-um Shrine is found within the Hebra Mountain region, inside the Hebra Mountain Northwest Cave. The entrance is located at coordinates (-2988, 3182, 0570), and the closest landmark is the cabin called Selmie’s Spot (-2958, 3136, 0571), which has a great big bonfire burning by its entrance. With the cabin door to your back, head to your right to to find the cave entrance. It’s a nearly straight drop down with no pool of water to catch you, so use the glider safely land.
Hebra Mountain Northwest Cave is one large room with a pool of freezing water at the center. There is a camp of four Bokoblins on the edge, and the shrine platform is past their camp on a small ridge. Head to the empty shrine platform to accept the “The Northwest Hebra Cave Crystal” quest from the shrine.
‘The Northwest Hebra Cave Crystal’ walkthrough
The Northwest Hebra Cave Crystal puzzle sits in a frozen cave west of the Rutafu-um Shrine. Inside, players must locate the glowing green crystal trapped behind layers of ice. Melt the ice using fire-based weapons or materials, then carry the crystal carefully down the narrow, icy slopes toward the shrine’s entrance. Keep an eye out for Ice Keese and slippery terrain that can slow progress. Once placed on the shrine pedestal, the crystal activates the Rutafu-um Shrine for entry.
As the crystal’s guiding green beam indicates, it’s at the bottom of the small pond at the cave’s center. Unfortunately, the pond is full of freezing water, and no level of cold resistant elixirs or cold-weather gear can protect Link from damage.
There are a couple options for fishing it out:
The cave has lots of long icicles dangling from the ceiling. Use whatever you’d like to knock at least three down; arrows or thrown objects will jar them loose. Attach the three icicles together with Ultrahand to create a long stick to fish the crystal out of the water.
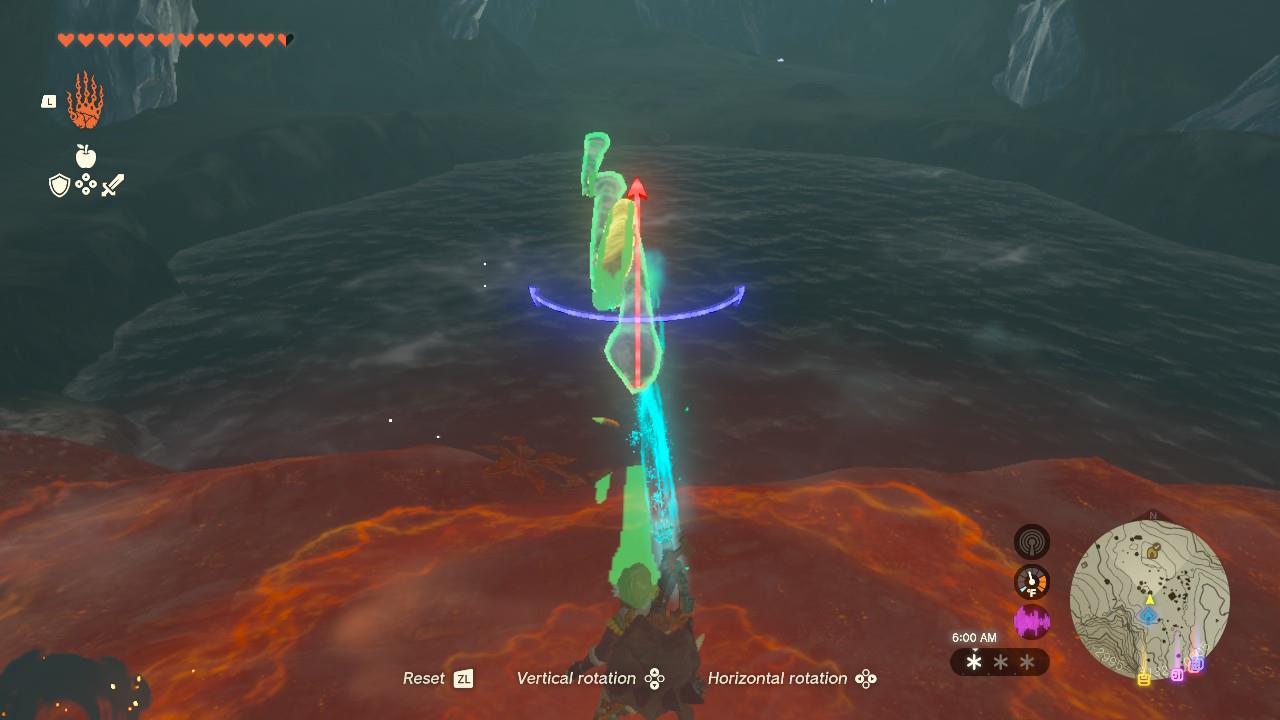
Or, alternatively, you’ll notice a couple meltable ice boulders around the cave. Use your favorite melting technique – campfire, fire rod – to uncover a chest that contains three wings. Use these to create floating platforms to get close enough, then use Ultrahand to lift the crystal out.
No matter which method you choose, bring the crystal back to the shrine to complete the quest and restore the shrine.
Enter the shrine to accept Rauru’s Blessing, which includes a chest with topaz inside. Approach the dais to accept the Light of Blessing.
The Hebra Mountain Northwest Cave Bubbulfrog
The Hebra Mountain Northwest Cave is a small cavern where you can find a Bubbulfrog waiting deeper inside. The entrance lies northwest of the Hebra Mountains, near several icy ledges that require slip resistance or careful climbing. Inside, follow the narrow tunnel until you reach a wider chamber where the Bubbulfrog clings to the ceiling. Take it out to collect a Bubbul Gem before leaving through the same path.
Before you leave, grab everything else this cave has to offer, including two hearty truffles along its edges.
The Bubbulfrog is actually easiest to get on your way out. Return to the side of the cave where the entrance shaft is. You’ll see a small mound of rock in the center; stand on it facing the pond. Activate Ascend, and take two steps towards the pond, so the cave entrance shaft is barely visible. You will then be able to Ascend directly into a small chamber where the Bubbulfrog is hiding.
How to defeat the Bokoblins in Hebra Mountains Northwest Cave
Defeating the Bokoblins in Hebra Mountains Northwest Cave is straightforward, as they are basic red and blue variants gathered around a fire by a freezing pond. Clear them before tackling the Rutafu-um Shrine quest to avoid interruptions.
Stealth Approach
Sneak up from the shadows or ledges above the camp using stealth boosts from food if available, then perform sneakstrikes with melee weapons for one-hit kills on red Bokoblins. Blue Bokoblins take two strikes but remain vulnerable from behind.
Ranged Tactics
Shoot bomb flower arrows from afar to wipe out the group in one explosion, or aim fire fruit arrows at the surrounding area to ignite them quickly. Headshots with any bow stun them for easy follow-ups.
Melee Rush
Charge in with a strong weapon like a club or spear after drawing them out one by one, dodging their slow swings and countering. The cold environment weakens them slightly, and no reinforcements spawn.
Where to find the Bubbulfrog in Hebra Mountains Northwest Cave
The Bubbulfrog in Hebra Mountains Northwest Cave hides in an alcove near the entrance shaft. Its exact position is at coordinates (-3005, 3204, 0537), on the first ledge below the drop-in point.
Finding the Spot
Enter the cave by gliding down the vertical shaft from the surface entrance northwest of Selmie’s Spot. Look south immediately after the initial drop for an opening or ledge protruding from the wall-veer into it with your paraglider instead of descending fully.
Grabbing the Bubbulfrog
Strike the blue frog once with any melee attack or arrow to defeat it and collect the Bubbul Gem. The alcove is tight but accessible early, avoiding deeper enemies like the Bokoblins by the frozen pond.