Hidden high in the Gerudo Highlands, the Rasitakiwak Shrine challenges players with shifting sands, clever puzzles, and precise glider control. This guide shows how to find its remote entrance and solve every trick inside for an easy Light of Blessing.
When you’re done, our shrine locations page or interactive Hyrule map can direct you toward something else to do.
Rasitakiwak Shrine location
The Rasitakiwak Shrine sits on the southern edge of the Akkala Highlands, north of Jochi-ihiga Shrine and east of the Akkala Ancient Tech Lab. Coordinates place it at 3571, 2851, 0381. Players reach it by heading northeast from Tarrey Town, crossing the Akkala Citadel Ruins and climbing the cliffs overlooking the lab. A nearby Korok seed and Flux Construct patrol the approach.
The Rasitakiwak Shrine is found in the Akkala Highlands region, just slightly southeast of Tarrey Town. The exact coordinates are (4166, 1323, 0229).
Rasitakiwak Shrine walkthrough
Rasitakiwak Shrine features a puzzle centered around balance and movement. Begin by examining the platforms and using Ultrahand to attach available boards or metal plates to create stable paths. Move from section to section, using Recall where needed to reach higher ground. Carefully position the objects to cross gaps and reach the altar. Completing the final section rewards you with a Light of Blessing as proof of your success.
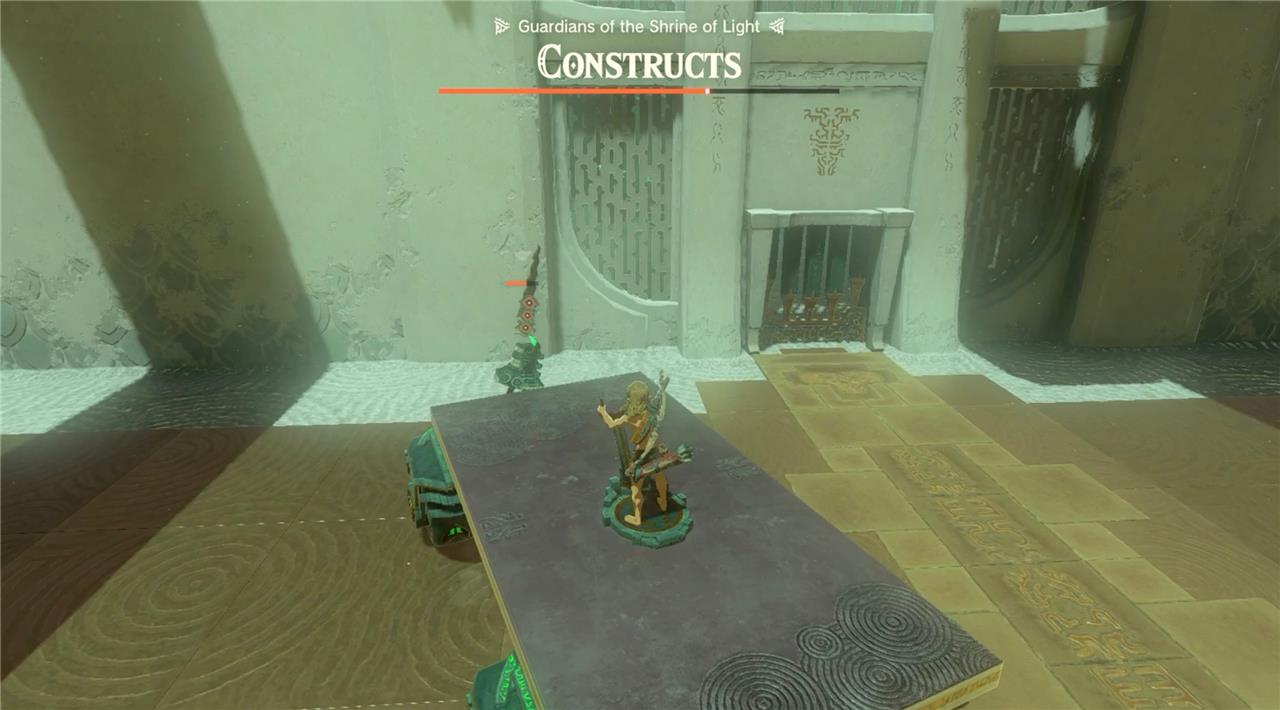
Rasitakiwak Shrine is a “Proving Grounds” combat shrine that strips you of your gear and tests your Ultrahand construction skills in order to defeat some pesky Constructs. There are a few ways to claim victory here, but one option is easily the most fun.
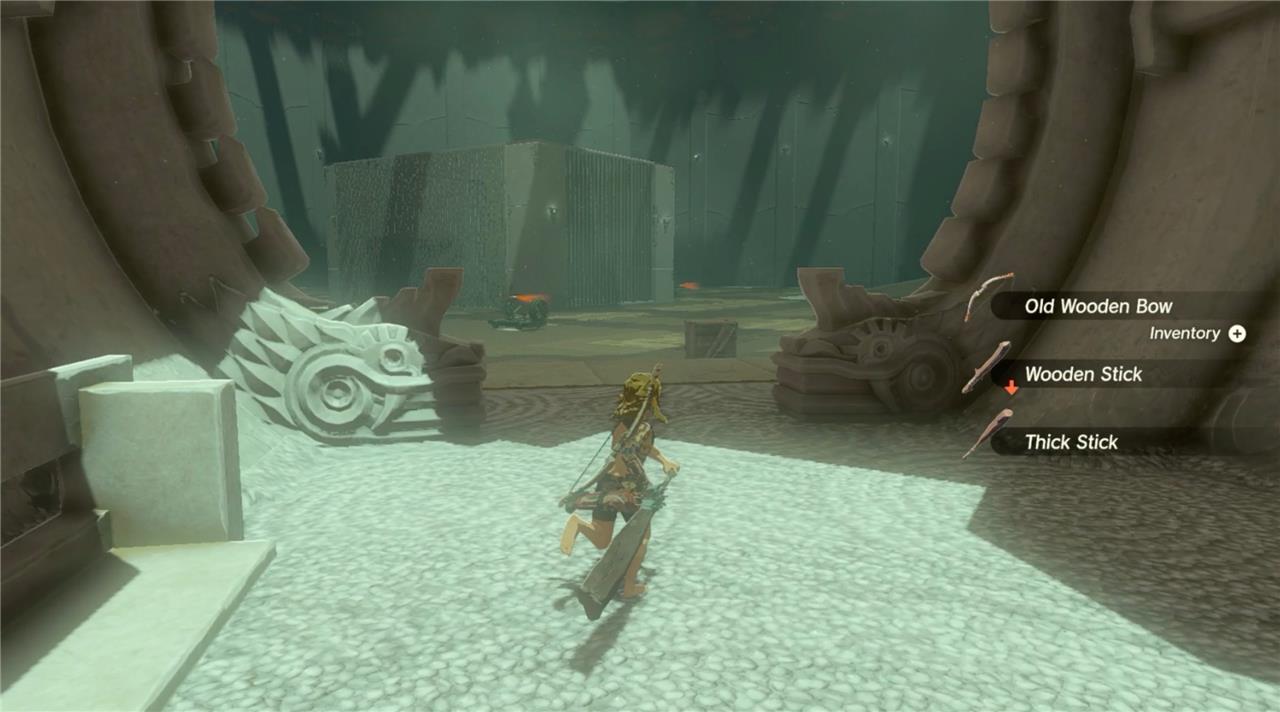
1. You might want Fuse fodder to take out some robots early on, so enter the shrine and pick up the arrows, old wooden bow, thick stick, and wooden stick waiting for you on your left.
2. Run into the main chamber of the shrine to find a Construct guarding a fan cart. Defeat the Construct with a quick arrow to the eye and few whacks of a stick. Use Fuse to bolster your stick with a Soldier Construct horn.

[Ed. note: This shrine is not terribly difficult but it does have an amazing secret. For maximum joy, run for your life to the other side of the room and skip to step six. If you want the safe route, continue with these instructions.]
3. Jump on the fan cart and steer yourself to the left (the direction it’s already facing), where you’ll find two more Constructs. Dodge their stone clubs and whack the crap out of them.
4. Once you’re done with the Constructs, hop on board the stone-slab vehicle in front of you. Steer forward to find another Construct – and run it over. Bash it with your Zonai car. Go full Grand Theft Auto. And if you only do so much damage to the Construct by driving back and forth over it, jump off and smack it with your stick. Don’t feel guilty about this perverse exercise; the robots are trying to kill you.
5. Continue driving your stone-slab vehicle over the two additional Constructs. They’re no match for your sick wheels, dude!
6. While you could find some other materials in the room to wrap up this shrine, here’s the Optimized for Fun option: Head to the right of the sigil room door to find an elevated platform. Ascend up to find a Zonai wing ready for liftoff.
7. Navigate the Zonai wing across the room, dropping off when you’re over the walled-off middle chamber.

8. When you drop in, you’ll discover a stone-slab big-wheeler and a Zonai Construct Head, Frost Emitter, Flame Emitter, and Cannon. Use Ultrahand to assemble a war machine of your liking.
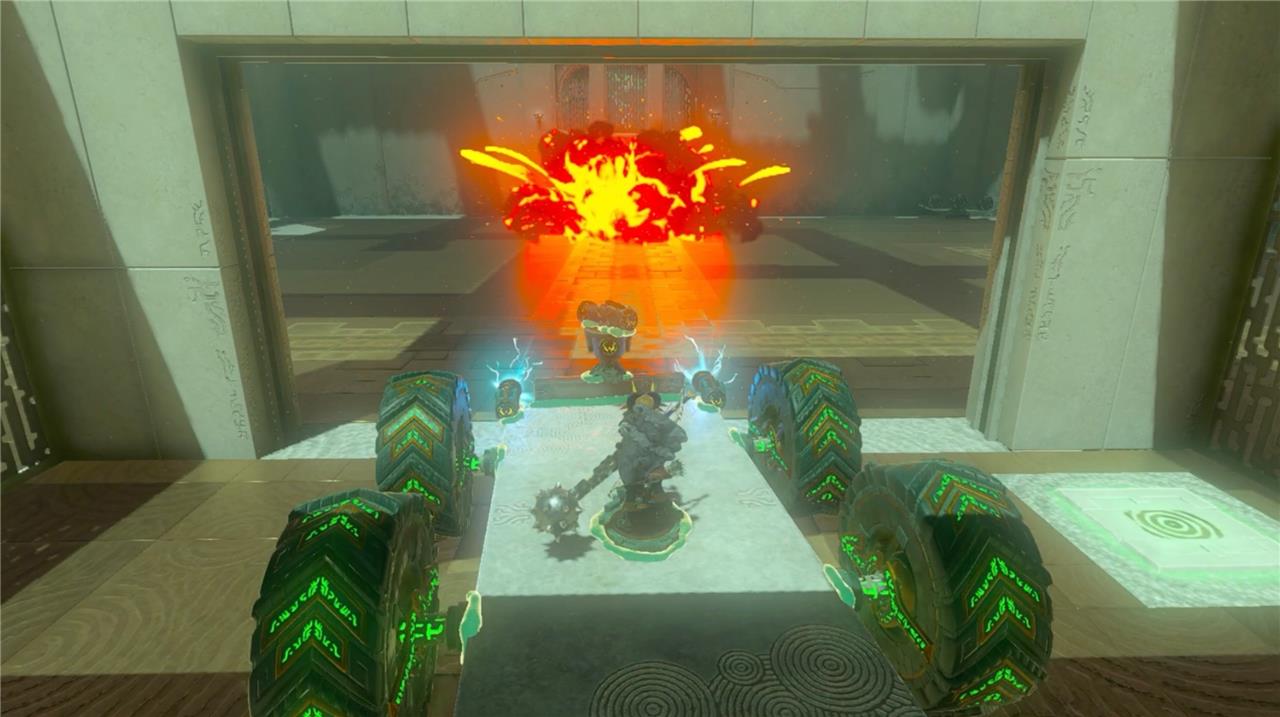
9. As you drive around, take out any remaining Constructs like you’re Immortan Joe in Mad Max: Fury Road. When you’ve decimated them all, the shrine will return your gear and open the door to the sigil room. Enter the room to find a chest containing a magic rod and the sigil where you can get the Light of Blessing.
Best strategy to beat the vehicle constructs in this shrine
The best strategy for defeating the vehicle constructs in Rasitakiwak Shrine focuses on leveraging the shrine’s provided vehicles for high-speed ramming while prioritizing weaker enemies first, or opting for a stealthy melee approach with scavenged weapons for efficiency.
Vehicle Ramming Method
Start by grabbing the initial stick, bow, and arrows to snipe the first Construct on the fan-powered cart ahead, then hop on the cart and accelerate across the flat arena to build speed and smash into one-eyed (weaker) Constructs, which explode on impact. Drive laps around the room to avoid getting swarmed by three-eyed Constructs, ramming them repeatedly while dodging their clubs-dismount to finish stunned ones if needed. Unlock the spiked wheeled vehicle from the central cage (after partial clears or via Ascend) for heavier damage, and optionally assemble a flying machine from the raised platform’s wing to reach it faster.
Stealth Melee Alternative
Head right first with starting weapons to silently eliminate ground Constructs using sneak attacks, saving arrows for Scouting Constructs (with banners) by headshotting to stun before melee finishes. Pick up the powerful Spiked-Iron-Ball Hammer dropped by the second Scouting Construct, then stealthily one-shot remaining enemies from behind, avoiding alerts that summon groups. This clears the shrine quickest without vehicles, yielding gear return and altar access.
Which vehicle is best for ramming builds and why
Spiked wheeled vehicle stands out as the best for ramming builds in Rasitakiwak Shrine.
Why It’s Superior
Found in the central cage (unlock via partial clears or Ascend from below), this vehicle combines spikes for extra piercing damage with solid momentum to one-shot or heavily stagger tougher three-eyed Constructs on impact. Unlike the lighter fan-cart, which excels at speed but lacks punch against armored foes, the spiked version maintains velocity through collisions, letting you chain rams without frequent stops.
Usage Tips
Accelerate from the cage toward clustered enemies, aiming for weak points like eyes to explode weaker Constructs instantly; dismount briefly to finish downed ones before remounting. Pair with the nearby flying machine for quick repositioning if swarmed, maximizing its ramming efficiency over other options.