Hidden among the snowy peaks of Hebra, the Gatakis Shrine tests both precision and timing with a puzzle built around shifting platforms and soaring gusts of wind. Here’s how to reach it and clear its clever challenges for a well-earned reward.
When you’re done, our shrine locations page and interactive Hyrule map can direct you toward something else to do.
Gatakis Shrine location
Gatakis Shrine is located in the Hebra Mountains region, southwest of Rospro Pass Skyview Tower. Its coordinates are roughly (-3658, 1805, -0415), placing it inside a snow-covered cave near Lake Kilsie. To reach it, players should glide from the nearby mountain peaks or traverse the icy slopes with cold resistance gear. Look for a cave entrance blocked by rocks on a cliffside; breaking the rocks reveals the path leading directly to the shrine’s entrance.
The Gatakis Shrine is found within the Tabantha Frontier region, on the western side of the Rito Village island. Once discovered, the shrine provides a Rito Village teleport point. The exact coordinates are (-3650, 1805, 0168).
Gatakis Shrine ‘Ride the Winds’ walkthrough
Use the wind currents inside Gatakis Shrine to glide between platforms and reach higher areas. Begin by catching the first updraft to land on the central ledge, then use the paraglider to move toward the rotating fan platforms. Activate switches with arrows or weapons to adjust airflow and keep climbing. At the top, glide to the final section where precise timing with the winds lets you reach the altar and claim the Light of Blessing.
In Gatakis Shrine, you’ll use the paraglider to weave past obstacles, and bust out the slow-motion bow-and-arrow trick to take out enemy Constructs while falling.
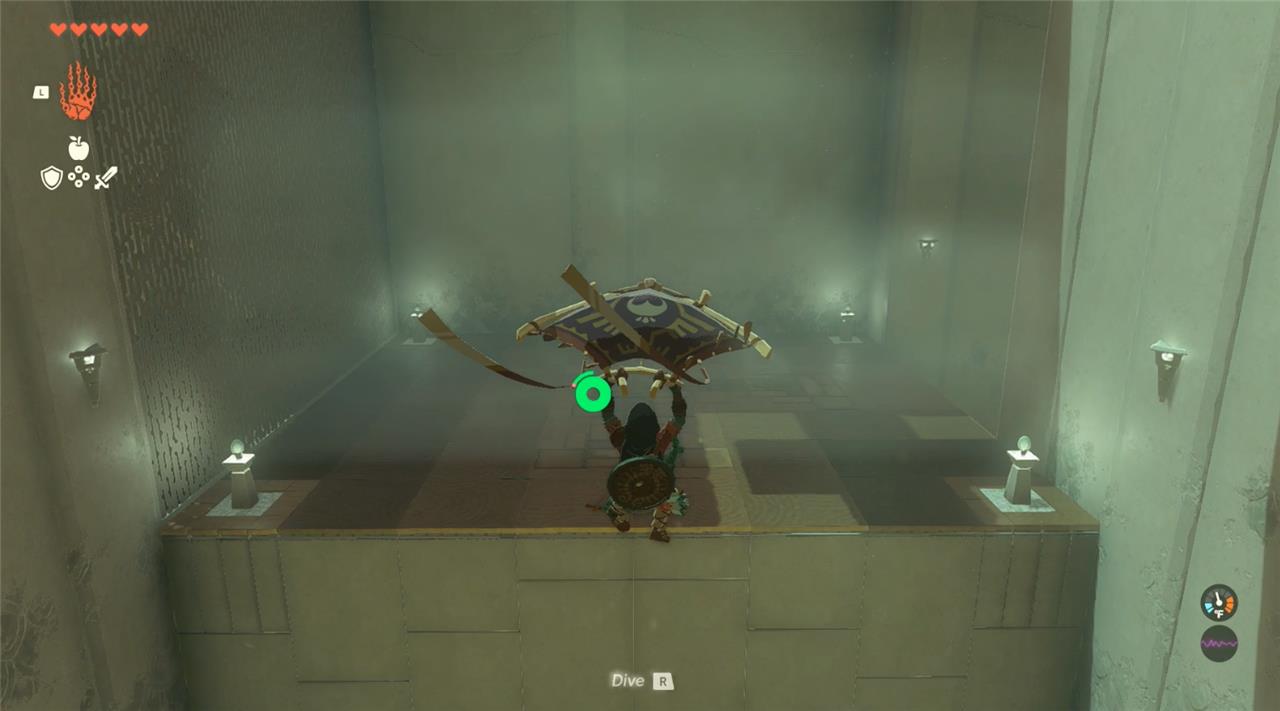
1. Run off the ledge and paraglide to the lower platform.
2. Turn right to find another ledge. Paraglide around the beams and follow the wind through the left side opening.
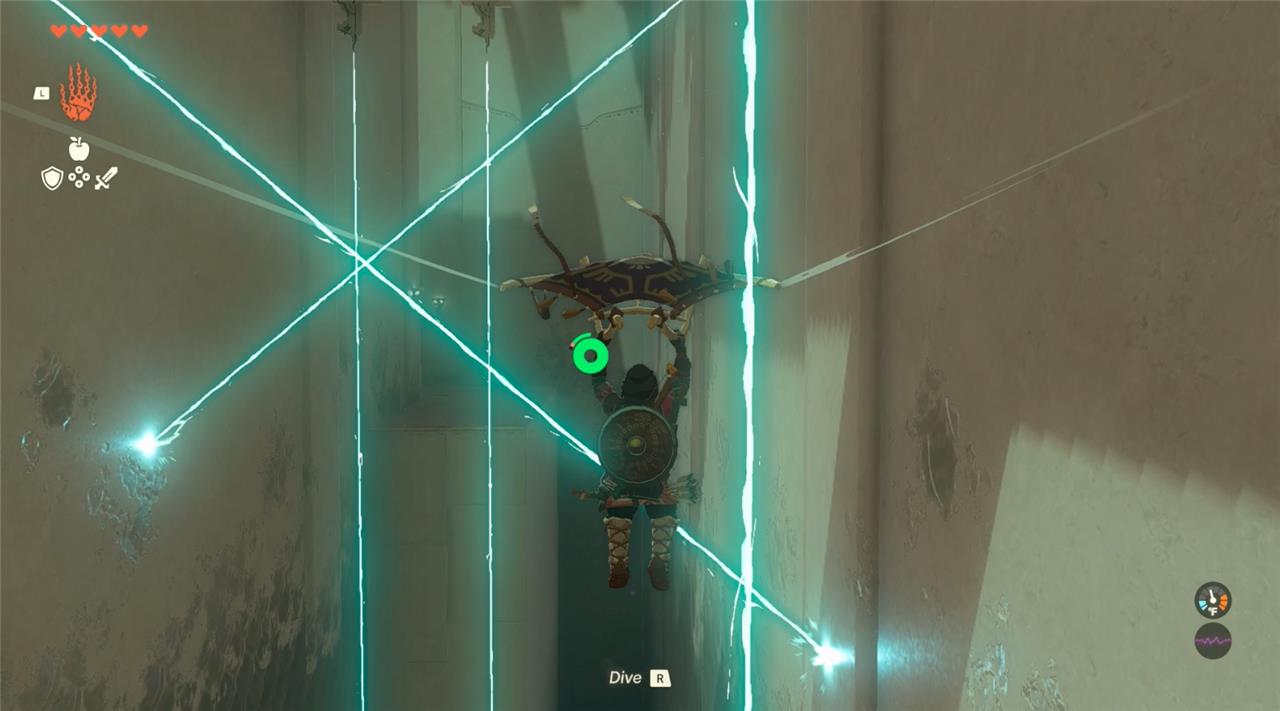
3. Walk to the giant open hole and look down – you’ll find a spinning wheel with a piece missing for you to conveniently fall through.
4. If you don’t time the jump right, open the paraglider to catch an upward breeze that will send you back above the wheel.

5. As you fall, you’ll see a platform of ice. When you reach the surface, hammer the ice with a heavy weapon or a sword fused with something heavy.
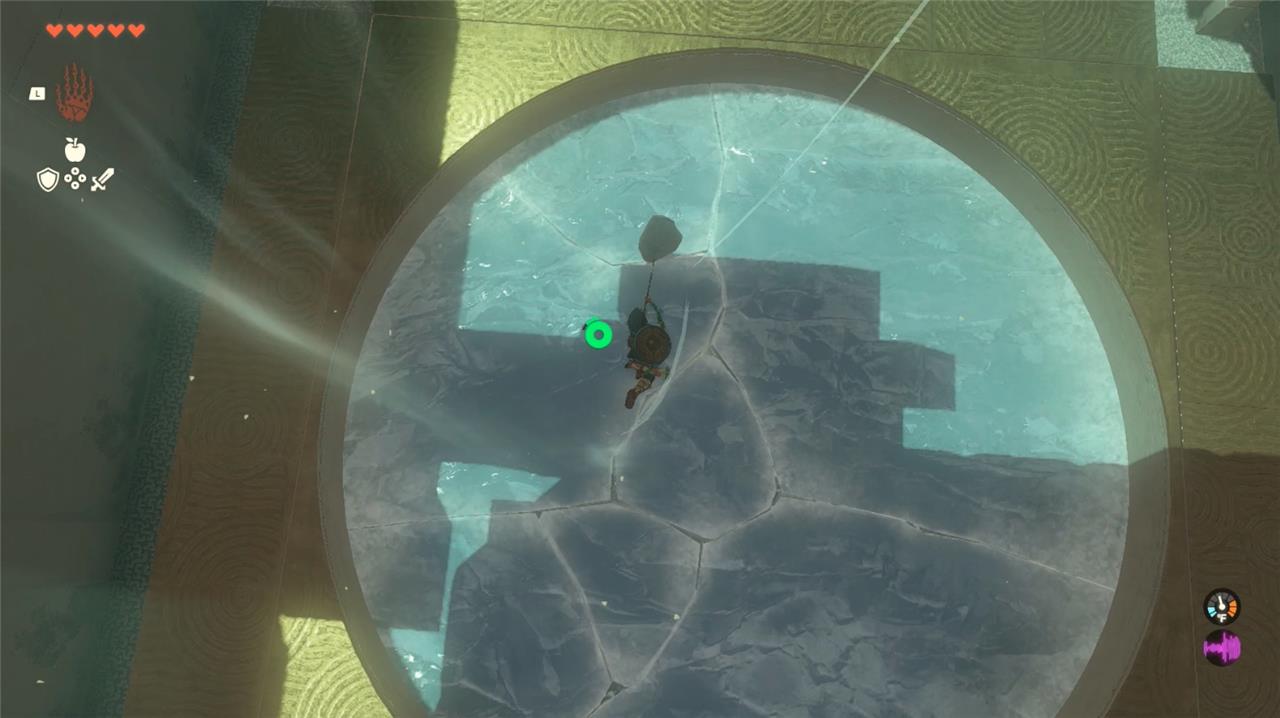
6. Continue to descend toward the fans at the bottom of the shrine. After you pass through the now-shattered hole, grab your bow – there are two Constructs to take out from afar.
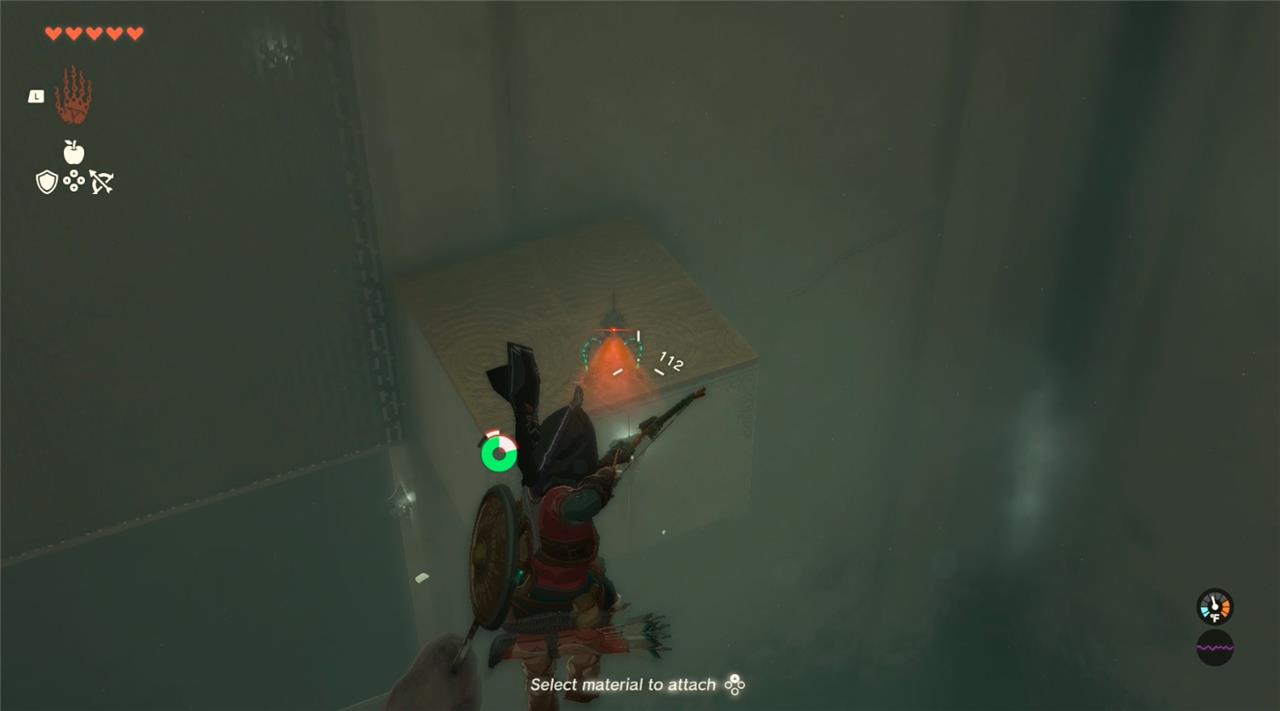
7. Go back and forth between slow-motion long-rage attacks and paragliding back up for leverage. After you’ve defeated both Constructs, glide to the lower ledge.
8. The end of the shrine is through the opening in the wall, but to retrieve the shrine’s chest, drop down into the shaft.
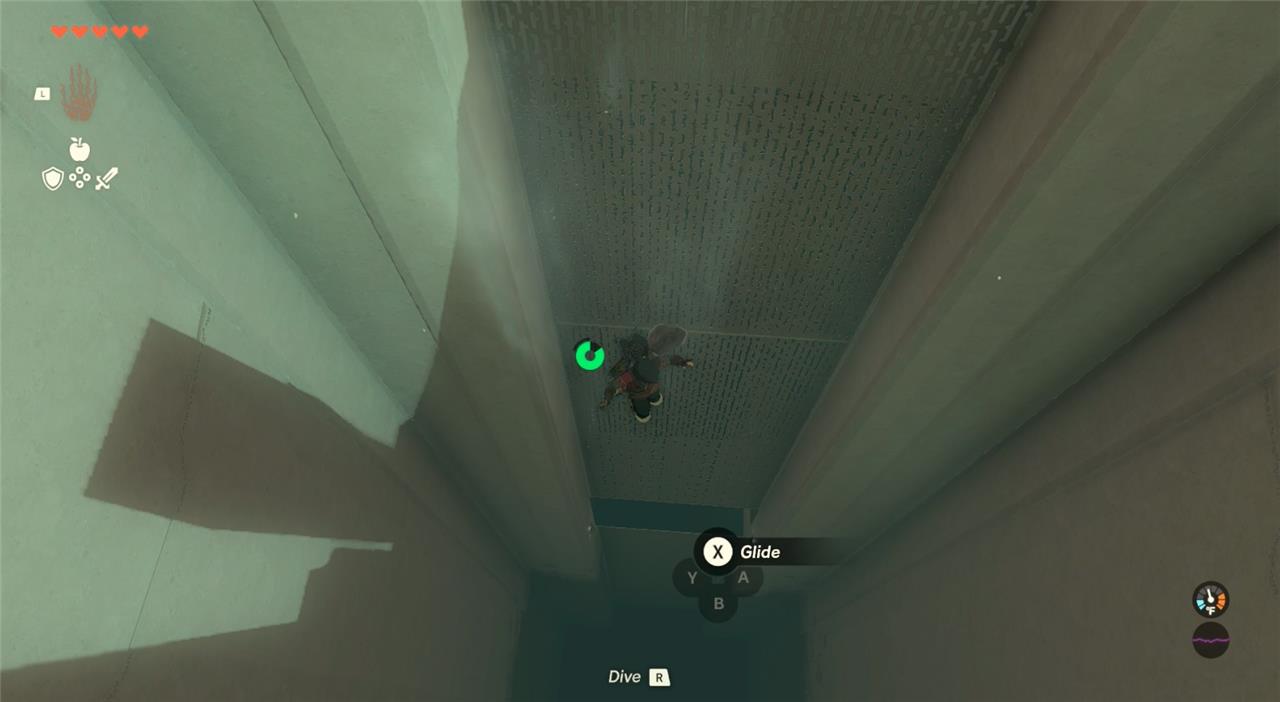
9. When you see a lower opening, open the paraglider, catch the gust of wind, and sail through the gap to another set of fans.
10. Catch the gust in lower room and once again bust out the bow and arrow to defeat a lone Construct. Once they are defeated, paraglide to the platform to find a chest containing a strong Construct bow.
How to reach Rito Village from Rospro Pass Skyview Tower
Route Overview
Rospro Pass Skyview Tower sits north of Rito Village in the snowy Hebra Mountains at coordinates around (-3686, 2342, 0233), reachable via the path from Hebra Trailhead Lodge. To head south to Rito Village, launch from the tower and paraglide toward Lake Totori below, using cold resistance gear or elixirs to handle the freezing air. The village lies on elevated tiers around the lake’s central island.
Step-by-Step Directions
Launch from the Skyview Tower and glide southeast, following the mountain ridges toward Rito Village’s distinctive tiered structures on the lake. Aim for the Lucky Clover Gazette near the broken Tabantha Great Bridge first, as it’s the key entry point south of the tower’s position. Drop Hylian Pine Cones into the campfire there to generate updrafts for safe crossing to the village’s lower platforms.
Navigation Tips
Stay on marked paths descending from the tower to avoid blizzards and wolf packs; activate nearby shrines like Gatakis for fast travel. If stamina runs low mid-glide, land on intermediate ledges or use Tulin’s gust ability if available during the Regional Phenomena quest. Coordinates for Rito Village center at about (-3650, 1800, 0200).
Best route to Rito Village when riding a horse
Rito Village lies north in the Hebra Mountains, accessible by road on horseback from central Hyrule. The safest route avoids extreme cold initially and follows established paths ideal for riding. Expect some enemies and a broken bridge near the end.
Starting from Lookout Landing
Take the northwest road out of Lookout Landing past New Serenne Stable, then curve toward Tabantha Great Bridge Stable. Cross the bridge (watch for a Hinox guarding it-stun with eye shots or sneak past), and board or register your horse at the stable if needed. Continue northwest along the canyon path through Piper Ridge.
Final Stretch to Village
From Tabantha Bridge Stable, ride north over narrow bridges past Nero Hill to reach Lucky Clover Gazette near the broken Tabantha Great Bridge. Light a campfire with a Hylian Pine Cone for an updraft, then paraglide across to the village’s lower tier on Lake Totori island-dismount your horse here as paths end. Equip cold resistance for Hebra’s chill.