Hidden deep within Hyrule’s rugged landscape, the Morok Shrine challenges players to master motion and momentum in inventive ways. “A Bouncy Device” isn’t just about timing your jumps-it’s a clever puzzle that turns physics into fun, rewarding sharp observation and creative problem-solving.
When you’re done, our shrine locations page or interactive Hyrule map can direct you toward something else to do.
Morok Shrine location
Morok Shrine is found in the Lanayru Wetlands region, on a small hill northeast of Crenel Hills and west of the Lanayru Great Spring. Its exact coordinates are roughly (1182, -0779, 0133). The shrine sits near a group of trees, making it easy to spot from above if you glide in from a nearby tower or cliff. Players can use the Ekochiu Shrine or the Upland Zorana Skyview Tower as fast travel points to reach it quickly.
Morak Shrine is in the Lanayru Wetlands region to the northwest of the Sahasra Slope Skyview Tower. The exact coordinates are (1183,-0780, 0133).
Morok Shrine ‘A Bouncy Device’ walkthrough
The Morok Shrine “A Bouncy Device” walkthrough guides you through activating a springy mechanism to propel you across a chasm. Start by locating the device, then line up your movement to ride the spring and land precisely on the next platform. Timing is key: release at the peak to maximize distance, adjust your angle to clear gaps, and use nearby rocks for indicated boosts. With careful momentum and precise landings, you’ll reach the shrine’s exit and complete the puzzle.
Morok Shrine lets you play around with stacks of Zonai springs – the “bouncy devices” from this shrine’s challenge.
1. As you enter, there’s a piston directly ahead of you. Go stand on it, and let it launch you up to the next area.
2. Instead of a piston, there’s a spring Zonai mechanism here. Climb on top and swing your weapon to trigger it, and let it launch you up to the next area.
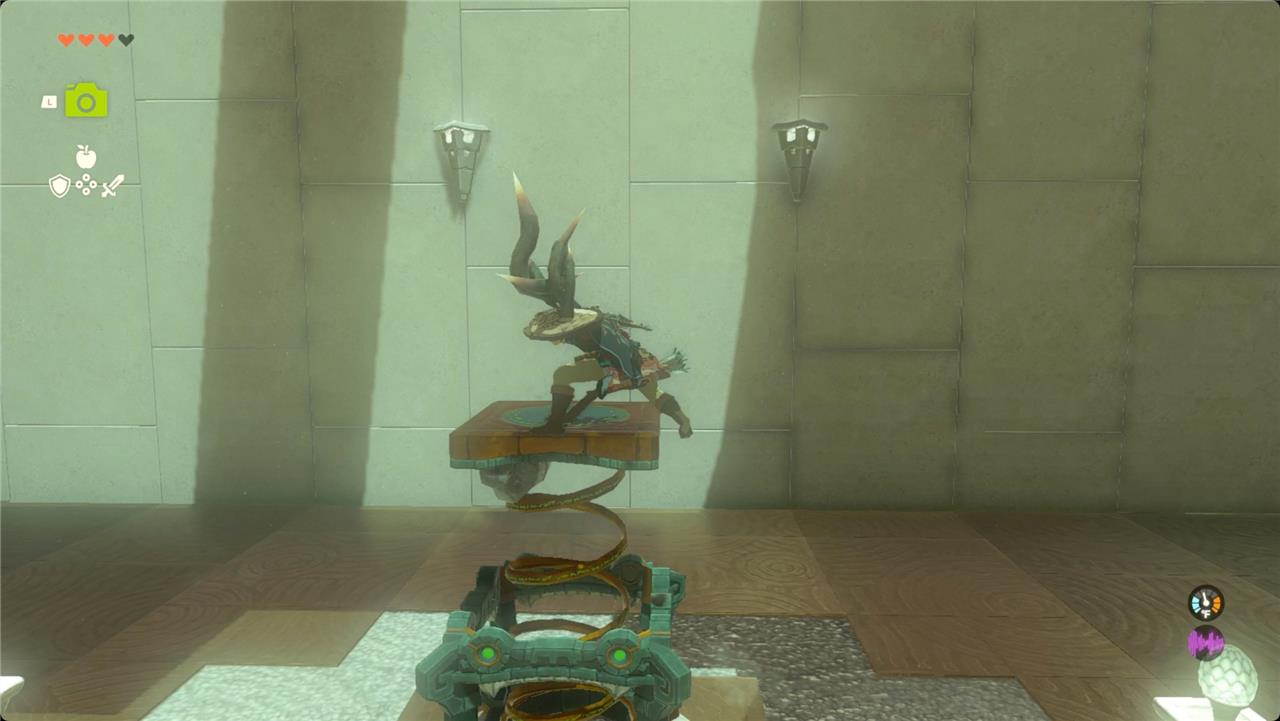
3. There’s another spring where you land. This time, face to the right and hit the spring, then glide over to the platform with the spring, ramp, and ball. (For another option, you can move the spring to the ramp along the right edge of the platform you’re on. Set it so it’s angled over to the platform off to the right, and let it launch you that way.)
4. Grab the spring with Ultrahand, and place it on the ramp so it’s angled back the way you came.
5. Grab the ball from top of the ramp on the right side, and place it on top of the spring.
6. Hit the spring to launch the ball over to the previous area.
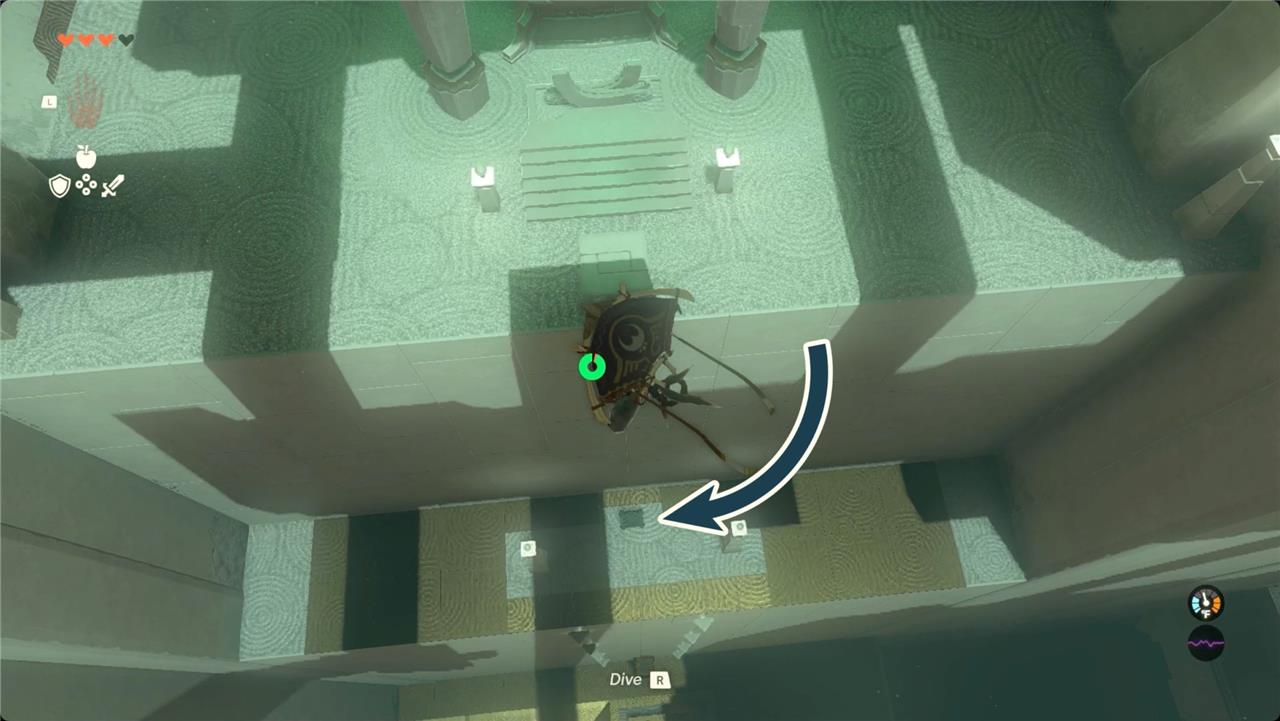
7. Hit the spring again to reset it, and then use it to launch yourself after the ball.
8. The ball you launched will probably not quite land where you need it to, so place it in the bottom of the bowl to the left of the spring.
9. This opens the gate to the left and lets you grab a pair of springs.
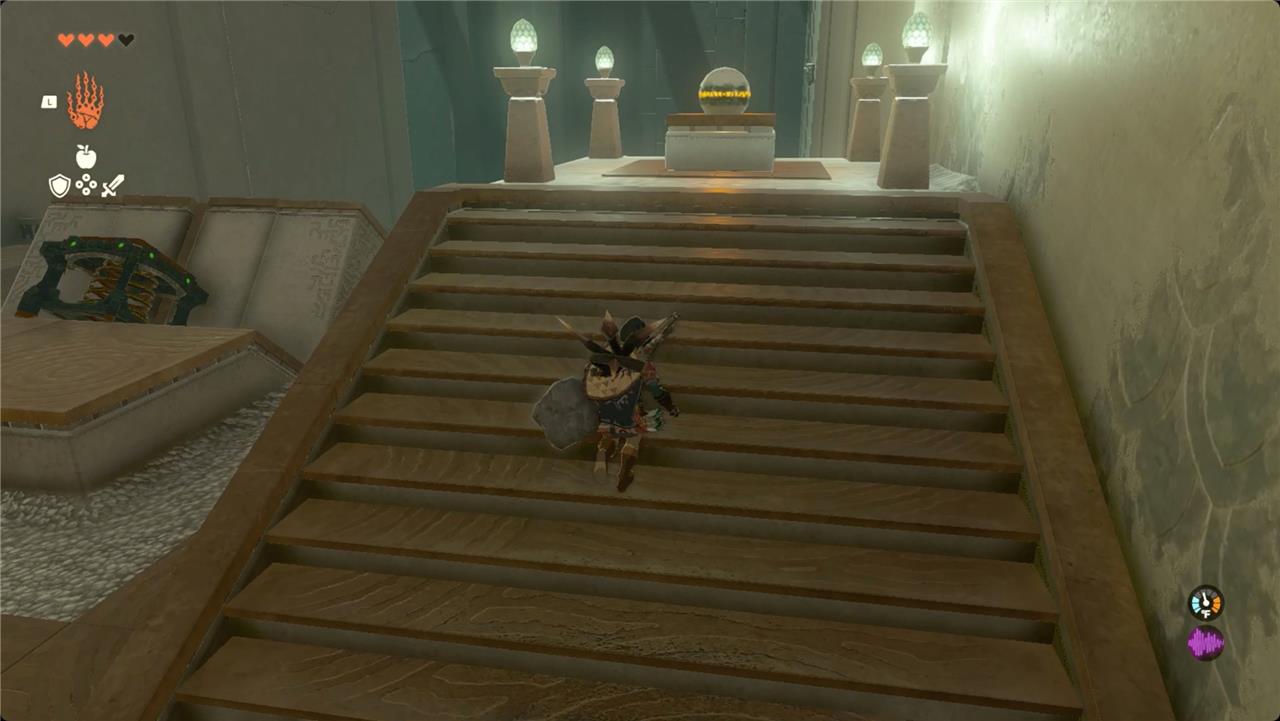
10. Place them against the wall in front of the original spring on this platform. Grab the original spring and place it on top.
11. Climb up to the top of your spring-stack, and trigger it. You’ll be high enough to reach the shrine’s exit, but look below you first. There’s a chest with a sneaky elixir inside on a ledge about halfway down.
Exact coordinates for Morok Shrine in TOTK
Morok Shrine in The Legend of Zelda: Tears of the Kingdom sits at exact coordinates 1183, -0780, 0133, on a low Sky Island northwest of Sahasra Slope Skyview Tower in the Lanayru Wetlands.
Coordinate Variations
Multiple guides confirm slight variations due to in-game map precision, but all cluster tightly around the primary spot:
| Source | X, Y, Z Coordinates |
|---|---|
| IGN | 1178, -0781, 0133 |
| VideoGamer | 1182, -0779, 0133 |
| GameSkinny | 1183, -0778, 0133 |
| Polygon | 1183, -0780, 0133 |
| Game8 | 1182, -0779, 0133 |
Access Notes
Enter by climbing the large dangling root from the hill below or gliding from the nearby Skyview Tower; the shrine entrance is at the island’s edge.
How to reach Morok Shrine from Sahasra Slope Tower
Morok Shrine lies northwest of Sahasra Slope Skyview Tower in the Lanayru Wetlands region.
Fastest Route
Head northwest from the tower’s summit toward coordinates around 1183, -0780, 0133; the shrine sits on a low sky island visible ahead.
Launch from the tower using its Skyview ability for maximum height, then glide directly northwest while adjusting for wind.
Land on the island’s edge or grab the large dangling stone root extending down from it for a stable approach.
Ground Approach
From the tower base, trek north-northwest up the slopes toward Sahasra Slope, keeping an eye upward for the root and shrine platform.
Climb the terrain or use nearby Zonai devices/rock climbing to reach the root’s base, then ascend it hand-over-hand to the shrine.
Avoid direct falls by gliding if stamina runs low during the climb.
Tips
Paraglider stamina upgrades help with gliding distance; if short, circle back to recharge at the tower. The root method works reliably from ground level without launching.