Shrines that toy with gravity usually telegraph their tricks, but Makasura Shrine hides its solution in plain sight. Here’s where to find “An Upright Device,” how to turn unstable platforms into safe paths with Ascend, and the exact steps to reach every chest before claiming your Light of Blessing.
Our guide will help you find the Makasura Shrine location and walk you through the solution for the “An Upright Device” puzzle so you can collect the shrine’s treasure chest and Light of Blessing. The Makasura Shrine focuses largely on Link’s Ascendability to navigate through different chambers.
But it’s not only about Ascend – you’ll need to use Ultrahand to build tools to solve its puzzles. One of these tools is actually really neat: You’ll build a simple trebuchet of sorts to fling a ball around the area.
When you’re done, our shrine locations page or interactive Hyrule map can direct you toward something else to do.
Makasura Shrine location
Makasura Shrine is located in Kakariko Village, within the West Necluda region of Hyrule. You can find it on a small rise east of the village, south of the east entrance road, near the tall stone archways and by the cliffs overlooking the valley. The exact coordinates are approximately (1770, -1050, 0166). To reach it easily, glide down from the Sahasra Slope Skyview Tower or follow the road leading from the village’s center toward the eastern hillside.
The Makasura Shrine is located in the West Necluda region, just south of Kakariko Village. The exact coordinates are (1770, -1050, 0166).
Makasura Shrine ‘An Upright Device’ walkthrough
The Makasura Shrine puzzle centers on using the Ascend ability and manipulating upright Zonai devices to reach higher platforms. Begin by activating the fan pillar near the entrance and ride the air current upward. Attach a platform to the rotating pole and align it to form a bridge across the gap. Use Ascend beneath elevated structures to move between levels efficiently. In the final room, position a fan-powered lift beneath the goal platform, soar upward, and Ascend through the ceiling to reach the shrine’s exit and claim your reward.
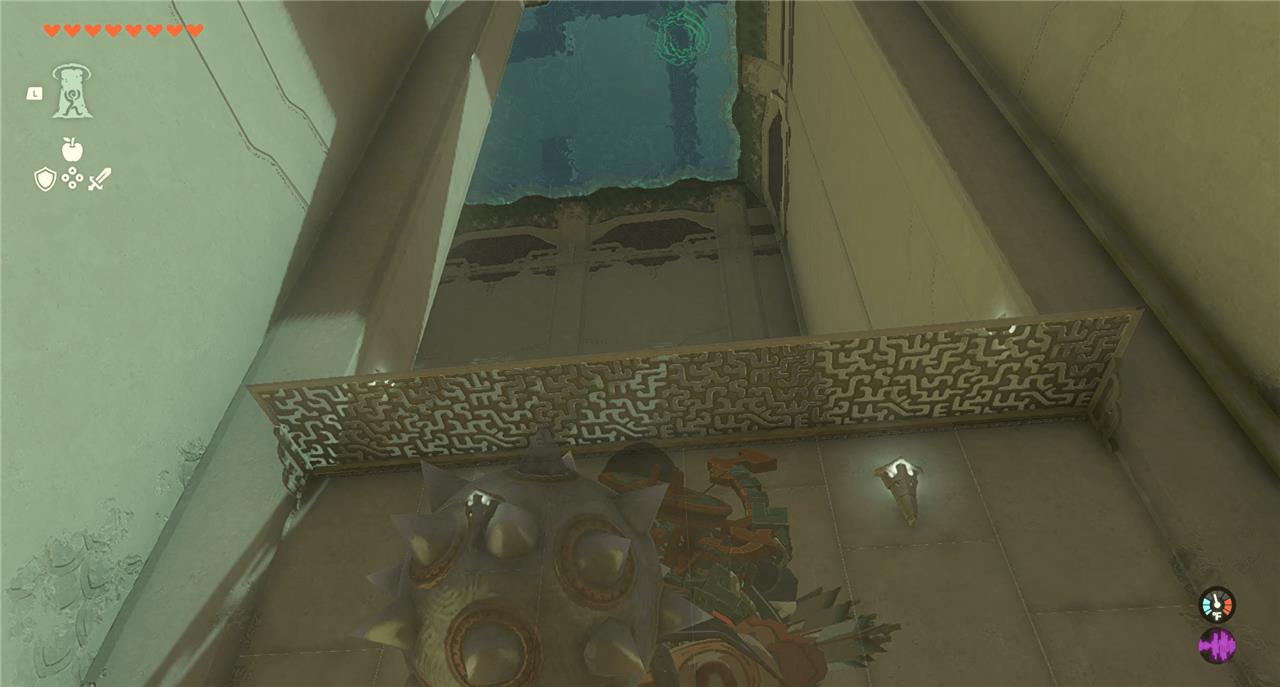
The Makasura Shrine’s “An Upright Device” trial primarily makes you use the Ascend ability. Once you enter the shrine, you might immediately be stumped – the main chamber looks to simply be an empty room. But look up and you’ll see where you’re supposed to go.
1. Walk to the far end of the room, underneath the slight edge. Use Ascend to move through the ledge onto the next level.
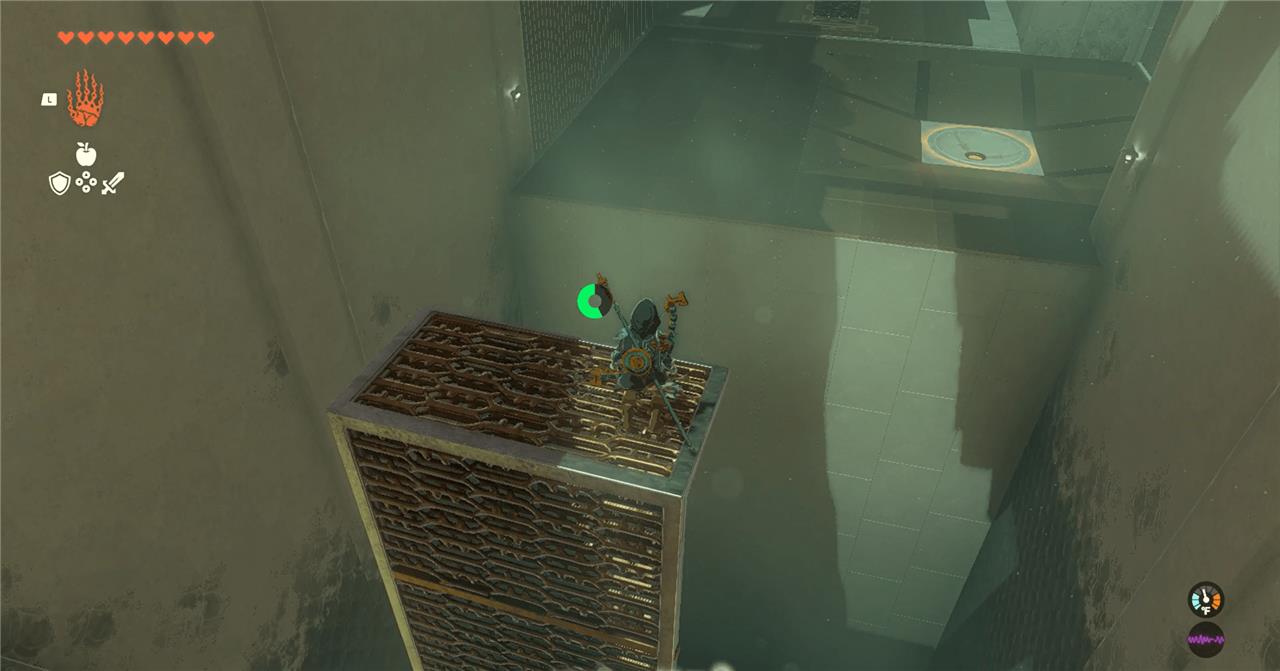
2. In the next room, you’ll find a grate attached to a Zonai device. Move it close to the edge, then hit the Zonai device to cause the grate to stand up straight, so you can climb it to perch on its platform, like so:
3. Jump off and use your glider to clear the gap into the next area.
4. Head straight and you’ll see another L-shaped grate. Grab it and take it over to the left-side wall of that area. Hit the Zonai device to stand it up, and climb it and use your glider again to get into the gated-off area.
5. There are three items in the gated off area: a Zonai device, a grate with a bowl attached, and a ball. Attach the Zonai device to the end opposite the bowl, on the grate. You’ll want to Fuse it the same way it’s used previously in the shrine.
6. Grab the ball and move it into the bowl. Here’s what it looks like all together:
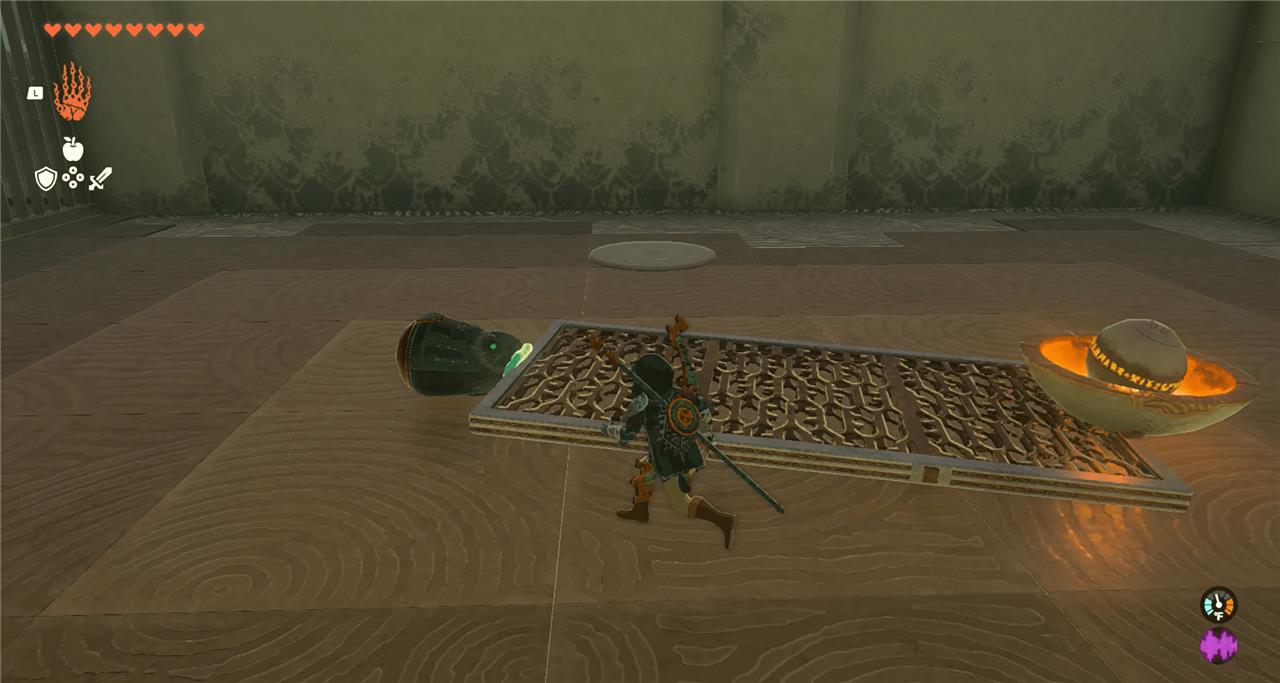
7. Hit the Zonai device to cause the grate to stand up, which will shoot the ball into the other chamber. The gate on the opposite side of the other chamber should open once the ball reached the indent in the chamber.
8. Before you leave this chamber, though, move the grate to the back side of the room, opposite the gate, where there’s a treasure chest on a ledge. Open it to get a fairy tonic.
9. Once that’s done, move the grate back to the gated wall. Climb it, jump, and use your glider to exit the room and head back into the original chamber.
10. The room that opened has another grate with a bowl attached. Bring it into the main chamber. Attach it to the other grate, with the ledge, in the chamber, like so:
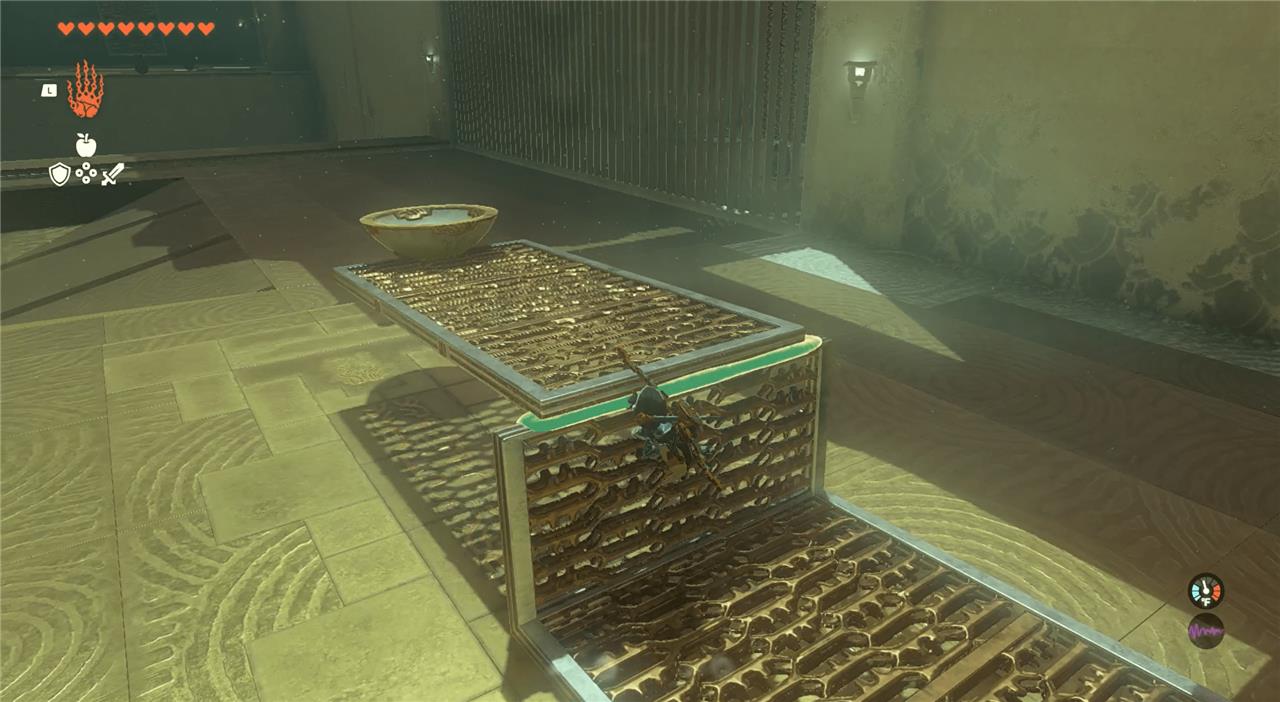
11. Make sure the Zonai device on the end is as close to the edge as possible before climbing into the bowl.
12. From the bowl, use an arrow to activate the Zonai device. You’ll get launched into the air by your makeshift lever, then glide once you’re at the pinnacle of your leap to reach the opposite side of the gap.
Best route from Kakariko Village to Makasura Shrine coordinates
The shrine is almost directly up the cliff just south of Kakariko Village; the cleanest route is to start in the village, reach the south-side scaffolding, then chain Ascend uses up to the shrine at roughly ,-,1770, -1050, 0166,-,.
Quick coordinate reference
-
Makasura Shrine coordinates: ,-,1770, -1050, 0166,-, (sometimes noted as ,-,1775, -1055, 0166,-,; both refer to the same hill south of the village).
-
Landmark: cliff overlooking the south/west edge of Kakariko Village in West Necluda.
Best route from within Kakariko
-
From the village center / general store, head toward the western or southwestern exit of Kakariko, where the cliff wall rises immediately beside the path.
-
Look for the series of wooden scaffolds/platforms built into the cliff just south or southwest of the shops; stand beneath the lowest one and use Ascend to reach the top of it.
Chaining Ascend up the cliff
-
Once on the first scaffold, walk under the next platform above you and use Ascend again; repeat this for each scaffold (usually about four Ascend uses total).
-
After the last Ascend, you will emerge on the clifftop plateau; from here, walk a short distance toward the shrine marker on your map to reach Makasura Shrine at ,-,1770, -1050, 0166,-,.
Alternative tower-to-shrine route
-
If you are not yet in Kakariko, warp to Sahasra Slope Skyview Tower, launch yourself, then glide east toward Kakariko; the shrine on the cliff just south of the village is clearly visible from the air.
-
Aim to land near the shrine’s coordinates (or slightly above the village), then drop down or glide directly onto the shrine platform to activate it as a fast-travel point.
Fastest way to reach Sahasra Slope Skyview Tower from Kakariko Village
The fastest way to reach Sahasra Slope Skyview Tower from Kakariko Village is to head west through the hills of West Necluda, chaining climbs or Ascend uses up the slopes while avoiding the nearby Battle Talus.
Tower Coordinates
-
Exact location: -,-,-1344, -1170, 0166-,-,, situated on a hill just west of Kakariko Village and southeast of Hyrule Castle.
Step-by-Step Ground Route
-
Exit Kakariko Village via the western path near the village’s edge, heading directly uphill into the grassy slopes of West Necluda.
-
Follow the natural upward terrain west-northwest; use stamina food or elixirs for sustained climbing, or spam Ascend on overhanging rock ledges to shortcut vertical gains (about 5-7 minutes on foot).
-
Watch for the Battle Talus patrolling the base of the tower’s hill-sneak around its north side or defeat it quickly to proceed up the final slope to the tower.
Activation Upon Arrival
-
Talk to Billson (the Rito outside), who hints at the cave below; ignore mushrooms and enter Sahasra Slope Cave (two entrances at the hill base).
-
Break breakable rocks inside with bomb flowers or fused weapons to reveal a central hidden path; use Ascend on the ceiling spot directly under the tower to pop inside.
-
Clear the wooden sticks jamming the sliding doors, exit to activate the terminal, and unlock the map for West Necluda (including easy glides back to Kakariko or Makasura Shrine).