Suspended high above a scorching canyon, the Gerudo Canyon Skyview Tower refuses to activate like the others-its console buried beneath rubble and broken machinery. To restore its power, you’ll need to think beyond brute force and use Zelda’s new abilities in ways the desert never intended.
Figuring out all of the Skyview Tower locations is merely the first step to unlocking Hyrule’s map in its entirety. Below you’ll find a walkthrough to solve the Gerudo Canyon Skyview Tower in Zelda: Tears of the Kingdom.
How to activate the Gerudo Canyon Skyview Tower
Speak to Sawson on the stalled elevator below the tower, then climb up to the tower entrance and locate the pile of building materials nearby, including several metal crates. Use Ultrahand to attach three metal crates to the counterweight side of the elevator mechanism to make it heavy enough to rise. Once the platform carries Sawson up to the tower, talk to him and wait for him to repair the device, then interact with the terminal inside to activate the Gerudo Canyon Skyview Tower.
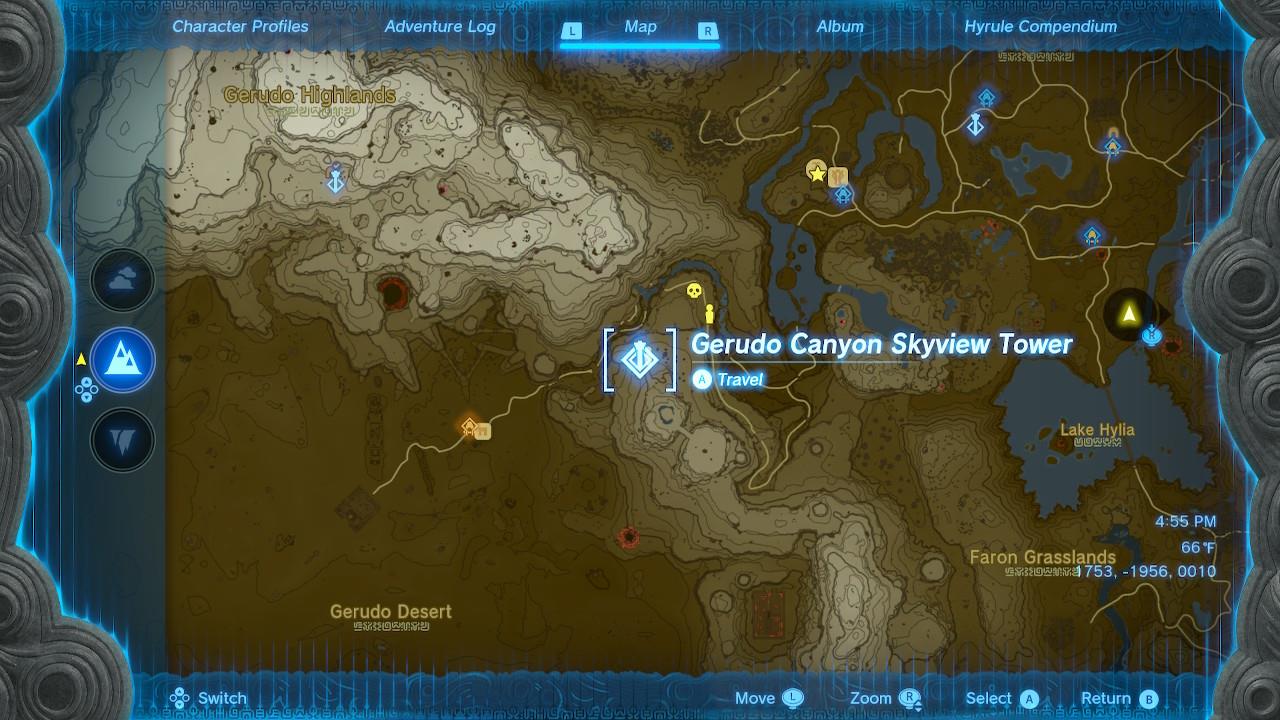
The Gerudo Canyon Skyview Tower can be found northeast of the Gerudo Desert at the coordinates (-2432, -2178, 0307), northwest of the Faron Grasslands, and toward the southern end of the Hyrule map.
If you’re approaching the area on foot, you’ll find a rather rudimentary elevator. Hop on the platform on the right – it’s on ground level and has two metal crates on top – then use Ultrahand to lift either of the crates. On my end, this was enough for the contraption to take me to the higher end.
Doing so will get rid of the counterweight and take you above. It’s also a useful demonstration, as you’ll have to build your own to complete this tower.
Don’t worry, it’s fairly easy to pull off. A character named Sawson tells you they are on their way to repair the tower, but the counterweight for the lift available is missing. There’s only the ceiling support, which you’ll use to build upon.
To get to where the tower is, go around the surface of the cliff, and be careful with the three elemental Lizalfos here – the specific types might vary on your end, but remember to counter their resistances. (If they’re red, you can hit them a white Chuchu jelly from an Ice Chuchu. If they’re blue, throwing a fire fruit instead can do the trick.) You can also just fight them normally or avoid them altogether by sneaking around the left side of the cliff. They carry some neat materials and weapons, though!
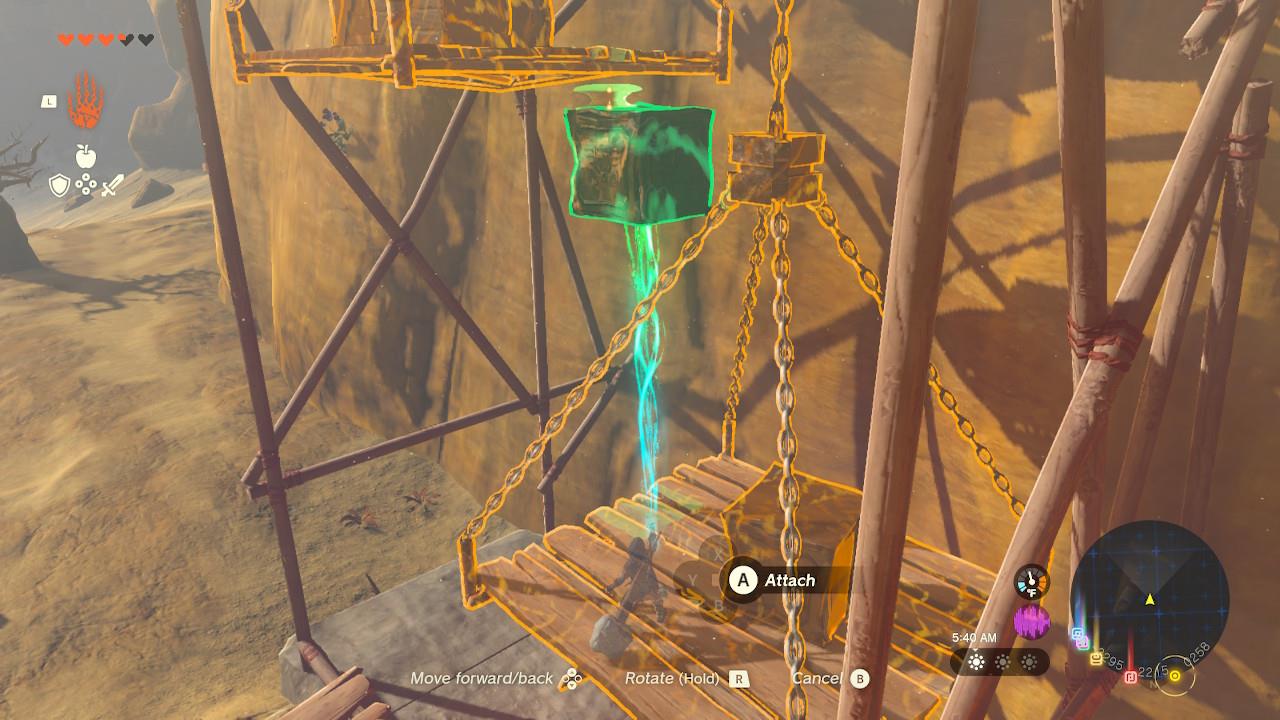
Once you’re at the top, get close to the lift. You’ll see building materials on the opposite end.
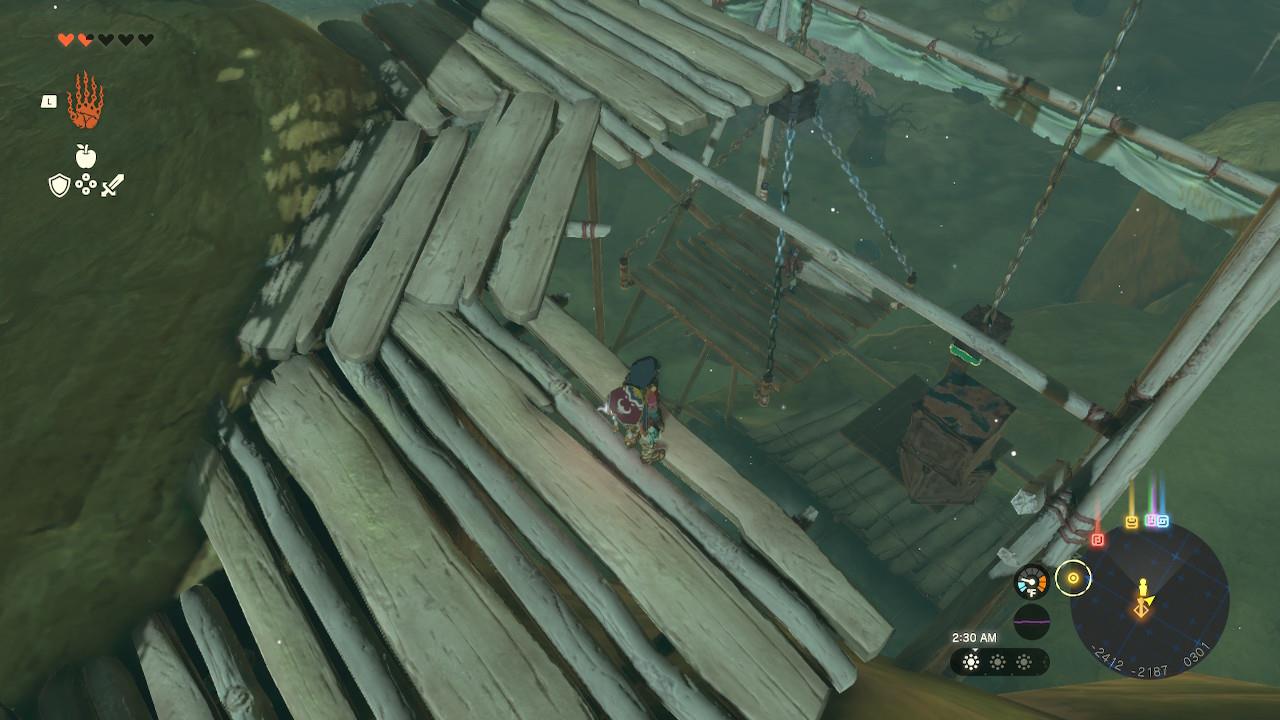
Here, you’ll need to use one of the pillars (the long pieces of wood) to attach to the ceiling support. Then, use one of the plain boards to create the floor. For the last steps, grab the metal crates next to the construction post, and start piling them on top of each other to add weight to your makeshift lift. This will slowly but surely bring Sawson to where you are.
Alternatively, you can make a longer and wider lift by using additional pillars, then grabbing one of the large metal crates behind the construction post. Those are quite heavy, though, and if Sawson is at risk of being hit, they’ll tell you that it’s dangerous and stop the action on the spot for you to retry.
What Ultrahand contraptions work best to reach the tower
You don’t actually need anything fancy here; the tower is close enough that simple, low-cost Ultrahand builds work best.
Simple “elevator” methods
-
Recall elevator: Put a solid plank or stone slab on the ground, lift it straight up with Ultrahand as high as you can, hold it there a moment, drop it, stand on it, then use Recall so it carries you upward.
-
Crate/platform stack: If there are wooden planks or metal crates nearby, glue 2-3 together into a tall column or slanted “ladder,” lean it against the cliff, and climb it to cut down how much stamina you spend on raw wall climbing.
Using Zonai devices (if you have them)
-
Fan platform: Attach 2-3 fans to the underside of a big board, place it at the base of the cliff, hop on, hit the fans, and ride it partway up, then glide and climb the rest.
-
Rocket plank: Attach a rocket to one end of a plank, stand on the opposite end, ignite the rocket, and ride it up toward the tower, then paraglide to a safe ledge.
When to skip contraptions
-
If you have decent stamina and climbing gear, straight climbing with a couple of rest ledges is often faster than building anything elaborate.
-
Save complex vehicles (wing gliders, multi-fan airships, etc.) for longer horizontal travel; for this tower, quick vertical boosts and improvised platforms are usually the most efficient options.
What materials are best for building Ultrahand ladders to the tower
For reaching the Gerudo Canyon Skyview Tower in Zelda: Tears of the Kingdom, wooden planks and logs are the best materials for Ultrahand ladders due to their abundance, light weight, and easy stacking.
Top ladder materials
-
Wooden planks/logs: Most common nearby-stack 3-4 vertically or at a slant against the cliff for stable footing; they grip terrain well without slipping.
-
Metal crates: Heavier but durable; fuse 2-3 into a rigid column for straight vertical climbs, ideal if wood is scarce.
Building tips
Glue pieces end-to-end with Ultrahand for length, or fan them slightly for a ladder-like spread. Avoid stone slabs as they’re too heavy and prone to tipping; test stability before climbing. This covers the ~100-unit height efficiently with minimal stamina drain.