Before you rush off to chase shrines or fuse crazy contraptions, the opening hours of Tears of the Kingdom hide a few easy-to-miss steps that make the adventure smoother, quicker, and far more rewarding.
If you’re feeling intimidated, don’t fret. This beginner’s guide covers what you should do first in Tears of the Kingdom, from quality-of-life changes that make traveling much easier to mechanics that will help you throughout the entire adventure.
Don’t leave the starting area without Archaic Warm Greaves
The Archaic Warm Greaves keep Link from freezing on the Great Sky Island’s cold peaks and save you from wasting precious spicy peppers early on. You’ll find them inside a chest in a cave near the Gutanbac Shrine. Grab them before gliding down or heading to colder regions, as they provide lasting protection against low temperatures and make exploration much easier.
Cold resistance is not to be taken lightly in Tears of the Kingdom, and it’s important to have the right equipment for it. In the Great Sky Island, you’ll stumble upon the Zonai Dispenser on the eastern side of the map. On your way there, close to the Bottomless Cave nearby, you’ll spot a massive tree cut in half, which you can enter.
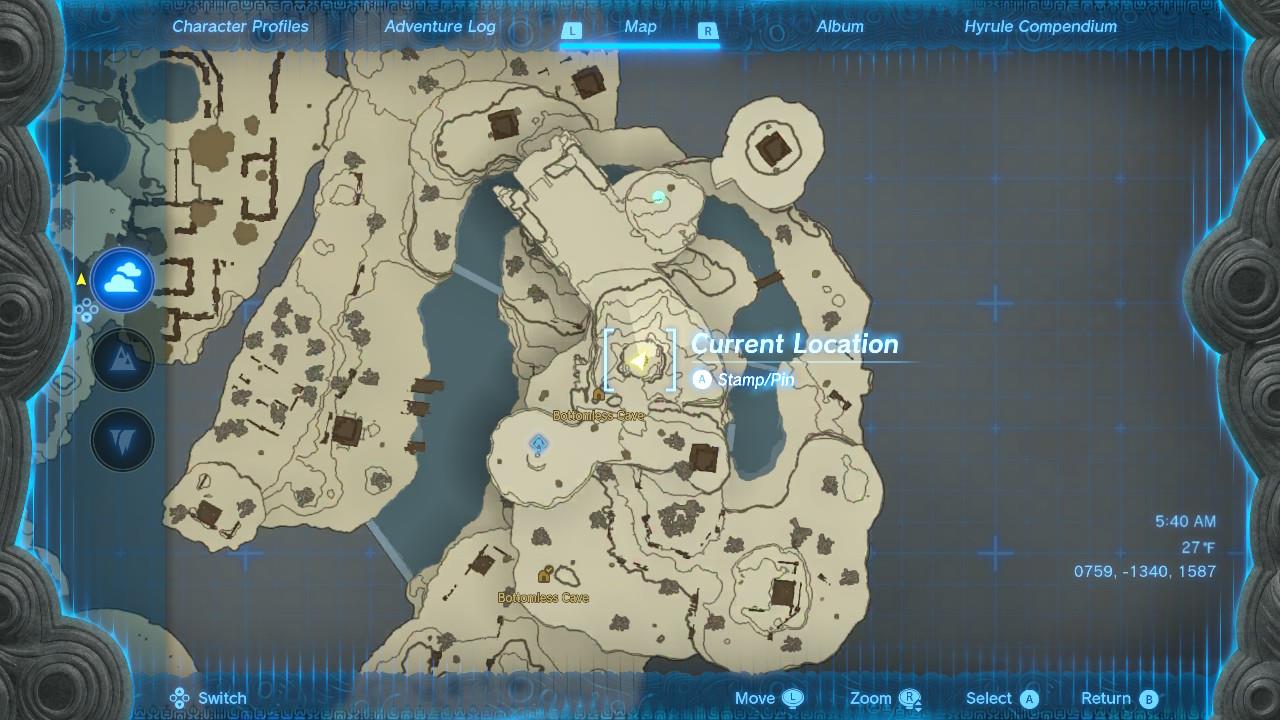
There, alongside some helpful materials, you’ll find a chest containing the Archaic Warm Greaves. They not only look great, but they also help with cold resistance. You can always come back and grab it later if you missed it, but you should try and save yourself the additional trip if you can. (You’ll also find the Archaic Tunic on the Great Sky Island, but note that it doesn’t grant cold resistance.)
This armor piece will be super helpful on your journey ahead, especially if you want to head over to Rito Village. We liked it so much that we had to add it to our dedicated best armor page, where we discuss other pieces and sets that you should be on the lookout for.
As soon as you’re on the ground, head over to the Castle Ruins
Once you land on the surface, make your way to the Castle Ruins marked on your map. It’s an early destination that gives you a good feel for how the world connects and helps you collect useful gear and materials. Keep an eye out for enemies near the perimeter and use the ruins to practice climbing, gliding, and weapon management. Exploring this area sets a solid foundation before you move on to nearby shrines or villages.
After the tutorial, you might be enticed to just roam around and explore. While that’s definitely a valid sentiment, you should follow the main questline and visit the Castle Ruins when prompted.
Upon your return to Lookout Landing, Purah will share details about how to unlock the paraglider, which is vital for the experience. You shouldn’t go out into the wild without it!
Visit Lookout Landing (and then do it again, and again, and again)
Lookout Landing is your main hub early on and a place you’ll keep returning to throughout the adventure. Here you’ll find merchants, gear upgrades, and quests that expand as you progress. It’s also where you’ll meet familiar faces and get valuable tips about new regions or story goals. After every major discovery or battle, come back to check what’s new-the camp changes and grows right alongside your progress.
There’s a reason why Lookout Landing is the first village you come across. Hyrule is a big place, but this hub is central to the experience.
Right from the start, if you talk to Purah after you’ve received the task to visit the four main regions, she will actually mark them on your map. Chatting with Robbie will lead to multiple leads about the possibilities of your Purah Pad. Eventually, a Refinery will appear as well, and the clothing shop will rotate the armor pieces depending on your main story progress.
In essence, make sure to check on Lookout Landing as early as possible, then come back every now and then, making sure to chat to the main characters.
Interact with these shrines to make your life easier
Shrines act as both training grounds and fast travel points that make exploring Hyrule much smoother. Each one teaches new uses for your abilities through small puzzles or challenges, giving you practical experience for later obstacles. Completing a shrine rewards you with Light of Blessing orbs, which you can trade for more hearts or stamina, letting you survive longer and travel farther. Making a habit of stopping by every shrine you see will gradually strengthen your character and shorten travel times across the map.
You don’t need to actually complete a shrine in order to unlock a fast travel point to it. In Tears of the Kingdom, all it takes is for you to interact with it.
Make sure to always interact with shrines across Hyrule, even if you’re not interested in tackling the puzzle inside them just yet. This is especially useful for regions you’re only passing by, as it’ll make returning to them a lot easier later on. In addition, for facilities that don’t have a direct fast travel gateway, there’s usually a shrine nearby that you can activate to make traveling around the world easier.
Here are a few suggestions for shrines that make for helpful fast travel spots early on:
- Kyonosis Shrine: Found on your way to the Castle Ruins, great for inevitable backtracking.
- Ekochiu Shrine: Northeast of Lookout Landing, close to Woodland Stable.
- Makasura Shrine: East of Hyrule Field and right before Kakariko Village, making it a great fast travel spot for the town.
- Sinakawak Shrine: Northwest of Lookout Landing, perfect for quickly reaching New Serenne Stable.
- Orochium Shrine: Up north near the Tabantha Tundra, helpful for reaching the Snowfield Stable.
Head to this Tower
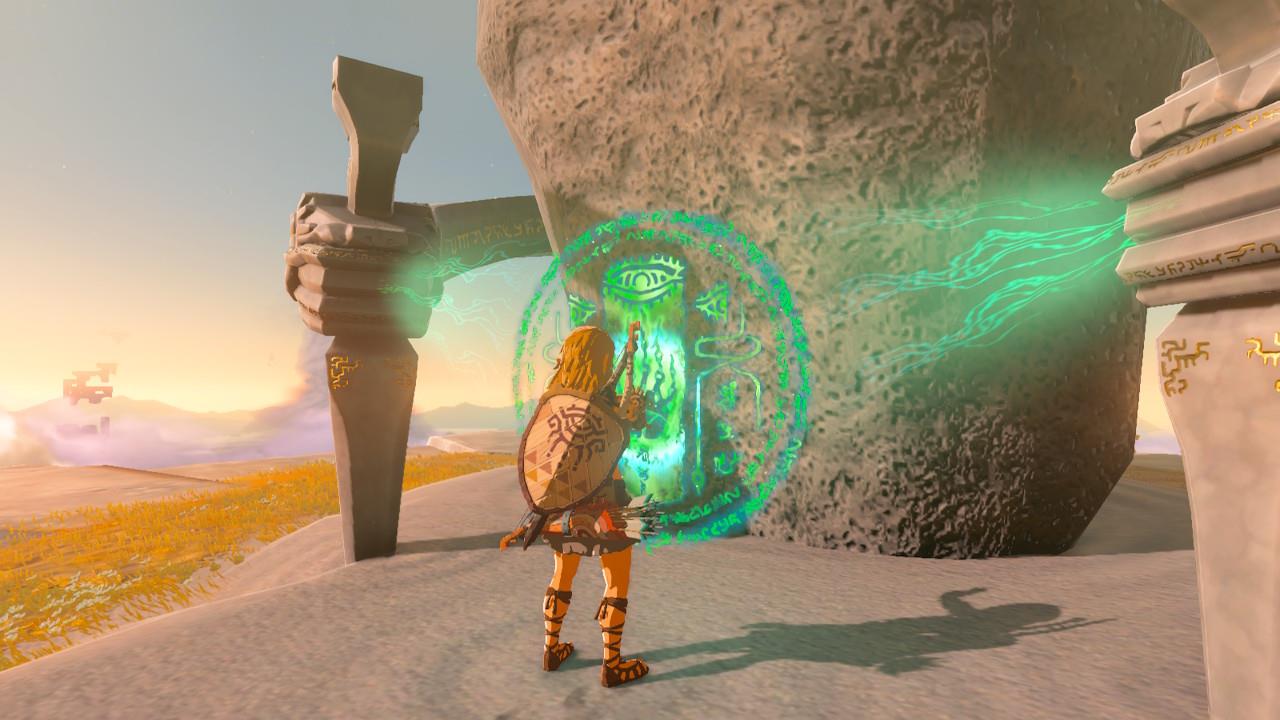
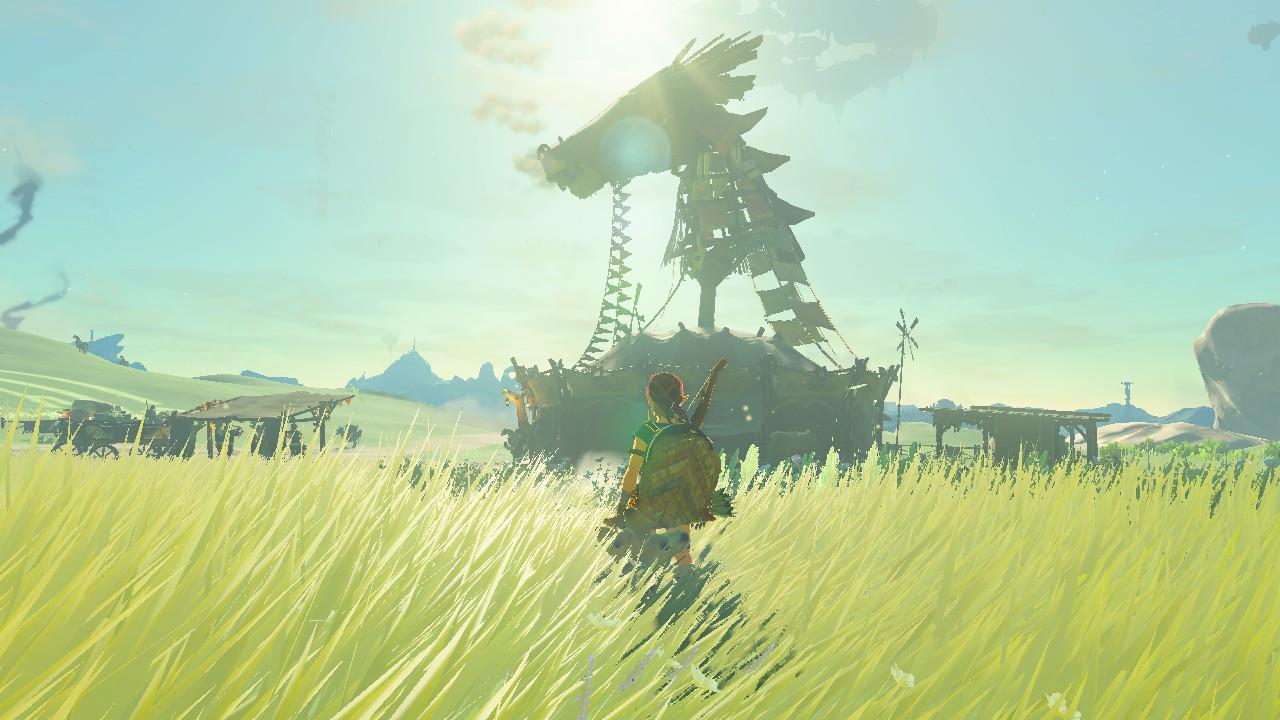
After finishing the introduction on the Great Sky Island, make your way to the first Skyview Tower nearby. These towers reveal large portions of the map and act as fast-travel points, making exploration much easier. Activate it to send Link high into the air, giving you a clear view of surrounding areas and marking places worth visiting next.
After you gain access to Skyview Towers in Lookout Landing, I recommend heading northwest to Lindor’s Brow Skyview Tower at the coordinates (-1903, 1243, 0297). All you have to do is stick to the main road toward Hyrule Ridge, and keep moving north until you stumble upon the tower up the hill.
This is a good area to explore during the early hours of your playthrough, as the enemies are fairly amenable and resources are plentiful. You’ll also be a step closer to Rito Village, too, making your eventual visit a lot easier.
From that moment on, you can continue to tackle the towers gradually or in quick succession as early as possible – in either case, you’ll be only helping yourself in the short to long run, especially since you’ll also be unlocking the sky portion of the map.
Stop by New Serenne Stable
Head to New Serenne Stable right after the Great Sky Island to register your first horse. Talk to the stablehand outside the building south of New Serenne Bridge, then hop on any horse nearby and lead it inside for the registration fee. This sets up fast travel and quick mounts across Hyrule from the early game.
The stable at Lookout Landing isn’t available right away, but there’s one nearby that can be of help. You can find New Serenne Stable at the coordinates (-1349, 0736, 0085), following the main road northwest of Lookout Landing. If you’re making the trip to Lindor’s Brow, you’ll stumble upon it.
New Serenne Stable is a great early spot to get yourself a horse registered, making it easier to traverse the roads until you get the hang of building Zonai devices. Plus, stables are great gathering places for fellow travelers who are keen on sharing potential leads to treasure and quests.
Most importantly, chatting with the person at the counter will kick off the Pony Points mechanic, which offers plenty of rewards – from a harness for your horse to a ticket to sleep at stables for free.
Tackling main story temples provides a traversal advantage
Clearing the main story temples early opens up new movement abilities that make exploring Hyrule much easier. Each temple grants a unique power, like gliding through the air or manipulating objects, which helps reach places that were previously hard to access. These abilities also speed up travel between regions and make solving puzzles across the map more manageable. Taking the time to complete them first can greatly smooth out the rest of your adventure.
Hyrule’s four main regions are all suffering from specific environmental conditions that make traversal quite complicated. Thankfully, you can remove the hazards of each primary village by completing the main story temples.
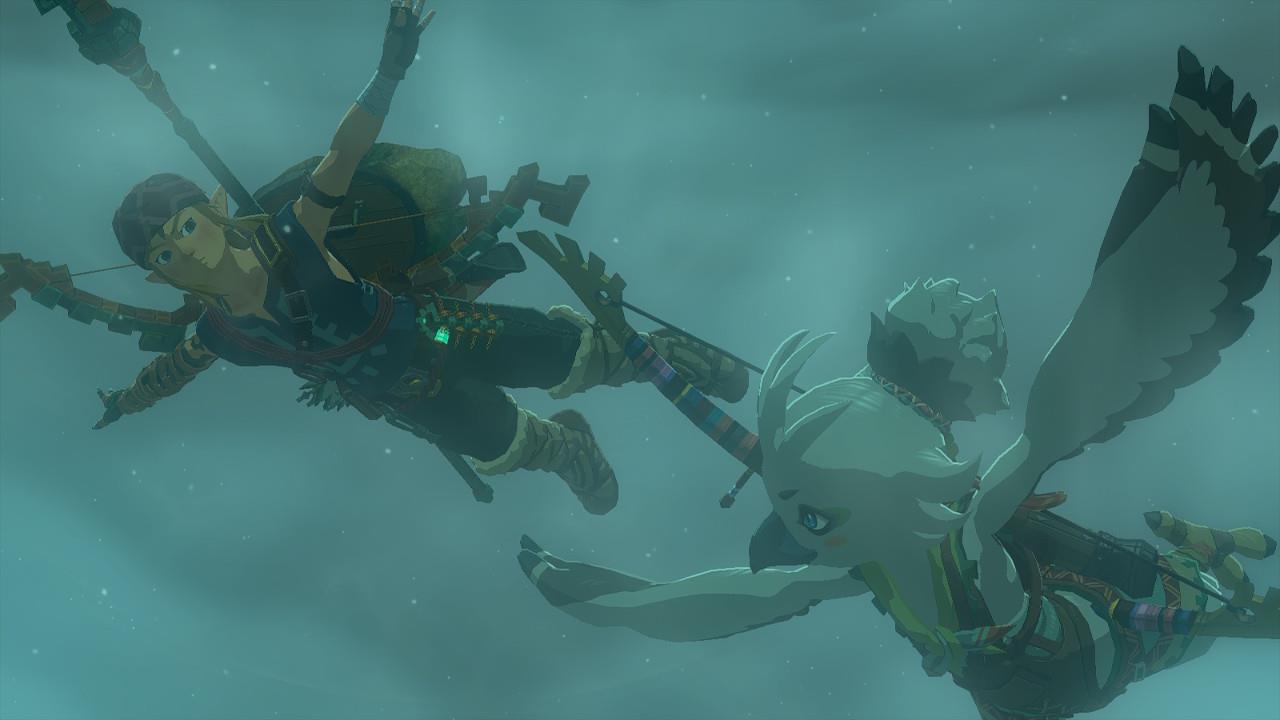
Our recommendation is to start at Rito Village. In Lookout Landing, Purah will recommend you to head over to the Rito region first, and for good reason. As long as you’re carrying the best armor pieces to resist the blizzard up north, the dangers you’ll face on the way are fairly beginner friendly. Plus, while I won’t spoil the reward at the end of the Wind Temple, it’s definitely worth pursuing before the other three.
As for where to head next after Rito Village, that’s up to you – though our Regional Phenomena best order can help if you need a guiding hand.
Get Link’s remaining ability as soon as possible
Fuse all five Heart Containers into the Fuse Attack meter right away at the Great Sky Island shrine. This turns your hearts into powerful Fuse charges for stronger weapons and shields, giving Link a huge early-game edge. Head back to the starting area after the first shrine, combine them at the terminal, and watch your combat options expand immediately.
[Ed. note: This section contains spoilers for a neat mechanic in Tears of the Kingdom.]
Once you’re out and abound in Hyrule, you’ll notice there’s a gap in your abilities wheel. The one missing here is – spoilers – Autobuild, which you can obtain by following Robbie’s questline as part of the main story. After you receive the assignment to help the four main regions, make sure to talk to Robbie in Lookout Landing.
He’ll then have you traversing through the Depths for the first time (for the appropriately titled “Camera Work in the Depths” quest). Continue playing, and you’ll have access to a second investigation that leads to Autobuild, under the name “A Mystery in The Depths.” This is a great skill to prioritize, as it’ll allow you to build Zonai constructions from schematics, saving you from the hassle of having to combine materials by hand every single time.
How to get the paraglider early in Tears of the Kingdom
You can get the paraglider very early, right after you reach the surface, by pushing the main story for a short stretch and finishing the “Crisis at Hyrule Castle” steps tied to Lookout Landing.
Fast step-by-step route
-
Land from Great Sky Island
-
After finishing the four starting shrines and jumping down, follow the main quest marker toward Lookout Landing in central Hyrule.
-
-
Go to Lookout Landing and meet Purah
-
Enter Lookout Landing; the guards at the gate react to you and point you toward the large lab building with the telescope.
-
Inside, meet Purah (and Josha) to properly start the “Crisis at Hyrule Castle” main quest.
-
-
Head to Hyrule Castle and find Captain Hoz
-
Follow your quest marker from Lookout Landing up to Hyrule Castle.
-
Guards will stop you at a gate and tell you to get permission from the captain; keep going up the path to the First Gatehouse and climb/Ascend to the top to find Captain Hoz looking out over the chasm.
-
Talk to Hoz, watch the short scene with Zelda, then your objective will send you back to Purah.
-
-
Return to Purah in Lookout Landing
-
Fast travel to the Lookout Landing shrine if you like, then report back to Purah in the lab and finish the “Crisis at Hyrule Castle” update.
-
She’ll tell you to rest/check the Emergency Shelter, but this is optional if you just want the paraglider quickly.
-
-
Activate the Lookout Landing Skyview Tower
-
Meet Purah again at the nearby Skyview Tower just outside the lab.
-
Talk to her, then interact with the tower console to trigger a cutscene that activates all towers and launches you into the sky.
-
During/after this process, Purah gives you the Paraglider, and the game immediately has you use it to glide back down.
-
How to get it “early”
-
Don’t wander off after landing; ignore side content and **follow the main quest marker straight to Lookout Landing, then to Hyrule Castle, then ba
What to do after getting the paraglider in Tears of the Kingdom
After getting the paraglider, your best move is to use it to safely open up the map, power up Link, and start the first big story questline.
1. Talk to everyone in Lookout Landing
Right after Purah gives you the paraglider and activates the first Skyview Tower, do a quick loop of Lookout Landing:
-
Talk to Josha and Robbie to start the “Camera” and Depths quests (these unlock the camera, Pura Pad upgrades, and the huge underground area).
-
Check the Emergency Shelter under the central hatch for a shop, armor, a cooking pot, and the Goddess Statue (for heart/stamina upgrades).
This sets up most of your key early tools and fast-travel hub.
2. Start unlocking the map with towers
Your paraglider makes tower climbing and long glides much safer and faster:
-
Use the Lookout Landing Skyview Tower as your launch point, glide toward the next visible tower, and activate it to reveal that region.
-
On every flight, mark any shrines you spot with map pins so you can glide down to them later.
Aim to reveal at least 2-3 nearby regions so you’re not wandering in totally blank space.
3. Clear shrines for hearts and stamina
Now that you can glide, shrines are easier to reach and escape from:
-
Prioritize shrines you can see from tower launches; each one gives a Light of Blessing.
-
Return to any Goddess Statue (Lookout Landing is easy) every 4 Blessings to trade for Heart Containers or Stamina Vessels; many players recommend getting at least one extra heart, then pushing stamina.
More stamina makes your paraglider dramatically more useful for crossing canyons and reaching sky islands.
4. Grab a horse and basic armor
Mobility and defense are the next big quality-of-life boosts:
-
Head to a nearby stable (for example, west of Lookout Landing) and catch/register a horse; this speeds up surface exploration between towers and shrines.
-
Buy or find an early armor set (climbing gear, miner’s gear, or simple town armor) for a solid defense bump and some useful bonuses.
Think of your paraglider and horse as your default travel combo: ride to a tower, launch, then glide.
5. Dip into the Depths and start a main region
With the basics set, you’re ready for your first “big” content:
-
Follow Robbie’s quest to the first chasm and unlock the Depths; light a few Lightroots and grab some early armor and materials down there.
-
Then follow Purah’s guidance to begin your first Regional Phenomena quest (many guides suggest starting with the Rito/Hebra region, but any works).
A good rhythm is: tower → shrines → a bit of Depths → progress one main region.
If you tell me which tower(s) you’ve already activated and whether you’ve met Robbie yet, I can turn this into a short, customized to-do list for your exact save.