High above Hyrule’s frozen peaks, a trail of floating islands hides secrets only Tulin can help you reach. This guide breaks down every twist of the “Tulin of Rito Village” quest and the Rising Island Chain challenge that soars between thunderclouds and ancient ruins.
How to prepare for the Tulin of Rito Village quest
Before heading to Rito Village, stock up on cold-resistant gear or cook meals that boost cold resistance, as the region’s icy climate can drain your health quickly. Having a few stamina-boosting foods will help with the frequent gliding sections ahead. Make sure to visit a nearby stable to register a horse for easier travel across the snowy terrain. Collect arrows and materials for fusing-these will be handy during upcoming battles and puzzles involving wind currents.
You will need at least one level of cold resistance during this part of the game, whether it’s the Archaic Warm Greaves you got in the beginning of the game (our beginner’s guide outlines the location, alongside other useful things to get first from the outset) or a spicy pepper concoction.
You may also want to bring a torch, red chuchu jelly, fire fruit, or other fire-producing tools.
Finding Tulin in Hebra
Head northwest from Rito Village into the Hebra Mountains until you reach the Thyphlo Ruins. Activate the nearby shrine to trigger a blizzard, then glide down into the revealed cave below. Inside, defeat the Ice Like and collect Tulin’s glowing bow from the chest. Speak to him to recruit his ally and clear the gust barrier ahead.
Once you arrive in Rito Village, Tulin, the young son of your Rito pal from Breath of the Wild, will fly off, insisting that he’s a big boy and he can help. (This is true!) You’ll need to track him down and bring him home before you can move on.
Right away, the quest marker will move further in Hebra, and you’ll be instructed to go to the Hebra Trailhead Lodge. Head there and talk to Harth, the dark-plumed bird, inside. Grab all the materials around the lodge too, like the wood, spicy peppers, and flint.
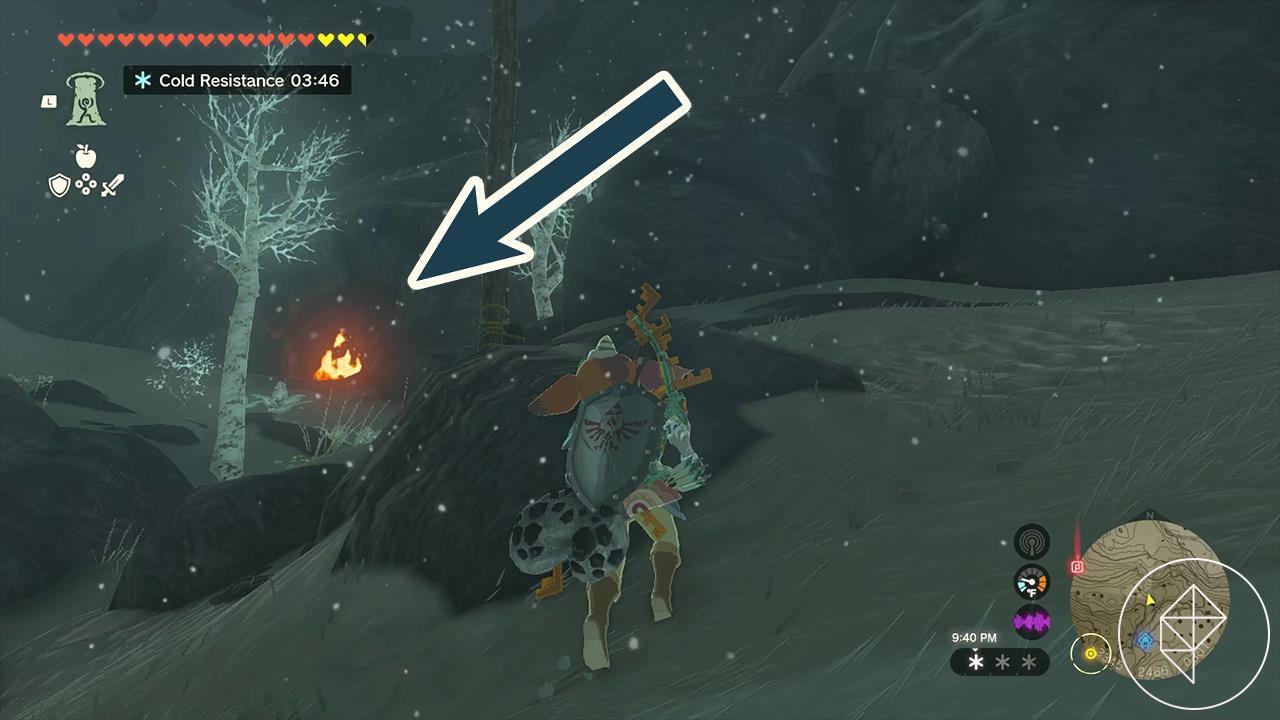
After talking to Harth and grabbing stuff, head up the mountain using the nearby ladder and keep climbing up the mountain trail. You’ll see some ice keese and bokoblins on the way. As you head up the mountain path, you’ll see a huge fire in the northwest, marking where the cave is.
Head inside to arrive at the thorny Hebra South Summit Cave.
Navigating the Hebra South Summit Cave
Use Korok Fronds to ride updrafts through the Hebra South Summit Cave during the Rising Island Chain phase of Tulin’s quest. Follow the tunnel’s twists until a gap drops you to a lower path with a wind current. Activate Tulin’s ability to cross it, then climb the ladder to reach the fan anemone guarding the Zonaite. Spin the fan blades clockwise with arrows to disperse it and grab the device.
As you head in, you’ll notice that there are thorns everywhere, but you don’t need to clean any of them up to get through the cave. Using fire from a torch, fire fruit, etc., will burn the thorns allowing safe passage, but you can get through without, if you didn’t bring any of that.
Getting rid of the vines to the right of the Rito woman at the entrance will give you access to a small pond with some chillfin trout (useful for heat resistance) if you want it.
The cavern only has one path forward, so just keep getting through it, avoiding the thorns, as they’ll do some light damage to you if you run into them.
Once you get to a room with a wind current, you can break this ice platform by jumping on it repeatedly or using weapons on it.
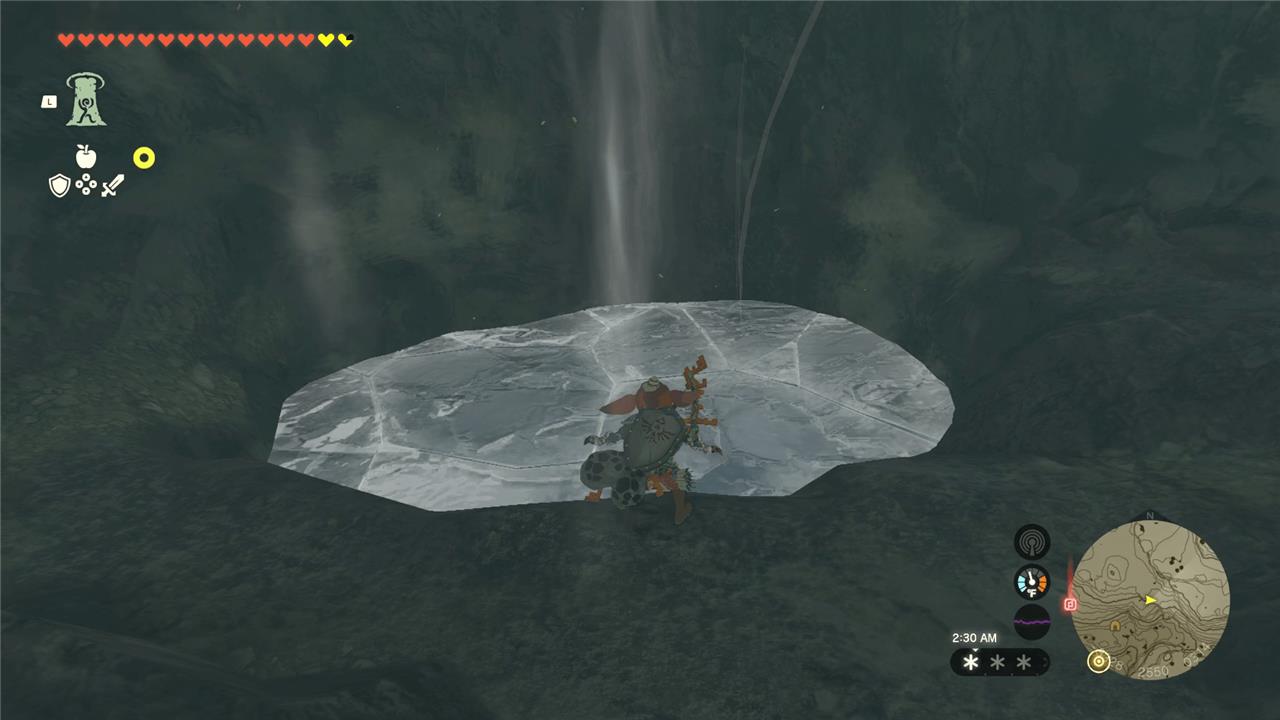
There are some ore deposits and brightcaps in the hole. Ascend back up once you grab the loot and take the wind current up to the next area.
Keep climbing up the cavern, following the luminous stone ore deposits and taking out the nasty Horriblin that appears in front of you. You’ll end up in a room that’s mostly water, with some barrels and an extinguished campfire.
There are a few ways to climb up this section:
- Climb up slowly and carefully, avoiding the thorns. There are enough breaks in the wall to do so without falling, though this will take a while.
- Extinguish the thorns on the wall (using fire) so you won’t have to climb around them, and then just climb straight up.
- Attach a rocket Zonai device to your shield and launch yourself up. (We did this, but it requires bringing a device in with you via capsule.)
Once you’re at the top, there’ll be a slightly lower cave in the north that you should head into to grab the cave’s Bubbulfrog. The entrance is covered in thorns, so you will need to use fire to burn the thorns away.
Leave the Bubbulfrog room and continue climbing up to the cave exit above.
At the cave exit, a Rito will tell you that Tulin flew off to the lone cedar tree at the top of the cliff. The quest marker will mark the cave still, so you’ll need to find the tree yourself. It’s right outside the exit, here:
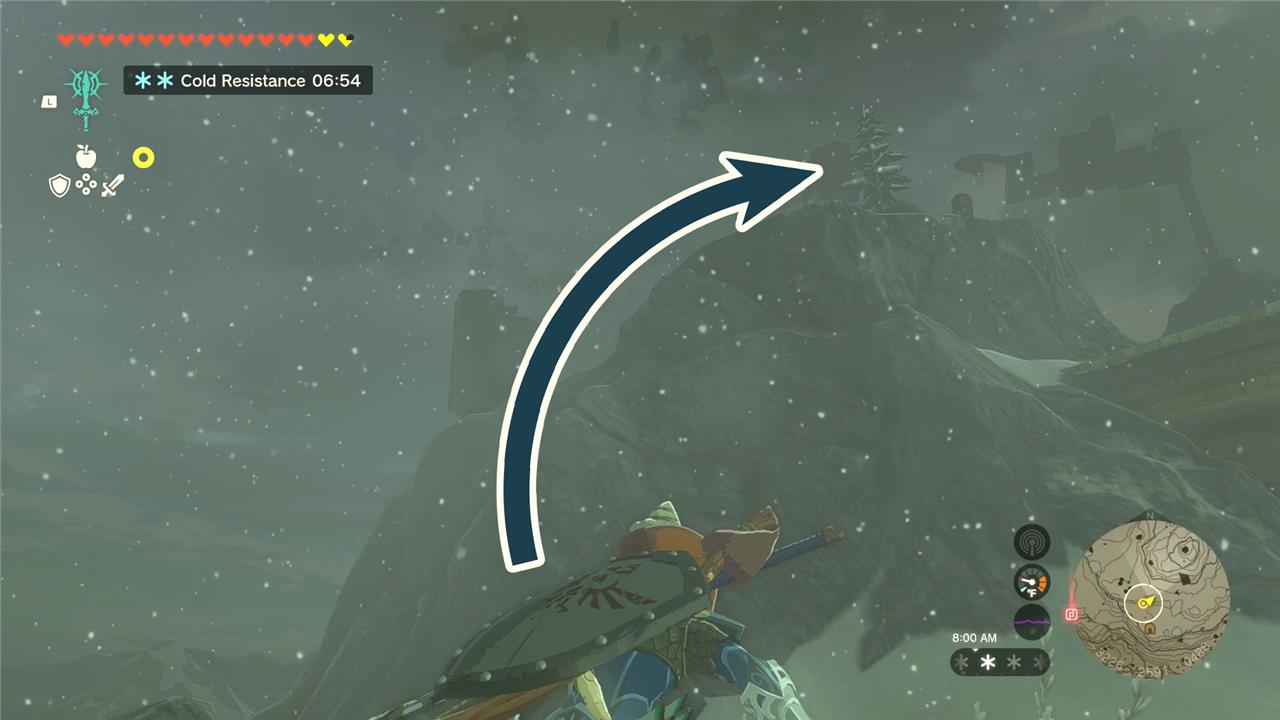
Climb up the cliff to meet up with Tulin at last.
Climbing to the Rising Island Chain with Tulin
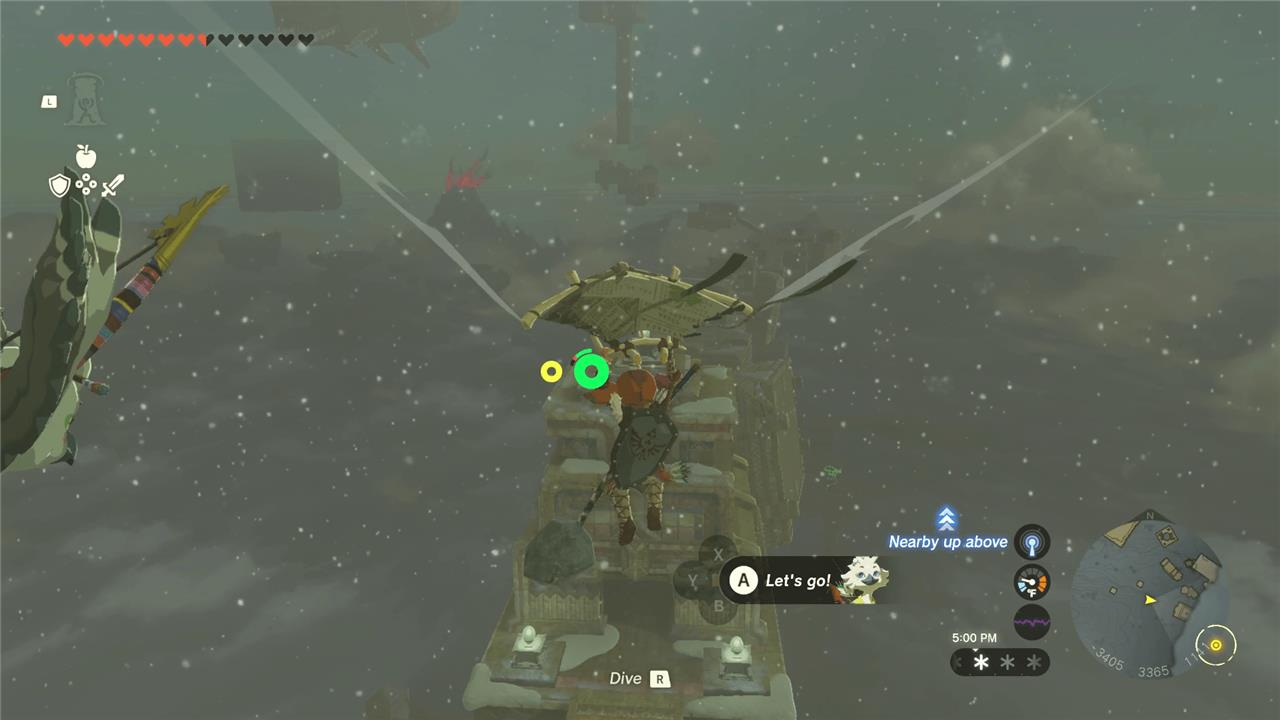
Use Tulin’s gust ability to glide between the floating islands, timing your jumps carefully to catch the updrafts that keep you aloft. The rising chain of sky islands requires precise stamina management, so plan short rests on stable platforms along the way. Watch for Zonai fans and launch pads that can propel you higher, and use your paraglider whenever the wind shifts. Keep an eye out for treasure chests tucked behind rock ledges or hidden clouds as you make your ascent with Tulin beside you.
Take down the aerocuda to get the bow back to Tulin and take out the rest of the enemies that appear. A short cutscene will play, tasking you and Tulin with climbing up to the sky. Whew.
Climbing these cliffs isn’t as daunting as it looks. You’ll need to use Tulin’s gusts to quickly cross large gaps, paired with Ascend to make it up certain platforms. If you have extra Zonai rockets on you, you can also launch yourself up large chunks at a time.
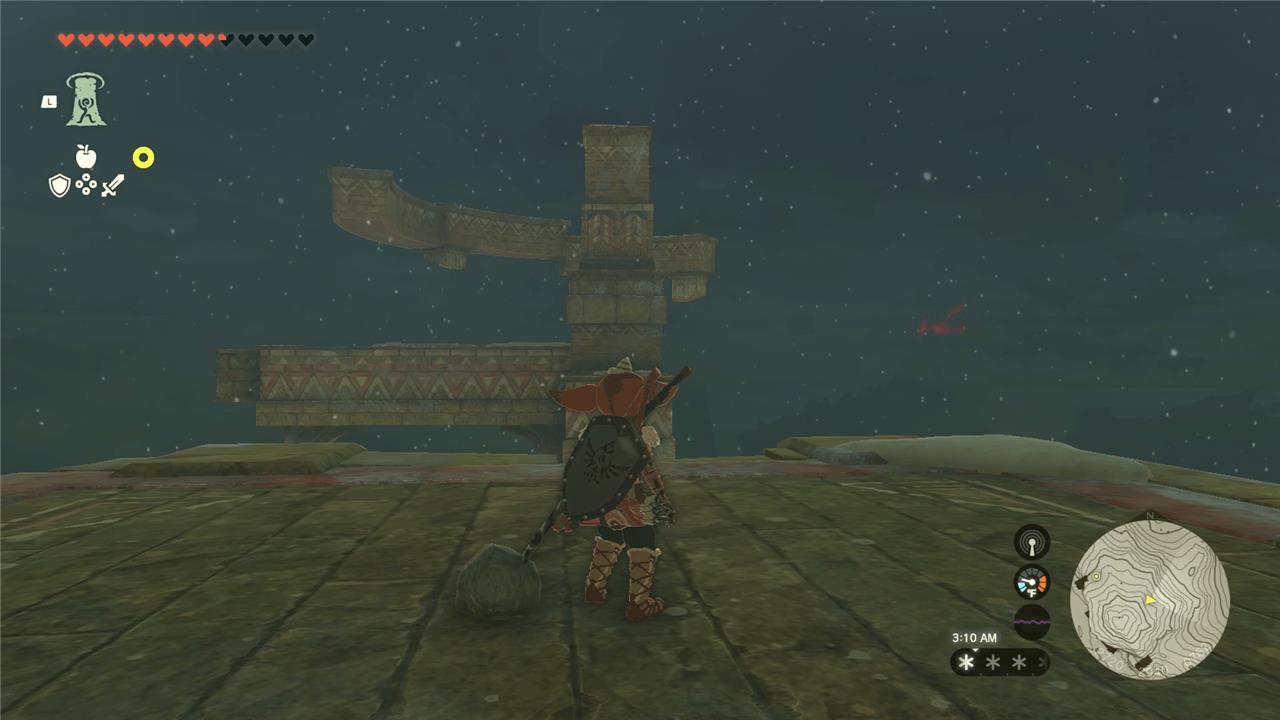
Once you get to the mountain peak, another Rito will note that he’s shocked to see you, but encourage you to keep going. Use Tulin’s gust to leap forward. You’ll be presented immediately with a new type of puzzle: stacking boxes so you can reach a platform to Ascend from.
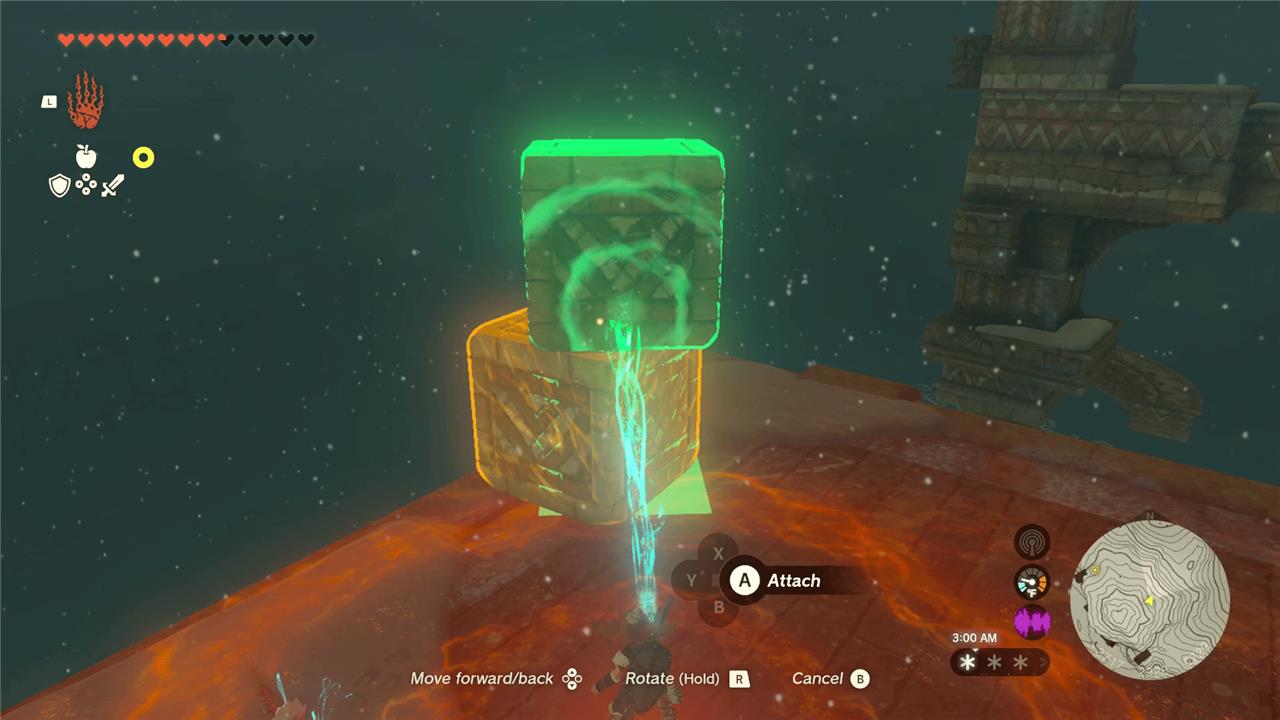
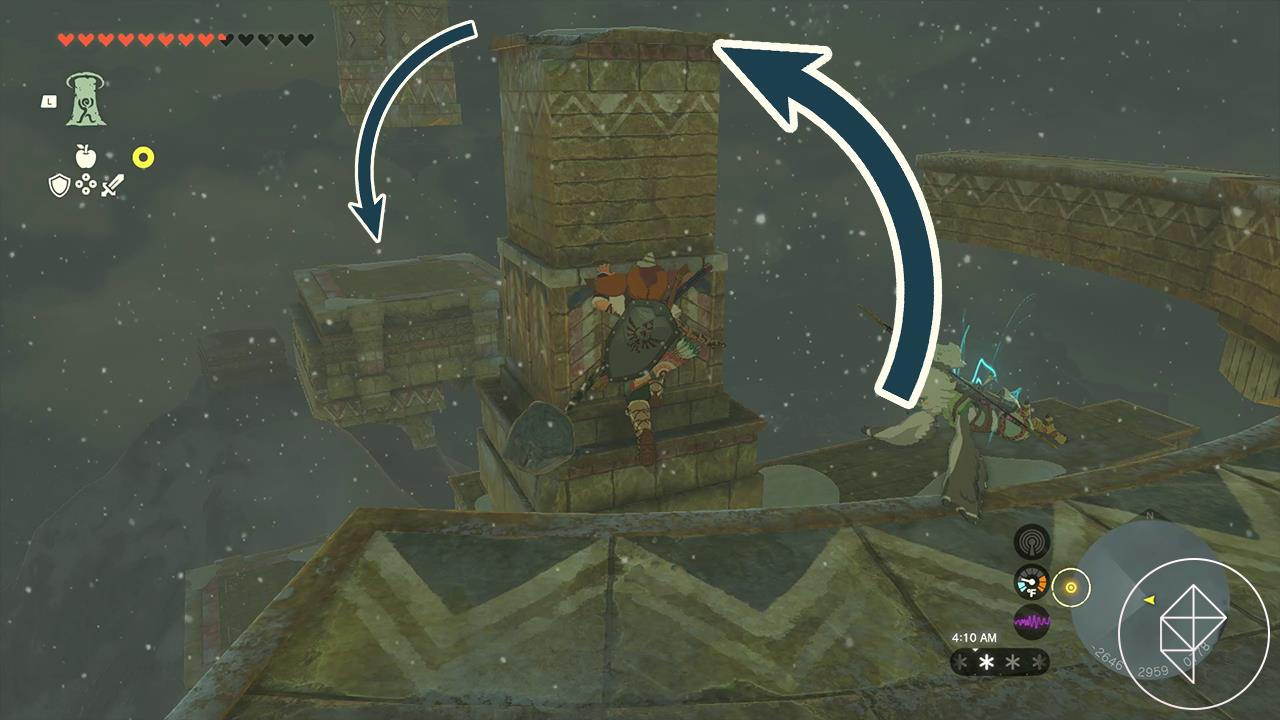
Once you stack these boxes, climb up to the top box, and use Ascend. Once again, keep using Tulin’s gusts to jump from small island to small island. Once you get to this curved part of the floating islands, climb and Ascend to the upper curve.
From the upper curve, jump onto the middle pillar, climb up, and then jump to the square platform just past it.
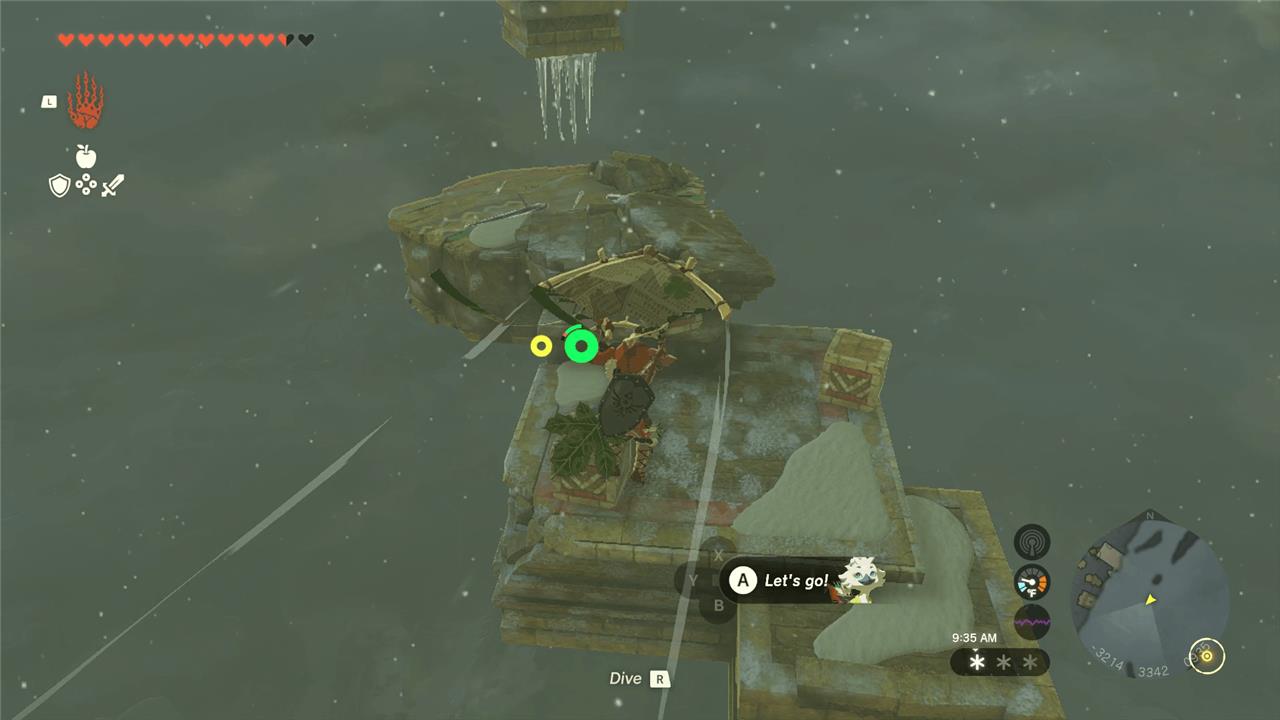
Use Ascend on this square platform to head much higher into the sky to arrive at the actual Rising Island Chain.
Rising Island Chain walkthrough
The Rising Island Chain section begins after you leave Rito Village with Tulin. Use your paraglider and the wind currents to move between the floating islands, defeating constructs and activating launch pads to reach higher areas. Keep an eye out for treasure chests, Zonai devices, and the correct path toward the Cloud Islands. Coordinate with Tulin’s gust ability to cover long gaps and deal with strong winds. The final goal is to reach the upper island where the boss encounter awaits, marking the end of this segment.
As you run toward the shrine directly in front of you, Tulin will stop you, pointing out the boats in the distance.
The tops of these boats work like trampolines, launching you a huge distance into the air, so you can glide around with ease. Use it to boost yourself to the Mayaumekis Shrine, which will serve as a nice teleport point to these islands in case you fall off or want to leave.
There’s an ice layer directly in front of the shrine, so break it open to get a chest with five arrows inside. Keep proceeding forward, using Tulin to help you glide across large distances. (We’re going to be saying that a lot in this part of the guide – bear with us, please.)
On the second platform, take out the construct and climb up the pillar on the northern point of that platform. Use Tulin’s gusts to jump to the following one and use the ship to launch yourself to the next segment.
There are several constructs on this chunk of island, so take them out as you make it up the stairs. Tulin will help fight too, using his arrows from afar. If you’re feeling particularly silly, you can use a Korok-frond attached to a weapon to push these constructs off the islands, but you won’t get any drops, since they’re falling to their deaths.
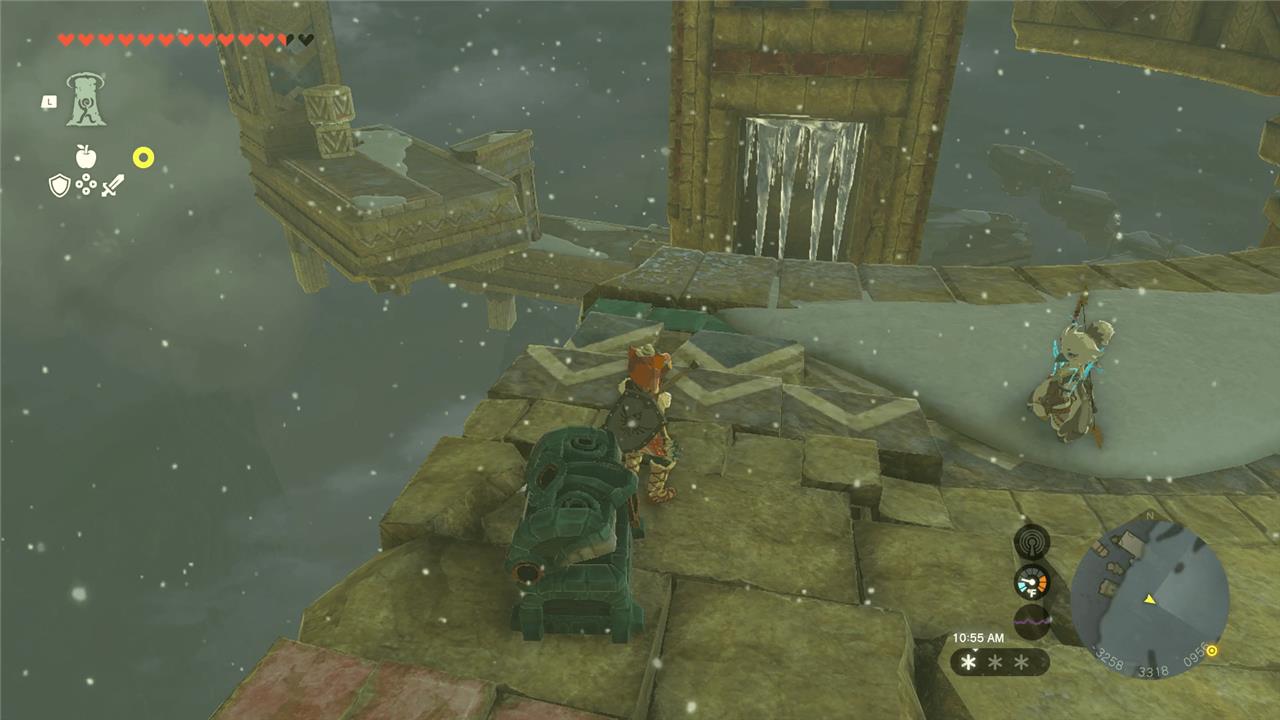
Jump down to the platform below with the icicles and boxes and use a ranged weapon to clear the sharp icicles off the ceiling. Stack the boxes and Ascend up.
Defeat the construct at the top, and open the chest for three portable pots. Destroy the icicles in the middle of the pillar, jump down to the now-open platform, and Ascend up the pillar:
Fly with Tulin to the next set of islands with the archway and keep gliding from island to island, making sure to take out the construct around the way. Straight ahead and below, you can see a large blocky creature: a Flux Construct I. For now, jump onto the ice platform and use the ship under it to trampoline yourself forward.
If you want to, you can fight the Flux Construct. To beat it, you’ll need to Ultrahand the glowing brick out of it, making it fall apart. Hit the glowing cube when it’s down to deal massive damage. It’ll take on several forms, but as long as you keep Ultrahanding its glowing core brick, you should be able to take it down. The enemy will drop lots of Zonai charges, a Flux Construct I core, and a chest with an Old Map, which rewards you with the Miner’s Armor headgear.
Ascend back up to the regular route and break the ice platform to the north before you jump on the ship trampoline. Use the trampoline under the ice to get on top of the cracked rock platform and break the rocks using a weapon. Jump on the ship under the now-broken rocks and continue on the next platform.
Defeat the aerocuda and keep moving up, breaking the next ice platform to reveal another trampoline. Carefully jump from ship to ship, avoiding or defeating the aerocuda flying around.
You’ll eventually reach a small shelter, with some chillfin trout, a cooking pot, flint, and other goodies inside. Use the pot to make food and cold resistance elixirs if you haven’t already.
After you jump onto the next platform, you’ll see some constructs and aerocuda fighting each other. You can wait for the constructs to defeat the aerocuda and then move in on the constructs. Once they’re down, head straight across the bridge, but move quickly, as the floor will give out.
Glide over to the next island to fight three more constructs. Break the rocks at the top using a weapon or using the Zonai bombs. Jump into the hole to get a large Zonai charge. Ascend back up and head up the stairs.
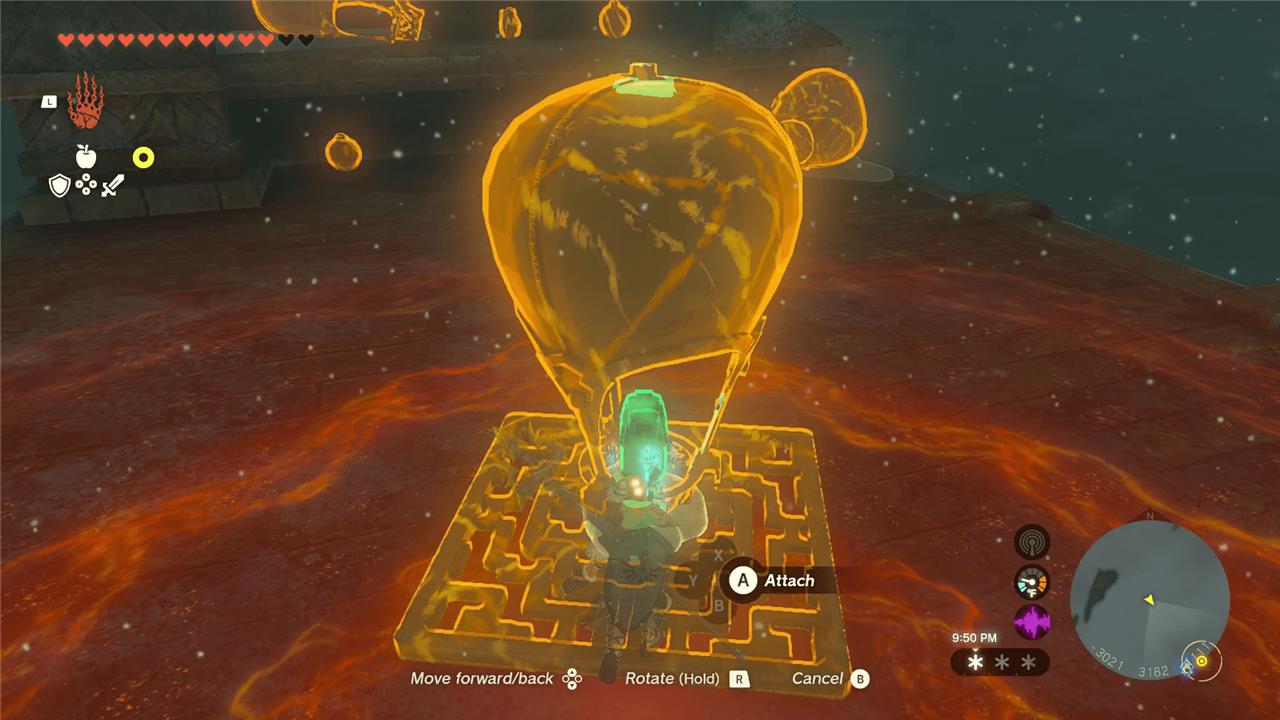
You’ll need to build a hot air balloon using the metal grates, a Zonai balloon, and a flame-emitter. Set it up like so, hit it, and then glide to the next island once you get high enough:
Ascend up the pillar, and jump from ship to ship until you get to the ice platform. Use the ship under the platform to hit the next level of islands. Tulin will note that it’s now very cold, so you need cold resistance food paired with at least one piece of cold resistant armor or else Link will take damage.
Proceed ahead to Kahatanaum Shrine – you don’t have to complete this now, as long as you activate it as a fast travel point before you continue.
The next portion of the island requires you to jump from ship to ship, as they fly by, stopping periodically at islands, and Ascending up. It can be tricky to get the timing right, so take your time and be patient. Note that once Link’s feet land on a trampoline ship, he regains all his stamina instantly. Make sure to also use Tulin’s wind if you think you might not make it to another ship. If you notice yourself falling to your death, teleport back to Kahatanaum Shrine.
How to defeat Colgera in Wind Temple
Colgera goes down quickly once you focus on breaking the three icy weak points on its body in each of two phases.
Preparation
-
Wear cold-resistance gear (Snowquill set from Rito Village) or drink cold-resist elixirs so you don’t waste healing on passive damage.
-
Bring plenty of arrows and at least one decent bow; bomb flower-fused arrows make the fight much faster but aren’t required.
Finding the weak spots
-
Colgera’s back and belly each have three circular ice plates that are its weak points; the rest of the body is basically invulnerable.
-
You can break plates by:
-
Shooting them with arrows (normal or fused with Bomb Flowers/Fire).
-
Skydiving and physically hitting an ice plate to shatter it, then gliding away.
-
Phase 1 strategy
-
Stay airborne using the constant updraft and your paraglider; use Tulin’s gust to close distance or dodge.
-
Two easy openings:
-
Icicle volley: Colgera stops and launches big icicles from a plate; once the icicles fire, the plate is exposed-go into slow motion (aim bow while gliding) and shoot the ice until it cracks, then hit the purple core.
-
Charge from below/side: When it dives into a rift and comes up toward you, drift slightly aside, activate slow-mo, and shoot the plate as it rushes past.
-
-
Destroy all three weak spots (outer ice, then purple center) to end Phase 1.
Phase 2 changes
-
Colgera regrows all plates and adds:
-
Tornadoes you must steer around (use Tulin’s gust to quickly veer off course).
-
Faster, more frequent charges from rifts, often appearing directly below you.
-
-
Your tactic is the same: bait icicle attacks or wait for a charge, then shoot plates in slow motion; be a bit quicker with dodging.
Simple “easy win” loop
-
Always stay above Colgera and slightly offset to one side so you see its movements.
-
When it opens a rift and rushes you, drift to the side, tap Tulin’s gust if needed, then immediately aim to trigger slow-mo and fire 2-3 arrows into the exposed plate.
-
Repeat until all three plates are destroyed again; the boss explodes, the blizzard ends, you get a Heart Container, and Tulin becomes the Sage of Wind with his permanent gust ability.
If you tell me what’s killing you most (tornadoes, running out of stamina, or missing weak spots), I can give very specific tweaks to your approach.
How to get Snowquill Armour Set in Rito Village
You can buy the full Snowquill Armor set at the Brazen Beak clothing shop in Rito Village.
Where to buy it
-
Go to Rito Village and find the Brazen Beak armor shop on one of the upper wooden platforms (coordinates roughly -3628, 1792, 0186 in Tears of the Kingdom).
-
Inside, talk to the Rito shopkeeper (Kheel during the blizzard, Nekk after clearing the Wind Temple) to purchase each piece.
Prices and pieces (TotK)
All three are bought individually at Brazen Beak:
-
Snowquill Headdress – cold-resist headgear, about 650 rupees.
-
Snowquill Tunic – chest piece with cold resistance, about 500-1000 rupees depending on version/info source.
-
Snowquill Trousers – leg piece with cold resistance, about 1000 rupees.
In total, expect to spend roughly 2,000+ rupees for the full set in Tears of the Kingdom.
What the set does
-
Each piece gives cold resistance, and wearing multiple pieces stacks this effect so you can safely explore Hebra and the Wind Temple approach.
-
In the earlier game Breath of the Wild, the full upgraded set gives level 3 cold resistance and even prevents freezing, and it functions similarly as a dedicated cold-weather outfit in Tears of the Kingdom.
If you want, tell me how many rupees you have and I can suggest a quick money route (ore, cooking, or mini-games) so you can afford the full set fast.