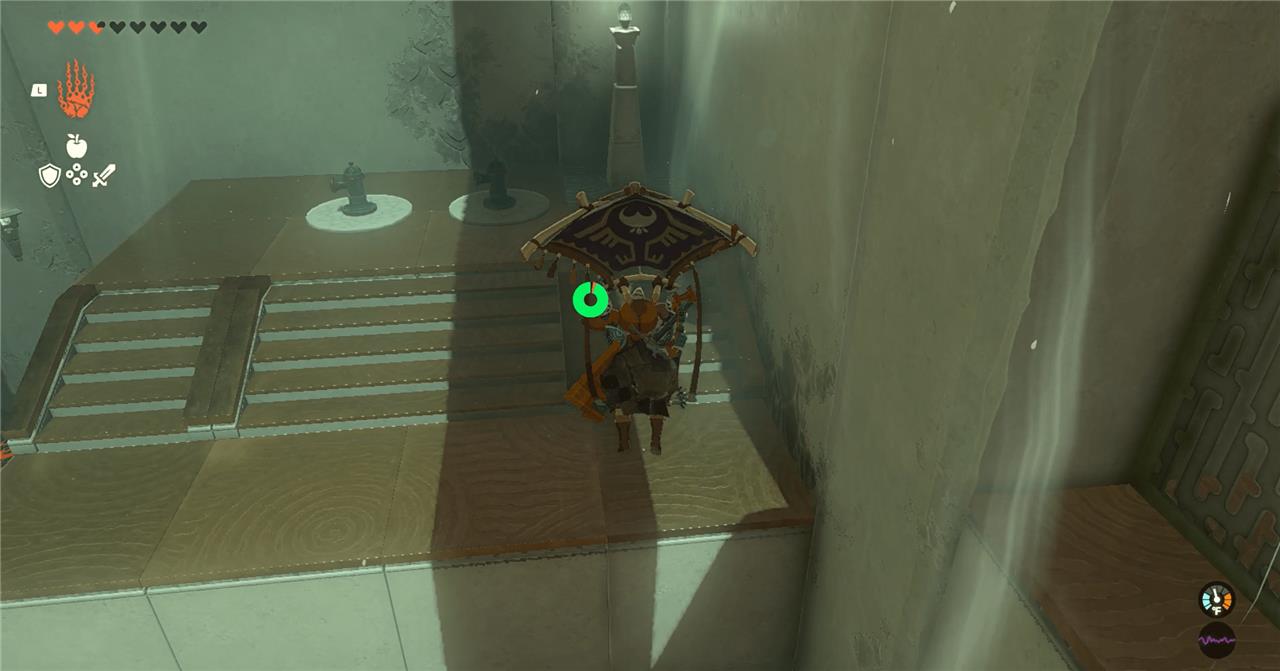
Hidden deep within Eldin’s volcanic region, the Timawak Shrine challenges players with blazing hazards, shifting lava flows, and clever physics puzzles. This guide shows exactly where to find it and how to master its fiery trials for a smooth path to the next Light of Blessing.
When you’re done, our shrine locations page or interactive Hyrule map can direct you toward something else to do.
Timawak Shrine location
Timawak Shrine is found in the Eldin Region, southeast of Goron City and near the Cephla Lake Cave. Its exact coordinates are around 1794, 1643, 0271. The shrine is located close to the main path leading from Goron City toward the Eldin Canyon Skyview Tower, making it fairly accessible once you reach the area. The surroundings feature volcanic terrain and streams of lava, so using heat-resistant gear or elixirs is recommended before approaching.
The Timawak Shrine is found within the Eldin Canyon region at the (1798, 1639, 0311) coordinates.
Timawak Shrine walkthrough
Timawak Shrine challenges players with a puzzle focused on using lava and stone platforms to reach the end. Begin by using Recall to cross the lava river safely, then use Ascend to move through the upper chambers. Watch for fire-based constructs and use elemental weapons or arrows to defeat them quickly. The final section requires stacking stone slabs to reach a high ledge leading to the shrine’s reward chest and completion point.
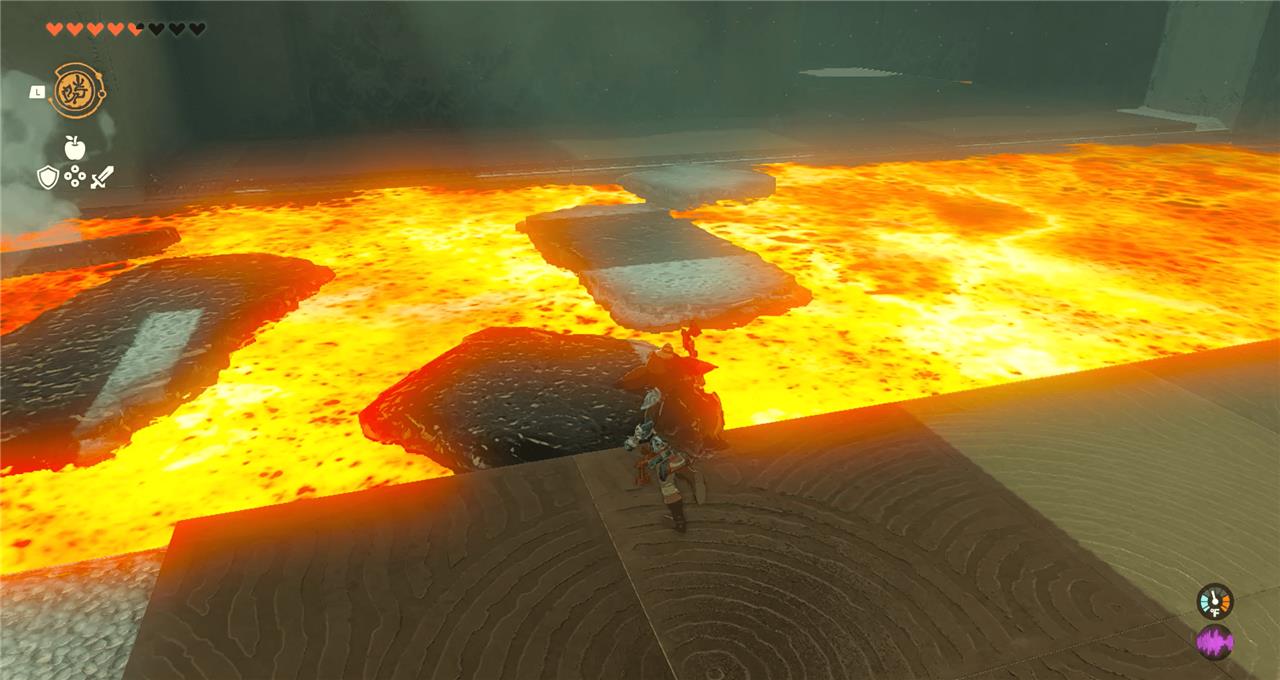
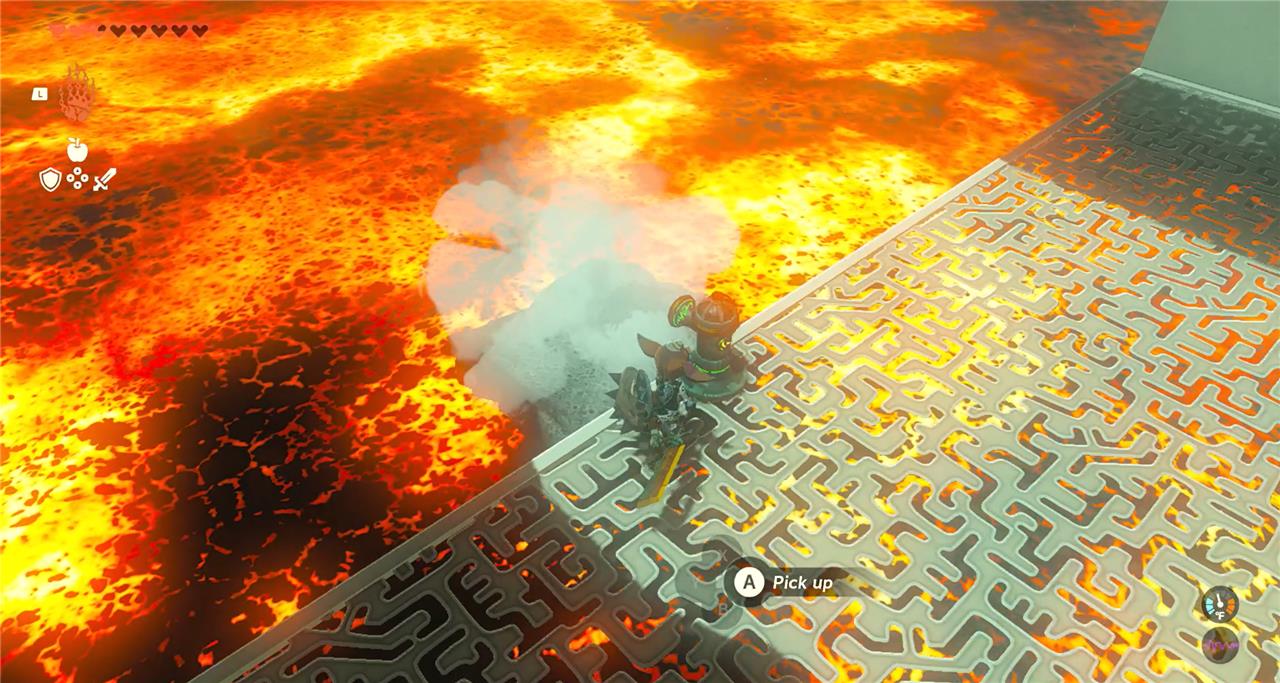
Timawak Shrine has no shortage of burning pits. This shrine will test your ability to travel across them using a variety of different techniques, specifically Ultrahand and Recall.
1. Your first flaming obstacle is straight ahead upon entering the shrine. Use the different sized stones floating along the fire river to cross.
2. The chamber leads into another where a Construct awaits. Fight and defeat it before moving on to the next steps.
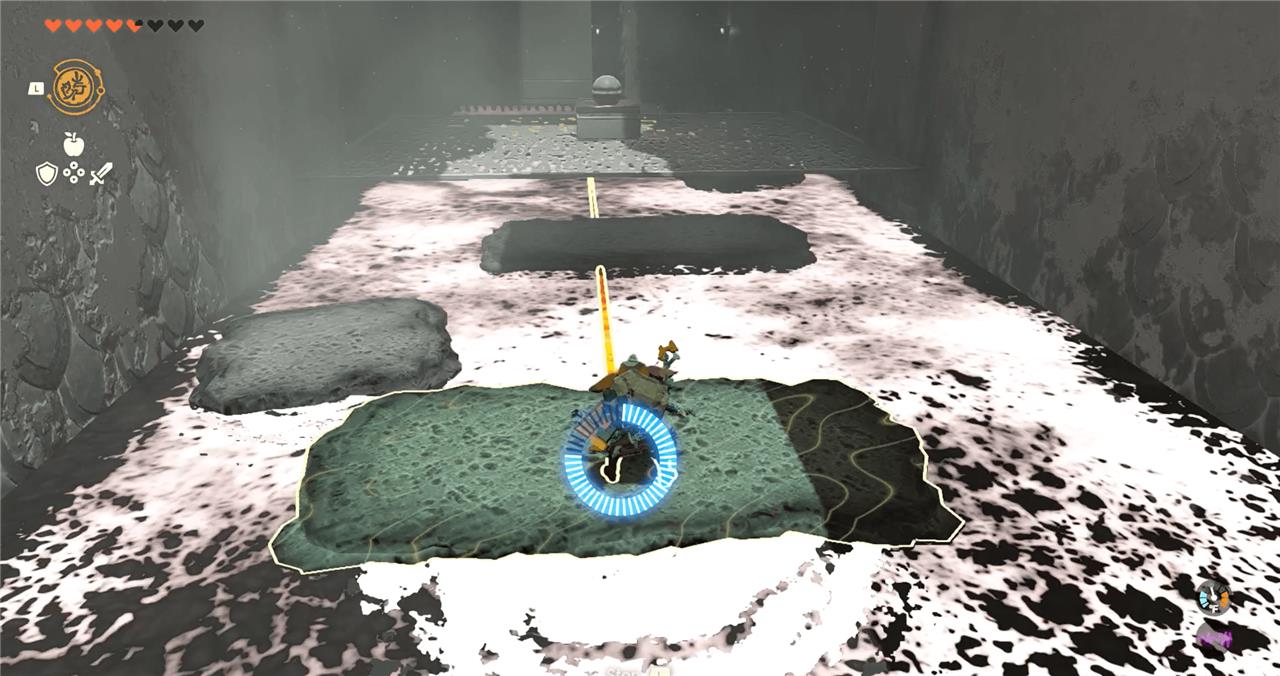
3. There’s an opening on one side, right over a bridge over a second fire river. Stones are floating downstream toward you. Use these stones to cross the river to another platform that holds a ball. Once a stone comes close enough to you, hop on and quickly use Recall to reverse the stone back up the river.
4. Jump off and on to the next platform. Ignore the ball for now, and head immediately over to the next platform to grab the chest. Use Ultrahand to rotate a long stone vertically and place it right before the platform with the chest. Let the river flow back to you, then use Recall when it’s close enough for you to jump on and make your way to the chest.
5. Open the chest to receive a strong Zonaite shield.
6. Head back the way you came. When a new rock slab forms, use Ultrahand to rotate it so it’s vertical in the river, and close enough to jump on. Do that and let it take you back to the platform with the ball.
7. Grab the ball and float back to the first platform. You’ll have to throw the ball onto the platform before you hop on yourself. Don’t worry if you drop it – use Ultrahand to grab it from the other end of the platform as it continues downstream. If it gets too far, a new one should appear in the original spot.
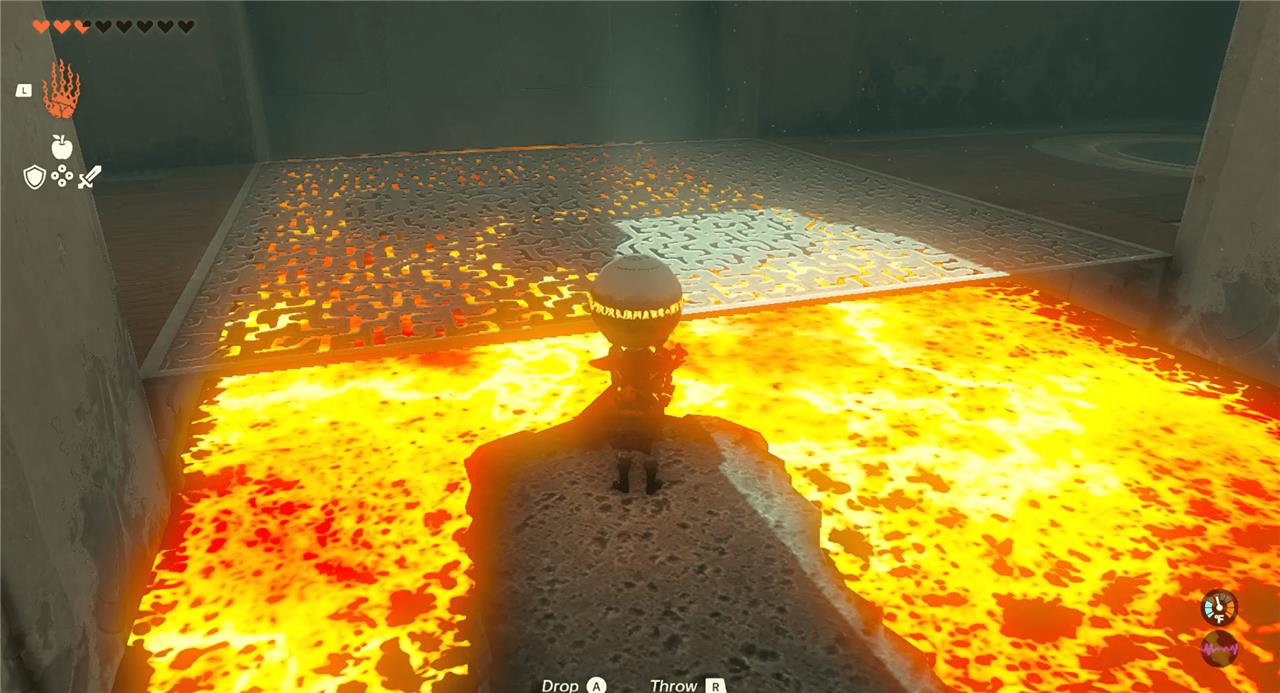
8. Place the ball in the floor indent in front of the gate, immediately to your right. The gate will open. Head inside.
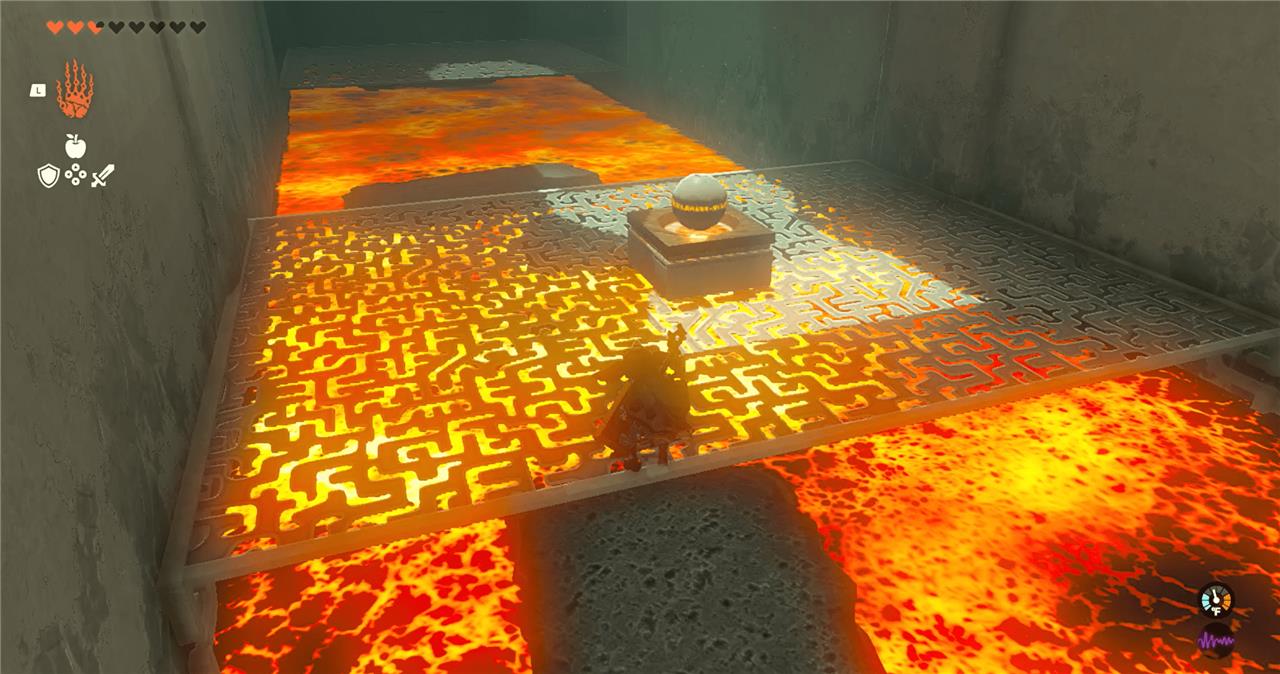
9. Again, another fiery chasm to get across. There’s a fan on each side of the room, and a higher platform on the right side. Hit the fan on the right side then hop into its wind stream to paraglide the higher platform.
10. Pick up a water spout and bring it down to the main platform with you.
11. Place it at the edge of the platform so it streams into the fire river. It’ll create a stone. Grab the stone with Ultrahand and pull it up onto the platform.
12. Grab a fan and attach it to the stone, creating a boat.
What treasure is in Timawak Shrine chest
The treasure in Timawak Shrine’s chest is a Strong Zonaite Shield (also referred to as a “robust” or “mighty” Zonaite Shield in some guides), with 26 defense.
How to get the orb in Timawak Shrine
To get the orb in Timawak Shrine, you need to reach it on the side lava corridor, then bring it back to the gate’s floor socket.
Here’s a concise step-by-step:
-
From the room with the Soldier Construct and the locked gate, look to the side corridor with lava and a small bridge in the middle; the orb is sitting on the central platform over the lava.
-
Use Ultrahand to grab one of the small cooled-lava or stone slabs that float along the lava and place it so you can ride or walk across toward the orb platform.
-
Easiest method: build a simple bridge by attaching several slabs end to end, then walk across that bridge to the orb platform. An alternative is to place a slab, step on it, let it move, then use Recall to ride it back toward the orb.
-
Once you reach the orb platform, pick up the orb with Ultrahand and carry it back along the same bridge (or ride a slab back if you didn’t build a bridge).
-
Return to the Construct’s side of the room and drop the orb into the circular hole in the floor in front of the gate to open it.
If you tell me which part is giving you trouble (crossing to the orb, getting back with it, or dealing with the moving slabs), I can give an even shorter trick just for that bit.