Dipping brushes into a tiny world, this beginner’s guide reveals the patient artistry, secret timings, and steady hands that turn plain plastic into vivid, battlefield-worthy figures.
Painting miniatures is a good, chill time. Since I picked the hobby back up in 2017 I’ve spent hundreds of hours away from my screens, listening to good music and great podcasts. And, as a bonus, I have dozens upon dozens of smartly painted little miniatures for all my favorite games. If you’d also like to add an artsy little oasis to your life, one that can bring a bit of meditative joy to your free time while also adding beautiful bits to your favorite board games and role-playing games, you’ve come to the right place. It can be daunting to build up the skills and tools you need to get started, but our guide can show you how.
In this article, I hope to demystify those first few steps beginning painters need to take. Below you’ll find my personal recommendations, not just of the paints and other tools you’ll want to buy, but a handful of carefully curated teachers and artists I’ve come to trust over the last seven years of exploring. Let’s dive in.
Which miniatures should you buy?
Start with a small set of miniatures that genuinely appeal to you, such as a favorite army, faction, or character range. Choose models with clear details and sturdy poses, as they are easier to handle and paint. Beginners often find single figures or boxed starter sets from companies like Games Workshop ideal because they include balanced selections without being overwhelming. Pick something that inspires you enough to finish it-motivation is a painter’s best teacher.
There are so many different kinds of miniatures on the market that just narrowing things down to a handful of choices can be difficult work. My recommendation is to start with one of your favorite games or subjects.
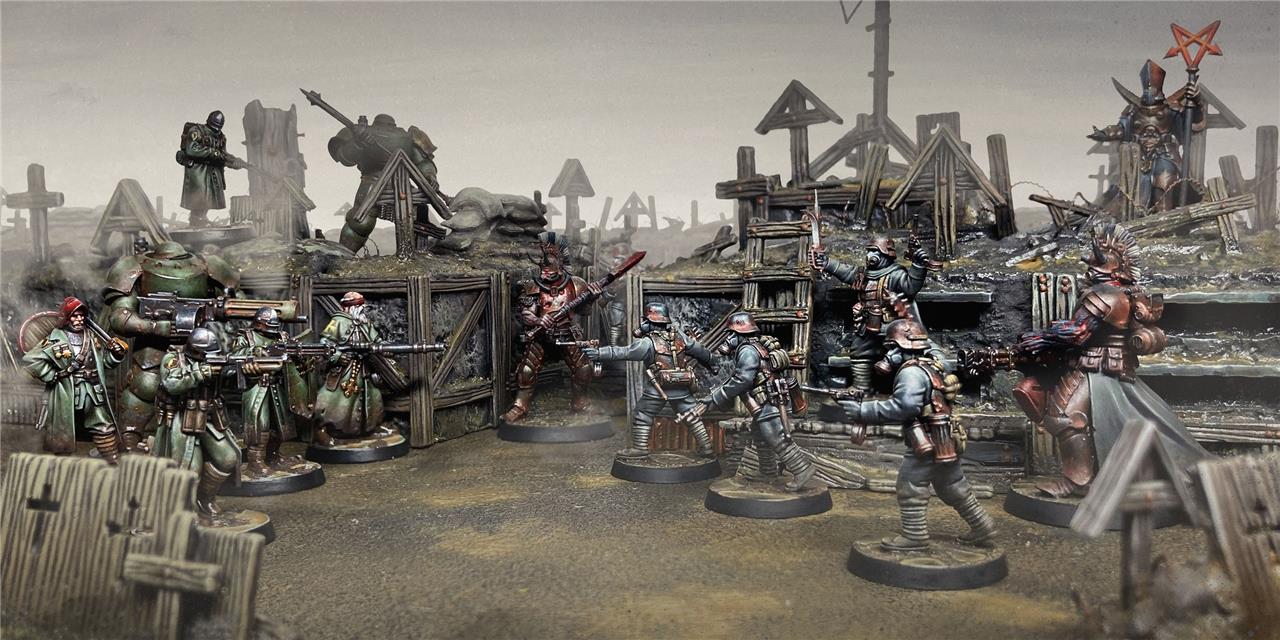
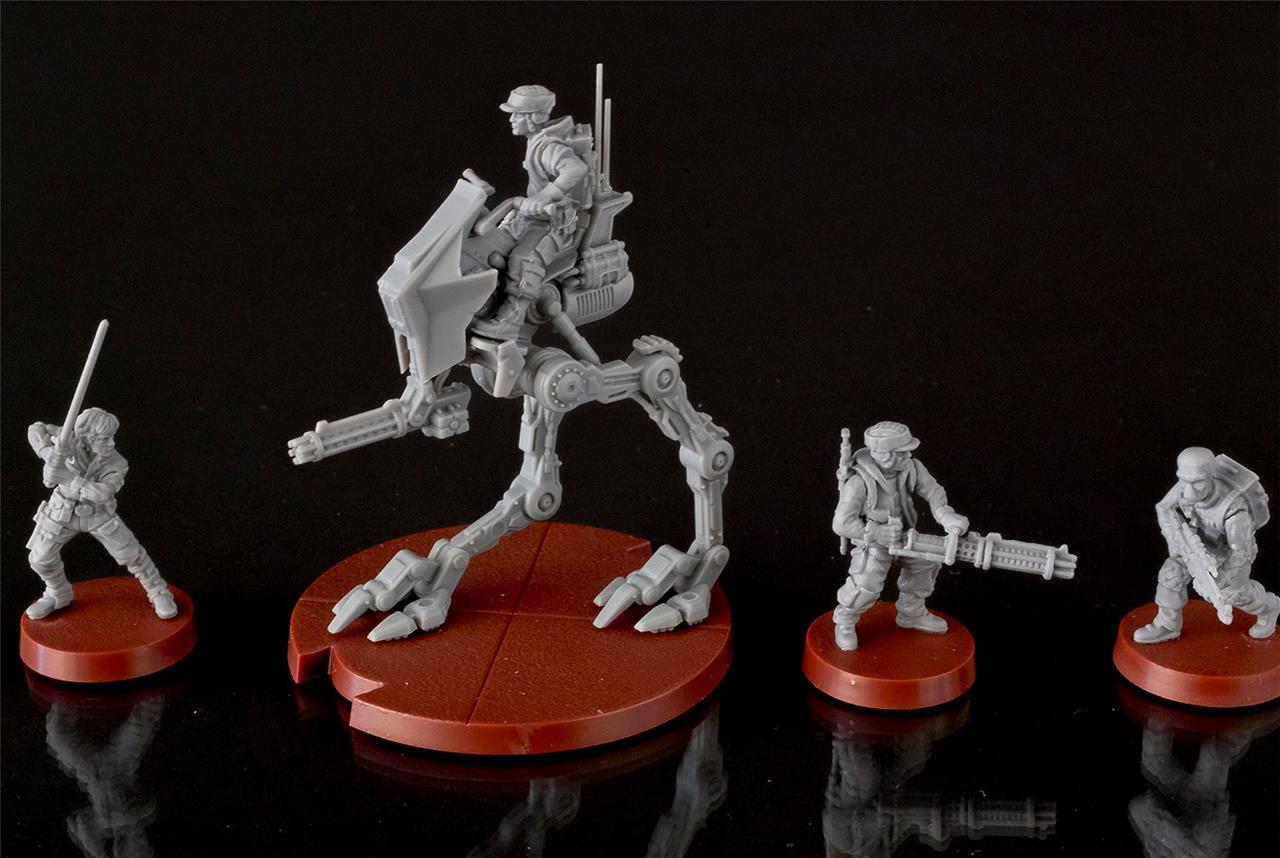
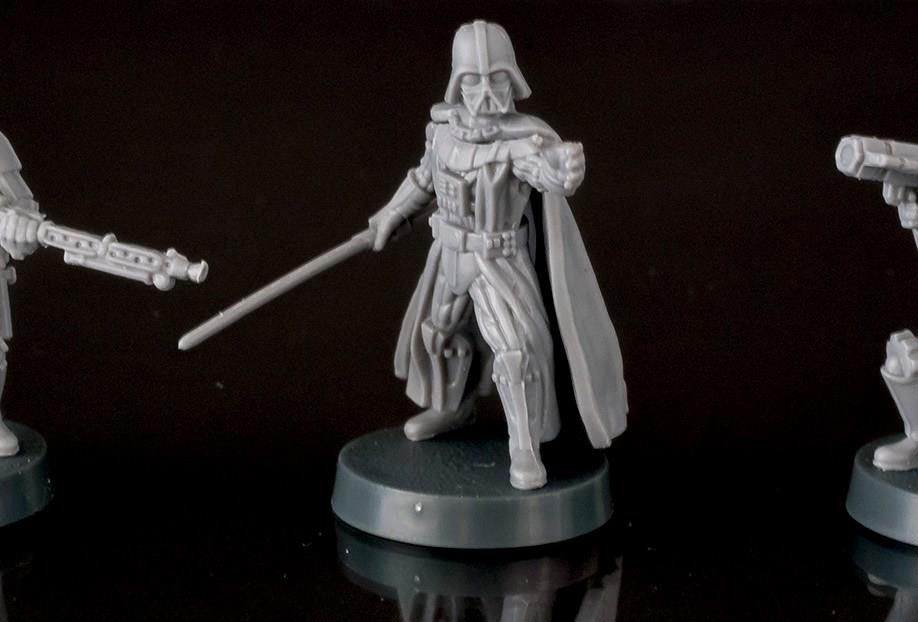
Maybe you’re really into dungeon-crawling board games like HeroQuest, Zombicide, Frosthaven, or Descent: Legends of the Dark. Maybe you’re more into strategy games, like Scythe or Twilight Imperium: Fourth Edition. Or maybe you’re curious about miniatures skirmish games, titles like Star Wars Shatterpoint, Halo: Flashpoint, Necromunda, Warhammer 40,000 Kill Team, or Trench Crusade. Wherever your interests lie, start with a game or a universe you really enjoy and that bit of passion you feel in your gut will help to get you across the finish line with your first batch of painted minis.
But don’t start off by plopping down hundreds or thousands of dollars on a big army for Warhammer 40,000, or any other large-scale miniatures wargame for that matter. Piling up too much plastic on your desk before you even have the basics under your belt is a surefire way to get discouraged.
Just a handful of minis is enough to get you where you’re going, so start small and build from there.
Assembly
Before applying paint, make sure each miniature is properly assembled. Carefully remove the pieces from the sprue using clippers, then trim any mould lines with a hobby knife. Test-fit parts before gluing to avoid awkward gaps or misaligned joints. Use plastic cement or super glue depending on the material of the model, and allow enough time for the glue to set. Once assembled, check the miniature for rough areas and lightly sand them to create a smooth surface for painting.
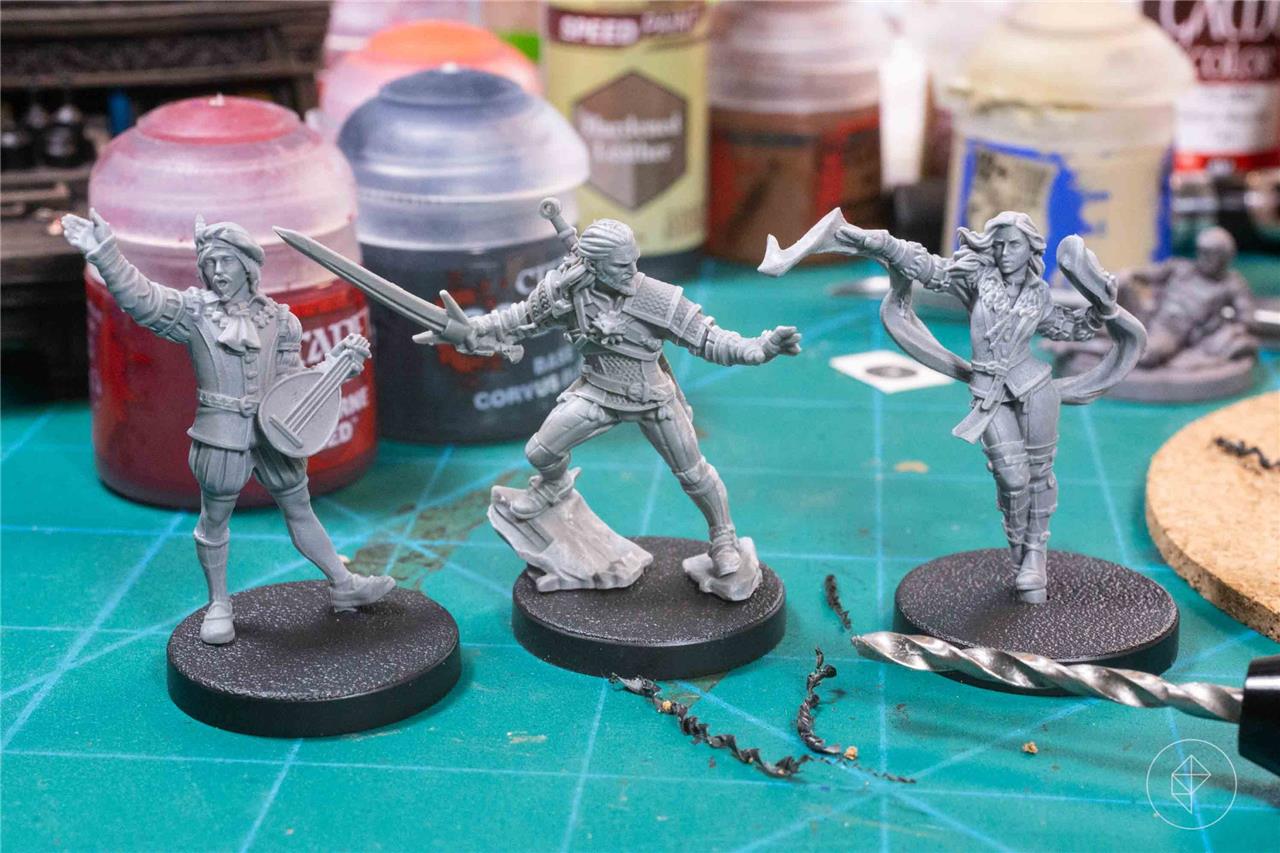
While choosing your first small passion project, consider if you’d like to spend any time at all assembling those miniatures before you paint them – because you don’t actually need to. Plenty of miniatures are sold preassembled these days – especially ones that come with hobby board games. Other options include The Witcher and the Cyberpunk Red lines from Monster Fight Club, as well as the huge new range of plastic miniatures for Catalyst Game Labs’ BattleTech. WizKids also offers a huge selection of preassembled miniatures, including a wide variety of miniatures custom-made for D&D. Some even come primed and ready to paint right out of the box.
Note that even if you aren’t assembling your miniatures, you’ll still need a simple self-healing cutting mat to protect your work surface.
When selecting miniatures that you do need to put together, I’d recommend avoiding metal and resin miniatures out of the gate. Both of these materials require different tools to assemble, which won’t be covered at all in this guide. Stick with plastic miniatures your first time out. Plastic minis will likely come on a sprue – the plastic frame that holds them safely inside the box for shipment. To gently remove each piece, you’ll need a pair of cutting pliers called sprue nippers. Sprue nippers look a bit like scissors, but with one flat side and one angled side. Unlike scissors, the edges of these blades should never overlap – if they do, you’re simply squeezing them too hard.
To use sprue nippers correctly, carefully place the nippers with the flat edge touching the surface of the miniature you’d like to clip from the sprue. Then, gently pull the two halves together until the piece comes free. Repeat for every point of connection between the model and the sprue to free the piece entirely. Never twist pieces free from the sprue, as you can severely damage them.
Once you have all the pieces needed to assemble a given miniature trimmed from the sprue, you need to clean those pieces off. The goal is to remove whatever remnants of the sprue are still attached, which you can easily do with a hobby knife and a flexible sanding pad – sort of like an emory board, but for plastic models.
You’ll also want to remove something called “mold lines” – which you’ll nearly always find somewhere on a plastic miniature, even if it comes pre-assembled.
To make a plastic miniature, two halves of a metal mold are brought together and hot plastic is pressed in between them. Sometimes the plastic seeps out where the two halves of the mold meet, creating unsightly ribbons of plastic called mold lines, and several different tools can be used to remove them.
A hobby knife is the most common tool used to remove mold lines, as they are incredibly sharp. But they can lead to damaging your miniatures. A better tool for beginners is the Citadel Mouldline Remover. You can use its firm, sharp edges to scrape off the mold lines rather than cut them. You’ll also want a small, soft brush – like a toothbrush – to clean those areas when you’re done.
Now that you’ve got all the bits of your miniature trimmed out and cleaned, it’s time to glue them together. Always check with the manufacturer of your plastic models to be sure, but more often than not you won’t be using super glue – you’ll be using plastic cement.
Plastic cement is a solvent that literally melts the plastic that your miniature is made of, creating a permanent bond that will weld its various pieces together. Considering this, you will want to be very precise and delicate with how you apply it. I recommend Tamiya Extra Thin Cement. The brush applicator makes it easy to use just the right amount of glue, while the low-viscosity formula allows you to easily flow the glue into gaps and then gently sand or cut away the excess when it dries.
Assembly shopping list
Gather these supplies before assembly: plastic cutters or clippers for sprue removal, sharp hobby knife for cleanup, super glue or plastic cement for joins, and plastic glue for Citadel models. Add a cutting mat, fine sandpaper or files for smoothing seams, and toothpicks or glue tips for precision. Side cutters prevent damage to delicate parts, while glue accelerators speed drying. Keep everything organized to streamline the process.
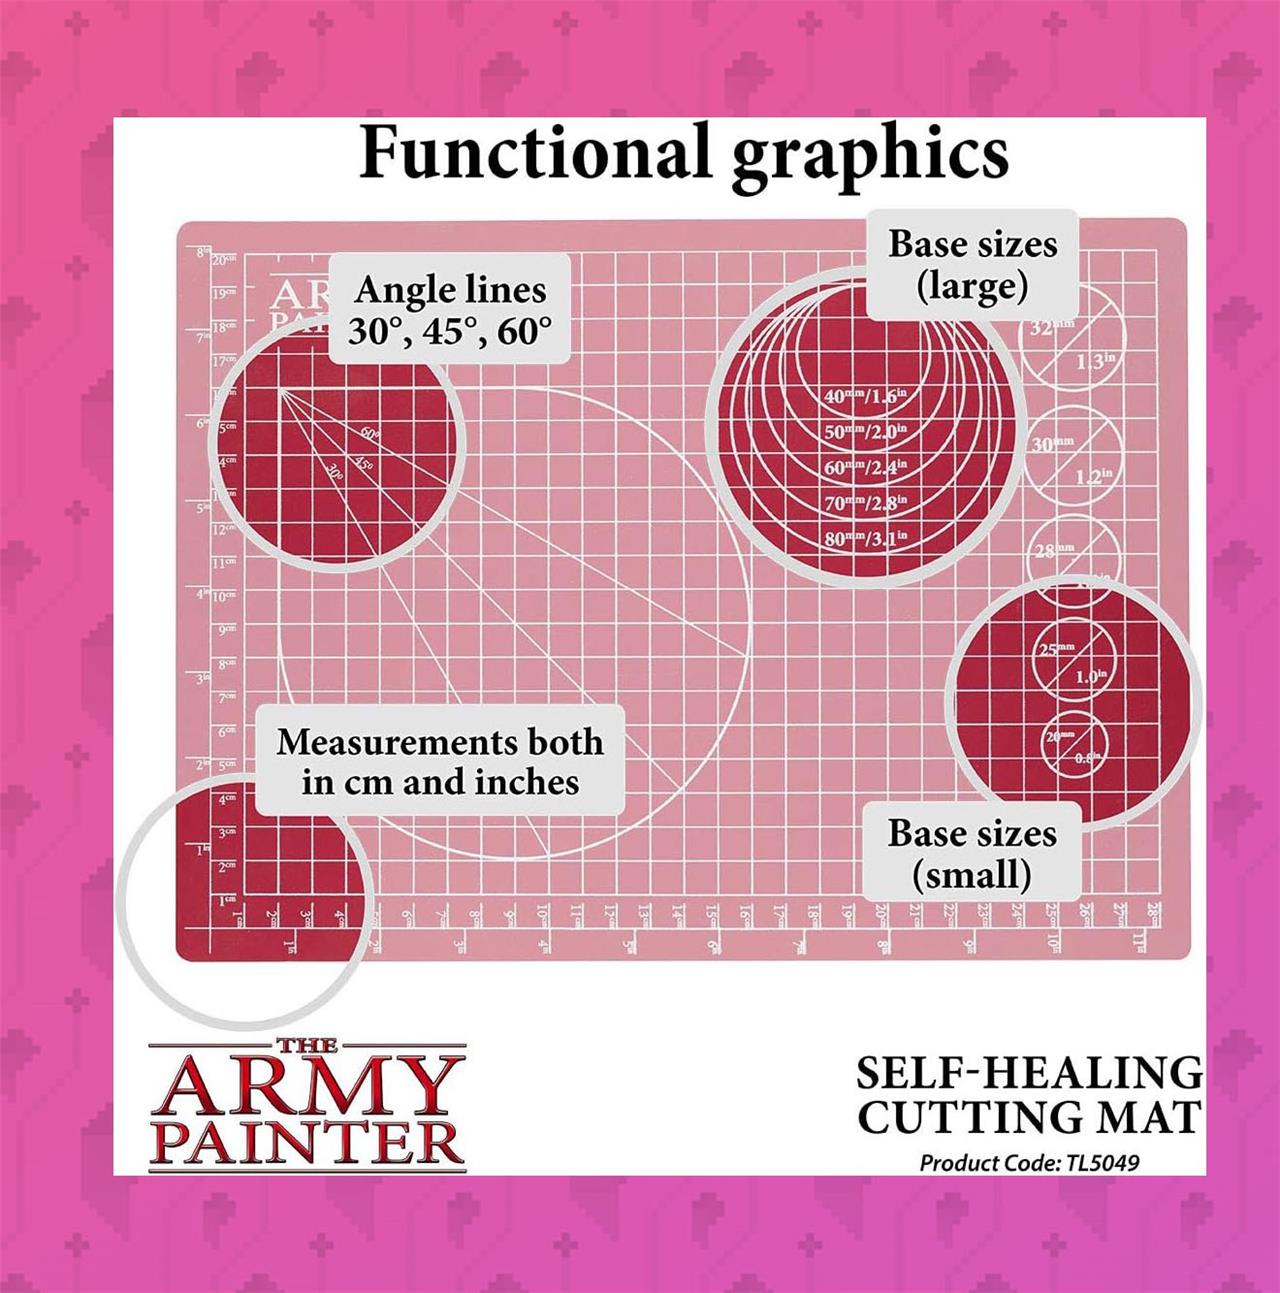
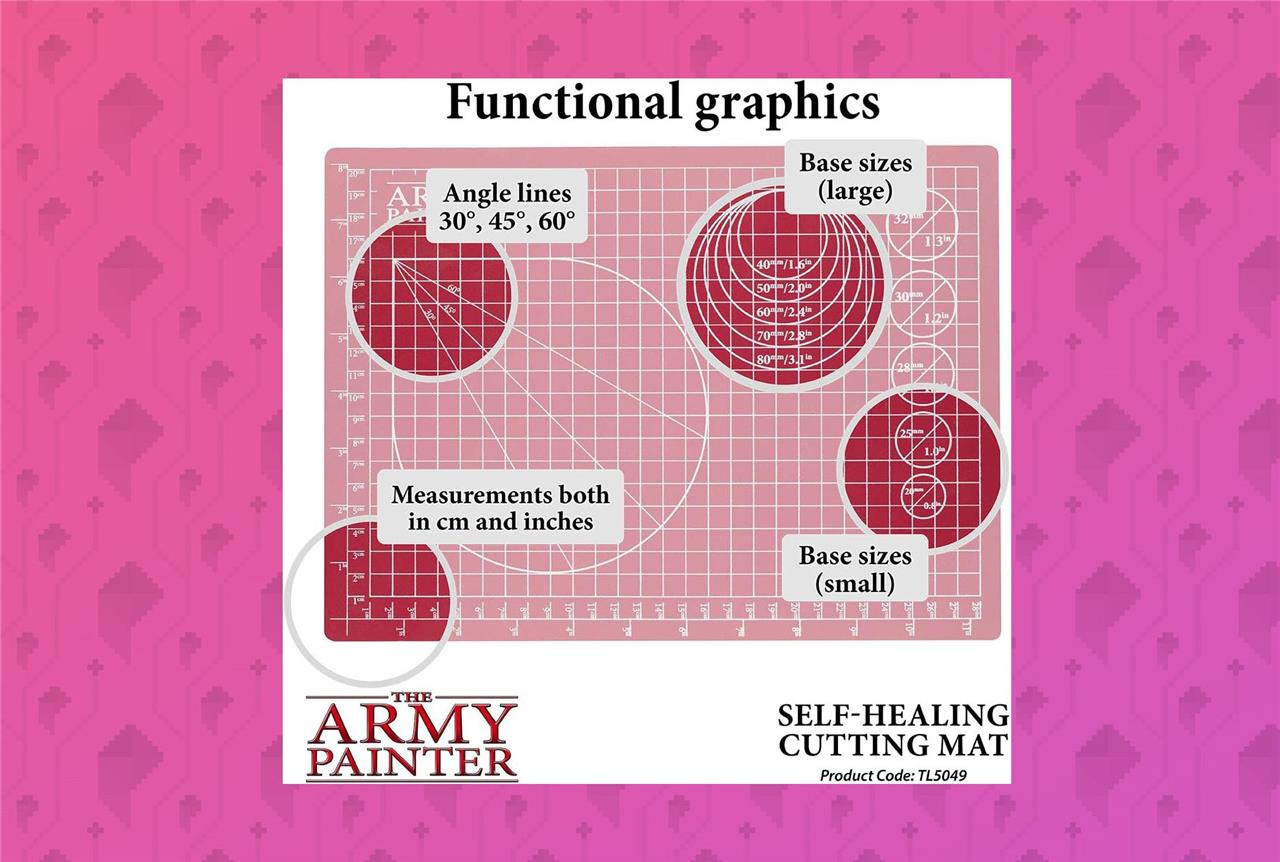
The Army Painter Self Healing Cutting Mat
$14 $14
This self-healing cutting mat will protect your work surface from spills and give you a firm surface to work with. But this one in particular is specially made for working with miniatures. It even includes a template for measuring the size of bases.
Read More $14 at Amazon
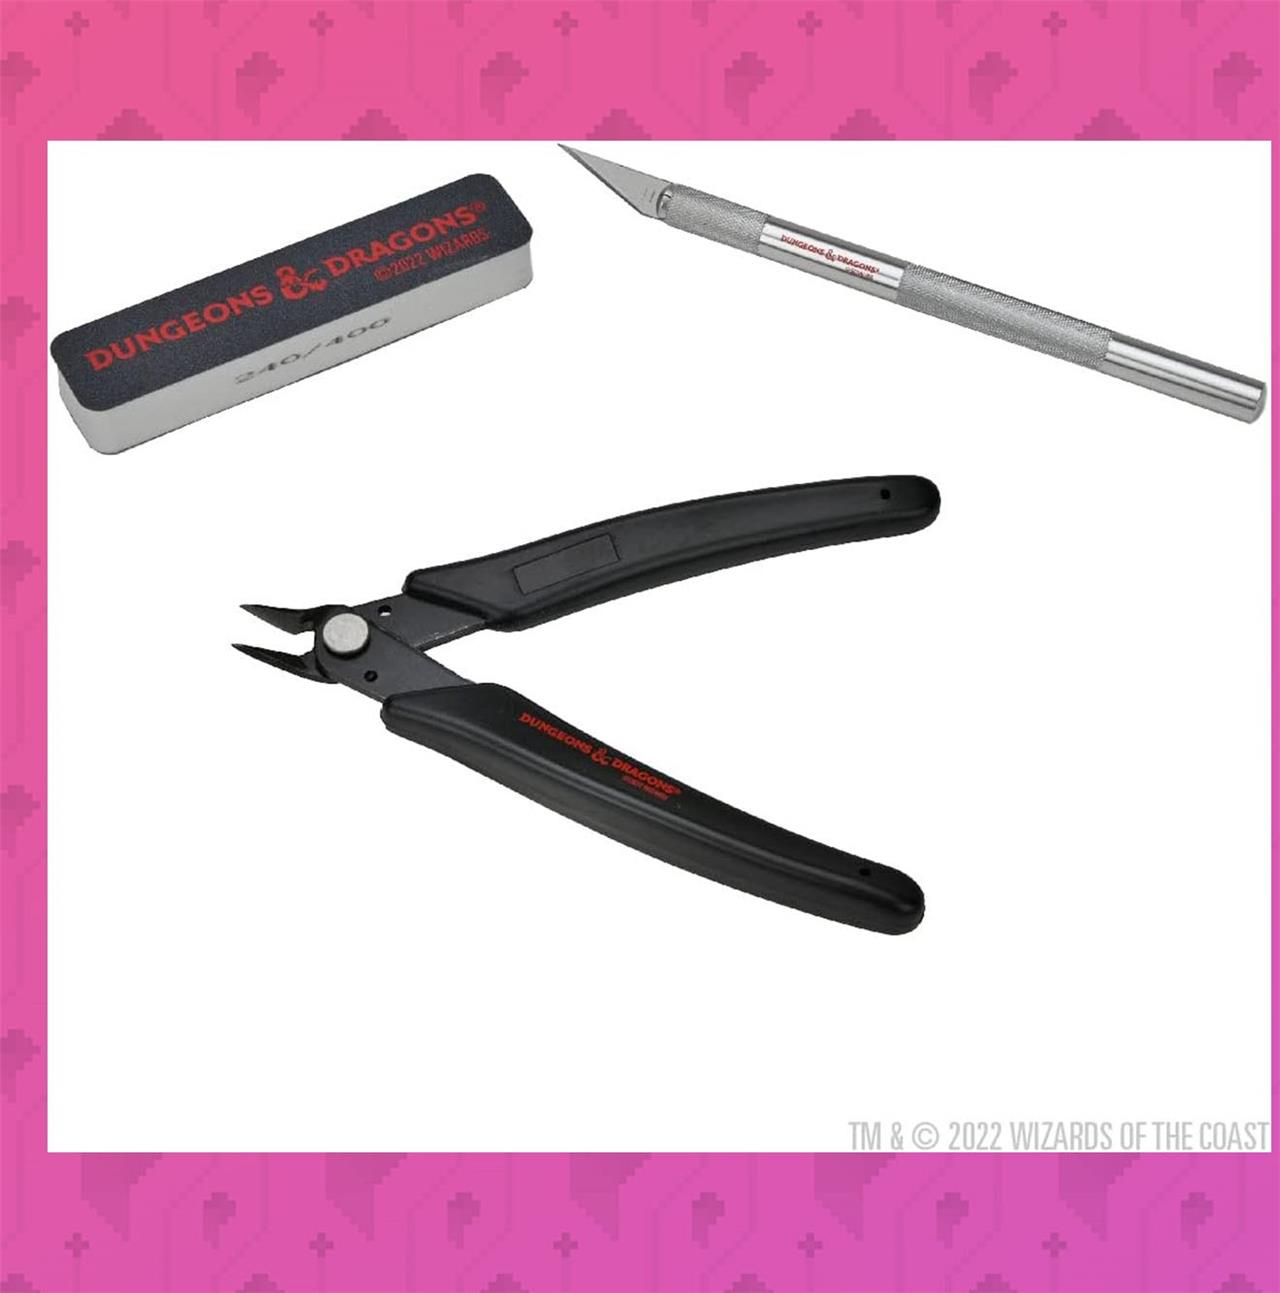

D&D Prismatic Paint: Plastic Models Prep Tool Kit
$20$2829% off $20
Wizkids’ Prismatic Paint line, launched in 2023 with the help of Vallejo, features a super handy three-part kit with a pair of nippers, a hobby knife, and a sanding sponge. It’s the least expensive solution we’ve found for folks looking to get started building plastic miniatures
Read More $20 at Amazon
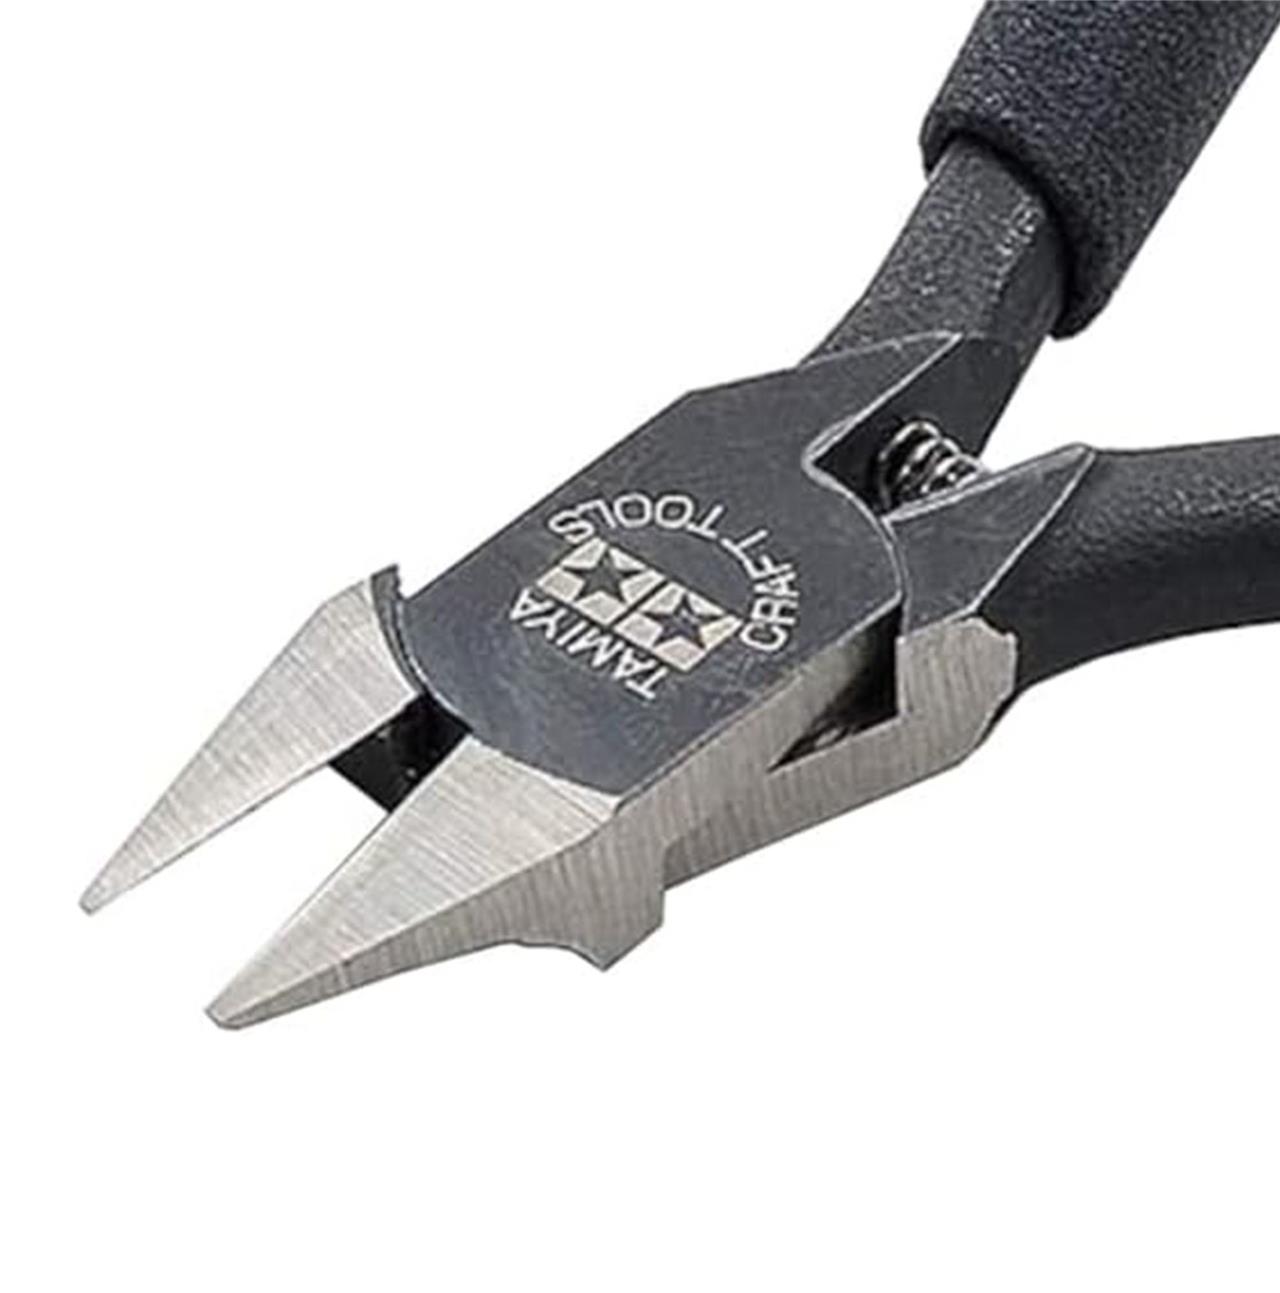
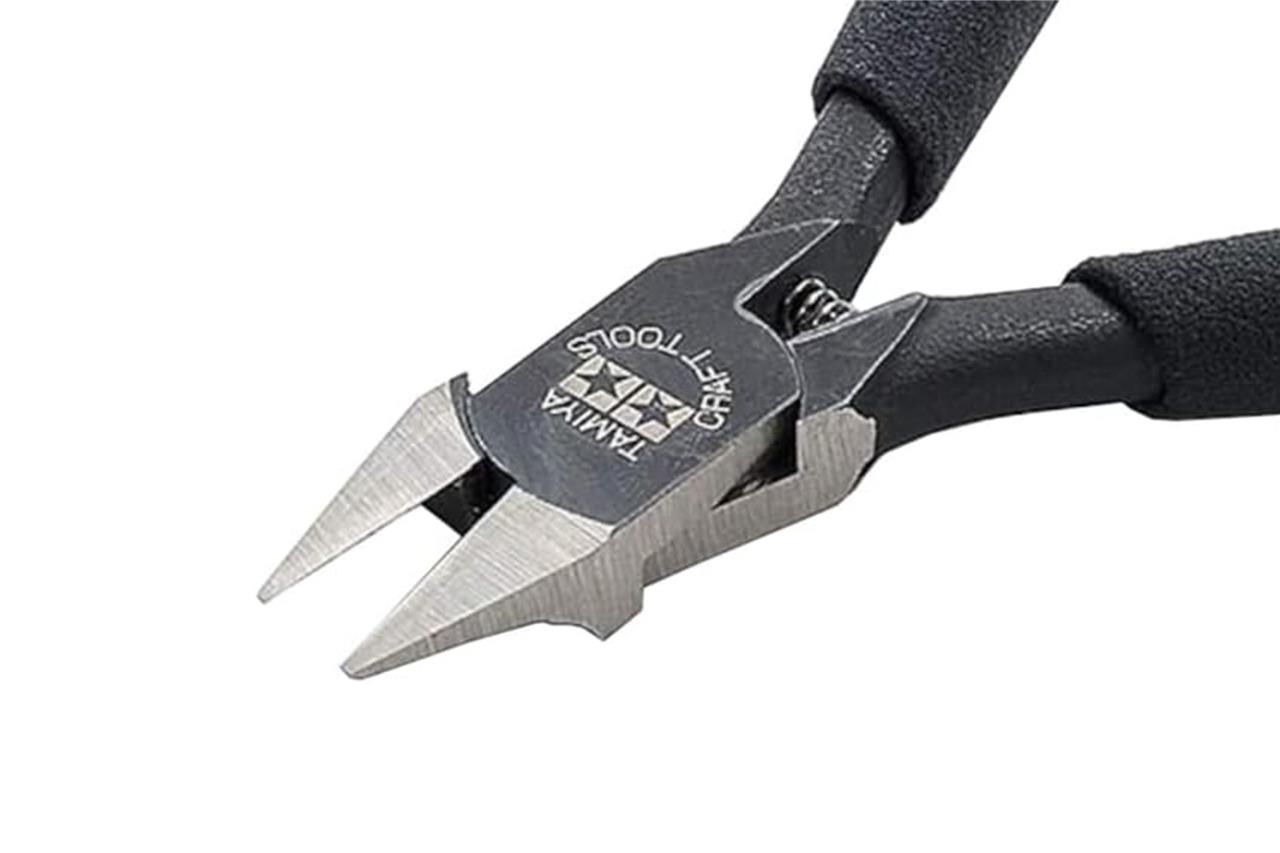
Tamiya Sharp Pointed Side Cutter
$28 $28
Tamiya’s much more slender cutting head makes for closer and more precise cuts right up against the model. And more precise cuts means less time spent removing mold lines in the first place.
Read More $28 at Amazon
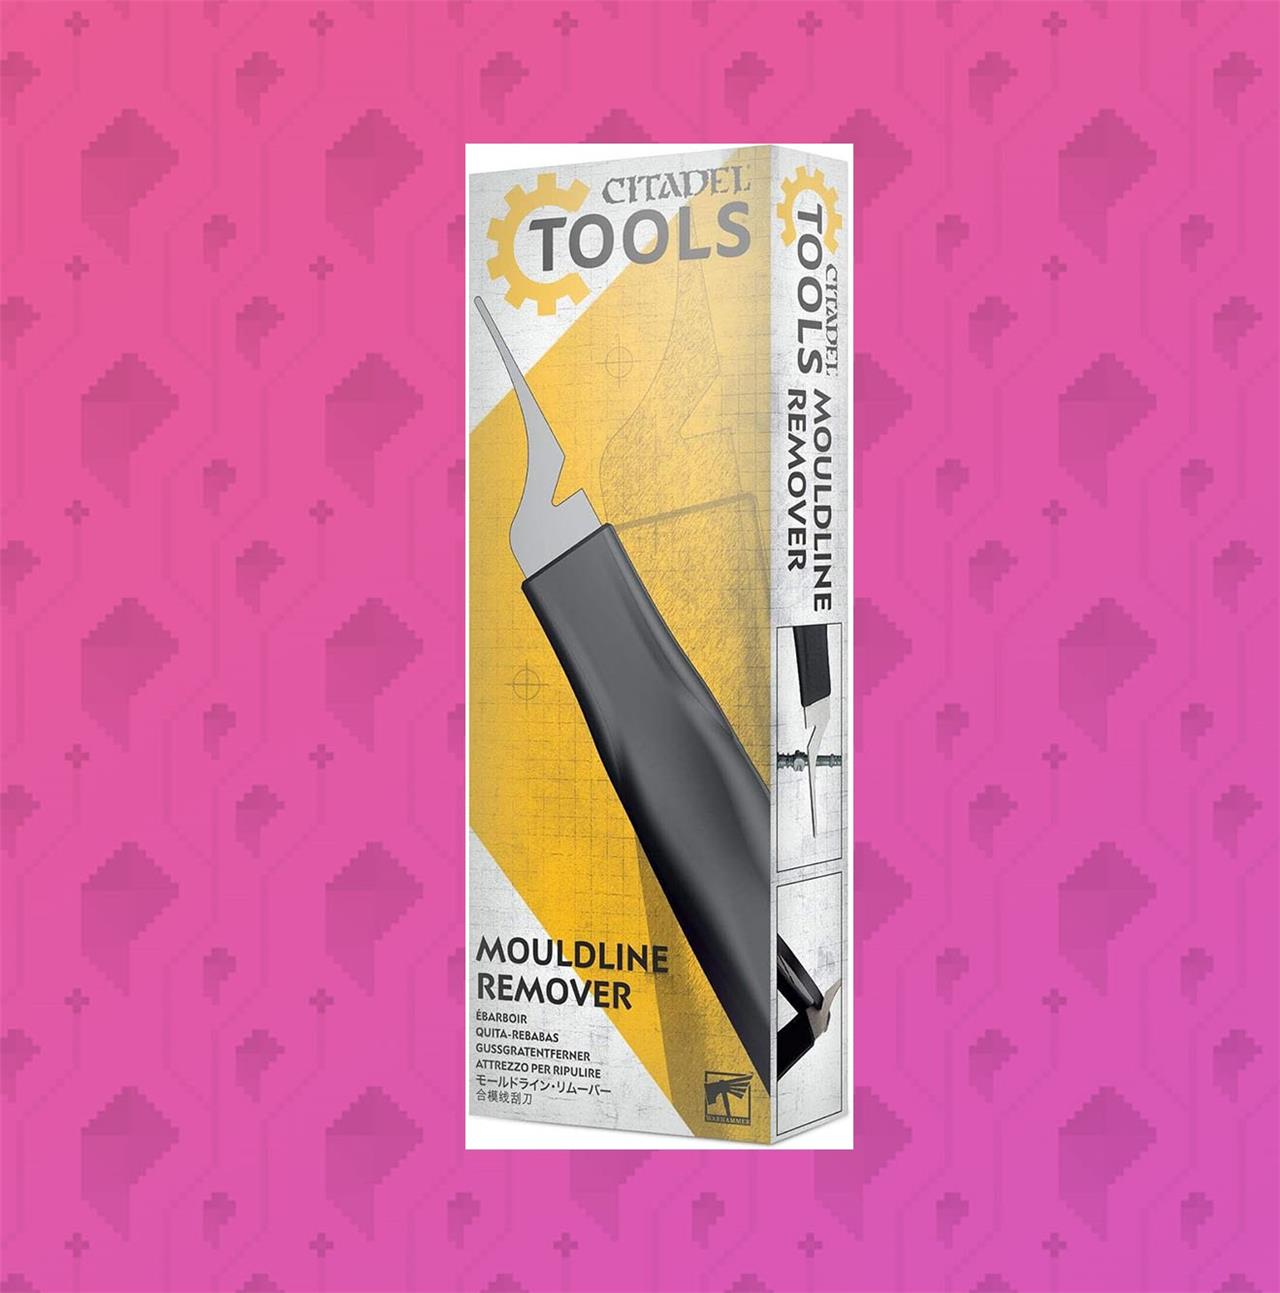
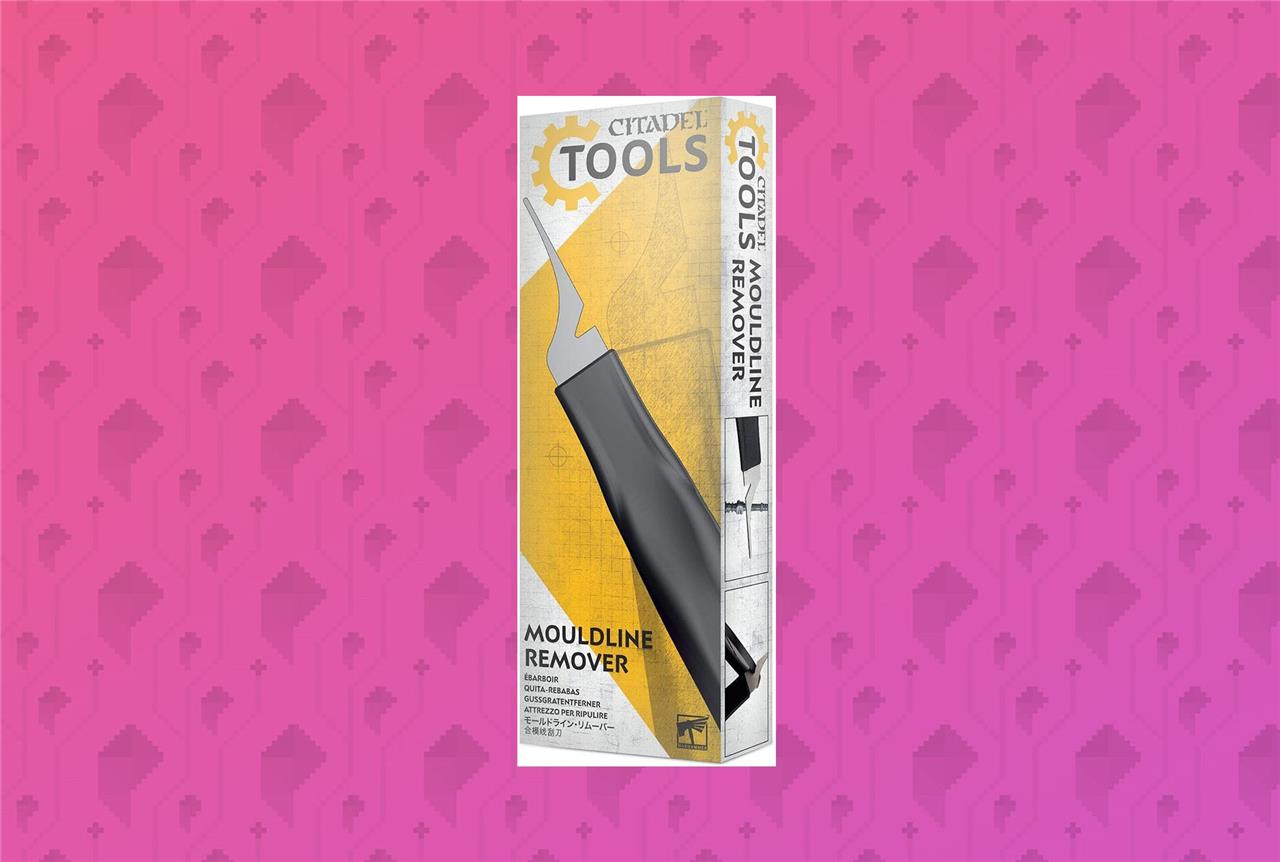
Citadel Mouldline Remover
$23$2612% off $23
For cleaning models, I’m a big fan of the Citadel Mouldline Remover in addition to a hobby knife. It’s a great way to non-destructively remove minute imperfections, especially around curved areas.
Read More $23 at Amazon
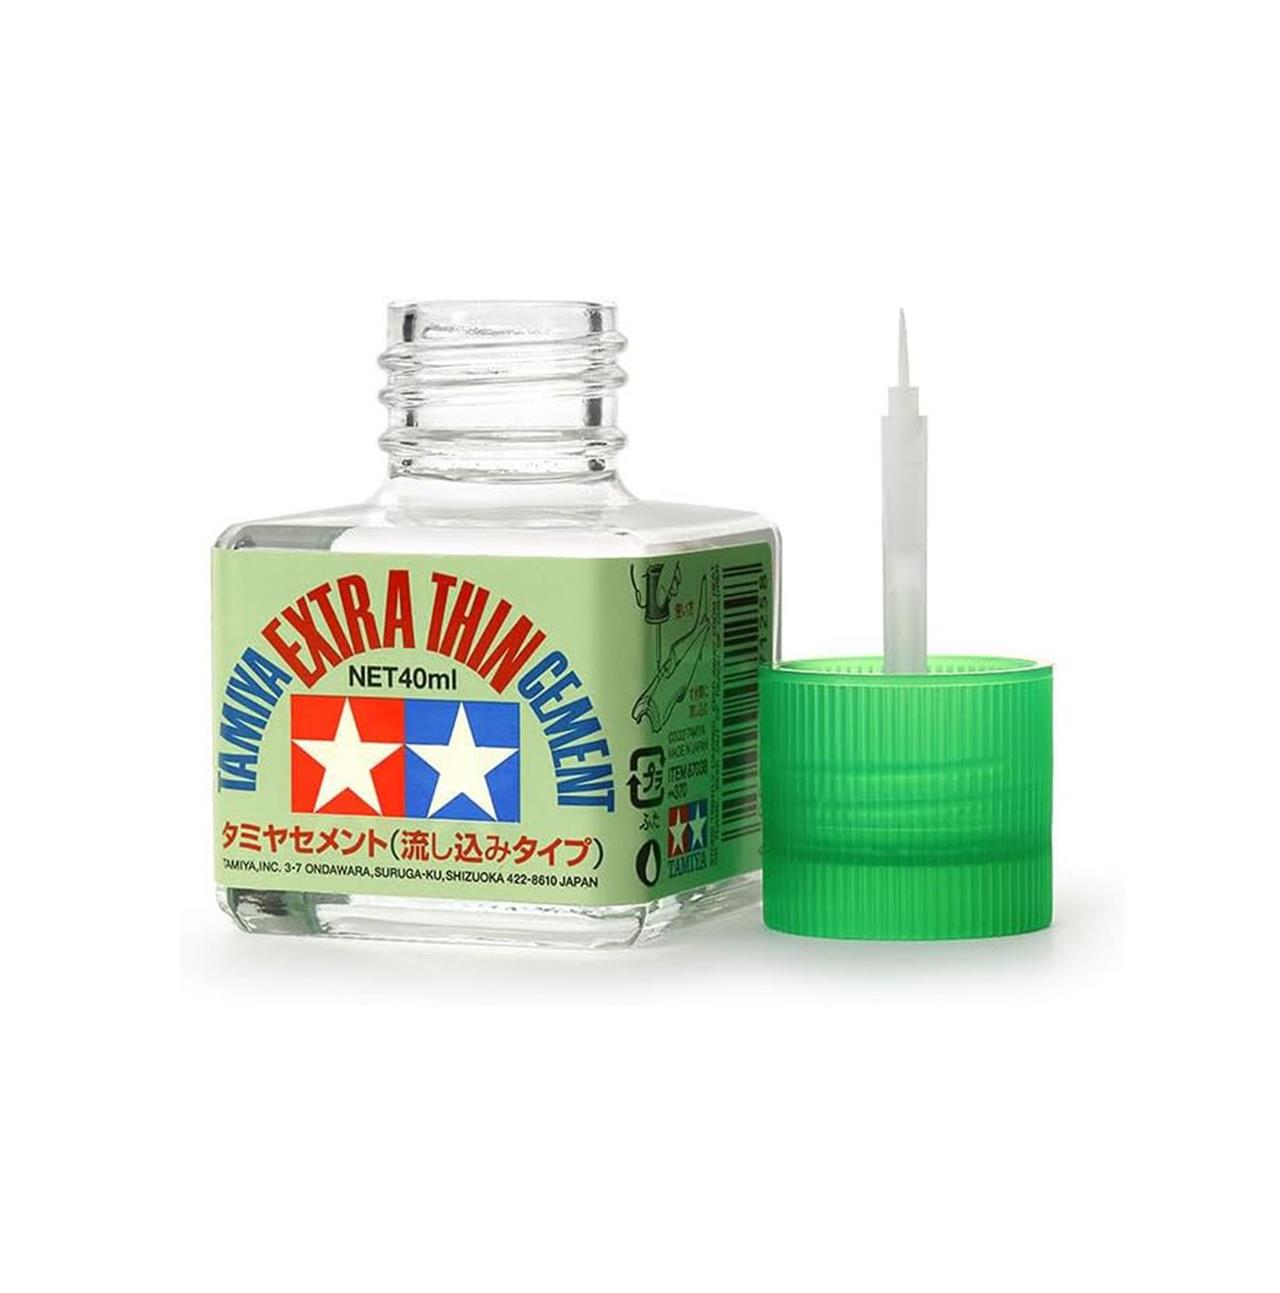
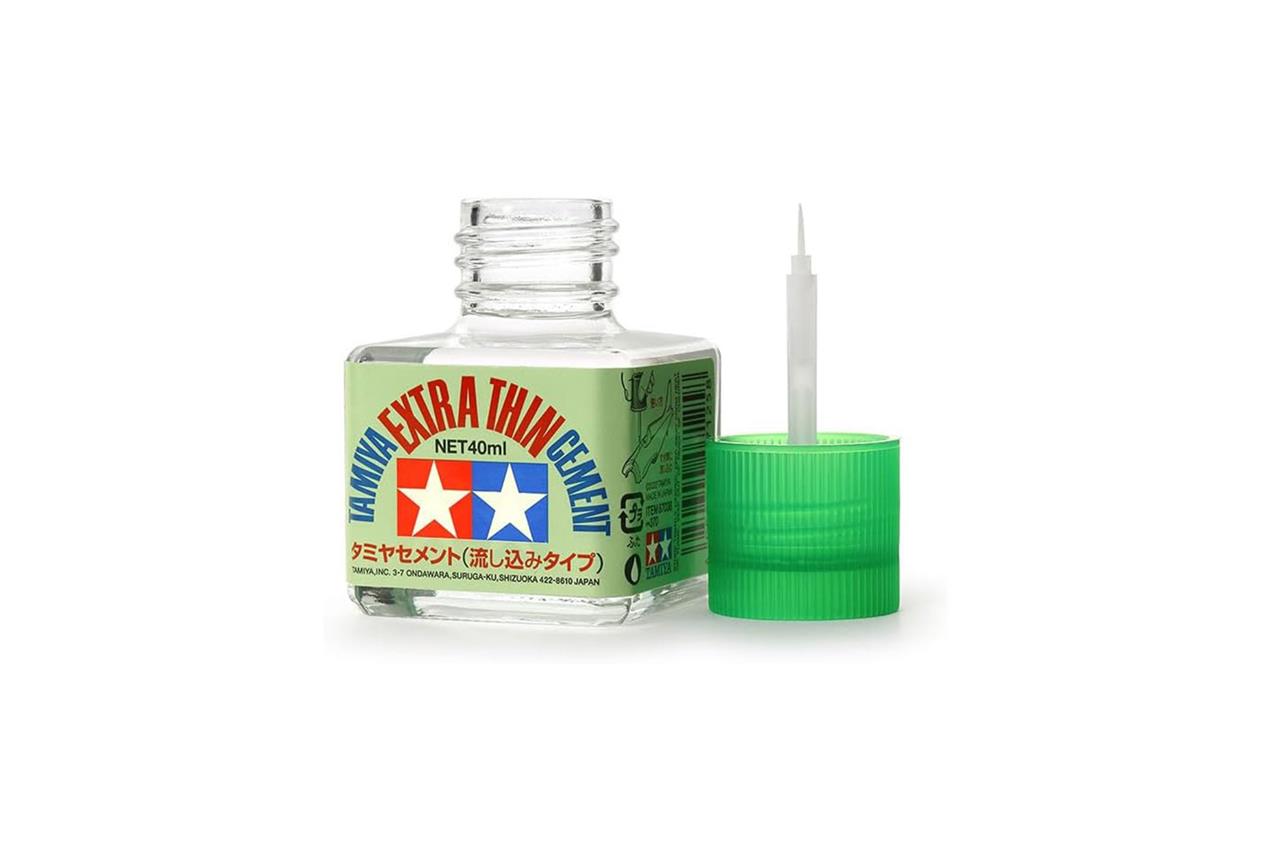
Tamiya Extra-Thin Cement
$10 $10
Tamiya Extra-Thin Cement smells pretty bad – not as bad as the quick-drying variant, but pretty bad. Nevertheless, this low-viscosity formula sees the most use as it’s especially good at flowing into nooks and crannies.
Read More $10 at Amazon
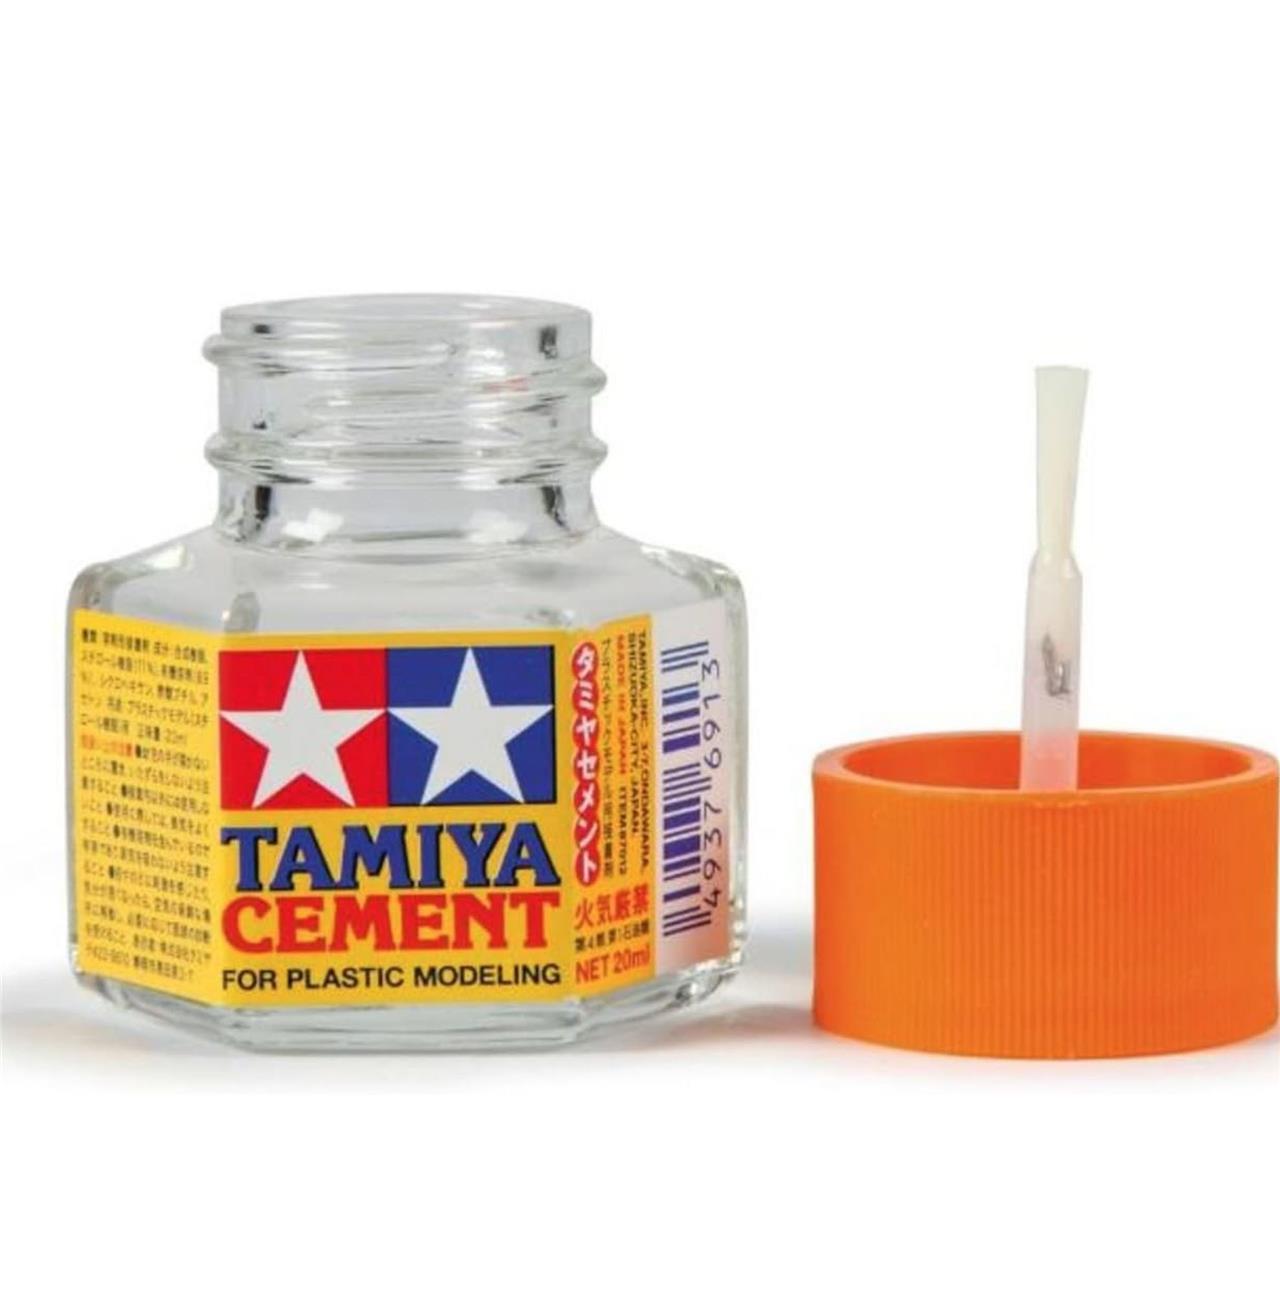
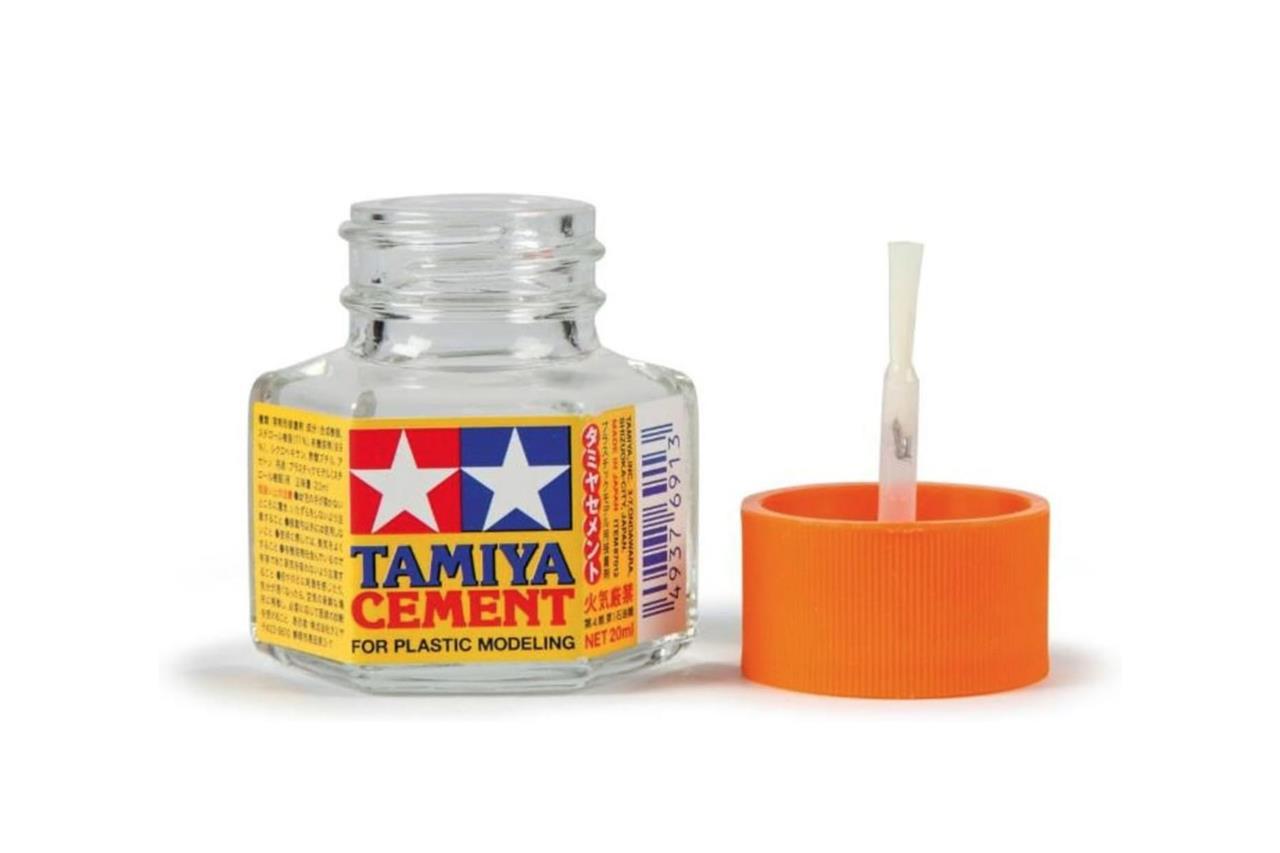
Tamiya Cement (standard)
$8 $8
For larger joints and areas that are particularly well hidden, I rely on regular Tamiya Cement. It melts plastic a bit more aggressively than the thin stuff, and its higher viscosity makes it great for covering larger areas without damaging fine details.
Read More $8 at Amazon
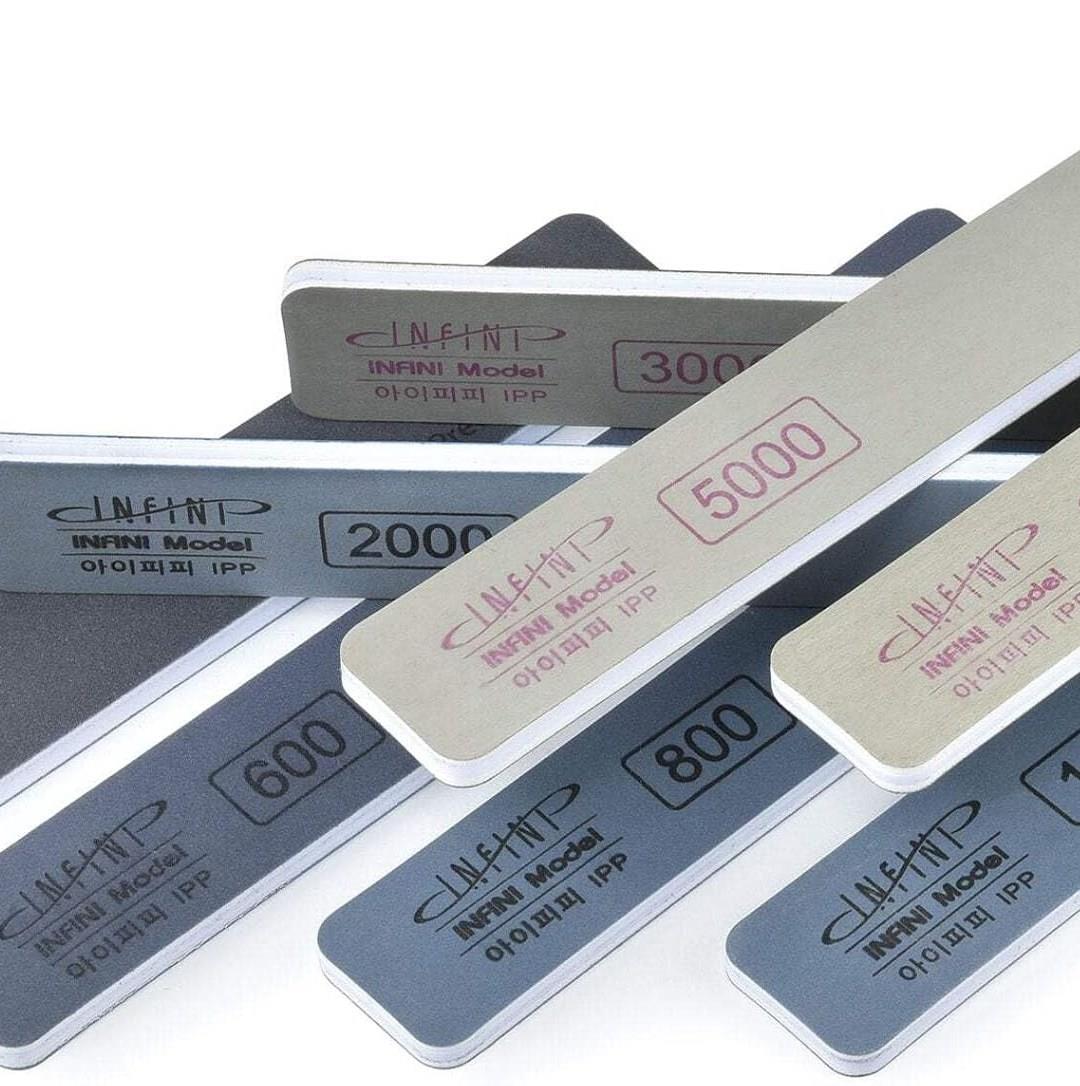
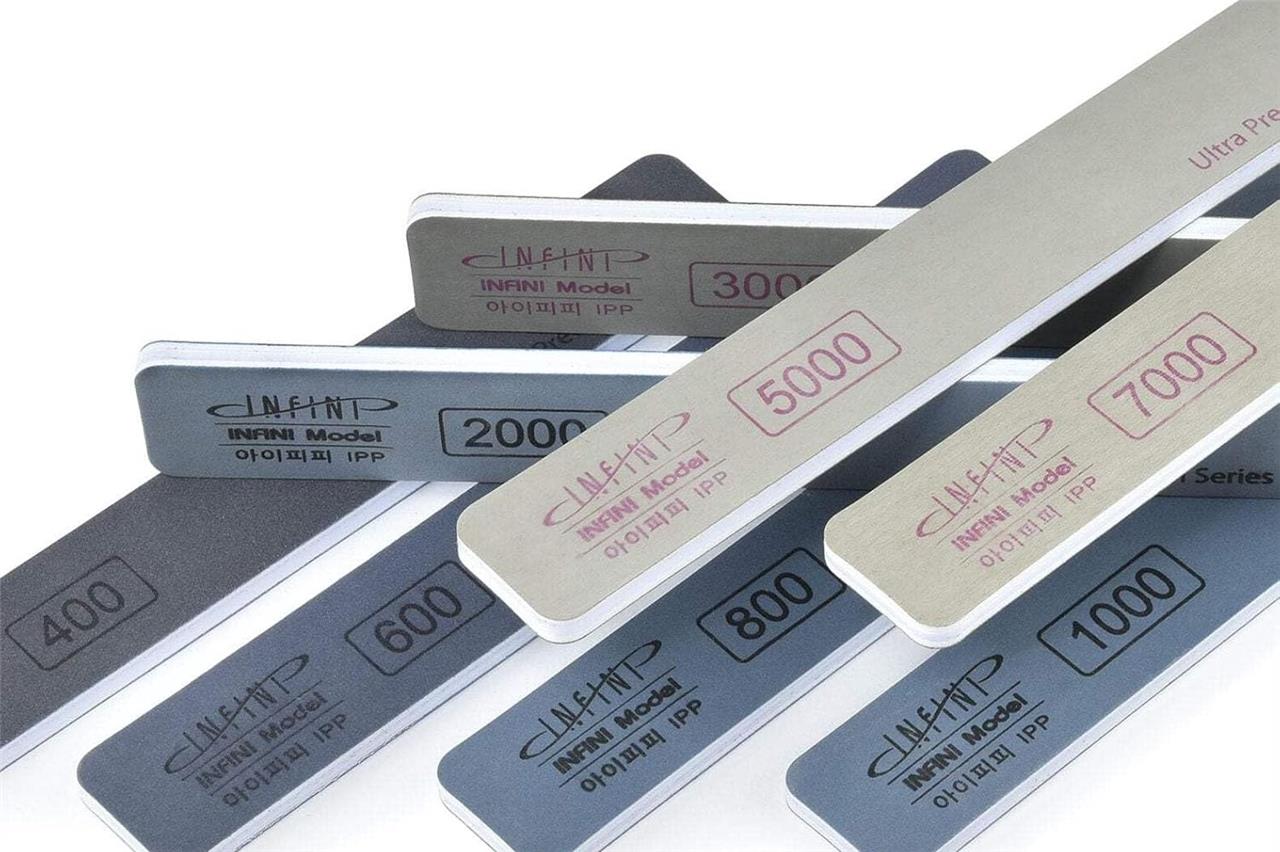
Micro-Mark Softback Polishing Sticks
$17 $17
These soft-backed sanding pads can be very helpful in feathering out imperfections on larger areas.
Read More $17 at Amazon
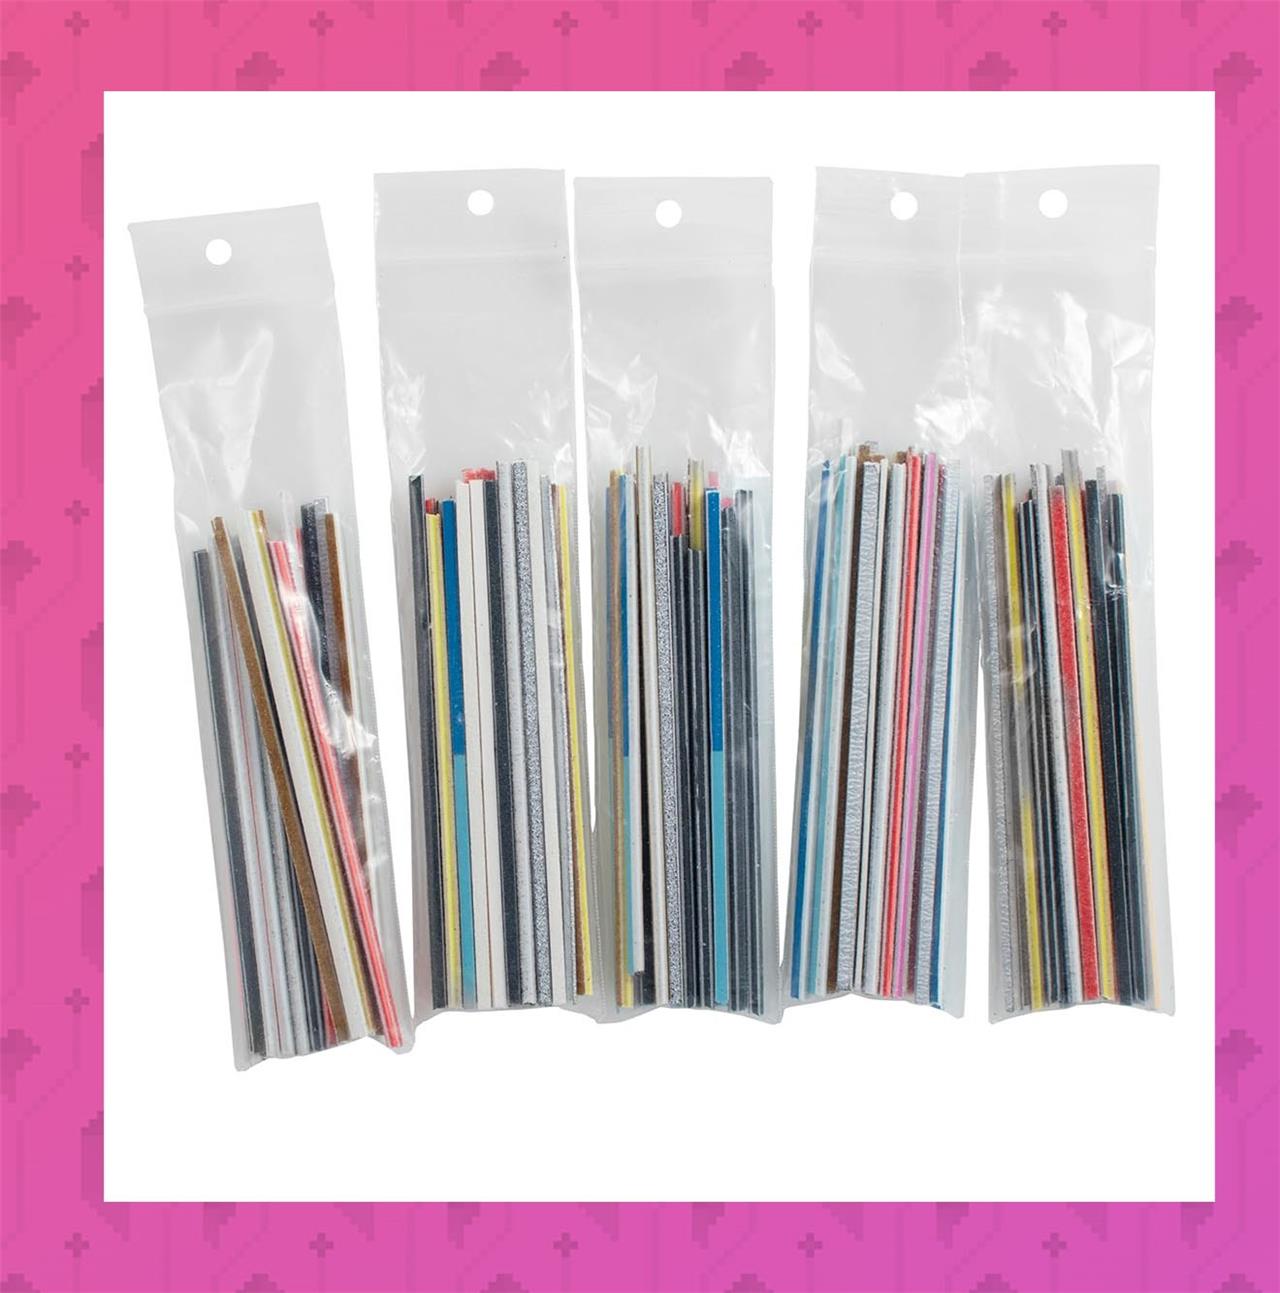
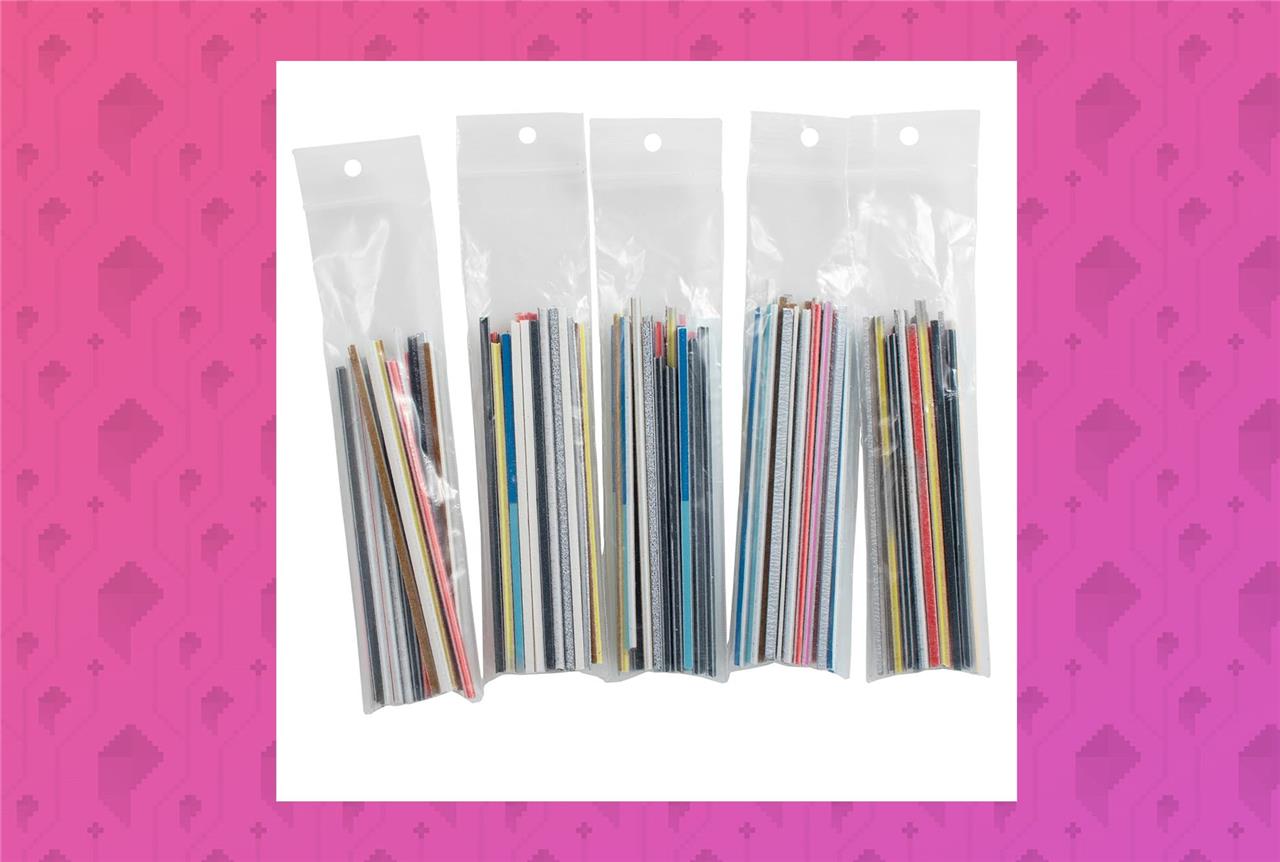
Keystone 100 Sanding Twigs
$14 $14
Are sanding twigs just cut-up chunks of sanding sponges? Yes. Yes they are. They’re also hugely flexible, and can get right into the kinds of crevices where mold lines like to hide.
Read More $14 at Amazon
Primer
Primer is the foundation of every miniature paint job. It creates a thin surface layer that helps paint stick evenly and prevents it from rubbing off during gameplay or handling. Most hobbyists use spray primers for smooth coverage, though brush-on versions work well for smaller projects or touch-ups. Choose black, white, or grey depending on how bright or dark you want the final colours to appear. Apply thin, even coats and allow plenty of drying time before adding base colours.
Paint won’t stick to bare plastic, so before you start painting, you’ll need to prepare your miniatures with a special kind of paint called a primer. A primer will stick to bare plastic, and it will create a rough surface that will be easier for you to paint on. The most common way to prime miniatures is with canned spray paint. Just about anything that you can find at the local hardware store will do, but be sure to read the label to make sure it’s safe to apply on plastic. Also, avoid enamel and other oil-based primers as they can be hard to clean up.
I’ve personally had the most experience with Citadel and The Army Painter primers, and both will do a decent job. They are, however, extraordinarily expensive – something like four times as much as comparable paint at the hardware store. That’s why lately I’ve just been going with Rust-Oleum. Something to consider later on in your painting journey is the color for your primer coat. The other paints you’ll be using aren’t perfectly opaque, so some of that primer will ultimately show through and impact the overall color and tone of your miniature. Stick with black your first time around, as that will give you an even base layer to work from.
You’ll also want to invest in some gloves, to keep your hands free of paint while spraying. Also, priming with a rattle can should always be done outdoors to protect your eyes and lungs, and you should closely adhere to the guidelines posted on your can of primer.
Most cans of spray paint don’t work upside down, and will work poorly if you even tilt them on their side, so to help you get into every nook and cranny on your miniature you’ll want something on which to mount your miniature. You can’t go wrong with a paint mixing stick (free at most hardware stores) covered in masking tape, unrolled sticky side out. Just stick your minis on and go. Just be sure you’re painting in an open, well-ventilated area and apply thin, even coats of paint. To avoid runny, drippy coats of paint you should both depress and release the trigger on your spray can while the stream of paint is not pointed at a model.
Alternatively, a painting handle – like the Citadel Painting Handle – can make cleanup much easier, and help conserve paint.
Primer shopping list
A good primer creates a smooth surface for paint to stick to and helps colors appear brighter and more consistent. For plastic miniatures, a spray primer like Citadel Chaos Black or Grey Seer works well, while metal or resin pieces may benefit from a brush-on primer such as Vallejo Surface Primer. Choose a color that matches your intended palette-black for darker schemes, white or grey for lighter ones-and apply it in thin, even coats to preserve the model’s fine details.
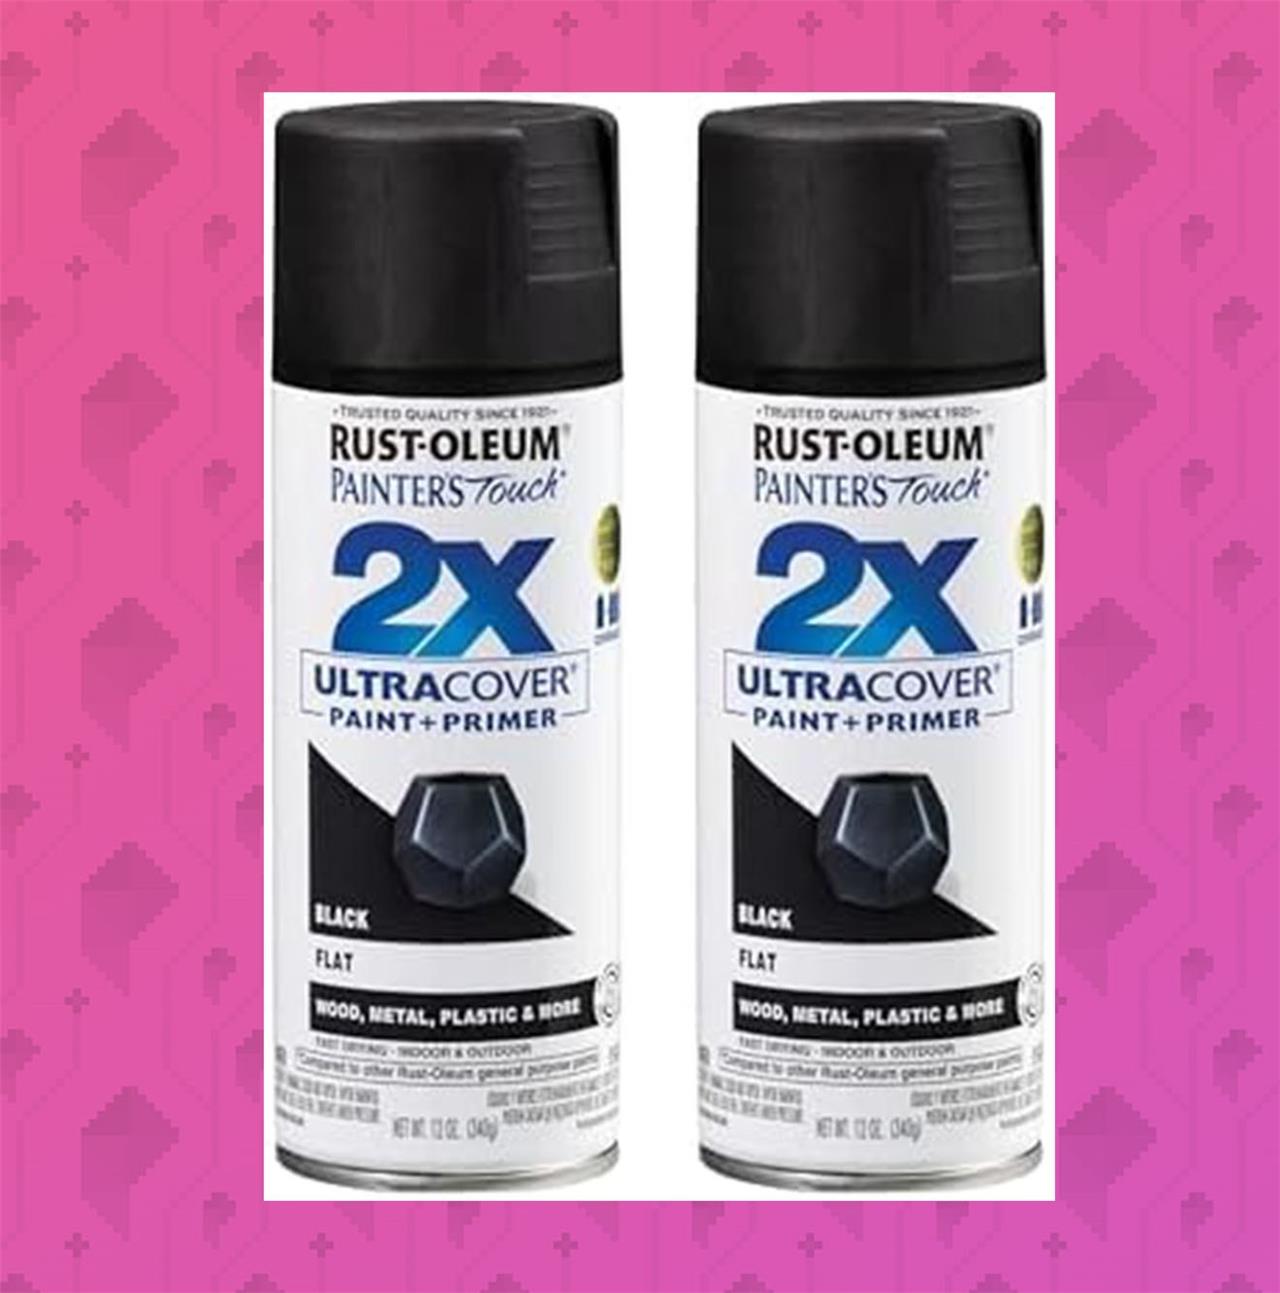
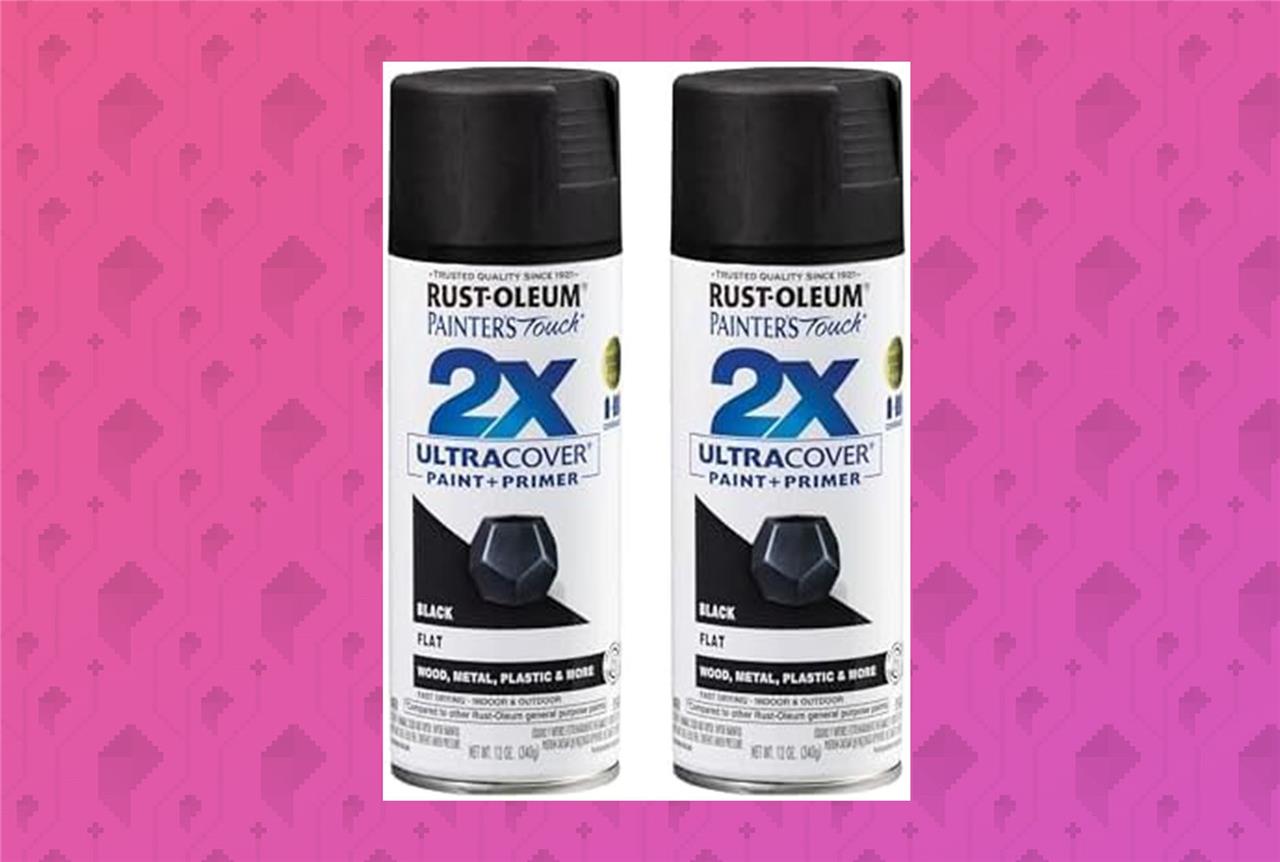
Rust-Oleum Painter’s Touch 2x Ultra Cover Spray Paint Primer two-pack
$12$1414% off $12
American-made Rust-Oleum is available just about everywhere. You’ll get twice as much paint for half the cost.
Read More $12 at Amazon (two-pack)
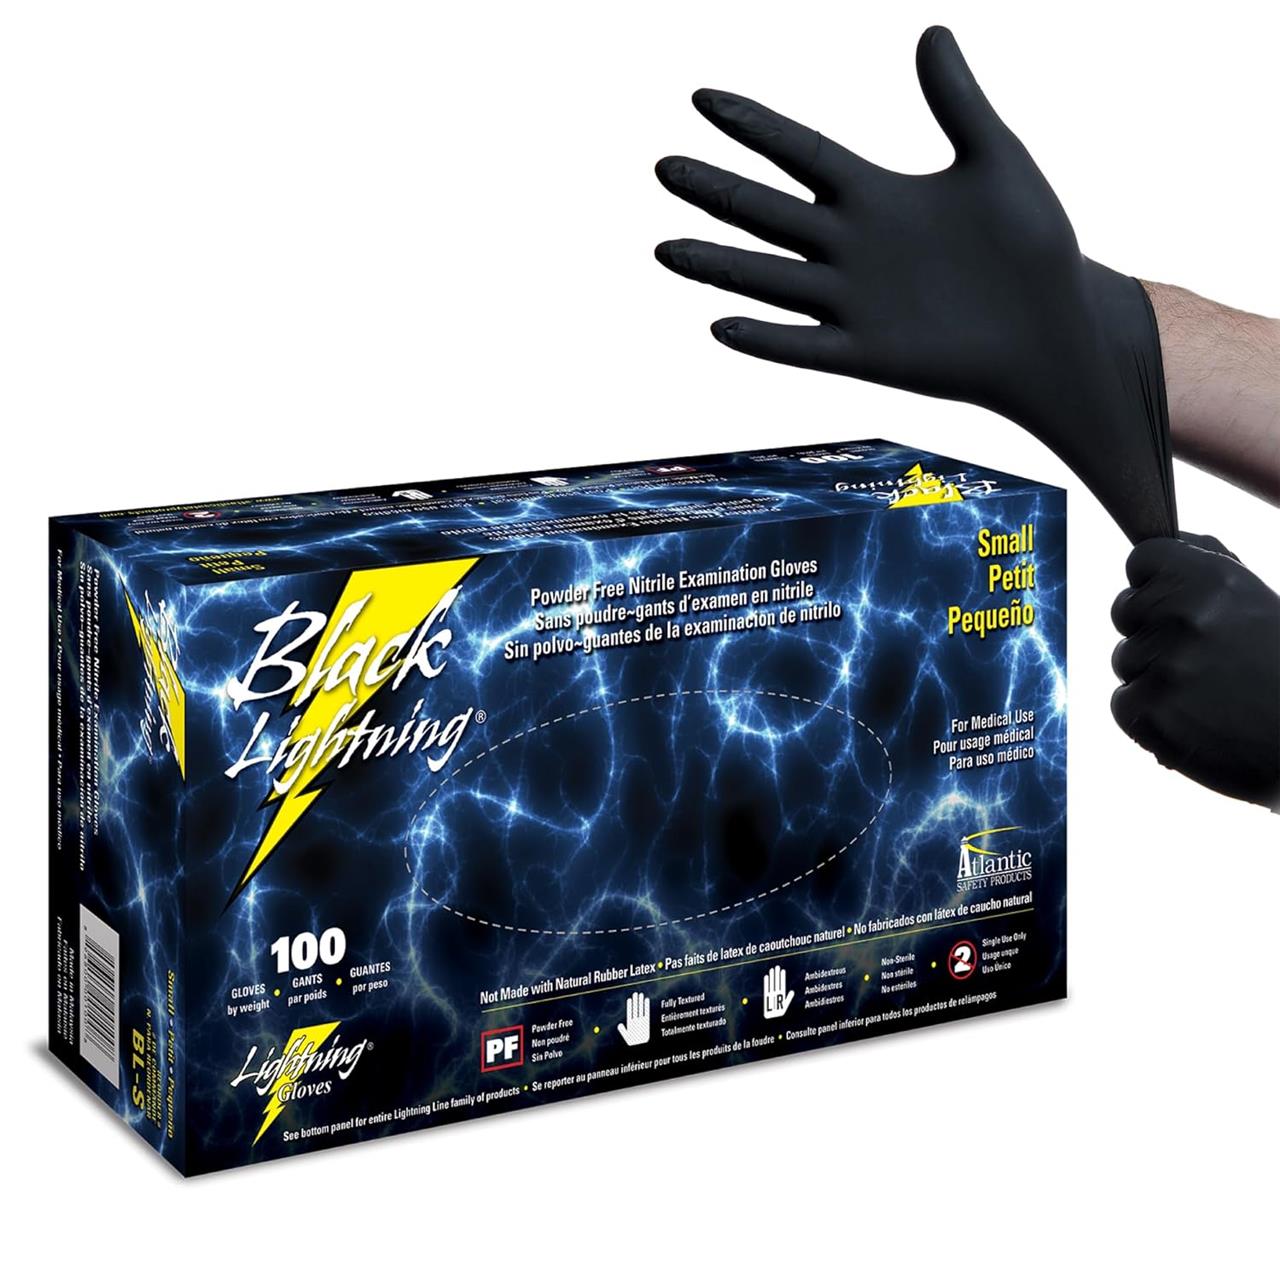
Black Lightning Nitrile Gloves
$16$2020% off $16
Even since before the pandemic, Atlantic Safety’s Black Lightning exam gloves have been my go-to for hobby work. They’re inexpensive and durable.
Read More $16 at Amazon
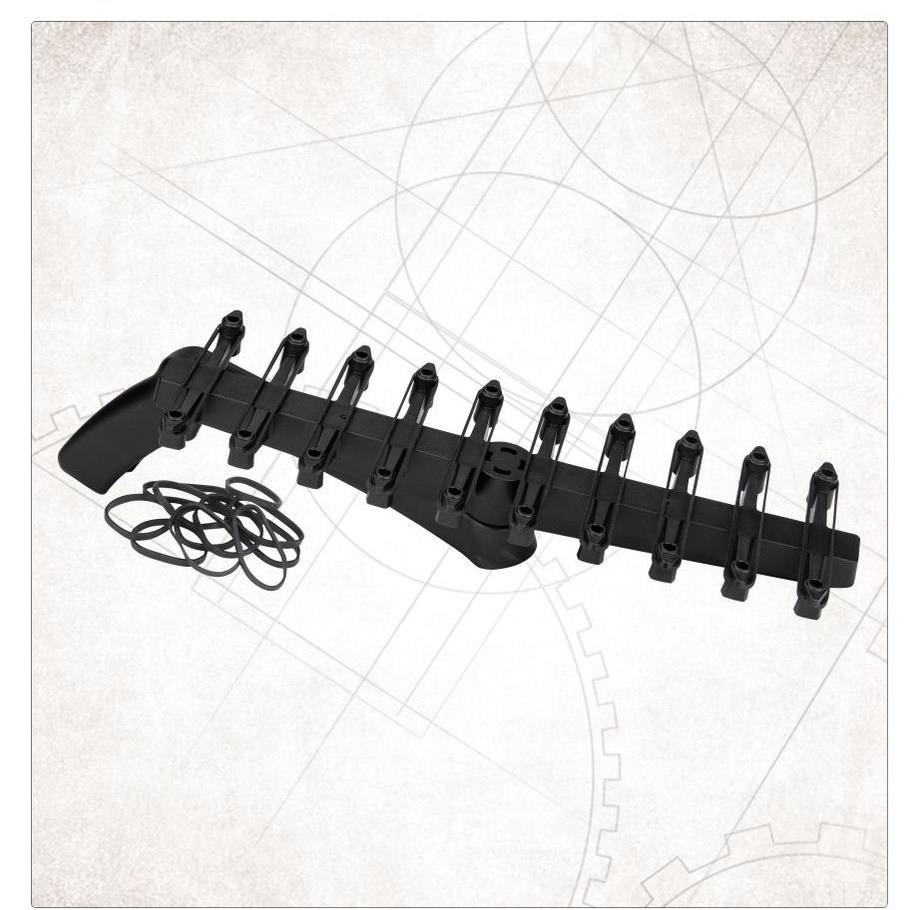
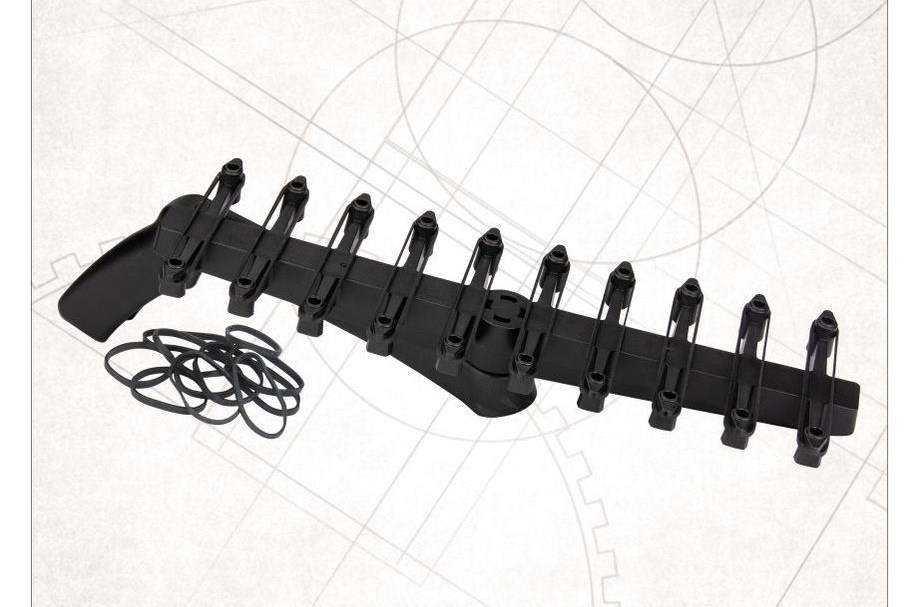
Citadel Painting Handles
$20$2313% off $20
I know it looks weird, but this Spray Stick may be one of the best ideas that Games Workshop has ever had. It lets you prime up to 20 miniatures – two squads – of miniatures at the same time.
Read More $20 at Miniatures Market
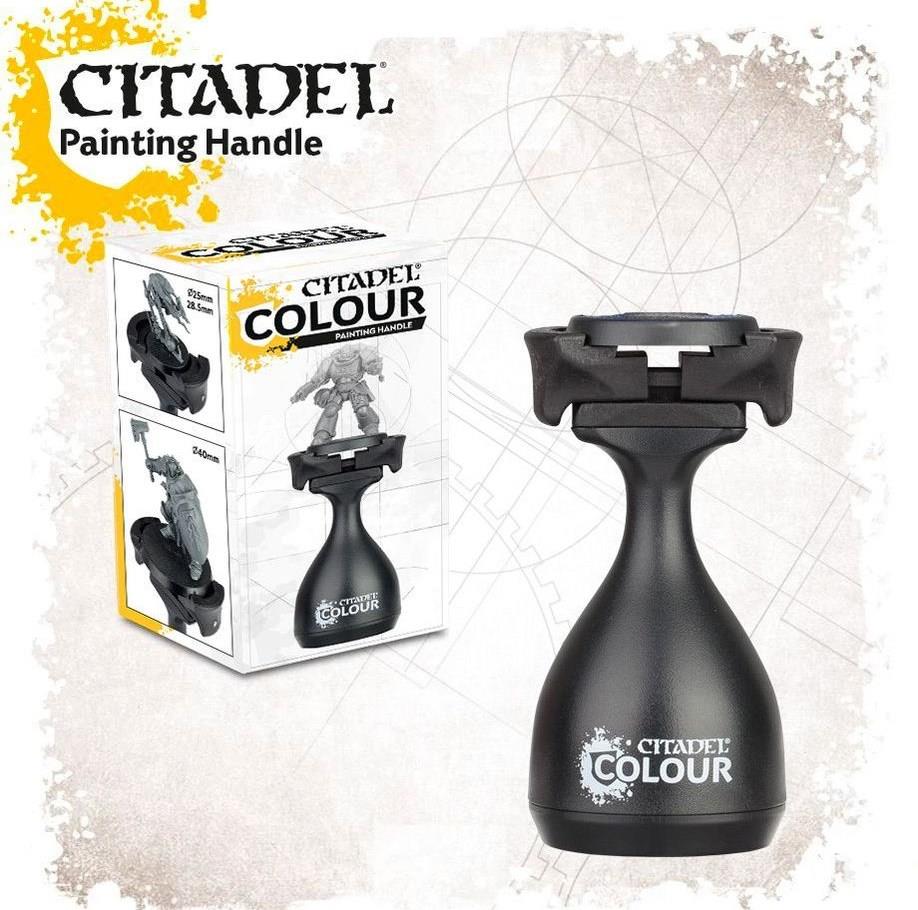
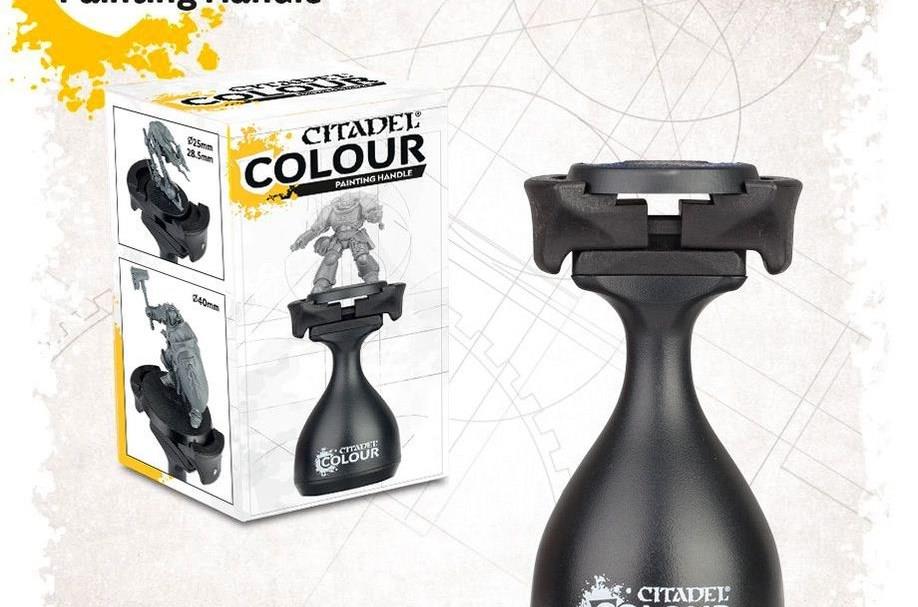
Citadel Paint Handle
$13 $13
Many other manufacturers have tried to beat it, but for the money you can’t do much better than the Citadel Paint Handle. This revised edition features a slightly more refined shape.
Read More $14 at Amazon$13 at Games Workshop
Paint
Paint gives your miniatures their character and style. Begin with a thin base coat to help colors stick evenly, then build up layers gradually rather than covering everything in one go. Use smooth, controlled brush strokes and keep your paints slightly thinned with water to avoid clogging details. Once the main colors are down, add highlights or shading to bring out textures. Acrylic paints work best for beginners-they dry fast and are easy to clean up.
The next big decision you’ll need to make is which line of paints to begin purchasing. For beginners, we recommend starting with acrylic paints that wash up with water. Oil-based paints are great, especially for weathering and other effects, but water-based acrylic is a lot more forgiving when you’re just getting started – and there’s no fumes to speak of.
So what brand of acrylic hobby paint should you get? My recommendation is to swing by your local hobby shop and see what they’ve got in good supply. That way when you run low on something, or want to try a new color, you’ll have options that are compatible with the work you’ve already done. But if you have your choice in the matter, we recommend Two Thin Coats paint. Designed by former Games Workshop presenter Duncan Rhodes, and manufactured by Trans Atlantis Games, these paints are based on the common hues found in the Citadel range but feature more consistency from pot-to-pot. They also come in a dropper bottle with a stainless steel mixing ball inside – two features that Citadel paints lack.
Before you go any further, you’ll also need to understand that whatever paint you buy is not going to be ready to go onto your model straight out of the pot. Instead, you’ll need to thin your paints. Rhodes, who still presents on YouTube, does a great job of explaining why and showing how.
Other kinds of paint
Washes
Washes are a kind of thin paint, designed to run into the recesses on your miniature. These will give depth and nuance to your models, especially the areas with lots of texture and shadow. Washes are applied on top of layer paints once the previous layers are dry. Washes tend to pool up, and you’ll use your brush to position these pools where you want them on your model. Washes are manufactured by just about every company that makes layer paints, including Two Thin Coats, Citadel (Games Workshop), The Army Painter, Vallejo, and others.
Contrast paint
The newest kind of paints available on the market are called contrast paints, named after the progenitors of the type – Citadel Contrast Paints.
Contrast paints are used like layer paints, but behave like washes. You’ll need a bigger, fatter brush to use contrast paints in most settings. Contrast paints are applied in neat, even coats. Multiple coats build up additional opacity, deepening the tone of the color. When thinned, however, contrast paints can often be used just like a wash.
Note that while layer paints have some variance in how they can be thinned, mixed, and applied to models, contrast paints vary wildly in their consistency. Most notably, they often don’t look anything like they do in the bottle once they’ve dried on your model. So while contrast paints can be an expedient way to paint – especially if you’re using the “slapchop” method mentioned below – they also take a little bit of practice to get comfortable with.
Contrast-style paints are available from Citadel (Games Workshop), The Army Painter, and Vallejo.
Paint shopping list
A good miniature paint set should cover basic colors, metallics, and shades for washes. Begin with a primary selection of acrylic paints-white, black, red, blue, yellow, and brown-to mix a wide range of tones. Add silver and gold for metallic finishes, plus a flesh tone for characters. Include a primer suited for your material, a matte varnish for protection, and a few contrast or shade paints to bring out details easily. Keep a wet palette handy to extend paint life and improve blending.
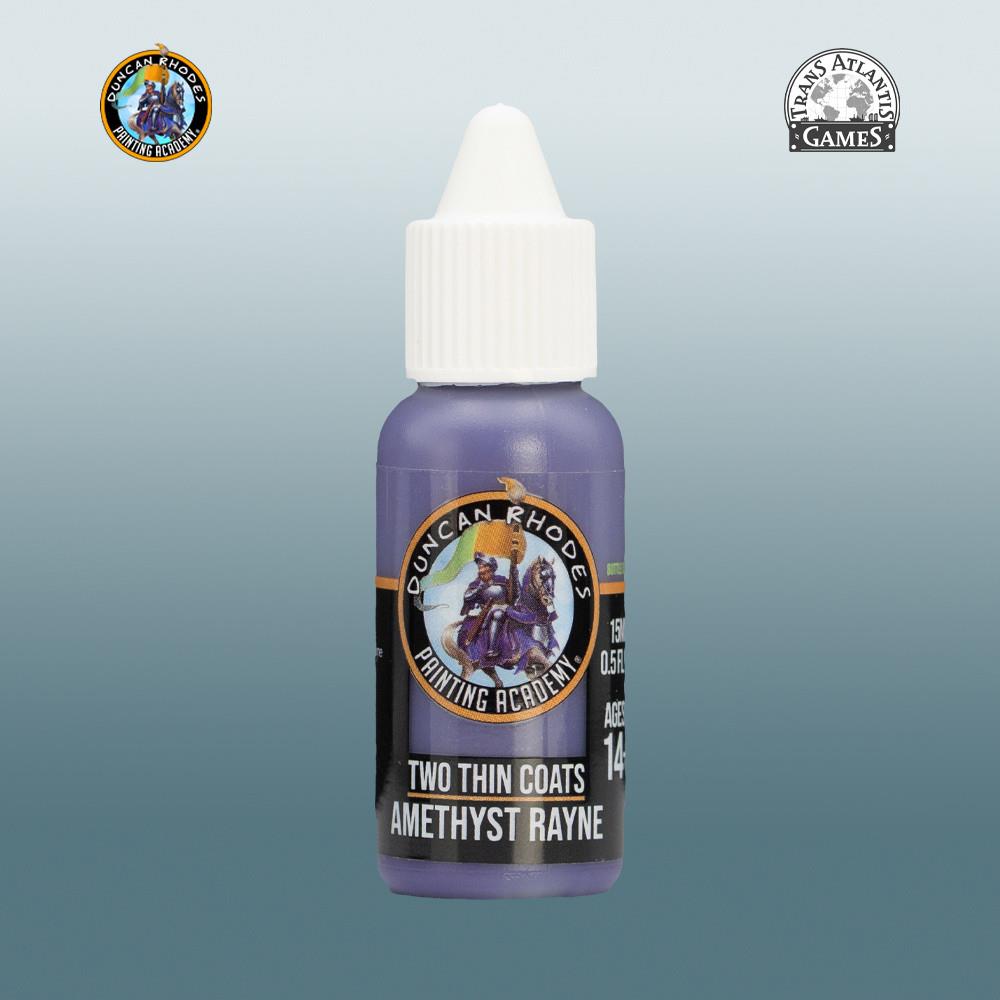

Two Thin Coats paint
$4 $4
After testing all the major brands, we’ve settled on Duncan Rhodes and Trans Atlantis Games’ Two Thin Coats line for its consistency pot-to-pot – and for the lack of pots! These all come in dropper bottles with metal mixing balls already inside.
Read More $4 at Miniature Market
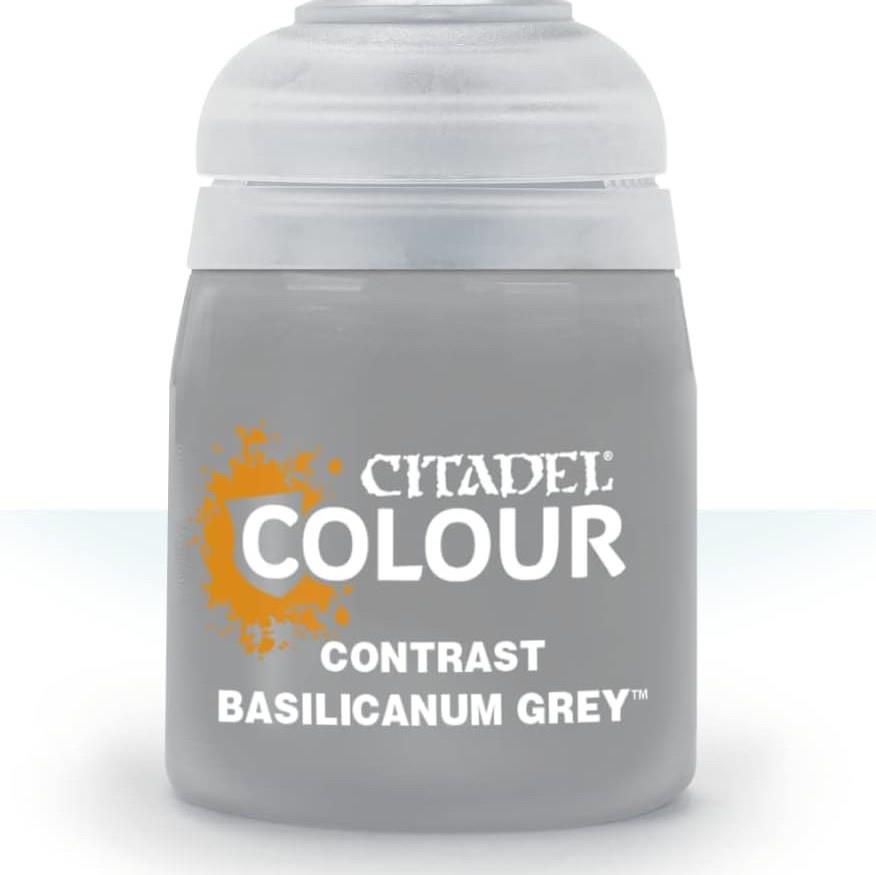
Citadel Contrast Paint
$7 $7
A revolutionary formulation that changes how quick and easily miniatures can be painted, Citadel’s Contrast Paint remains the original and best solution for techniques like Slapchop in our experience.
Read More $7 at Amazon$8 at Games Workshop$7 at Miniature Market
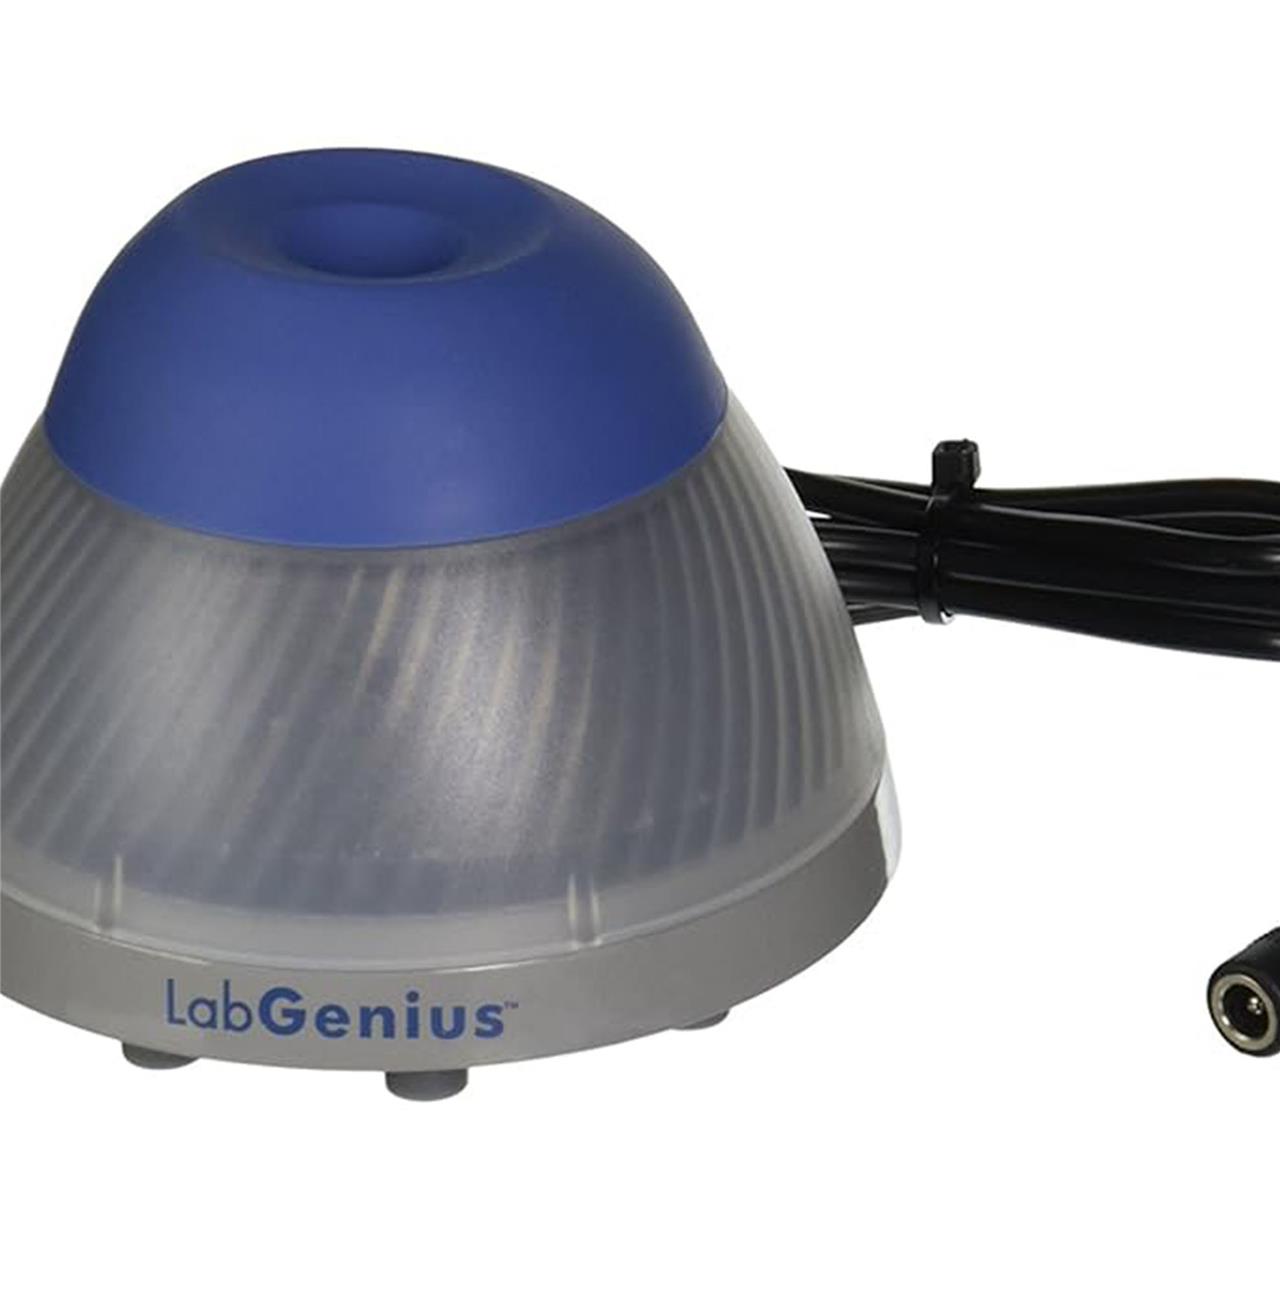
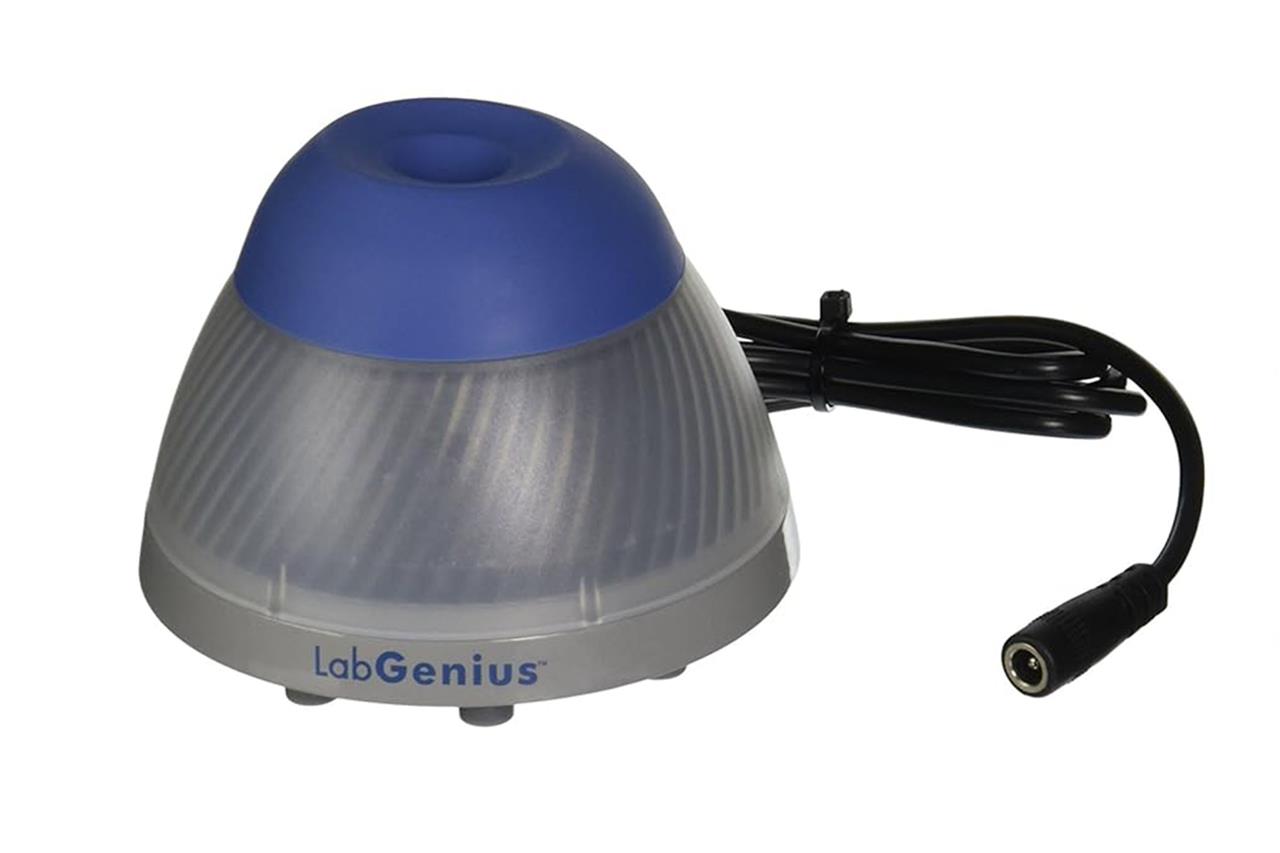
Mini-Vortex Mixer
$88 $88
Get more paint on your models in less time with a high quality paint mixer like this one from Lab Genius. Originally designed for medical and research settings, it is a rock-solid option for mixing even the most stubborn thick paints.
Read More $88 at Amazon
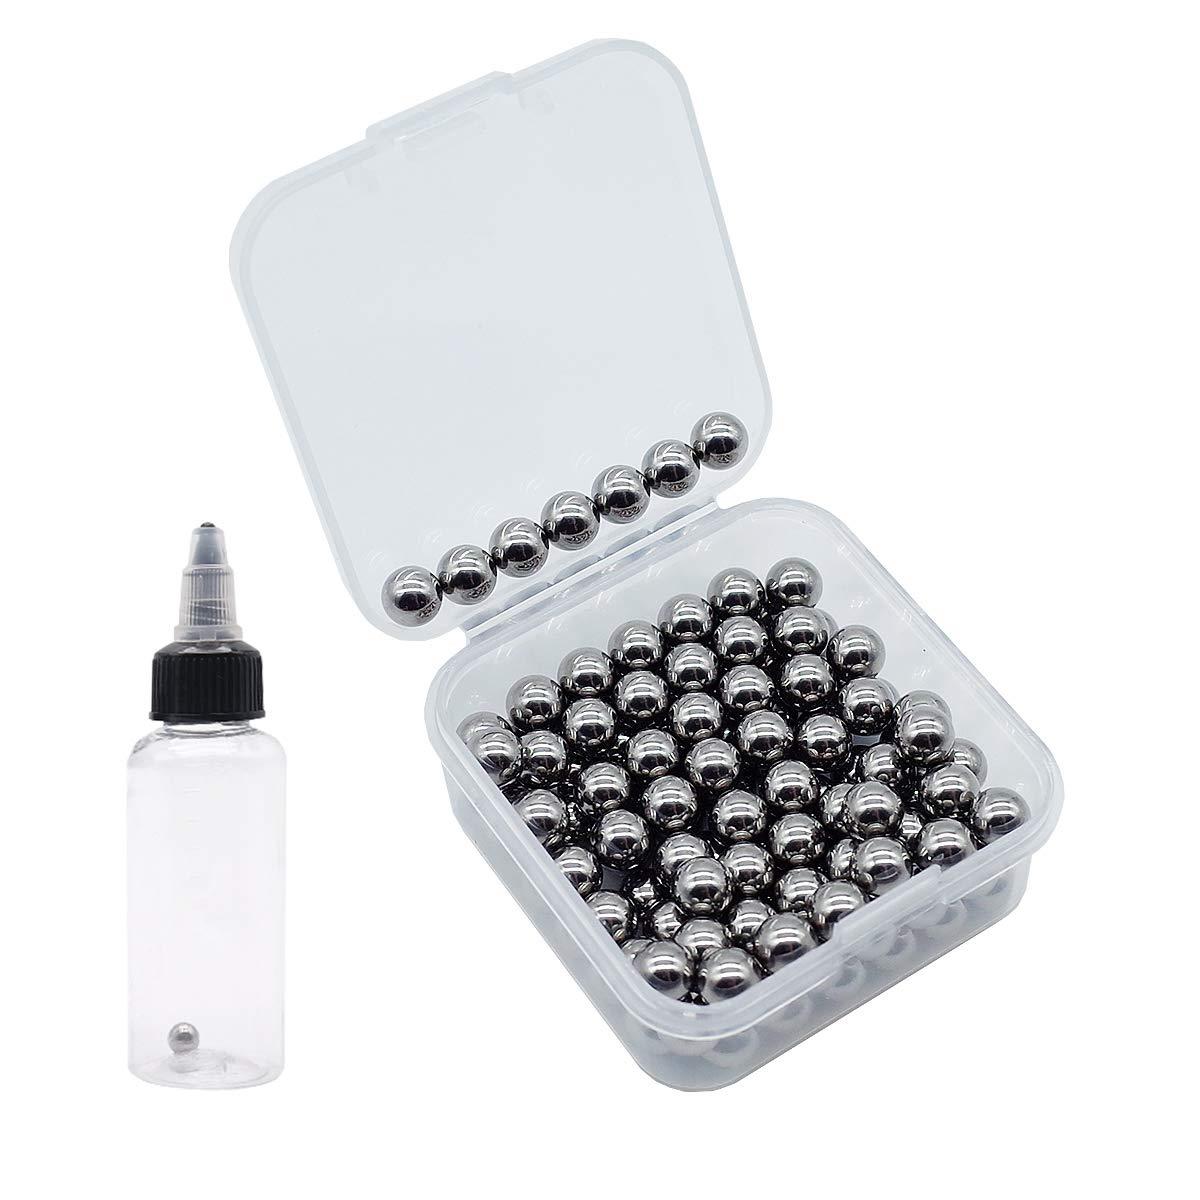
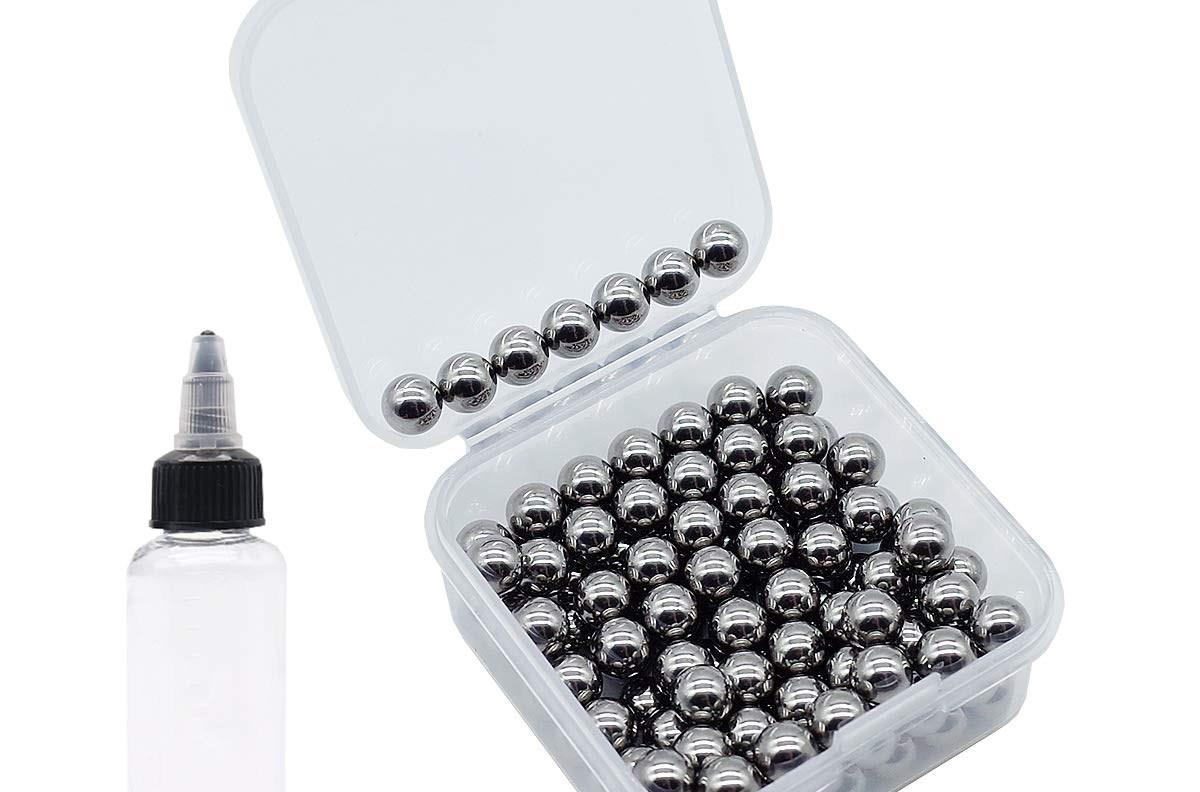
Stainless Steel Paint Mixing Balls
$8 $8
If you have Citadel paints in your collection, you can upgrade them with these mixing balls.
Read More $8 at Amazon
Brushes
Quality brushes make a huge difference in miniature painting. A fine detail brush helps with eyes, highlights, and small patterns, while a medium brush covers base colors and shading. Synthetic bristles are affordable and easy to control, but natural hair brushes hold more paint and form a sharper tip. Treat your brushes well-clean them after every session, reshape the bristles, and store them upright to keep their points precise.
There are a number of different styles that you can use to paint your miniatures, and they tend to involve different brushes. Here we’ll discuss layer painting in detail, touch on drybrushing, and discuss the newest style – a hybrid known as “slapchop.” You’ll find links below to starter brushes that will be compatible with each.
Layer painting
The most traditional method of painting miniatures uses base layers and highlight layers, applied with small brushes, to build up detail on a miniature. Those surfaces are generally painted from the bottom up, meaning that painters are working with the deepest layers of detail on the miniature and working their way to the topmost layers. The finer the work, the more variation and gradation between and within those layers.
For instance, if I was painting a knight in armor I would paint his padding first, then his chainmail coat, and then the plates of polished steel on top of that. I would start each layer by blocking out the areas I need to separate them from the layers below, neatening up the edges with other colors as I go.
As I work on each new layer, I might use just one or two paints, or perhaps several different techniques like glazing or drybrushing, or different kinds of paints like washes and contrast paints in different ways. Different techniques – like stippling, glazing, and non-metallic metal shading (discussed below) – can even be used to simulate different materials.
Layer painting is the style most commonly seen in Kickstarter campaigns for high-end board games and in the lavish miniature wargames produced by companies like Games Workshop and others. It’s also one of the most commonly taught methods of painting, since the same skills apply regardless of how many layers there are or how detailed those layers might be.
Because layer painting is so popular, tutorials are easy to come by online. I found my way using Games Workshop tutorials almost exclusively for the first few years. Just about every model that the British company makes has its own tutorial – multiples, in fact, to include the color schemes for each of its different factions. They’re currently divided into two levels of difficulty: Battle Ready and Parade Ready. You can find them all on YouTube and in the Citadel Colour mobile app.
Edge highlighting
While there are many different techniques that go into layer painting, one of the most important is called edge highlighting. This involves taking a relatively full brush and using it to draw thin lines along the edge of a model. Merely the presence of a thin, bright line by itself gives the geometry of a miniature more definition and volume. But you can also add depth and flash by painting multiple lines, each one thinner than the last, using progressively brighter, sharper colors. It’s a subtle, versatile technique that applies just as well to military models and mechs as it does to faces and flesh.
There are a bunch of tutorials that can teach you more about edge highlighting. Here are just a few to get you started.
Miniac: Edge Highlighting
Squidmar Miniatures: Edge Highlighting
Drybrushing
Drybrushing is a painting method used to highlight raised textures and edges on a miniature. After dipping a brush into paint, most of it is wiped off until only a small amount remains on the bristles. The brush is then lightly swept across the surface, catching the raised areas and leaving recessed parts darker. This creates natural-looking highlights and adds depth and contrast to the model with minimal effort. It works especially well for textures like fur, armor, or stone.
Drybrushing is a common technique used in layer painting alongside edge highlighting, and in that context it’s not much of a big deal. Just get a brush, put some paint on it, then wipe nearly all of that paint off. Drag that dry brush against the sharper details on your miniature and voila, off comes the paint. It’s like edge highlighting, but a bit softer and over a larger area.
But you can also use the technique to paint your models start to finish, using little or no layer painting techniques along the way. This method has been popularized by a company called Artis Opus. Its signature style of painting relies on big, poofy, makeup-style brushes and a specially textured palette. While beginners will have more success with larger models, including terrain, it can also be combined with layer painting for smaller miniatures as well.
Artis Opus’ video tutorials are tremendous, and include everything from painting large pieces of terrain to smaller figures to caring for these large, unique brushes.
Slapchop
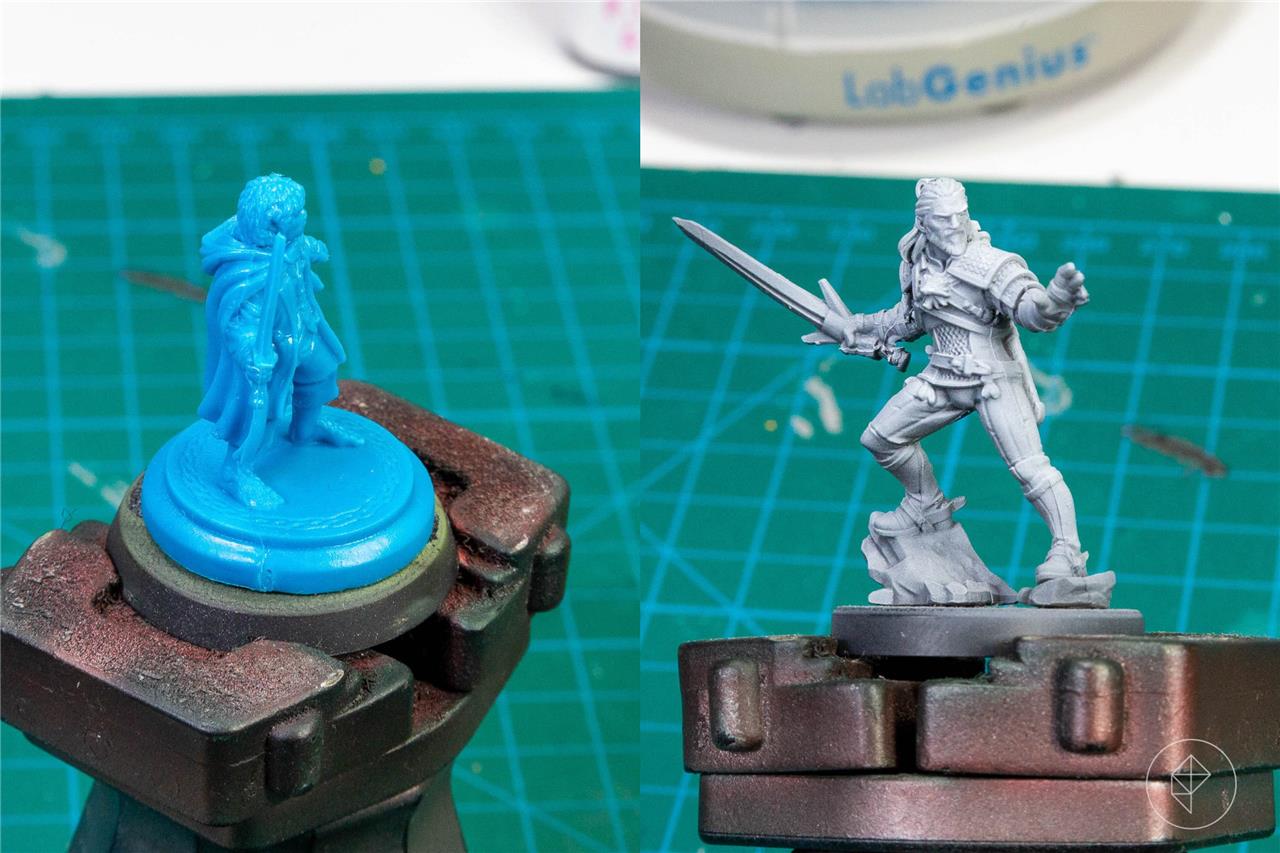
Slapchop is a quick painting technique that helps create strong contrast and depth with minimal effort. It starts by priming your miniature in black, then lightly drybrushing layers of grey and white to bring out raised details. Once the base tones are set, thin layers of contrast or speed paints are applied, allowing the highlights and shadows underneath to show through. The result is a miniature that looks detailed and dynamic in a fraction of the usual painting time.
The last style of painting that we’ll deal with in this guide is called “slapchop,” named after a mostly satirical video by The Honest Wargamer that helped to popularize the style in 2022. While they clearly set out to take the piss out of over-serious painting videos and YouTube hobby gurus in general, they accidentally made a decent little tutorial of their own. Here’s how it works.
Slapchop is a hybrid of both drybrushing and layer painting. It begins with a black primer, and then a thick drybrush of white paint over the top. The secret here is that the white paint is applied directionally, with the intent to preserve areas that would be shaded by a natural light source.
Imagine a black baseball cap. To prepare that black baseball cap for slapchop, you’d hit it hard with a white drybrush from the top. The imagined sun (the white paint) would be hitting the top, while the imagined shadow (the black paint) is hiding under the brim.
Once you’ve established a monochromatic, fully shaded model, slapchop uses the transparency of contrast paints (Citadel Contrast, Army Painter Speedpaints, and others) to its advantage. A single, relatively thick coat of paint over a given area will be more intense over white, and less intense over black. Just slap on the base colors that you want, and you get shading and blending for free, essentially, thanks to the high-contrast black-and-white undercoat. You can leave it there, or glam it up with washes, glazing, stippling – or even more drybrushing.
Paintbrush shopping list
A good brush set makes a huge difference in miniature painting. Start with a few quality synthetic and sable brushes in different sizes-fine tips for details, medium rounds for basecoats, and larger flats for dry brushing. Add a dedicated brush for metallic paints to keep colors clean. Keep brush soap and a water pot on hand for proper care, so your tools stay in shape through many painting sessions.
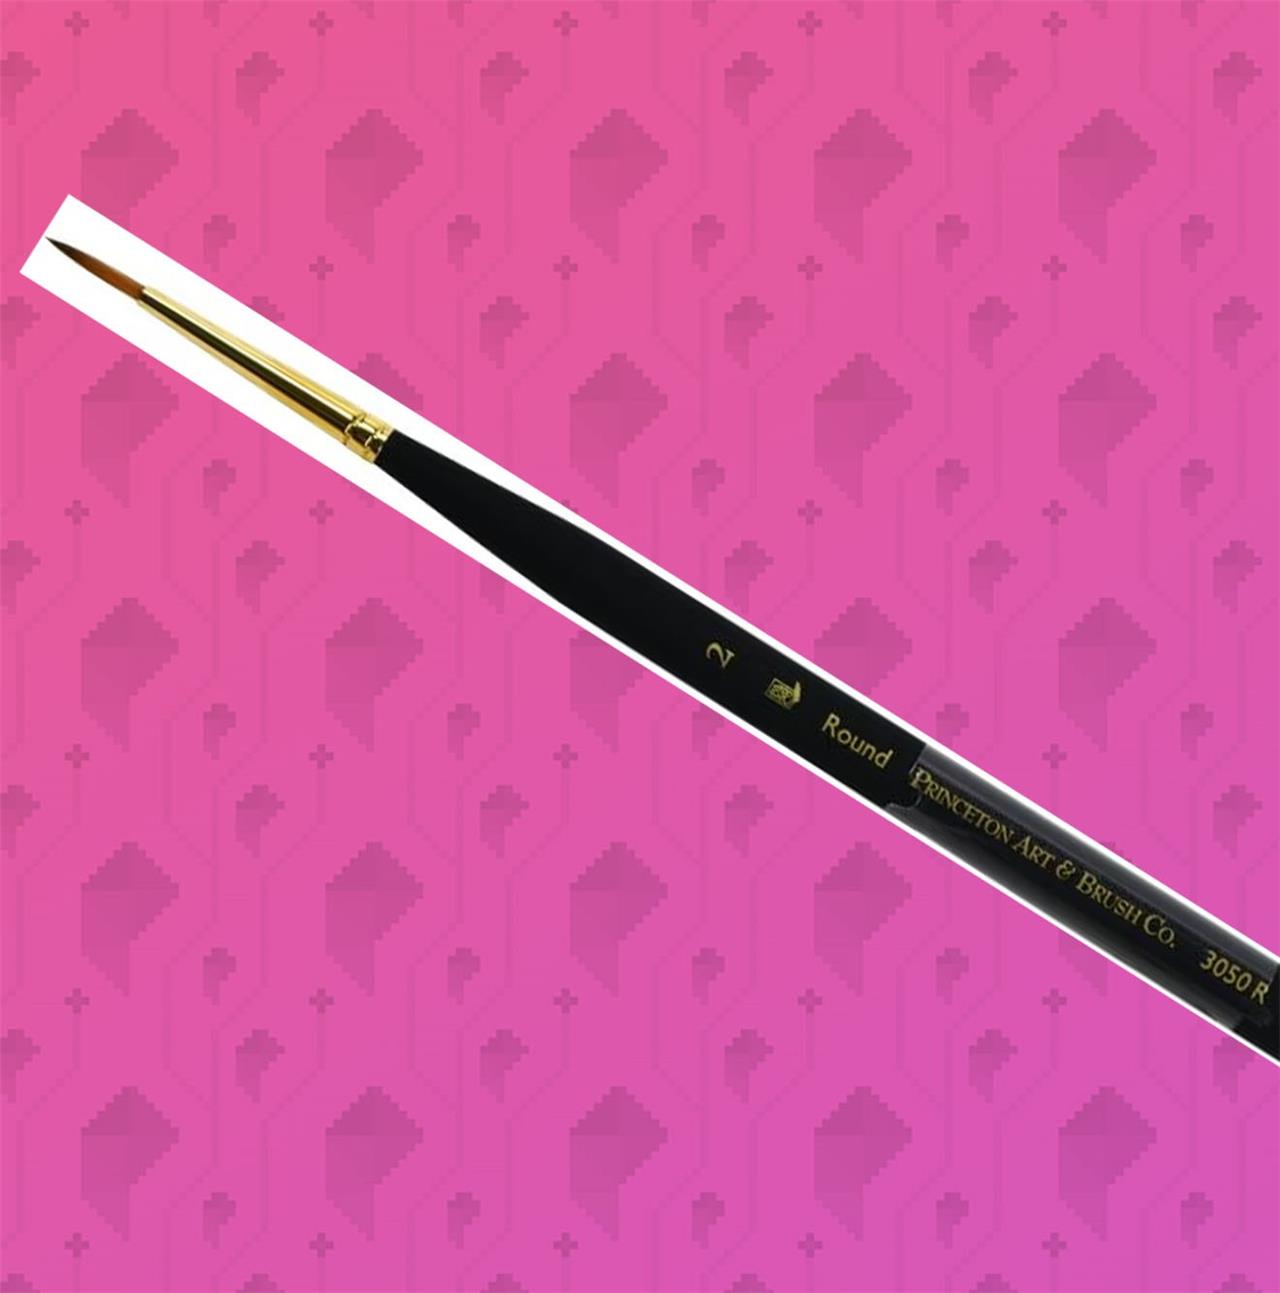
Princeton Mini-Detailer Paintbrush
$8 $8
Synthetic Kolinsky sable hair looks and feels like the real thing, while classic Princeton craftsmanship means you’re getting the best quality brushes available for painting miniatures. We recommend a size 0, a size 2/0, and a size 2 for larger areas.
Read More $8 at Amazon
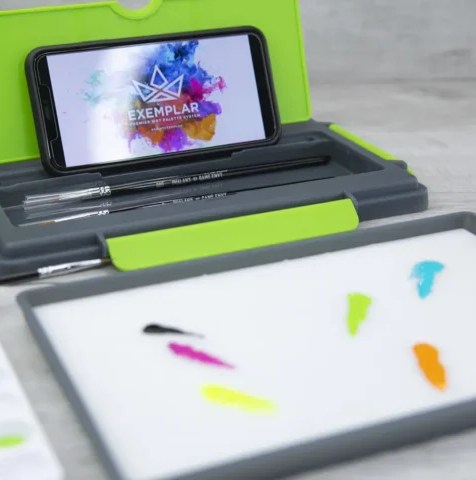
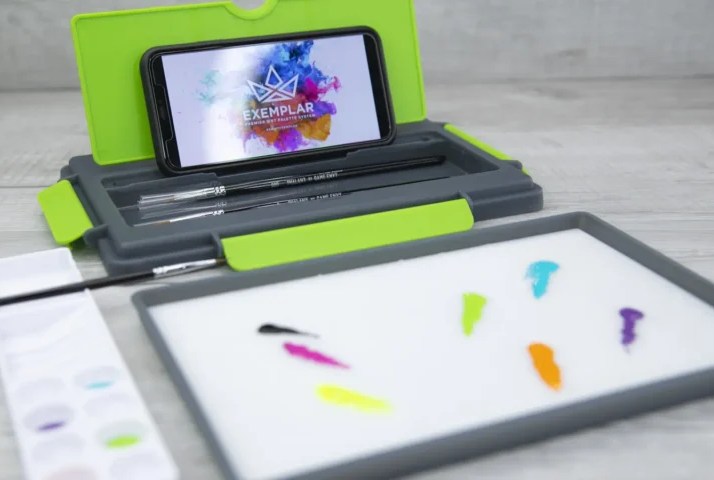
Exemplar Premier Wet Palette
$35 $35
I’ve been using the Exemplar Wet Palette from Game Envy, and I can’t say enough good things. I love its rigid, dishwasher-safe construction and the high-quality absorbent pads that come with.
Read More $35 at Game Envy
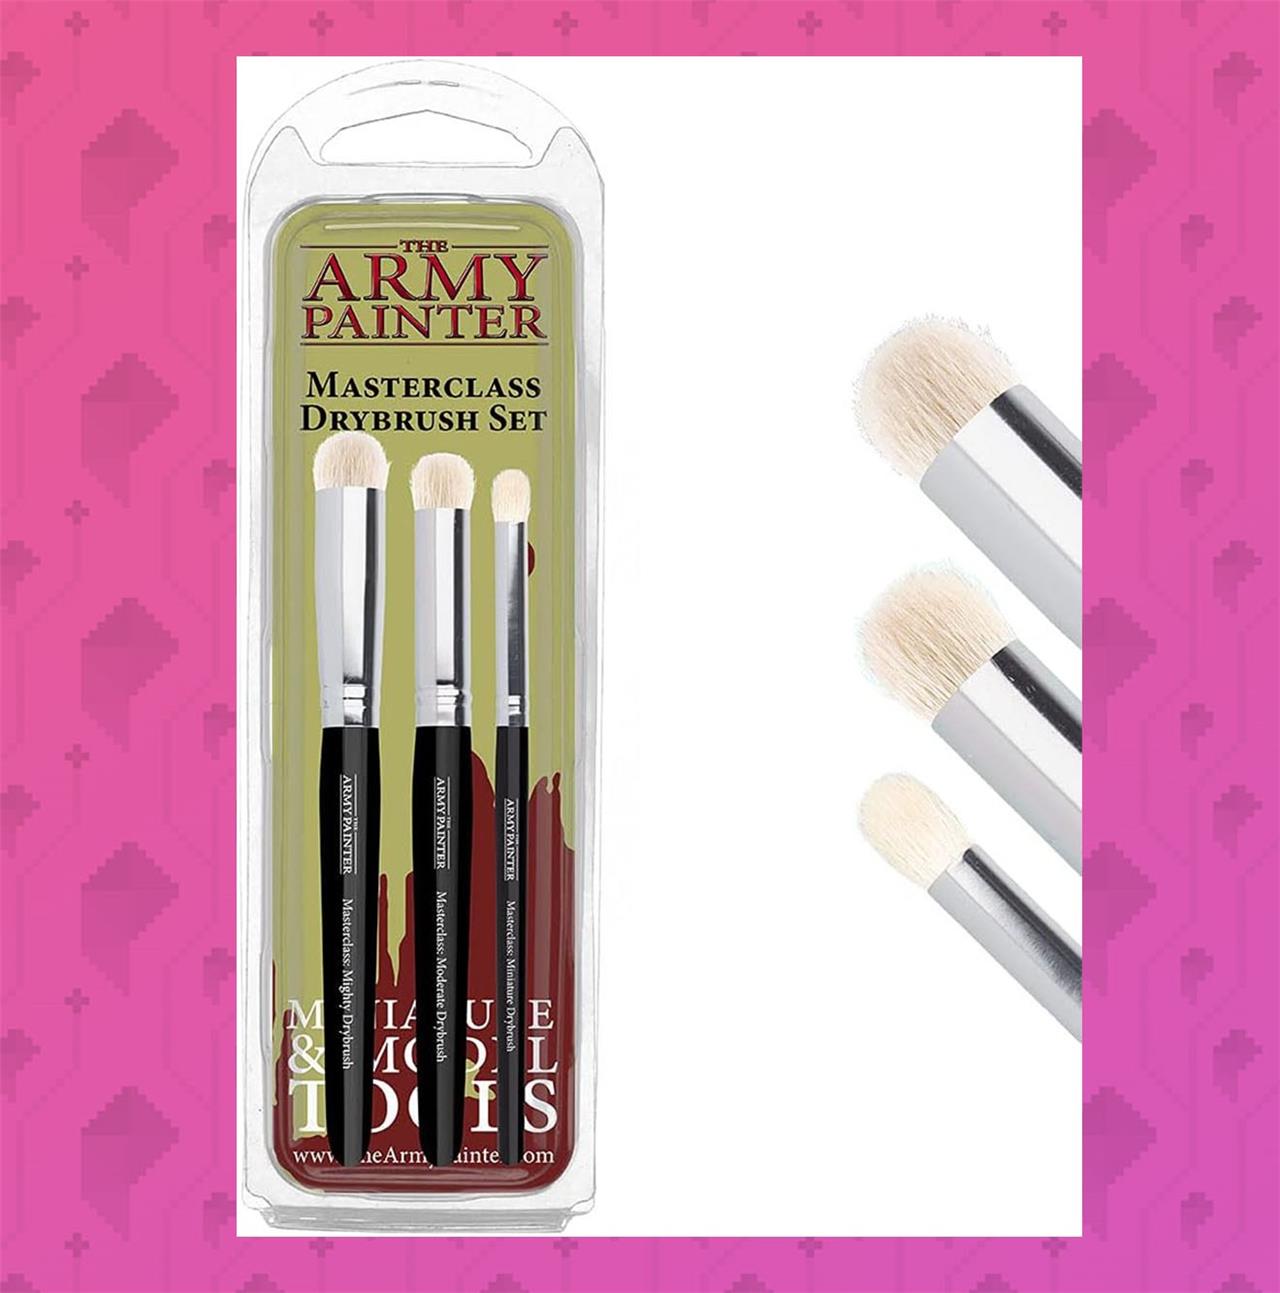
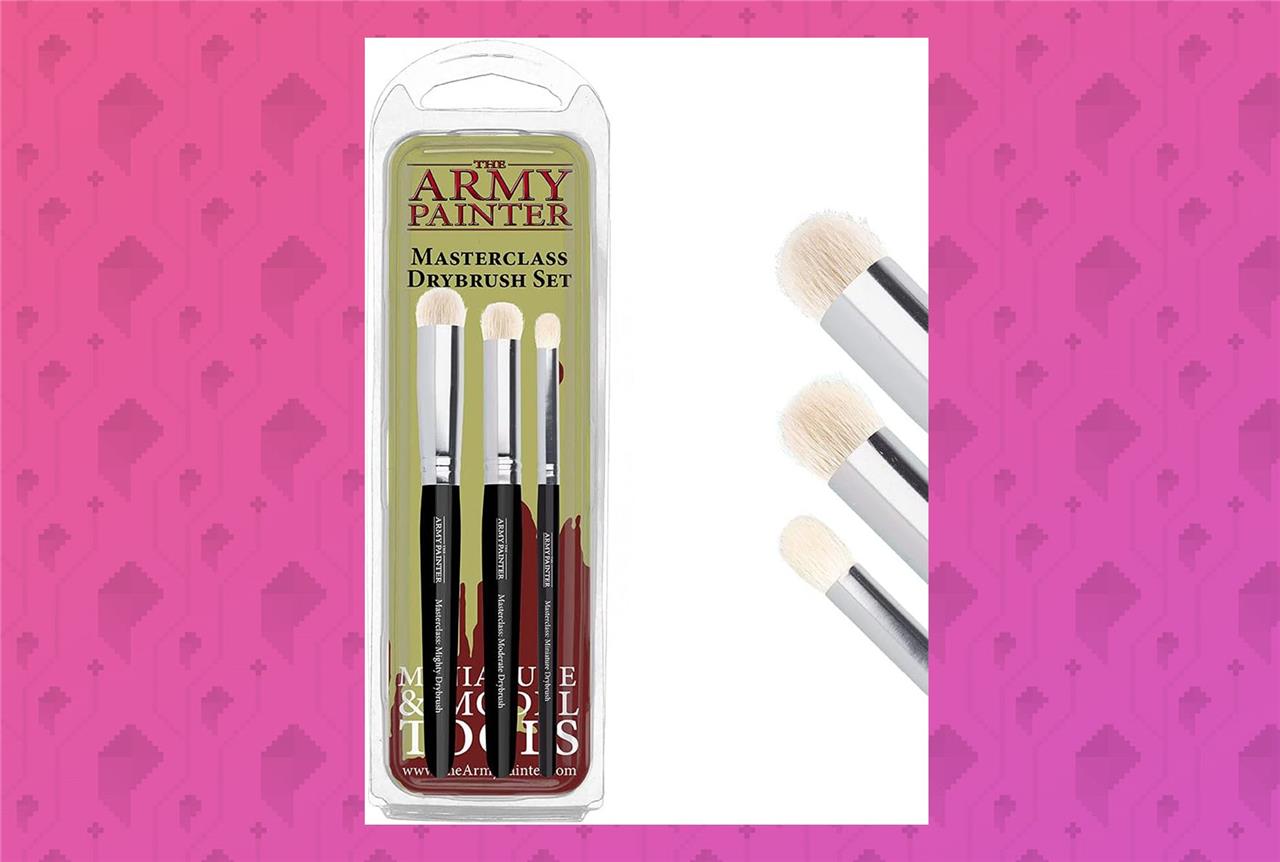
The Army Painter drybrush kit
$21$239% off $21
Drybrushing is a fast and powerful tool for miniatures of every size, and good brushes will make the work much easier. These goat hair bristles will stand up to plenty of abuse.
Read More $22 at Amazon$21 at Miniature Market
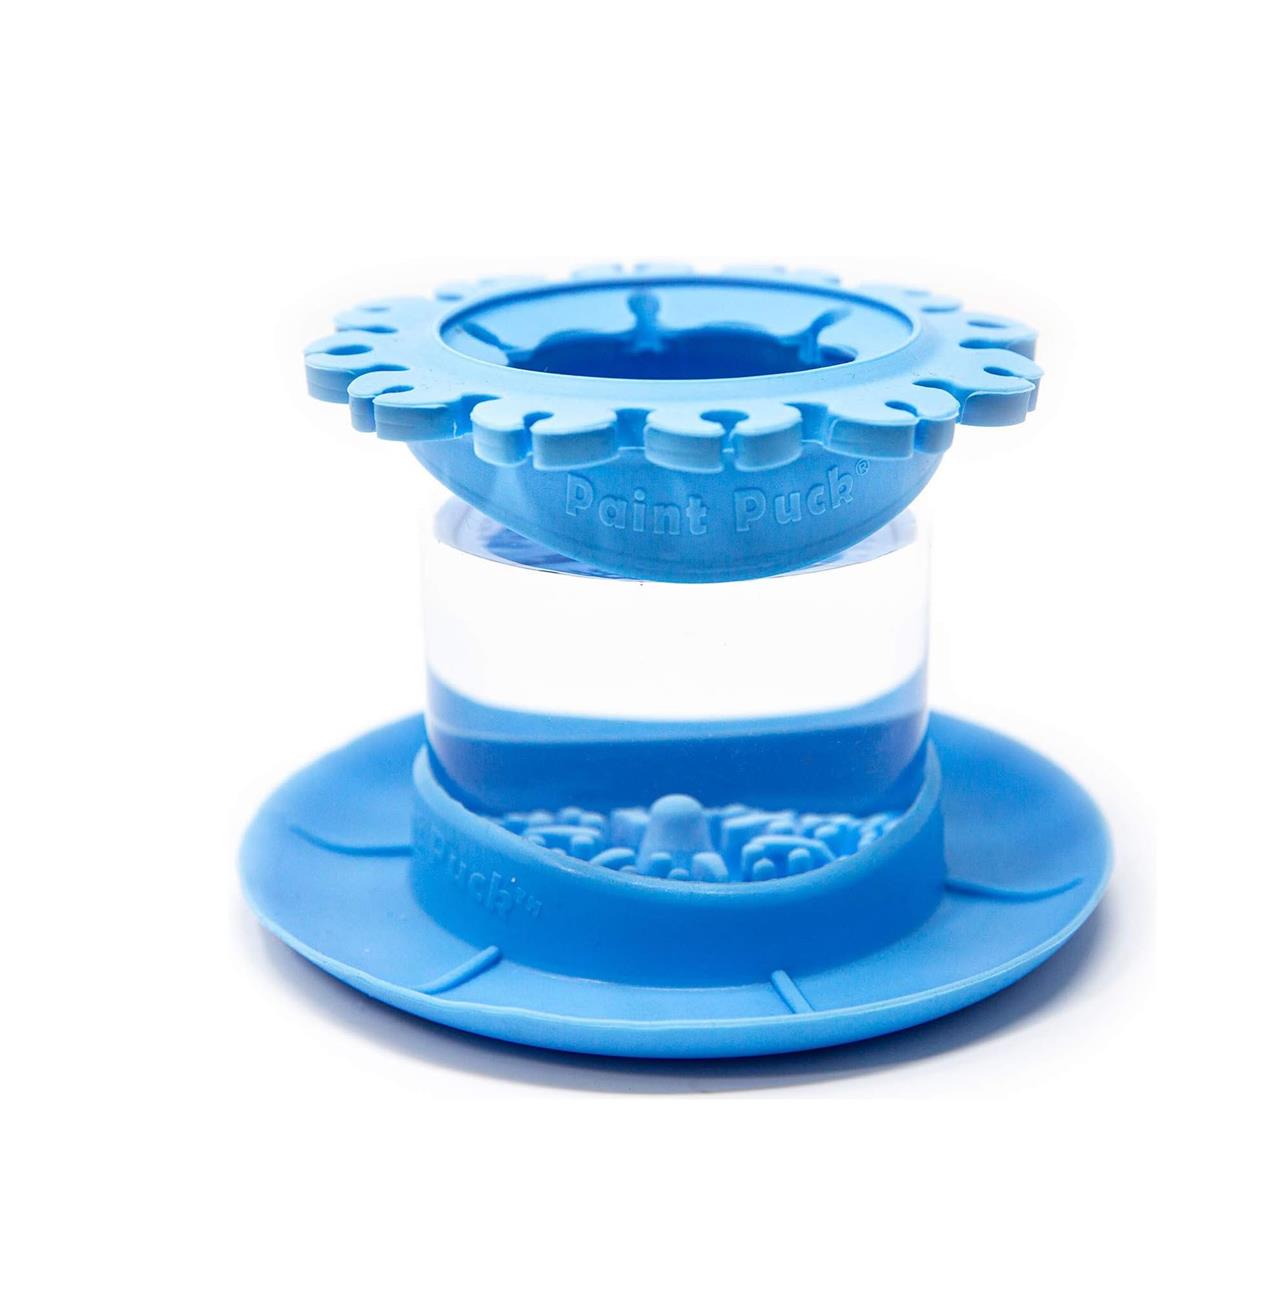
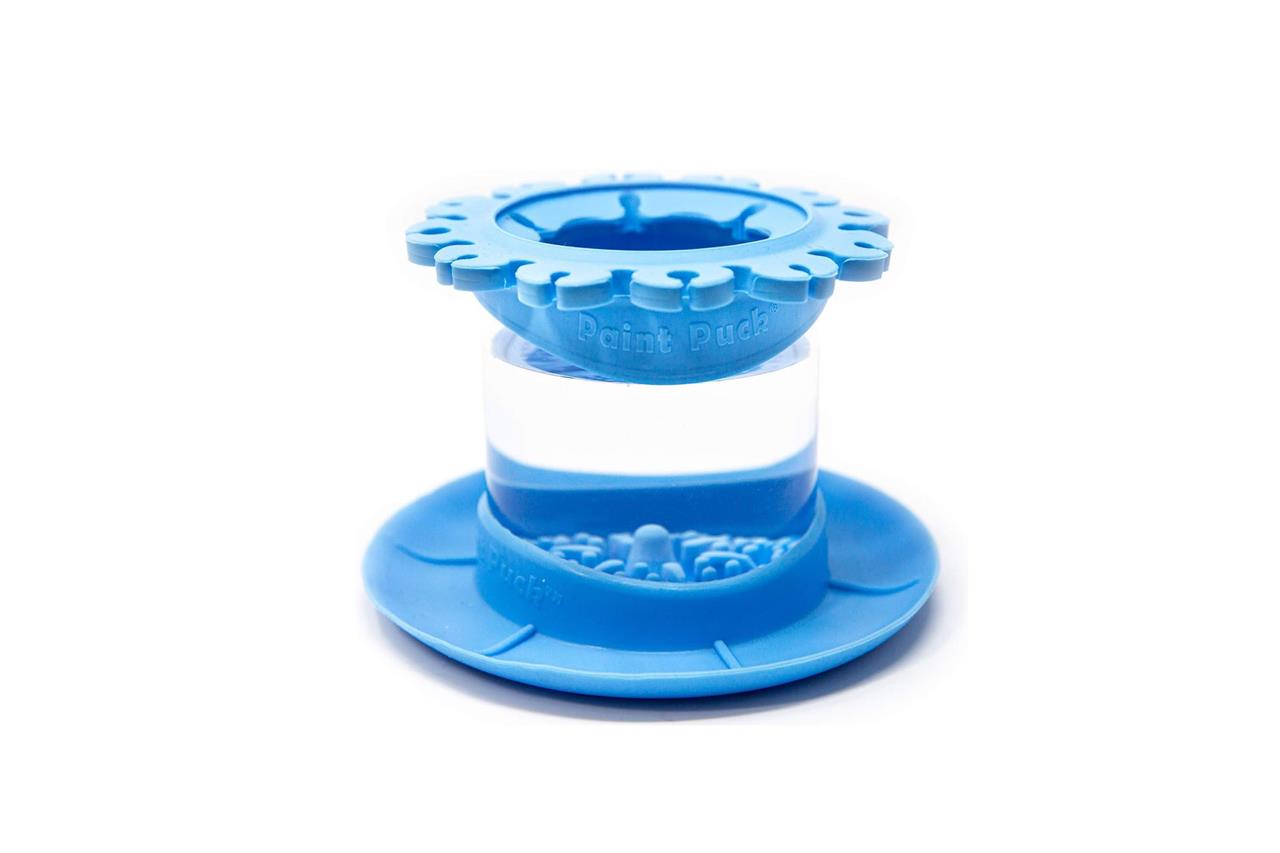
Paint Puck Rinse Cup brush cleaner
$31 $31
The Paint Puck Rinse Cup’s most important feature is its arms, which hold your brush’s tip pointing downward to protect it when not in use.
Read More $31 at Amazon
Protecting your miniatures
A good paint job deserves lasting protection. Once your miniatures are fully dry, apply a thin coat of varnish to guard against chips, scratches, and fading. Matte varnish keeps colors natural, while gloss or satin finishes enhance shine on armor or wet surfaces. Spray varnishes give smooth coverage but should be used in a well-ventilated area, while brush-on options offer more control. Proper sealing ensures your hard work stays crisp and bright through countless games and display sessions.
Once you’ve finished a miniature, you need to protect it from damage using a clear varnish. Varnishes can be applied with a brush as a thin, all-over coat. They are also available in cans and can be applied through an airbrush. Two thin coats will do in most situations. Choosing either a gloss varnish or a matte varnish will change the look and feel of your miniature, so plan accordingly.
Varnishes can also be used in between stages of painting, effectively saving your work from damage before you move on. These clear varnishes are essential when working with other kinds of paint as well, including enamel and oil-based paint.
It’s also important to consider how and where you want to store your miniatures. Some plastic inserts can damage your paint work, so be careful when placing minis back into the box.
For displaying your miniatures, consider clear plastic or glass boxes.
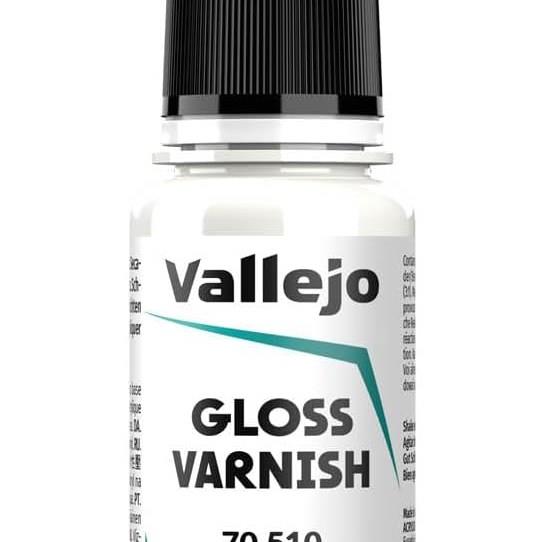
Gloss Varnish
$8 $8
A clear, protective coat for saving your work between layers or finishing off a model for display or in-game use. This formulation is best applied with a brush.
Read More $8 at Amazon

Matt Varnish
$8 $8
A matt varnish, like this one from Vallejo, is a great way to dull down miniatures that look weathered and worn down. It protects just as well as gloss varnish.
Read More $8 at Amazon
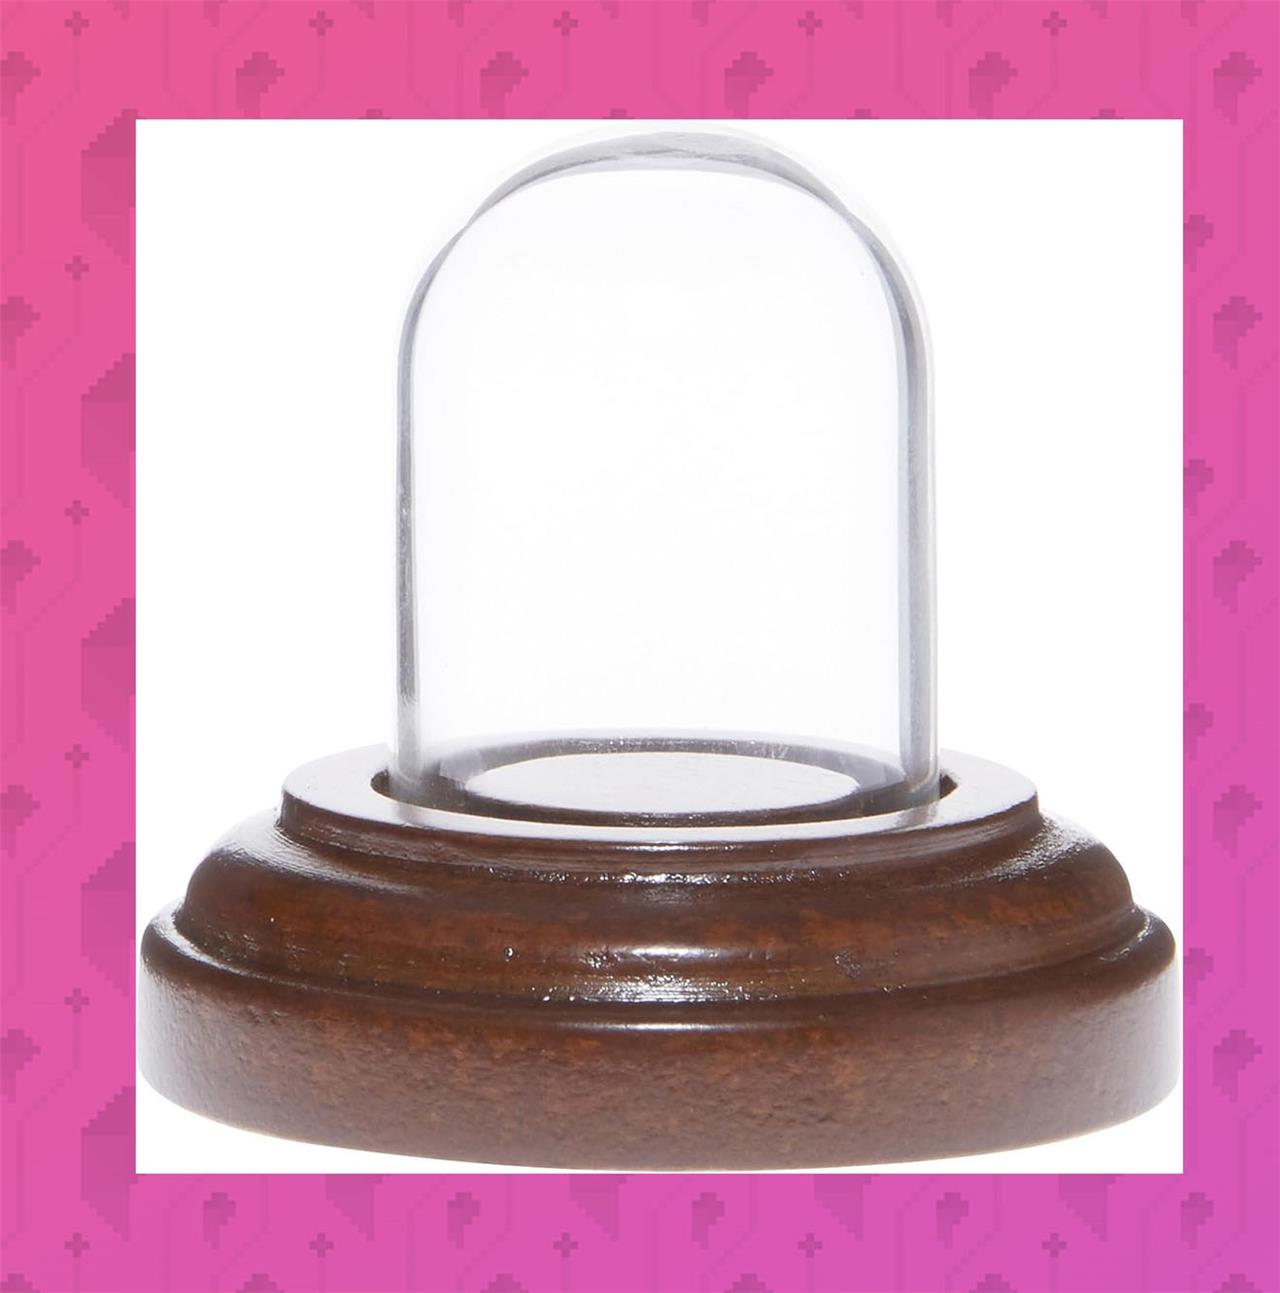
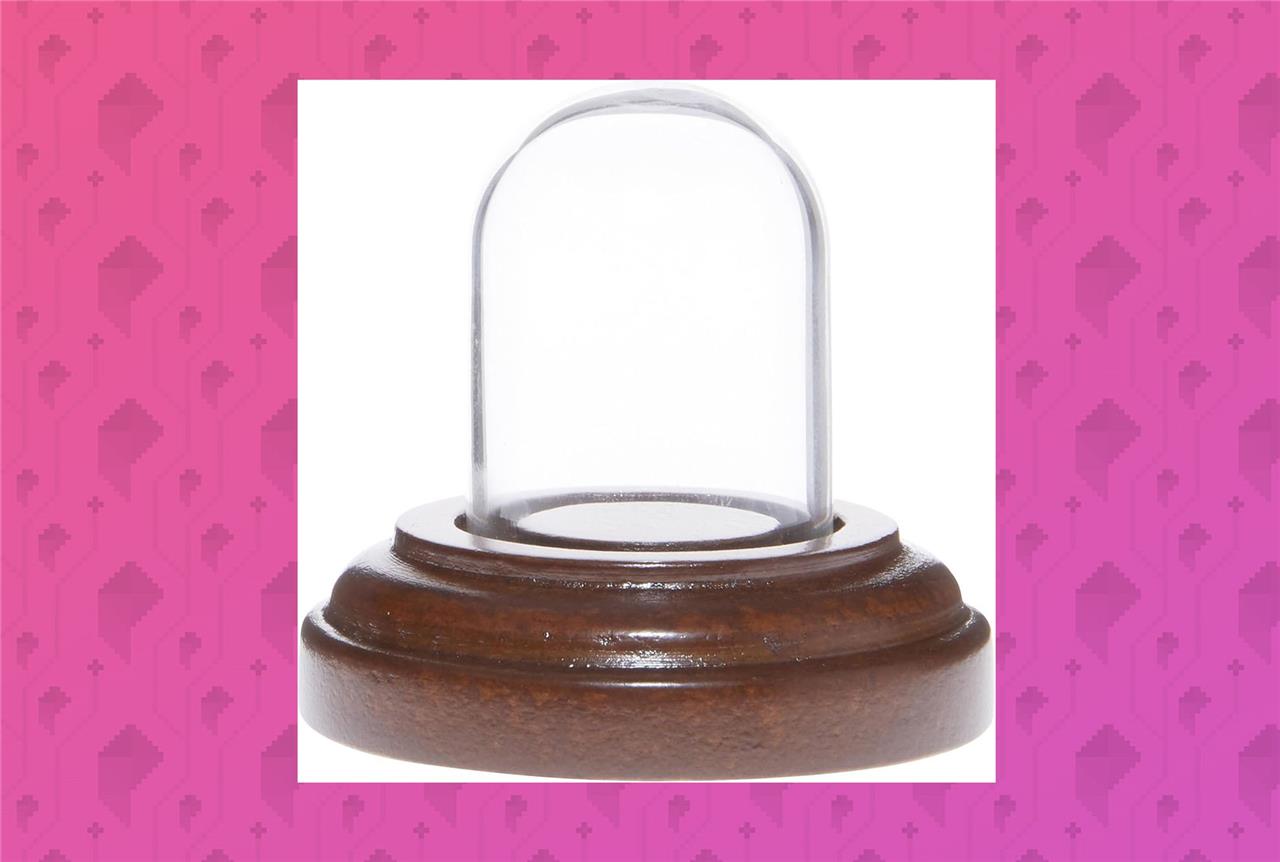
Plymoor Miniature 1″ x 1.5″ Mini Glass Display Dome
$10 $10
Finish a miniature and it will immediately begin to get dusty. Snag a glass cloche to protect the most important parts of your shelf army.
Read More $10 at Amazon
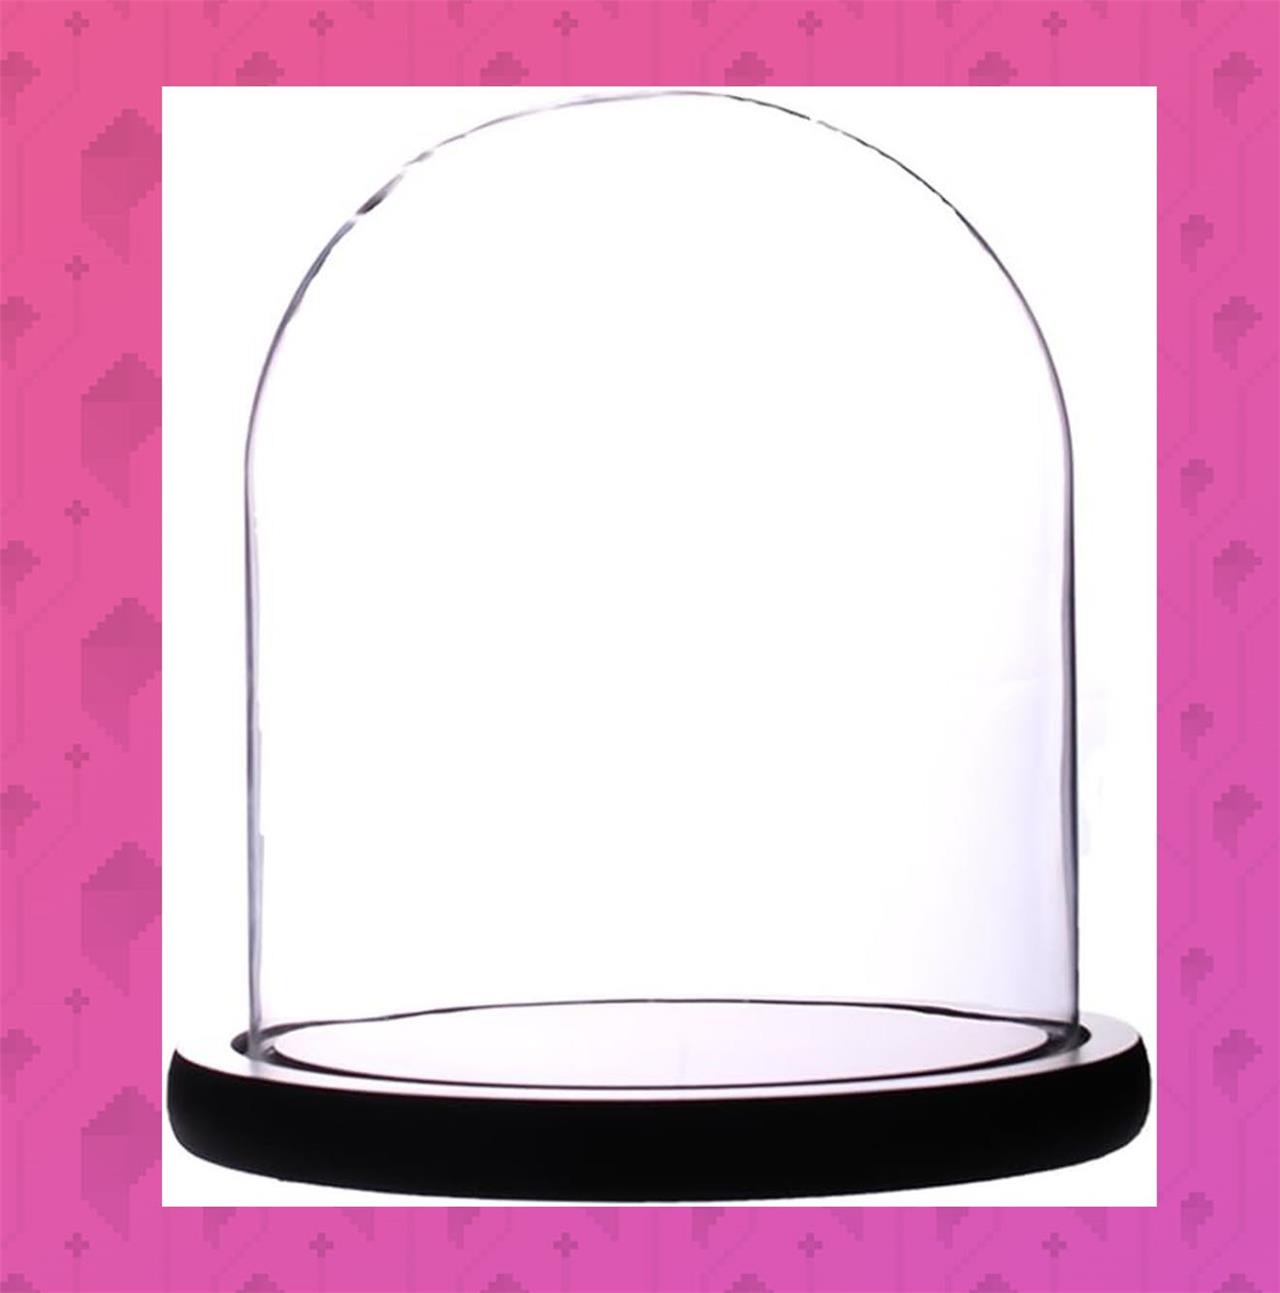

Glass Cloche Bell Jar Display Dome
$22 $22
This 6″ x 7″ glass cloche should easily house small vehicles, like that Land Speeder you’ve been trying to finish these last few years.
Read More $22 at Amazon
Additional painting techniques
Experimenting with different painting methods can add extra depth and character to your miniatures. Techniques such as dry brushing bring out fine surface details, while washes add natural shadows and help define textures. Layering builds smoother color transitions, and glazing can enrich tones or subtly adjust highlights and shading. For metallic areas, try edge highlighting or using a mix of metallic and non-metallic paints to create more realistic reflections. Practicing these methods on spare models or test pieces helps refine control before applying them to your main projects.
There are a bunch of additional techniques that you can use to supplement your chosen style. Here are just a few of my favorites, presented by trusted sources and available for free on YouTube. You can also check out my other guide on airbrush basics.
Caring for your brushes
Filling gaps in your model
Zenithal highlighting
Stippling
Glazing
Non-metallic metals
Applying decals
Winterdyne Commission Modeling Blog guide to Waterslide Decals
Appendix
We’ve mentioned several times that contrast-style paints can be deceptive in how they’ll actually look on your model. Below you’ll find a fan-created color guide for various contrast paints applied on top of various surfaces.
Citadel and other contrast-style paint swatches
Sometimes you can’t quite find the right color at the local shop, and you can’t wait for it to ship from an online retailer. That’s when you need to consider using a different brand of paint. The chart linked below can help you find compatible colors across multiple ranges.
Dakka Dakka paint range compatibility chart (for swapping colors between brands)
Best beginner paint sets for Games Workshop miniatures
For Games Workshop miniatures like Warhammer models, beginner paint sets focus on Citadel paints for compatibility, but alternatives like Army Painter offer great value. Top picks balance core colors, washes, and ease for new hobbyists painting Space Marines or Age of Sigmar figures.
Citadel Starter Sets
Games Workshop’s own kits are tailored for their minis, including paints matching box art schemes. Space Marines or Necron Paint Sets come with 6 Citadel pots (bases, shades, technicals like Astrogranite), a starter brush, and 3 minis for practice-ideal for Ultramarines blue or Necron metal. Age of Sigmar Paint + Tools Set adds clippers and more paints without minis, hitting “battle-ready” results fast.
Army Painter Warpaints Fanatic
This starter set excels with 10-12 versatile colors (reds, blues, metallics, flesh, black/white) plus a strong brown wash for shading recesses. High opacity suits beginners, and the triad system (dark to light shades) simplifies layering on plastic GW models; total cost beats Citadel for longevity.
Reaper Learn to Paint: Core Skills
Includes 12 paints (browns, metallics, primaries), 3 Bones minis (no primer needed with their paints), brushes, and a guide teaching basecoat-to-highlight. Great for GW practice despite non-Citadel formula, emphasizing smooth application over brand matching.
Comparison Table
| Set | Paints Count | Includes Minis/Brush? | Best For GW Minis Because… | Approx. Price Range |
|---|---|---|---|---|
| Citadel Space Marines | Yes/Yes | Exact box art colors (e.g., blue armor, wash) | $25-35 | |
| Army Painter Fanatic | 10+ | No/No | Opaque cores + wash for any faction schemes | $20-30 |
| Reaper Core Skills | Yes/Yes | Practice minis + techniques transferable to GW | $25-40 |
Quick Tips
Prioritize sets with a wash for depth without skill; thin Citadel paints 1:1 water. Pair any with gray primer spray. Expand later to Citadel Contrast for one-coat speed on cloaks or skin.
How to prime Games Workshop miniatures before painting
Priming Games Workshop miniatures ensures paint adheres well to plastic or resin surfaces, preventing chipping during play. Spray primer is the most popular method for even coverage on Warhammer models like Space Marines.
Preparation Steps
Assemble and clean minis first, washing off mold release with soapy water if needed. Work outdoors or in a ventilated box to avoid fumes; shake the can vigorously for 2-5 minutes. Wear gloves to prevent fingerprints, and test spray on scrap first.
Spray Priming Technique
Hold the can 8-15 inches away and use quick, sweeping passes-start spraying off the model, move across it briefly, then stop. Apply thin coats from multiple angles (front, back, top, underside) over 3-4 passes, drying 5-15 minutes between each to avoid pooling or lost details. Gray works best for beginners as it’s versatile for most Citadel paints.
Alternative: Brush-On Primer
For indoor use, dilute brush-on primer (like Vallejo or Army Painter) 1:1 with water and apply with an old brush in 2-3 thin layers. Avoid puddling in recesses by dabbing excess.
Color Choices and Tips
Black suits dark schemes (Necrons), white or gray for bright ones (Ultramarines); zenithal (black base + white top spray) adds natural highlights. Let dry 30+ minutes before painting-rushing causes cracks. Cheap hardware primers like Krylon work if shaken well.