Suspense clings to every shadow as you breach Bunker 1, a claustrophobic maze where a single misstep rewinds the mission.
Depending on the difficulty setting you’re playing on, you may have to disrupt all of the surveillance equipment, get personnel to activate the computer, and download data from said computer. Follow along our step-by-step GoldenEye 007 Bunker 1 walkthrough to easily complete each objective.
Looking for more help? Check out our previous GoldenEye 007 walkthroughs for Dam and Facility.
Tips before starting ‘Bunker 1’ in GoldenEye 007
Save your game outside the bunker entrance to retry quickly after alarms trigger. Grab the body armor and double DG2 laser from the starting crates for extra firepower against guards. Disable security by shooting four wall-mounted cameras before entering the main facility. Hold R to aim precisely at patrolling enemies from cover, and use silenced weapons on lone targets to stay hidden. Collect keycards from officers early to access side rooms with ammo and grenades.
- Try to conserve your ammo as much as possible, as tougher enemies will appear later in the level.
- In the corridors and the control room, allow the enemies to come to you to easily pick them off.
- Clear out all of the rooms before the control room to make sure no enemies flank you from behind.
Bunker 1 objectives
Bunker 1 tasks Bond with disabling the security systems, copying data from the main computer, and planting a modem to transmit it to MI6. Players must move carefully through the icy outpost, avoiding guards and cameras while collecting keycards and gadgets to access restricted areas. Timing and stealth are key to finishing the objectives without raising alarms, leading to a successful escape through the snow-covered exit.
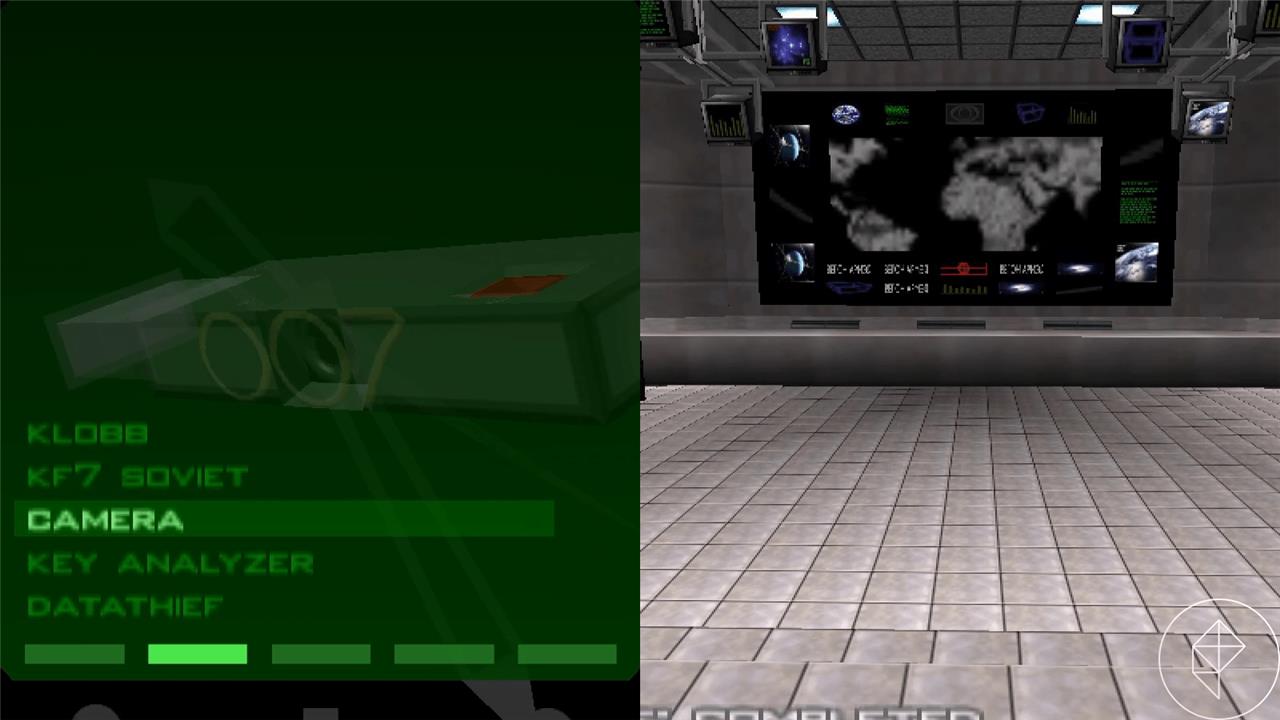
Depending on the difficulty, you can have up to five primary mission objectives to complete at the Bunker. The five objectives are as follows:
- Obj. A: Disrupt all surveillance equipment (Secret Agent difficulty and above)
- Obj. B: Copy the GoldenEye Key, leave the original (Agent difficulty and above)
- Obj. C: Get personnel to activate the computer (00 Agent difficulty)
- Obj. D: Download data from the computer (00 Agent difficulty)
- Obj. E: Photograph the main video screen (Agent difficulty and above)
Disrupt all surveillance equipment
Disable all cameras and security systems to prevent guards from being alerted. Use your watch laser to destroy wall-mounted cameras, keeping an eye on the red lights that mark their position. Move through the corridors carefully so you don’t trigger alarms while completing your objectives. Once every device is disabled, the base’s security network will be neutralized, giving you freedom to finish the mission without interference.
- Enter the room ahead of you and quickly take out the guards inside.
- Destroy the red alarm on the wall, and walk to the door on the left without opening it.
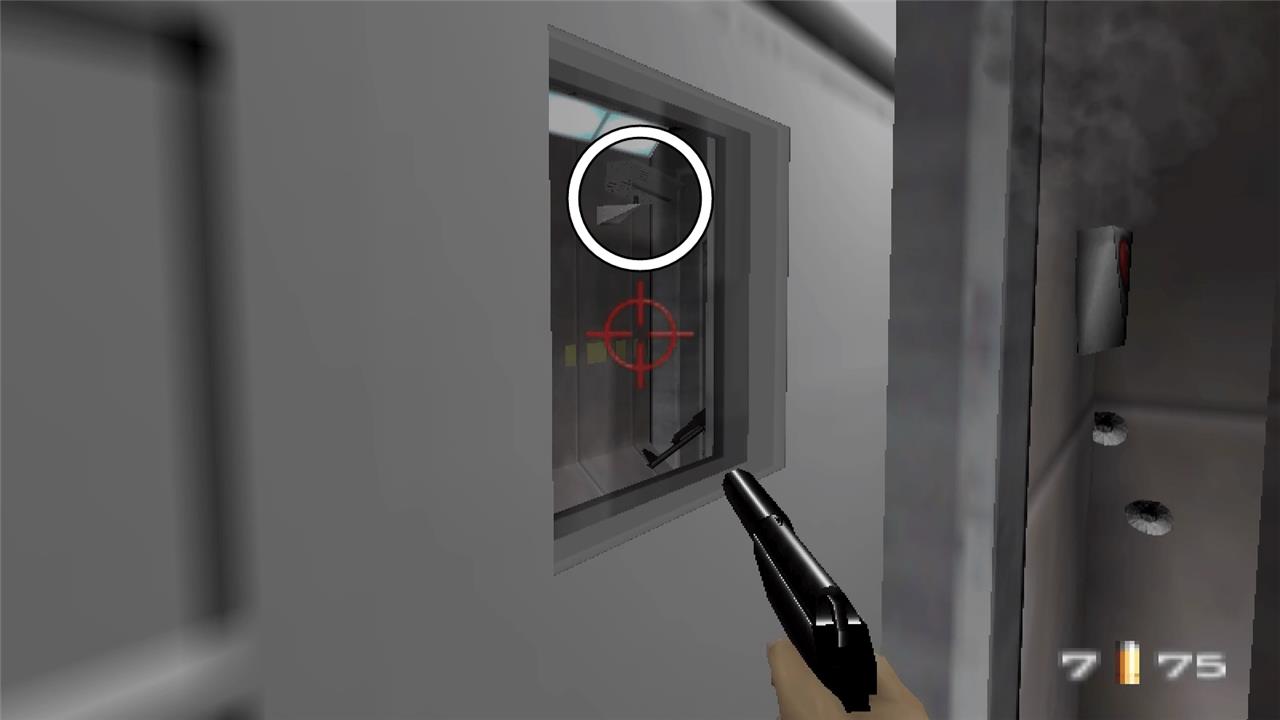
- Aim out of the right window, and shoot the surveillance camera with your silenced pistol.
- Open the door, and defeat any other enemies in the immediate vicinity.
- Head left down the corridor, and eliminate anyone who comes to you. To easily defeat everyone here, shoot one of the guards and retreat down the hallway. The other guards will funnel into the hallway – allowing you to easily pick them off.
- Take another left, and wait outside of the door on the left.
- Destroy the camera from the window, or quickly go inside the room and destroy the camera.
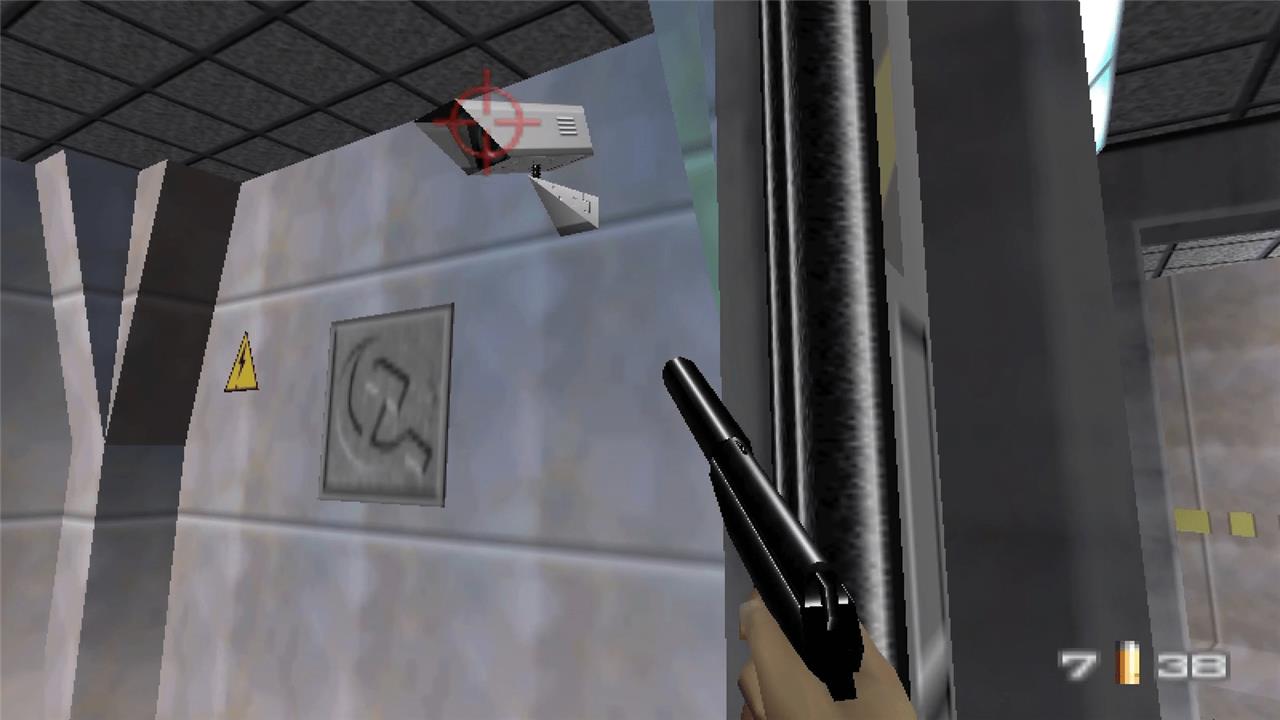
- Exit the room, and go around the left corner to find another camera.
- Destroy the camera, and defeat the three enemies at the end of the hallway.
- Turn around and proceed down the hallway until you reach the door on your left.
- Clear out this room of enemies, and return back to the hallway.
- Go left down the stairs, and enter the control room. There are a lot of enemies inside this area, so be prepared to take out a lot of guards.
- Wait near the entrance of the control room, and allow the enemies to come to you. Take them out one by one to easily clear out the room. There is an NPC in this room that you’ll need later on, so do not shoot the NPC.
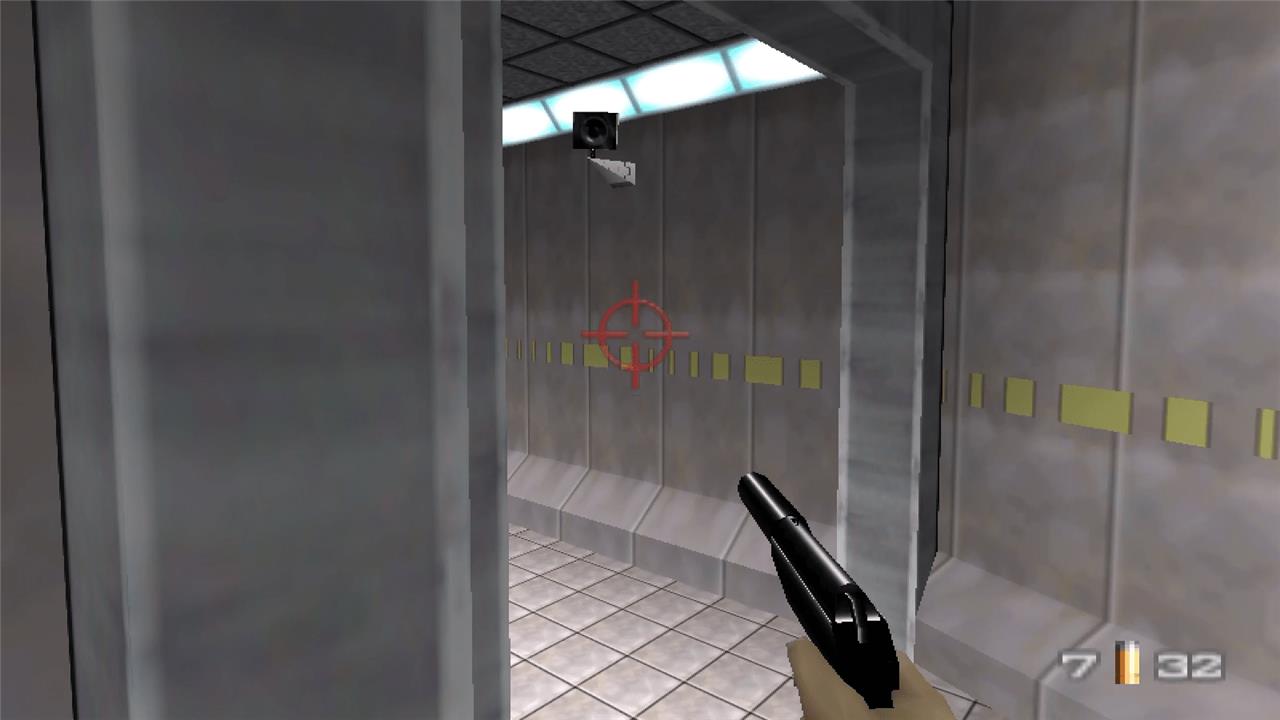
- Go up the stairs diagonally across from you to find one more enemy and the last camera.
- Eliminate the enemy and destroy the camera to complete Objective A.
Photographing the video screen
Capture footage of the video screen in the control room to reveal enemy positions and alert statuses. Position your camera steady on a tripod or hold it firm against a surface for sharp images without blur. Switch to manual focus and adjust exposure to counter the screen’s glow, preventing washed-out colors. Snap multiple shots from slight angles to document the full display sequence as it updates during the mission. These photos serve as key evidence for objectives like disabling communications.
- Head back down the stairs to enter the command room. Switch to the camera in your inventory. To switch to the camera, open your start menu and alternate to the weapons tab. Scroll down to camera and select it.
- Aim at the big screen in the the room, and take a picture of it by pressing the fire button. This step completes Objective E.
Copy the GoldenEye key and leave the original
Move carefully to the central computer room and locate the golden key card on the workstation. Use your camera to copy the GoldenEye key from the terminal without removing or tampering with the original. This action ensures the mission remains covert and prevents raising alarms. Once the data is duplicated, leave everything untouched and head for the exit to continue the operation.
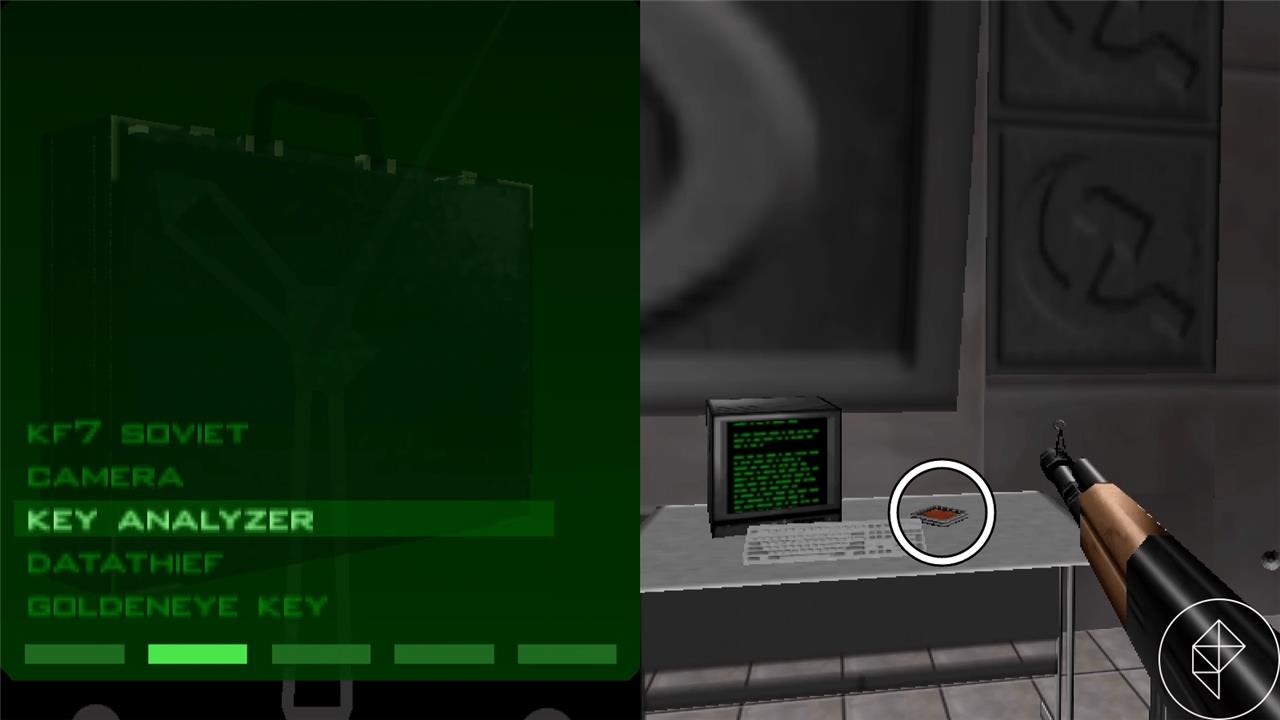
- While still in the command room, head to the table with a computer to the side of the video screen.
- Walk up to the table to grab the GoldenEye Key.
- Select the Key Analyzer in your inventory, and use it by pressing the fire button.
- Fire again to toss the key away – completing Objective B.
Activate the computer and download data from the computer
After clearing the security cameras and guards, approach the computer terminal in the control room. Activate the system by interacting with the monitor, then use the data transfer device from your inventory to begin copying the files. Wait until the progress bar completes before leaving the area, as interrupting the process will cause the objective to fail. Once the download is finished, safely exit the bunker through the same route to complete the mission.
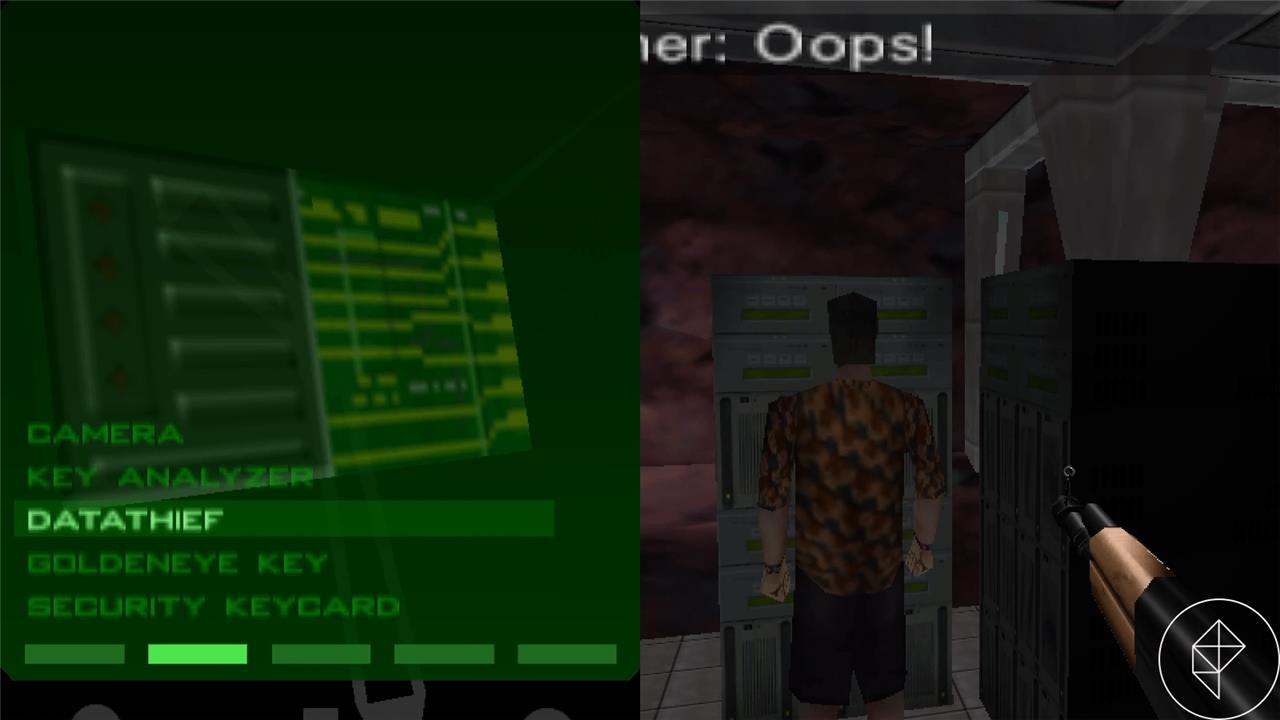
- Find Boris (he’s the NPC that you didn’t shoot earlier). He could still be in the control room, or he could have ran off through the door to the top of the stairs. If he ran up the stairs, be careful of two enemies who are waiting at the top. Try your best to not shoot Boris while taking out the two enemies.
- Aim a weapon at Boris to have him lead you to the mainframe terminal. An alarm will soon go off alerting more enemies to your position, so select the data analyzer in your inventory while Boris is “disabling the security.” This step completes Objective C.
- Look at the mainframe terminal and press the fire button with the data analyzer equipped to download the data from the computer – completing Objective D.
- Fight off the incoming soldiers. These enemies have more health than the others, so they are a little harder to take down.
- Return to the control room once all the enemies are defeated, and go through the door ahead of you.
- Go up the stairs and through the door at the top to complete Bunker 1.
Bunker 1 00 Agent tips and strategies
Bunker 1 on 00 Agent in GoldenEye 007 ramps up the challenge with tougher guards, infinite respawns if alarms trigger, and extra objectives like activating the computer and downloading data.
Key Strategies
Prioritize stealth to minimize alerts-shoot cameras quickly with single bursts from your KF7 Special (hold aim for precision) and avoid full-auto fire. Clear the computer room first using the keycard from a hallway guard, sniping through double doors to thin enemies without entering.
Escort Boris Efficiently
After photographing the main screen and copying the GoldenEye key, approach Boris (programmer NPC) in the control room until his hands raise, then lead him to the mainframes upstairs-don’t block his path. Mash Z-trigger to fire the Data Analyzer at the terminal while defending against reinforcements; time it right after clearing initial threats.
Combat and Movement Tips
-
Lure guards one-by-one around corners for headshots or melee kills to prevent alarms.
-
Grab body armor in the corridor and double Klobbs from guards for sustained fire.
-
Strafe constantly during the final push to exit-warp-line through the keycard door after downloads to dodge “knockers” (heavy guards).
-
On Xbox/Switch ports, use suspend points liberally for retries.
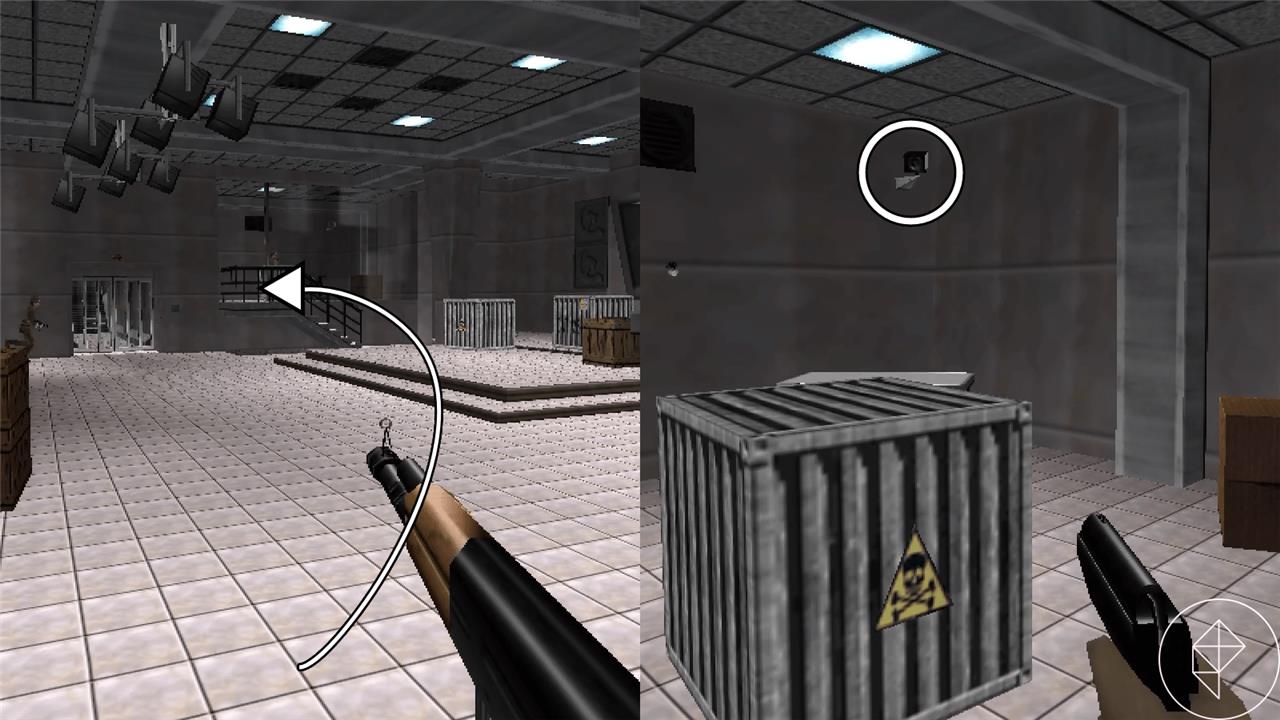
Memorize guard spawns and camera spots (four total) for muscle memory; alarms summon elite black-uniformed foes that hit harder.
Bunker 1 00 Agent speedrun strategies
Bunker 1 00 Agent speedruns in GoldenEye 007 demand pixel-perfect movement, precise guard kills, and luck with Boris’s behavior to hit world record paces around 1:07 or faster.
Core Route
Explode through the starting area: strafe-shoot the first camera, pause to equip camera for screen photo (E), grab and copy GoldenEye key (B) via watch analyzer on the table, then body-shot the guard near Boris from max distance for fastest activation (C). Escort running Boris upstairs to mainframe (stay in radius), mash Z-trigger with Data Thief for download (D) while clearing respawns, destroy remaining cameras (A).
Speedrun Tricks
-
Pause Buffering: Time start menu pauses tightly before stairs for consistent boosts through guards and doors-aim for 2:0+ boosts early.
-
Warping: Backswitch to double Klobbs (or PP7) at exit door for 80%+ warp consistency; throw copied key at stairs top.
-
Grenade RNG: Carry 1+ grenade to thin guards during Boris run, as solo clears lag behind WR pace.
Execution Tips
Right-strafe start, left-strafe big room for tight lines, strafe glass/exit doors left-side to avoid stalls. Music cues pace (1:07 signals fast Boris); reset on slow activation. N64 original favors this over ports due to lag differences.