When the battlefield erupts with the thunderous charge of armored behemoths, only the brave-or the well-prepared-survive. In Helldivers 2, Chargers are relentless, heavily-armored monsters that can flatten squads in seconds, making them the ultimate test of teamwork and firepower. Whether you’re hunting them for glory or just trying to stay alive, this guide reveals where to find these titanic threats and the most effective ways to bring them down-before they bring you down first.
Where to find Chargers in Helldivers 2
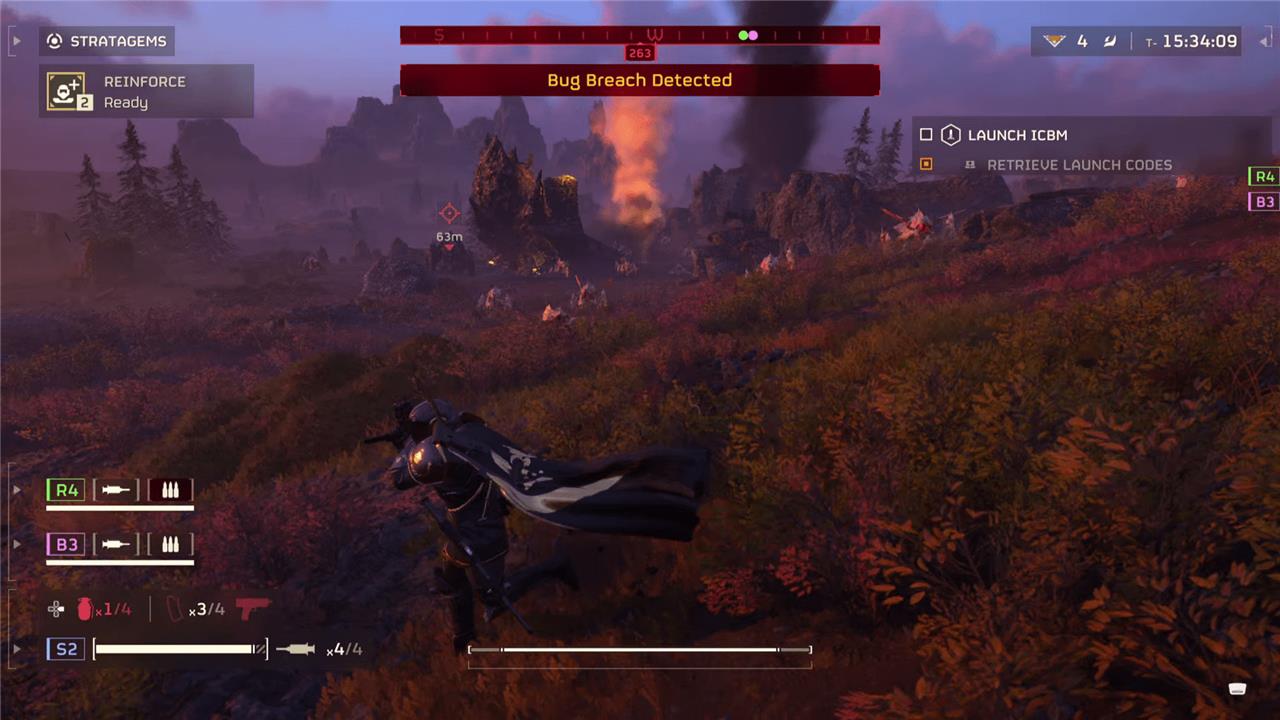
Chargers in Helldivers 2 are most commonly found in the Terminid sector, particularly on the orange planets located on the eastern part of the Galactic Map. To encounter Chargers, you need to play missions on at least Medium difficulty, as they only begin to spawn at this level and above. Chargers can appear during any Terminid mission, often while exploring the map, clearing outposts, or completing main and side objectives. They may also be found as part of patrols, emerging from Bug Breaches, or simply roaming in random spots across the map. For a guaranteed encounter, look for missions tagged with “Heavily Armored Enemies” or specific objectives like “Eliminate Charger” or “Eradicate Terminid Swarm”. On higher difficulties, Chargers spawn more frequently and may also guard important objectives or nests, increasing your chances of running into them as you progress through tougher missions.
Chargers aren’t the first “mini-boss” style enemy you’ll encounter in Helldivers 2, but they’re the first that should really scare you. They have loads of armor, are very fast once they charge, and even their weak spot can take a ton of punishment. But we’ll get to how to kill them later; first, you need to actually find a Charger.
Chargers only seem to appear in missions that are rated Medium difficulty or above (meaning you’ll have to work your way up through the difficulties by clearing easier missions first). However, even on Medium you’ll only really find Chargers in missions that ask you to specifically kill Chargers. And while that can be useful, none of the Chargers I killed on the Medium difficulty counted for “Strain Culling.” That could have something to do with the server issues at the time of this writing, but your best bet regardless is to play on the difficulty above Medium: Challenging.
Starting on Challenging difficulty, Chargers will just show up in nests or when you’re trying to complete an objective. They seem to spawn more frequently when you’re in a group (which can be difficult given the aforementioned server issues). Just keep playing missions on Challenging and hunting down nests. You should find all the Chargers you need in just a handful of missions.
How to kill a Charger in Helldivers 2
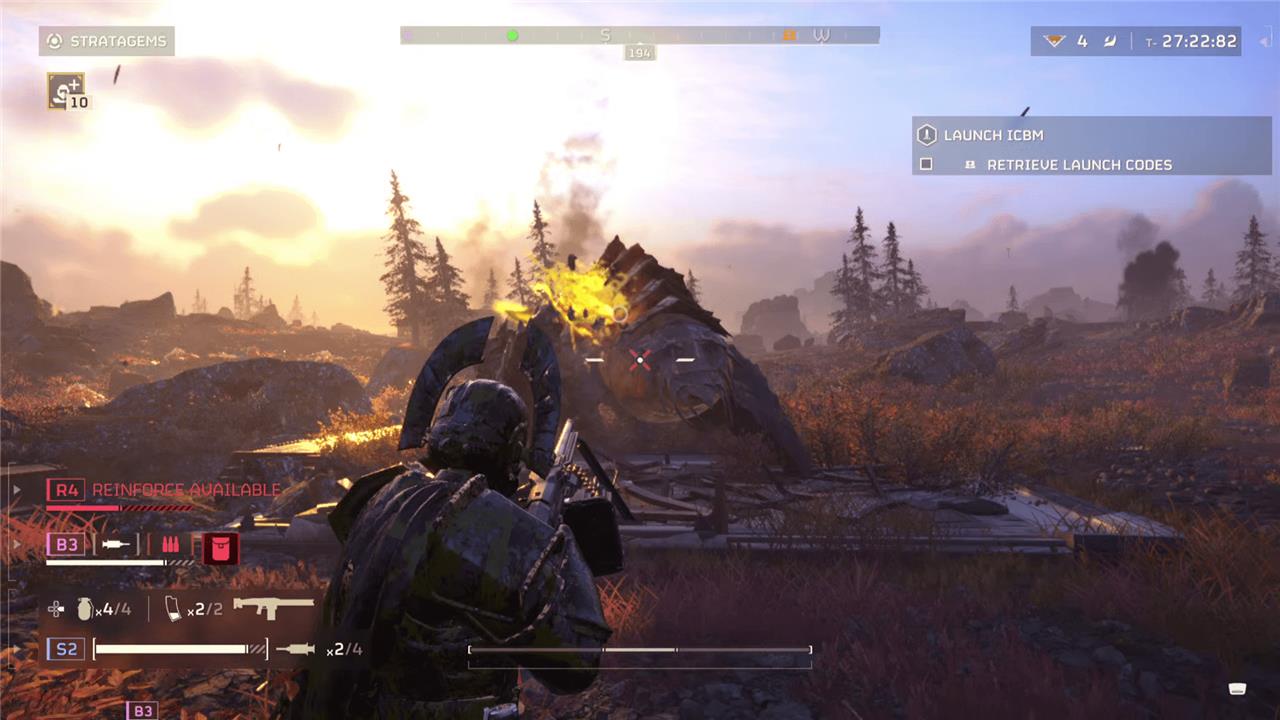
To kill a Charger in Helldivers 2, focus on breaking through its heavy armor using powerful anti-tank weapons and explosives. The most effective method is to target the head with weapons like the Recoilless Rifle, Expendable Anti-Tank launcher, or Commando rockets-direct hits can instantly kill a Charger or at least strip away its armor to expose weak spots. Alternatively, charged Railgun shots (in unsafe mode) are highly effective, as is the Orbital Railcannon Strike, which can eliminate a Charger in one hit. If you lack heavy weaponry, aim for the bright orange flesh on its underside or backside, especially after baiting it to charge and then dodging to shoot its exposed rear. Coordinating with teammates to distract the Charger and targeting its vulnerable spots will make the fight much easier, but always avoid shooting at armored sections with low-penetration weapons, as this will only cause ricochets and little damage.
So, you’ve found some Chargers, but now you have to actually deal with them. I won’t lie to you, until you and your squad have a handle on how Helldivers 2 really works, a Charger is probably going to kill one or two of you unless you’re very well-equipped or extremely careful.
But that actually leads us to one of our first big tips for Chargers or any big enemies: Drop directly on them. Yes, that’s right, you can drop your respawn pod on top of a bug and they’ll explode. It’s not worth the revive if you can kill the Charger another way, but if you’re already pulling in a reinforcement, do your best to squish the Charger on your way in. It’s a pretty fast way to end any fight.
Now you’re not going to squish a Charger every time you kill one, so it’s important to have other tactics. First, you can just shoot it in its big, glowing ass. The Charger is heavily armored at the front, but its back is exposed. Shred it with a turret or your own personal heavy machine gun. You can, of course, just use your primary assault rifle or pistol, but on Challenging and above, it’s going to take a long time if you do that.
You can also destroy the Charger’s armor with something like the Recoilless Rifle. Now this is a great option if you can consistently get two to three shots onto the same spot on the bug, as the Recoilless Rifle and other armor-piercing weapons seem to be better at punching a hole through armor and finishing the job that way than raw damage against already exposed weak points.
Your best bet for Chargers, however, is to simply blow them to hell with Stratagems before they even get the chance to see you. They’re big – big enough that you can spot them in their nest before they spot you. And, until they’re threatened, they move pretty slow. You and your group can use this to your advantage by dropping Orbital Strikes, Eagle Strafing Runs, and all other kinds of Stratagems on top of the Charger. If you can score a direct hit, you’ll probably kill it before it even gets the chance to chase you.
How can I exploit a Charger’s weak spots for quick kills in Helldivers 2
To exploit a Charger’s weak spots for quick kills in Helldivers 2, focus on these proven strategies:
-
Front Leg Armor Removal: Use a heavy weapon like a recoilless rifle, rocket launcher, or railgun to shoot off the armor from one of the Charger’s front legs. Once the armor is stripped, the exposed flesh becomes a major weak spot. Finish the Charger quickly by unloading small arms fire or shotgun blasts into the exposed leg-this method can kill a Charger in just a few seconds if executed efficiently.
-
Headshots with Heavy Weapons: The Charger’s head is a critical weak spot, especially vulnerable to support weapons. A well-placed shot from a recoilless rifle or EAT-17 to the head can instantly kill a Charger.
-
Glowing Orange Abdomen: The orange segment on the Charger’s back is a visible weak point. Circle around to target this area with sustained fire or explosives, especially after breaking some armor plating.
-
Unarmored Posterior: The rear of the Charger lacks armor, making it susceptible to regular weapon damage. While not as effective as the exposed leg or head, targeting the posterior can still deal consistent damage.
-
Explosives and Ordnance: Dropping a Hellpod, using a 500 kg bomb, or employing other explosive ordnance directly beneath or near a Charger can kill it instantly or severely weaken it.
In summary, the fastest and most reliable method is to strip the front leg armor with a heavy weapon, then target the exposed flesh with rapid follow-up shots. Alternatively, a direct heavy weapon shot to the head or well-placed explosives can also yield quick kills.
What is the fastest way to disable a Charger’s armor for quick kills
The fastest way to disable a Charger’s armor for quick kills in Helldivers 2 is to hit one of its front legs with a heavy weapon such as a recoilless rifle, EAT-17 expendable anti-tank launcher, or rocket launcher. A direct hit will strip the armor from the leg, exposing a vulnerable weak spot. Once the armor is removed, follow up immediately with small arms fire or a shotgun to the exposed flesh for a rapid kill-often requiring less than a full magazine to finish the job.
This method is highly effective because it can be performed while the Charger is facing you, eliminating the need to dodge around to its rear. The process is:
-
Fire a heavy weapon at a front leg to strip the armor.
-
Quickly switch to your primary weapon and shoot the exposed area.
-
The Charger should go down within seconds if executed efficiently.