In Starfield’s pivotal main quest “High Price to Pay,” players face a heart-wrenching dilemma: defend the Lodge or rush to the Eye. This choice isn’t just a tactical decision-it seals the fate of your closest companion, forcing you to weigh loyalty against survival as the relentless Hunter closes in. Which path will you take, and who will you lose in the process? Our walkthrough breaks down the mission’s intense moments and helps you decide whether to stand your ground at the Lodge or make a desperate run to the Eye.
A possible bug at launch is that players are sometimes unable to follow the scanner. If this happens to you, we recommend returning to orbit and waiting by passing time. Consider shutting the game off and launching it fresh as well, just in case.
Also, when you make to re-land on the planet, be absolutely sure you’re picking the Scanner Anomaly Site. If you land anywhere else by accident, the temple won’t appear on the map and you won’t be able to find it.
Should you go to The Eye or stay in the Lodge?
When faced with the choice to either go to The Eye or stay at The Lodge during Starfield’s “High Price to Pay” quest, players must weigh a difficult decision with significant consequences. Choosing to defend The Lodge means confronting the Hunter there but results in the death of a companion at The Eye, while going to The Eye to protect comrades there leads to a companion’s death at The Lodge. The companion lost is typically the one with whom the player has the strongest relationship, making this a deeply personal and impactful choice. Ultimately, the decision does not affect the overall story progression but determines which favorite companion you lose, so saving the game before deciding is advisable to preserve your preferred outcome.
The moment you get back from the “No Sudden Moves” mission, you’ll be able to place your artifact in the Armillary like usual, but something will clearly be wrong in the Lodge. It’s time to make a tough choice.
Talk to Noel
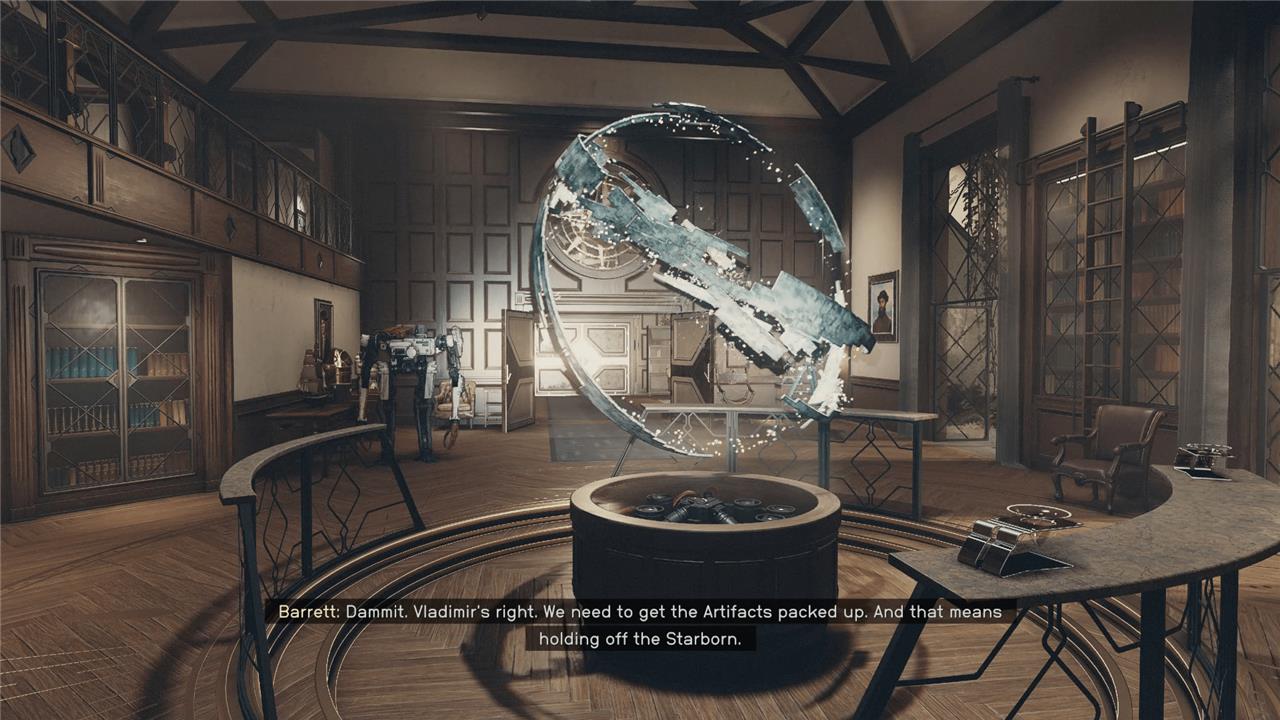
When you place the artifact, you’ll notice that the entire Constellation crew is gathered around the digital table in the back of the library. They’re all talking to Vladimir, who is up in The Eye and describing an attack that they just endured. He sounds injured, and if you pry, he’ll tell you that another of your companions is injured.
Vladimir will also tell you that the mysterious being who attacked The Eye is coming for the Lodge and all your artifacts.
Go to the Eye // Stay in the Lodge
During the “High Price to Pay” quest in Starfield, players face a critical choice: go to The Eye or stay in The Lodge. Choosing to stay and defend The Lodge means confronting the Hunter directly and protecting your companions there, but it results in the death of a companion at The Eye. Conversely, going to The Eye allows you to save the companions there, but one of your closest allies at The Lodge will be lost. This decision deeply affects which companion you lose, often tied to your strongest relationships, making it a tough but pivotal moment in the story. Both paths lead to intense combat and ultimately reunite you at The Lodge to continue the quest.
[Warning: This section contains a major spoiler for this mission and the outcome of your choice.]
When you get off the call with Vladimir, you’ll only have a few seconds to make your choice. You can either:
- Leave the Lodge and go to The Eye
- Stay in the Lodge and protect the artifacts
Can you save everyone in ’High Price to Pay’?
Your choice here has a major consequence, and is the biggest in the entirety of Starfield’s main quest. No matter what option you choose, one of your companions will die, and there’s nothing you can do to save them both.
As for who will live and who will die, it seems like your two most-used companions are in danger. For me, that was Sam Coe and Barrett. For other AELGAMES folks it was Sarah or Andreja. How much time you spend with them seems to dictate where they are at a given time, but our data suggests that if you want to save your most-used companion you need to go wherever they are. In our testing, Andreja was in The Eye in one playthrough and the Lodge in another, for example.
This decision is entirely up to you. The death of your companion will have major narrative implications, but it won’t change how any upcoming missions actually play out. So pick your favorite character and go rescue you them knowing you’re leaving another one to die.
Determine where you want to go and either hang out in the Lodge (head up to the bar if you want to get a jump on the assailant) or walk back to your ship and fly to The Eye.
If you need help on the moment to moment gameplay of the next section, move to whichever variant section you picked.
Choice 1: Go to The Eye
In the “High Price to Pay” quest in Starfield, choosing to go to The Eye means you rush to aid your companions there after Vladimir warns of an attack by the Hunter. Arriving in time allows you to save the character at The Eye, but this choice comes at a steep cost: one of your closest companions at The Lodge will die instead. This decision doesn’t significantly alter the overall story but forces a permanent loss of a favored companion, making it a poignant and difficult choice. After rescuing the companion at The Eye, you will return to The Lodge to continue the quest and face the consequences of your decision.
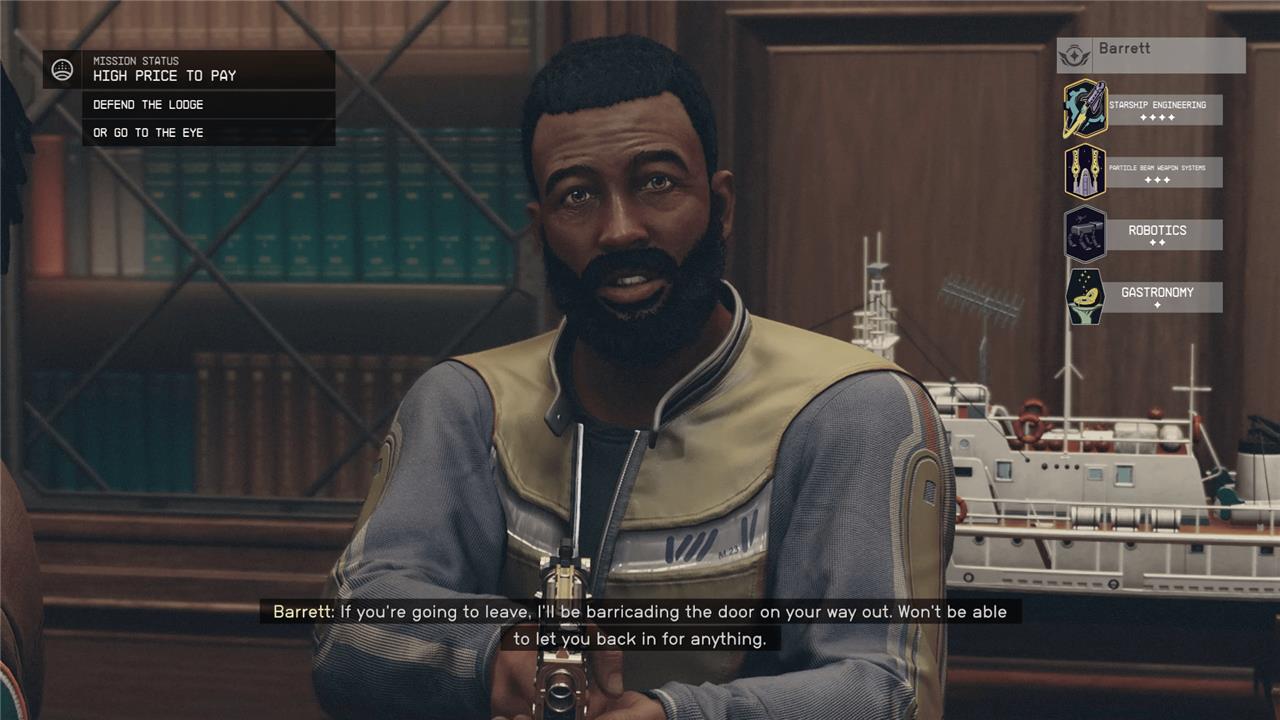
If you choose to go to The Eye, one of your companions will try and stop you at the door. Tell them to be safe, then leave anyway.
Find everyone on The Eye
Head back to your ship and fly it up to the space station. In The Eye you’ll find your allies, banged up and bruised, but alive. Talk to each of them and then head back to the Lodge together.
Go to the Lodge // Find everyone in the Lodge // Find Noel
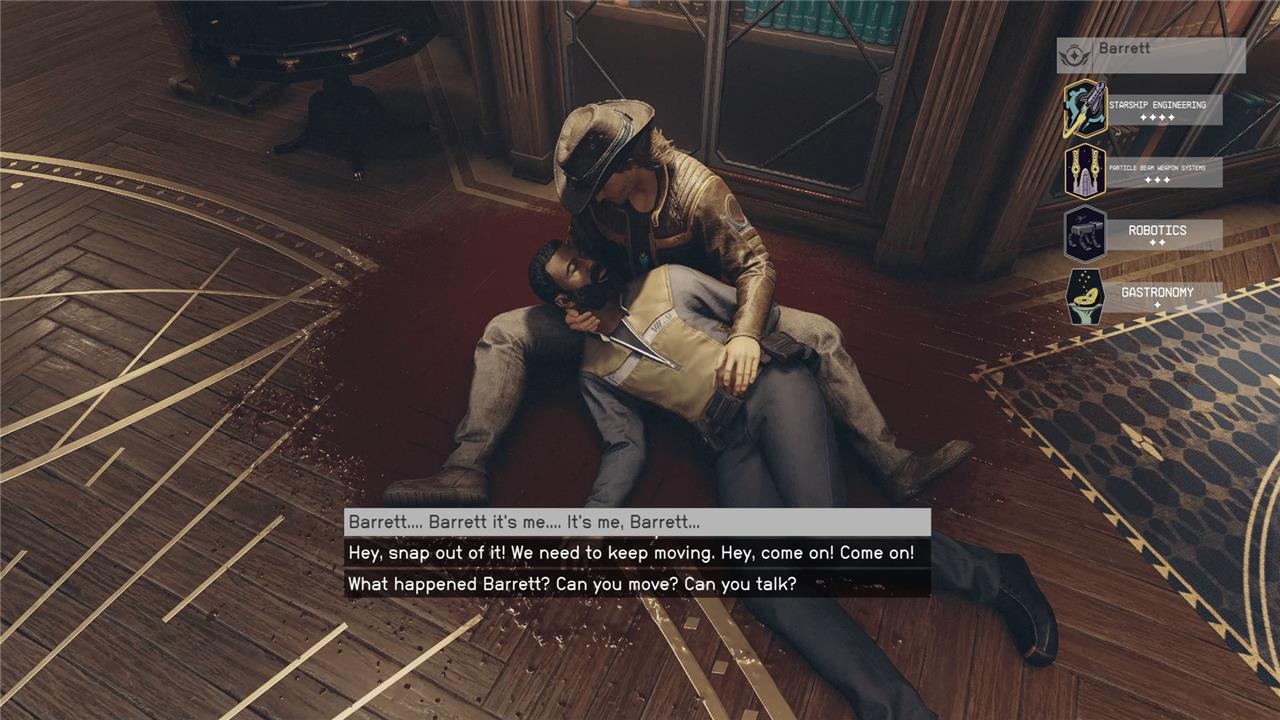
When you enter the Lodge, you’ll find one of your companions dead on the ground next to the Armillary, with one of your living companions cradling them. Walk around the Lodge and talk to your crew mates (don’t forget Vasco!).
When you’re ready, follow the waypoint to the basement to find Noel. She’ll be doubled over and will almost attack you when you talk to her. Have a quick chat and prepare yourself for battle. The Hunter will interrupt your chat. Either hold him off or shoot him until he disappears.
Be warned that he’s very tough and can kill you quickly if you’re not careful. But he is worth spending ammo on, as he’ll give you a pretty cool gun later if you manage to defeat him, the Unrestrained Vengeance laser rifle.
Escape to your ship // Initiate take-off // Go to The Eye

Once you do battle with The Hunter, follow Noel through The Well district and back to your ship. Be careful of The Hunter and his duplicate, as he’ll show back up to try and kill you on your journey. Make your way to the shipyard and take off. Your companions will automatically join you.
Go to orbit and The Hunter will hail you in his ship. You can talk to him to get some more info and even attack his ship if you want (it’s a pretty powerful ship, we’d advise not doing that). Eventually, he’ll let you go and will stop attacking you for the rest of the mission. If you defeated him in combat, this is when he’ll give you the Unrestrained Vengeance.
Travel the rest of the way to The Eye and dock your ship. Head inside.
Choice 2: Defend the Lodge
Choosing to defend the Lodge in the “High Price to Pay” quest in Starfield means you stay to protect your companions there from the Hunter’s attack. During this intense defense, you will confront the Hunter on the second floor, using your strongest weapons to fend him off while your allies escape through a secret passage in the basement. After the fight, you must make a quick escape through the sewers and eventually reach your ship. However, this choice comes with a heavy cost: the companion closest to you at the Eye will be killed, making this decision emotionally challenging as it permanently affects your favorite crew members. Despite the loss, defending the Lodge allows you to keep your closest companions there safe and continue the questline with a significant reward and story progression.
If you choose to stay in the Lodge, Noel will start to gather the artifacts and you’ll wait around staring at the front door. We suggest you head up to the bar as soon as possible.
Check on Walter // Hold off the Hunter
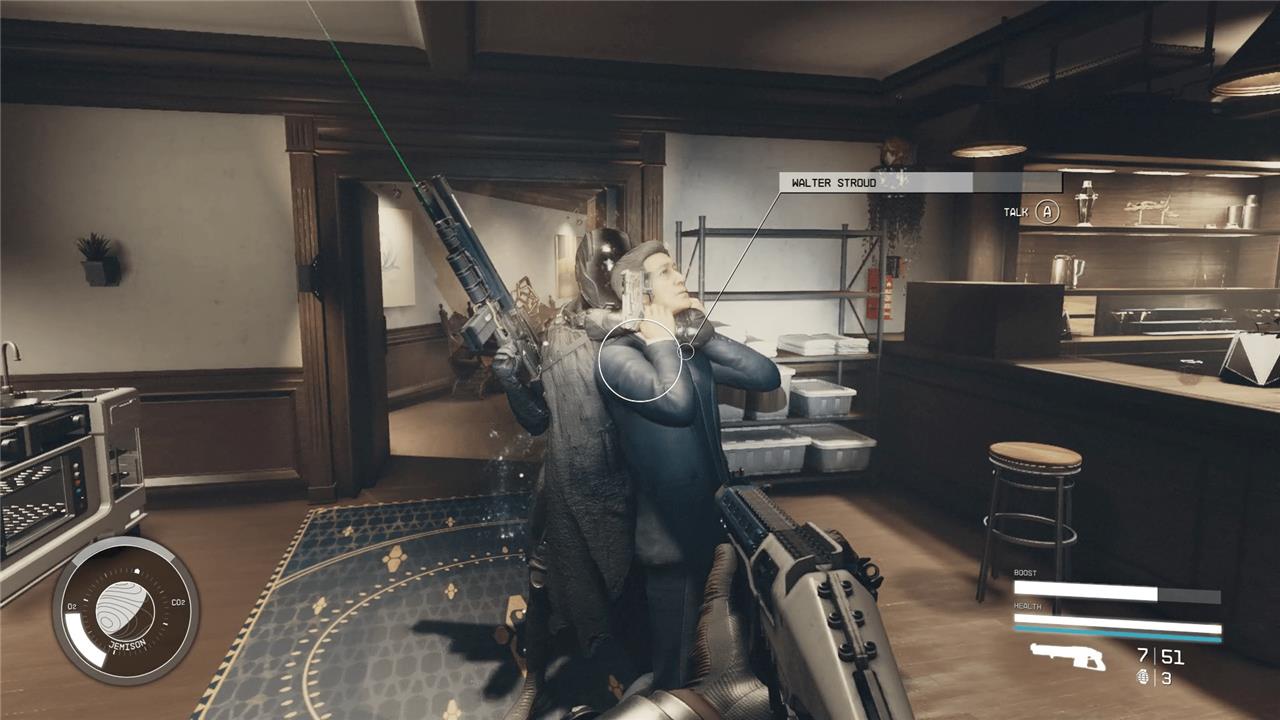
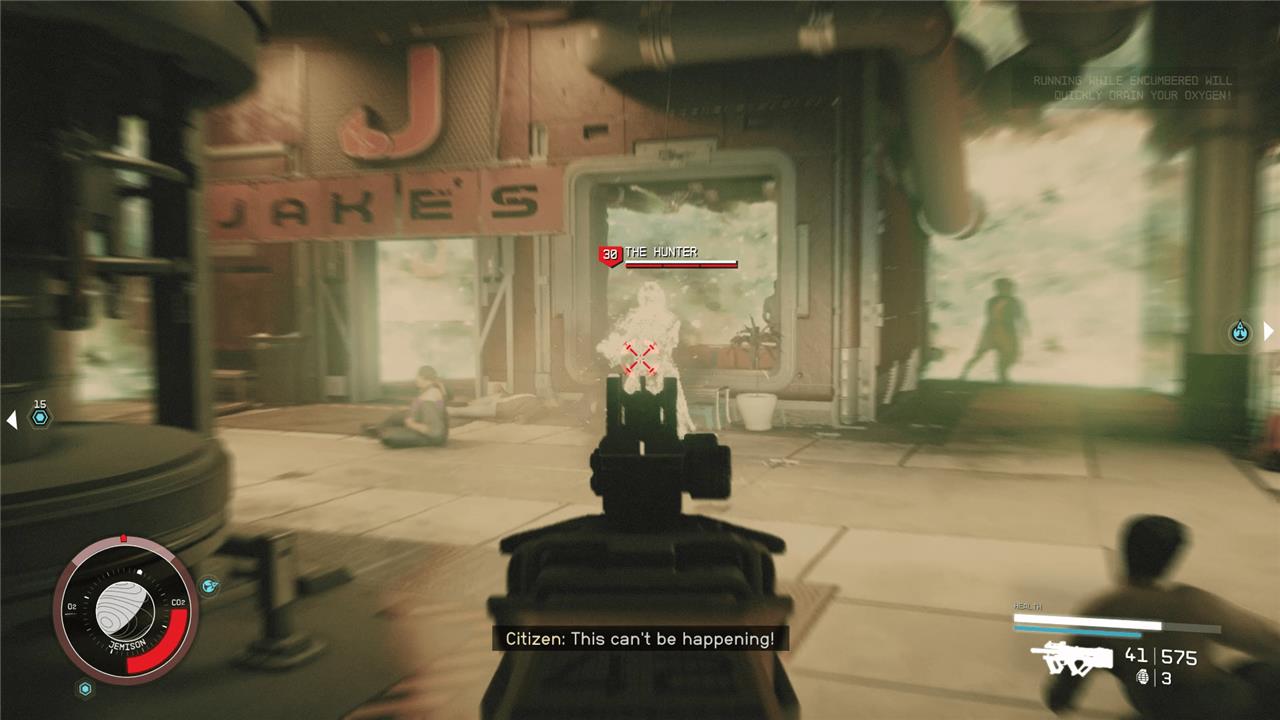
Eventually your objective will change to “check on Walter.” Head up to the bar, if you’re not there already, and you’ll see old Walter getting choked out by a mysterious, invisible individual. Wait for the individual to push Walter over and then start blasting.
Your job here is to hold off “The Hunter,” the name of the Starborn who is attacking you and your friends. You need to “hold him off” which basically means don’t die. But he’s worth spending some ammo on either way, as he’ll give you a cool gun – the Unrestrained Vengeance laser rifle – if you manage to deal enough damage to him.
Just be careful as The Hunter and his duplicate (also just called The Hunter) are extremely tough. We recommend you quicksave if you’re going to try and fight him, otherwise you’ll have to listen to the entire Vladimir dialogue again.
Escape the Lodge // Go to your ship
When you finish the “Hold off The Hunter” objective, head into the basement of the Lodge and out into The Well district. Run through with your team and don’t get killed by The Hunter. All you need to worry about here is yourself, so push through all the people and get to the elevator.
Make your way to the shipyard and take off. Your companions will automatically join you. Go to orbit and The Hunter will hail you in his ship. You can talk to him to get some more info and even attack his ship if you want (it’s a pretty powerful ship, we’d advise not doing that). Eventually, he’ll let you go and will stop attacking you for the rest of the mission. If you defeated him in combat, this is when he’ll give you the Unrestrained Vengeance, which is actually pretty good.
Go to The Eye // Find everyone on The Eye // Return to Noel

Dock with The Eye and head inside. You’ll find your companion dead on the floor, which is particularly brutal if it’s Sam, as his daughter Cora is trying to wake him up – to no avail. Attempt to talk to the body of whoever you’ve lost and then visit with the rest of the survivors. They’ll be marked with waypoints.
When you’re done, talk to Noel and tell her what happened to your companion.
Finishing the mission
To finish the “High Price to Pay” mission in Starfield, you must make a critical choice between defending The Lodge or going to The Eye, each with significant consequences. If you defend The Lodge, you will face the Hunter in a tense battle to protect your companions there, then escape through the sewers to your ship and eventually dock at The Eye to witness the aftermath. Conversely, choosing to go to The Eye means rushing to aid your friends under attack there, but leaving The Lodge vulnerable. Whichever choice you make, one of your closest companions at the opposite location will die permanently, making this a heartbreaking decision that affects your party’s composition but not the overall story progression. After completing the mission, you return to The Lodge to speak with Matteo and unlock the next main quest, Unity, along with rewards of credits and experience.
Once you’ve seen the aftermath of the battle you missed out on, the two points will converge into one.
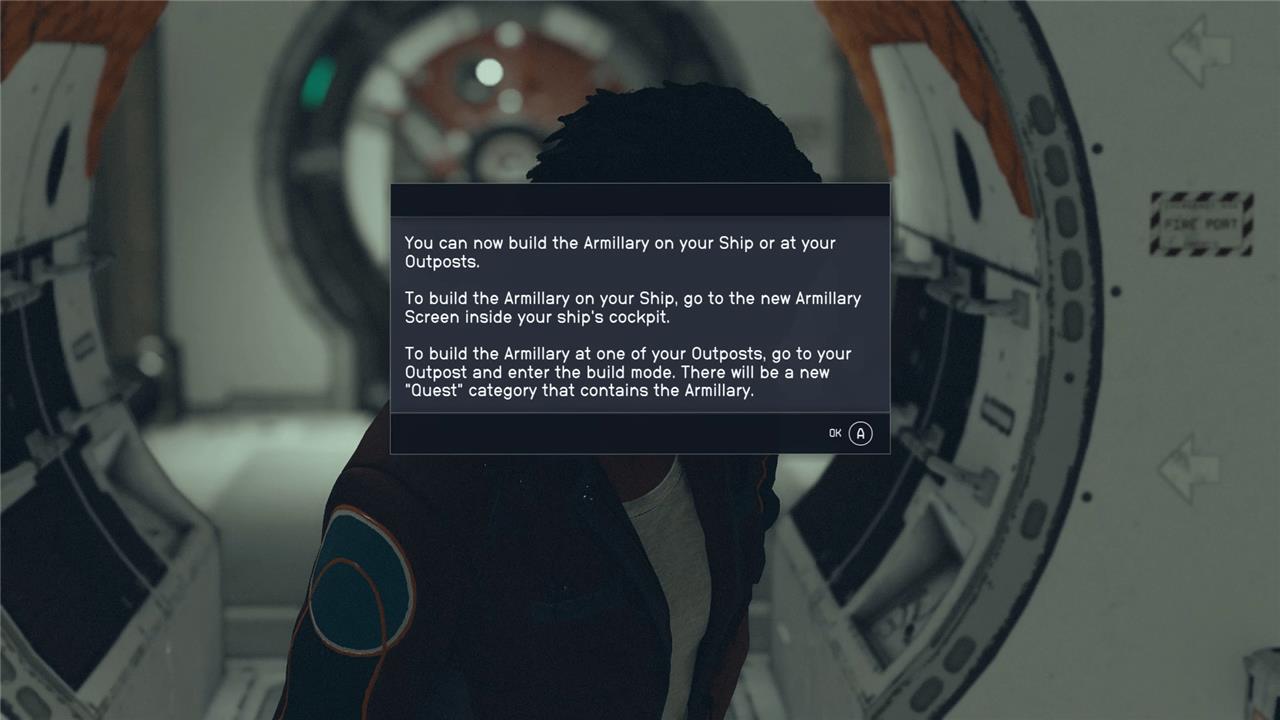
Talk to Vladimir // Build the Armillary on your ship // Build the Armillary at an Outpost
With the battle over, you’ll need to talk to Vladimir. He’ll say the Lodge is no longer safe and you can suggest that you need to take the Armillary with you whoever you go. He’ll suggest you either build the Armillary on your ship or take it to one of your outposts.
This decision doesn’t really matter at the moment, but you’ll save yourself a load screen or two later if you just keep it on your ship. Go to the little screen in your cockpit and build the Armillary.
Return to the Lodge // Talk to Matteo
Once you’ve set up the Armillary, return to the Lodge and talk to Matteo. He wants you all to find religion in order to find the remaining artifacts, and will lead you into your next adventure.
Should I choose to go to The Eye or stay at the Lodge in Starfield’s ‘High Price to Pay’ quest
In Starfield’s “High Price to Pay” quest, the choice to defend The Eye or The Lodge determines which of your closest companions will die, making it a heart-wrenching decision with no perfect outcome. Defending The Eye is generally considered the better option if you want to save your highest-ranked companion, as they are almost always sent there at the start of the mission; however, this means a second-closest companion at The Lodge will perish. Conversely, staying to defend The Lodge keeps those there safe but results in the death of your top companion at The Eye. Ultimately, the decision hinges on which companions you value most and where they are located, so checking who is at each site before choosing is crucial.
How does choosing The Eye or the Lodge impact my favorite companion’s survival
Choosing to defend The Eye or stay at The Lodge in Starfield’s “High Price to Pay” quest directly determines which of your closest companions will survive and which will die. Your highest-affinity companion is always assigned to The Eye at the start of the mission, while your second-highest-affinity companion is at The Lodge. If you choose to defend The Eye, your favorite companion there will survive, but the companion at The Lodge will die. Conversely, if you stay to defend The Lodge, your favorite companion at The Eye will be killed. Thus, to maximize the chance of saving your favorite companion, you should go to the location where they are present, which is usually The Eye for your top companion.