Hidden deep in Hyrule Field, Kamizun Shrine challenges players with a swift combat trial that tests skill more than puzzle-solving. This guide pinpoints its exact location and walks you through the best tactics to clear it with style.
When you’re done, our shrine locations page or interactive Hyrule map can direct you toward something else to do.
Kamizun Shrine location
Kamizun Shrine sits on the Gerudo Highlands at coordinates (0464, -3747, 0413), northwest of the Gerudo Canyon Skyview Tower and south of the Mount Granajh summit. Fast travel to the tower, then paraglide southwest toward the snowy peaks until the shrine’s entrance appears on a ledge overlooking the highlands. Its position places it near the path to the Mount Granajh climb, making it a convenient stop during exploration of the upper Gerudo region.
The Kamizun Shrine is located at the (-0176, -1557, 0023) coordinates in Tears of the Kingdom. It’s within the Hyrule Field region, east of the Forest of Time. If you’re looking at the map, you’ll notice that the shrine is just northwest of the red and black blob at the northeastern corner of the region below it.
Kamizun Shrine puzzle solution
To solve the Kamizun Shrine puzzle, use the provided Zonai weapons to complete a training-style combat trial. Pick up the available equipment, engage the Construct enemy, and use flurry rushes or parries to practice timing-based attacks. Defeating the opponent completes the challenge and reveals the final chest and exit, rewarding players with a weapon and access to the Light of Blessing.
Kamizun Shrine is a beginner’s level “Proving Grounds” trial where you’ll need to defeat several different Constructs. There’s a catch, though: You’ll only be able to use equipment you find within the shrine. Here’s how you’ll do it:
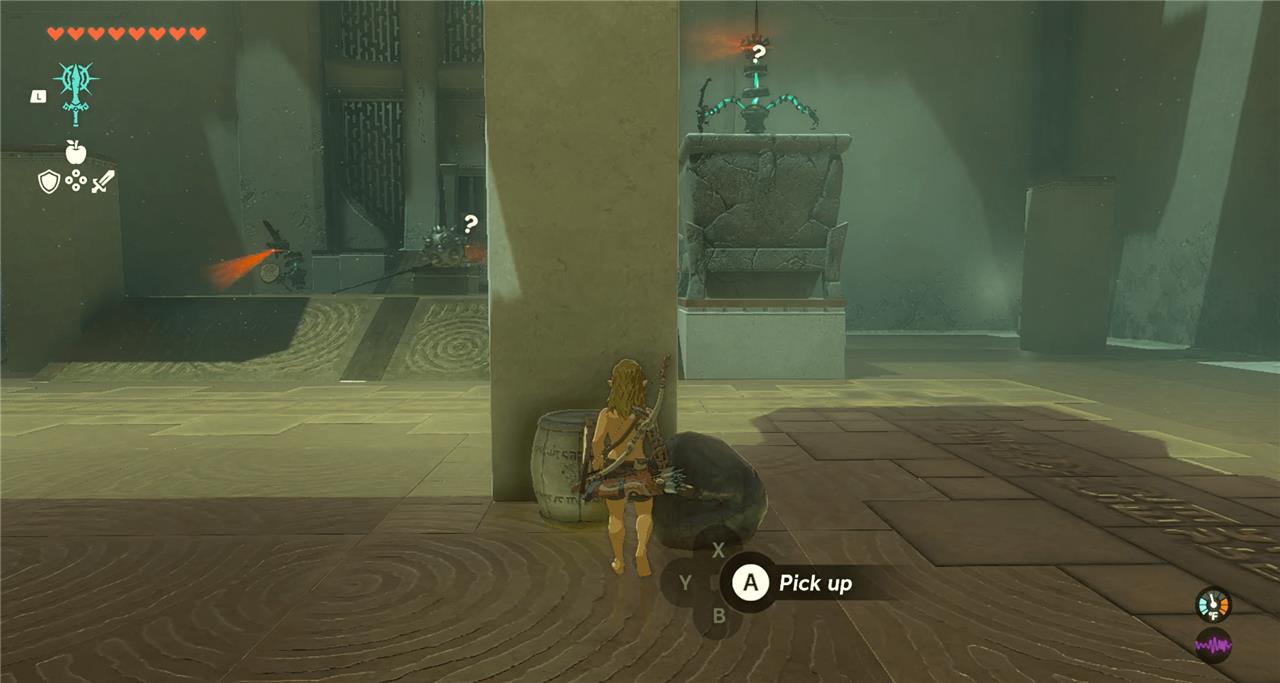
1. Down the stairs, to your right, you’ll find a stick, a shield, a bow, and 10 arrows. Grab those and taken them with you.
2. Enter into the main chamber. You’ll see several different platforms and a number of different objects on the ground. On your left, there’s a boulder. Use Fuse to attach it to your stick. This will help you later.

3. The majority of the Constructs await you on the opposite side of the room. Three are ground level, and one is on the rightmost platform at the back of the room.
4. Use your arrows to defeat the Construct on the platform, staying out of view of the other three. When they see you, the other Constructs will rush you.
5. Fight the other three Constructs on the ground, using dodge and your Flurry Rush ability. Your stick with a boulder will also come in handy. You can use anything you find in the room, including a bow and arrow, but this is how we approached it.
6. Defeating the Constructs will return your equipment. In the next room, there’s a spiked iron ball to grab. (We attached it to a Zonaite sword.)
What weapons are best to fuse for Kamizun Shrine
Inside Kamizun Shrine you’re limited to the gear lying around the arena, so the “best” fuses are about using what’s there in the smartest way rather than bringing in late-game monster parts.
General priorities
-
Fuse for power first (weapons + heavy objects), then for range (spears), then for safety (bows/arrows and thrown items).
-
Avoid wasting time making lots of different weapons; make 1-2 strong setups and stick with them while you pick enemies off one by one.
Melee weapon fuses
-
Club/long stick + large stone or similar heavy object: turns a basic club into a high-damage blunt weapon that can kill beginner Constructs in a few hits.
-
Spear + stone/metal object: keeps spear range but adds solid damage; good for safely poking enemies who only have short weapons.
-
Any weapon + sharp monster part (if any drop during the trial): prioritize these over rocks, as they give a better attack boost and don’t reduce swing speed as much.
Ranged and utility fuses
-
Arrows + elemental/fruity materials (Fire Fruit, etc., if available): lets you soften or finish Constructs at range, and take out the archer on the platform without risking health.
-
Shield + spiky/heavy item (if present): gives you extra chip damage on parries and makes enemies stagger longer, opening them up for flurry rushes.
Practical approach in Kamizun Shrine
-
First, grab all loose weapons, shields, and the bow, then immediately make one strong fused melee weapon (club + rock or spear + rock) and keep a clean spear or stick as backup.
-
Next, snipe the archer Construct with fused arrows, then kite the melee Constructs into open space and use your strong fused weapon plus dodges/flurry rushes to finish the trial with minimal risk.
Where to farm Silver Lynel horns for fusions
Silver Lynel horns come from defeating Silver Lynels, so “farming” them is really about running a consistent Silver Lynel route and re-clearing it every Blood Moon.
How Silver Lynel horns work
-
You only get Silver Lynel horns (Saber Horns or Mace Horns) from Silver-rank Lynels, not red/blue/white ones.
-
As your world level rises (you kill more Lynels and other strong enemies), existing Lynel spawns upgrade through red → blue → white → silver, so keep clearing them to force upgrades.
Best general farming spots
Even without a map in front of us, there are a few reliable patterns players use:
-
Surface Lynel routes: Many people run a loop across Hyrule’s major plains and canyons (West Hyrule Plains, around Tanagar Canyon, Hebra/Tabantha area, and near certain shrines) hitting the same Lynel spawn points every cycle; as your world level rises, several of these will become Silver.
-
Depths Lynels: In the Depths below Hyrule, quite a few Lynel spawns are “tuned” to become Silver more consistently once your world level is high, making them good long-term horn farms.
Easiest “guaranteed” farm – Coliseum in the Depths
-
The most consistent recommendation from the community is the Floating Coliseum in the Depths (beneath Central Hyrule).
-
Once your scaling is high enough, the last Lynel in that gauntlet (and sometimes others in there) will be Silver; clear it, wait for a Blood Moon, then repeat.
Efficient farming routine
-
Step 1: Regularly kill every Lynel you can beat (surface and Depths) to push their ranks toward Silver.
-
Step 2: Once several of your known spawns are Silver, mark them with pins on your map.
-
Step 3: After each Blood Moon, fast-travel between those pins, kill only the Silver Lynels, and ignore weaker ones if you only care about horns.
Fusion use tip
-
Silver Lynel horns have some of the highest fuse power in the game, so prioritize putting them on durable, late-game weapons (Zonaite or strong royal weapons) that you’re actually going to use for bosses or tough mini-bosses, not casual overworld mobs.