Hidden shrine, a whisper in the dusk-O-ogim guards a path only the brave can coax into the light.
Our guide will help you find the O-ogim Shrine location and solve its puzzle to collect the chest and Light of Blessing.
When you’re done, our shrine locations page or interactive Hyrule map can direct you toward something else to do.
O-ogim Shrine location
O-ogim Shrine lies within the Hebra Mountains region, southwest of Rospro Pass Skyview Tower. The shrine sits near the edge of a snow-covered cliff at coordinates (-4059, 2736, -0023), surrounded by frigid terrain and strong winds. Players can reach it by gliding from the nearby tower or climbing through the icy slopes using cold-resistant gear or warming meals. The area also features several Rito structures and icy enemies, making preparation key before setting out.
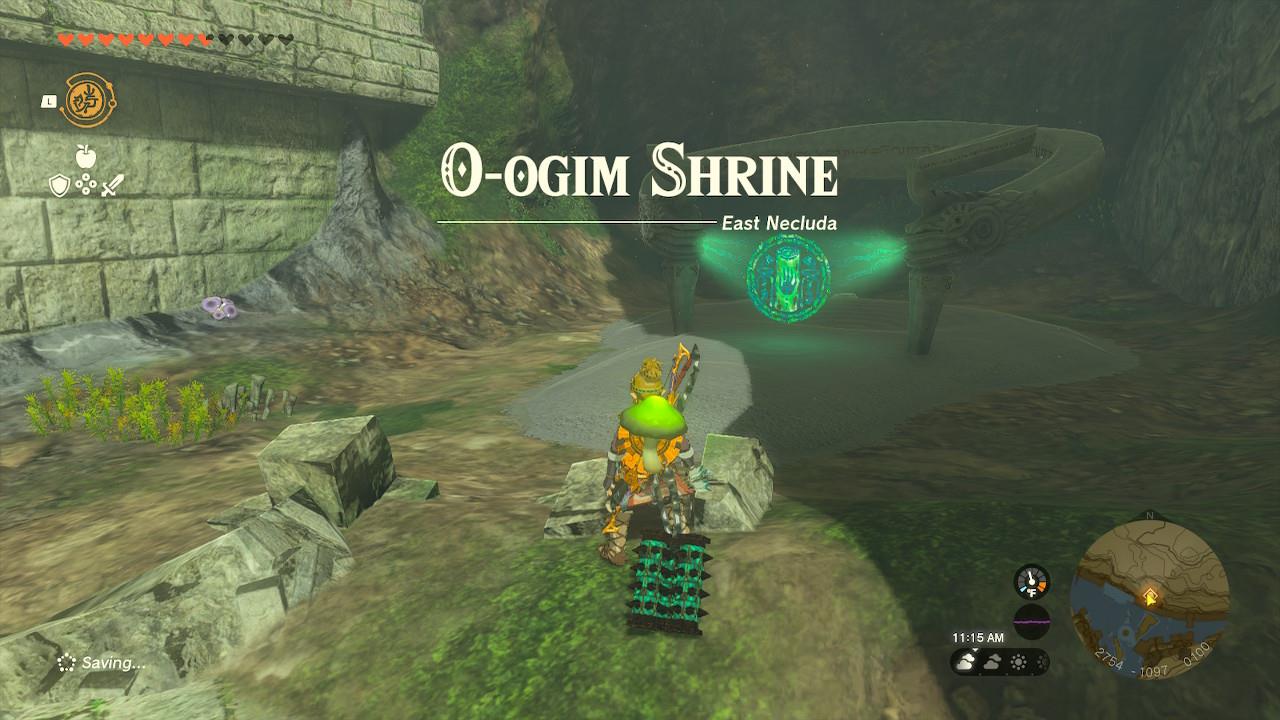
The O-ogim Shrine is found within the East Necluda region, in the Lanayru Promenade. The coordinates are (2755, -1089, 0100). The shrine location is located right inside a cliffside overlooking the Lanayru Promenade – so if you go to that location and don’t see the shrine (which won’t be glowing green yet), drop down into the watery area below. It’s directly across from a big waterfall.
O-ogim Shrine walkthrough
The O-ogim Shrine puzzle centers on controlling motion and timing. Use Ultrahand to attach the available platforms together, creating a stable bridge across the moving gaps. Watch the rhythm of the shifting platforms before crossing to avoid falling. In the final chamber, assemble the boards and fans to propel yourself upward to the exit and the chest containing a Zonaite reward.
You need to find the O-ogim Shrine‘s crystal to get inside, then deliver it to the shrine spot before heading inside to get its rewards. Let’s get started.
1. After activating the sigil on the shrine, the crystal will start glowing. It’ll send out a beam of light leading straight to it where it lays inside the Lanayru Road South Cave behind the big waterfall.
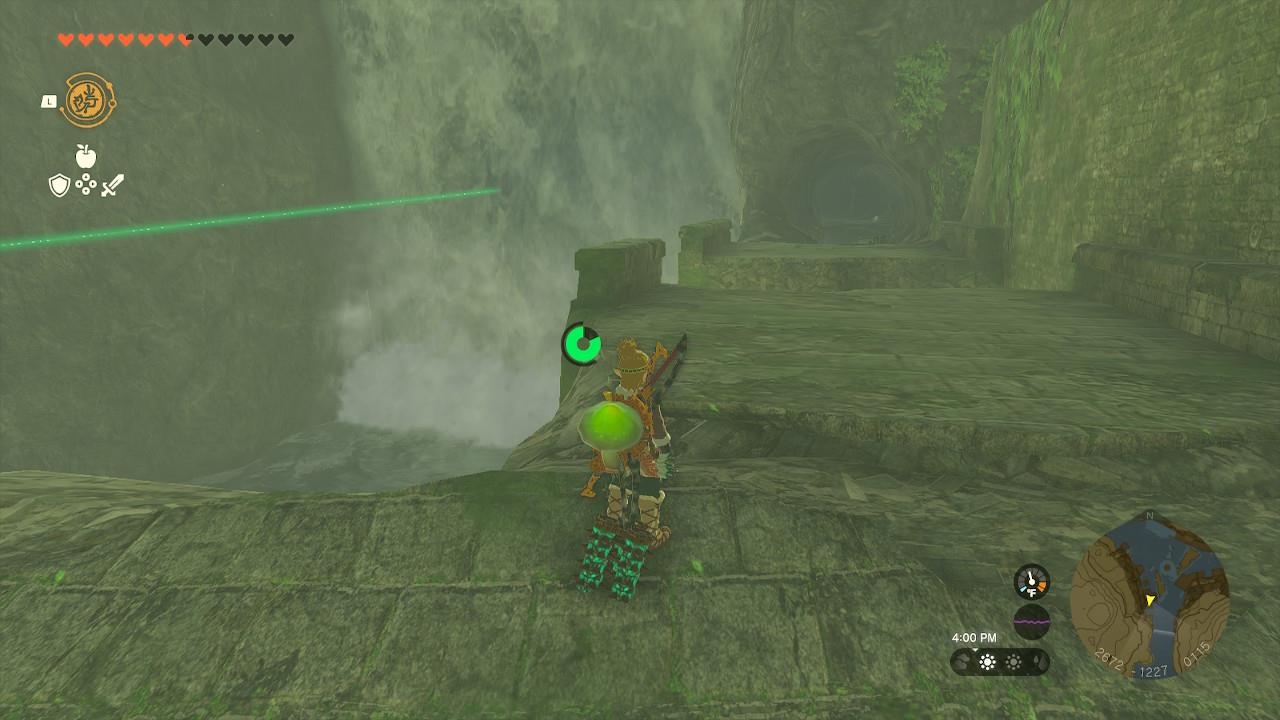
2. You can’t swim through, but there’s an easy entrance on right side of it. You’ll have to climb the crumbling ruins and head straight inside, clearing some gaps using your glider. The last jump before the cave entrance is long, and you might drop down into a little pit, where you can use Ascend to get to the entrance.
3. Destroy the rocks straight ahead, then destroy the blue rocks to the left. There’s a glider under the blue rocks you’ll need later.
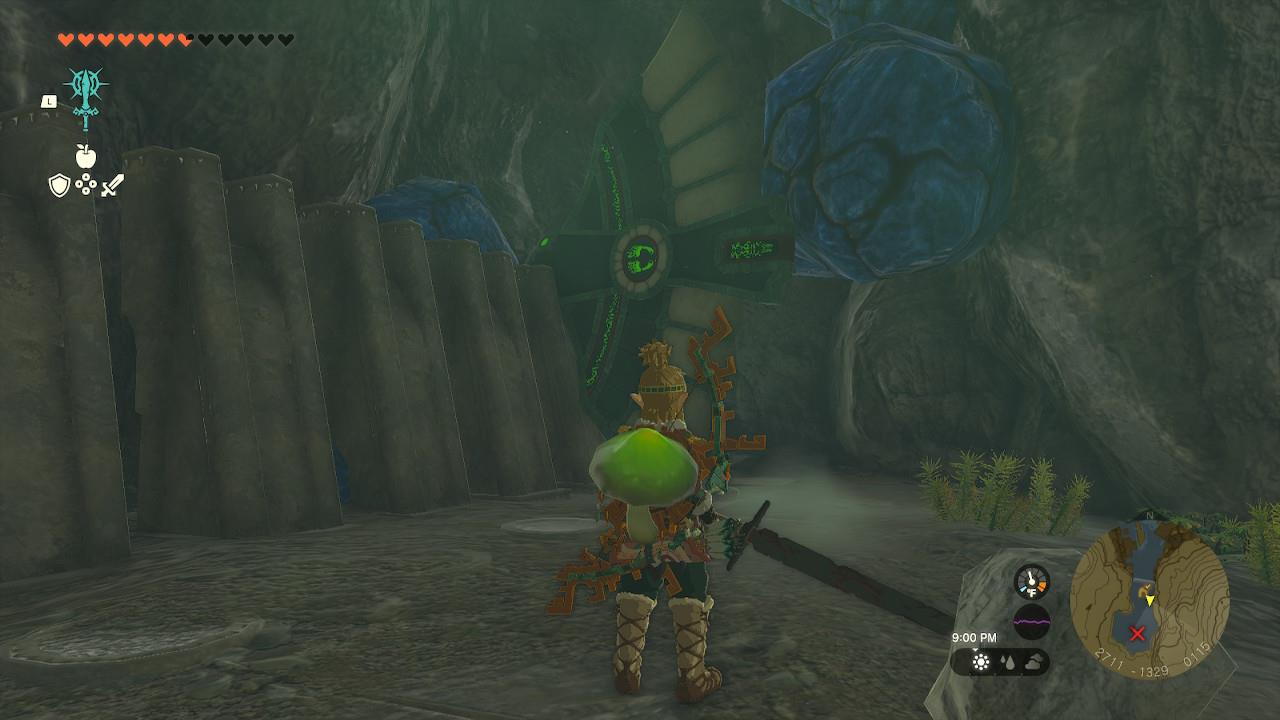
4. Now, follow the green beam to find the crystal. You could just take the beam now and bring it back to the glider, but it’s worth exploring the short cave paths behind the waterfalls to the left and right of the crystal. There’s a Like Like and a Bubbulfrog on one side and a chest with a shield on the other side.

5. Back in the crystal chamber, take note of the fans and steering device on the side walls. Pull those down and bring them back to the glider, along with the crystal. I use Ultrahand to secure them all together so I don’t have to make multiple trips.
6. Set up your glider with the fan and steering device, then secure the crystal to the front. Make sure the glider is set on the rails, hit the device to start, then get soaring.
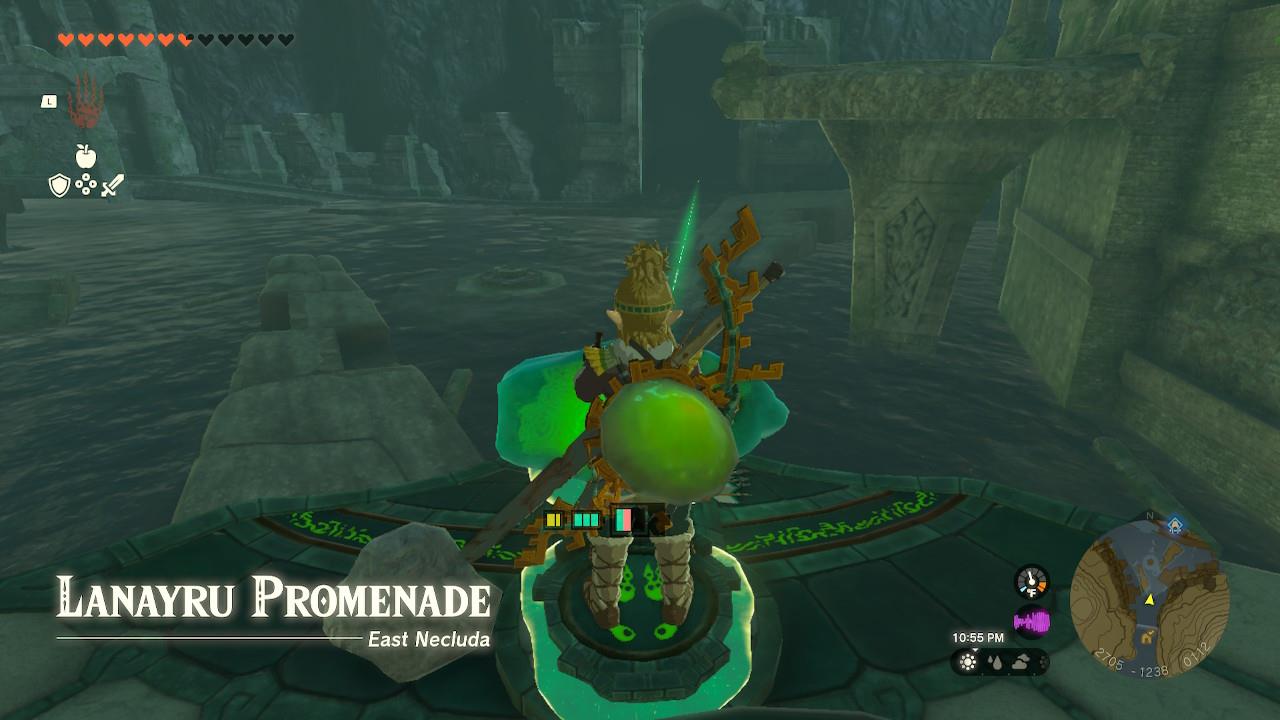
7. There’s not much steering necessary. Just follow the beam to the shrine entrance. Once it’s there – you can literally just slam your glider into the shrine space – the O-ogim Shrine will open.
Where to start the Lanayru Promenade shrine quest steps
The Lanayru Road Crystal shrine quest, which unlocks O-ogim Shrine, starts at the shrine’s entrance itself in the Lanayru Promenade area of Zelda: Tears of the Kingdom. Head to coordinates 2755, -1090, 0100, where the inactive shrine is tucked in a cliffside crevice across from a large waterfall, halfway between Kakariko Village and Mount Lanayru.
Starting the Quest
Approach and interact with the O-ogim Shrine to activate it. This triggers the quest immediately, displaying a green beam of light that points toward the crystal’s location behind the waterfall in the Lanayru Road South Cave.
Initial Steps
Follow the green beam across dilapidated bridges and cliff edges to the cave entrance on the right side of the waterfall. Inside the cave, break red and blue rocks-use a bomb flower on the red ones ahead to progress, and destroy blue rocks on the left to reveal a crucial glider. Continue tracing the beam to the crystal room, where you’ll build a simple rocket/fan-powered aircraft with the glider to transport the crystal back across the water gap to the shrine.
What items or abilities help start shrine quests in Lanayru Promenade
Ultralight and other Fuse abilities, along with Zonai Devices, are key to starting and progressing shrine quests like The Lanayru Road Crystal in the Lanayru Promenade area of Zelda: Tears of the Kingdom. These tools help break rocks, build vehicles, and transport the shrine crystal back to O-ogim Shrine.
Essential Abilities
Ultralight proves crucial for grabbing and moving the large crystal across water gaps without dropping it, while examining the shrine entrance runes automatically triggers the quest upon approach. Use Ultrahand to attach the crystal to gliders or makeshift Zonai craft for safe delivery.
Helpful Items
-
Zonai Wing (glider) found behind blue breakable rocks in the cave-essential for crossing the waterfall area.
-
Fans and Rockets from the crystal room to power flight vehicles.
-
Bomb Flowers (or Fuse equivalents) to destroy red and blue ore deposits blocking paths.
Additional Tips
Stock up on splash-resistant gear for the watery terrain, and rely on the green beam guide from the shrine to locate the crystal cave. No advanced armor or weapons are strictly required beyond basic traversal tools available early in the game.