Deep within the monochrome mystery of Boggly Woods stands the Great Boggly Tree-a twisting, puzzle-packed labyrinth where Mario must rally the scattered Punies, outwit the devious X-Nauts, and uncover hidden treasures at every turn. Ready to brave one of Paper Mario: The Thousand-Year Door’s most intricate and enchanting dungeons? Let this walkthrough guide you through the maze, secrets, and surprises that await inside Nintendo’s unforgettable arboreal adventure.
The Great Boggly Tree can be a nightmare to navigate in Paper Mario: The Thousand-Year Door, so we have a walkthrough for you, including how to find all six Star Pieces and four Shine Sprites.
Paper Mario: TTYD Great Boggly Tree walkthrough
The Great Boggly Tree in Paper Mario: The Thousand-Year Door is a sprawling, puzzle-filled dungeon that challenges players to rescue the Punies, gather collectibles, and outsmart the X-Nauts. After entering the tree with Punio’s help, Mario must use new abilities and the Puni Orb to lead groups of Punies through intricate rooms, solve environmental puzzles, and defeat enemies like Piders and Jabbies. Key objectives include freeing the trapped Punies, collecting Star Pieces and Shine Sprites, and ultimately confronting the chapter boss, Magnus von Grapple. Mastering Flurrie’s wind ability and careful group management are essential to navigating this labyrinth and securing the Crystal Star.
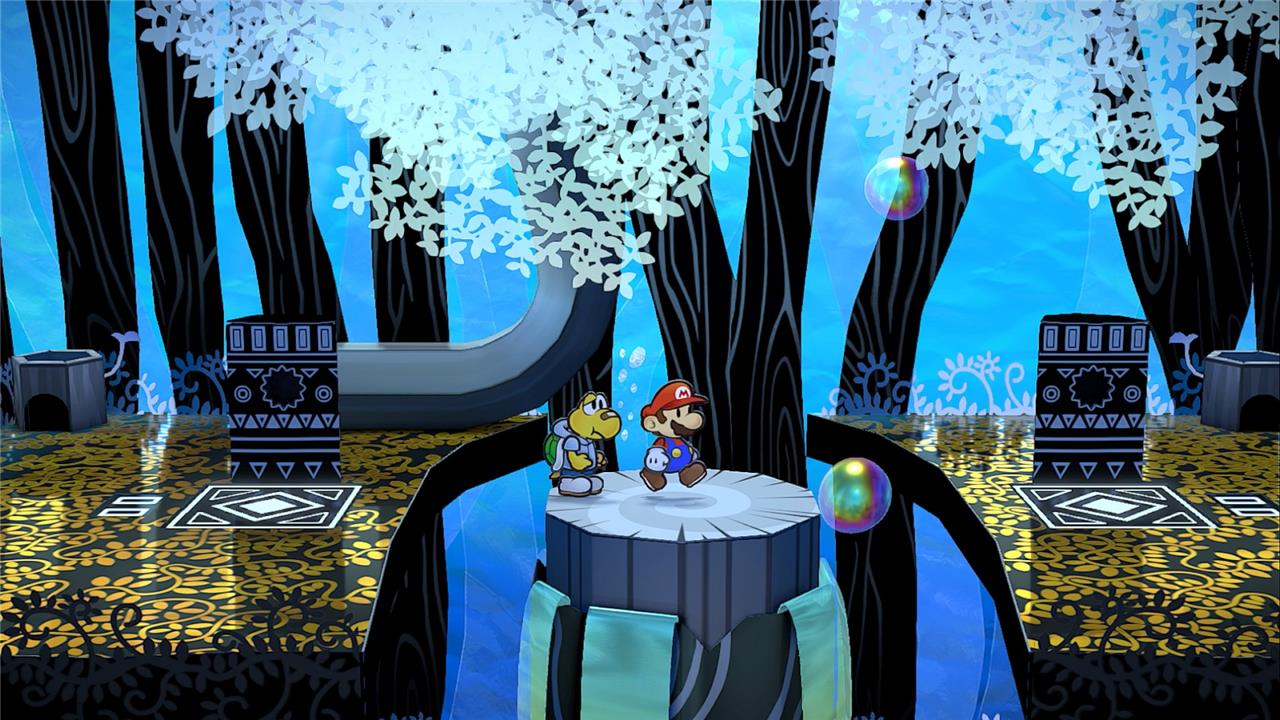
Once you’re inside the tree, take out the X-Nauts and listen to Punio’s conversation with his friends. The other Punies have been kidnapped, and you can’t really progress much through the tree without them, so your first task is going to be to free them.
Ignore the red door on the right and head into the warp pipe, which will take you up to the second floor. There’s an interesting structure with a star-shaped cutout in the back, but we’ll be back for that later. Keep its location in mind and head up the warp pipe to the third floor.
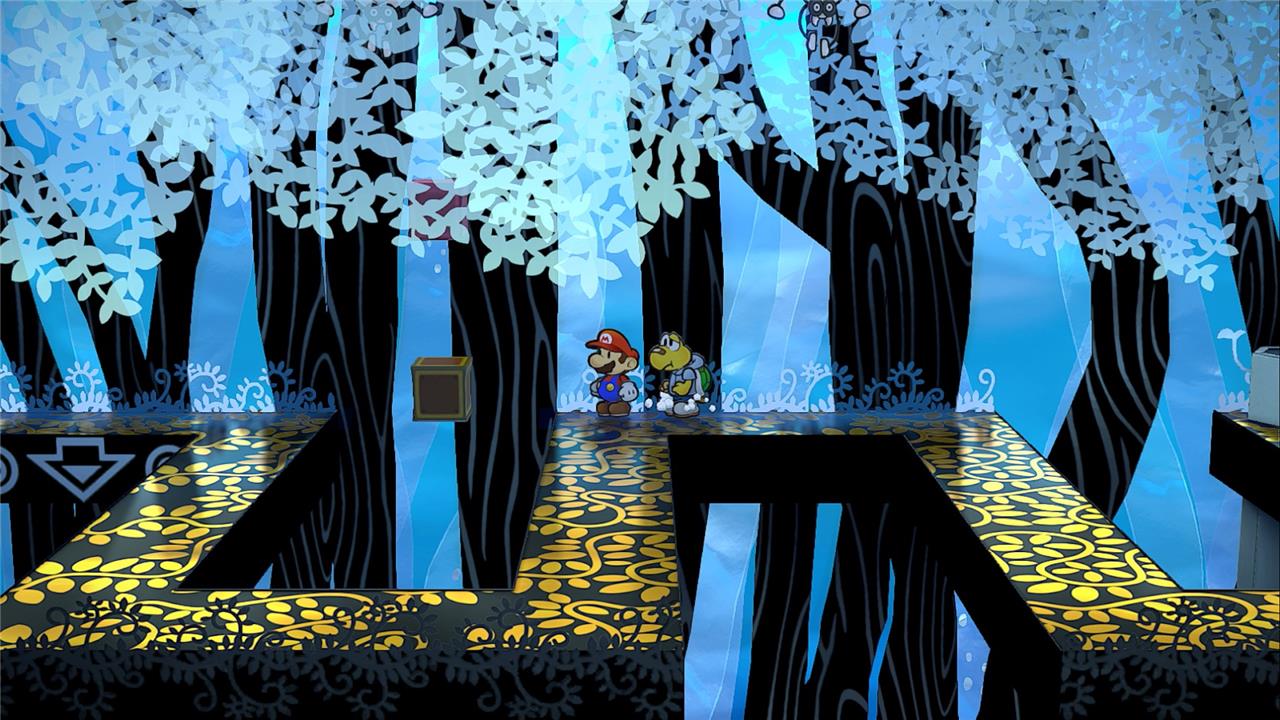
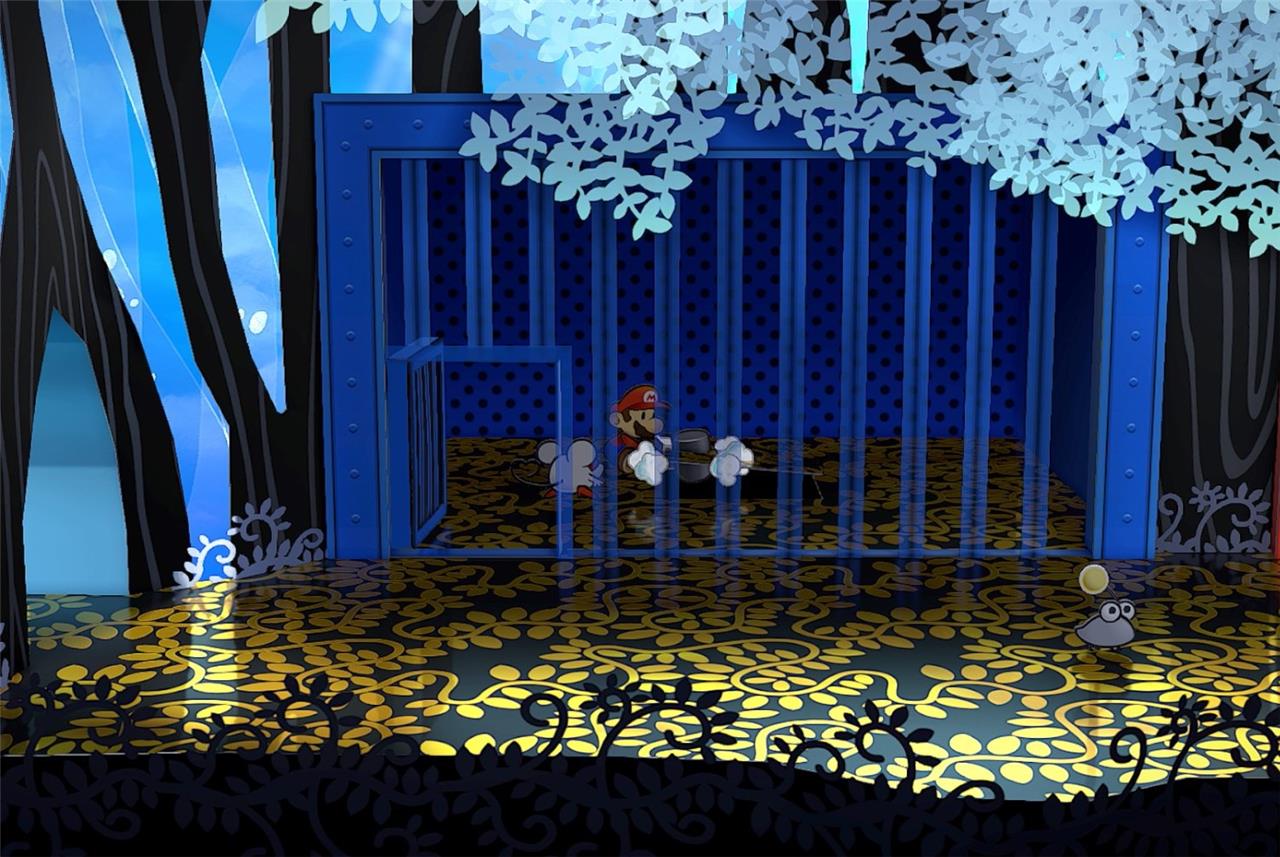
Smoosh the bushes in this room to find a Power Punch item. Head up another floor and then another floor to see the jailed Punies in a red and blue cage. Head to the left and you’ll run into Ms. Mouz in a treasure room, where you can grab some loot. Take out the X-Naut inside who drops a red key, collect the Ultra Mushroom, and then head back to the cages to free the elder Puni. Follow him to the first room of the tree.

The elder Puni will give you the Puni Orb and 11 Punies will start following you around, attracted to the orb. Note that Punies will not follow you if you jump off a ledge, but they can fall down ledges when scared or blown away by Flurrie. They will follow you up and down the pipes, though. If you lose any of your Punies, you can also go back to the first room and talk to the elder to get them back.
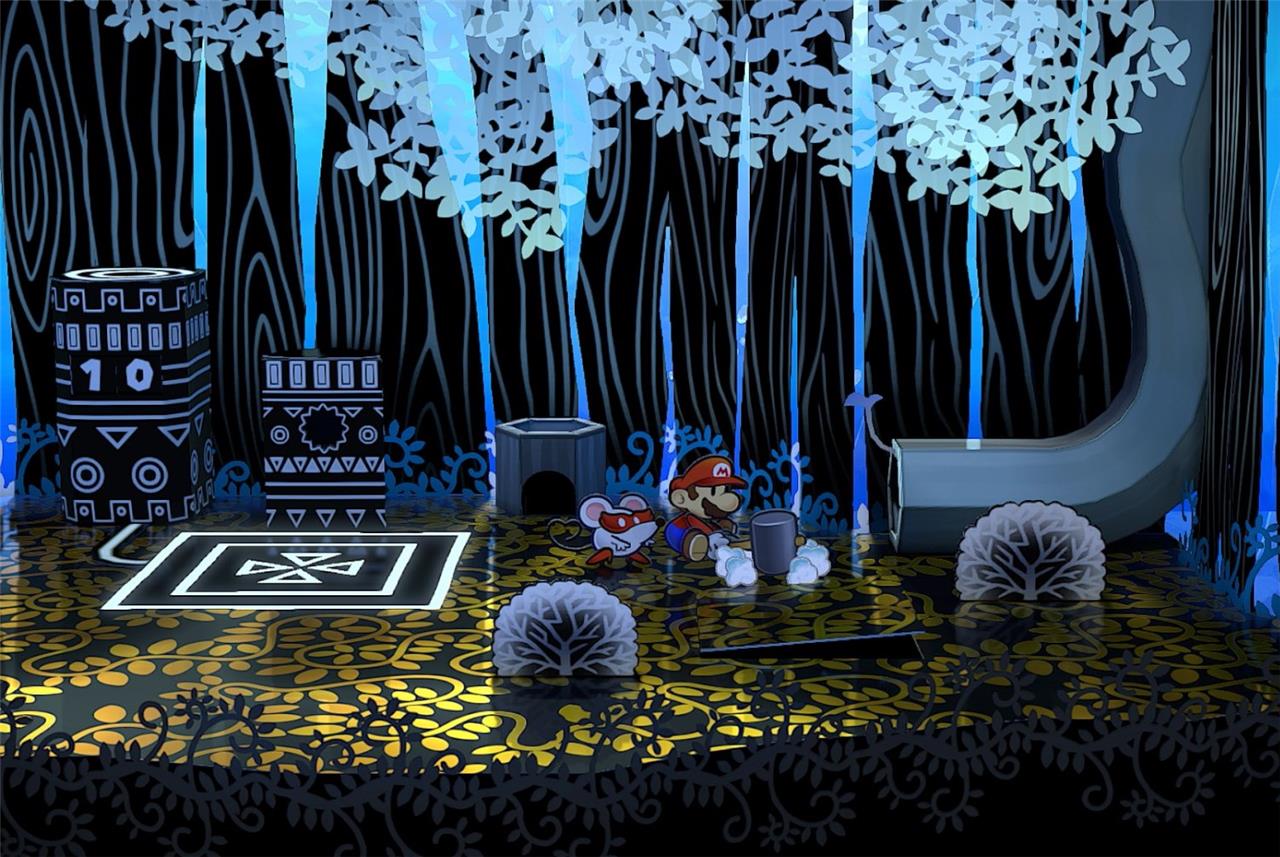
Head back up to the second floor and put the Puni Orb in the star-shaped cutout structure you passed earlier. A pipe will appear, leading you down the tree, so grab the Puni Orb out of the indent, and then head inside. Take out the X-Naut and interact with the console next to the red door to have permanent easy access to the first room of the tree.
Take the warp pipe down and smash the bushes to get a Thunder Rage item. There’s also a Shine Sprite on the right side of the room.
Head back up and place the Puni Orb into this indent to get all the Punies to line up. Then use Flurrie’s wind ability to blow them off the platform to the right and into the water below. Keep blowing with Flurrie and the Punies will get swept to the right side of the room. Jump across the platform to the right side and enter the pipe with your Punies.
Follow the path and your Punies will get scared by a Pider, which you’ll need to be wary of as you traverse the tree. Your Punies may run off the cliff, but don’t worry about them. Beat the Pider and then use Flurrie’s wind ability to move a boulder off of the plane platform. Glide down to the right and land on another plane platform and then glide down to the left to get a second Shine Sprite.
If any of your Punies were left upstairs when you flew down, there’s a pipe behind where you grabbed Shine Sprite that you can use to pick them up. Head back down and head into the warp pipe in the back right corner.
In this zigzag room, Piders will drop down, scaring your Punies off the platform, but don’t worry about it. Use Koops’ shell to hit an invisible block under the question mark block to get a Damage Dodge P badge.
Drop off the platform to get to a room with a save block in it. Hit the bushes nearby to get a Star Piece and use Flurrie’s wind ability on the left wall to get to a secret shop. Buy stuff (if you want), and then head back out.
With your Punies back, head back up to the zigzag platform, and then go to the room to the right. Let your Punies engage in battle with the Jabbies and head into the newly opened room to get the blue key from a chest. You know what to do: Head back up all the warp pipes until you hit the jail cell room and free the remaining Punies. You should have 101 of them now!
Make your way back to the zigzag room and follow the path with your 101 Punies to enter the left doorway. Again, your Punies will take on a massive hoard of Jabbies, but you’ll need to help them a bit. Use Flurrie’s wind ability to assure their victory against the Jabbies, and then enter the newly opened doorway.
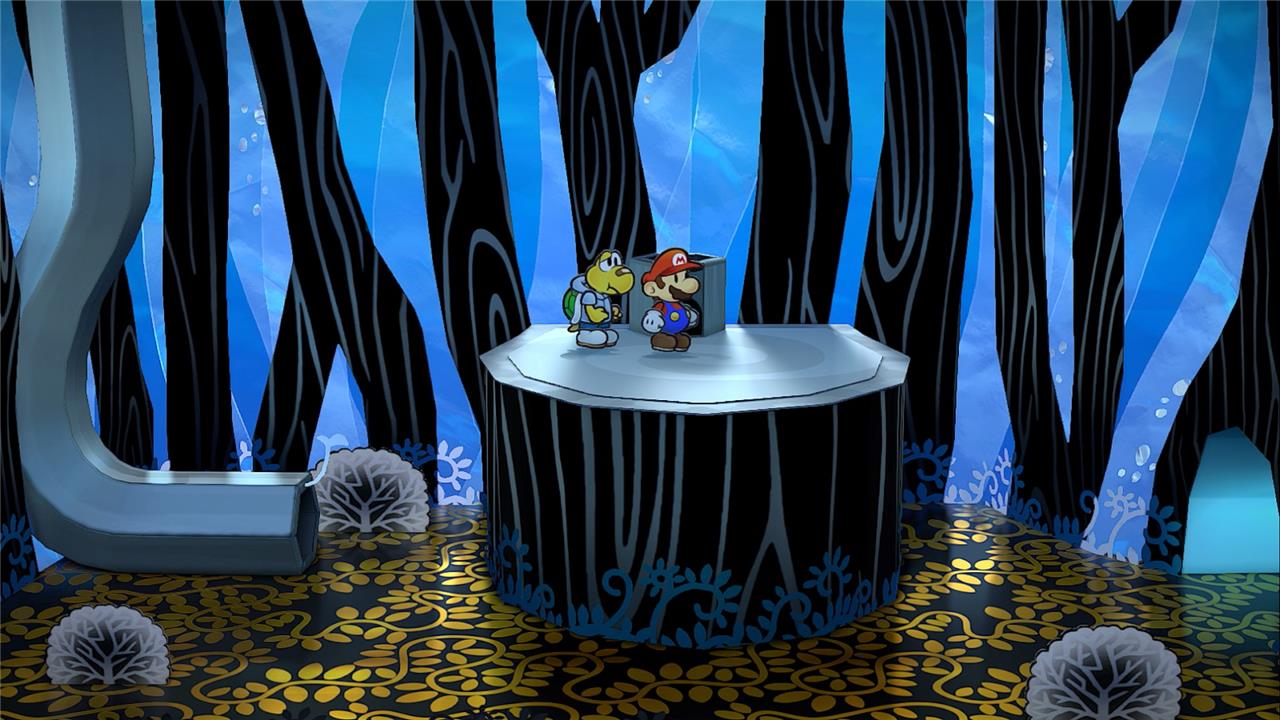
Head down the pipe, ignoring the Puni structure. In the room with the big stump in the middle, walk behind the pipe to get a Star Piece. Go into the next room and use the Puni Orb on the 101 Puni structure – only for it to be a trap.
Luckily, you can wiggle out of the cage through the bars using ZR. Head into the warp pipe on the right and memorize the symbols you see down there: sun, moon, Puni, and star. Hit the black exclamation point block. Before you leave, grab a Star Piece from behind the pipe.
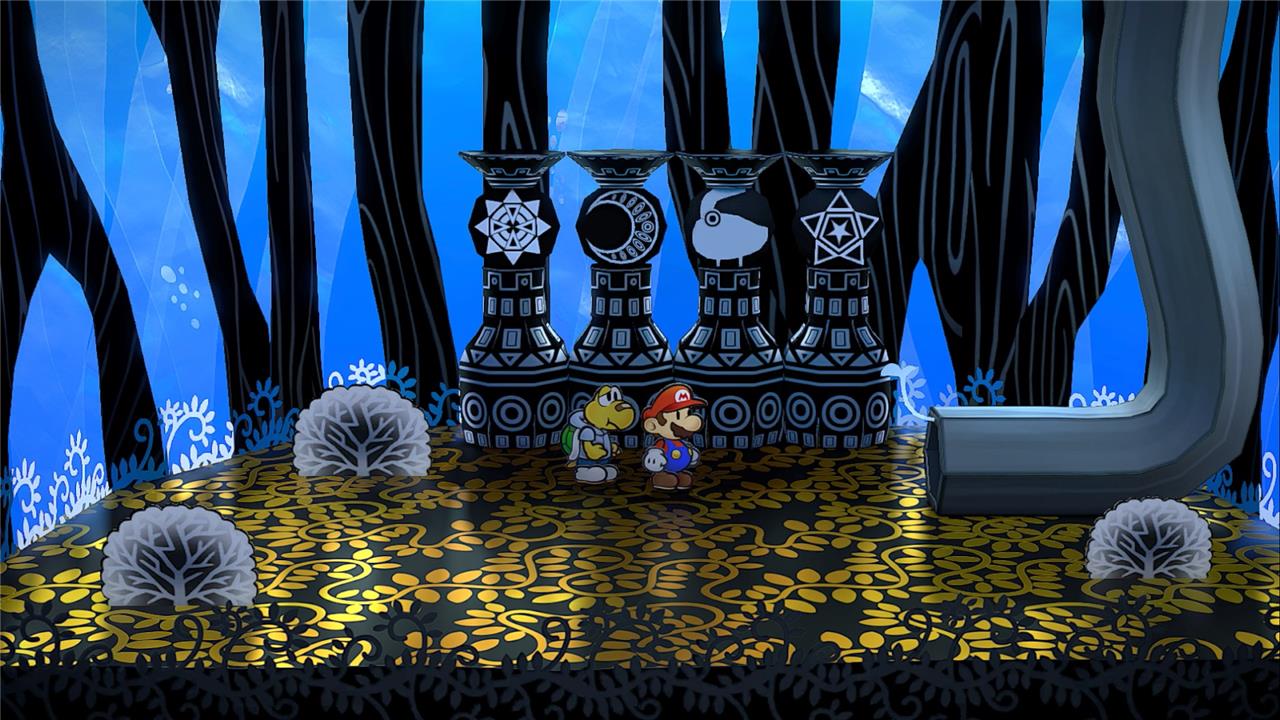
Backtrack to the zigzag room again and head into the room on the right where you fought the Jabbies. Keep heading right back into the room where you found the blue key. Hit the newly-appeared switches until the pillars in the back match the ones you saw before. (If you need a reminder, from left to right, it’s: sun, moon, Puni, and star.)
The pillars will vanish and you can head into a back room now to get the Super Boots, beefing up your jump damage and allowing you to Spin Jump!
Head back out and Spin Jump on the wooden platform to drop down to an area with lots of pillars. Fire Koops’ off to the left to nab a Charge badge. Jump to the back platforms to get a Shine Sprite. Head back up once you have your loot and go to the zigzag room again.
Go to the left room and use your new Spin Jump ability on the wooden panel on the floor to land on the big stump.
Ignore the pipe on top of the stump for now, and head to the right to reach the room that the Punies are trapped in. Spin Jump on the wooden platform inside the cage and put the Puni Orb in place on the structure. Use Flurrie’s breath to push the Punies into the hole to freedom. Head down to pick them up and then take them to the warp pipe on the giant stump.
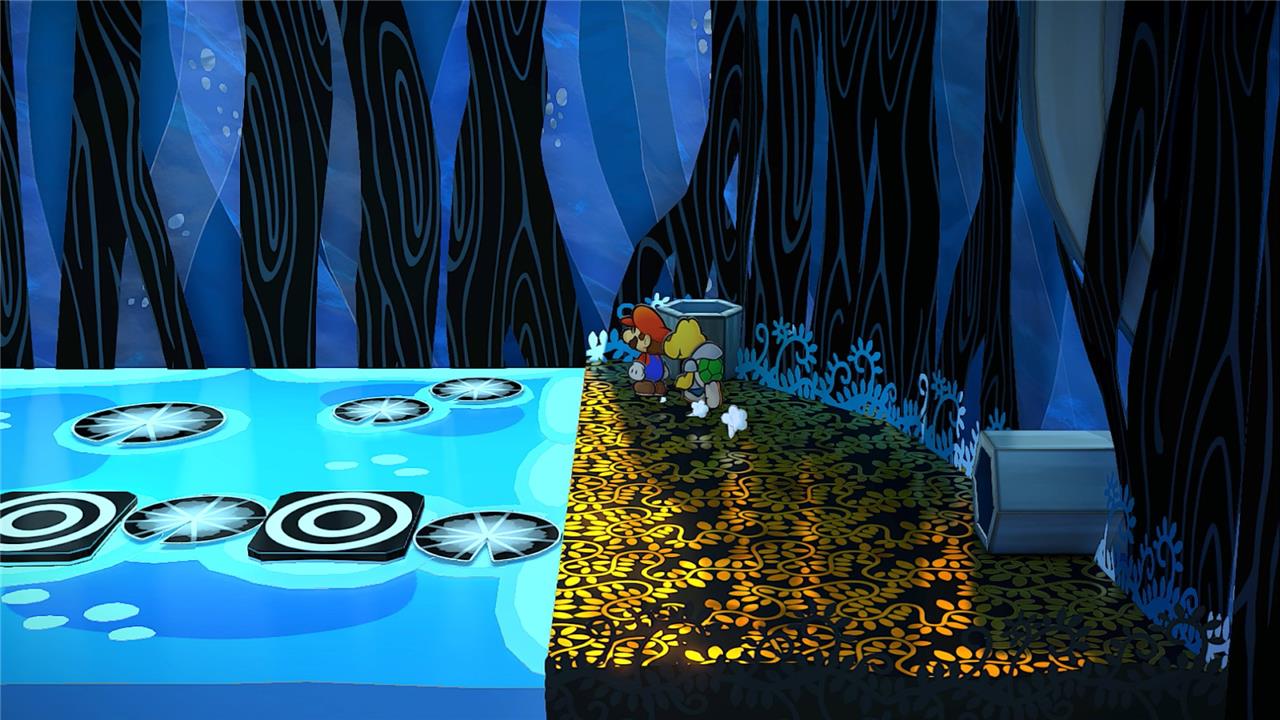
Drop down the pipes repeatedly until you get to a room filled with water. Go down another floor, cross the platforms, and take the pipe back up. (Ignore the Shine Sprite for now.)
Use Koops to hit the blue switch, draining the water. In the now-drained area, there’s a Dizzy Dial behind the stairs and a Shrink Stomp badge in the treasure chest. Head back to the floor below and use the lily pads to reach the Shine Sprite.
Go into the pipe next to where the Shine Sprite was and use the 101 Puni device to open another hole in the ground. Drop in to get into a room with a save block. Head to the right room. Put the Puni Orb in the indent for the boss to emerge. You’ll have to escape the tree in a set amount of time, but don’t worry – it’s more than enough time to get out of the tree.
Head up the pipe on the right. Take out the X-Naut, but before you leave this room, smush down the bushes for a Star Piece. Use the console to open the red door, and head up the pipes until you get to the room where you had to push the Punies into the bubbles. Cross the platform and enter the red door for a boss fight against Magnus Von Grapple.
Magnus has 30 HP and isn’t really any different from the other enemies you’ve encountered. Its hands will detach, and you can one-shot its hands as long as you execute your attacks correctly.
Once you’re done with the boss, you’ll get the Crystal Star and you’ll be done with the Great Boggly Tree!
There are two Star Pieces you can backtrack in the tree if you want, now that you have the Spin Jump:
- Go back to the room where you pushed the Punies into the bubbles. Go up the pipe on the left and Spin Jump next to the pipe that’s going up to get a Star Piece.
- Go up to the room with the red and blue jail cells and Spin Jump in the blue cell for a Star Piece.
Here’s the two spots with Mario hammering them for visibility:
With that over, you’re done with the tree. You pretty much never have to come back here ever again, unless you want to take advantage of the secret shop.
What secrets does the labyrinthine interior of the Great Boggly Tree hide
The labyrinthine interior of the Great Boggly Tree in Paper Mario: The Thousand-Year Door is packed with secrets and mysteries that reward keen exploration:
-
Hidden Entrances and Puzzles: The tree’s main entrance is sealed, requiring Mario to use Flurrie’s wind ability to reveal a secret entrance cleverly disguised by a “paper” covering. Inside, intricate puzzles and mechanisms-like the Puni Orb and star-shaped cutouts-must be solved to progress deeper.
-
Ancient Relics and Technology: Statues and sophisticated machines hint at the Punies’ long and mysterious history, suggesting that the tree was either shaped by ancient hands or has evolved into a complex ecosystem over centuries.
-
Valuable Collectibles: Explorers can find six Star Pieces and four Shine Sprites hidden throughout the tree, as well as useful items like Power Punch, Thunder Rage, and badges such as Damage Dodge P. Some items are concealed in bushes, flowers, or behind environmental obstacles.
-
Secret Rooms and Hidden NPCs: Certain rooms contain locked cells, secret panels, and even hidden characters like Jabble the Jabbie, who can be found only by searching specific areas.
-
The Emerald Star: The tree’s greatest secret is the Emerald Star, a powerful Crystal Star hidden within for over a thousand years and fiercely sought after by the villainous X-Nauts.
-
Environmental Mysteries: Observant players will notice water running through the tree, suggesting a natural system for carrying nutrients, and open spaces that make the interior feel like a world unto itself.
-
Lore and Backstory: Dialogue and environmental clues raise questions about the tree’s origins, the ancient Punies, and why the structure is so elaborate, inviting players to ponder its deeper mysteries.
In short, the Great Boggly Tree’s interior is a treasure trove of secrets-ranging from collectible items and hidden rooms to ancient lore and environmental puzzles-making it a standout location for both its narrative depth and gameplay challenges.
What hidden passages or secret entrances are concealed within the Great Boggly Tree
The Great Boggly Tree conceals several hidden passages and secret entrances that are crucial to progressing through its labyrinthine interior:
-
Main Secret Entrance: The primary entrance to the Great Tree is hidden and initially inaccessible due to a locked metal door installed by the X-Nauts. To reveal the true entrance, Mario must use Flurrie’s wind ability to blow away a “paper” covering on the side of the tree, exposing a small opening that Punio and Mario can enter. This entrance is humorously labeled “Secret Entrance” and is adorned with flashing lights, making it both concealed and conspicuous at the same time.
-
Secret Shop Entrance: Inside the tree, there is a concealed entrance to a secret shop. By using Flurrie’s wind ability to blow down a paper panel on the left wall, Mario can reveal and access this hidden shop.
-
Hidden Staircase: In the area near the shop, a hidden staircase is tucked into the wall on the right. Following this staircase leads to a ledge in the background, where Mario can hit a blue switch to raise an airplane panel platform, opening up new routes within the tree.
-
Loose Floor Panels and Secret Rooms: Throughout the tree, certain rooms feature loose floor panels that can be ground-pounded to reveal hidden Star Pieces and other items. For example, on the second floor, ground-pounding to the right of the 10 Puni pedestal uncovers a Star Piece, and in the jail cell area, ground-pounding inside the blue cell reveals another secret.
These hidden passages and secret entrances are essential for navigating the Great Boggly Tree, rescuing the Punies, and uncovering all of its treasures and mysteries.