Tera Raids push Pokémon Scarlet and Violet trainers to their limits, demanding teamwork, timing, and smart counterpicks. This guide breaks down how to master raid mechanics, exploit Tera types, and build teams that can handle any crystal challenge Nintendo throws your way.
If you want to catch Pokémon with perfect IVs, farm Herba Mystica, or collect rare items like Bottle Caps, you’ll need to take part in high-level Tera Raids, but how do you do it? Time is the most valuable resource in Tera Raids and every time an allied Pokémon faints, the timer goes down significantly. You’ll need strong Pokémon to clear these raids successfully.
Below, we talk about how to build Pokémon for Tera Raids and how to farm Herba Mystica quickly using raids, plus outline some of the most popular meta builds.
Building Pokémon for Tera Raids
Building Pokémon for Tera Raids means preparing creatures that can withstand powerful attacks while dealing strong damage against the raid boss’s Tera Type. Focus on balancing offense, defense, and utility moves that support the whole team. Investing in the right EV spreads, held items, and abilities can make a big difference in performance. Pokémon with supportive moves like cheers, buffs, or healing often turn the tide of difficult battles, especially in higher-star raids.
While lower-level raids are easy enough to clear with whatever Pokémon you have on hand, higher-level ones can actually be quite tough. That said, you should consider Hyper Training your IVs, EV training, and setting your Pokémon’s nature to one that suits their stats. You also might want to avoid using Pokémon who have lower defensive stats, as you don’t want to waste time by fainting.
Your Pokémon should also be an appropriate level depending on the raid. The levels of Pokémon in Tera Raids are as follows:
- One-star: level 12
- Two-star: level 20
- Three-star: level 35
- Four-star: level 45
- Five-star: level 75
- Six-star: level 90
- Seven-star: level 100
(Note that seven-star raids are limited to events and do not spawn under normal circumstances.)
Though the Pokémon you fight will be high leveled, the Pokémon you opt to catch will join your team at a lower level (i.e., six-star raid Pokémon being at level 75 instead), so don’t expect to bring home level 90 Pokémon just from clearing a six-star raid.
You will not even have access to six- and seven-star raids until after you beat the Academy Ace Tournament and do a handful of higher-level raids.
<
That said, you should bring Pokémon who are either at the same or a higher level than the Pokémon you’re fighting against. Nobody wants your level 25 Pikachu in a six-star raid. Sorry.
Using type matchups to your advantage
Type matchups are the foundation of any successful Tera Raid strategy. Pay close attention to the raid boss’s Tera Type, which determines its defensive strengths, and counter it with Pokémon that exploit its weaknesses. Bringing moves that hit super effectively can make a huge difference, especially when combined with teammates covering different threat angles. Keep in mind that a Tera Pokémon’s original typing still affects its resistances before it Terastallizes, so plan your opening moves carefully. A well-balanced team built around these matchups can turn even tough raids into manageable battles.
You need to pay attention to type advantages in higher-level raids (five-, six-, and seven-star raids). This is not a recommendation. It is an essential tactic that you’ll need to utilize to win. Even if you use the high-level Pokémon who excel in the meta, they’ll only end up fainting if they’re weak against the opponent’s moves, costing you time.
You should have a Pokémon that either deal regular or super effective damage to the Tera Type of the raid Pokémon, which you can identify by the symbol in the top right corner of the raid screen. Your chosen Pokémon should also either take reduced or regular damage from the raid Pokémon.
That said, you have to pay attention to the regular typing of that Pokémon too. If you’re facing a dragon-Tera Type Charizard, it can still know fire- and flying-type moves. While you may be tempted to take your very strong Froslass to counter the dragon-type with ice-type moves, Charizard will use a fire-type move against your Pokémon to wipe it out.
For extra assistance, Serebii.net has a complete list of raid targets and what moves they can have.
Be smart about your picks. The main reason you run out of time and lose in a raid is because your Pokémon (or your teammates’ Pokémon) faint too many times.
Farming Herba Mystica from Tera Raids
Farming Herba Mystica is best done through high-level Tera Raids, particularly those rated five stars or higher. These raids have a higher chance of rewarding players with one or more types of Herba Mystica, depending on the Pokémon defeated. Raids against Pokémon such as Blissey, Dondozo, or Gengar often yield better results. Joining online raid groups can speed up the process since finding the right raids locally can take time. To maximize rewards, use Pokémon with strong coverage and good support moves to clear battles quickly and consistently.
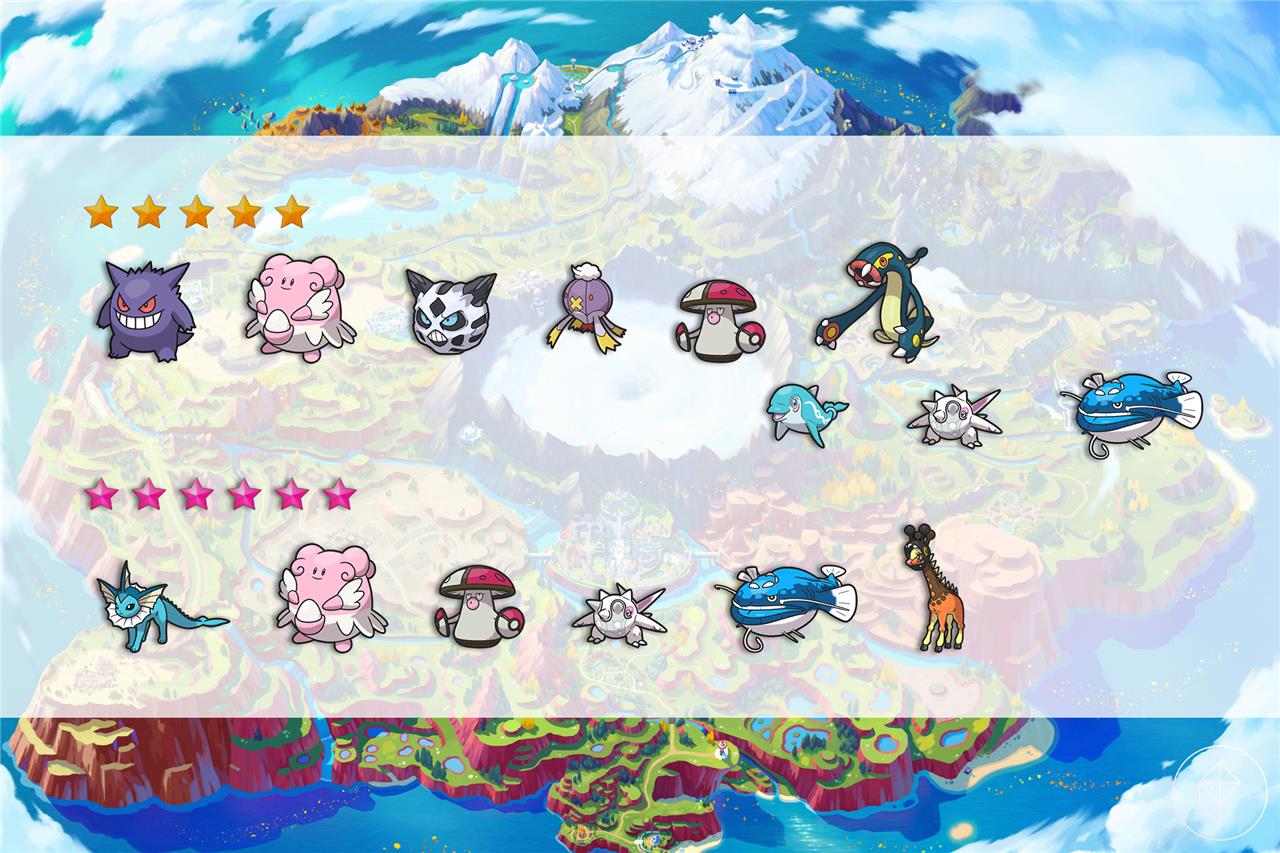
If you want to farm Herba Mystica from Tera Raids for the purposes of shiny hunting, you should be on the lookout for several specific raids. Herba Mystica only drops from five- and six-star raids, and certain Pokémon drop certain Herba Mystica varieties.
Not every Pokémon in five-star raids will drop Herba Mystica, but if they do, they’ll drop it at around a 10% chance per Herba, according to Serebii.net. Every six-star raid Pokémon has a chance to drop Herba Mystica at about 13% per Herba.
Notably, the Pokémon below have a chance to drop every type of Herba Mystica, meaning you can get up to five Herba Mystica in one run if you’re lucky.
In five-star raids, look for Gengar, Blissey, Glalie, Drifblim, Amoonguss, Eelektross, Palafin, Cetitan, and Dondozo.
In six-star raids, look for Vaporeon, Blissey, Amoonguss, Cetitan, Dondozo, and Farigiraf.
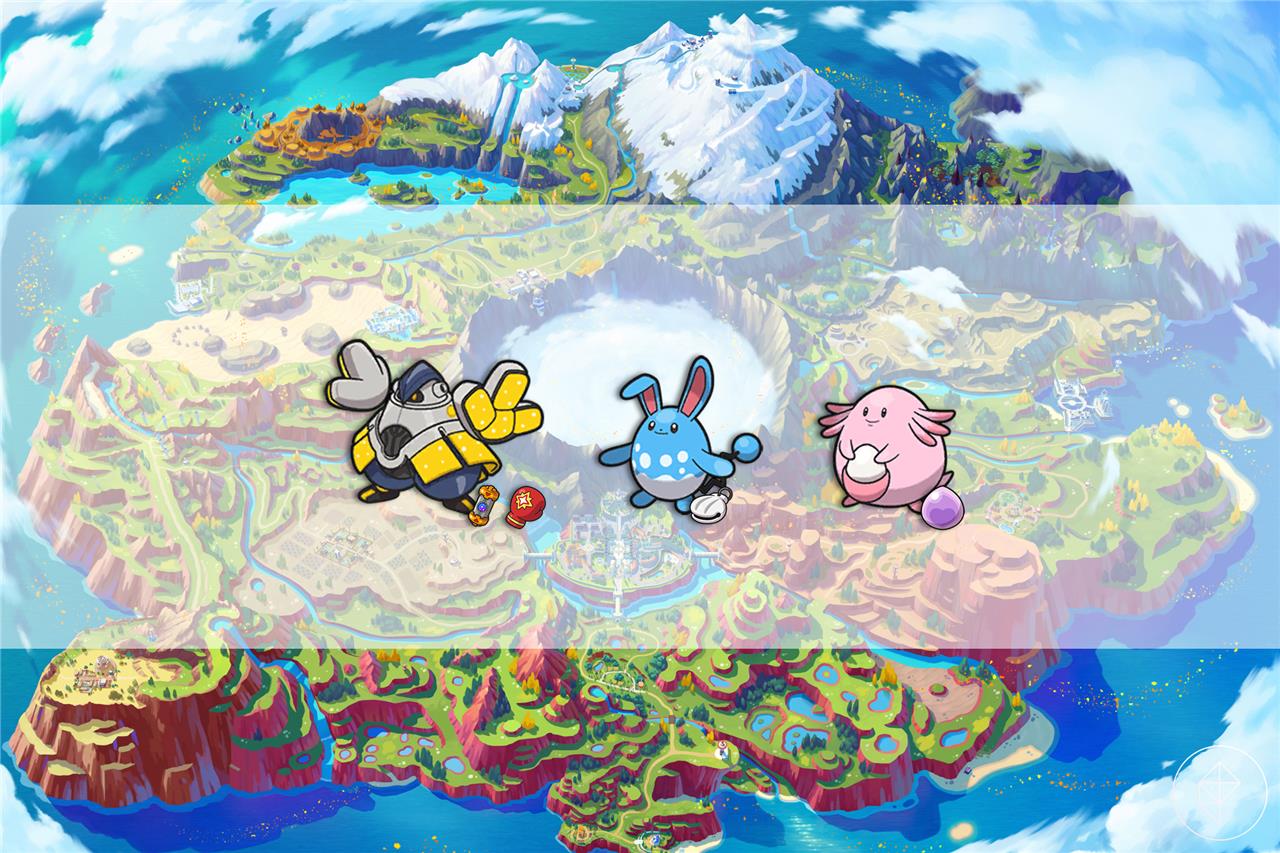
High-level Ditto raids
High-level Ditto raids can be surprisingly straightforward once you know the trick. Ditto copies the first Pokémon it sees on the field, including its stats and moves, so bringing a weak Pokémon like Magikarp or Lechonk as your lead lets your teammates handle the fight safely. Once Ditto transforms, it loses its potential power advantage, making it easy to defeat with strong physical attackers. Using moves that boost your team, such as Swords Dance or Cheer options, can speed things up and help secure a flawless win.
If you are hosting a Ditto raid, select a weak Pokémon, as Ditto will transform into the host’s Pokémon. Magikarp is a popular choice, but it can reasonably just be anything weak. This will allow you to clear the raid easily – and in the end, you’ll nab a Ditto with a few perfect IVs, which is great for breeding.
Meta Pokémon picks
Meta Pokémon picks thrive on versatility and raw power, making them staples for high-level Tera Raids. Pokémon like Iron Hands, Azumarill, and Gholdengo stand out for their ability to sustain heavy hits while dealing massive damage across key matchups. Players often rely on specific builds-such as Belly Drum attackers, special wallbreakers, or support tanks-to adapt to raid bosses’ movesets. Keeping a balanced roster of offensive and support Pokémon ensures smooth coordination and faster clears in any group setup.
Realistically, if the type matchup is good and your Pokémon is properly trained, you can use most Pokémon successfully in even high-level Tera Raids. However, some players have taken a liking to specific builds to help them truly obliterate raid targets.
Here are some popular picks that we’ve also tested and used:
Belly Drum Iron Hands raid build
Iron Hands, which is caught in Area Zero as a Pokémon Violet exclusive, is a powerful electric- and fighting-type you’ll see often in online raids. It can solo some six-star raids if built correctly. Set it up with the following:
- Nature: Adamant
- Ability: Quark Drive
- Tera Type: fighting or electric
- EVs: 4 HP/252 Attack/252 Special Defense
(You can also do put 252 in Defense instead, or you can split EVs among the two defensive stats.) - IVs: Maxed HP, Attack, Defense, Special Defense, and Speed
- Held item:Punching Glove or Booster Energy
- Moveset: Belly Drum (learned at level 84), Thunder Punch (learned at level 21), Electric Terrain (remembered move), Drain Punch (TM68)
Using this strategy, you use Belly Drum on your first turn, which will cut your HP down to half. You then spam Drain Punch to regain HP. Drain Punch deals a ton of damage (especially with the Punching Glove item) and can restore Iron Hands to full health. If the target Pokémon is weak against electric-type moves, you can use Thunder Punch instead, but you should still use Drain Punch to ensure that Iron Hands doesn’t faint.
If you have lots of other Iron Hands in your raid (an occurrence that will happen often if you play online), then you can use Electric Terrain to boost its stats even further, thanks to Iron Hands’ Quark Drive ability. You only need to do this if you and your fellow Iron Hands don’t have the Booster Energy item.
Do not bring Iron Hands against psychic-, fairy-, or ground-type opponents.
<
Huge Power Azumarill raid build
This is another fan favorite you’ll see in tons of online raid battles. Set it up with the following to make a scary water- and fairy-type destroyer:
- Nature: Adamant
- Ability: Huge Power
- Tera Type: fairy or water
- EVs: 252 HP/252 Attack/4 Defense
- IVs: Maxed HP, Attack, Defense, Special Defense, and Speed
- Held item:Shell Bell
- Moveset: Belly Drum (mirrored egg move), Play Rough (learned at level 25), Liquidation (TM110), Helping Hand (learned at level 1)
To teach Azumarill Belly Drum, you need have it hold a Mirror Herb item (bought from Delibird Presents) and delete one of its moves, giving it an open move slot. Then, put it in a picnic alongside a Hariyama with Belly Drum. After waiting a minute, the Azumarill will learn Belly Drum.
This strategy is just like the Iron Hands strat: Use Belly Drum and then use Liquidation or Play Rough to obliterate the target Pokémon. Unlike Iron Hands, Azumarill doesn’t have an HP-draining move, so you’ll need to rely on HP-recovering cheers or its Shell Bell hold item to heal it up.
Note that, as of writing this, something about this Azumarill build is buggy. When using Play Rough, it may appear that lots of damage is done, but the target Pokémon will “regain” some of its lost HP. While we’re not quite sure what is going on, the amount of damage is still huge despite this error, so don’t be alarmed if it looks like you OHKO’d the target but then it gains 25% of its HP back. The Pokémon Company has acknowledged this bug and says a fix will come in a future update.
Do not bring Azumarill in against poison-, grass-, or electric-type Pokémon.
Eviolite Chansey raid build
This is a personal favorite of mine to use when you have a party full of Iron Hands and Azumarill already. You can run support with Chansey by setting it up with the following:
- Nature: Bold
- Ability: Healer (Hidden Ability)
- Tera Type: doesn’t matter
- EVs: 252 HP/252 Defense/4 Special Defense
- IVs: Maxed HP, Defense, Special Defense, and Speed
- Held item:Eviolite
Moveset: Helping Hand (learned at level 32), Life Dew (learned at level 12), Heal Pulse (learned at level 28), Soft Boiled (learned at level 44)
You can also sub out Soft-Boiled for Thunder Wave (TM84) to help restrain the raid Pokémon, but make sure to avoid using this against normal-type targets who may know the move Facade. (Facade does more damage if the user is paralyzed, poisoned, or burned.) If you’re worried about a raid Pokémon using Taunt, you can give your Chansey a simple offensive move like Echoed Voice.
The strategy here is really simple: Just keep your companions alive. Spam Life Dew repeatedly and use Heal Pulse if one specific teammate is getting low on HP. If everyone is healthy, you can use Helping Hand to boost up a strong Pokémon instead.
Best Pokémon for soloing 6-star Tera Raids
Top Pokémon for soloing 6-star Tera Raids include Azumarill, Iron Hands, Annihilape, Miraidon, and Koraidon, thanks to their setup moves like Belly Drum and high damage output after breaking the Tera Shield. These picks excel by boosting stats sharply, healing via Cheers or items like Shell Bell, and matching the raid boss’s Tera Type for super-effective hits before the boss resets buffs.
Top Builds
Azumarill dominates with Huge Power and Belly Drum: max HP/Attack EVs, Adamant nature, Play Rough or Liquidation, and a sitrus berry or Mystic Water. Iron Hands pairs Quark Drive (via Booster Energy) with Belly Drum into Close Combat or Drain Punch for quick sweeps.
Annihilape leverages Rage Fist (powers up after hits) with Drain Punch and Screech; use Shell Bell for recovery on bulky foes. Miraidon sets up via Metal Sound debuffs then Electro Drift, while Koraidon spams Collision Course post-setup.
| Pokémon | Key Moves | Ability/Item | Best Matchups |
|---|---|---|---|
| Azumarill | Belly Drum, Play Rough | Huge Power/Shell Bell | Most neutrals |
| Iron Hands | Belly Drum, Close Combat | Quark Drive/Booster | Fighting-weak |
| Annihilape | Rage Fist, Drain Punch | Defiant/Life Orb | Ghost/Dark |
| Miraidon | Metal Sound, Electro Drift | Hadron Engine | Water/Flying |
| Koraidon | Collision Course, Screech | Orichalcum Pulse | Rock/Normal |
General Tips
Hypertrain to level 100, Tera to the raid type, and cheer “Heal Up!” after setups to survive hits. Skip Steel/Ground-heavy bosses if unresisted; Shell Bell recovers HP from big raid HP pools. These handle 90% solo with practice.
Azumarill Belly Drum build and moveset for 6-star raids
Azumarill’s Belly Drum build shines in 6-star Tera Raids due to Huge Power doubling its Attack, enabling one-shot potential after setup against most bosses. Hyper Train to level 100 with max HP and Attack IVs/EVs, Adamant nature, and Tera Type matching the raid (often Fairy or Water).
Optimal Stats
-
EVs: 252 HP, 252 Attack, 4 Defense or Special Defense.
-
IVs: 31 in HP and Attack (use Hyper Training).
-
Ability: Huge Power.
-
Nature: Adamant (+Attack, -Sp. Atk).
Moveset
-
Belly Drum: Maxes Attack on turn 1 (essential setup).
-
Play Rough: STAB Fairy nuke for shield-breaking and healing via Shell Bell.
-
Liquidation: STAB Water coverage (boost with Rain Dance if needed).
-
Flex Slot: Superpower (coverage), Rain Dance/Misty Terrain (support), or Charm (debuff).
Held Item
Shell Bell recovers HP from damage dealt (solo ideal); Sitrus Berry for multi-player burst heal when below 50% HP.
| Item | Use Case | Recovery Style |
|---|---|---|
| Shell Bell | Solo/general | 1/8 damage dealt |
| Sitrus Berry | Team raids | 1/4 max HP at <50% |
Strategy
Turn 1: Belly Drum to +6 Attack. Turns 2+: Attack with Play Rough/Liquidation to charge Tera Orb and break shield; re-Drum after boss reset. Terastallize ASAP for STAB boost, Cheer “Heal Up” if low. Works on 90% of raids; swap flex move for boss weaknesses.