Step into the Sacred Archives of Prince of Persia: The Lost Crown, where time bends and shadows become your allies. Here, intricate puzzles guard ancient secrets, demanding clever use of Sargon’s clones and precise timing to unlock hidden powers and treasures. Ready to outsmart the Archives and claim your reward across Nintendo, PC, PlayStation, and Xbox? The solution lies just beyond the next door-if you can master the art of being in three places at once.
Our Prince of Persia: The Lost Crown guide will walk you through all four solutions to the Sacred Archives puzzle so you can claim the power in the final chamber.
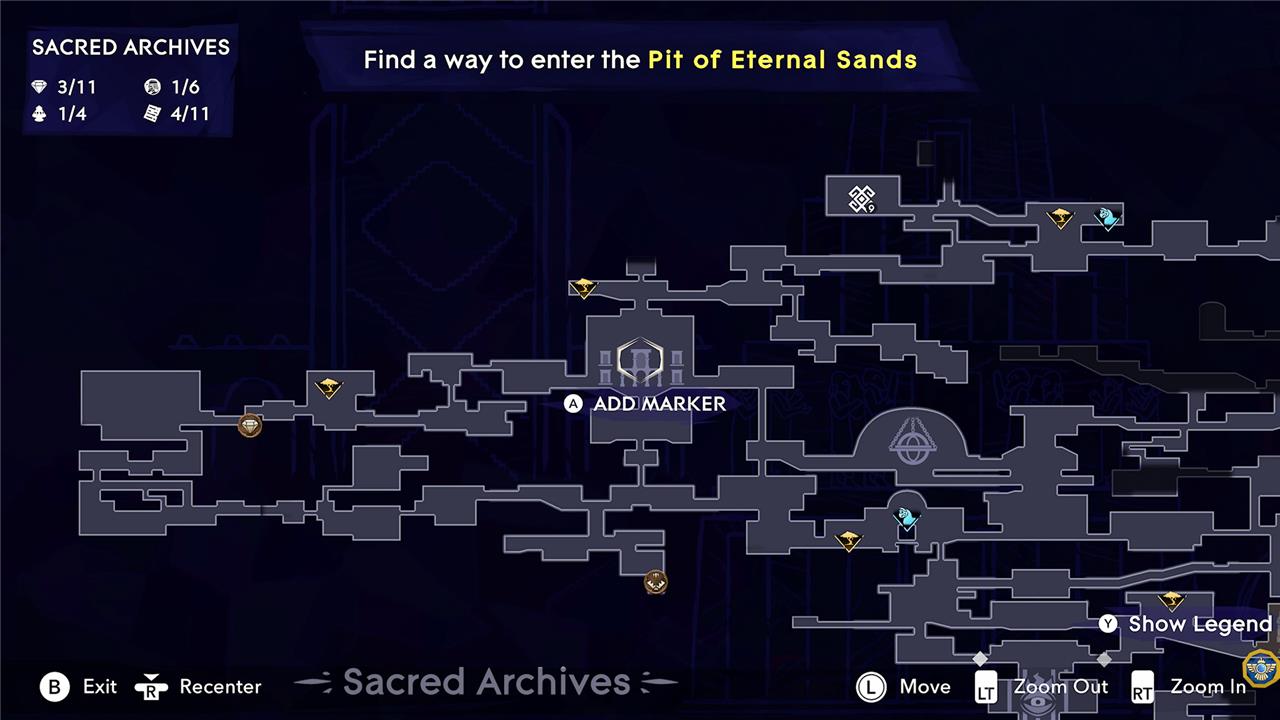
Sacred Archives location in Prince of Persia: The Lost Crown
The Sacred Archives is a key region located in the northwestern part of Mount Qaf in Prince of Persia: The Lost Crown. You’ll first access this area during the main quest “The Abducted Prince,” as you pursue Vahram and advance the story. To reach the Sacred Archives, head west from the central hub of Mount Qaf; the entrance is marked by a long staircase and is guarded by challenging enemies and intricate platforming sections. Once inside, you’ll find that the Sacred Archives is divided into several sub-areas, including the Temple of Knowledge and the Jail, each containing unique puzzles, collectibles, and secrets. The region is also notable for its complex time-based puzzles and numerous collectibles, making it a crucial stop for both story progression and completionists.
After you receive the Shadow of Simurgh time power, a new path will be open for you to explore through the Sacred Archives. Eventually, this path will lead you to the puzzle.
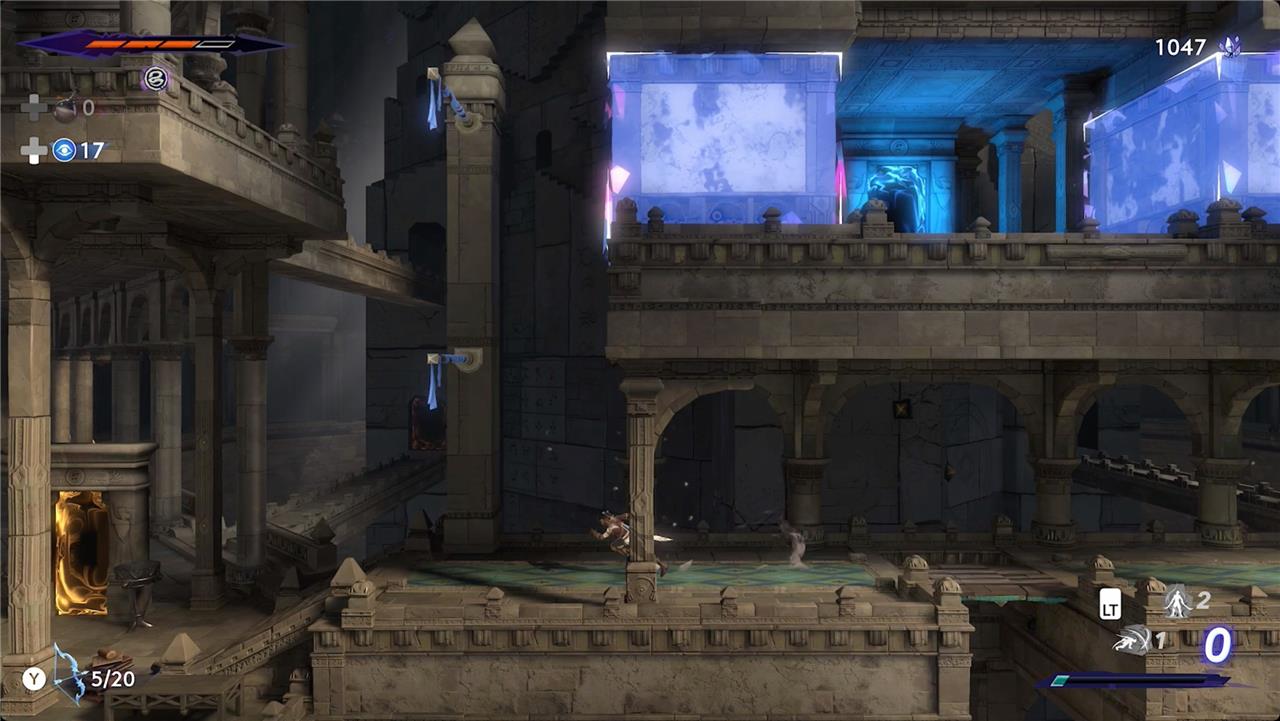
The room with the puzzles has five doors. The central blue door is blocked by glowing blue blocks. The other four orange doors are around it. When you first enter, only the bottom left door will be active.
Sacred Archives bottom left door puzzle solution
To solve the bottom left door puzzle in the Sacred Archives of Prince of Persia: The Lost Crown, begin by entering the only accessible golden-glowing door located at the bottom left of the puzzle chamber. Inside, you’ll find two wall levers and a caged golden paper. Start the puzzle at the pedestal: in your first run, wall-jump to one lever and hold it down until time runs out. In the second run, repeat this process with the other lever, again holding it until the timer ends. After both levers have been activated in sequence, the cage will open on the third run, allowing you to simply walk in and claim your reward, completing the puzzle.
The first door you can enter is on the bottom left. It’s the simplest, and a gentle introduction to the concept of these puzzles.
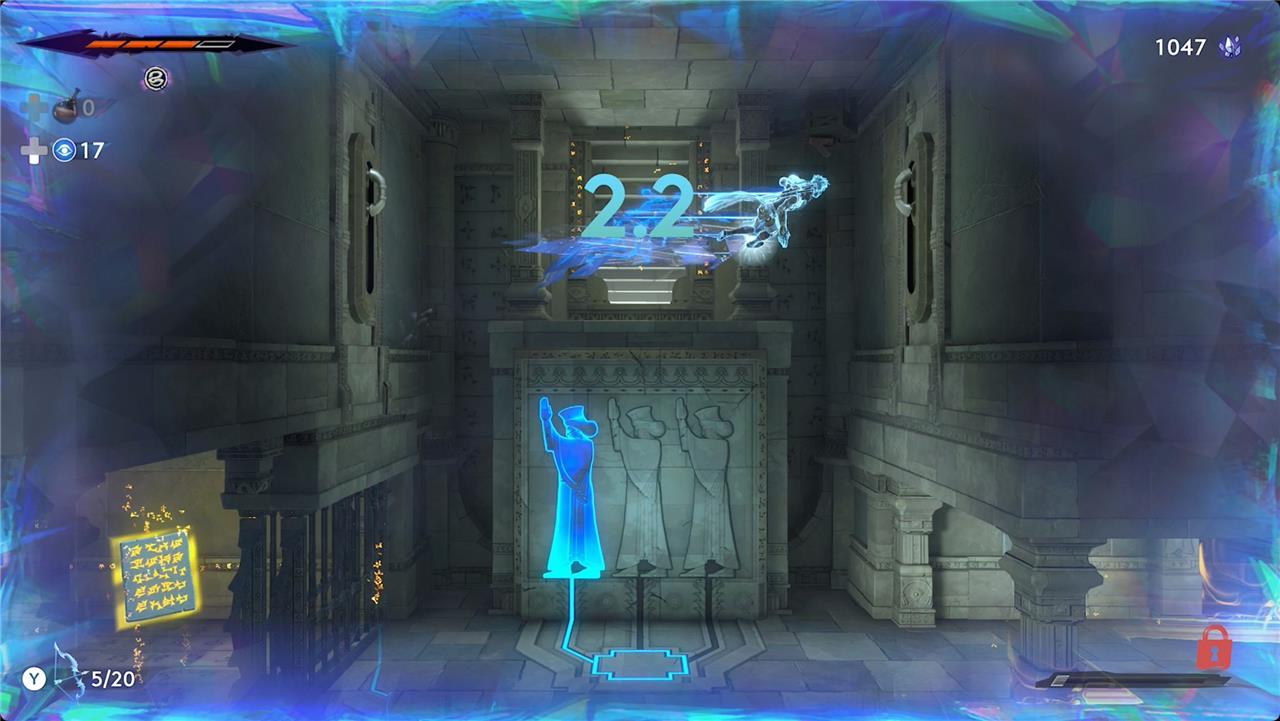
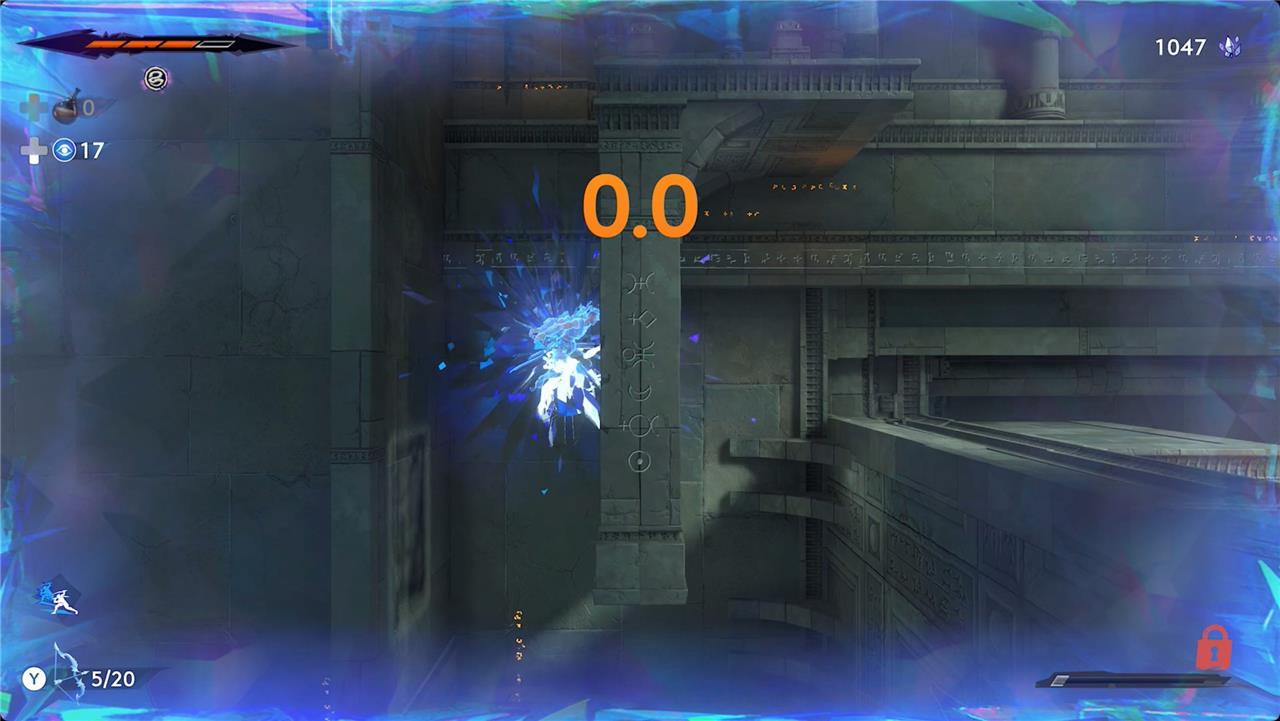
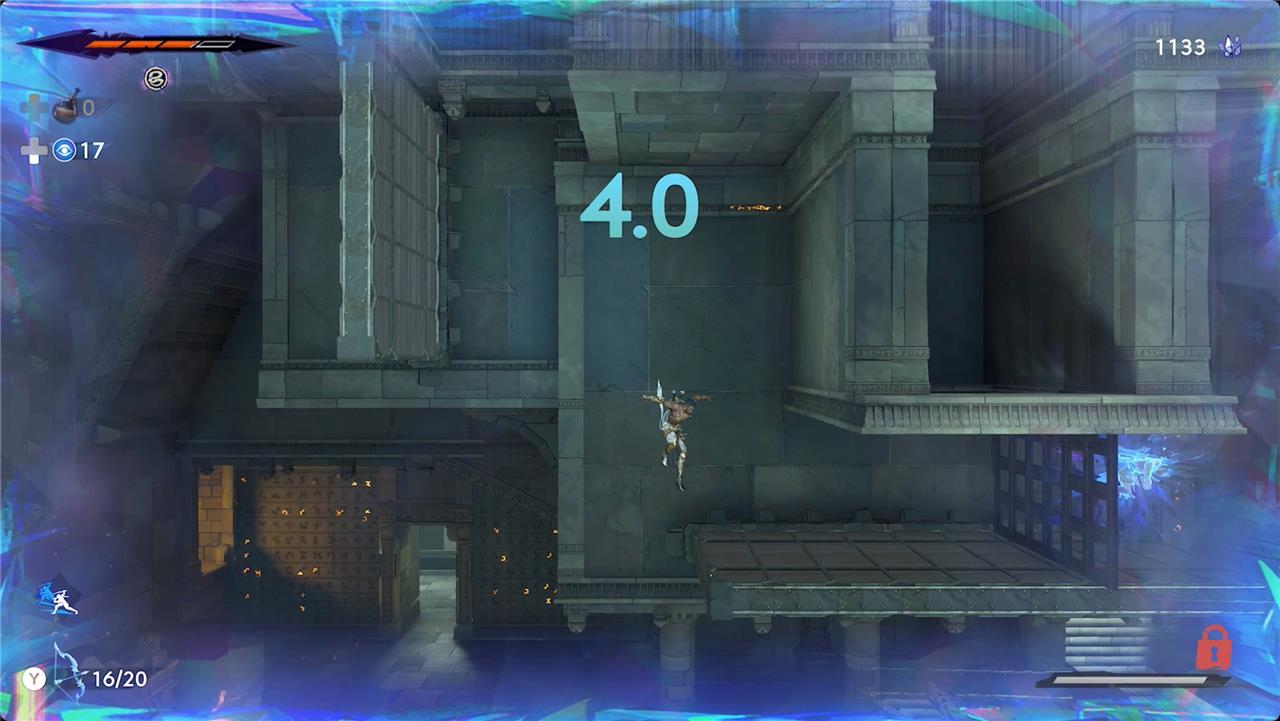
Stand on the trigger in front of the relief of three people to start your cycle of three shadow clones. Each one is timed, so you’ll have to be intentional with your movements – and you can always return to the switch and hit down on the left thumbstick to reset the puzzle if you screw up.
Jump onto one of the walls and then use Rush of the Simurgh to dash to the opposite wall. You’ll grab the switch and hold it down. Just wait out the timer without moving.
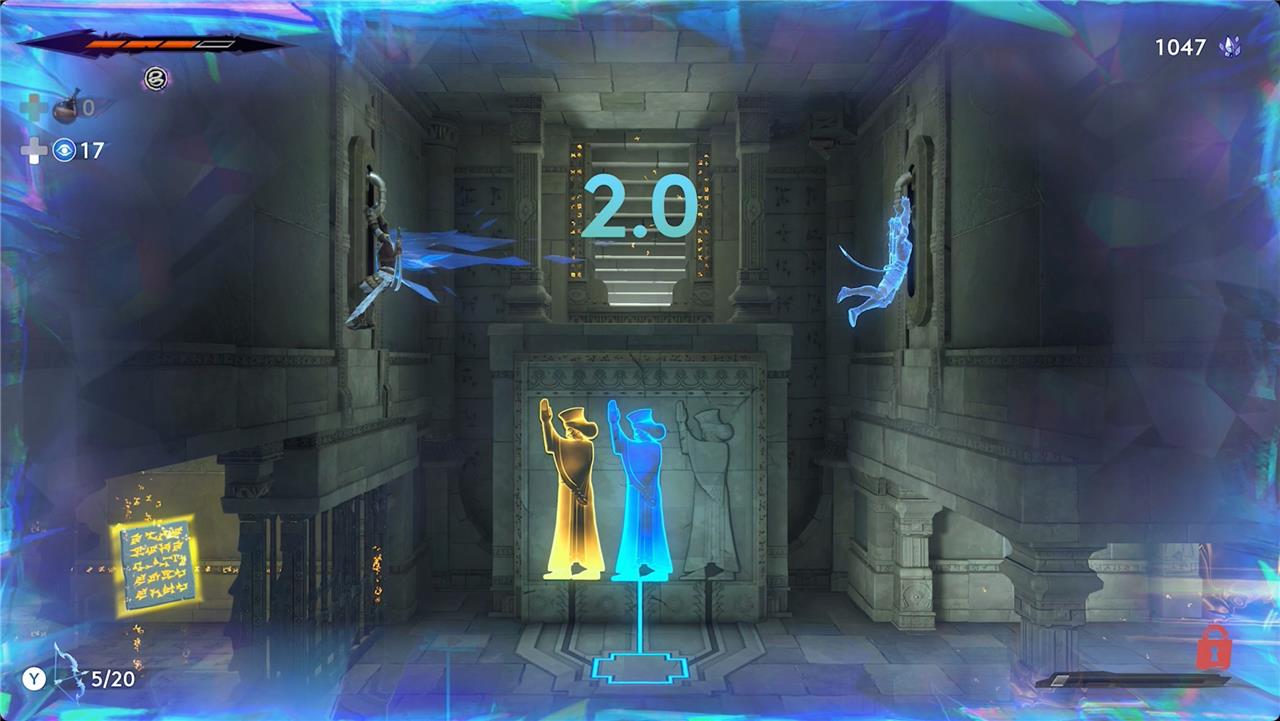
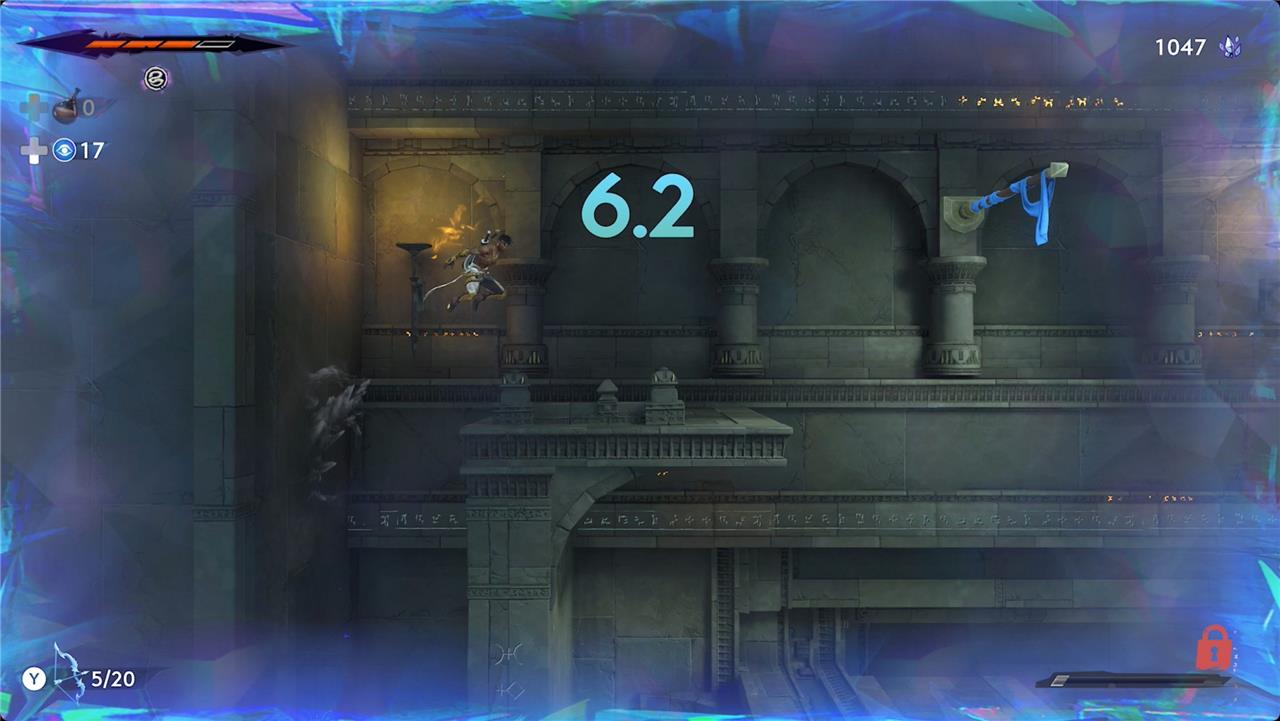
On the next shadow clone, mirror your actions. Start on the other wall and dash to the opposite side to trigger the other switch. Stay there until the timer runs out. With both switches down, the gate will open.
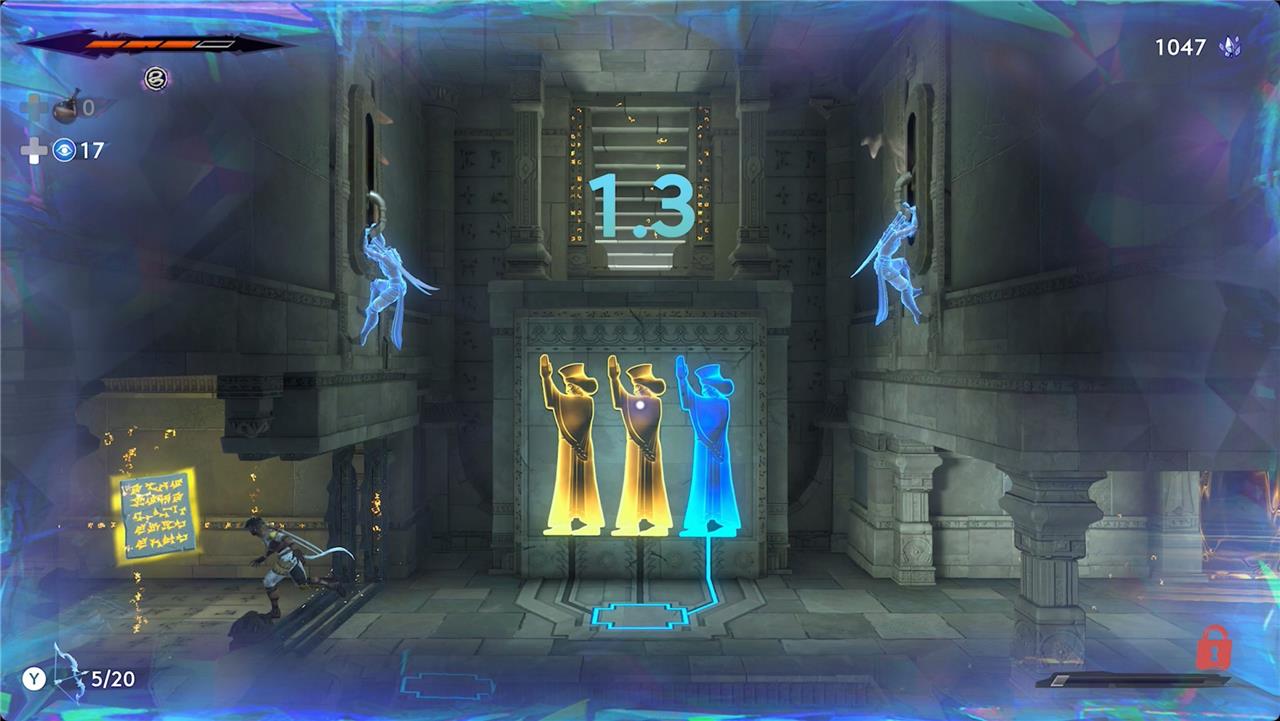
On the final shadow clone, wait for your past selves to trigger the switches and then run to the left to grab the first tablet.
Once you have it, two more doors will activate – the top left and the bottom right.
Sacred Archives bottom right door puzzle solution
The bottom right door puzzle in the Sacred Archives requires careful use of Sargon’s time shadow ability and precise timing. To solve it, start your first run by heading to the right and pulling the lower lever for about three to four seconds, then quickly jump onto the pedestal in the middle and remain there until the timer expires. On your second run, wait for the vertical platform on the right to rise, then use it to reach and pull the lever on the left. As the first run’s shadow steps on the pedestal, use this opportunity to jump and dash across to the horizontal platform on the right, then use the wall above to access the final area and collect the golden tablet. This sequence ensures all necessary switches are activated in sync, allowing you to complete the puzzle efficiently.
The puzzle on the bottom right is a lot more demanding than the first one.
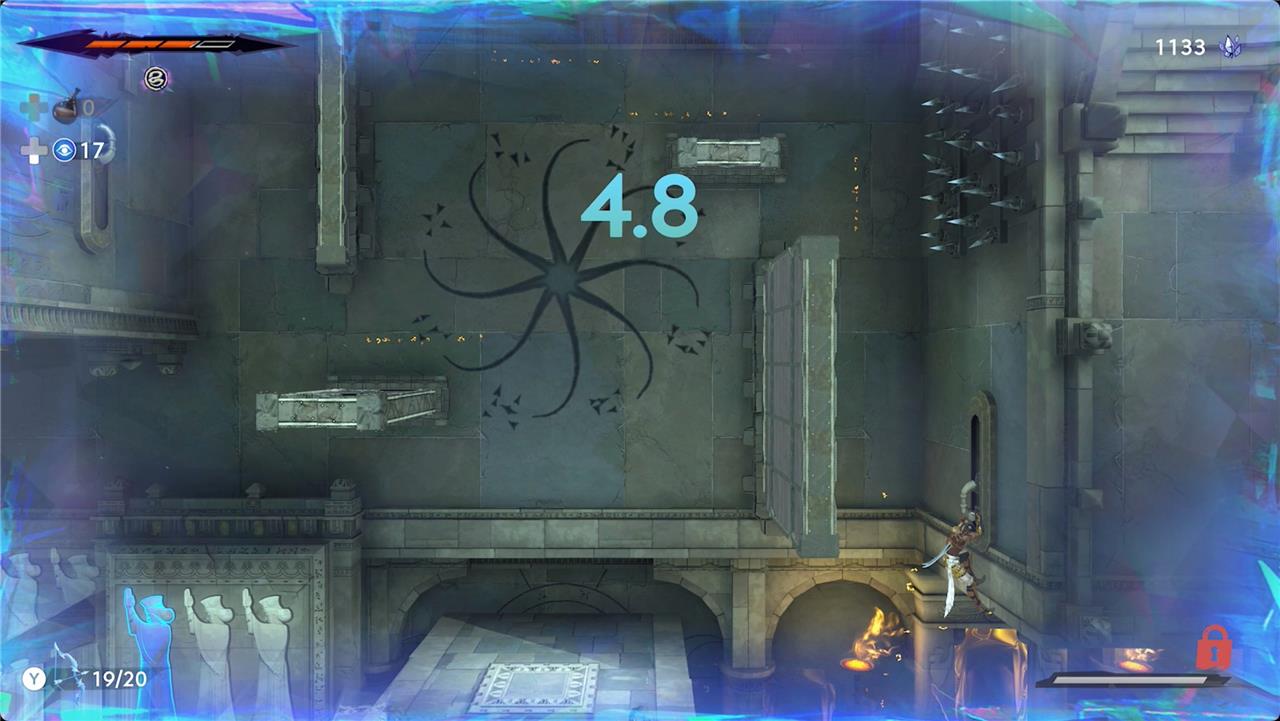
For the first shadow, head right. Pass the floor switch and jump to the switch on the wall to the right. Hold it down for a few seconds, and then hop back to the left to stand on the floor switch. You want to land on the floor switch with about four seconds remaining.
Holding down the wall switch gives you a wall to jump off with your next two shadow clones, and the floor switch moves the platforms above so you can climb out. Wait out the timer while on the floor switch.
On your second shadow clone, wait for the first clone to pull down the wall switch, and then jump off of the wall, onto the lower platform, and then onto the wall switch to the left. Holding that down will slide out another wall to jump off of. Wait out the timer.
On the final shadow clone, you will have to time your jumps to meet the walls the previous two shadow clones control.
Hop off the wall to the right and then wait on the horizontal platform. When the second shadow clone pulls down the switch, jump off the newly revealed vertical wall. If you’ve timed it right, your first shadow clone should be jumping on the floor switch at that point. That’ll give you a new horizontal platform to land on near the ceiling. Use it to reach the second tablet.
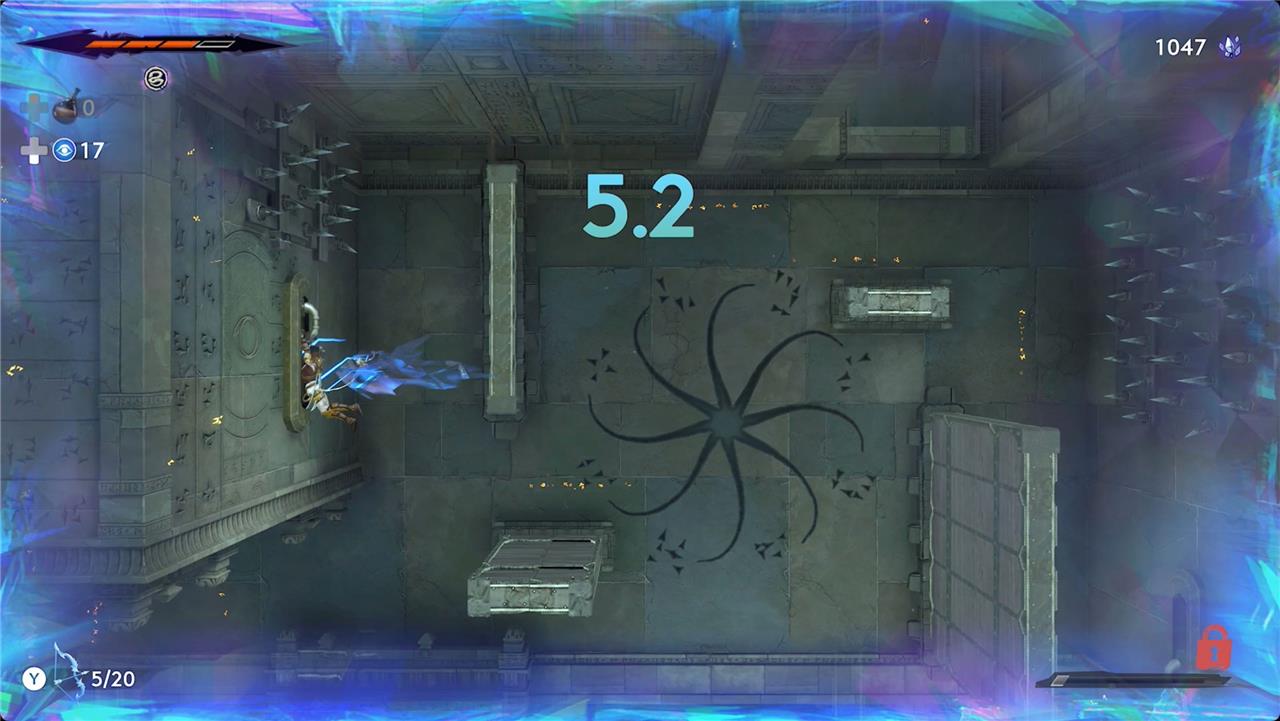
Sacred Archives top left door puzzle solution
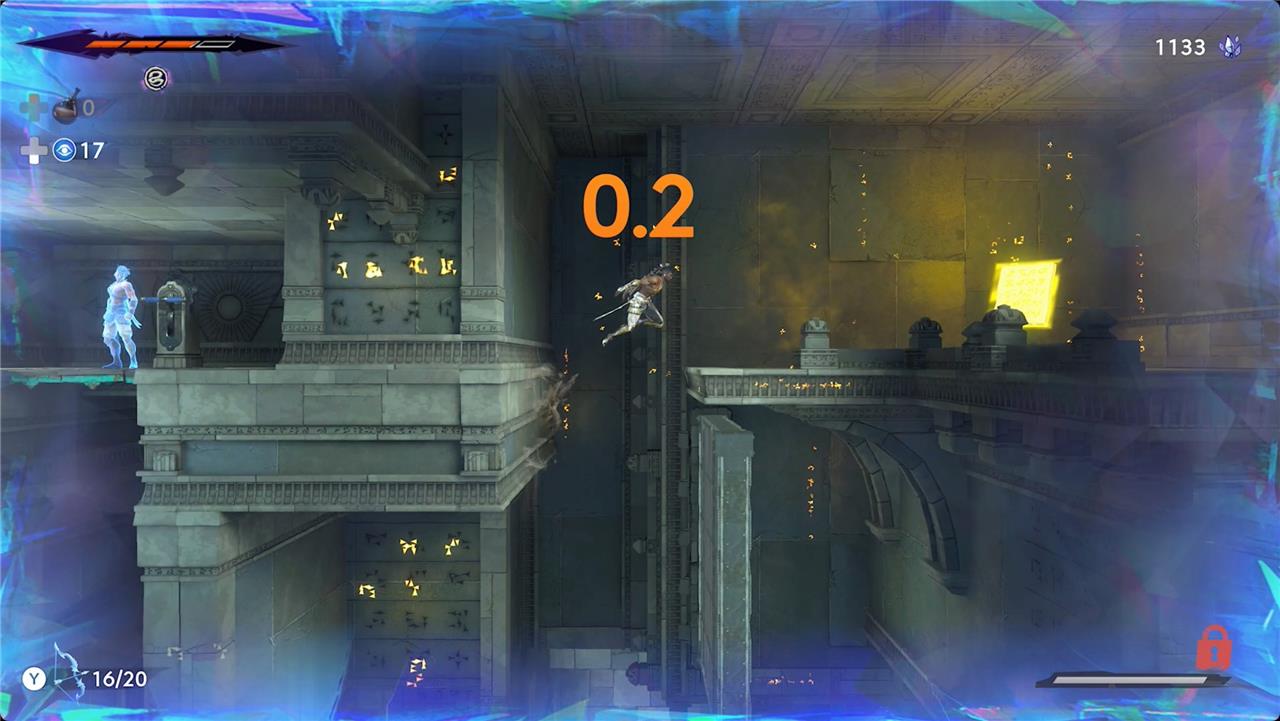
To solve the Sacred Archives top left door puzzle in Prince of Persia: The Lost Crown, begin by entering the room after unlocking the door. In your first run, use Sargon’s shadow ability to create a clone near the grappling lever at the top, just before the timer ends. On your second run, immediately teleport to your clone’s location using the shadow ability, then leap onto the nearby platform and stand on the pressure plate to open the gate. In your final run, head into the now-unlocked room and collect the shining tablet to complete the puzzle. This sequence relies on precise use of the shadow ability and careful timing to coordinate the pressure plate and gate mechanisms.
For the top left door, you’ll have to use your Shadow of the Simurgh ability while being a Shadow from the puzzle. It’s a bit mind-bending.
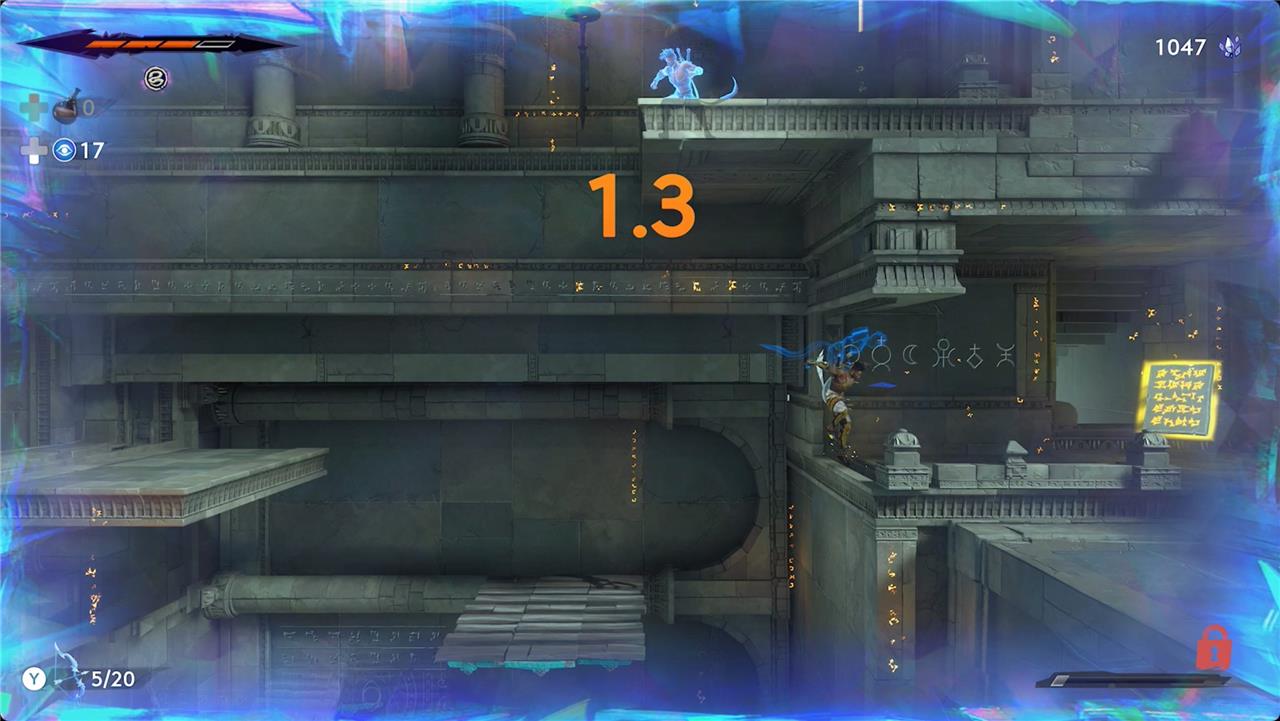
Trigger the puzzle, and then rush through the rooms – climb up and to the right, switch directions to continue up and to the left, and then drop into the U-shaped stretch on the left wall. You should make it about halfway up the wall before time runs out. Right before the clock hits zero, trigger the Shadow of the Simurgh ability with the left shoulder button (L1/LB).
As soon as the second shadow clone starts, hit the Shadow of the Simurgh ability again. This will warp you to the end of the first run. Finish climbing up, and then cross to the right. There’s a floor switch near the ceiling on the right side of the room. Wait out the timer on the switch.
For the final run, climb up to the main room and wait on the wooden platform. When your second shadow clone lands on the switch, jump up to grab the tablet on the right.
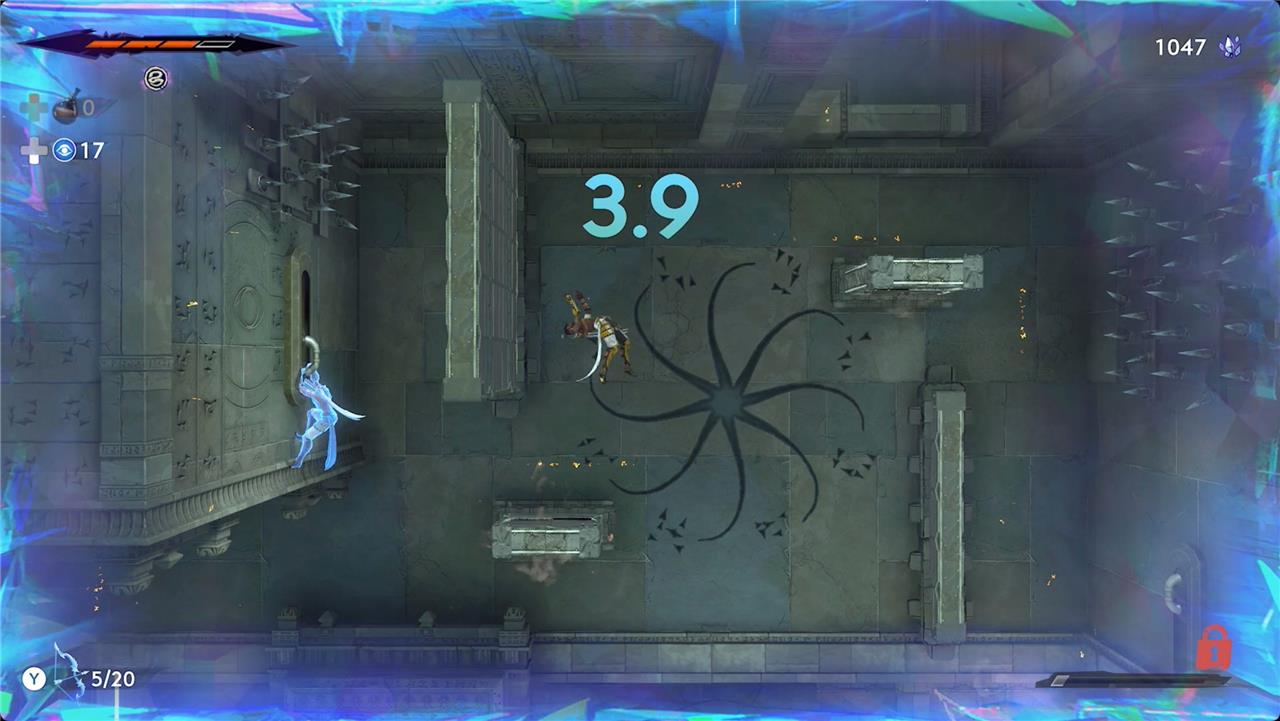
Sacred Archives top right door puzzle solution
For the top right door puzzle in the Sacred Archives of Prince of Persia: The Lost Crown, you’ll need to use Sargon’s time powers and careful coordination between your shadow clones. Begin the first round by quickly heading to the lower floor, dashing right to the emerging platform, and activating your Shadow of the Simurgh to leave a clone there. Step on the floor plate and remain until the timer ends. In the second round, move to the lower chamber, wait for the platform, then ascend and pull the lever to create a new wall. In the final round, time your use of Shadow of the Simurgh to teleport onto the ledge once the platform appears, then wall-jump to the top to claim your reward. This puzzle requires precise timing and clever use of both your clones and the environment.
The final puzzle requires some careful timing and use of the Shadow of the Simurgh ability. It’s going to take you a few tries to get both the positioning and the timing right.
Before you start, head right and drop down to the floor below so you can get a look at where the puzzle is actually happening. There’s a switch in the middle of the floor that both triggers a wide horizontal platform and opens a gate. The problem is that the gate blocks your path to the tablet. You’re going to have to place a Shadow of the Simurgh to the right of the gate and (mostly) above the horizontal platform.
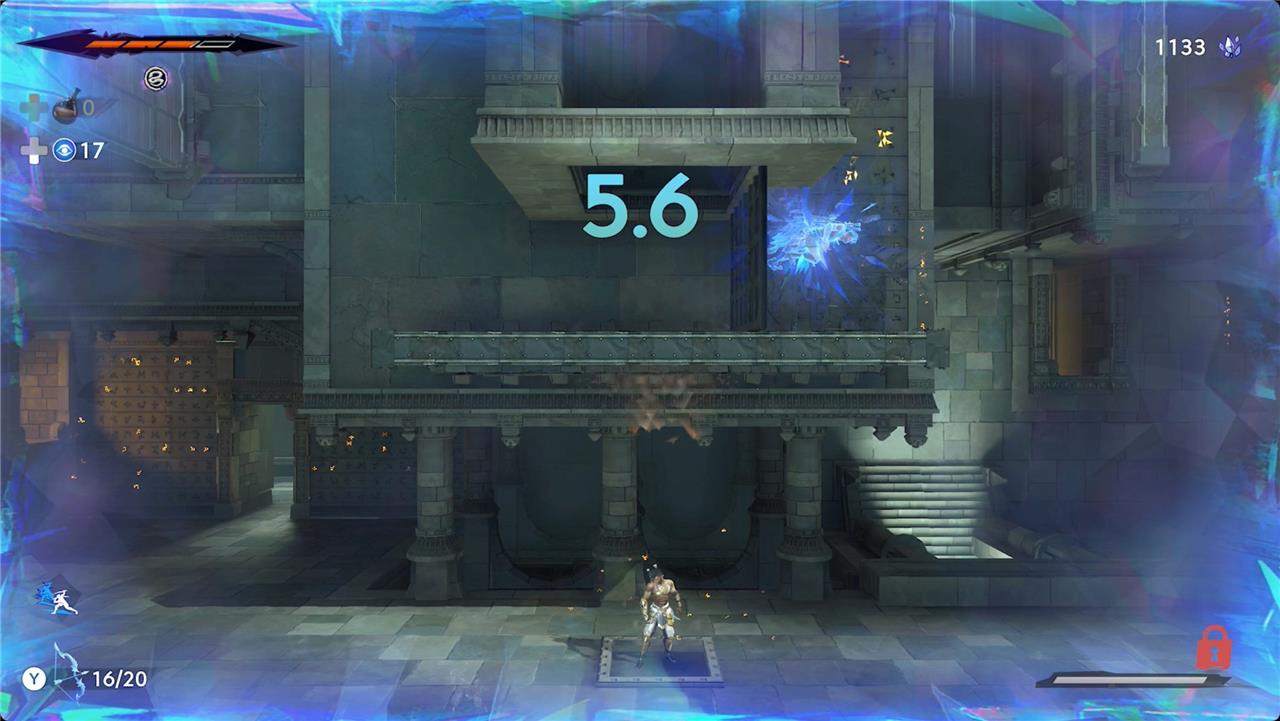
On the first shadow clone, run right and then slide down the left wall of the chute. At the very bottom of the wall, jump off and then dash to the right. Just past where you saw the gate open, drop your Shadow of the Simurgh. As soon as you land, stand on the switch and wait out the timer. Try to take note of the time left when you hit the switch.
For the second shadow clone, you need to wait at the top to give the first shadow clone time to get to the switch. When you have about 8 seconds left, drop down and dash over to land on the platform. Climb up through the gate and hit the switch at the top.
On the final run, you have to wait again, but this time you’re warping to your previous Shadow of the Simurgh, so you can wait anywhere. Once you see or hear the platform trigger, hit L1/LB to warp back to the Shadow of the Simurgh you dropped on the first run. Wait there until your second shadow hits the switch at the top and then use the new vertical wall to climb up. The tablet is in the top right corner of the room.
Sacred Archives puzzle reward
Solving the main Sacred Archives puzzle in Prince of Persia: The Lost Crown rewards you with the Clairvoyance ability. This powerful time skill lets you switch between two dimensions, making transparent objects solid and vice versa, which is essential for progressing through new areas and solving additional puzzles throughout the game. In addition to this major reward, some optional Sacred Archives puzzles grant Soma Tree Petals, which are valuable collectibles that increase your maximum health.
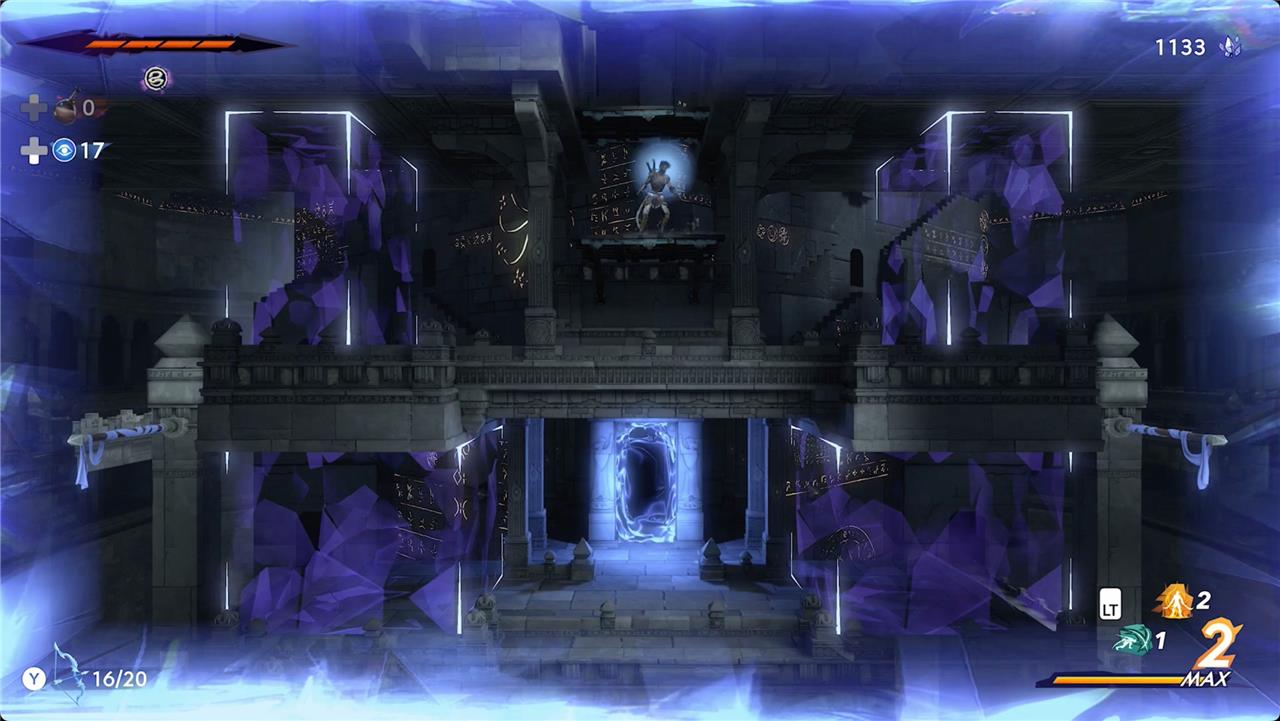
Solving the fourth puzzle will open the path to the fifth door in the center of the room – this one is blue. Head inside and follow the path to the right to find another feather. This one gives you the Clairvoyance ability. With it, you can switch between two different dimensions, which allows you to get past those glowing blue obstacles (and the Jailer).
What is the key to unlocking the mysterious fifth golden door in Sacred Archives
The key to unlocking the mysterious fifth golden door in the Sacred Archives is to first solve the four preceding golden door puzzles, which will open the path to the fifth, centrally located blue door. To access and solve the fifth door’s puzzle, you must use advanced movement abilities-specifically, wall jumping up a parallel dimension spot and then double jumping onto a higher ledge. The double jump ability is acquired by defeating the giant snake boss in the Sand Prison.
Inside the fifth golden door, you’ll need to coordinate multiple Sargon clones to activate switches in sequence, allowing each clone to progress through a series of doors. Timing and careful use of your shadow abilities are crucial. Completing this challenge rewards you with a valuable item, such as a pedal for the Soma Tree, which increases your maximum health.
What specific sequence of actions unlocks the fifth golden door in Sacred Archives
Specific Sequence to Unlock the Fifth Golden Door in Sacred Archives
1. Prerequisites
-
Solve the four preceding golden door puzzles in the Sacred Archives.
-
Acquire the double jump ability by defeating the giant snake boss in the Sand Prison.
2. Accessing the Fifth Door
-
Locate the parallel dimension wall spot near the fifth golden door.
-
Wall jump up this spot, then double jump to reach the ledge above and access the fifth golden door.
3. Solving the Fifth Door Puzzle
-
The puzzle requires coordinating three Sargon clones:
-
First Sargon: Jump down, take the lower path, and stand on the first switch to open a door in the middle hallway.
-
Move to the next switch to open a door in the third hallway. After flipping this switch, wait a few seconds, then flip it back. Proceed to the switch that opens the door to the top level. When you reach the end, leave a time stamp for the next Sargon.
-
Second Sargon: Take the top path, using the doors opened by the first Sargon. Coordinate timing so the third Sargon can also progress.
-
Third Sargon: Take the middle path. No switches are involved-just walk down the path, relying on the other Sargons to open doors as needed.
-
-
Once the second Sargon teleports down to the first Sargon and stands on the final switch, the puzzle is complete and the door unlocks.
4. Reward
-
Completing the puzzle grants access to a room above, where you can double jump to a ledge and collect a Soma Tree pedal, which increases your maximum health.
This sequence requires precise timing and coordination between your Sargon clones to ensure all doors are open at the right moments for each clone to progress.