Hidden behind a shrine’s quiet façade, Tokiy hides a riddle-linking memory to the very heart of Zelda: Tears of the Kingdom.
Tokiy Shrine location
Tokiy Shrine is located in the Hyrule Ridge region, southwest of Tabantha Bridge Stable. You can find it on a small cliff overlooking the area, with its entrance visible from the nearby road. The easiest route is to travel west from the Tabantha Bridge Stable and follow the path leading slightly uphill until the shrine comes into view. Its exact coordinates are roughly (-1214, 0916, 0107), making it convenient to reach early in the game.
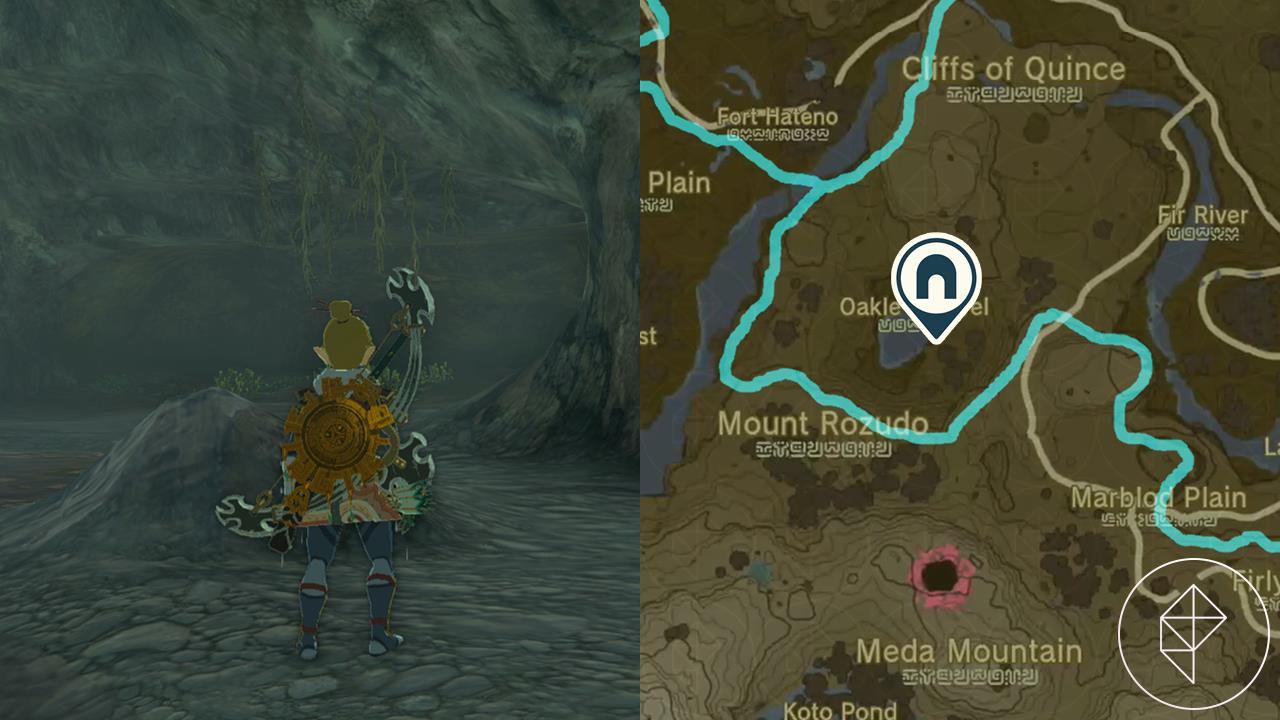
The Tokiy Shrine is found within the West Necluda region. It is underground, so you will need to navigate a pretty deep cave to arrive at your destination. It can be hard to find, so the shrine quest walkthrough below will give step-by-step instructions on how to get there. Its exact coordinates are: (2304, -2377, -0028).
‘The Oakle’s Navel Cave Crystal’ shrine quest walkthrough
After accepting “The Oakle’s Navel Cave Crystal” shrine quest, head toward Oakle’s Navel Cave in the Faron region. The cave entrance lies near the waterfall south of the Rabella Wetlands Skyview Tower. Inside, follow the path past the Bubbulfrog until you reach a crystal guarded by a Stone Talus. Defeat the enemy or carefully grab the crystal using Ultrahand, then carry or transport it through the cave’s tunnels back to the glowing pedestal near Tokiy Shrine. Once the crystal is set in place, the shrine materializes, allowing you to enter and claim its reward.
The tricky part about doing this quest is finding it. Once you locate it, the quest is a pretty straightforward challenge that requires you to carry a crystal as you dodge falling rocks. Here are the full instructions.
To start the “The Oakle’s Navel Cave Crystal” shrine quest and find Tokiy Shrine, you will need to start by traveling to a lake called Oakle’s Navel, which is located almost directly west of Hateno Village. Once you arrive at the lake, you will need to find the entrance to Oakle’s Navel Cave. The exact coordinates to Oakle’s Navel Cave entrance are (2514, -2120, 0010).
It almost looks like there isn’t even a cave there, but if you walk toward it, you’ll see you can venture further in.
Enter the cave and follow the path. As you enter, you will encounter Shock Like. When we beat it, it awarded us with electric fruit, a Shock Like stone, and a chest containing an eightfold longblade.
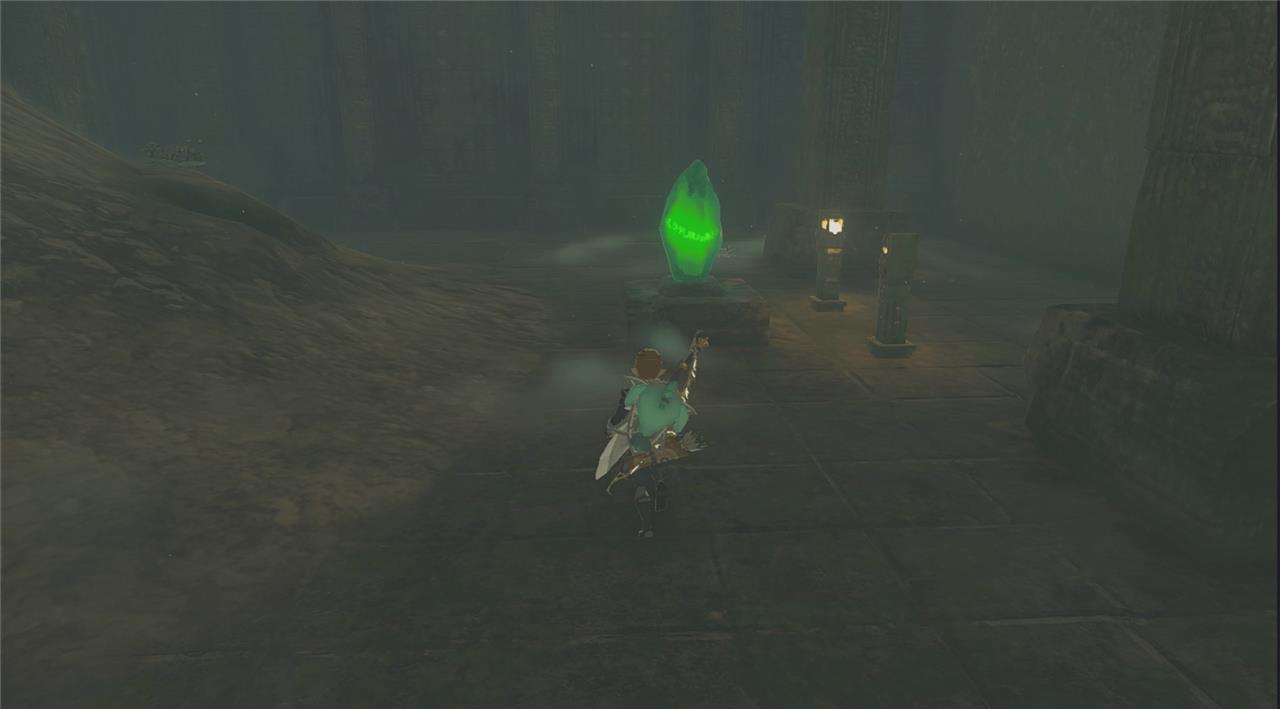
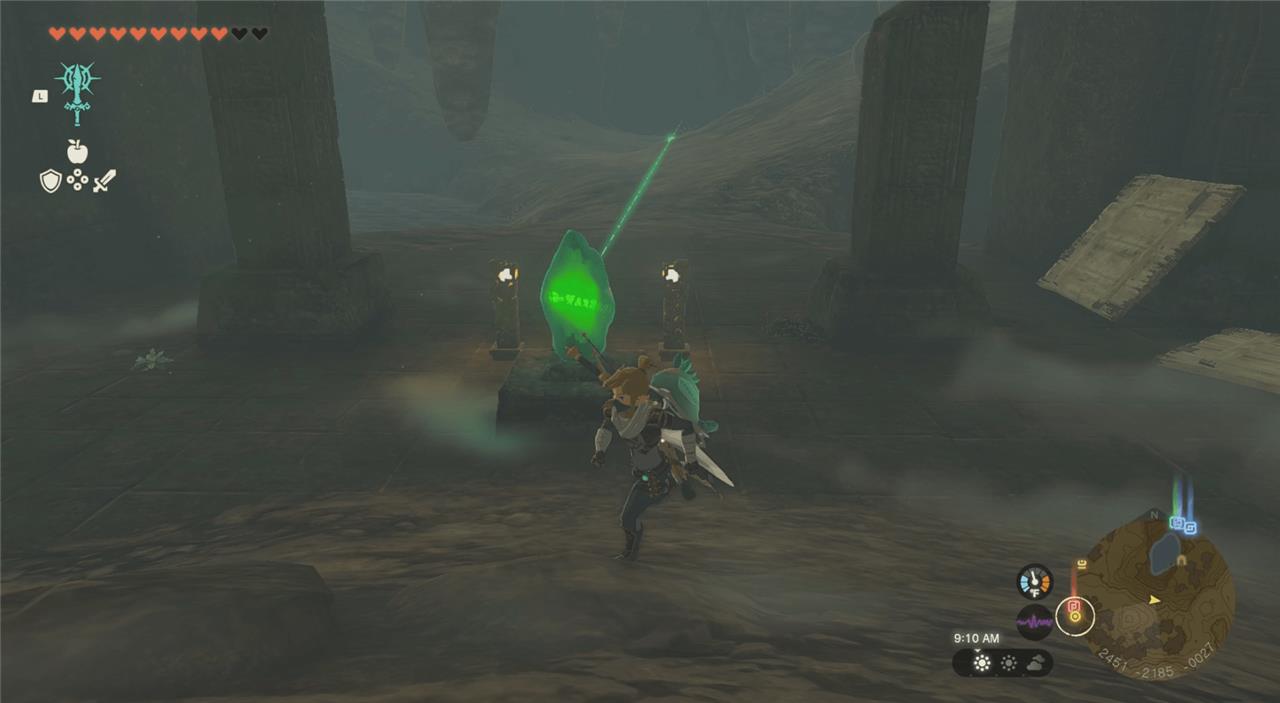
Continue down the path of the cave and you’ll reach a large room with a crystal in it. Interact with the crystal to start the “The Oakle’s Navel Cave Crystal” quest. To complete this quest, you will need to follow the light beam emitted by the crystal and bring it back to the location of the shrine.
After you pick up the crystal and start the quest, a door will open into a large cavernous room. You’ll know you’re walking in the right place because you’ll see several falling and rolling rocks.
Using Ultrahand to carry the crystal, weave your way through the rocks and walk in the general direction of the beam of light. It looks pretty stressful, because there are so many hazards, but there is a decent amount of space between each rock so you can wait until it’s safe to continue to walk through.
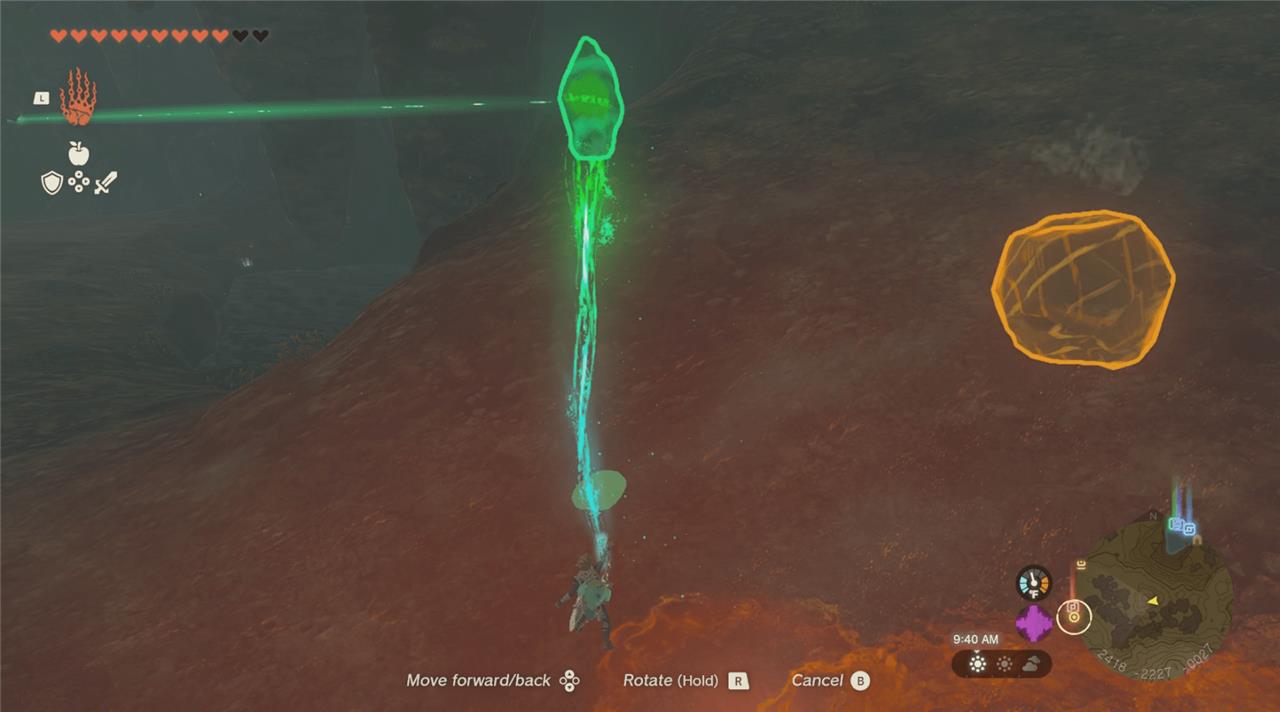
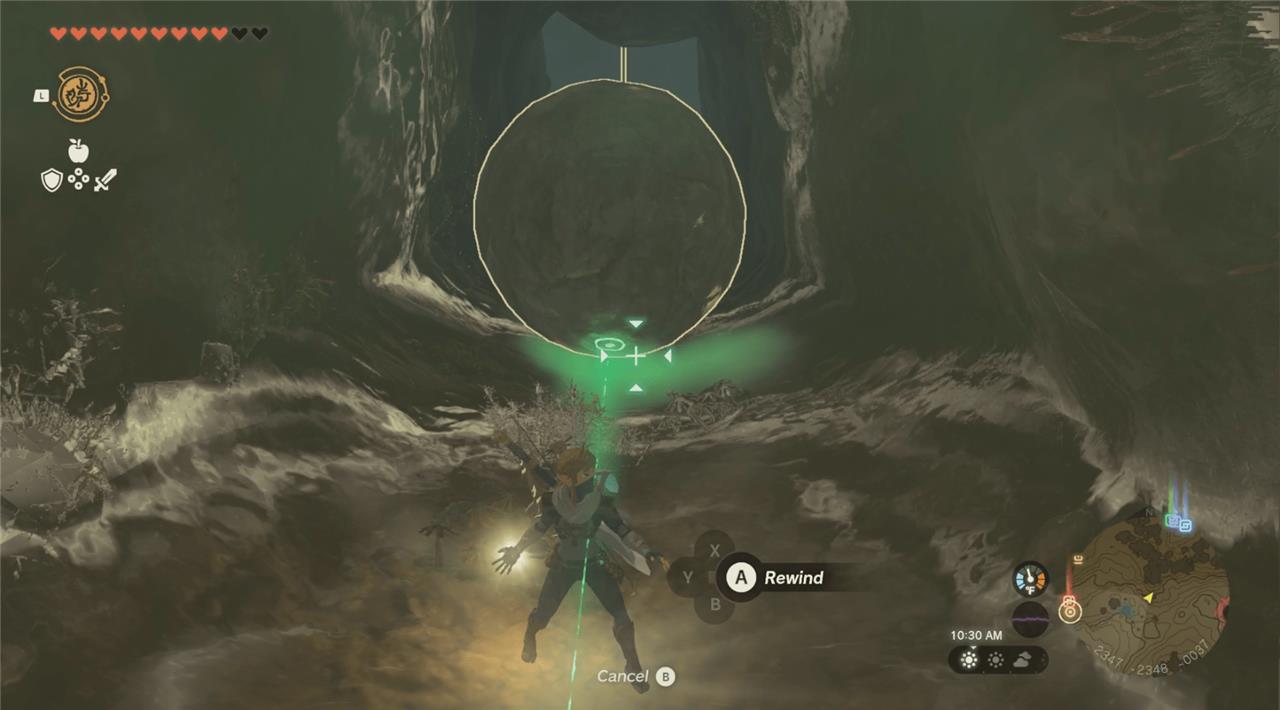
Once you walk through the giant room with the falling rocks, continue to follow the light and you’ll arrive at a narrow hallway that periodically has giant boulders rolling down it. You can’t evade them, but use Recall on a boulder and that will give you plenty of time to grab the crystal and walk up the path.
Once you are at the top, you’ve made it! You have arrived at the location of Tokiy Shrine and brought the crystal to the correct spot to complete the quest.
TokiyShrine walkthrough
Tokiy Shrine features a series of motion-based puzzles that test precision and timing. Players must manipulate rotating platforms and shift stone structures using the Ultrahand ability to create safe paths across gaps. The shrine’s final chamber requires stacking blocks in specific positions to reach the exit and claim the Light of Blessing. Exploring carefully and observing the movement patterns makes solving each section much smoother.
Best route to Oakle’s Navel from Rabella Wetlands Tower
Route Overview
The fastest route from Rabella Wetlands Skyview Tower to Oakle’s Navel involves launching from the tower and gliding north. This path covers the canyon terrain efficiently, landing near the pond’s southeast side for cave access.
Launch and Glide
Activate Rabella Wetlands Skyview Tower, then launch skyward and angle your paraglider directly north toward Oakle’s Navel pond. Aim for coordinates around 2507, -2119, 0009 to spot the large cave entrance on the eastern shore; adjust for stamina with elixirs if needed.
Landing and Entry
Glide over Meda Mountain and Mount Rozudo until the pond appears in the canyon below. Descend to the pond’s bottom, swim or dive east to the hidden cave mouth guarded by a Shock Like-Like-bypass it by sneaking or using ranged attacks.
Fastest paraglider route from Rabella Wetlands Skyview Tower
Route Summary
The fastest paraglider route from Rabella Wetlands Skyview Tower to Oakle’s Navel launches northward over the wetlands and canyon. This direct glide takes 1-2 minutes with full stamina, landing near the pond for Tokiy Shrine access.
Launch Technique
Activate the tower at coordinates 2419, -2755, 0222 to reach peak height of about 1365 units, then immediately deploy the paraglider and hold forward on the left stick. Maintain a slight downward angle to conserve stamina while covering the roughly 400-500 unit north distance to the pond at 2507, -2119, 0009.
Mid-Glide Adjustments
Draft behind updraft currents from the terrain if available, and consume stamina-restoring food like Stamella Shrooms mid-air via quick menu. Avoid sharp turns; straight-line north passes Meda Mountain on the r