Dive into the fiery depths of Dragon Roost Cavern, the first true dungeon in The Legend of Zelda: The Wind Waker, where ancient guardian statues hide the path to adventure. Here, Link must navigate treacherous lava lakes, solve intricate puzzles involving statues and fire-lit torches, and face off against fierce Bokoblins to claim the legendary Grappling Hook. But the real challenge awaits deeper inside, as you confront the menacing boss Gohma to restore the guardian dragon Valoo and retrieve Din’s Pearl-an essential step in saving Dragon Roost Island and advancing your epic quest across the Great Sea.
The Rito people who inhabit Dragon Roost Island know something is up with their guardian dragon, Valoo, and while they say they’re working it out. nah, we’re gonna do it ourselves. Long story short – we need Din’s Pearl, which is being clung to by Komali. Komali is upset about Valoo and the recent passing of his grandma and finds comfort in the pearl. So we gotta fix up Valoo and the pearl is ours! Easier said than done, though.
Below, we explain how to get through Dragon Roost Cavern and beat the Gohma boss in The Legend of Zelda: The Wind Waker.
Note that this walkthrough is for the Nintendo GameCube version of the game, also playable on the Nintendo Switch 2, if you have a Nintendo Switch Online Expansion Pack membership. While this walkthrough may work for the remastered version (The Legend of Zelda: The Wind Waker HD for the Wii U), there may be differences between the two versions, so keep that in mind if you’re using it for the latter. We wrote this guide using the original GameCube version on the actual GameCube, so if there are differences between this version and the NSO version, we’re working it out – and we’ll update this guide if it needs it.
Part 1: Entering Dragon Roost Cavern
To enter Dragon Roost Cavern in The Legend of Zelda: The Wind Waker, first navigate past three guardian statues at the cave entrance by pulling the left statue away from the wall and then shifting the middle statue into the space created. This reveals the inner cave entrance. Inside, you will face two Bokoblins armed with burning sticks; defeat them to proceed. Use one of their sticks, light it from a nearby torch, and ignite the two unlit torches to reveal a chest containing a small key. This key unlocks the door deeper into the dungeon. From there, break through wooden barricades and carefully traverse the lava-filled paths using nearby blocks and bomb flowers to progress further into the cavern.
After following Valoo’s new attendent Medli, she’ll ask you to throw her up on to the nearby ledge. She can’t fly super well yet, so you’ll just need to huck her up there timed with the wind aiming at the target cliff. (You can tell how the wind is blowing by paying attention to all those ashy particles on the screen.)
Once she ends up there, she’ll give you an empty bottle for your troubles and saunter off into the cave on her own, but we’re not going to just let her do that by herself.
Use the empty bottle she just gave you on the nearby water to fill it up and then dump the water on the dried-up bomb flowers on the cliffside. Huck that bomb at the huge rock clogging up the spring, and viola! The spring will fill, allowing you to cross and make it onto the cliff that Medli left on.
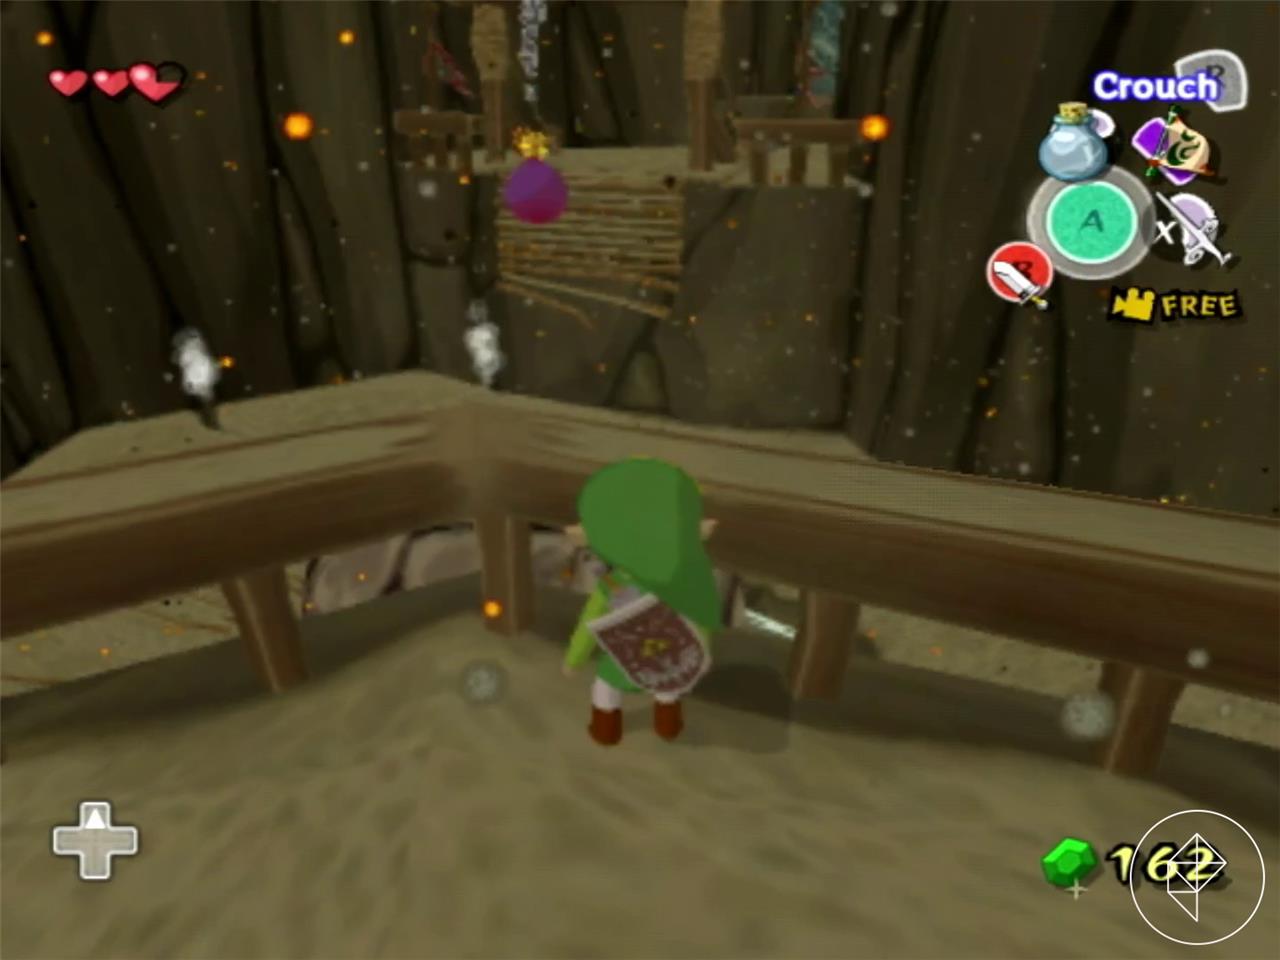
Use the nearby bomb flowers and, aiming carefully, throw them into the stone pots to create a pathway across the lava. Now you’ll be able to enter the actual dungeon.
Part 2: Finding the Dragon Roost Cavern dungeon map
To find the Dragon Roost Cavern dungeon map in The Wind Waker, start by pulling the leftmost statue forward and then sliding the middle statue into its place to reveal an entrance. Inside, defeat two Bokoblins and use one of their sticks, lit from a nearby torch, to ignite two unlit braziers on the left side of the room. This action will reveal a chest containing a small key, which unlocks the next door. Proceed through, breaking wooden boards blocking the path, and navigate across broken walkways by pulling out a metal block to create a bridge. Use bomb flowers to clear obstacles and enter the next room where you can throw a bottle to reach a chest containing the dungeon map. This sequence sets you up for further exploration of the cavern.
Now that you’re actually in the starting room of Dragon Roost Cavern, you’ll need to pull some statues to find the proper entrance. Pull the leftmost block forward and the middle block where the left block originally was to open up the cave.
Head inside and take out the two bokoblins and then use one of the two sticks (on fire, thus making a torch) to light up the unlit braziers on the left side. If the fire on the stick extinguishes, bring it up to the lit torch on the right side to relight it.
A chest will appear after lighting the two torches, with a small key inside. Use the key to open the door.
Slash at the broken planks blocking your path with yours word and head left (the only way you can go). Make note of this pile of skulls, as I’ll be referring to it in the future for directions’ sake.
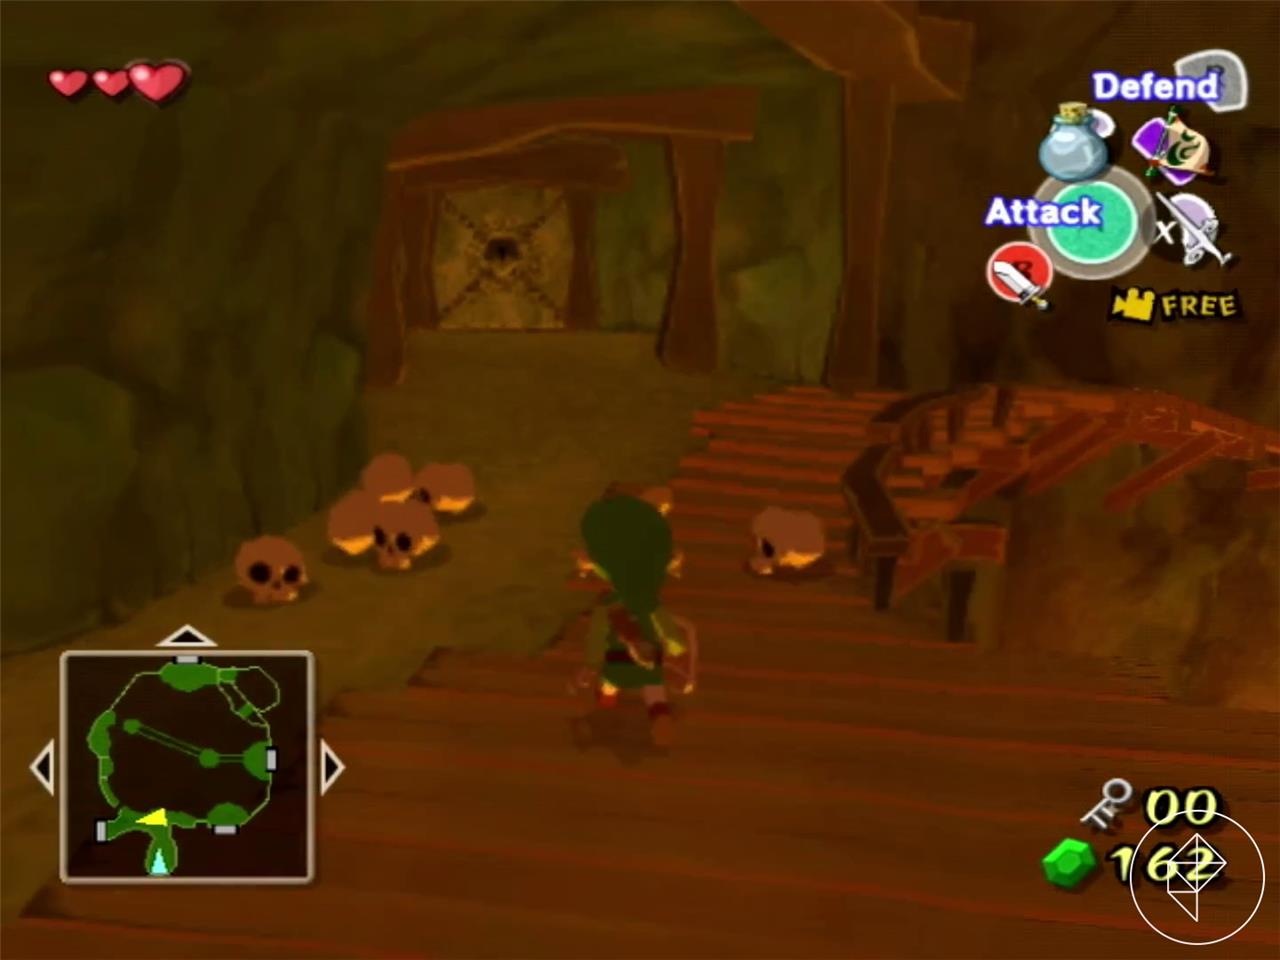
Tread and jump carefully on the path along the wall, jumping down onto the cliffside to drag out the metal block once you get there. You’ll need to use this block as a bridge from one of the plank paths to the other.
Jump across the cliffs and cross the bridge in the center of room, mindfully dodging the fiery lava and keese (though yeah, you can just kill the keese if you want). Use one of the bomb flowers to blow up the huge rock in front of you and head into the newly revealed doorway.
In this next room, we’re going to learn a new mechanic: throwing water-filled jugs at the lava to create temporary stone platforms to help you cross.
Throw a bottle towards the platform on the left to get the nearby chest with the Dragon Roost Caveern dungeon map inside.
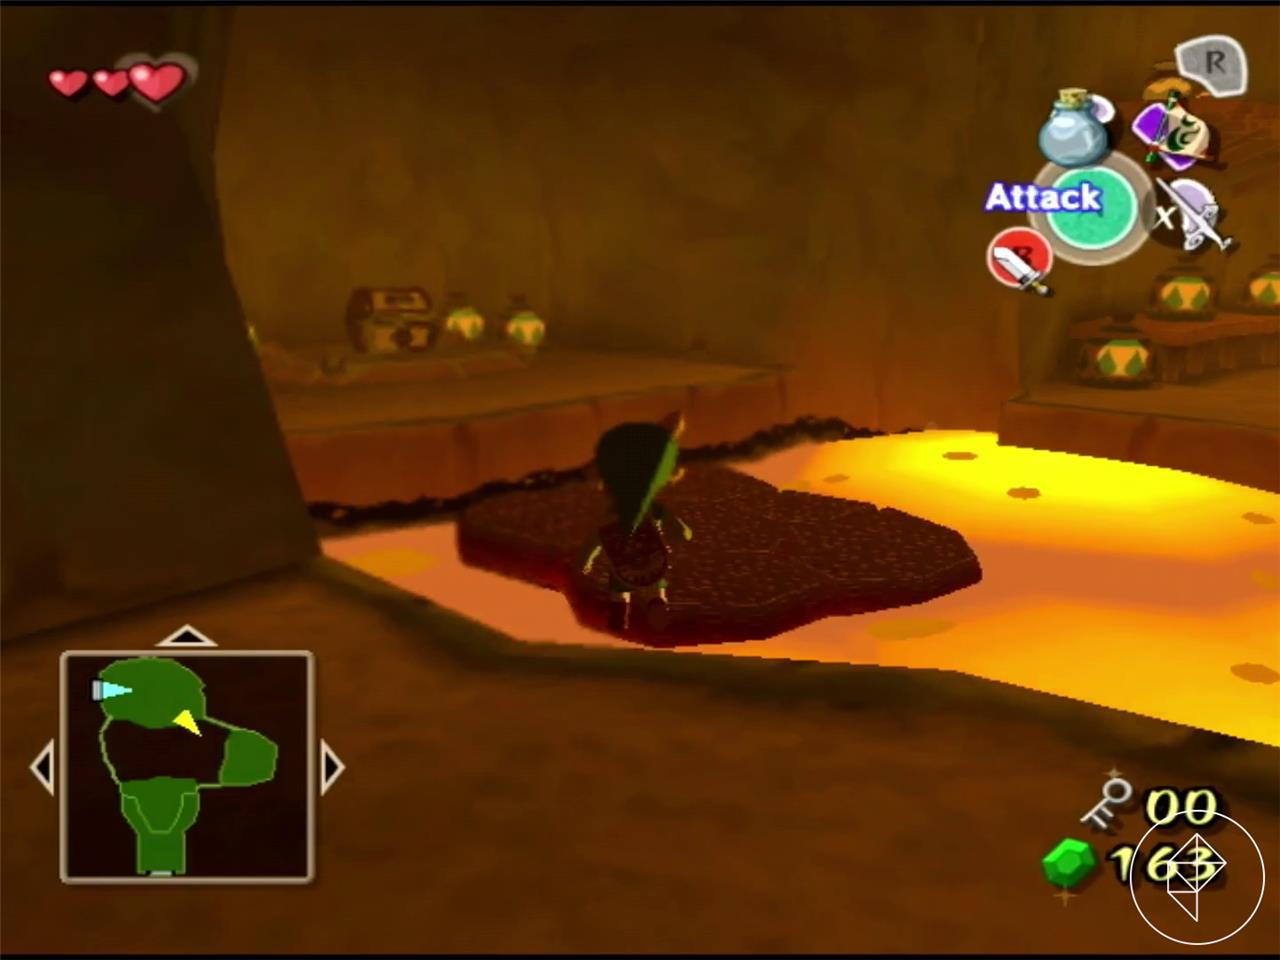
Use the water bottles to now create a path to the platform with the ladder on it to bounce out of here. Be careful climbing the ladder as a red chuchu will jump down. You might as well wait for it to come down before you bother climbing up and proceeding on to the next room.
Part 3: Finding the Dragon Roost Cavern compass
To find the Dragon Roost Cavern compass in The Legend of Zelda: The Wind Waker, first pull out the block embedded in the wall and climb onto it. From there, jump up to the next walkway and open the treasure chest located to the right. Inside this chest, you will discover the compass, which will help you navigate the dungeon more effectively as you continue your adventure through Dragon Roost Cavern.
Right away, a bokoblin with a huge sword will jump out from behind a boarded up area. You’ll need to take it out and then use its sword to break the next few set of planks. (If the planks aren’t broken and make an X shape, you need a bigger weapon or fire to destroy it.)
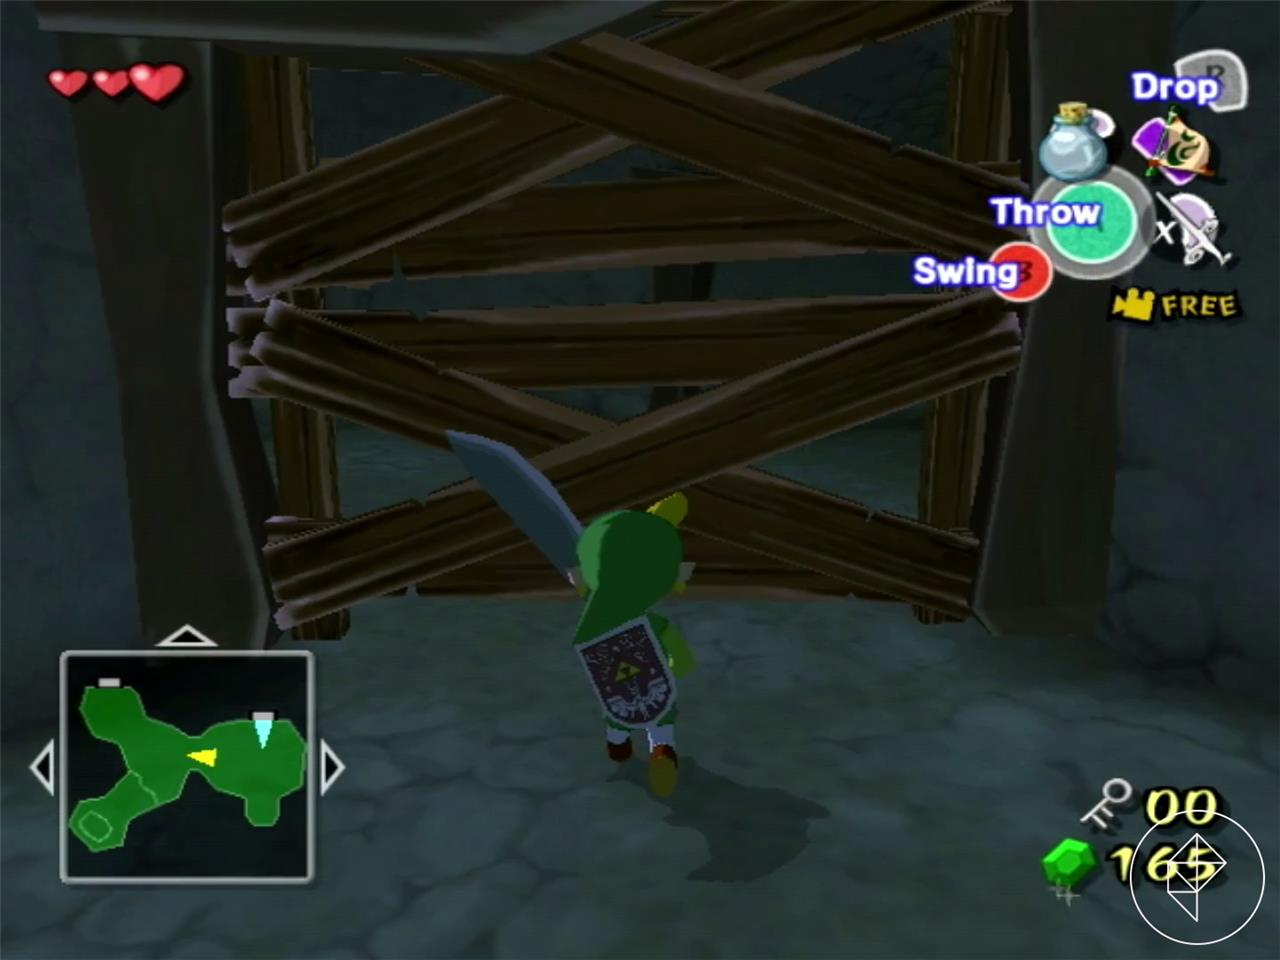
When you climb up the small ledge to break another set of planks, two red chuchus will fall off the ceiling, so be prepared to swing at them. Once they’re gone, break the planks and grab the small key from the chest and head towards the nearby door – not before two more red chuchus fall from the ceiling. You know the drill.
Now you’ll be back in the big lava room. Use the nearby rocks and throw them carefully at the bombs on the wall to blow up the huge rock – and now we’ll have a path back to the starting area (and the pile of skulls I mentioned earlier).
Use the key to unlock the door past the skulls. Right away, there’ll be a path on the right that you can ignore for now. Just head straight, taking out any red chuchus that cross your path.
Once those are gone, break open the blocked little area to the left of the gated door to find a bokoblin with a stick. Take it out and grab the stick, light it on fire using the nearby braziers, and use that to destroy the planks on the right side of the door.
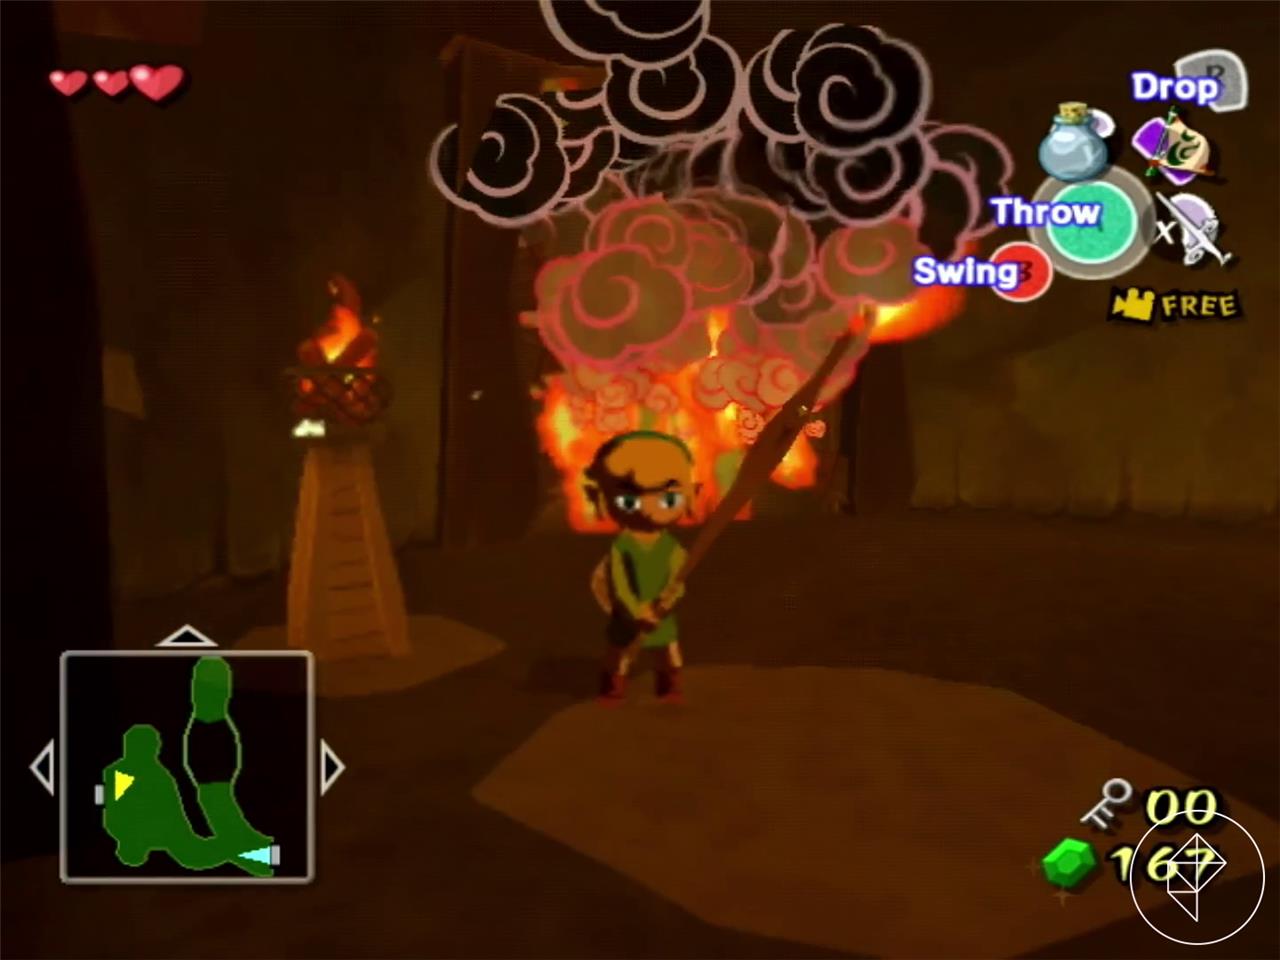
Activate that switch and head through the door.
Fresh air! Head across the bridge, taking out the bokoblin and climbing up the ladder, mindful of the lava shooting out from the wall. Wait for it to stop before you cross.
At the top of the ladder, a bird-like enemy (a kargarok) will lunge at you, so take it out, but be careful to not fall off the cliff while doing so. Once that’s gone, sidle carefully along the plank, avoiding the fire again.
Walk around the huge bomb-able rock and hold on to the ledge of the wooden plank on the wall and carefully climb across like so.
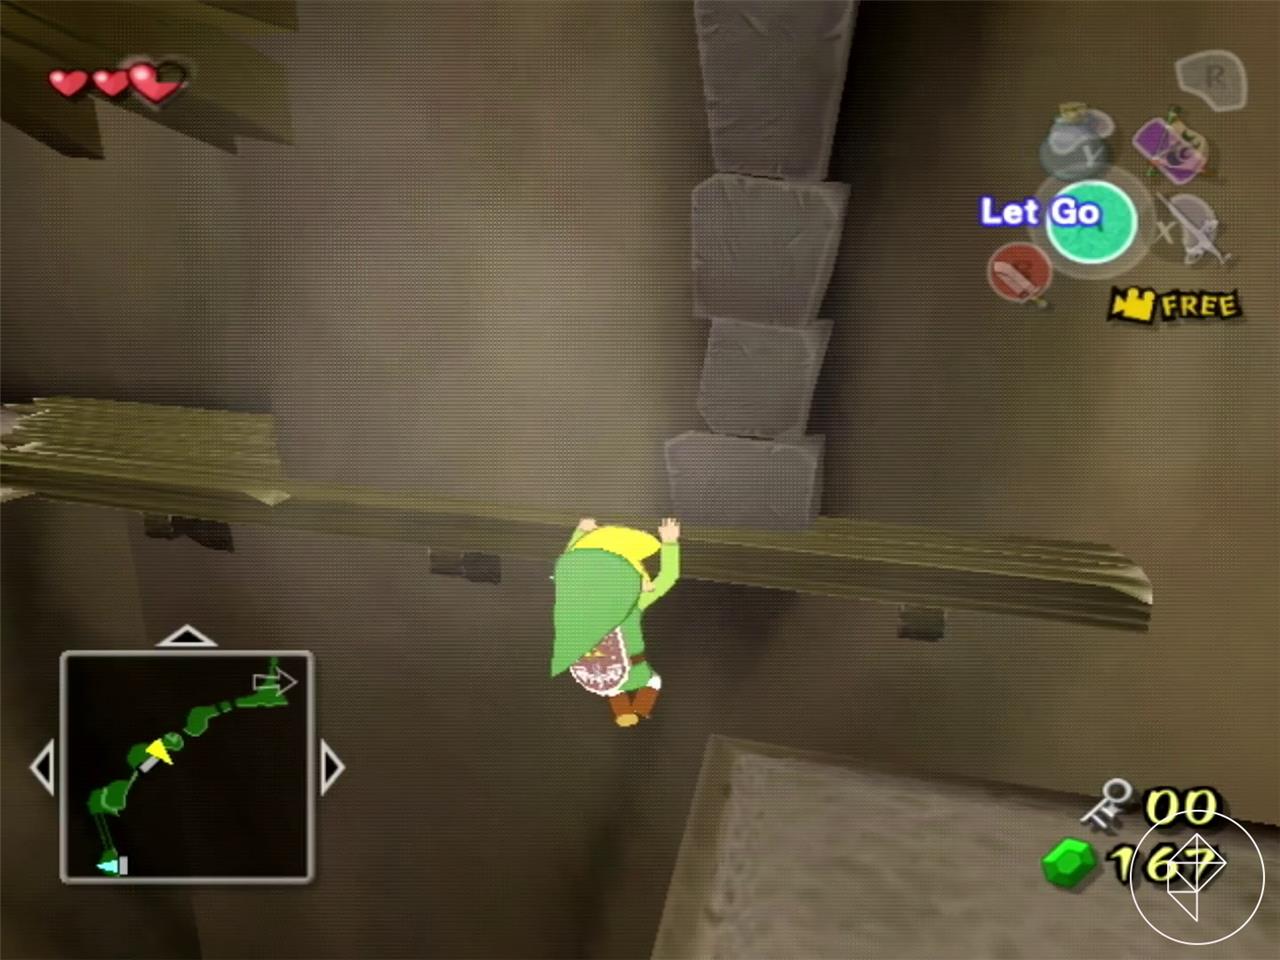
Continue scaling the cliff and use the singular bomb flower nearby to bomb that huge rock from before. With that out of the way, jump down and enter the newly revealed door.
This room has rats in it and the King of the Red Lions will note that you can give them some food in exchange for items. If you bought the Bait Bag from Beetle, you can huck some bait at them for some small items, if you want.
Otherwise, pull one side block and one middle block out to create a staircase up and continue on. Pull out another block from the wall, climb up, and open the chest on the right side to get the Dragon Roost Cavern compass.
To leave this room, you’ll need to break one of the nearby vases to get a stick, light it on fire using the brazier, and then carefully throw it across the room at the boarded-up doorway.
Once you do this successfully, climb up and grab a small key from the chest to exit this room.
Part 4: Finding Medli and getting the grappling hook
In Dragon Roost Cavern, after navigating through the initial rooms and defeating several enemies, you will eventually find Medli held captive. To reach her, you must carefully ascend crumbling stairs and defeat the guards protecting her. Once freed, Medli will reward you with the Grappling Hook, a crucial item that allows Link to swing across gaps and steal items from enemies. This new tool is essential for progressing deeper into the cavern, enabling you to traverse chasms and access previously unreachable areas as you continue your quest to restore the guardian dragon Valoo.
Run up the stone steps on the right and carefully fight the kargarok hanging out at the tip of this cliff. It’s protecting a small key in its nest, so grab that and open the door to end up on a very dark room.
Create a torch out of the nearby sticks and brazier and continue forward, lighting the torch in the next room (and revealing a ton of keese). Open the chest in this room for a Joy Pendant before you light the boarded-up doorway on fire. Light the two remaining braziers and head out.
Before you cross the bridge, use a nearby bomb flower on the nearby cauldron with a stone on top. This will create a teleport point for you. Jumping into this pot will take you back to the entrance of the dungeon (and vice-versa).
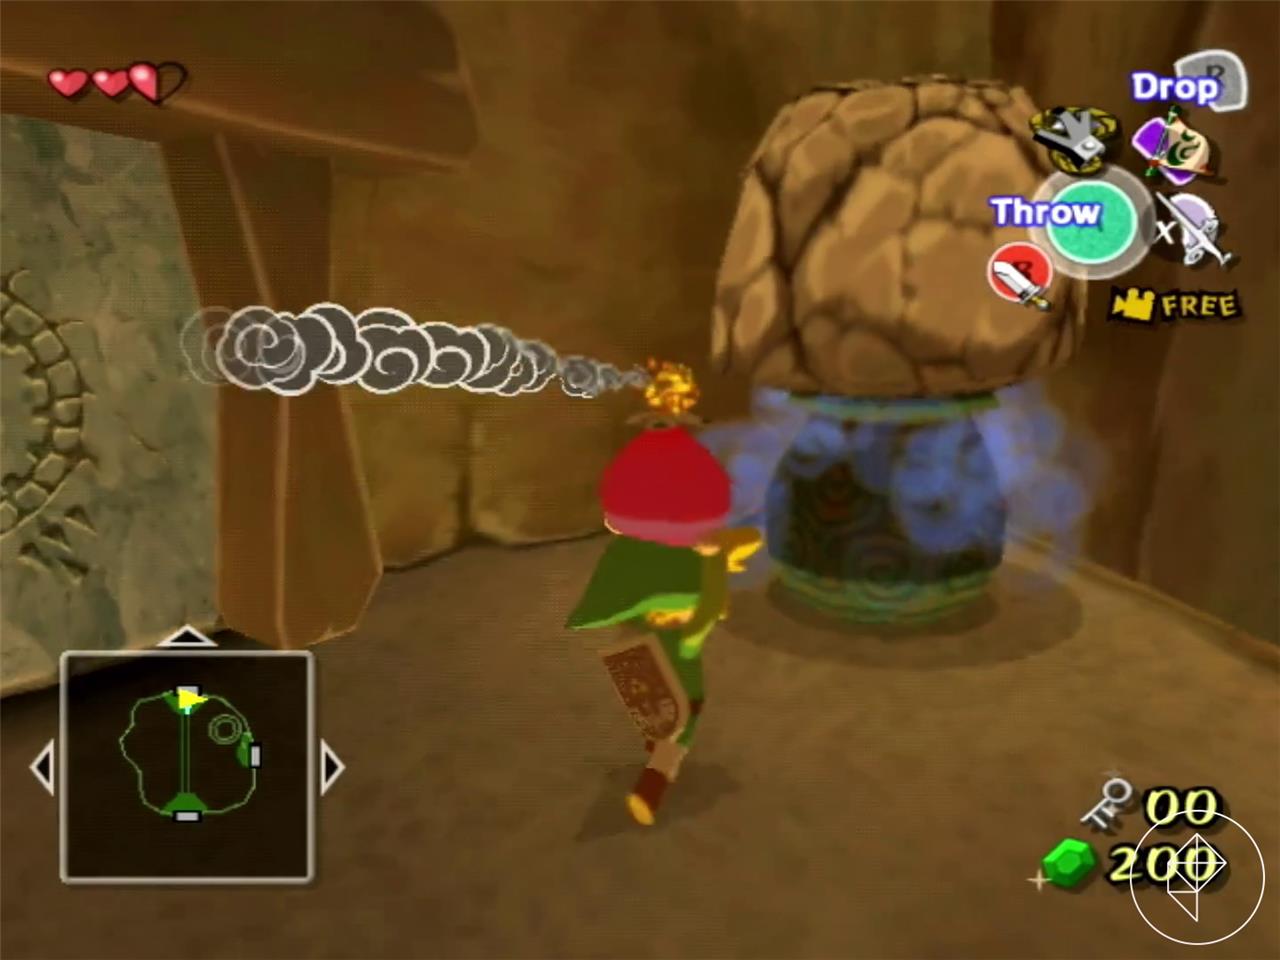
Cross the bridge and you’ll be locked into a dark room with a bokoblin. Take out the bokoblin, but before you do, you’ll need to take out two more hidden ones in the room. The first one will be in a pot on a shelf to the east of the door you came in from. Roll into the wall to get the shelf and pot to drop, revealing the bokoblin.
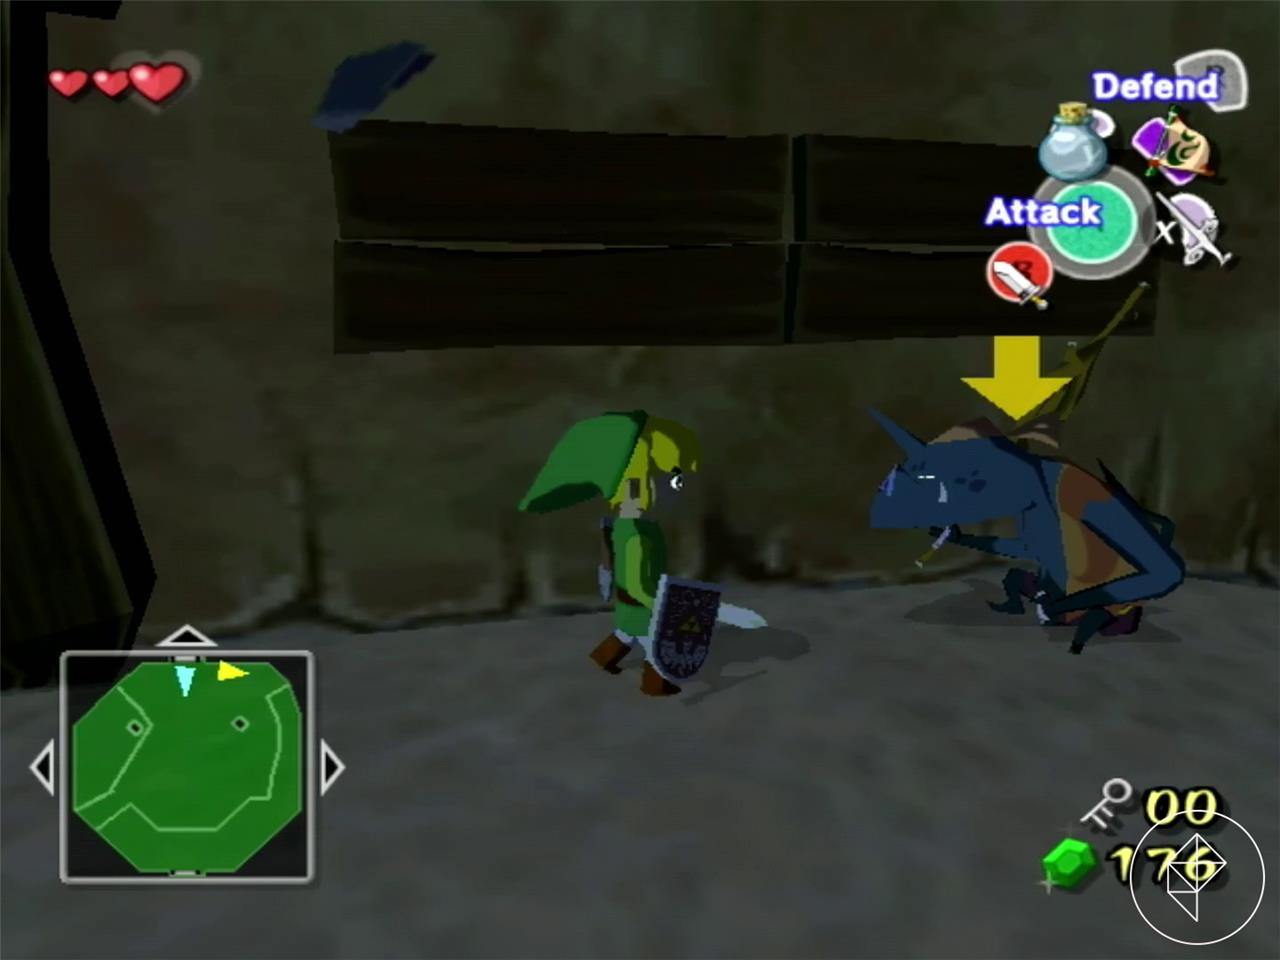
The third one will be in the mess of pots on the lower level, towards the east side. Just break them open with your sword and it’ll pop out eventually. Use one of the sticks that these things dropped to light the unlit brazier on the west side of the room to get Treasure Chart #39 (which will eventually net you 200 rupees if you follow it).
Climb up the ladder to leave the room and you’ll be in a lava room with a ton of water pots. Huck one pot to bridge the gap between you and the centipede-thing (called a magtail) and then use another pot to stun the magtail. Hit it with your sword while it’s curled up in a ball – hitting it while it’s uncurled and moving will deal no damage to it.
Once the magtail is out of the way, use another water pot on the lava plume in the back of the room, turning it into a lava elevator. Ride that bad boy up and head out of the room. You’ll now be able to see the boss room, but we have no key yet, so. Ignore that.
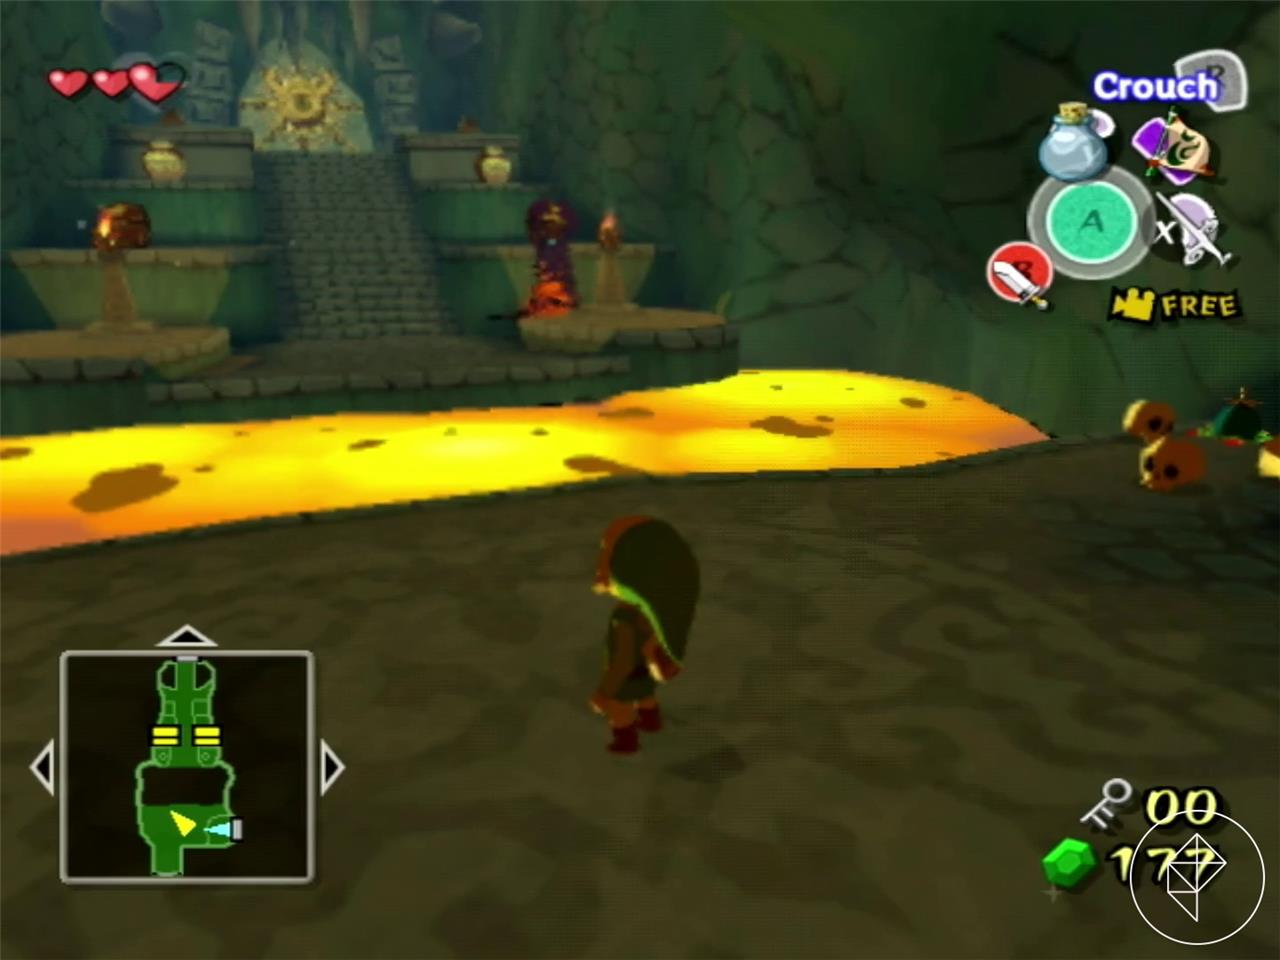
Use the bomb flower (directly north of the door you came in from) to blow up the two big rocks. One will reveal another warp pot and the other will be the path you have to go down. Head into that door.
Fresh air, yet again. Climb up the stairs on the right quickly (they crumble as you run up) to find Medli being held captive. Slice through the two green bokoblins and then a moblin to free our girl.
Once she’s out, talk to her and she’ll give you her precious grappling hook – along with a tutorial about how to use it. Climb up on the stairs to the left of her prison cell and use the hook to jump across the gap, continuing to do so to follow the path until you’re back at the door that brought you outside.
Use the grappling hook to travel from platform to platform towards the east – and use this as an opportunity to practice quickly using your grappling hook. You’ll need it.
Part 5: Finding the Dragon Roost Cavern boss key
To find the Dragon Roost Cavern boss key in The Legend of Zelda: The Wind Waker, first re-enter the dungeon and defeat the two bokoblins on the bridge. Then, perform a spin attack to cut the ropes holding the bridge, dropping you down to a lower path. Proceed through the door and use a spin attack on the ropes of a large cage to create a lava elevator. Drop down, carefully jump across platforms, and climb a ladder. Use the grappling hook to pull a lever that unlocks a door behind you. After entering the newly opened door, grapple across platforms until you reach the boss key room. To obtain the boss key, stun the Magtail enemy by striking it just before it attacks; it will open its pincers and vibrate, signaling your chance to hit. Once stunned, pick up the Magtail and place it on a nearby switch to extinguish the flames blocking the boss key chest. Open the chest to claim the boss key, which grants access to the boss fight.
Head inside and cross the bridge, taking out the two bokoblins (one will be struggling trying not to fall off the bridge and the second will jump out of a pot). With them out of the way, spin attack at the ropes connecting the bridge and you’ll drop down directly on to a path below.
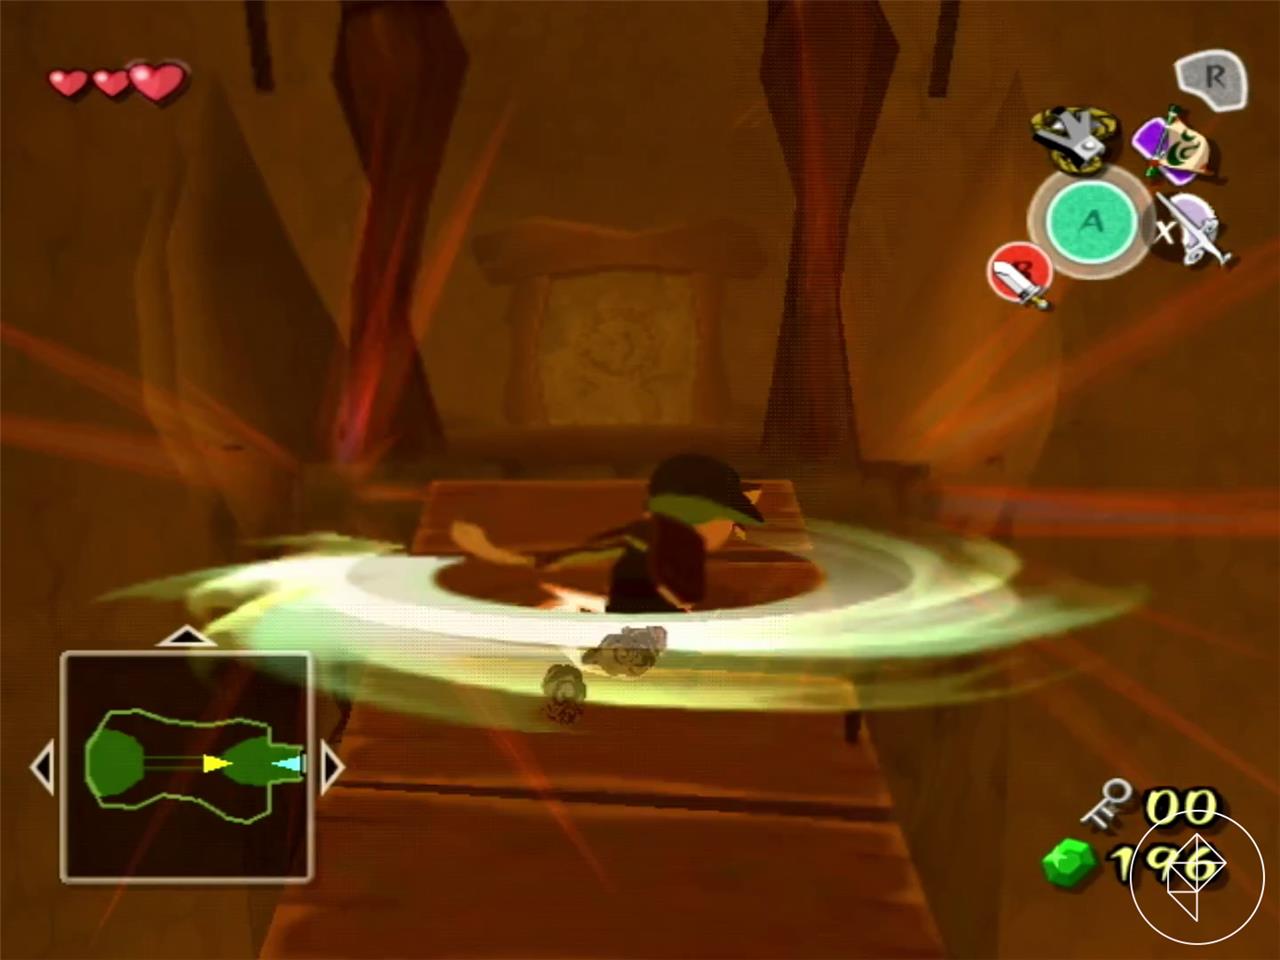
Open the chest for another Joy Pendant and then head into the only door in the area.
Stand on the shakey platform inside the huge cage and spin attack again to break the ropes off the platform, creating another lava elevator.
Drop down and enter the cave, jumping across the platforms carefully until you hit the ladder. Climb up and then face the south of the room from the cliff. Aim your grappling hook at this lever to open the door behind you.
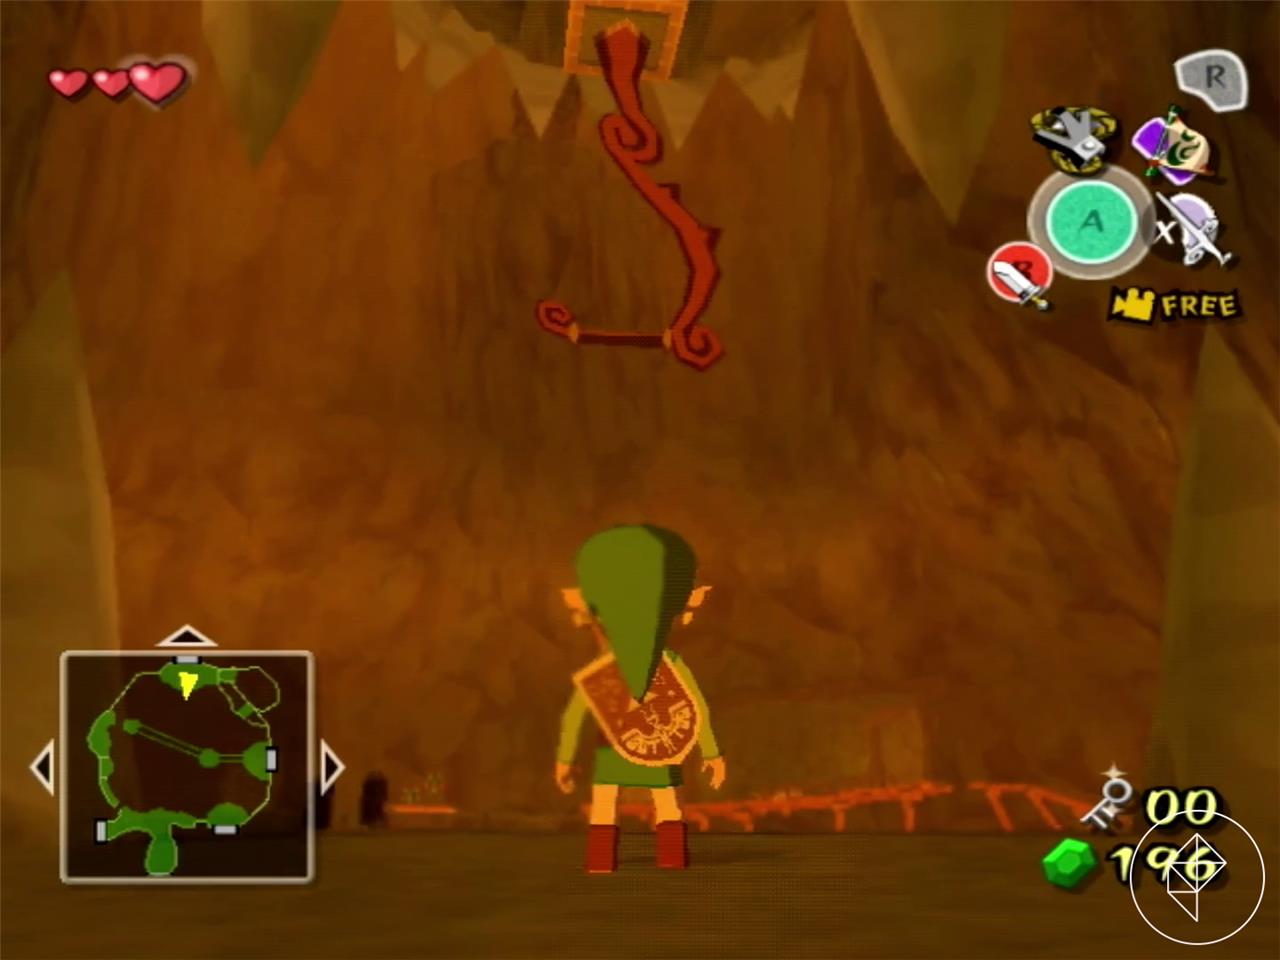
Once it’s open, carefully turn around and leap back on to the cliff and enter the door. Grapple across this lava to land on a suspiciously empty platform. This platform has a secret Tingle Statue on it – but since the Tingle Tuner requires a GameBoy Advance connection to use and this is. a Nintendo Switch 2 port, we’re not really sure how this works. (We’ll update this guide once we figure that much out, though.)
Anyway, grapple back on to the hook and orient yourself so you can jump on to the eastern platform. Keep swinging and jumping along the path and you’ll eventually be in the boss key room.
To get the boss key, you’ll need to stun the magtail, striking it right before it’s about to hit you – it’ll open its pincers and vibrate a little right before it attacks, which is when you should strike. Once it’s curled up, pick it up and place it on the nearby switch to quell the flames around the boss key chest. Open it up to get the boss key.
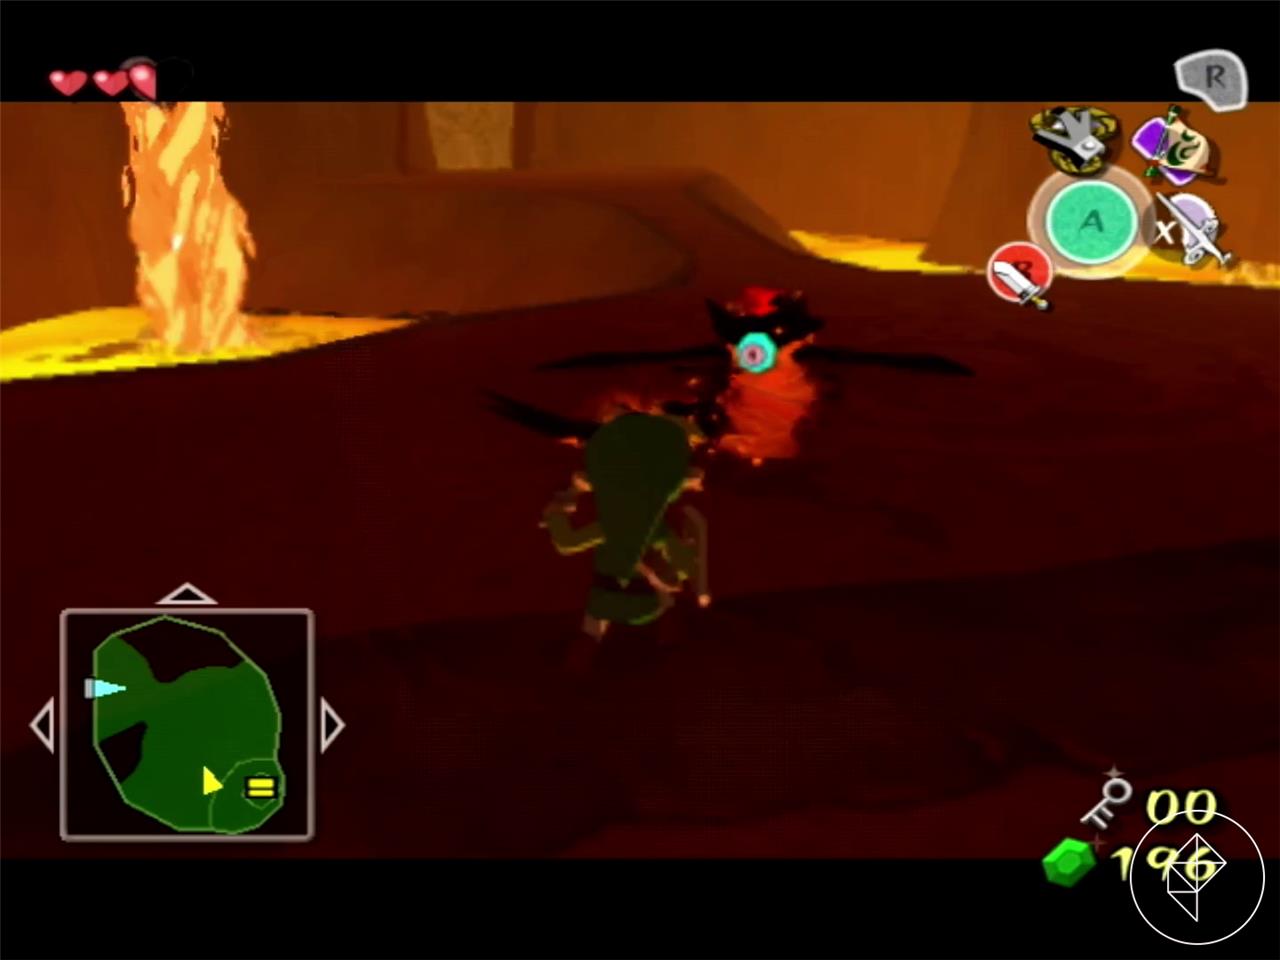
So now you have two options: you can backtrack to the boss room manually (and now fire keese will spawn, making the journey more annoying) or you can save, return to the title screen, and reload your save to just spit you back at the beginning of the dungeon, where you can take the warp pot to the boss room.
We recommend doing the latter, but if you want to do the former, it’s the same path going back, but you will need to make another lava elevator in the room where you broke the bridge. Just use one of the water pots nearby on the lava plume next to where you opened the Joy Pendant chest to do so.
Optional: Backtracking for a treasure chart (Piece of Heart)
In Dragon Roost Cavern, there is an optional backtracking section that allows you to obtain a Treasure Chart containing a Piece of Heart, which increases your maximum health. To access this, you need to return to the dungeon’s beginning and enter the previously locked door near the pile of skulls. Use your grappling hook to cross a gap that you initially bypassed. Be prepared, as all enemies in this area will have respawned. After crossing, break the wooden planks and open the chest to claim Treasure Chart #11, rewarding you with a valuable Piece of Heart for your efforts.
You don’t have to do this, but this treasure chart will give you a Piece of Heart, so if you want more Heart Containers. you should. You’ll need to reload your save or backtrack to the beginning of the dungeon and head into the previously locked door near the skulls I kept mentioning. Remember this door? It’s pretty close to the beginning of the dungeon, but you’ll need to head back in there.
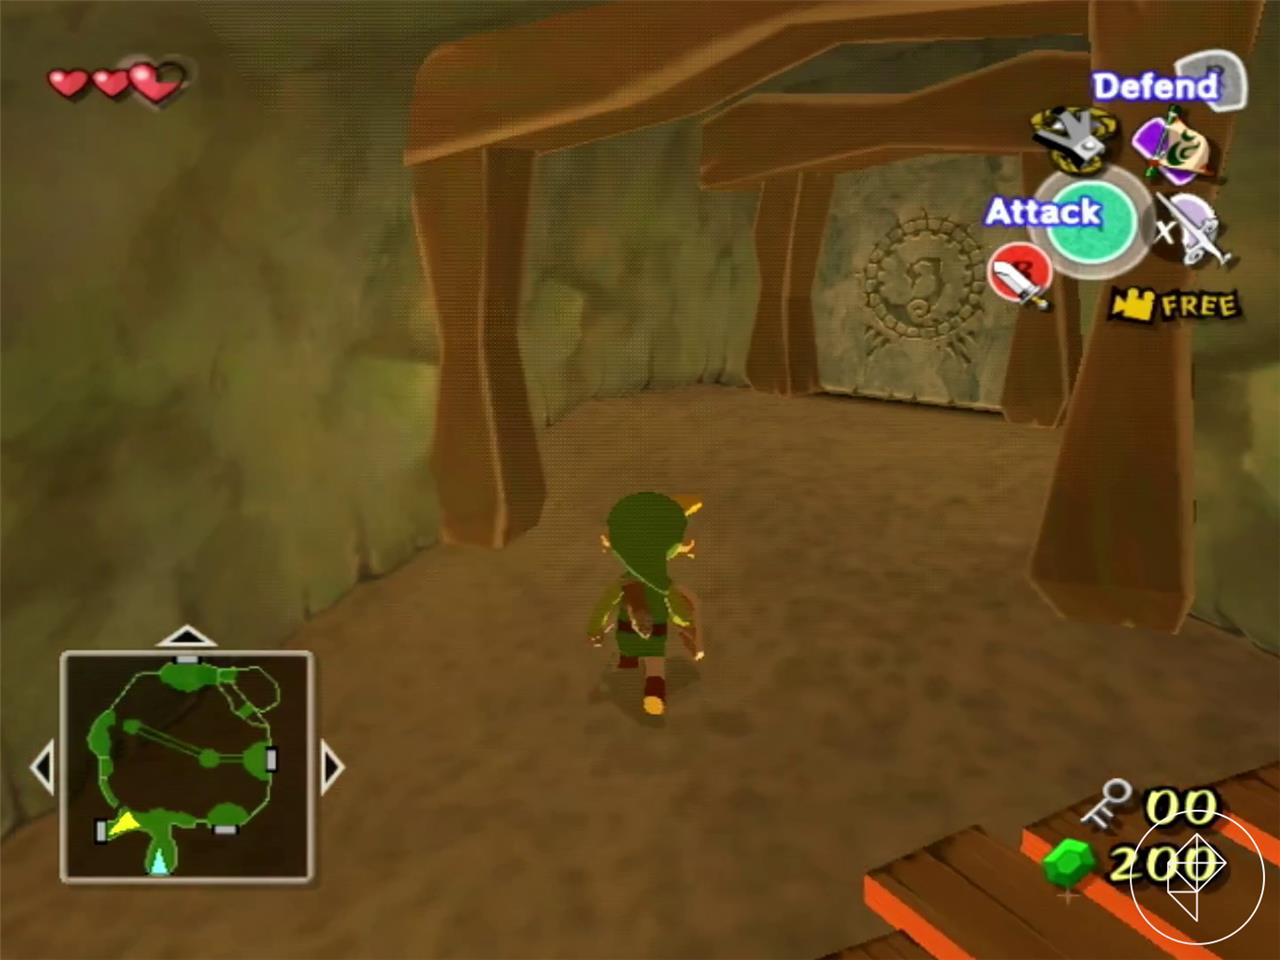
Now you can head right, using your grappling hook to cross the gap that I told you to ignore earlier. Beware because all the enemies in this room will also respawn.
Once you grappling across, just break the planks and open the chest to get Treasure Chart #11.
Part 6: How to beat the Gohma boss fight
To beat the Gohma boss fight in Dragon Roost Cavern, focus on using the Grappling Hook rather than attacking Gohma directly. First, latch onto Valoo’s tail hanging from the ceiling and swing to make a piece of the ceiling fall onto Gohma, which will crack her armor. Repeat this three times to break her shell. Once her armor is shattered, lock onto her exposed eye with the Grappling Hook, pull it closer, and attack it with your sword while dodging her claw and fire attacks. After a few hits, Gohma will be defeated, rewarding you with a Heart Container and Din’s Pearl.
Head back to the boss room either by backtracking or using the pots. Grapple across the lava and take out the magtail. The two chests nearby have a yellow rupee (worth 10 rupees) and a Knight’s Crest.
Head into the big ominous boss door once you’re healed up and ready.
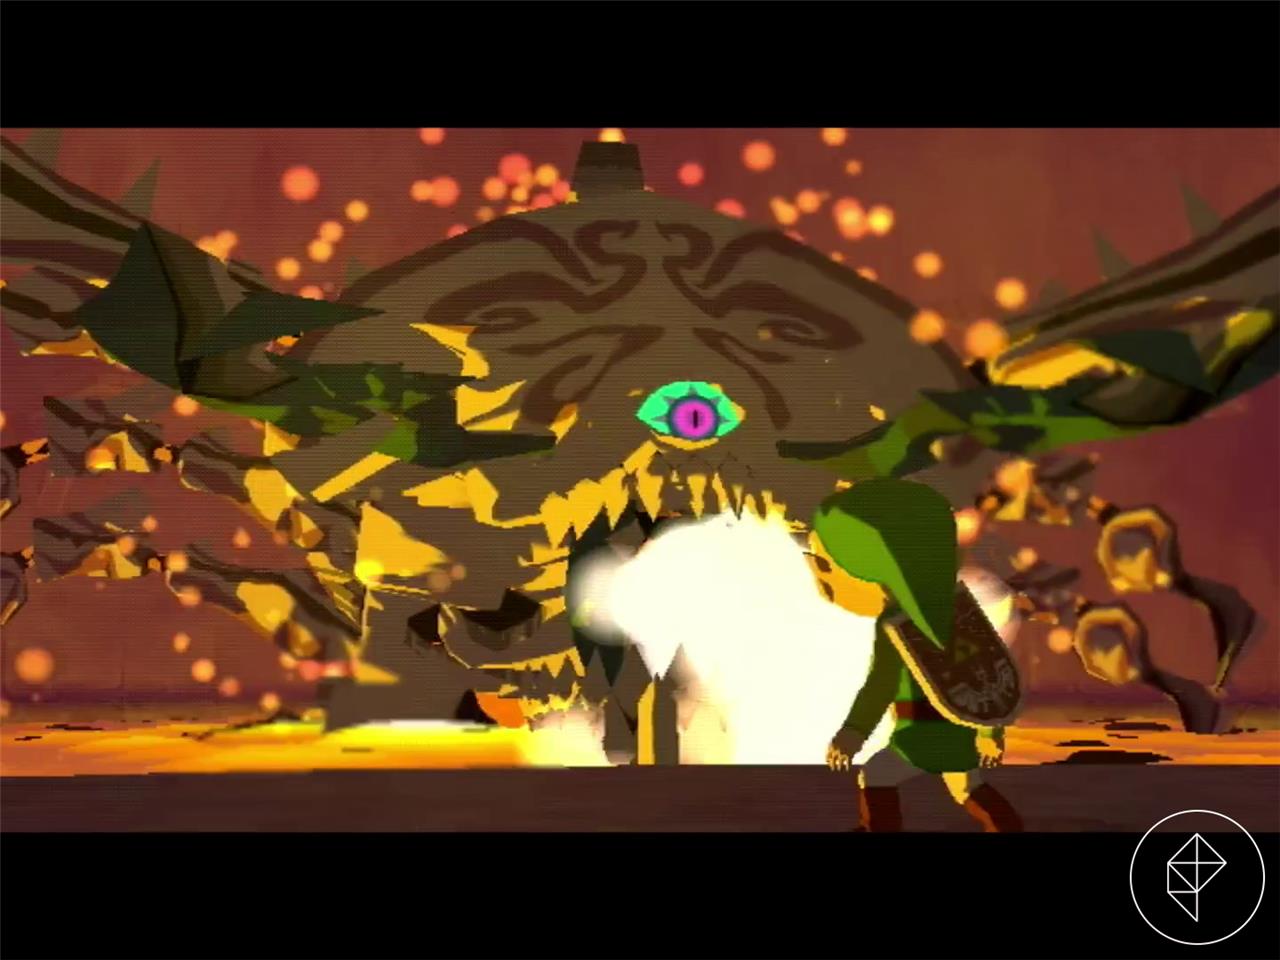
Realistically speaking, you don’t have many tools at your disposal at this point, so Gohma isn’t that much of a threat. The whole gimmick here is centered around your newly obtained tool (your grappling hook) which is par for the course for these older Zelda titles.
Gohma will slam its claws around, often getting stuck in the ground. When it’s stuck, use the grappling hook to grab Valoo’s tail, which is hanging down from the ceiling directly above Gohma. Landing the shot and jumping off will make a piece of the ceiling fall off, cracking Gohma’s armor. Repeat this three times until its armor is completely gone. You don’t have to land on any of the elevated platforms or anything like that.
It will get progressively harder to do this, as Gohma will wise up and stop getting its claws stuck so often – which is why we noted you should practice landing your grappling hook quickly. If its claws are also in the way, you can dodge roll under them to get away from whatever attack Gohma is serving up.
Once the armor is destroyed and gone, you can use the L trigger to lock onto Gohma’s eye and quicky use your grappling hook to drag it closer to you and then unleash a flurry of attacks on the vulnerable eyeball.
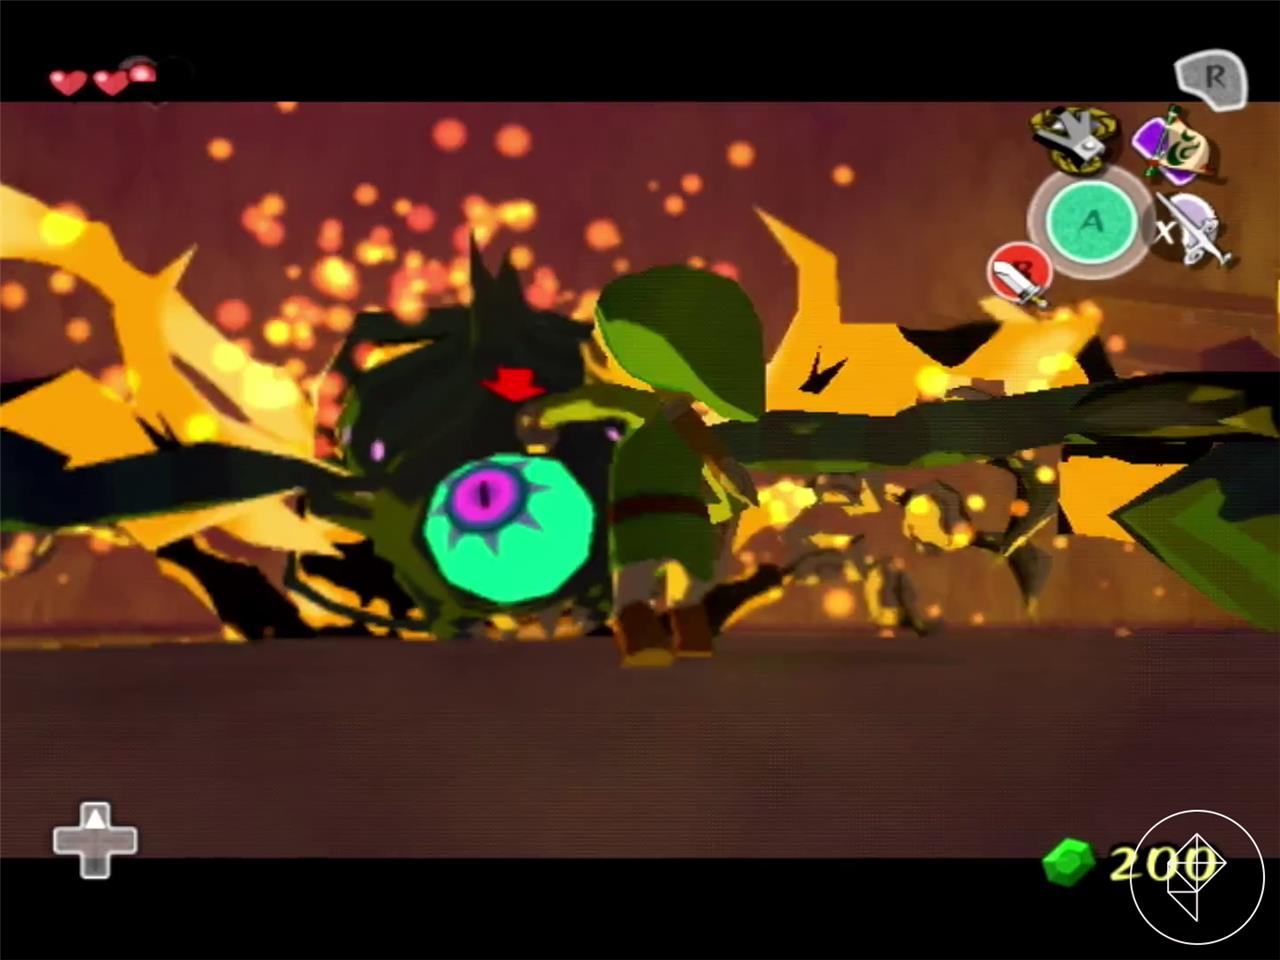
It took about two complete melee combos to defeat Gohma this way.
Once it’s all dealt with, it’ll drop a Heart Container and a magical gale will appear, warping you out of the dungeon and back to your boat.
Medli and Komali will both say thanks and hand over the pearl. Medli will also note that you should visit the Wind God’s Shrine (as per Valoo’s instructions), pointing out where it is. If you haven’t already done this, you will need to head there to learn the Wind’s Requiem before you can leave the island.
With all that done, you can get on your boat and head south as the King of Red Lion instructs. At this point, you can backtrack back to Windfall Island if you want, but you cannot head anywhere else without the boat telling you that you’re not ready, so you might as well head south to the Forest Haven.
What secrets does the dragon’s cavern hold beyond Gohma boss
Beyond the Gohma boss fight, Dragon Roost Cavern holds several intriguing secrets and challenges. After defeating Gohma and obtaining Din’s Pearl, players cannot immediately leave; they must first acquire the Wind’s Requiem from a shrine on the island and change the wind direction to south to access their boat.
Within the cavern itself, there are hidden areas with treasure chests containing items like the Dragon Roost Cavern compass and Joy Pendants, which can be found by solving puzzles such as lighting braziers, breaking planks, and manipulating blocks to create staircases. Players can also find a secret Tingle Statue on a suspicious empty platform, although its functionality is unclear in the current version of the game.
Additionally, the cavern features unique environmental mechanics like lava elevators created by using bombs, and players encounter various minor enemies such as bokoblins, red chuchus, and magtails that must be defeated to progress or unlock secrets. The cavern also serves as a place to meet Medli, who provides the essential Grappling Hook needed to traverse further areas and reach the boss key room.
Overall, Dragon Roost Cavern is more than just a boss arena; it is a layered dungeon filled with puzzles, hidden treasures, and lore that deepen the adventure beyond the climactic battle with Gohma.
What hidden lore or treasures are rumored beyond Gohma’s lair
There are no specific confirmed hidden lore or treasures rumored beyond Gohma’s lair in Dragon Roost Cavern according to the provided search results. The search results mainly reference real-world lost treasures and unrelated game content, without mention of additional secrets or lore beyond the Gohma boss in The Wind Waker’s Dragon Roost Cavern.
Based on general knowledge of the game, the primary significant reward after defeating Gohma is Din’s Pearl, a key item for progressing the story. While the dungeon contains various puzzles and minor treasures such as treasure chests and Joy Pendants, no widely recognized rumors or hidden lore specifically beyond Gohma’s lair have been documented in official or fan sources.
