Trapped within the towering Clock Tower and the eerie Ancient Chantry, Leon faces a gauntlet of cultists, traps, and machinery that push his survival skills to the edge. This chapter demands precision, timing, and sharp strategy to conquer one of the remake’s most intense sequences.
Throughout this walkthrough, we’re not going to mention every item that anyone (or anything) you shoot drops – if you kill something, look for a loot drop.
Also, there’s a little randomness to the contents of crates based on your inventory and weapons, so you probably won’t find the exact same things listed below. The crates and barrels themselves will always be in the same locations, though. And all other items – keys, collectibles, and resources not found in crates – should be the same.
Make your way to the surface (finally)
Push through the last stretch of the castle as Leon climbs toward freedom. The path to the surface is filled with fierce opposition-fanatics, cult leaders, and heavy firepower waiting around each bend. Use cover wisely and manage your ammo carefully, as this is one of the toughest fights yet. Once the final enemies fall, the fresh air above marks the end of your time in the castle and the start of a new challenge ahead.
Before anything else, sweep the platform where you fought Krauser. You’ll find a green and a red herb on some of the boxes on either side of the platform.
Take the (very slow) elevator at the north end of the platform. You’ll get a call from Ada on the way.
When you step off the elevator, turn left. There are two Blue Note Requests on the left wall – Jewel Thief and The Disgrace of the Salazar Family. Continue left to find a vase with some pesetas. Head in to visit the Merchant and save at the typewriter.
He won’t have anything new to sell and you probably don’t have any treasures to sell, so just repair your knife and Body Armor, and move on.
Before we take the gondola (cable car?) outside, head to the right and unlock the door back to the Ballroom. Before you step through, turn left and open the case on the table for a Small Key.
Throne Room Request
After surviving the Clock Tower gauntlet, Leon enters the Throne Room, where Ashley is being held. Before triggering the next cutscene, players should explore the area for treasures and resources scattered around, including valuable items near the ornate chairs and along the walls. This is also a good moment to organize inventory and upgrade weapons at the nearby Merchant, as a major confrontation lies ahead. Once prepared, approach the throne area to continue the story and face the next challenge.
Head back through the Ballroom and return to the Antechamber. There are several zealots and spider parasites waiting for you. Deal with them, and then push into the Throne Room.
Inside, check the right side for the Chronicles of Pursuit 2 file and a vase with pesetas. Over to the left, smash the crate for some gunpowder.
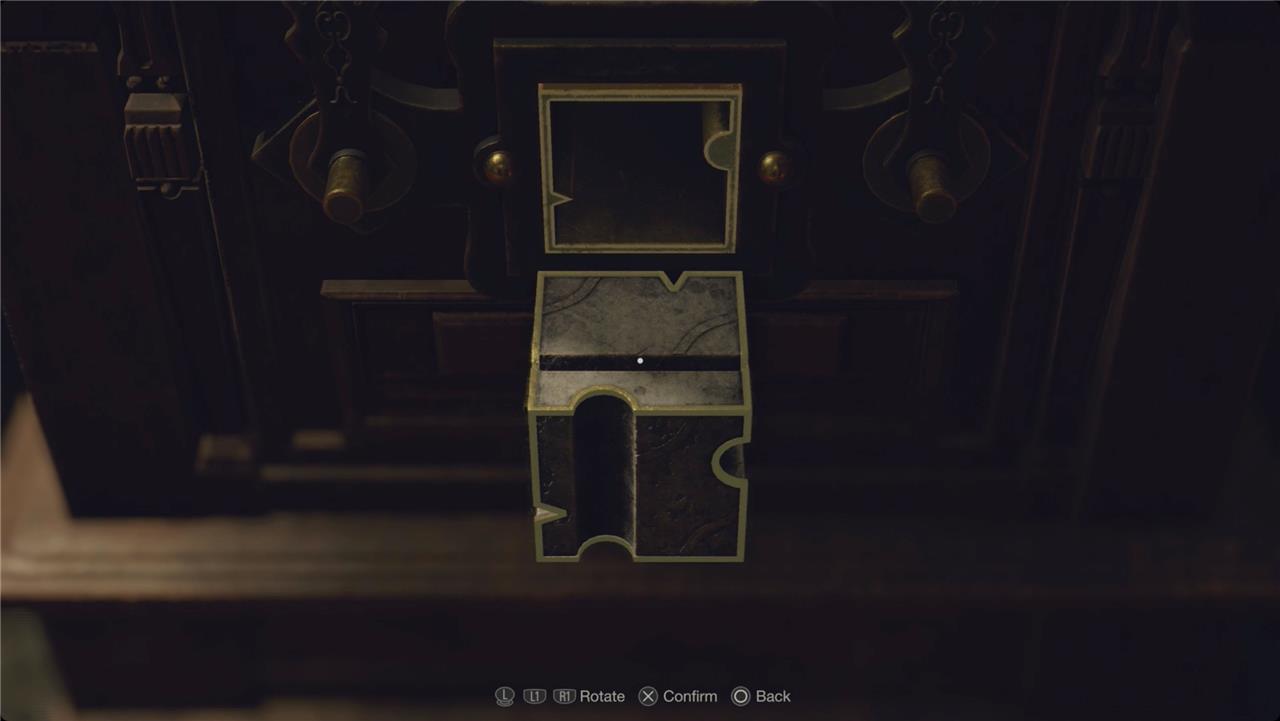
Head up the stairs and turn right to find a Square Lock Box. Rotate the Cubic Device twice down to unlock it and grab a Gold Chicken Egg. The Housekeeper’s Memo 2 file is just to the left.
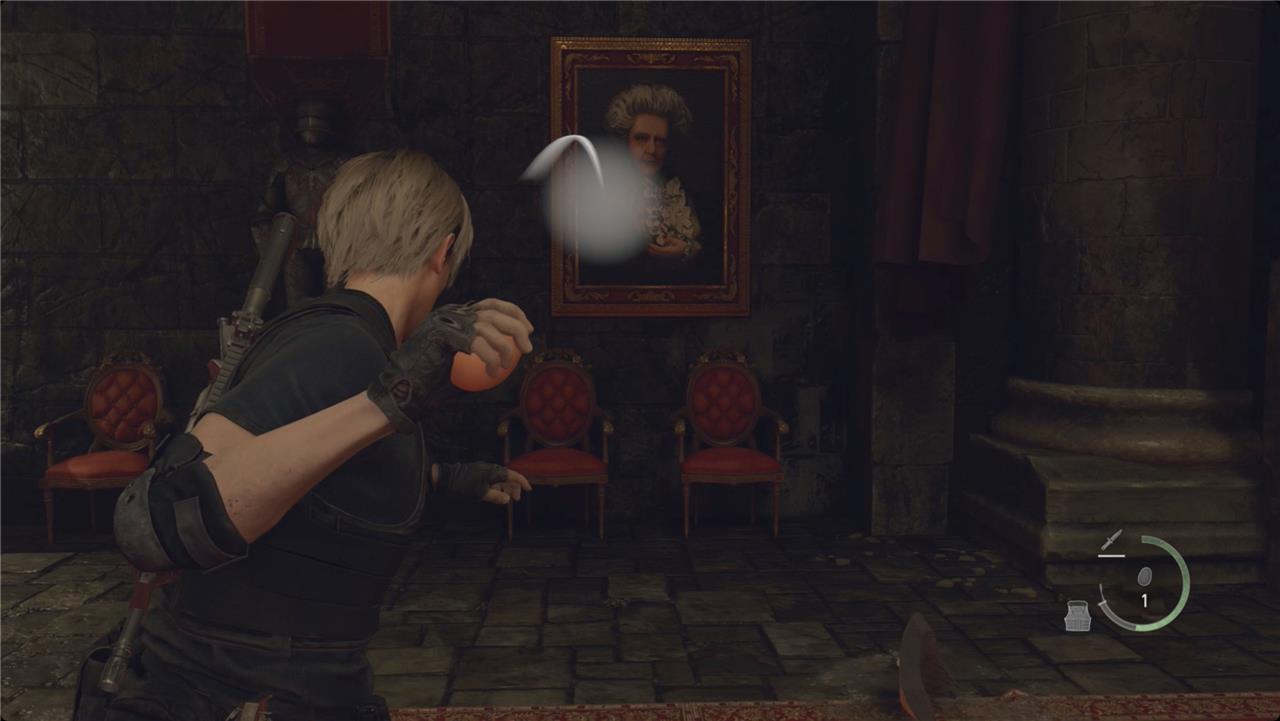
In the back right corner, grab the Boot Knife from the portrait and smash the vase to the left for some pesetas. Continue around counterclockwise and smash the vase next to the throne for more pesetas.
Over on the left side of the room, grab the Ramon’s Confession file and smash the vase for more pesetas.
Ramon’s portrait is in the northeast corner of the room – to the left of the throne. Pick up one of the chicken eggs nearby (why are there chickens in the Throne Room?) in there to finish the The Disgrace of the Salazar Family Request.
Courtyard Request
The courtyard area ahead is a calm before the storm, offering a narrow path to the Clock Tower while hinting at trouble lurking beyond the archways.
For the Jewel ThiefRequest, you’ll have to backtrack through the Grand Hall and into the Courtyard.
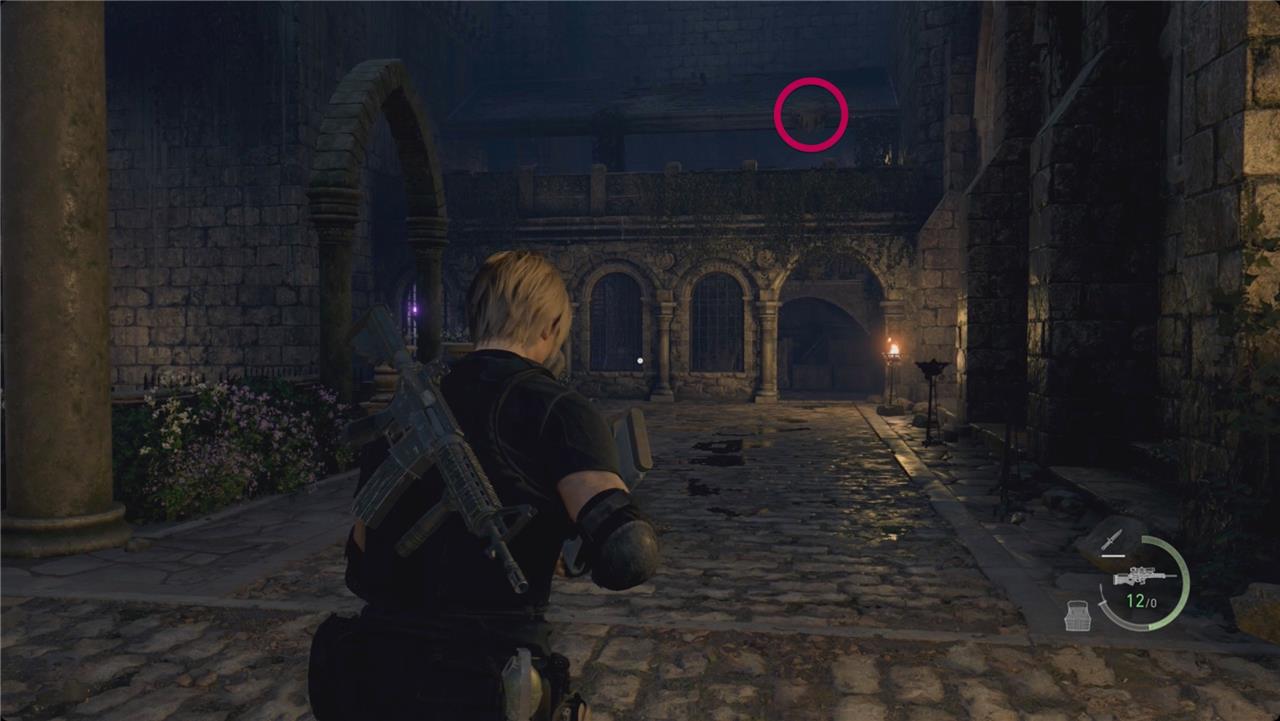
At the bottom of the stairs, continue west and around the corner as if you were heading to the Merchant there. The bird nest you’re looking for is above the doorway ahead of you to the north. Shoot it down, and you’ll pick up the scratched emerald on your way to that Merchant.
Sell the emerald to the Merchant to complete the Request (you can also sell that Gold Chicken Egg while you’re here). Head all the way back to the Ballroom.
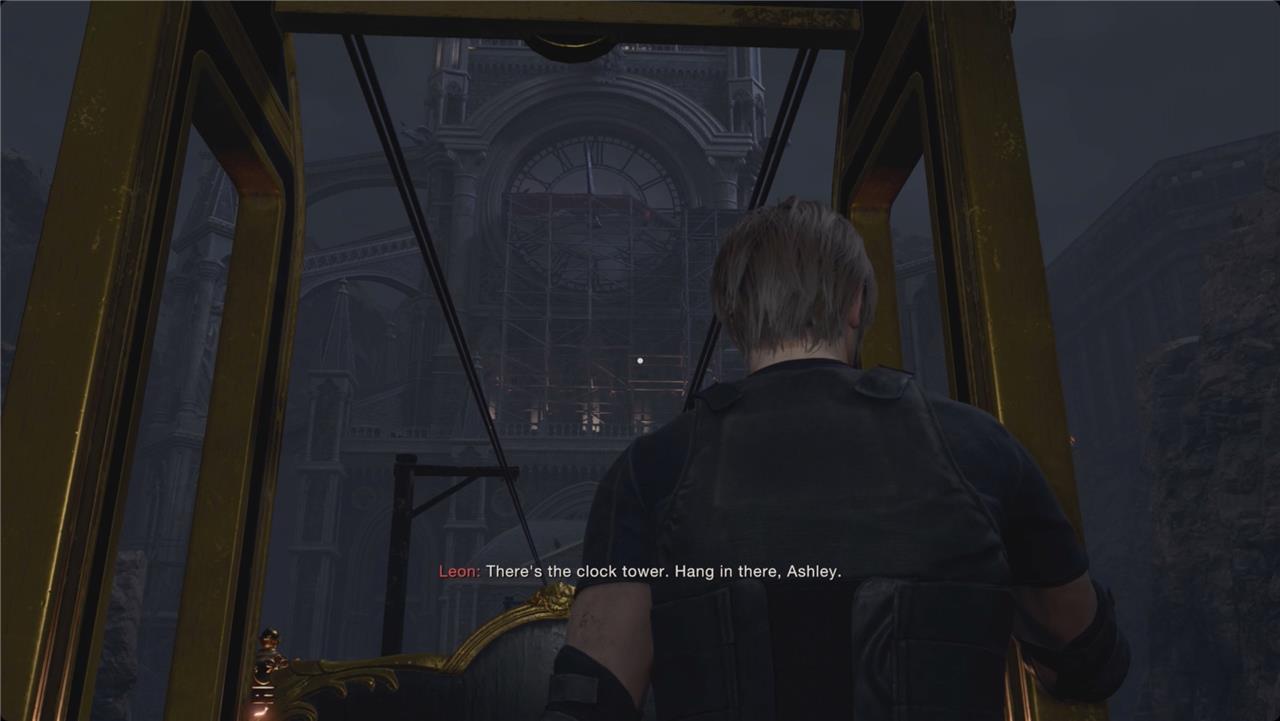
Head for the clock tower
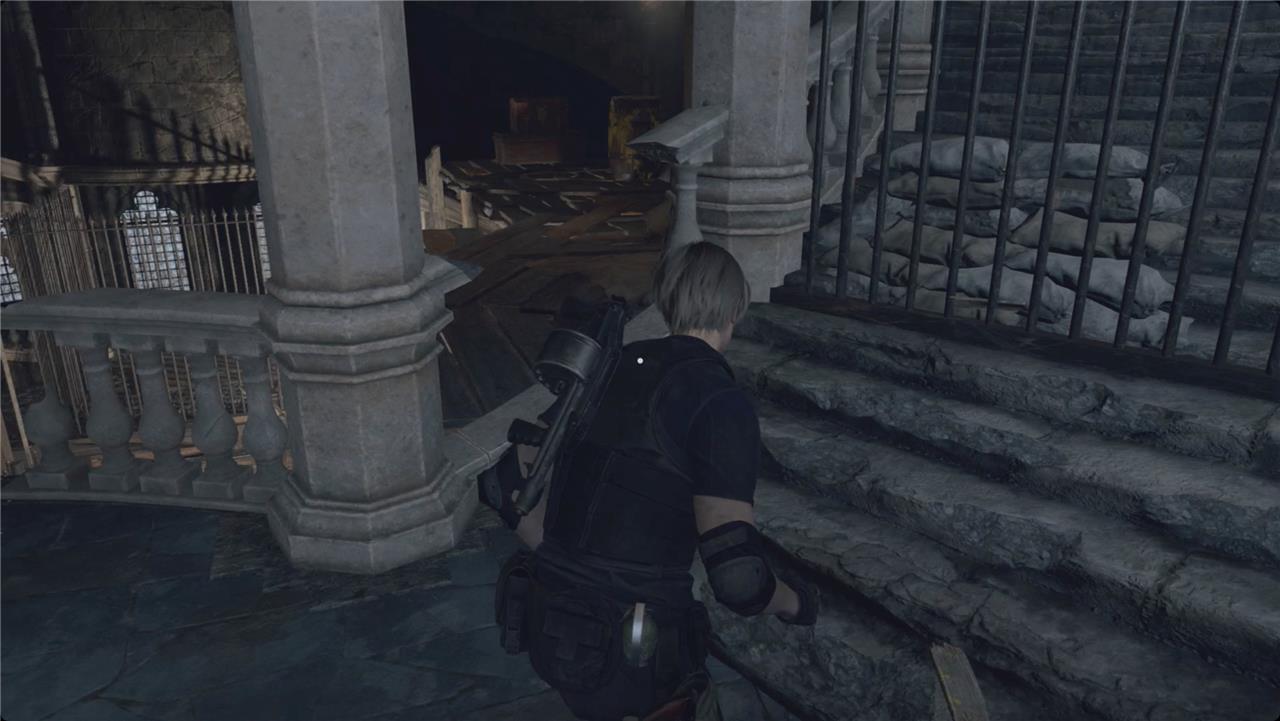
Make your way through the courtyard and approach the towering structure ahead. Inside, enemies will attack from multiple levels, so use cover and keep an eye on ladders where reinforcements appear. Shoot the mechanisms controlling the gears to clear the way forward, then ascend carefully as debris and traps can block your path. At the top, prepare for a fierce encounter before proceeding toward the bridge that leads to the Ancient Chantry.
From the Ballroom Merchant, head outside to the gondola and ride it across to the Clock Tower. When you arrive, cut to the right and smash the vase for some handgun ammo and pesetas.
Up the stairs, smash the crate and vase on the left for rifle ammo and pesetas. Push through the big doors to the north. Continue up the hall to the round room for a quick cutscene.
Deal with the zealots who attack after. Before you take the stairs, sweep the ground floor for three barrels with handgun ammo and pesetas. Duck behind the wall in the southwest to find a chest with a gold bar inside.
In the northwest corner, look on top of the boxes under the stairs for Clockwork Castellan11 of 16.
As you head up the stairs, there’s a barrel on the first landing with more pesetas and another at the top with resources (S).
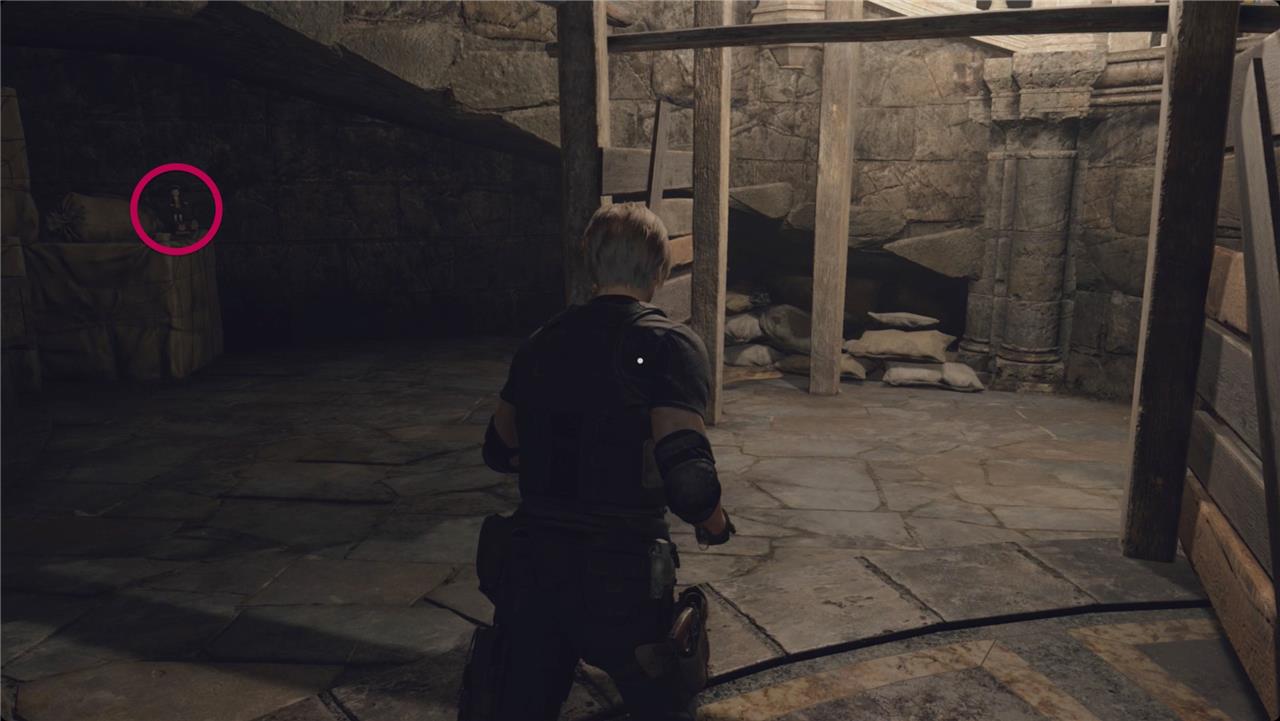
Head left to the next corner and smash another barrel for even more pesetas. Turn left and look above the blocked stairs for a lantern with an alexandrite.
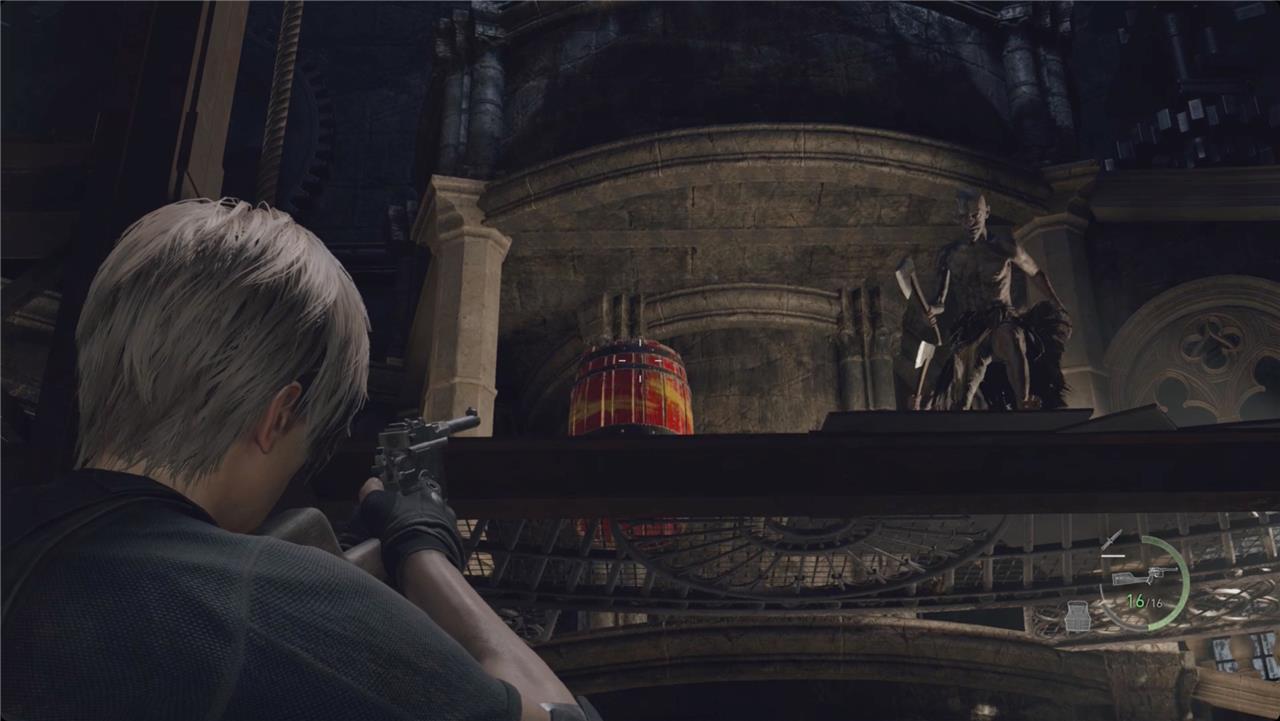
When you head back to the center of the room, the giant statue will start breathing fire. Retreat to your corner and watch the back of its head carefully – there’s an explosive barrel inside.
Shoot it to disable the head. Head back past the flaming head and climb the ladder there. Take a left and smash the barrels for some more pesetas.
Follow the walkways across, deal with a few more zealots, and smash the next barrel for some handgun ammo.
Head up the stairs. Ignore the zealots and barrels as best you can because another zealot up top is about to Indiana Jones a spiked ball down the stairs toward you. Get back down to the walkways and wait it out.
Head up the stairs again. Grab the pesetas from the smashed barrels and stick to the left to wait out another spiked ball. Keep heading up.
Duck into the cage-alcove on your left and handle the zealots. Smash the barrel for some rifle ammo and wait out one more spiked ball. Keep heading up and sticking to the left.
You’ll run into an arbalist in another alcove about the same time the next ball rolls through. Smash the barrel there for some handgun ammo.
At the top, take out the zealot controlling the lever. When you see a bunch more zealots start heading up the stairs, throw the lever yourself to drop one final spiked ball to take them out. Smash the barrel to the right for some gunpowder.
Start up the stairs again – they’re blocked, so you won’t get far. At the gate, turn left. Smash the barrel for a green herb and open the chest there for a Mirror with Pearls & Rubies.
Drop off the ledge into the center and smash the barrel on your left for some pesetas. Head to the right and smash the barrel there for more gunpowder. There’s a chest behind that barrel with an Extravagant Clock inside.
The lever in the center of the floor will raise the lift you’re standing on. Before you throw the lever, reload all your weapons (and craft some shotgun ammo if you can). On the ride up, you’ll have to deal with a ton of zealots. Watch for exploding barrels to help you out as you go.
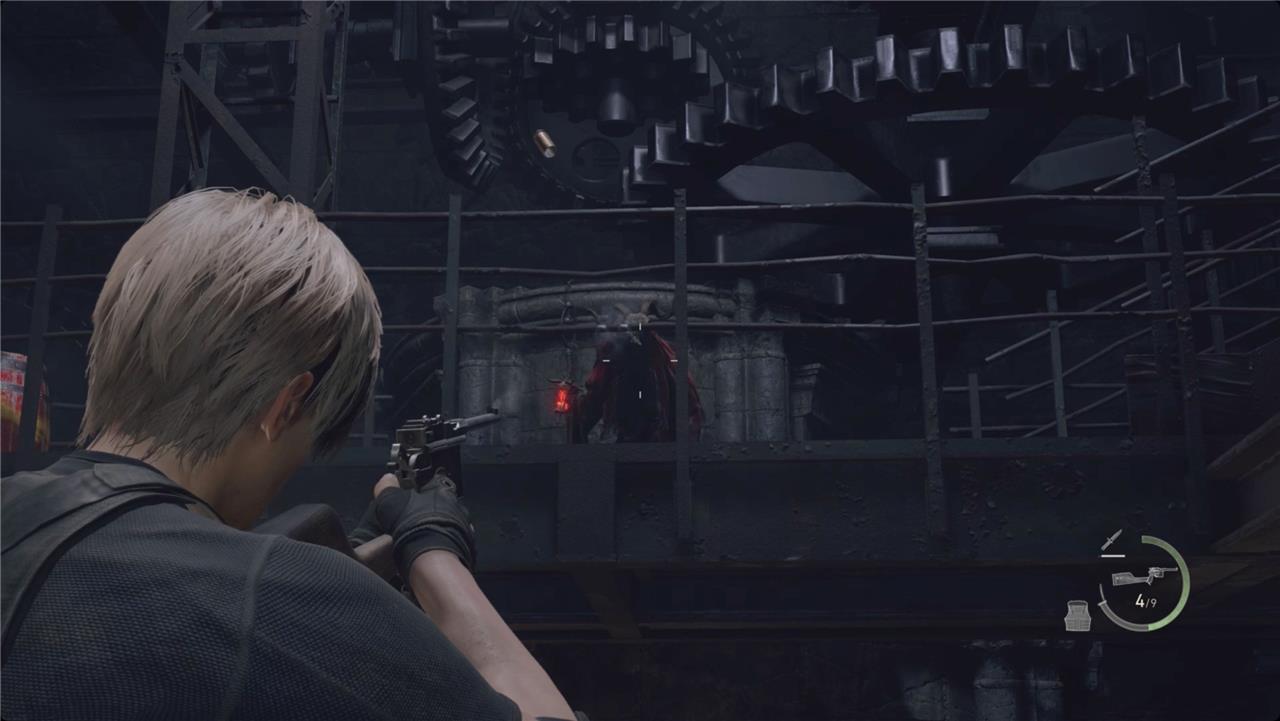
You’ll also have to watch for the pair of red-robed zealots – take them out as fast as you can to avoid too many plagas popping up.
Throw the lever and fight your way up.
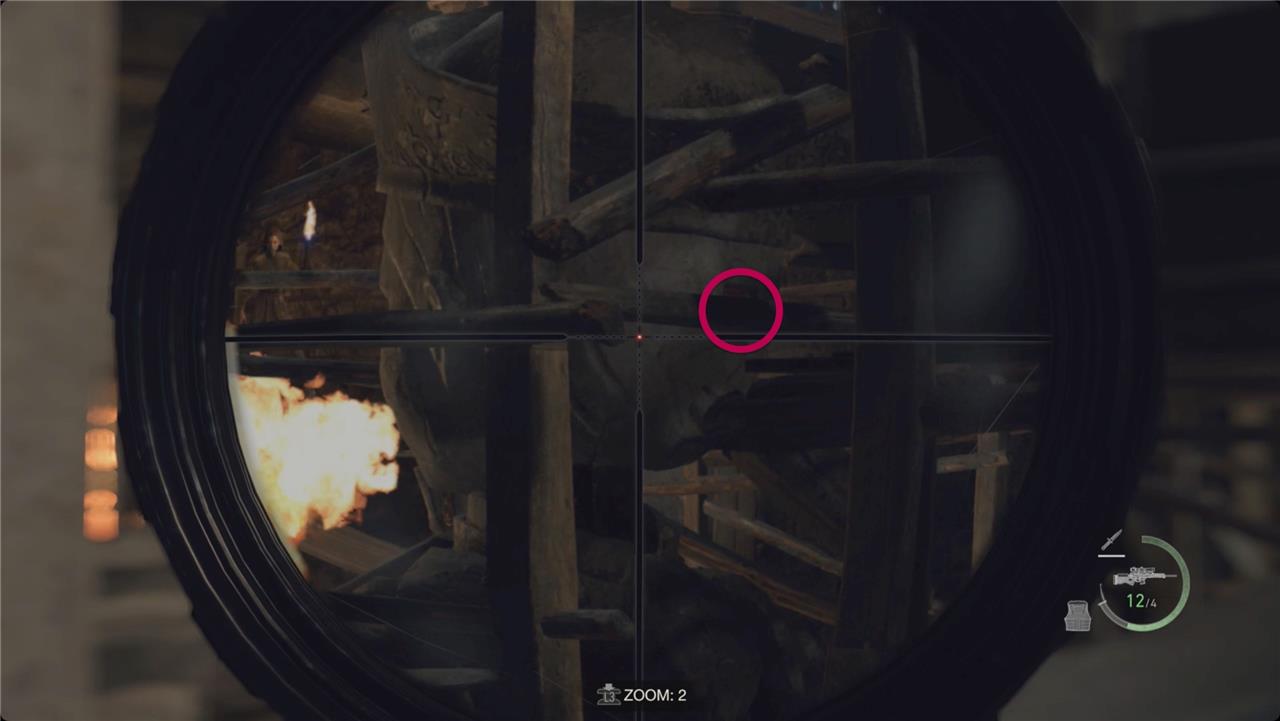
At the top, take the stairs up and through the door. Follow the walkway outside to the left to find a binocular vista. While you’re up here, snipe any zealots you can spot.
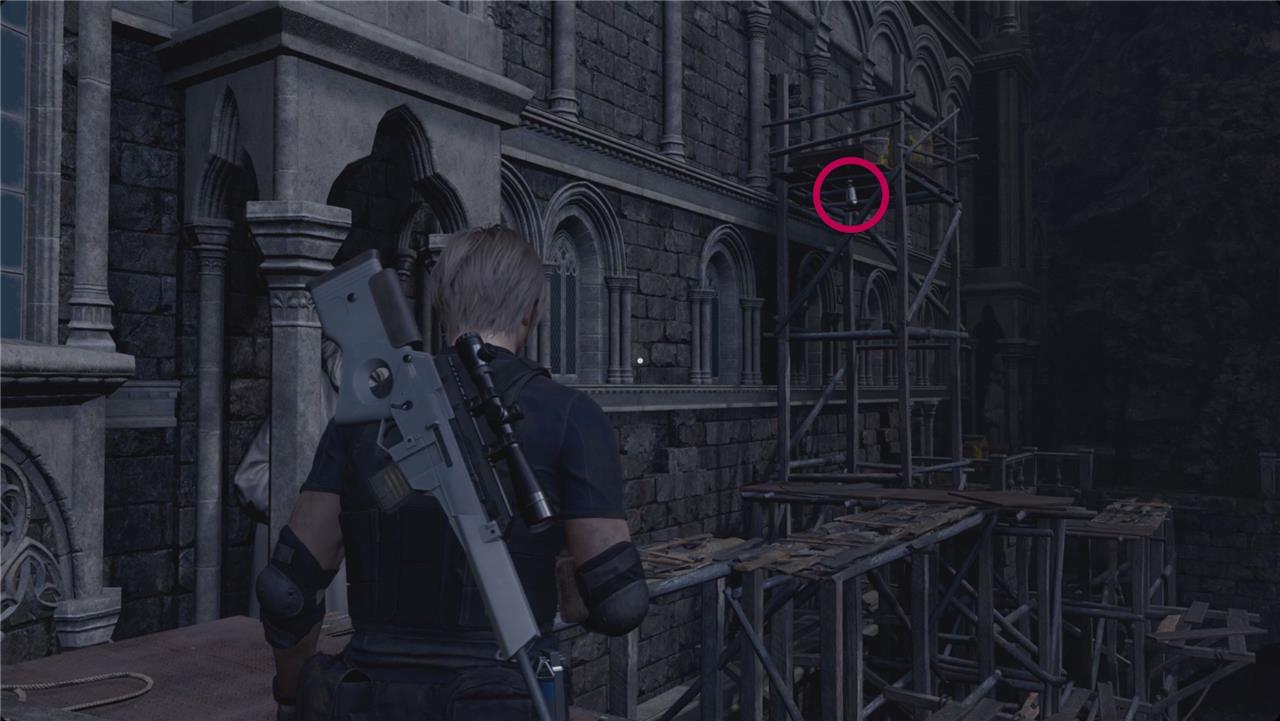
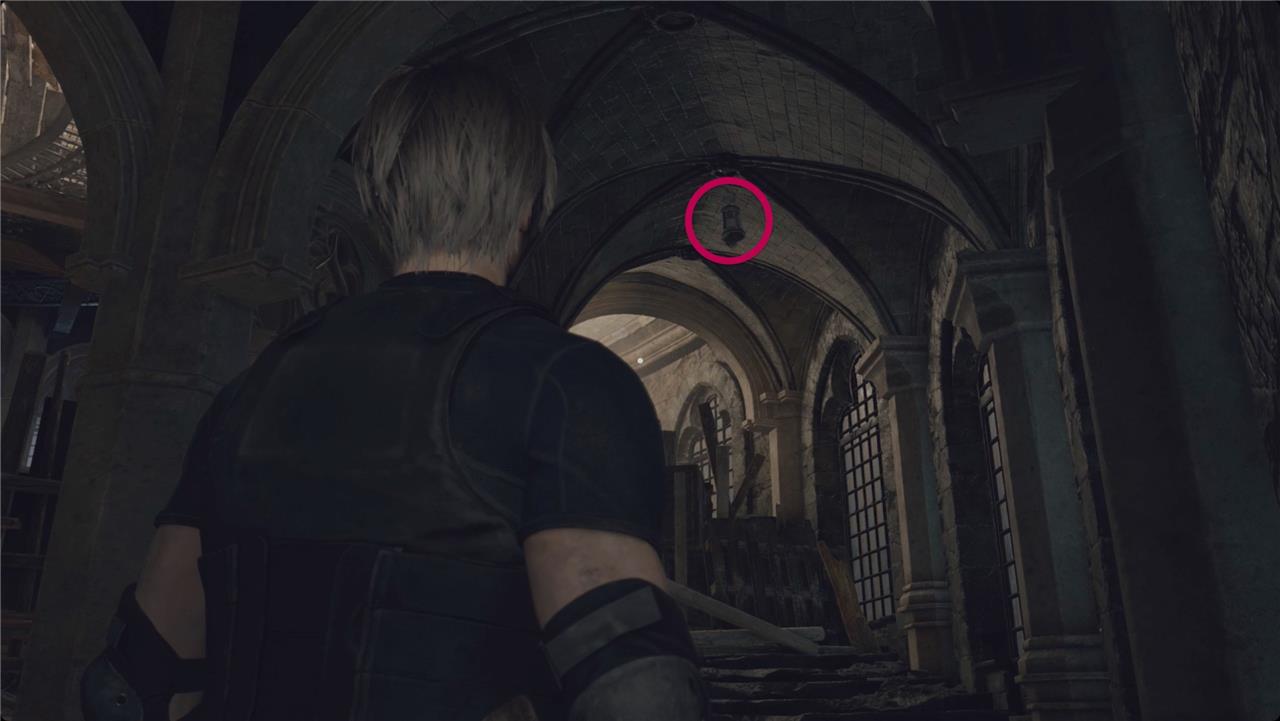
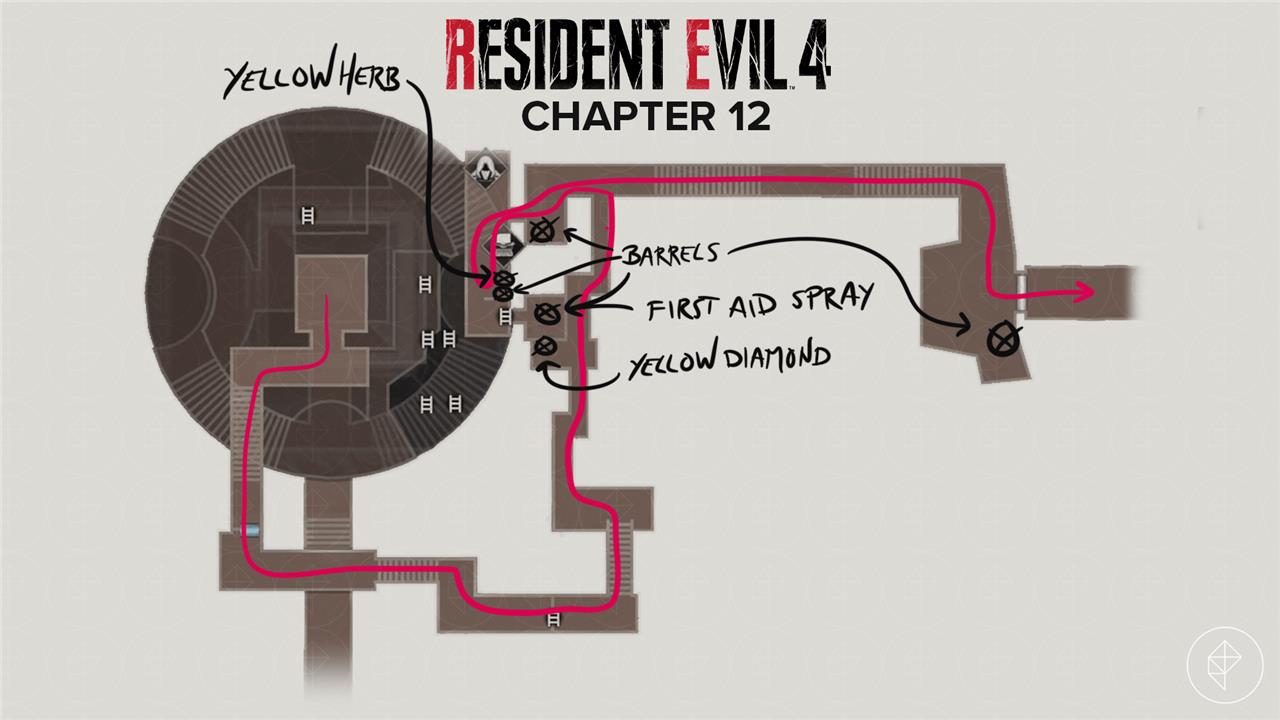
As you round the corner, look for the taller section of scaffolding. There’s a lantern hanging near the top with a yellow diamond. Crouch as you cross the fragile boards on your way to it.
Merchant
The Merchant appears near the entrance to the Clock Tower, offering a valuable chance to restock before the coming battles. This stop is ideal for upgrading weapons, selling treasures, and adjusting your loadout to handle the tower’s enemies and traps. Make sure to check his inventory for new attachments or special deals, as his selection often changes after major encounters.
At the far side, turn left to find a barrel with pesetas. Duck through the door to find a Merchant room. Check the left for a yellow herb and a barrel with handgun ammo. Behind the wall, climb the ladder to find some first aid spray and two barrels with pesetas and another first aid spray.
Sell the Elegant Clock, Mirror, and Gold Bar along with any velvet blue you have. Before you buy any tune-ups, though, read the next section about preparing for the upcoming boss fight.
How to defeat Ramon Salazar boss in Ancient Chantry
Ramon Salazar’s boss fight in the Ancient Chantry is a mobile encounter against his Queen Plaga form, emphasizing constant movement around the central pillar to avoid grabs and acid attacks. Use fast-firing weapons like the Stingray or Chicago Sweeper to target his exposed body, especially the mouth when open. Success requires dodging, quick knife finishers on downed phases, and resource management from prior Clock Tower looting.
Preparation
Stock up at the last Castle Merchant before entering: prioritize 200+ rifle/shotgun rounds, grenades, and healing items. Upgrade fire rate/power on Stingray (Rifle) or Stracker (Shotgun) for efficiency. Grab Velvet Blues and ammo from nearby barrels post-Merchant.
Phase 1: Grounded and Spitting
Ramon starts vulnerable-unload into his head/body immediately. Circle the pillar to dodge acid spits (sidestep or hide behind it) and ground charges. When his mouth opens for spits or roars, shoot to stagger him down, then rush for a knife stab on the glowing eye (repeat 2-3 times per phase). Avoid proximity grabs, which insta-kill.
Phase 2: Flying and Advanced Attacks
After first stagger, he flies using tendrils: shoot his exposed body during acid rains (shelter under archways), cannon blasts, or dive bombs. Watch tendril trails to predict position; use headphones for audio cues. Drop him again with sustained fire, knife the eye, and toss a grenade in the mouth for “You Talk Too Much” trophy.
Victory Tips
Repeat the cycle 2-3 times total-phase 2 adds acid puddles/landmines, so check floors. If desperate, golden eggs (from earlier requests) deal massive damage but save for NG+. Knife upgrades reduce needed stabs. Post-fight, proceed to the lever room.
Best weapons and loadout for Ramon Salazar fight
The best weapons for the Ramon Salazar boss fight in Resident Evil 4 Remake’s Ancient Chantry prioritize high fire rates to track his fast movements, shotguns for close-range staggers, and heavy hitters for downed phases. Aim for 200+ rounds of primary ammo, plus grenades and full healing from the final Castle Merchant.
Primary Weapons
High-rate options excel at sustained damage while circling the pillar.
-
CQBR Assault Rifle or Stingray: Automatic fire shreds his body during spits and flights; upgrade fire rate/power.
-
Matilda (22 spinels) or TMP SMG: Burst fire saves handgun ammo, ideal for Phase 2 tracking.
-
Red9 pistol (with stock): Reliable backup for ammo efficiency and range.
Secondary Weapons
Switch for staggers, dives, or knife setups.
-
Riot Gun or Striker Shotgun: Blast mouth/eye when downed; loaded fire maximizes bursts.
-
Broken Butterfly Magnum: Save for eye stabs or desperation; ammo is scarce.
Loadout Table
| Slot | Recommended Weapon | Why It Works | Ammo Priority |
|---|---|---|---|
| Primary | CQBR/Stingray | Tracks flying Phase 2 effectively | High |
| Secondary | Riot Gun/Shotgun | Downs him fast for knife prompts | Medium |
| Handgun | Matilda/Red9 | Unlimited ammo sustain | High |
| Knife | Primal Hunter/Upgraded | Quick eye finishers | Always equip |
| Grenades | 4-6 Explosive/Flash | Mouth tosses for trophy; interrupts acid | Medium |
Full Body Armor absorbs acid hits-pair with herbs. Disable acid pods for random ammo drops to refill mid-fight.