Heat, gears, and molten puzzles await in the Fire Temple – a sprawling maze of metal corridors and ancient machinery where each lever and flame holds the key to progress.
As with prior parts of the “Yunobo of Goron City” questline, you will need to have fireproof / fire resistance prepped. You should already have some on you if you made it this far, but the need for it never stops at this temple, so make sure you have enough to last the entirety of it.
How to get to the Fire Temple
Head north from the Great Sky Island’s starting area to the volcanic island marked on your map. Glide down through the lava-filled crater using the gliding suit, aiming for the large stone door at the base. Activate the four gongs around the perimeter by striking them with arrows or melee attacks-Yunobo’s charge ability helps reach distant ones. Once all gongs ring, the door rumbles open, granting entry to the Fire Temple. Ascend the final platform inside via the elevator to begin the dungeon proper.
To get to the Fire Temple on Death Mountain, you first must travel to Goron City and complete the “Yunobo of the Goron” quest. That involves a minecart ride up Death Mountain and a boss fight. The Fire Temple Entrance requires diving into Death Mountain and navigating through the Depths.
Fire Temple chests
Several chests are hidden throughout the Fire Temple, many of them placed on narrow ledges or behind lava flows. Use the Mine Cart rails and switches to reach higher platforms and explore side passages between major rooms. Some chests hold powerful weapons or shields, while others contain useful materials like Zonaite and opal. Keep an eye out for cracked walls or metal grates that can be moved with Ultrahand to uncover secret compartments.
- 10 arrows (1F)
- Mighty Zonaite shield (1F)
- Diamond (2F)
- 10 arrows (2F)
- 10 arrows (2F)
- 10 arrows (3F)
- 10 arrows (4F)
- Ruby (4F)
- Mighty Zonaite shield (3F)
- Soldier IV reaper (3F)
Starting the Fire Temple
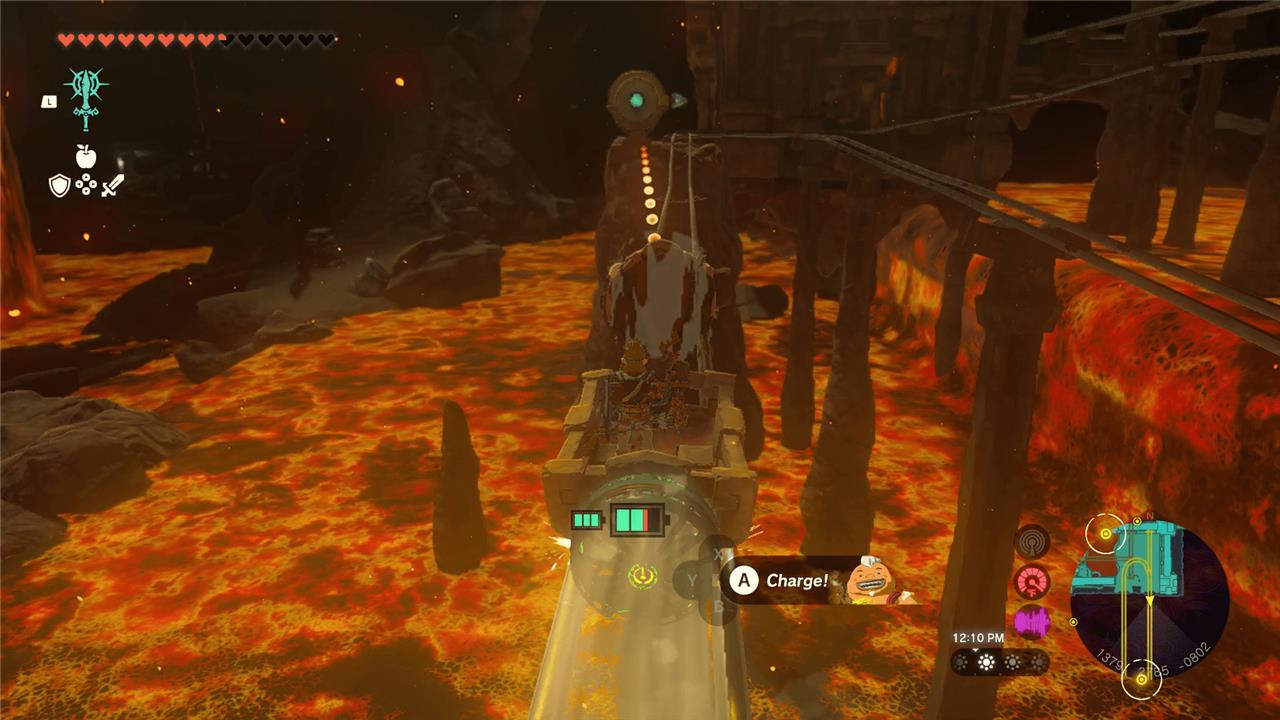
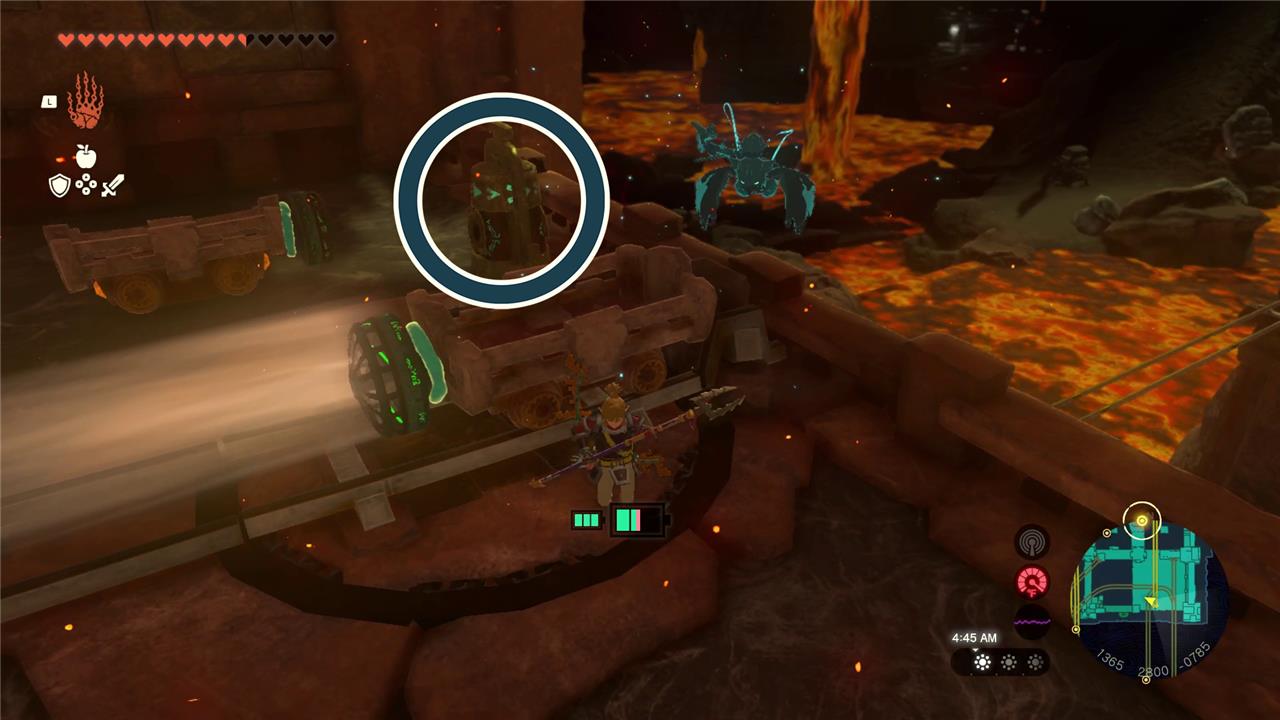
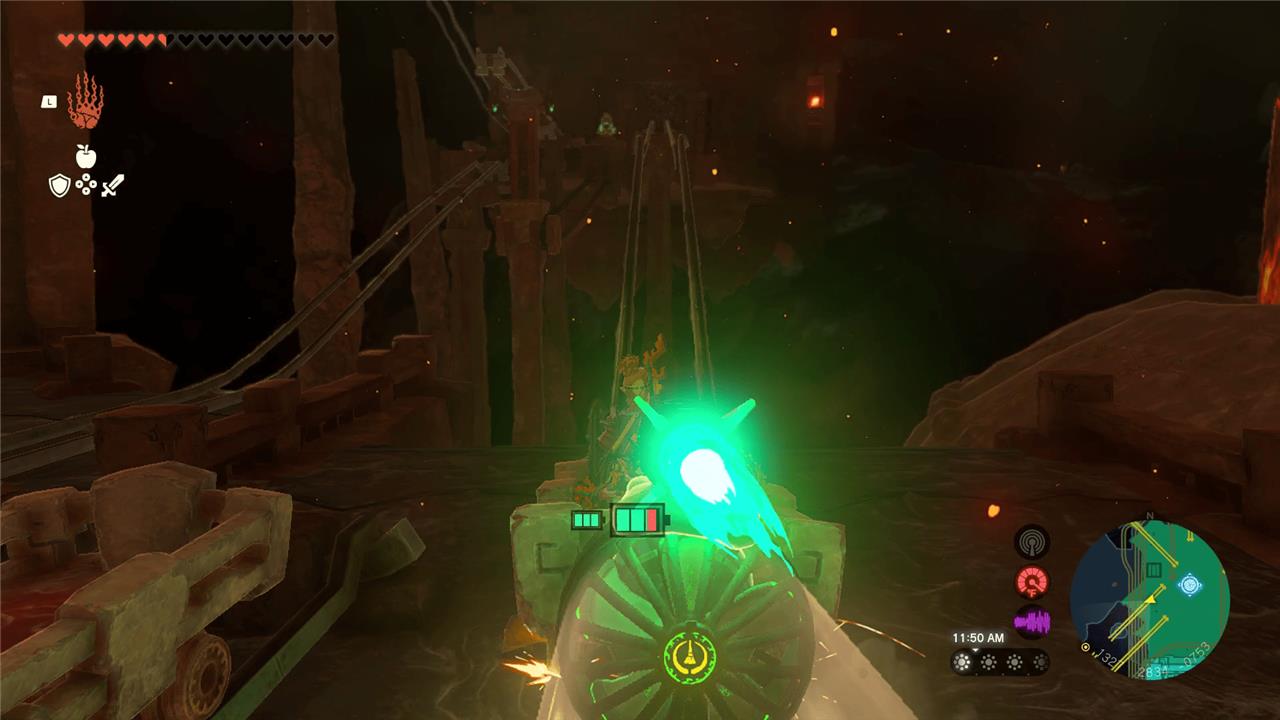
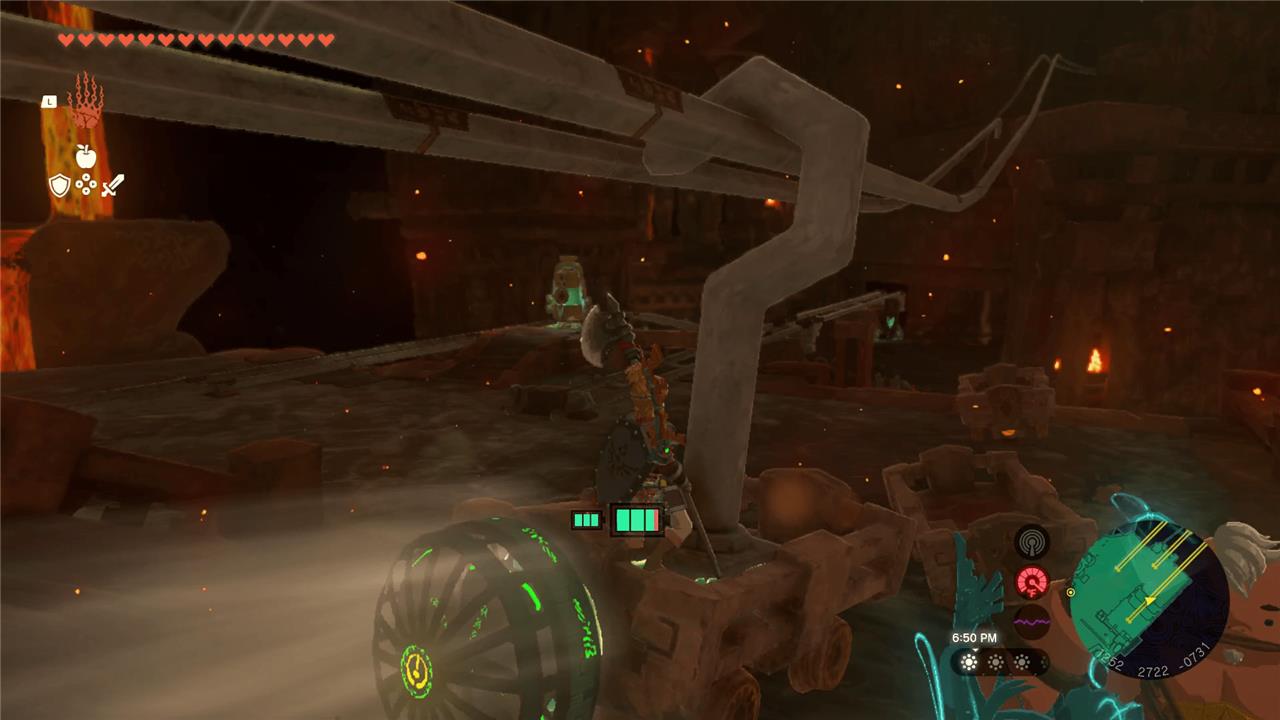
The Fire Temple begins deep within the volcanic depths of Eldin, where heat and magma dominate every corner. Activate the nearby mine carts to travel across rails suspended over rivers of lava, and keep your fire-resistant gear or elixirs active at all times. Your goal is to ignite the five locks scattered throughout the temple using Yunobo’s rolling ability, clearing out enemies that guard each path. Many puzzles revolve around rail switches, breaks in the tracks, and timing Yunobo’s fiery charge to hit distant switches or destroy obstacles blocking your route.
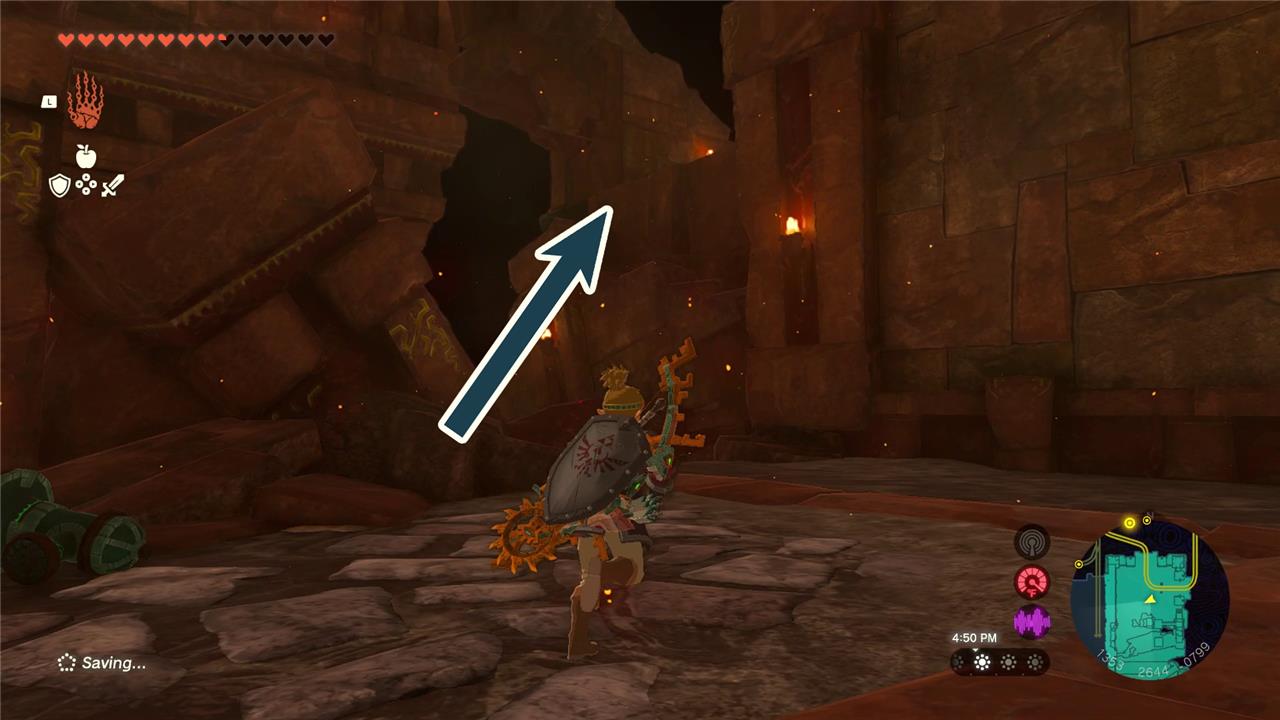
As you approach the temple, talk to Yunobo and use his ability to break down the rock blocking the entrance. As you head straight in, there’ll be small rooms on both sides. On the left, there’s a room with metal weapons for you to use. On the right, there’s a chest with 10 arrows inside.
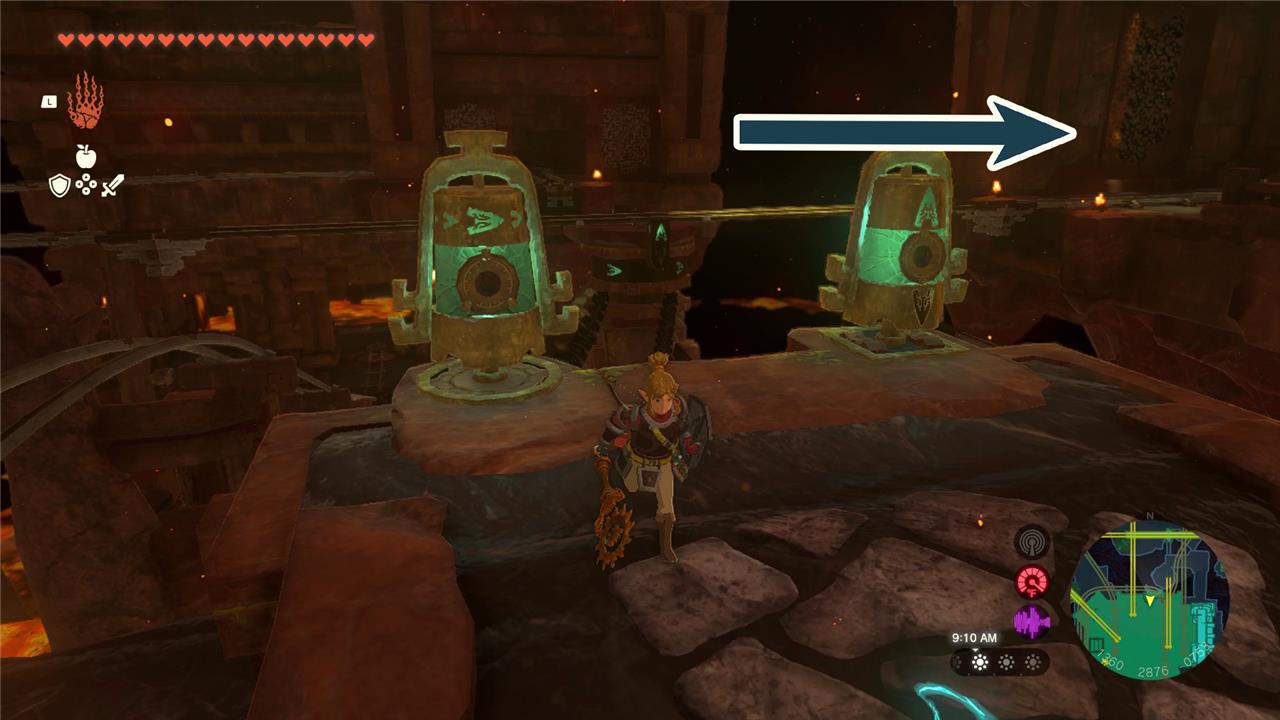
After you interact with the altar in the center of the temple, you’ll notice five locks preventing you from moving on. A teleport point will also open up for you. From here, you’ll need to ride the minecarts around the temple and use Yunobo’s ability to hit gongs to unlock the latches.
Below, we list out how to unlock all five of the Fire Temple’s locks. You do not have to do them in this order, but we strongly recommend doing them in this order, since this temple is more linear.
First Fire Temple lock
Head to the first gate mechanism near the entrance and use Yunobo’s rolling charge to strike the red switch. This ignites the nearby fire and releases the first set of rails, allowing you to progress deeper into the temple. Watch for gloom pools along the path and keep your torch or fire weapons ready to burn through any wooden barriers blocking the route forward.
From the main corridor, head south and cross the lava using the floating platforms and the hydrant (the same way you used the hydrant to reach the Fire Temple).
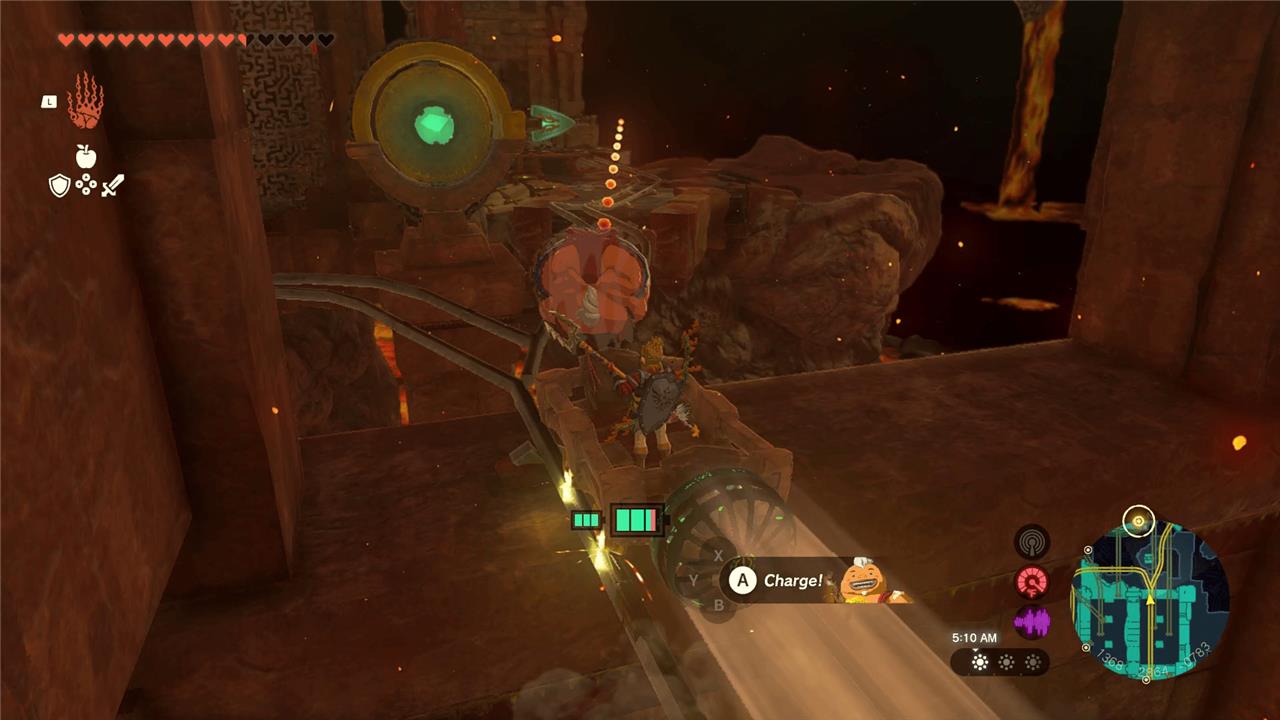
Hop on the cart and hit the fan to make it move. As you approach this switch, fire Yunobo into it to change the direction of the tracks:
After the tracks stops you, hop out of the minecart, grab a hydrant, and head left. Continue on the path to see a fire like and a breakable rock clogging up an entrance. Take out the fire like to get a mighty Zonaite shield from a chest.
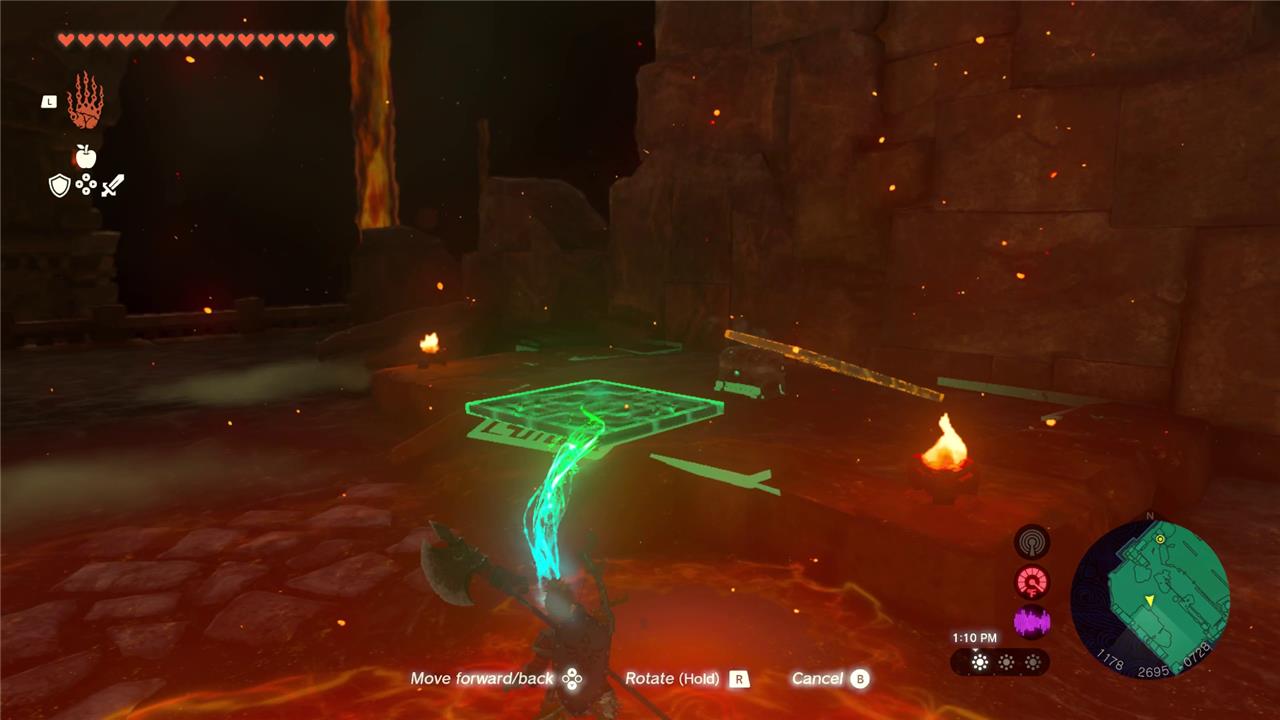
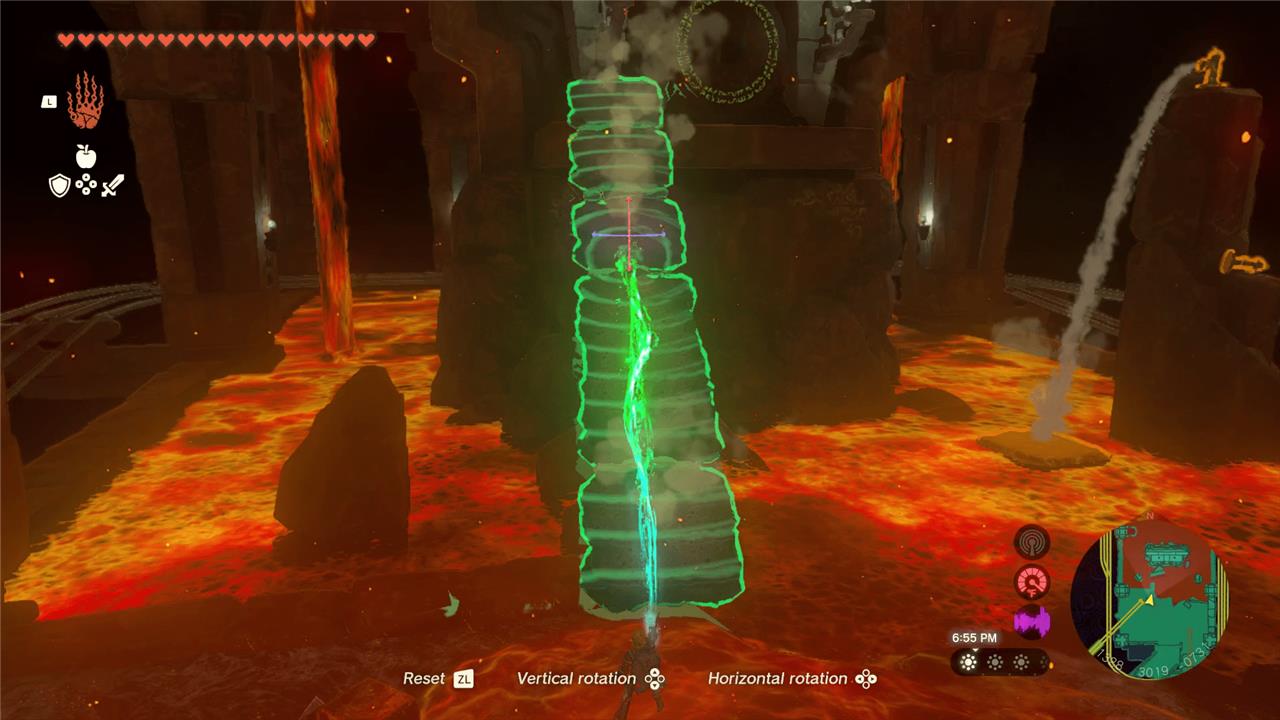
Use the hydrant to make rock slabs and use Ultrahand to connect the slabs to create a ramp for Yunobo like this:
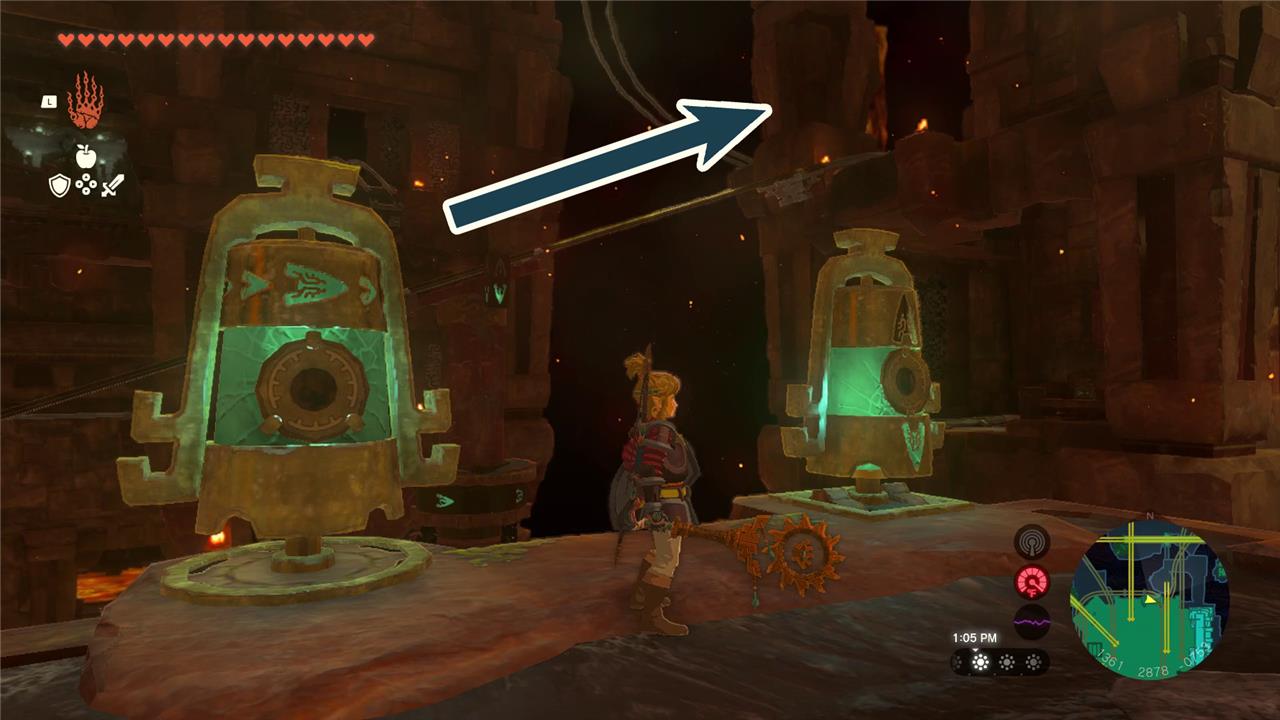
Grab the Zonai hydrant capsules on the right and hit the gong with Yunobo to activate the first lock.
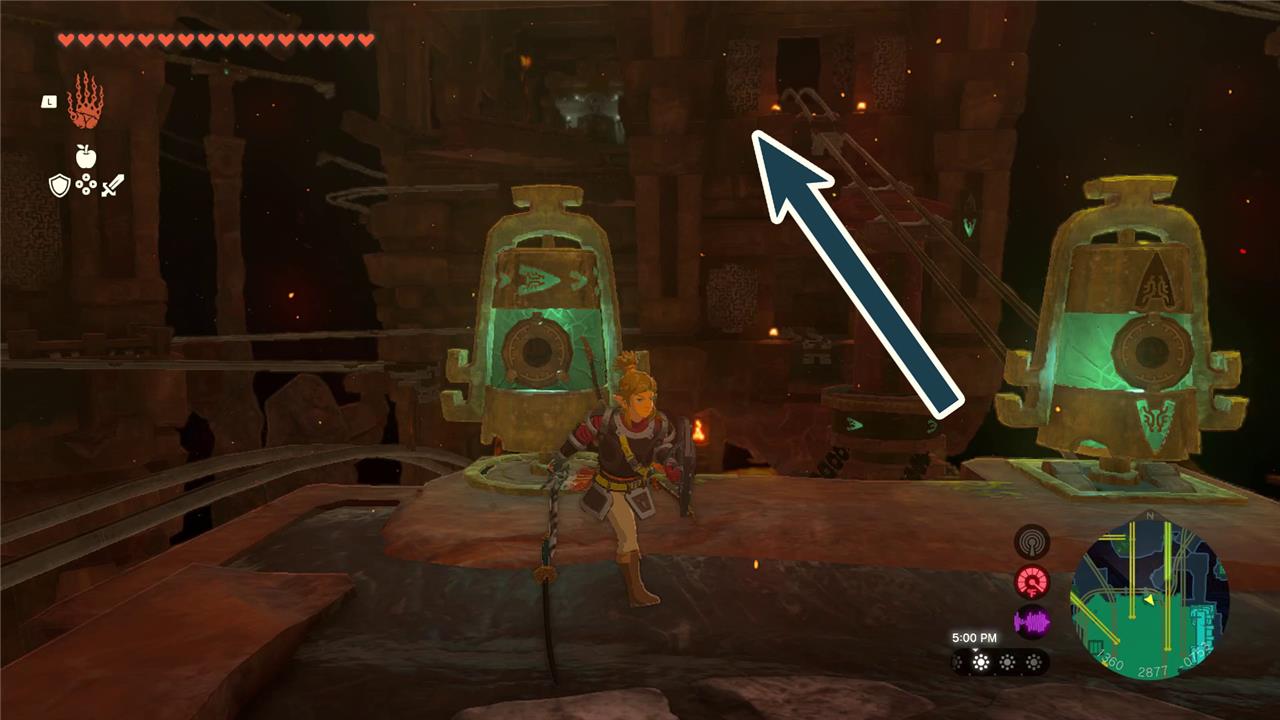
Backtrack to the room you left your minecart in and climb up this wall for an optional chest with a diamond inside:
Note that there will be constructs waiting for you up top, so be ready to fight. Head back to your minecart after you’re done.
Second Fire Temple lock
Use the minecart on the left rail to cross the lava toward the locked gate. Hit the nearby switch to change the track direction, then attach a fan or use Yunobo’s charge to move forward. Once you reach the next platform, send Yunobo rolling into the rock target above the gate to trigger the mechanism. This will open the second lock, letting you progress deeper into the temple.
Hit the yellow switch to raise the blockade, allowing your cart through. If your cart vanished, you can grab another one in the same room, nearby where you picked up the hydrant from the first lock.
Get on your cart and head forward. If a construct appears on the track to your right, take it out with Yunobo.
Stop the cart at this corner if you want to grab a chest with 10 arrows inside:
Ride the cart until the end and hit the nearby mechanism to flip the cart around instantly:
Ride forward, making sure Yunobo hits the round track swapper in front, so that the cart goes right instead of left:
You’ll hit another gate, so hit this switch to rotate the tracks and lift the barrier. Ride forward and defeat the construct to get a chest with 10 arrows inside. Ride the minecart back to the platform you hit the switch from.
Now ride the minecart on the left, and hit the switch so that the track goes straight.
Use Yunobo to break the marbled rock in the lava and activate Recall on the stone plates that are drifting down the lava bank. Ride the plates to the other side. Defeat the construct and hit the gong with Yunobo.
Third Fire Temple lock
The third lock is hidden behind several minecart tracks leading upward from the central lava pool. Use the rail switch to line up the cart path toward the southwest section, then ride across and use Yunobo’s charge to hit the large rock wall ahead. Inside, activate the wheel mechanism to raise the gate and hit the gong within. This releases the third lock and brings the central gate mechanism one step closer to completion.
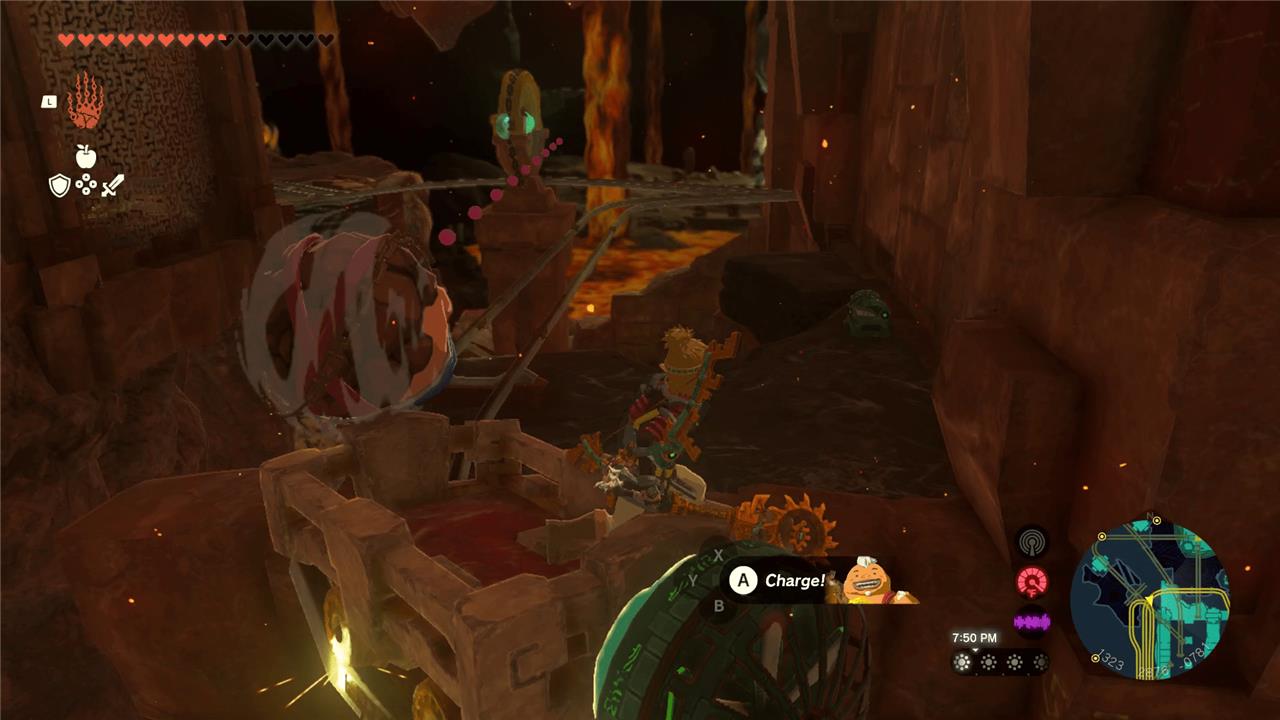
Go to the minecart you rode to the second lock, but instead of riding it back to the other side, hit the switch with Yunobo to go up a floor, arriving at a workshop-like area with multiple carts and tracks:
Take out the construct straight ahead and hit the yellow switch to create an elevator, so you can now easily move between the lower floors and this floor. Pick up the Zonai capsules in the corner that have rockets and hydrants in them. The chest behind the construct has 10 arrows inside, too.
Attach a rocket to the end of a cart and use it to jump the gap in the tracks that head southwest:
Defeat the construct waiting for you when the cart stops. Ignore the broken bridges and head southwest to a chest covered in metal plates. Pick up the plates to get 10 arrows from a chest and bring at least one of those metal plates back to the broken bridge area.
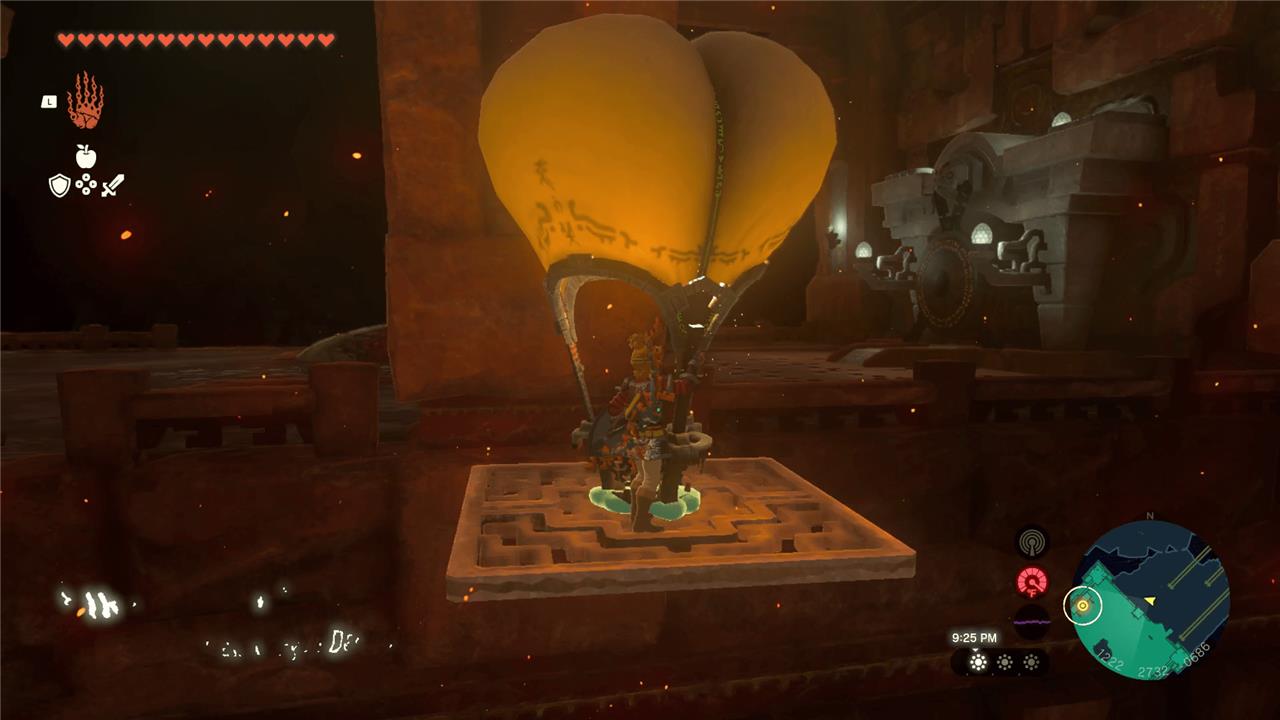
Pull the bridge on the right out so the planks unfold and shoot Yunobo up the bridge-ramp, so he breaks the rock. You’ll get a Zonai balloon capsule.
Take the balloon out and attach it on top of one of the metal plates using Ultrahand. Use a torch or wooden weapon to power the balloon and float upwards.
Hit the gong at the top with Yunobo.
For an extra chest with a ruby in it, jump back down to the broken bridges and attack a nearby hook onto a car, and then attach it to the rail like so:
Ride it across the rail for the ruby chest.
Extra optional chests
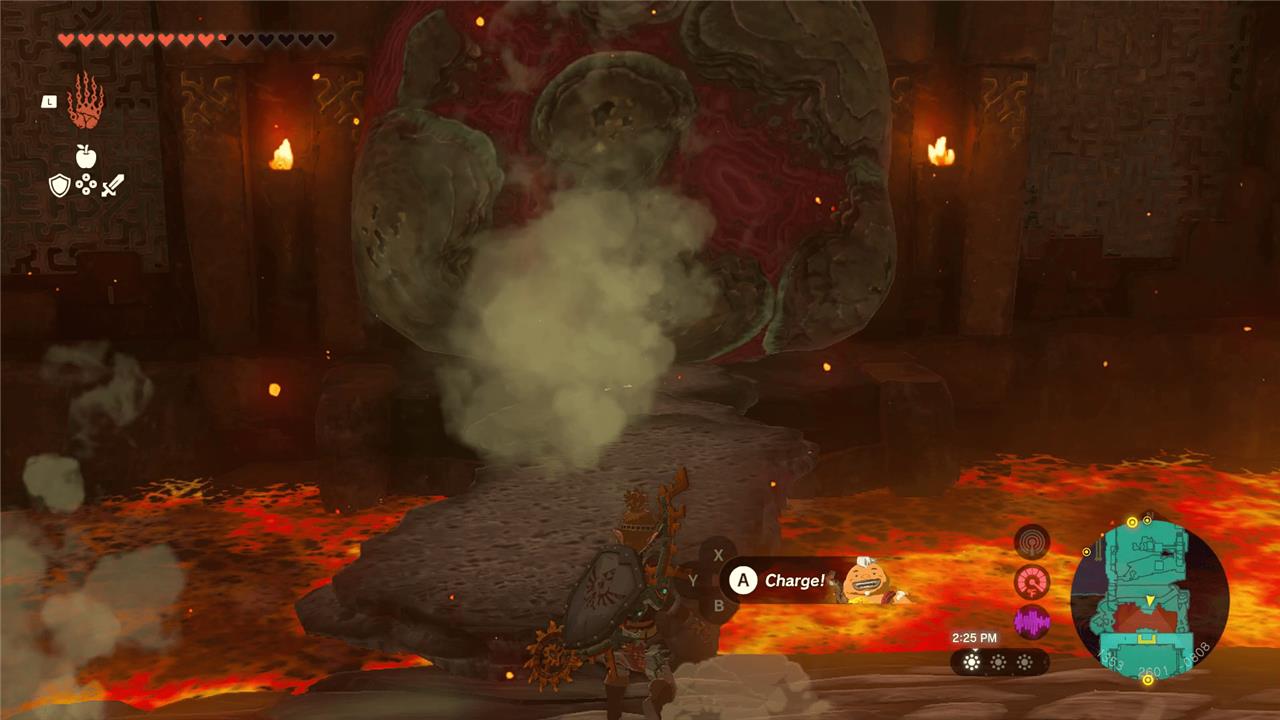
Several extra chests can be collected around the Fire Temple for players who enjoy thorough exploration. Some are tucked behind lavafalls or hidden along narrow ledges that require careful gliding or use of the minecart system. Others rest on high platforms that can be reached with Recall or Zonai devices. These optional treasures often contain valuable weapons, shields, or materials that make the later battles smoother and more rewarding.
Return back to the workshop area with multiple tracks.
Set the tracks using the switches so that this one goes straight:

Use Yunobo to break the marbled rock and hit the switch so that the track rotates, now creating another path to the workshop area. Ride the cart using this newly opened track to head back to the workshop.
Hit these switches so the track now rotates is goes horizontal instead of vertical:
Go back on the track you opened with Yunobo and ride it straight to get a mighty Zonaite shield in a chest.
Ride back to the workshop again, and hit the switch so that not only does the track go horizontal, but it also aims upwards:
Ride the track again, and it’ll go up. Fight the construct and claim a whopping 10 arrows from the chest. Riding the nearby cart up will face you off against a construct in a cart, which you can just knock off with Yunobo’s charge.
Head back to the workshop area by gliding once you’ve claimed your loot.
Fourth Fire Temple lock
Activate the fourth lock by sending a minecart along the upper rails toward the northwest section. Use the fan to move through the lava chamber, then strike the gong on the platform at the far end. Make sure to switch tracks mid-route so the cart reaches the raised section. Once the gong rings, the fourth chain on the central door will release, bringing you closer to the boss chamber.
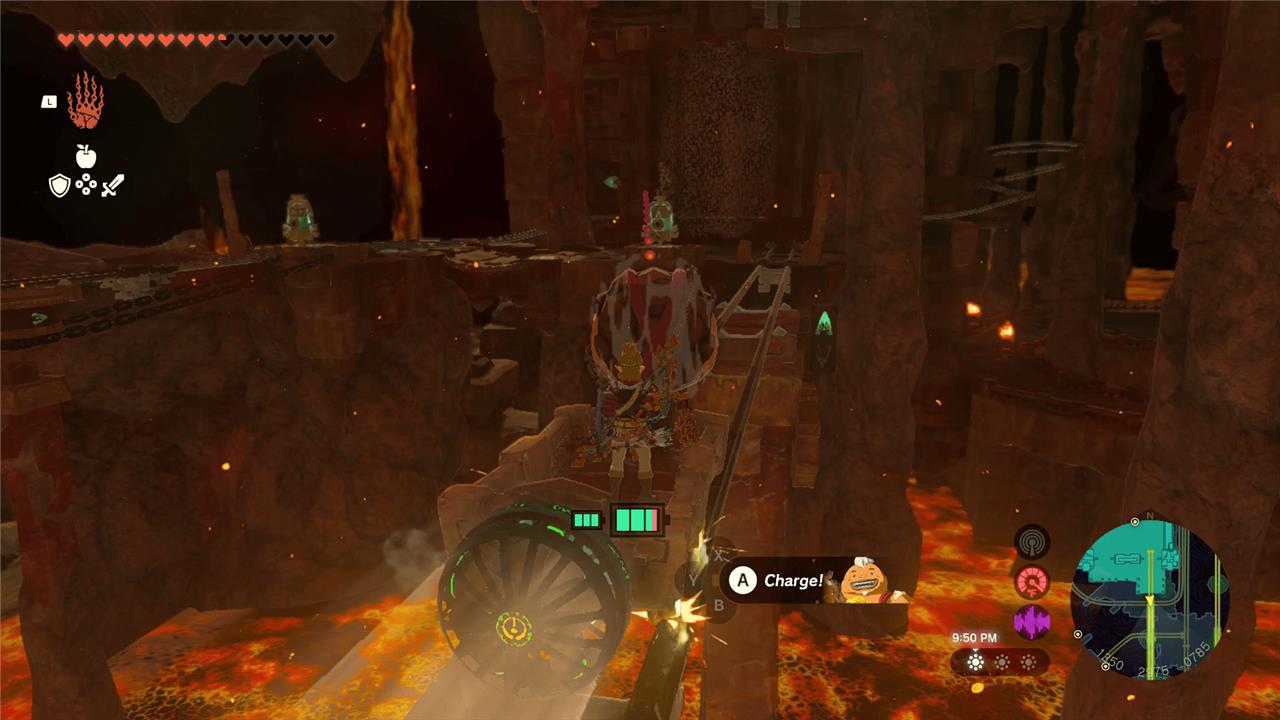
Back in the workshop area, hit the switches so now the track is vertical and going upwards:
Get in the cart and head up, riding for a while. A construct may appear in a cart next to you, which you can blast away with Yunobo.
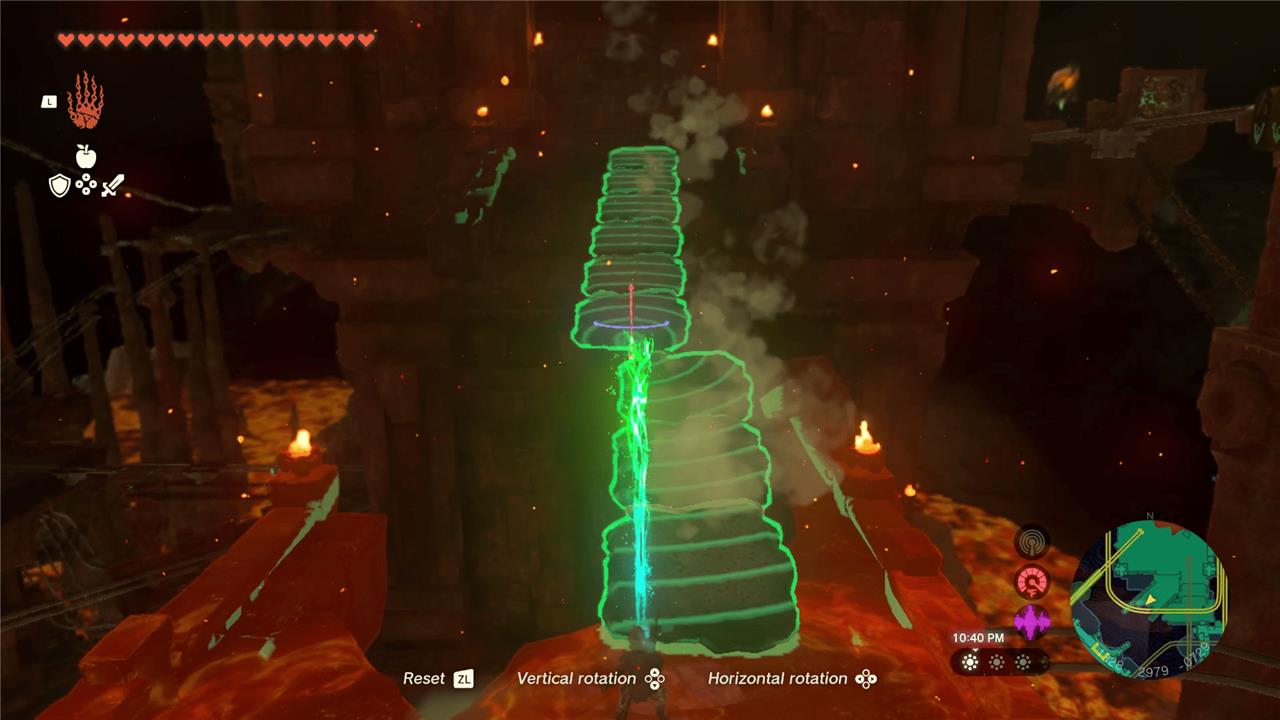
In front of the fourth gong, grab the stone slates created by the hydrant to make a very long bridge. Place it and fire Yunobo up it to hit the gong.
Fifth Fire Temple lock (1F gong)
Hit the nearby gong on the first floor to open the gate to the fifth lock. Use the minecart tracks to reach the platform, then place a fan-powered cart on the rails and ride across the lava. Once there, align the cart with the gong and strike it using a weapon or a thrown rock. After hearing the chime, the fifth lock activates, completing the set needed to access the central chamber.
This will be the last lock, but the gong is actually on the first floor. Build more on your ramp from the fourth lock to make a comically large bridge. When I say comically large, I mean comically large.
Ultrahand the slates south of the fourth gong, going up the ramp to serve as a repaired bridge to walk up.
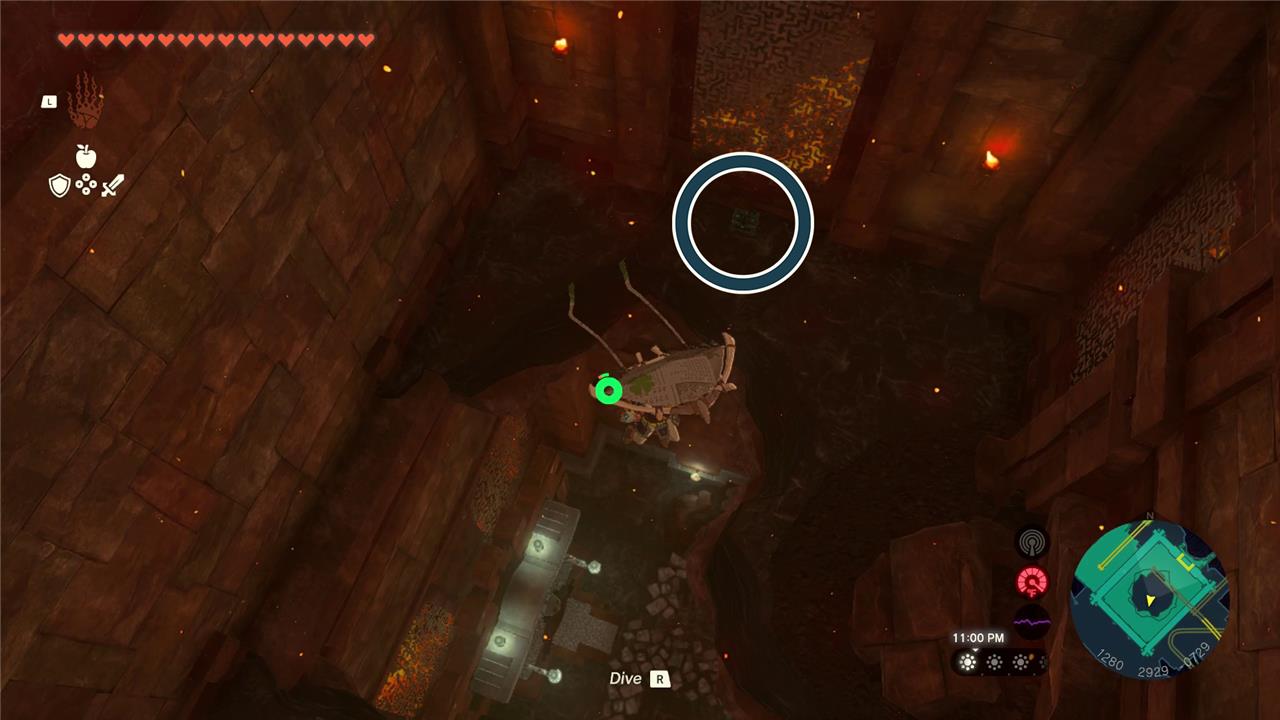
Drop down into the hole in front of you, stopping for this chest along the way for a Soldier IV reaper:
Finish dropping down the hole back to 1F, hit the gong with Yunobo, and hit the yellow switch to open the door.
This door puts you almost directly back in front of the center of the Fire Temple, so head back to the altar when you’re ready to take on the boss.
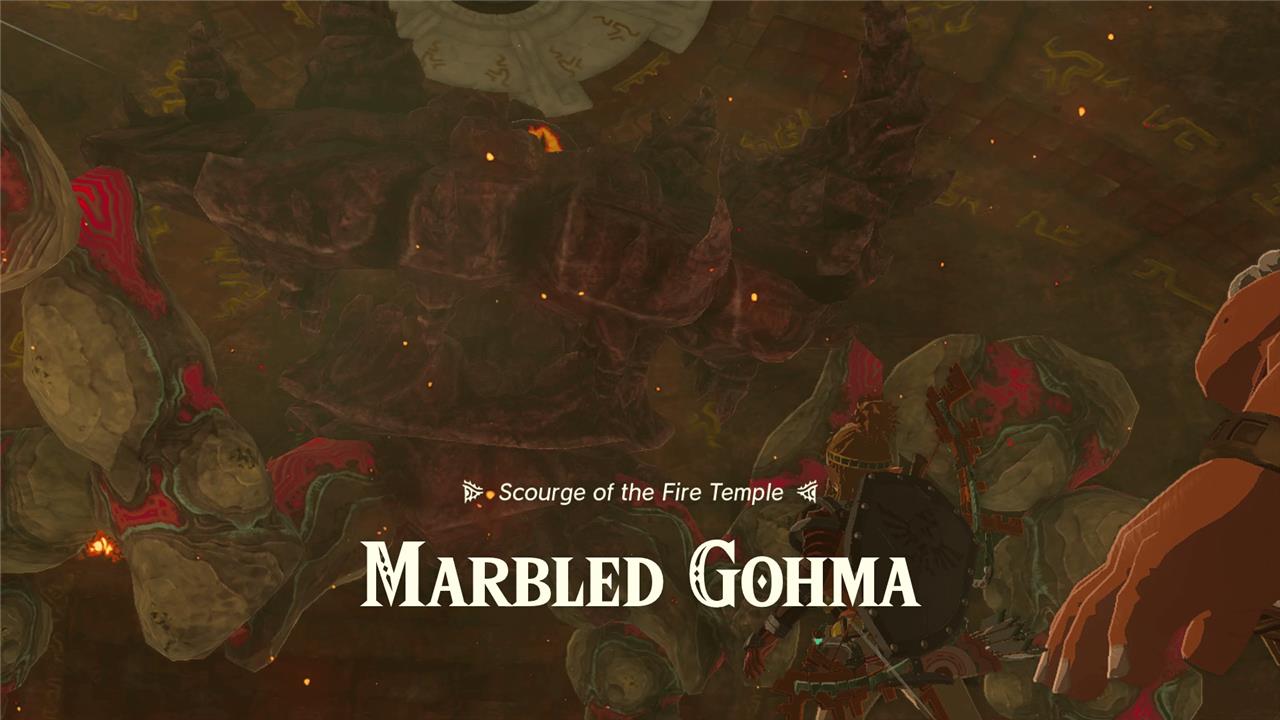
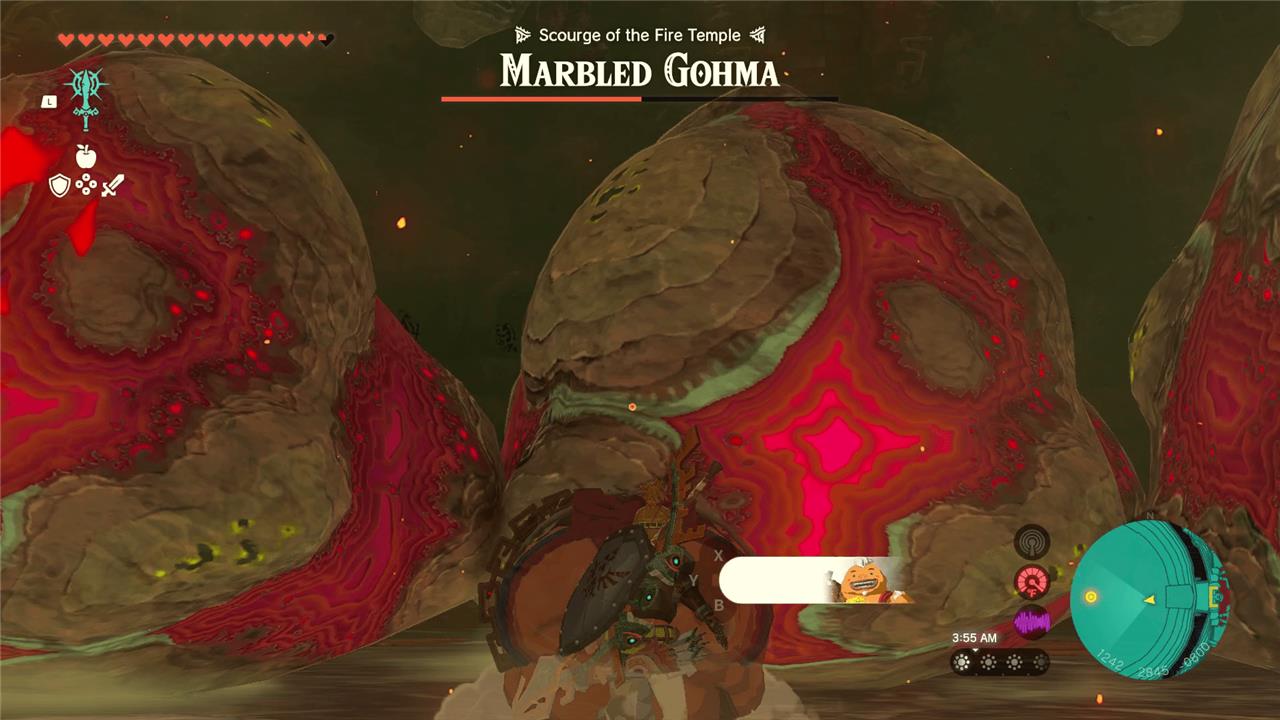
How to beat Marbled Gohma, boss of the Fire Temple
Marbled Gohma guards the Fire Temple’s deepest chamber, using molten rocks and explosive attacks that can quickly overwhelm you. Target its legs with Yunobo’s charge ability to break the rocky armor and bring it down, then strike its exposed eye. Watch the ceiling during the second phase; the boss crawls above to drop burning debris. Use Yunobo to knock it down again and continue hitting the eye until it falls. Keep moving to avoid falling rocks and lava bursts throughout the fight.
Before you activate the altar, make sure you have your basic necessities: food, fire resistance elixirs (if you’re not using armor), and an arsenal of powerful melee weapons.
Marbled Gohma uses a very repetitive attack pattern, so once you get used to it, it should go down quickly.
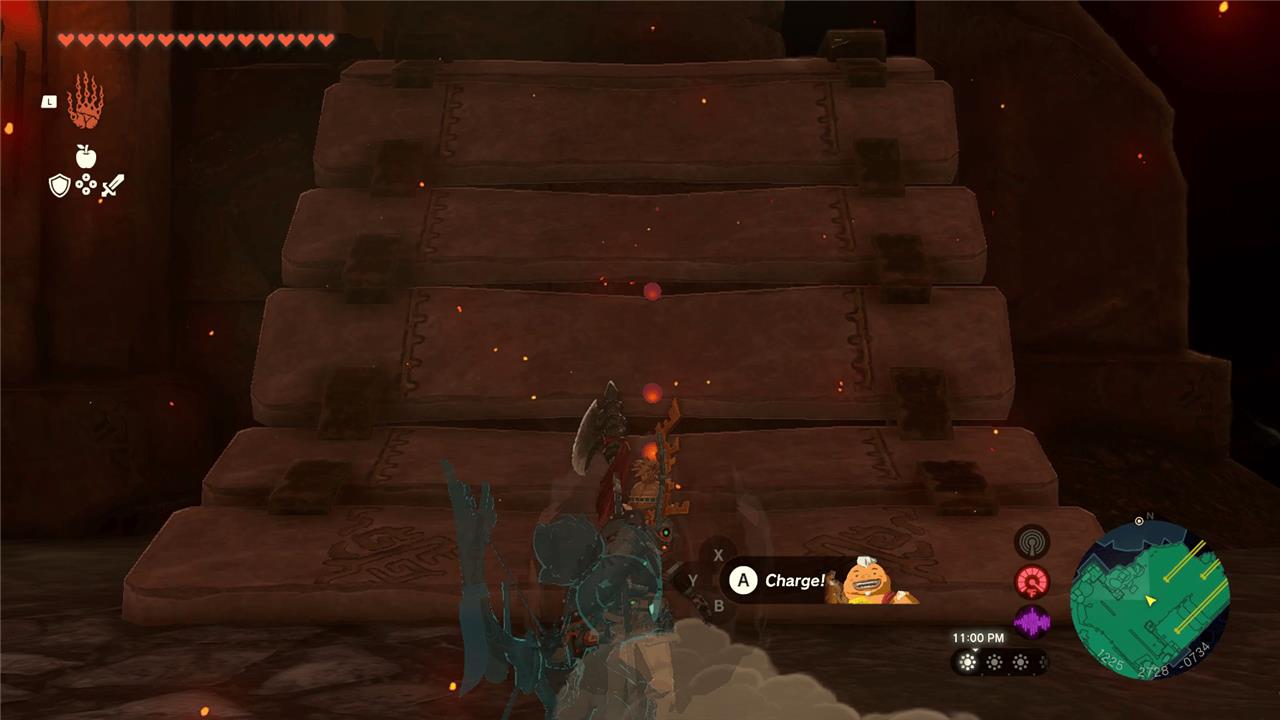
When you’re ready, fire Yunobo up a ramped wall and he’ll go so fast he circles the room, rolling across the ceiling. He’ll hit the marbled rocks off the ceiling and start the boss fight against Marbled Gohma.
In the first phase of this fight, you’ll need to fire Yunobo at Marbled Gohma’s legs to make it fall. Once you hit two legs, the boss will wobble and fall over, but be careful as you will take damage if it falls on you. After Marbled Gohma falls, you can climb up the body and hit its eye repeatedly to dish out major damage. It’ll begin to shake once it starts recovering. If it shakes you off, you’ll take damage, so be prepared to jump off once the boss starts shaking a lot.
After it regenerates its legs, it’ll have a brief moment of invulnerability, so don’t bother firing Yunobo off again immediately. Wait a couple seconds and then launch your buddy.
Marbled Gohma will try to strike you with its legs and it’ll spit exploding rocks in sets of threes at you. Move away from the rocks to avoid taking damage. Once it spits out a set of rocks, just move away and fire Yunobo off. Since Yunobo will circle around the whole room, you don’t have to aim super well, since he’ll loop back around and possibly get a second shot at the boss.
You can also Recall the rocks back to Marbled Gohma and cancel the Recall right as the rock reaches its head. Once it explodes, the Marbled Gohma will be stunned, and you can Ascend up the body and get some good hits in. Firing off Yunobo is easier, though, since it’s hard to miss the boss due to the rounded ceiling.
In the second phase, the boss will now trap you in a cage of exploding rocks, so you’ll have to use Yunobo to break out of them or use Recall to lift them back up in the air, giving you room to escape. Marbled Gohma will also now be on the ceiling instead, so you’ll need to shoot Yunobo up the walls to hit the boss. It’ll only take one shot to knock it down, but again, be careful as you will take damage if the boss lands on you.
Once it falls, climb up the body and unleash attacks against the eye.
When it recovers, it’ll re-trap you in the rock cage and then fire off three more exploding rocks. Have Yunobo ready to go while the boss is recovering so you can break out of the rock cage quickly and get back to the action.
Every time you knock it down and hit it, it’ll repeat the rock cage and three-rock shot, so you’ll get the gist of when to charge up Yunobo and when to run.
After whacking away at its eye, you will eventually defeat Marbled Gohma.
For your efforts, you’ll get a Heart Container and you’ll be able to use Yunobo’s ability wherever you are – which is particularly useful when riding vehicles, as it’ll work the same way as it did during this quest.
How to defeat Marbled Gohma boss in Fire Temple
Marbled Gohma is the Fire Temple boss in The Legend of Zelda: Tears of the Kingdom, a massive crab-like creature with explosive rock attacks and a vulnerable eye. Defeat it using Yunobo’s Charge ability alongside melee strikes on its weak points across two phases.
Phase 1: Ground Attacks
Stay mobile to dodge leg stomps, rock throws, and explosive boulders Gohma flings-use your shield or sprint away as they detonate after a delay. Aim Yunobo (ZL + R) at two of its legs to shatter them, causing the body to collapse and expose the glowing eye; rush in and melee it repeatedly with your strongest weapon.
Repeat this cycle (two legs down, eye damage) 2-3 times while avoiding ground shockwaves; Yunobo can also smash incoming rocks.
Phase 2: Ceiling Phase
Gohma climbs the walls/ceiling, out of leg reach-repeatedly launch Yunobo up curved walls toward its legs until two break, dropping it again for eye attacks.
Watch for rock barrages or a deadly ring of explosives trapping you; use Yunobo’s roll to break the circle or Recall on a boulder to escape safely.
Rinse and repeat until its health depletes-finishing blows reward the Fire Sage’s Will.
Tips
Stock fireproof elixirs for heat, fuse Bomb Flowers to arrows for extra eye damage if available, and prioritize strong melee weapons like a boulder hammer. This fight emphasizes Yunobo timing over solo damage.
What rewards do you get after beating Marbled Gohma
Beating Marbled Gohma in the Fire Temple rewards you with a Heart Container and Yunobo’s Vow (Fire Sage’s Will), awakening Yunobo as the Fire Sage. This also clears the marbled rock from Goron City, restoring normal access.
Additional Loot
A Marbled Gohma Leg drops as a fuse material, boosting weapon attack power by 38 and excelling at breaking ore deposits or rock walls. Pick up the Heart Container manually from the center after the fight.
Quest Impact
Talking to Yunobo triggers a cutscene, completing the “Yunobo of Goron City” main quest. Yunobo’s ability then becomes summonable via his Vow for future combat support.