Step into the shadows of Io’s Lost Oasis and prepare for a pulse-pounding race against time in Destiny 2’s legendary mission, “The Whisper.” Master the deadly platforming, outsmart relentless Taken enemies, and conquer a gauntlet of bosses to claim the elusive and infinitely powerful Whisper of the Worm sniper rifle-your ultimate weapon for domination in the Light’s darkest battles.
In this Destiny 2 guide, we’ll walk you through how to complete “The Whisper” and nab the pattern for Whisper of the Worm. Whether this is your first time venturing into “The Whisper” or it’s just been too damn long for you to remember which path you’re supposed to take, we’ve got you covered.
How to start ’The Whisper’ in Destiny 2
To start “The Whisper” mission in Destiny 2, head to Io’s Lost Oasis area and wait for the “Taken Blight” public event to activate. During this event, you must defeat three specific yellow-bar Taken enemies-Urzok, Aspect of Hate; Grevis, Aspect of Darkness; and Ta’Aurc, Aspect of War. Once all three are defeated, a portal will appear nearby. Enter this portal to launch the secret mission “The Whisper,” where you will face timed platforming challenges and intense combat encounters to ultimately earn the Whisper of the Worm exotic sniper rifle.
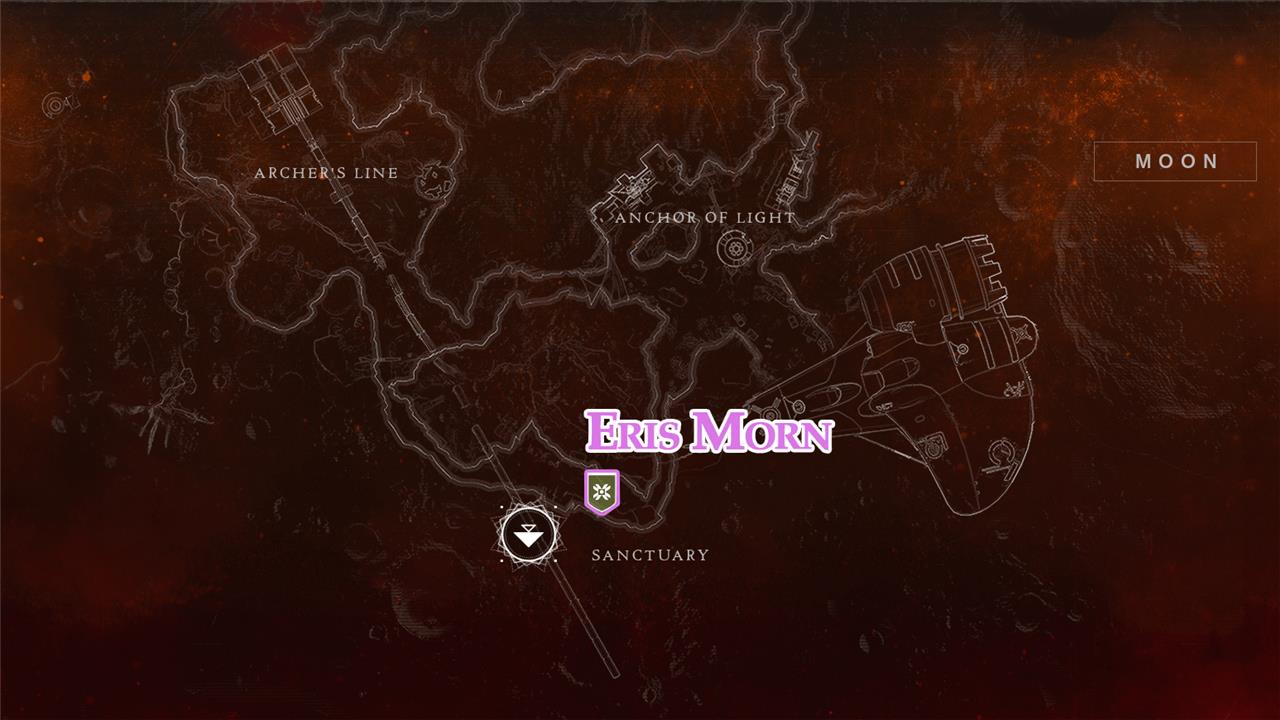
Having “The Whisper” back is great. But what’s even better is how Bungie has tweaked how you actually start the quest. Gone are the days of chasing Public Events on Io (a planet that’s sadly still missing from the game). Now you just need to talk to Eris to kick things off.
Jet over to the Moon and chat with her. She’ll give you the “Whispers of the Past” quest. From there, all you need to do is open up the “Into the Light” menu on the Director and select “The Whisper.”
Completing the Exotic mission earns you the pattern for Whisper of the Worm.
’The Whisper’ walkthrough in Destiny 2
To complete “The Whisper” mission in Destiny 2 and obtain the Whisper of the Worm sniper rifle, start by picking up the quest from Eris Morn on the Moon. The mission is time-limited, giving you 40 minutes to navigate a challenging jumping puzzle and combat sequence. Progress through the level by destroying blights, carefully navigating ledges, and avoiding deadly pitfalls. In the final area, defeat three mini-bosses spawned by breaking Vex boxes, then take down the main boss by eliminating two Shield Weaver wizards to remove its shield in phases. Successfully finishing the mission rewards you with the Whisper of the Worm schematic, which can be crafted after completing additional steps. For a smoother run, prepare loadouts with high survivability and mobility, and consider using the Grapple Strand for easier traversal.
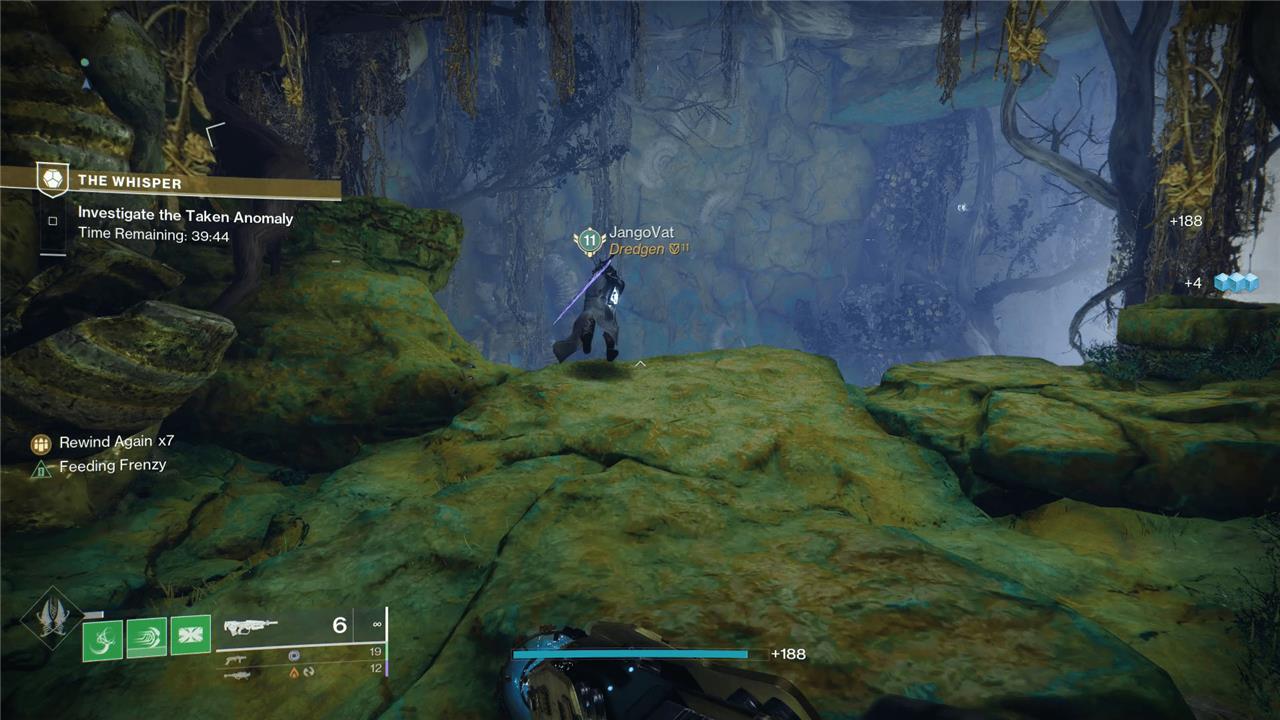
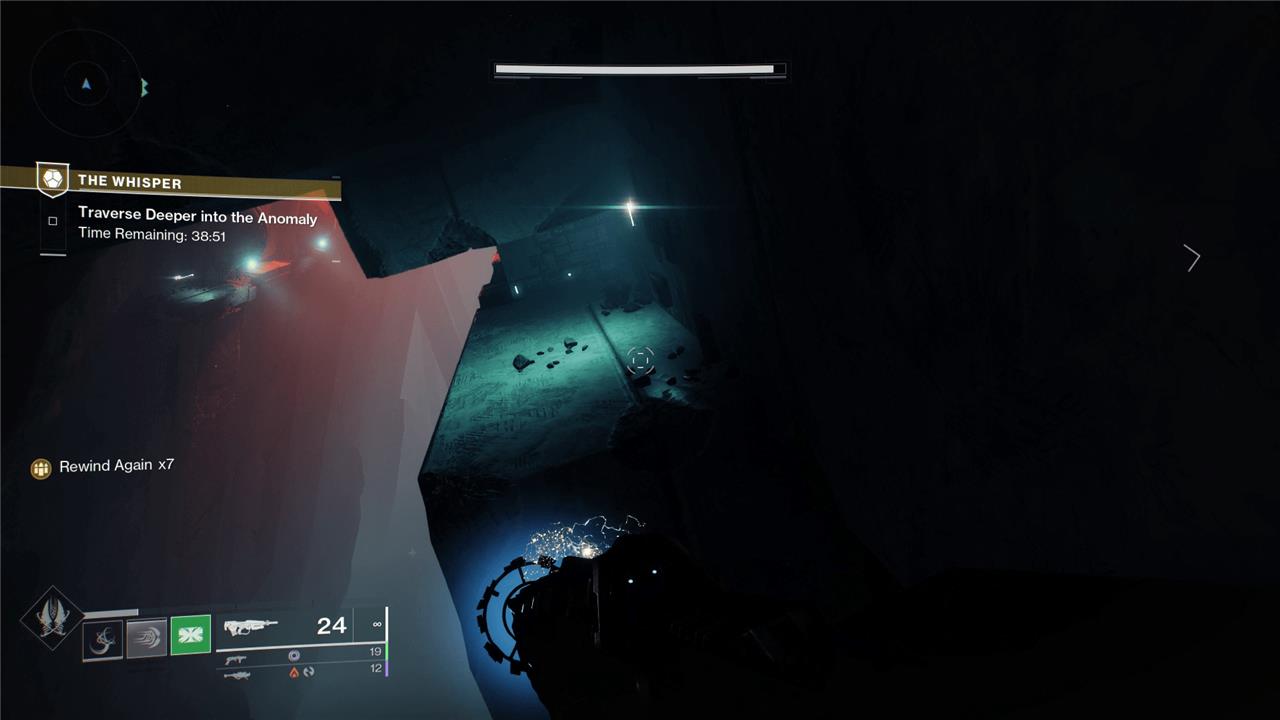
When you load up “The Whisper,” you’ll find yourself at the end of the old Grove of Ulan-Tan Lost Sector. You’ll quickly notice you have a 40-minute timer when you start (20 minutes if you’re on the Legend mode). When that timer is up, you and your fireteam will get the boot back to orbit and you’ll need to start again.
Move forward and look straight ahead. You’ll see a little Vex cube in the distance. Shoot it to create some platforms. Follow the path to a Taken Blight. Destroy it and then drop down the hole.
Follow the path forward, crouching to get through the smaller areas. Eventually, you’ll find yourself in a massive room. Stick to the right side and the red lights. Jump down the wall and watch out for the pinball levers ejecting to your right. Follow the red lights across the room’s platforms until you hit the center block.
From here, there isn’t a clear exit. Walk forward, past the glowing cracks and toward the room’s left wall – which should be directly in front of you when you land. You’ll need to jump around the corner here, to your right.
Duck and start making your way through the crevice, waiting for the blocks to move back into the wall. Be patient here and don’t rush, keeping in mind that – for internet reasons – the bumpers might move differently for you than for your other fireteam members. Take each block one at a time until you reach the other side.
After the blocks, look left and jump across the canyon to the cliff face with the spheres on it. Follow the path right until you reach a small, square elevator. Jump on and ride the square up to the next platform, which should be red and right in front of you. Run forward along the wall and turn immediately left into the white hallway.
Walk through the diamond-shaped room and jump through the diamond hole. Jump onto the ledges in the long room ahead of you, waiting for their push explosion to erupt before moving forward. Take out the Taken Vandals as you wait. Jump across the room, avoiding the explosions until you reach the wall with the white light. The door will open and shut, so time your jump into the room.
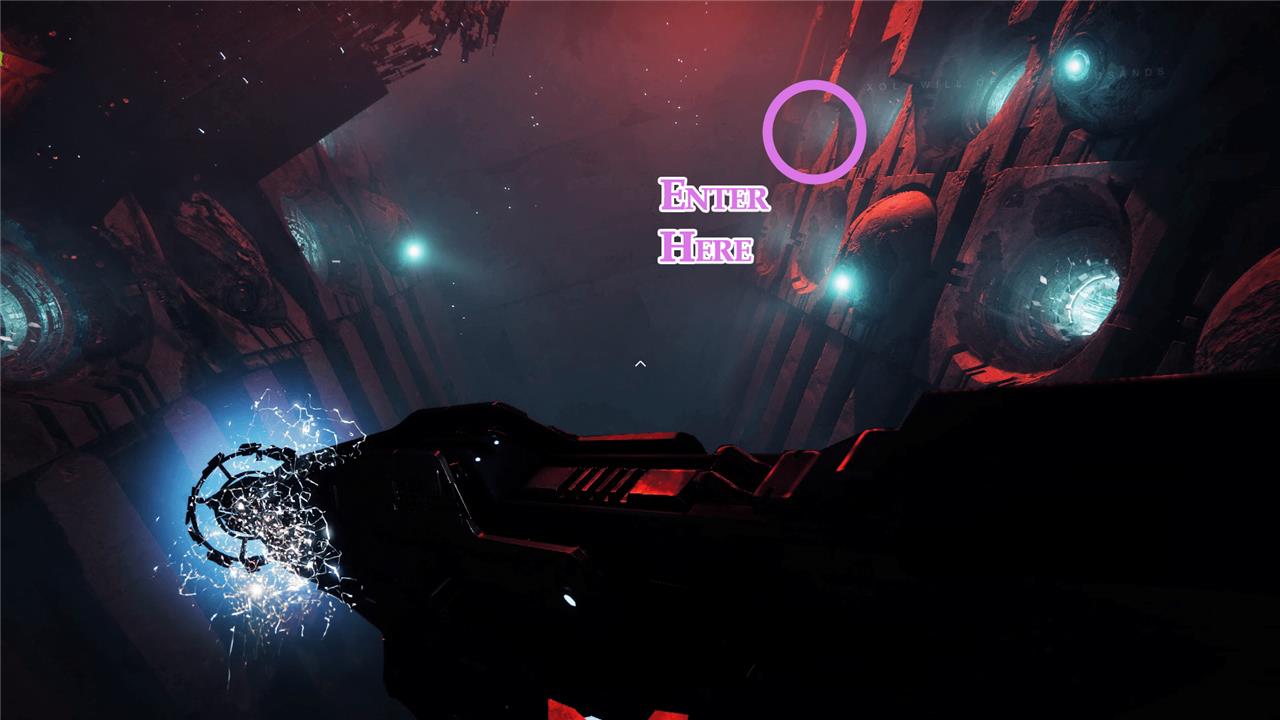
Xol will begin speaking to you about drifting as you enter the portal room. Jump to your right and hug the wall. Ignore all the portals until you reach the very end of the right wall. Take the final top portal and drop into the room below.
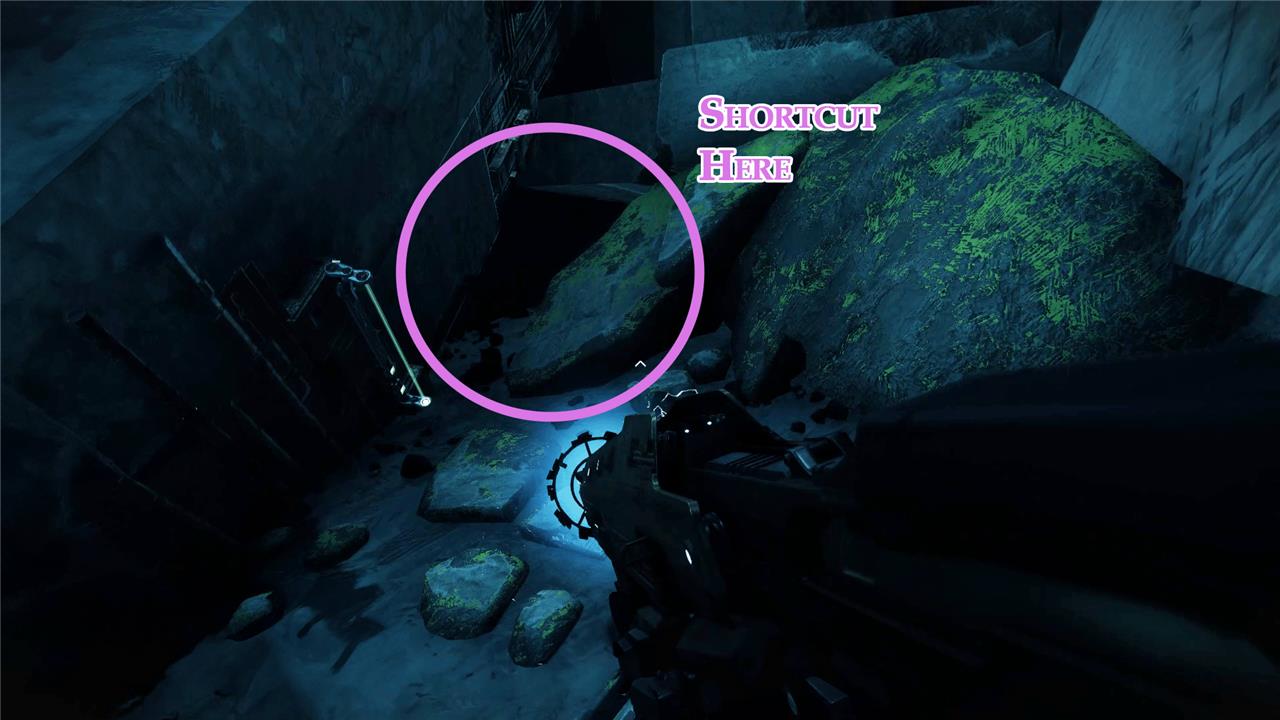
The Green Room as it’s called can be very complex if you try to go the long way, but there’s a hidden shortcut here that can shave multiple minutes off your clear time. Turn to your right and crouch into the rubble. You’ll find a crack here, between the rocks. Climb in and look for an opening in the wall (not one of the pits in the ground) that leads to a big cylinder.
Jump onto the cylinder’s edge and walk along the side. You’ll reach what looks like a diving board. Look far out and down to see the opening in front of you. It’s a long jump, so be sure to save your jump power until you’re close to the bottom. Once you safely land, move forward and crouch under the high ceiling.
How to defeat Tulgorh, Aspect of Agony, in Destiny 2
To defeat Tulgorh, Aspect of Agony, in Destiny 2’s Whisper mission, start by clearing the arena of adds and shooting the Vex cubes to summon the three mini-bosses. Defeat these bosses one by one to trigger Tulgorh’s appearance. The big Taken Ogre is initially shielded by two Wizards positioned on raised platforms at the arena’s far corners. Focus on eliminating these Wizards to drop Tulgorh’s shield, allowing you to damage him. Once you bring his health to half, he will regain his shield and summon more Wizards along with Taken Blights. Repeat the process of killing the Wizards to remove the shield and continue dealing damage until Tulgorh is defeated. Use heavy weapons and Supers strategically to speed up the fight, and be mindful of the constant Taken Thralls that spawn throughout the encounter. After defeating Tulgorh, a chest will appear containing the Whisper of the Worm schematic.

This is where the combat begins. You’ll need to push through multiple rooms and fully clear them all to proceed.
Once you reach the boss arena, clear the area, then shoot the Vex cubes to summon the mini-bosses. Kill them to summon the real boss, a big Taken Ogre: Tulgorh, Aspect of Agony. Kill the Wizards to lower the boss’ shield, then take it down for good.
What are the key steps to completing ‘The Whisper’ in Destiny 2
Key Steps to Completing ‘The Whisper’ in Destiny 2
-
Start the Mission and Navigate Platforming: Begin at the Grove of Ulan-Tan Lost Sector on Io and activate the mission, which has a strict timer (40 minutes on normal, 20 minutes on Legend). Shoot Vex cubes to spawn platforms and carefully traverse the challenging jumps and obstacles, using shortcuts like crouching into hidden holes to save time.
-
Clear Taken Enemies and Blights: Progress through rooms filled with Taken enemies and blights. Clear all enemies in each room to spawn and then destroy the blight, which unlocks the path forward. Use powerful supers and weapons to efficiently clear waves.
-
Boss Fight Sequence: Upon reaching the boss arena, three Vex cubes appear, each summoning a separate boss. You can fight them one at a time or all simultaneously on normal difficulty. Defeat all three bosses to summon the final boss, an ogre named Tulgorh, Aspect of Agony.
-
Final Boss Mechanics: The ogre is protected by an immune shield maintained by two Shield Weaver Wizards. Eliminate these wizards to drop the shield, then damage the ogre until it reaches a health gate, when more wizards spawn. Repeat this process until the ogre is defeated.
-
Claim the Reward: After defeating the final boss, a chest spawns containing the schematic for the Whisper of the Worm exotic sniper rifle. Take this schematic back to Eris Morn on the Moon to craft the weapon and begin the related quest to unlock its full potential.
Following these steps with a focus on precision platforming, efficient enemy clearing, and strategic boss fights will secure the Whisper of the Worm in Destiny 2.
What strategies help defeat the final boss in ‘The Whisper’ mission
Strategies to Defeat the Final Boss in ‘The Whisper’ Mission
-
Use Supers and Heavy Weapons Freely: Before engaging the final boss, clear the initial waves of enemies in the boss room using your supers and heavy weapons to quickly reduce threats and gain control of the area.
-
Prioritize Destroying Vex Boxes One at a Time: You can choose to activate all three Vex boxes simultaneously to fight all bosses at once on Normal difficulty, but it’s often safer, especially on Legend difficulty, to destroy the boxes one by one to manage the fight more easily.
-
Focus on the Shield Weaver Wizards: The final boss, an ogre, is immune until you eliminate the Shield Weaver Wizards who maintain its shield. Target and kill these wizards first to remove the boss’s immunity, then damage the ogre.
-
Repeat Shield Removal at Half Health: When the ogre reaches about 50% health, the shield will regenerate, and more Shield Weaver Wizards will spawn. Repeat the process of killing the wizards to drop the shield again before finishing off the boss.
-
Use Cover and Positioning: After using your supers, retreat behind pillars or to safe spots to avoid being pushed into the room with adds, reducing damage taken and controlling enemy spawns.
-
Recommended Weapons: Equip weapons with high damage and area effects such as Leviathan’s Breath, Dragon’s Breath, Gjallarhorn, or powerful linear fusion rifles to quickly clear adds and damage bosses.
-
Manage Adds Efficiently: Clear adds quickly to prevent being overwhelmed, focusing on high-threat enemies like Knights first, then hobgoblins and other foes. Using blight areas for cover can help manage enemy positioning.
By combining aggressive use of supers and heavy weapons, careful targeting of the Shield Weaver Wizards, and smart positioning, players can effectively defeat the final boss in The Whisper mission.