Leon’s final mission explodes into chaos as the island crumbles around him. With time running out, he must cut through waves of enemies, escape collapsing corridors, and confront the fate that’s been building since his arrival. Here’s how to survive Chapter 16 and make it off the island alive.
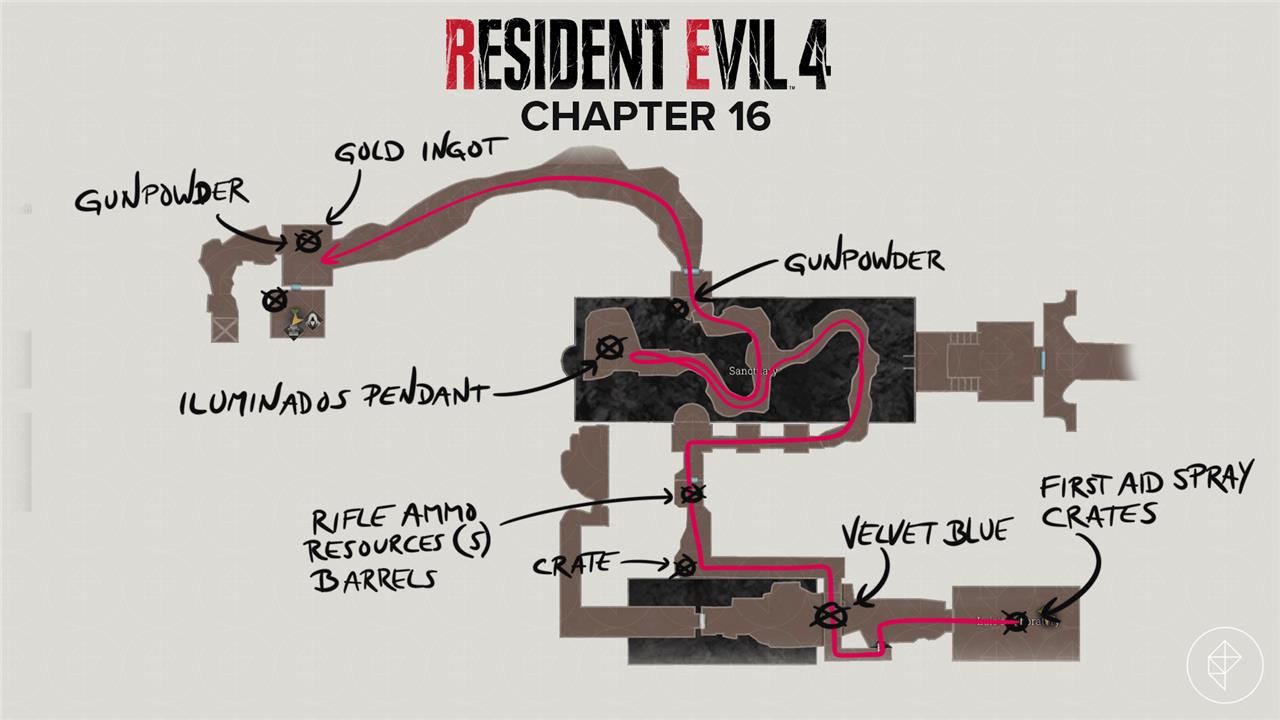
Our Resident Evil 4 remake Chapter 16 walkthrough will ensure you don’t miss any items from the beginning of the chapter through Luis’s Laboratory, the (ruined) Sanctuary, Loading Docks, the Osmund Saddler boss fight, and Underground Passage.
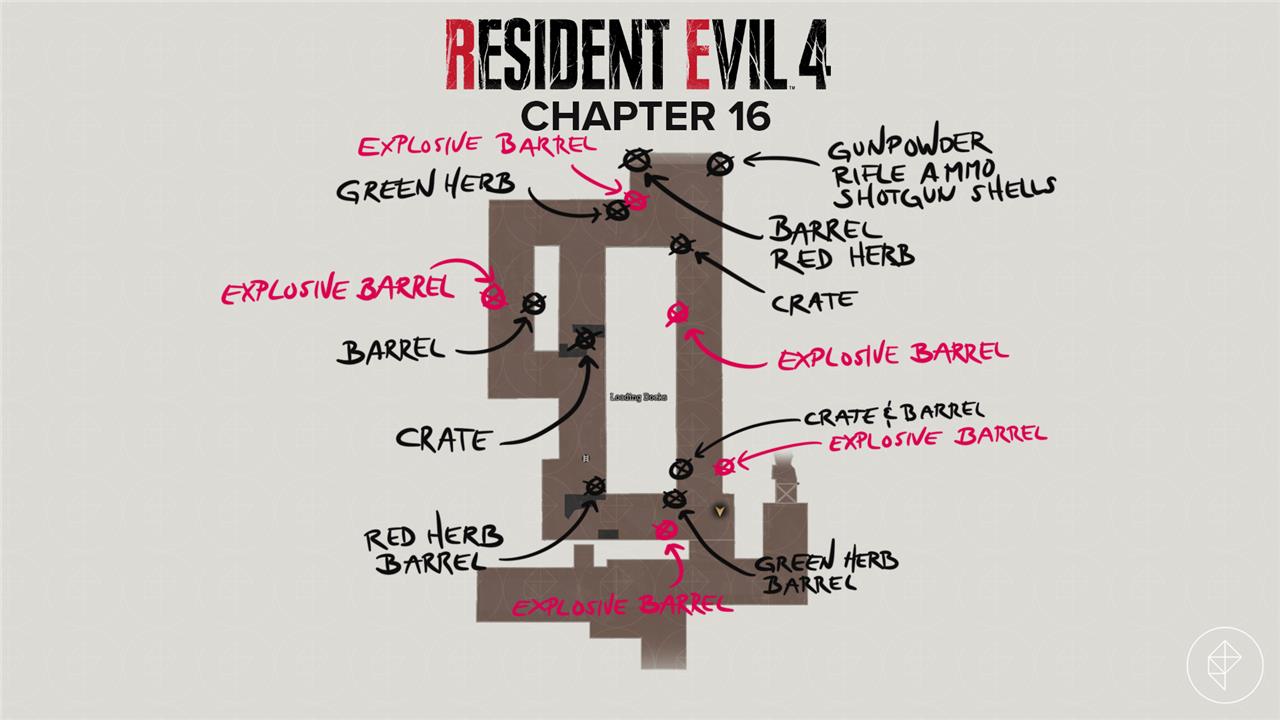
Throughout this walkthrough, we’re not going to mention every item that anyone (or anything) you shoot drops – if you kill something, look for a loot drop.
Also, there’s a little randomness to the contents of crates based on your inventory and weapons, so you probably won’t find the exact same things listed below. The crates and barrels themselves will always be in the same locations, though. And all other items – keys, collectibles, and resources not found in crates – should be the same.
Escape the island // Luis’s Laboratory
Luis’s hidden lab is the final stop before racing toward the island’s exit. Search the area for valuable items, including resources and notes that shed light on his research. Once equipped, head through the tunnels where tough enemies await. Keep your weapons loaded and move quickly-time is running out as the facility begins to collapse, forcing Leon to push forward toward the final escape route.
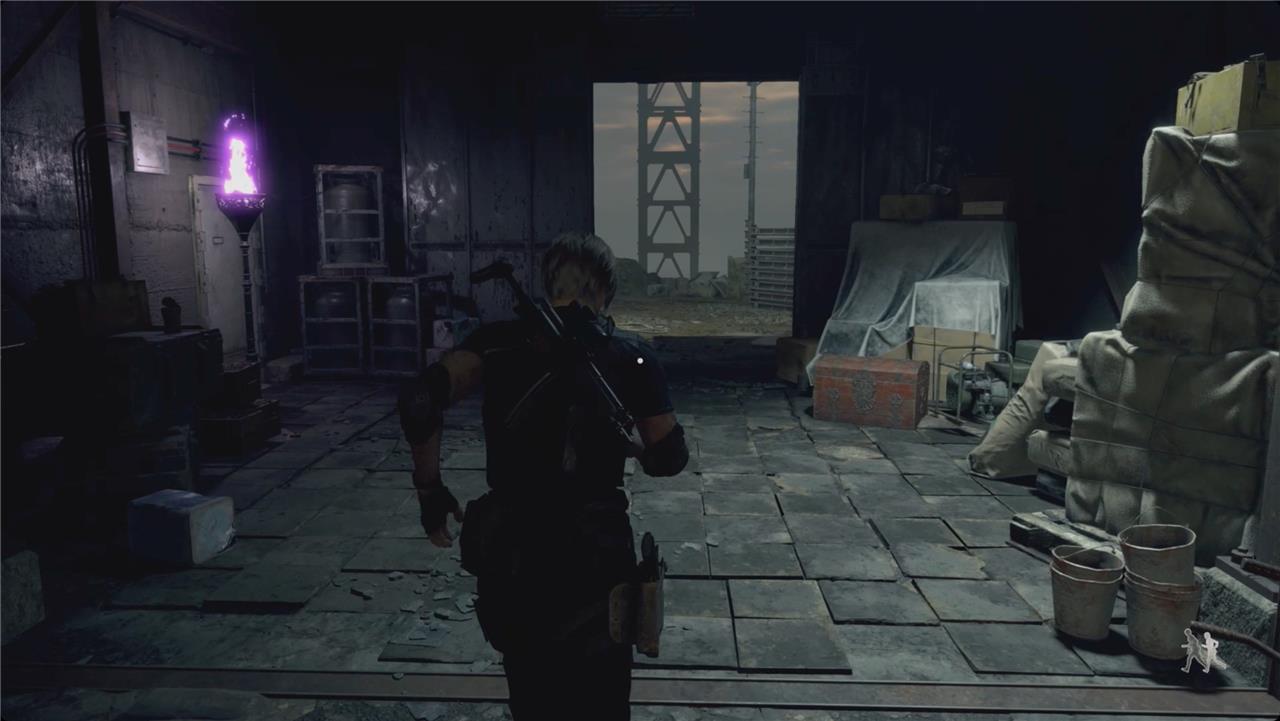
After Ashley saves Leon’s life, you’ll start off in Luis’s Laboratory.
When you’re back in control, turn right. Grab the first aid spray, and smash the crate for some rifle ammo. Grab the Methods for Eradicating Las Plagas and Group Photo files from the table to the right. Continue right for another crate with resources (S) and pesetas and pick up the Saddler’s Animus file from the table.
Continue around clockwise to the computer for the The Amber file, and the computer opposite it for the Emails file.
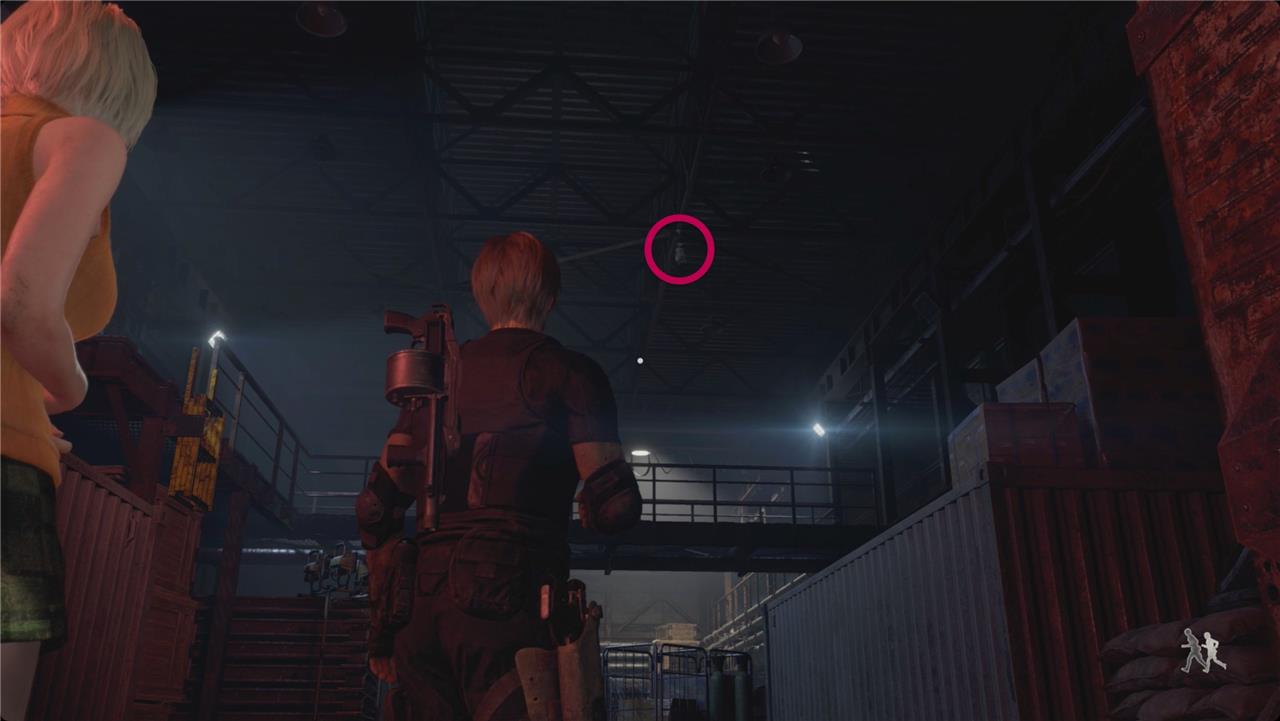
Push through the doors. As soon as you exit, look up at the ceiling for a treasure lantern.
The treasure inside will fall on the catwalk, so we’ll have to grab it in a minute. There’s nothing else to pick up, so boost Ashley onto the crates along the left side so she can kick down a ladder to you.
Climb up, and go grab the velvet blue you just shot down. Follow the hallway to the left for a crate with gunpowder. Head toward the door to the right and grab the rifle ammo and resources (S). Smash the barrels by the door for pesetas and gunpowder.
Head through the door.
Sanctuary
In Sanctuary, move carefully through the dim corridors and muted echoes, timing your steps to avoid patrols and uncover the hidden path that leads you toward the island’s final escape.
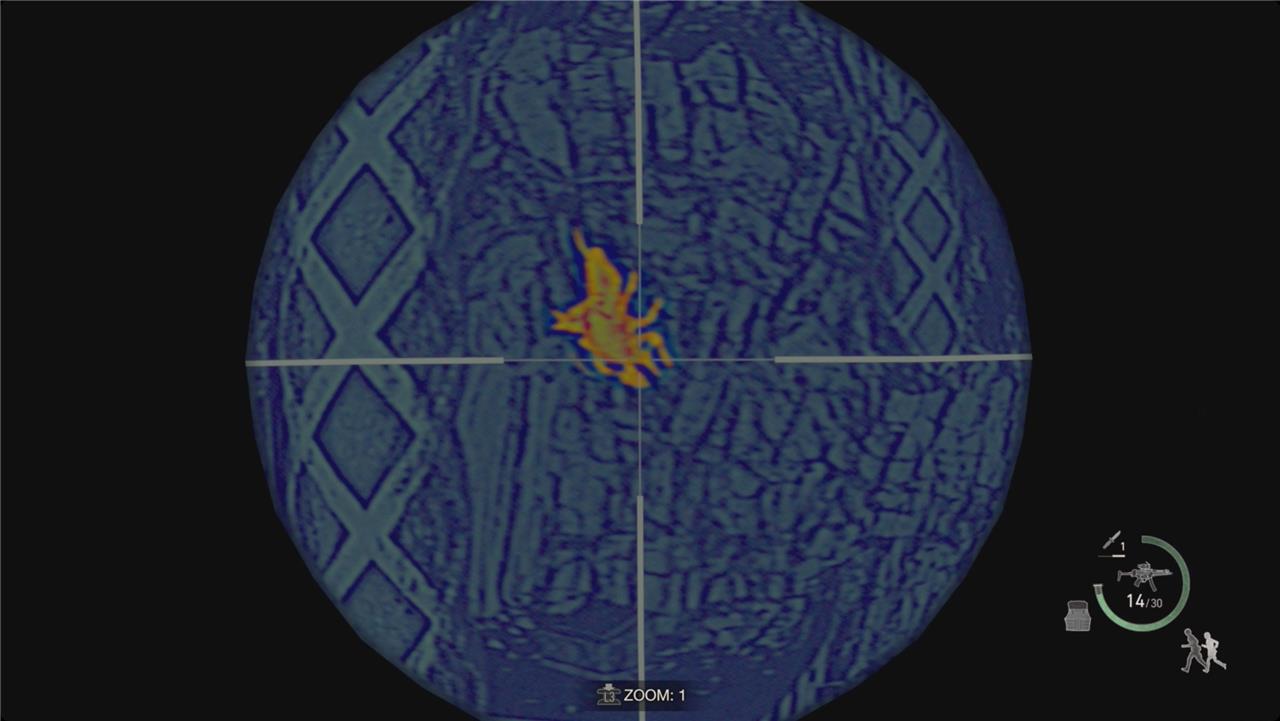
That door leads you back to a balcony overlooking the Sanctuary. Stand at the railing ahead of you and use the Biosensor Scope to check for camouflaged novistadors. Take a right and drop down the ledges at the end. Keep following the path.
At the first intersection, take a left and duck under the fallen pillar. Keep going until you reach the altar. To the right, pick up the Iluminados Final Chapter file, and then go to the monolith behind the altar to find the Iluminados Pendant. Loop around to the back and read the inscription for the Provenance Monolith file.
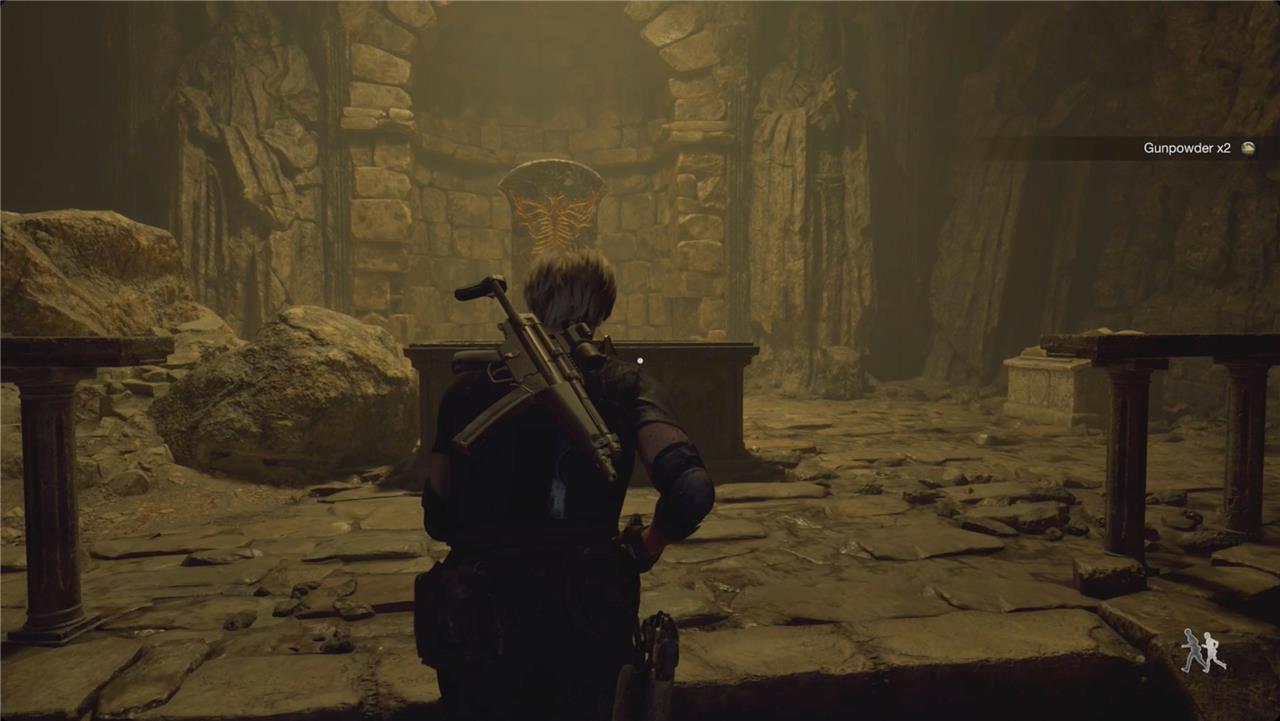
Backtrack to the intersection and cross to the other side. Climb up the ledges at the end of the path. Just before the doors, look for some gunpowder on the railing to your left.
Through the doors, follow the tunnel some more. When you vault the low wall, there are two novistadors waiting for you.
At the end of the hall, across from the Merchant’s room, open the treasure chest for a Gold Ingot.
Merchant (for the last time)
The Merchant makes his final appearance before the escape, offering one last chance to sell excess gear and upgrade weapons. This is your opportunity to use any remaining treasures and prepare for the final encounters ahead. Once you leave his stall, there will be no more chances to resupply, so double-check your ammo, health items, and weapon loadout before moving forward.
In the Merchant’s room, grab the gunpowder from the shelves on the right and smash the two crates for pesetas and resources (S).
Sell Luis’s Key, the Iluminados Pendant, and the Gold Ingot. This is your last visit with the Merchant, so feel free to sell off any gemstones for the extra cash if you’re not going to play through again. If you plan on coming back for more, though, keep them – your entire inventory carries over into the new game.
If you haven’t done so yet, buy the Body Armor – it’s just extra health for the coming boss fight.
Buy any tune ups and save. It’s time to finish this.
Loading Docks // Osmund Saddler (final boss fight)
The final battle against Osmund Saddler takes place on the metal platforms of the loading docks, where Leon must face the mutated cult leader in his most monstrous form. Use the environment to your advantage-grenades, rockets, and explosive barrels can deal heavy damage to his exposed eyes. Keep moving to avoid his sweeping tentacle strikes and projectile attacks. When Saddler staggers, get close to stab the eye on his body for massive damage. Once weakened, use Ada’s special rocket launcher to finish the fight and clear the path to the escape route.
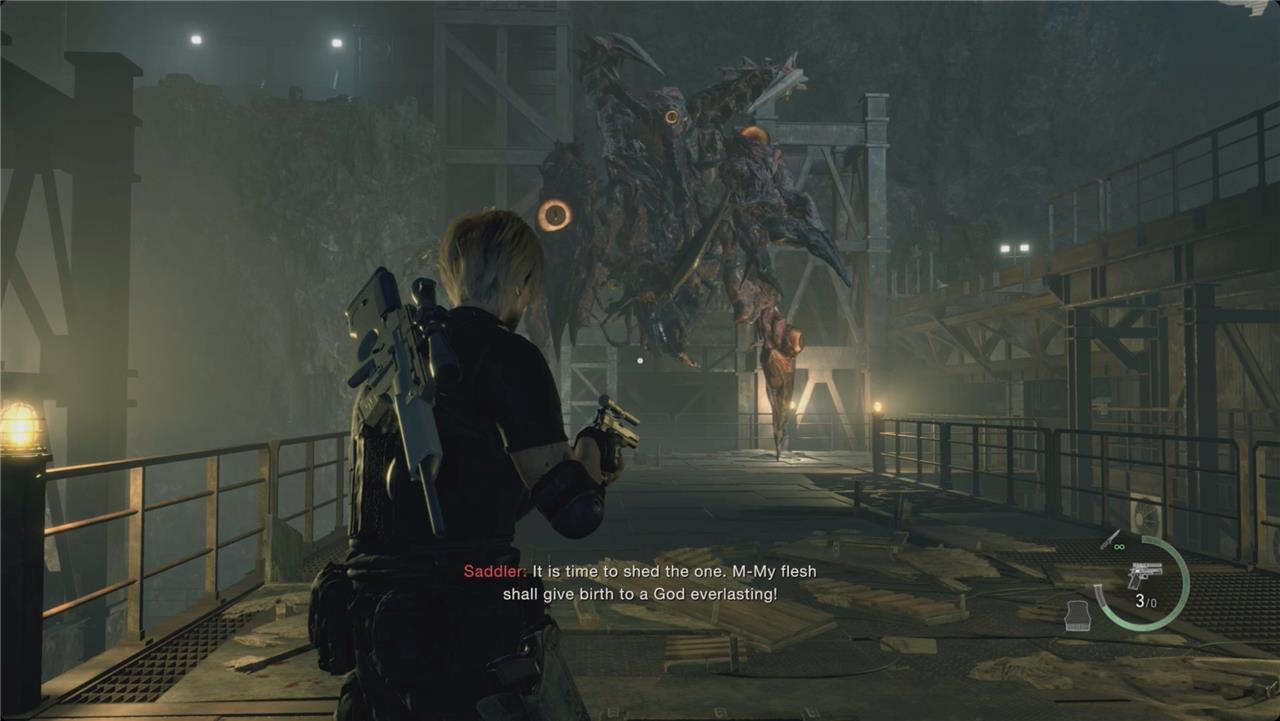
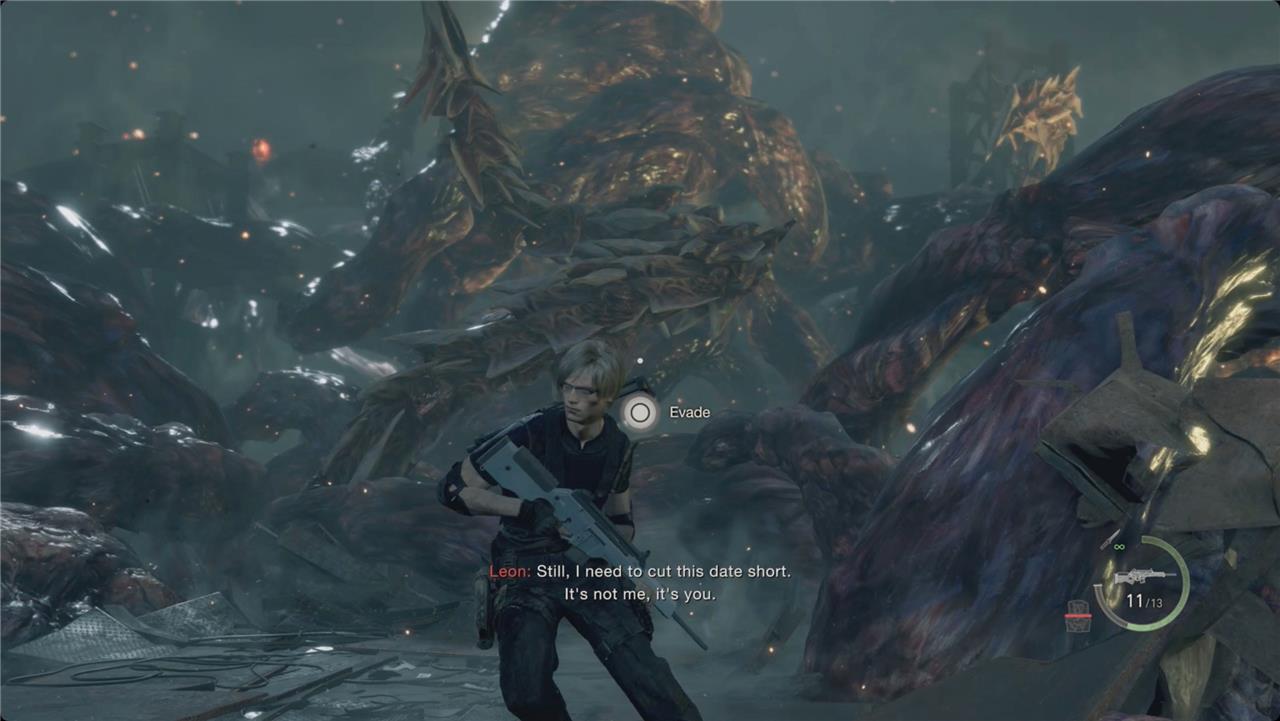
Head outside and to the left. Stop at the binocular vista to spot Ada. Continue left into the elevator. After the cutscene (which brings the life-saving tally to three for Ada and one for Leon), you’ll have to face off against the mutated Osmund Saddler.
Luckily (and ickily), he’s covered in glowing, yellow eyeball weak points.
How to beat Resident Evil 4 Remake final boss
Target Saddler’s eye weak points on his limbs with a shotgun or magnum while dodging his leaps and acid spits by running circles around the arena. Lure him to explosive barrels for massive damage, then stun him with flash grenades to expose his main eye for heavy fire from a sniper rifle. Finish phase one by popping all eyes to trigger melee prompts, grab the rocket launcher in phase two, and blast his core eye to end the fight.
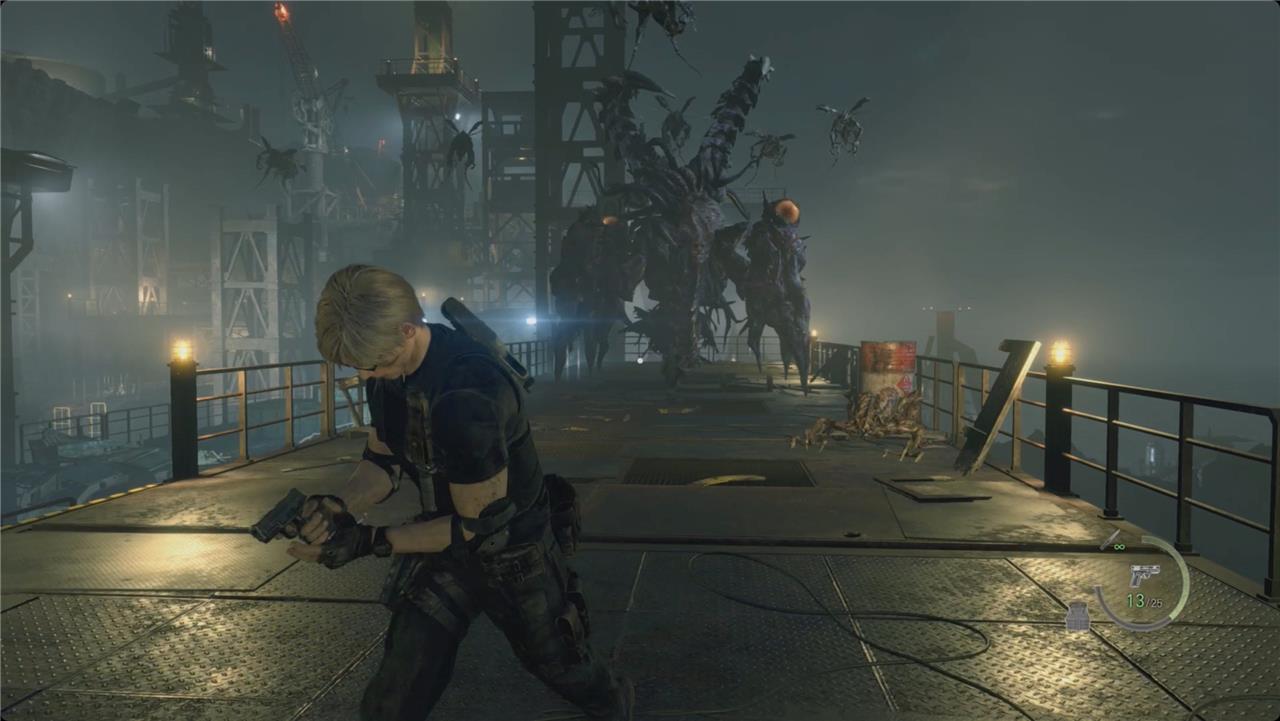
The fight against Saddler is equal parts straightforward (shoot the various eyeballs) and annoying (he moves a lot, hits hard, and summons a swarm of novistadors).
The level of the Loading Docks you start on is basically a straight hallway, so your maneuverability will be limited. You can, however, run under him (like back in the El Gigante fights).
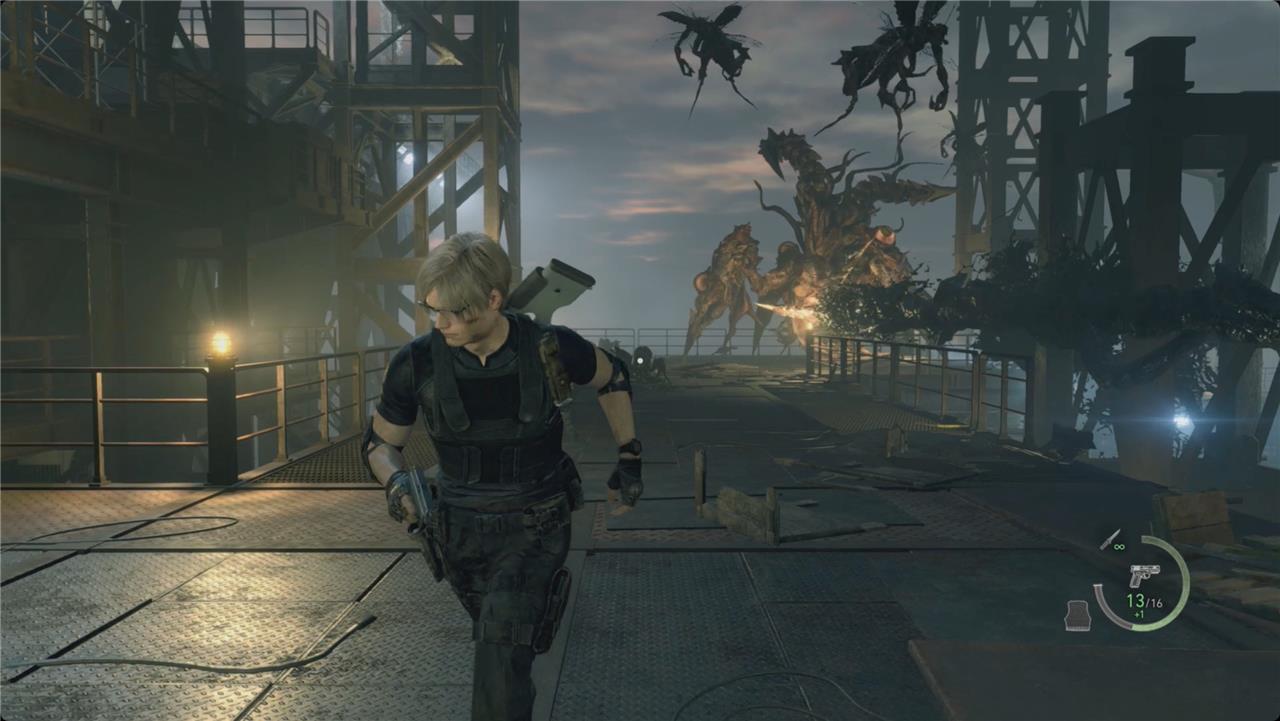
We will be dropping down to the lower level in a second so there’s more room to move (run away), but for now, stay up here – there are several barrels and crates and items to grab. Once you’re pretty sure you got everything (while also shooting Saddler), drop off the platform heading north. The lower level is a large, upside-down U shape that gives you a lot more options for running away. However, Saddler will periodically jump high up and smash down on a section of the docks, destroying them and removing some of your options.

Your goal for right now is just to hit his eyeballs – destroying two of them will stun him and you’ll get a chance to run up and stab him in his mouth-eyeball (gross).
During the first part of this fight, just keep shooting knee-eyeballs and stabbing him in the eye whenever you can. There are a few exploding barrels scattered around to give you some help.
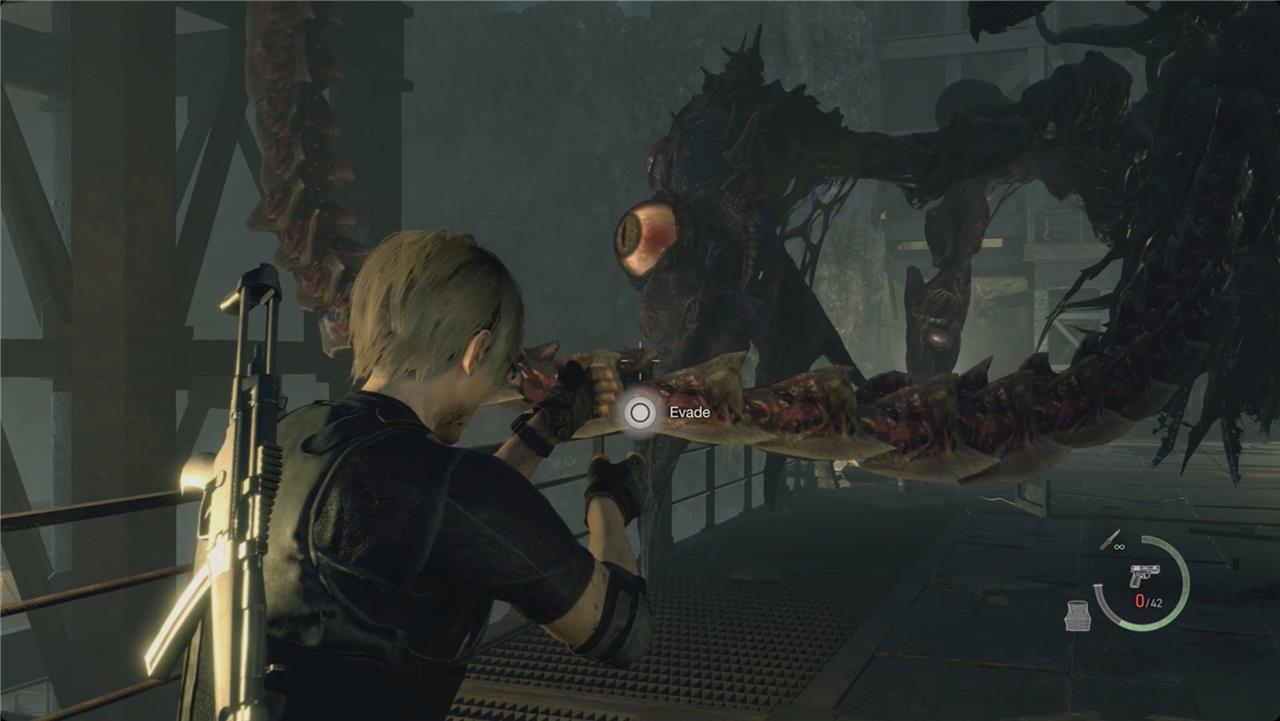
Keep an eye out for the evade prompt. This will let you dodge Saddler’s (shockingly damaging) tail attacks.
Also watch for Saddler to rear up – he’ll charge at you right after. Do your best to run away and get to the side when he does that.
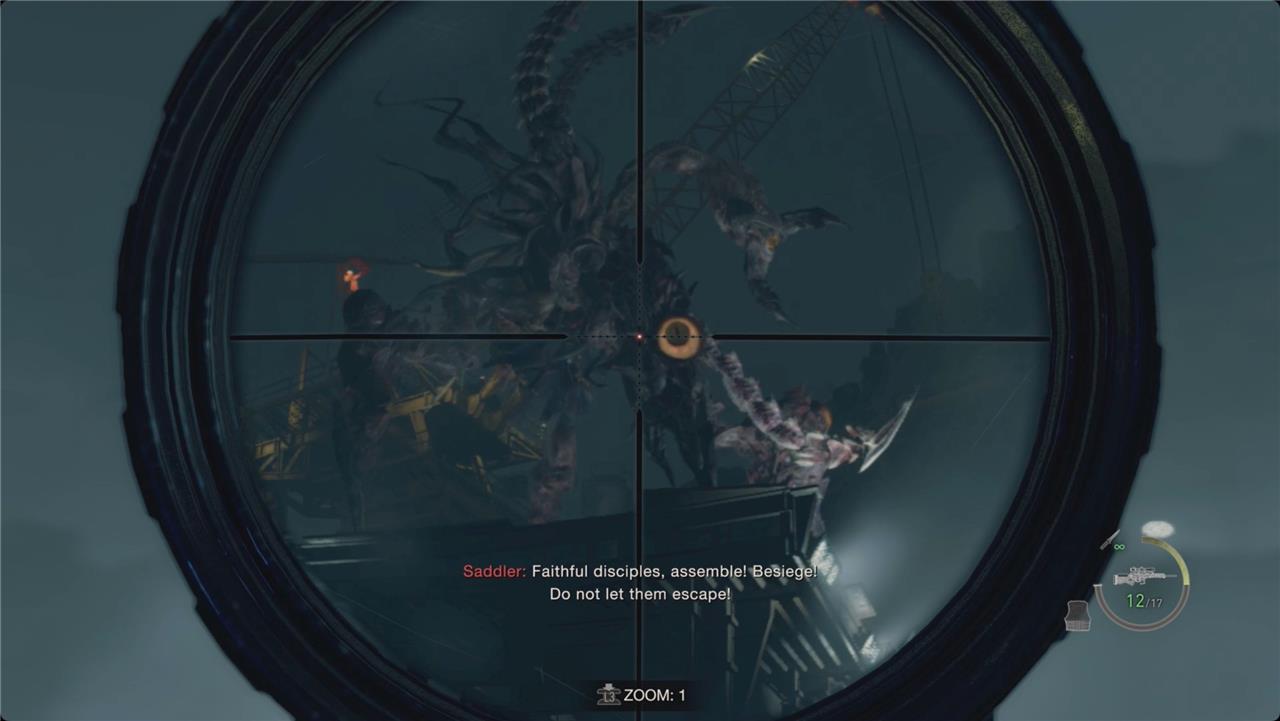
When you deal enough damage, Saddler will leap up to a tower in the middle of the docks and then summon a lot of novistadors. If you have the ammo, use a rifle to snipe his eyeballs when he’s up there. He’ll do this a couple times during the fight.
Do your best to keep moving and ignore as many of the novistadors as you can – when Saddler comes back down, he’ll kill a lot of them as collateral. Try to keep your focus on Saddler.
Saddler has two acid spit moves: a horizontal sweeping attack, and a three-part vertical attack. Duck under (or try to) the horizontal one and sidestep the vertical one.
After enough eyeball-shooting, Saddler will fall off the docks and phase two will start. It’s a lot more straightforward.
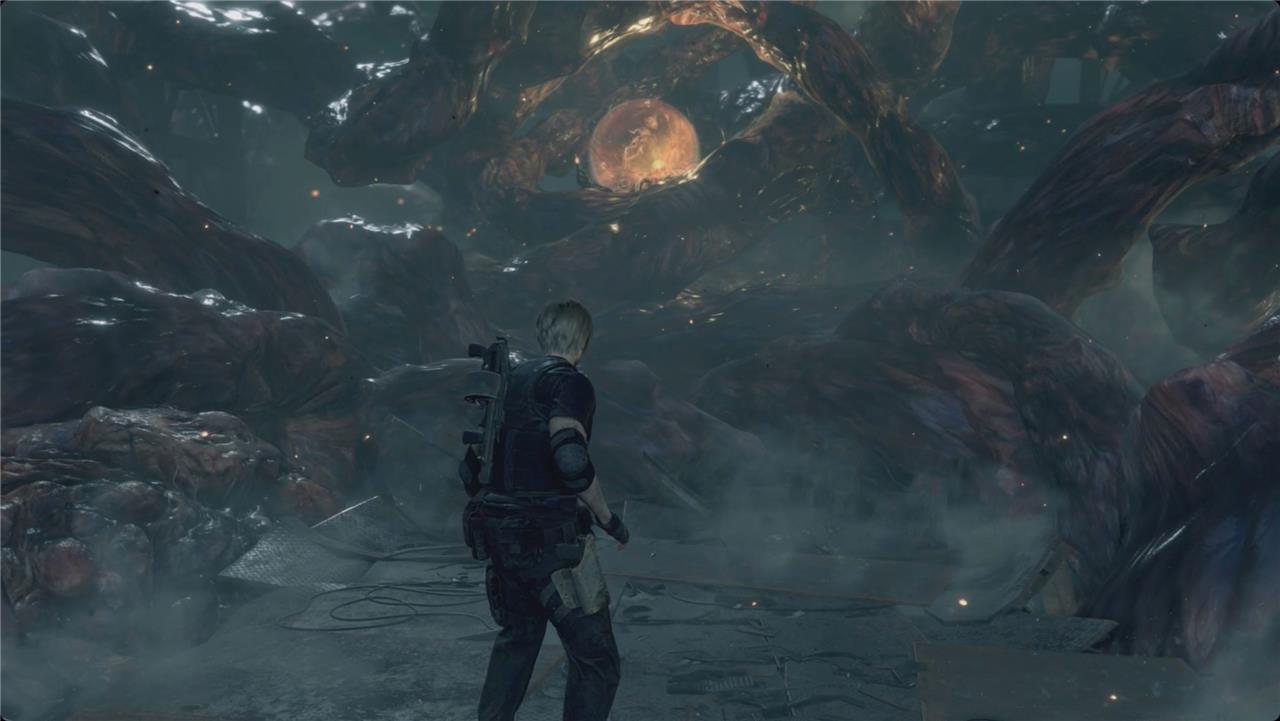
There’s just one giant, glowing weak point now, and you only have a few steps of movement in any direction. Switch to your strongest weapon (we used the Stingray with the scope removed) and start unloading into it.
Two spiky tentacles will pop up in front of you. If the tentacle stays straight up and down, it’ll slam down along one of the sides (whichever side it’s on) – you just have to sidestep it. If the tentacle twists a little, it’s going to swipe across horizontally and you’ll have to evade it.

Once you deal enough damage, Ada will return to drop off the rocket launcher (special). Fire it into the weak point to end the fight.
Escape from the island // Underground Passage
After defeating Saddler and retrieving Ada’s keys, follow the path toward the exit and make your way through the collapsing island. Head down the underground passage, watching for falling debris and pockets of fire that block the route. Keep moving quickly-lingering too long can lead to instant death. Once you reach the end, trigger the escape sequence and steer the jet ski through the tunnel, avoiding debris until you burst out into open water.
When the fight is over, you’ll get one more cutscene, and then a countdown to the island exploding will start.
When the elevator stops, you’ll have a path out ahead of you. There are no turns, so we’ll just call out the items as you pass. Just a few steps in, there’s a green herb on your left – just before the final typewriter.
After the left turn, the path will start crumbling. Just past that, the tunnel opens up a little. Ignore the guy who busts through the door ahead of you and step inside – and ignore all the rest of the writhing soldiers there too.
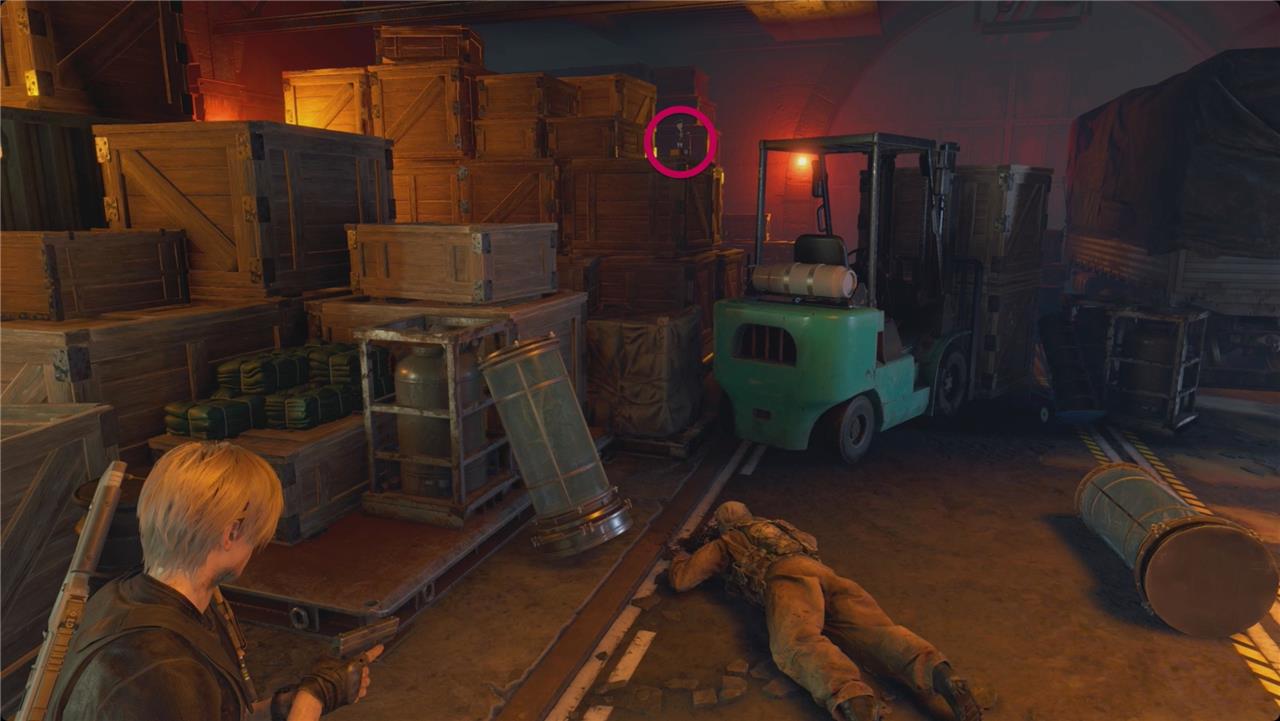
Just past the truck, there’s a green forklift on the right. Turn and face it to find the final Clockwork Castellan16 of 16 on the crates just to the left. You’ll get the Revolution Wind-Up achievement or trophy when you get all 16 – and you’ll be able to buy the Primal Knife from the main menu’s Extra Content Shop (its Exclusive upgrade makes it indestructible).
Continue through the door and around the next corner where you’ll have to push on a metal cabinet for a painfully long time.
Around the next corner, you’ll come to the Water Scooter that Ada gave you the Water Scooter Key for.
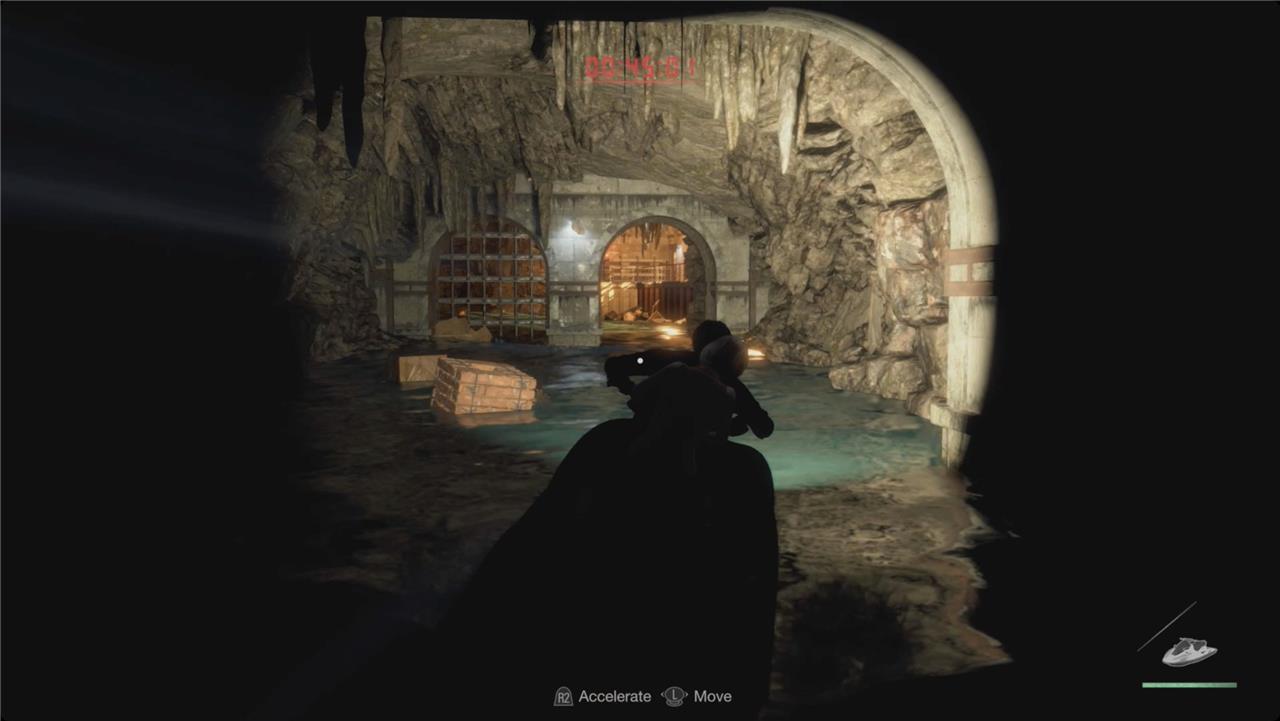
The next section is Leon and Ashley’s water stunt spectacular with a lot of boating very fast through collapsing tunnels. There’s not a lot of subtlety here – accelerate with R2 on the straightaways and let go during the turn-y bits.

At the end, Leon and Ashley (literally) ride off into the sunset. And then there’s a post-credits scene, as well as a post-post-credits scene.
How to defeat Saddler in Chapter 16 RE4 Remake
Defeating Saddler in Resident Evil 4 Remake’s Chapter 16 is the game’s climactic boss fight, split into two main phases on the loading docks. Prepare by upgrading weapons like the Red9, Stingray, or Killer7 magnum at the nearby merchant, stocking magnum ammo, and grabbing herbs and crates beforehand.
Phase 1 Tactics
Target the glowing yellow eyes on Saddler’s legs and body first-prioritize the four leg eyes to knock him down for a knife finisher prompt on his central eye. Lure him near explosive barrels to stun him, dodge claw swipes and leaps with evade prompts, and sidestep acid spits (horizontal by ducking, vertical by strafing). When he screams from the central platform, he summons Novistadors; ignore most and focus Saddler, as his landings often crush them.
Phase 2 Tactics
After multiple knockdowns, Saddler mutates into a tighter arena with one massive central eye as the weak point-unload your magnum or rifle here while evading tail swipes. Space is limited, so stay mobile and heal from scattered herbs.
Finishing Blow
Once the eye is exposed enough, Ada drops the Rocket Launcher (Special); grab it immediately, aim at the eye, and fire for an instant kill-failure to do so quickly leads to a game over. This unlocks the “You’re Small Time!” trophy.
Best weapons and upgrades for Saddler fight
For the Saddler boss fight in Resident Evil 4 Remake Chapter 16, prioritize high-damage precision weapons that excel against eyes and large weak points, fully upgraded at the nearby merchant for maximum effect. Stock up on magnum rounds, rifle ammo, and grenades beforehand.
Recommended Weapons
-
Killer7 Magnum: Top choice for bursting down eyes and Phase 2’s central orb; exclusive ammo makes it precious-fully upgrade power, capacity, reload, and firing speed.
-
Red9 Handgun: Precise shots on leg/mouth eyes; pair with stock for accuracy, upgrade power and capacity for reliability against Novistadors too.
-
Stingray Rifle: Rapid fire shreds Phase 2 health bar and clears bugs; max power, capacity, and reload for sustained damage.
-
LE 5 SMG: Handles swarms of Novistadors interrupting Phase 1; upgrade rate of fire and capacity for crowd control.
Key Upgrades
Focus merchant spins on exclusive ammo weapons (Killer7, Stingray) to near-max power first, then capacity/reload across your loadout. Grab a Rocket Launcher beforehand for an instant Phase 2 skip if aiming for S+ rank. Knife repairs ensure safe finishers on knockdowns.
| Weapon | Best For | Priority Upgrades |
|---|---|---|
| Killer7 | Eyes/Orb | Power, Capacity |
| Red9 | Precision | Power, Stock |
| Stingray | Phase 2 | Power, Reload |
| LE 5 | Novistadors | Fire Rate |