Ready to face Destiny 2’s toughest raid yet? Salvation’s Edge challenges push Guardians to their limits with intricate mechanics, intense teamwork, and the promise of powerful loot-including the coveted Euphony Exotic rifle. Whether you’re on PC, PlayStation, or Xbox, our concise guide breaks down every challenge encounter-by-encounter, ensuring your fireteam conquers the raid and claims victory against the Witness once and for all.
These challenges add an optional wrinkle to each encounter that you can complete for bonus loot. Challenges rotate per encounter each week, and only one is active at a time. This changes when a newer raid arrives and it enters the weekly raid rotation, where all challenges become available.
In this Destiny 2 guide, we’ll walk you through how to complete each of the five raid encounter challenges in Salvation’s Edge.
Note: Due to the complex nature of these challenges, this guide assumes a general familiarity and understanding of the basic mechanics of Salvation’s Edge and its five encounters. If you’re unsure how an encounter works, check out our complete Salvation’s Edge walkthrough before diving into the challenges.
How to complete Substratum challenge ’Scenic Route’
The “Scenic Route” challenge in Destiny 2’s Salvation’s Edge raid, specifically in the first encounter Substratum, requires a strategic approach involving two teams of three players each. The key objective is to defeat the second Overload Champion before the first one. The team that encounters their Overload Champion first must keep it alive and focus on killing the Hydra in their room to unlock the next door for the other team. Meanwhile, the second team progresses through an additional room to find and kill their Overload Champion. Only after the second Overload is defeated can the first team kill theirs, which then spawns the Tormentor and allows the encounter to progress. This challenge extends the encounter by adding an extra room and requires careful coordination to manage enemy kills and door openings effectively.
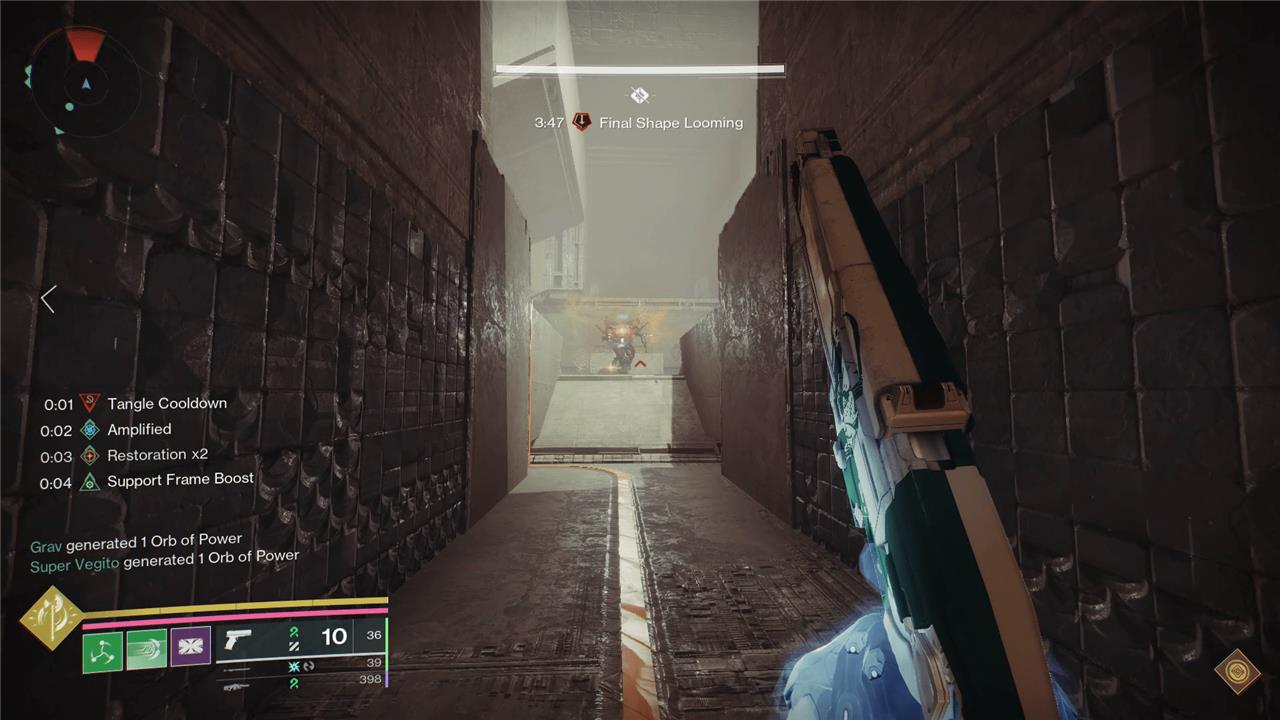
The Scenic Route challenge is for the first encounter in Salvation’s Edge, Substratum.
To spawn the Tormentor and progress the encounter, you first need to kill an Overload Minotaur. Two Overload Minotaurs spawn each phase, one on each team’s side of the map.
However, the spawns aren’t consistent across teams. One team will always encounter their Overload Minotaur in the third room they reach, while the other team will always encounter their Overload Minotaur in their fourth room. To complete the challenge,you must only ever kill the Overload Minotaur that spawns in the fourth room, meaning the team that encounters their Overload first (in room three) can’t kill theirs.
You can tell which team will have the Overload Minotaur in room four based on which team has Vex Hobgoblins in their first room. If you see those Hobgoblins, that means you’ll need to push forward until you find an Overload Minotaur to kill. If not, be careful not to kill your Overload when you reach it.
The only real strategy change here is mindfulness. Have a player on each side that’s responsible for both counting rooms and checking for Hobgoblins. The biggest failure condition here is the wrong team accidentally killing their Overload because they aren’t paying attention. You do, however, need to make sure you continue to go fast in this encounter, as this challenge will add anywhere from 10 to 30 seconds to your phases.
How to complete Dissipation challenge ’At Capacity’
To complete the Dissipation challenge “At Capacity” in Destiny 2’s Salvation’s Edge raid, players must only deposit Resonance into the bank in stacks of exactly three. Depositing one or two Resonance will cause the challenge to fail. The fireteam should coordinate so that the players closing the conductors pick up only one Resonance to lock their pillar, while the “bouncing” players gather three Resonance to deposit. Only players holding three Resonance should interact with the bank, and it is important to avoid multiple players depositing simultaneously to prevent bugs. Successfully depositing four full stacks of three Resonance will maximize the timer extension for the encounter.
The At Capacity challenge is for the second encounter in Salvation’s Edge, Dissipation.
To complete At Capacity, you can only ever dunk your Resonance into the bank if you have x3 Resonance. If you have anything less than that, the challenge will fail if you interact with the bank.
When gathering Resonance on each side, have the player activating the Conduit only grab the one Resonance they need, and have the bouncing player grab three of any kind of Resonance. Then, activate the Conduit and only have the bouncing players dunk.
This strategy means you’ll only net nine Resonance per phase, which will leave you about 15 seconds off of a full time refund. That means this method does require you to go fast in each phase, but it’s much simpler than alternative methods that have the Conduit players running to other sides to grab bonus Resonance (which itself wastes time). We recommend finding ways to speed up – like memorizing enemy spawns – rather than going out of your way to dunk bonus resonance.
How to complete Repository challenge ’Balanced Diet’
The “Balanced Diet” challenge in the Repository encounter of Salvation’s Edge requires players to never pick up the same Resonance shape twice consecutively. To complete it, players must carefully alternate between the three shapes-circle, triangle, and square-ensuring no immediate repeats, even across different rooms. A common strategy is to identify the shape needed to close your Conduit and then pick up the other two shapes first before collecting the required one. Communication and coordination are essential, especially when transitioning between rooms, to avoid accidentally repeating shapes and failing the challenge. This approach demands more movement and attention than the standard method but significantly reduces the risk of mistakes.
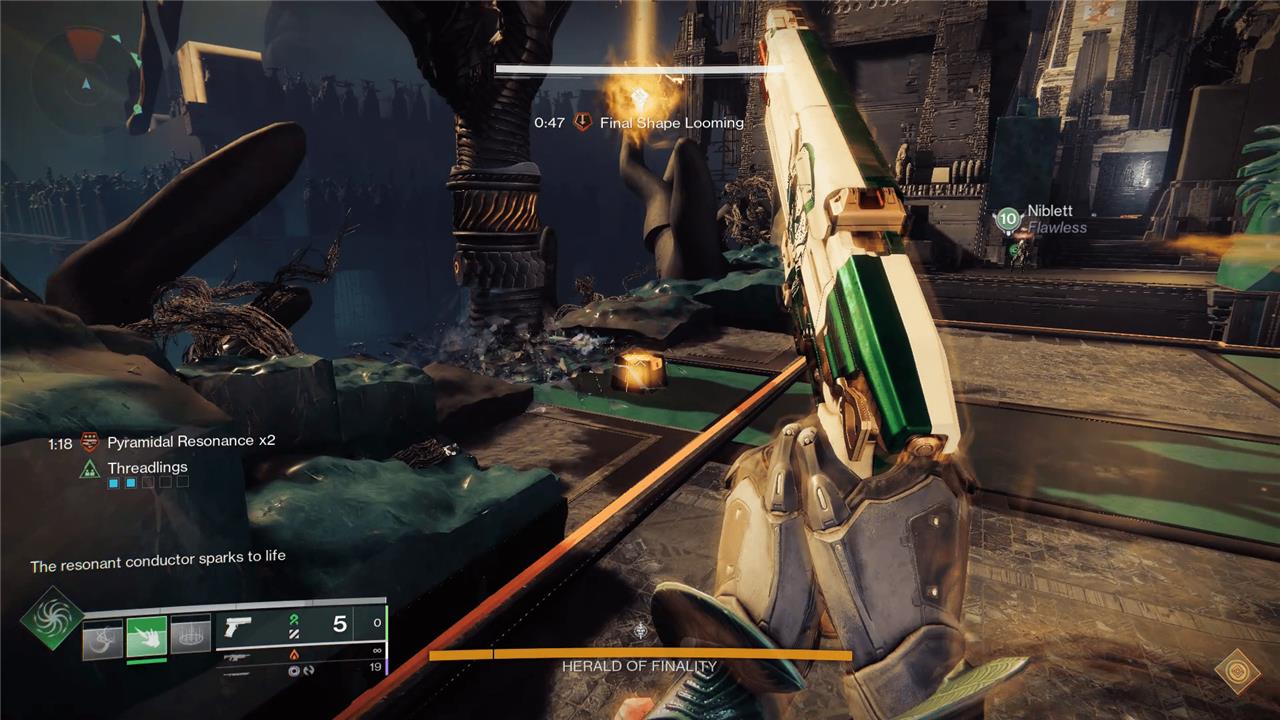
The Balanced Diet challenge is for the third encounter in Salvation’s Edge, Repository.
The requirement for this challenge is that you can never pick up the same type of Resonance twice in a row.
To do this, find out what shape you need for your Conduit and work backwards. So if you’re triangle, grab square and circle first, then get the triangle you need to dunk. It involves quite a bit more running than the normal method of just grabbing your shape, but it’s otherwise difficult to fail if you’re focusing on it.
The one wrinkle here is that the challenge persists from room to room. So if you need the triangle symbol to dunk like in the example above, you can’t grab triangle next even after you move to the next room. If you’re struggling to remember your last symbol, try writing it down in the chat or a nearby notepad.
How to complete Verity challenge ’Varied Geometry’
The Varied Geometry challenge in Destiny 2’s Salvation’s Edge raid requires players to use all six distinct 3D shapes without repeating any shape in consecutive phases to escape the shadow realm. In the first and third phases, players use “complex” shapes like cones, prisms, and cylinders as usual. However, the second phase demands a switch to “perfect” shapes such as spheres, quadrilaterals, and pyramids, with each inside player forming a different final shape than in the previous phase. Coordination is crucial, as players outside must match the shapes held by those inside on statues, and communication helps ensure the correct shapes are deposited. This pattern prevents repeating the same shapes back-to-back and completes the challenge successfully.

The Varied Geometry challenge is for the fourth encounter in Salvation’s Edge, Verity.
This is by far the most complex challenge in Salvation’s Edge, and requires you to beat Verity using all six 3D shapes to escape before your team repeats any shapes. That means the first phase and the third phase are normal, but you’ll need to make some major adjustments in phase 2.
In order for all of your inside players to escape with a different 3D shape than you used in the first phase, you’ll need everyone to grab identical shapes. So instead of grabbing a circle and a square, the left player will grab two circles, and so on. The best way to do this is to have the inside players make the call that they see inside – CST (circle, square, triangle), for example – and then shift it one to the right. So it would be: CST to TCS.
Once you’ve figured out the call, you can proceed. The dissector player will need to make the outside shapes match the new, shifted call. So in the example above, left would be double triangle, middle would be double circle, and right would be double square. Just follow the normal dissection protocol to swap the correct shapes into these locations. When you’re done, you need to have all three 3D shapes in their proper location, which is based off of the shifted call – triangle (pyramid), circle (sphere), and square (cube) in the example above.
Inside players have a bit more of a complex task here, but there is a simple way to make it happen. Trade all of the shapes around until you possess both of the shapes your statue started with (if you’re the square player, become lord of squares, like normal). Then pass the squares out to the other players. Once everyone is done here, you’ll then need to make one final trade in order to get two of the same shape.
If you started as the square player in the example above – the middle player – here is what you’d do:
- Trade until you become lord of squares, getting rid of all your non-squares.
- Distribute squares to circle and triangle.
- Wait until you receive a circle from the circle player and a triangle from the triangle player.
- Do not pick up your shapes to create a cone like you normally would.
- Look at the new call and see that your new position – once shifted – is circle.
- Trade your triangle away to the left player and wait to get a second circle from the right player.
- Once all the circles are in your possession and the dissection is complete, walk out of the glass holding circle/circle (sphere).
If you want a visual explanation that uses a slightly different strategy than the one described above, I recommend checking out Datto’s explanation video, which includes gameplay footage.
Keep in mind that everything else in the encounter is normal outside of the second phase, so once you have this new method down, you just need to remember to swap between them.
How to complete ’The Witness’ challenge Coordinated Efforts
To complete the “Coordinated Efforts” challenge during The Witness encounter in Destiny 2’s Salvation’s Edge raid, all six players must simultaneously break the six glyphs (seals) on The Witness’s coat within a very short time frame of about five seconds. Each player needs to have the Glyphbreaker buff active and be assigned to a specific glyph to shoot. The recommended strategy is to split into two teams of three; the first team obtains their Glyphbreaker buffs and breaks their assigned glyphs, then swaps roles with the second team who repeat the process. Meanwhile, the non-runners focus on clearing adds. Timing and communication are crucial to ensure all glyphs are broken almost simultaneously before the Glyphbreaker buff expires, as failing to do so will cause the challenge to fail.
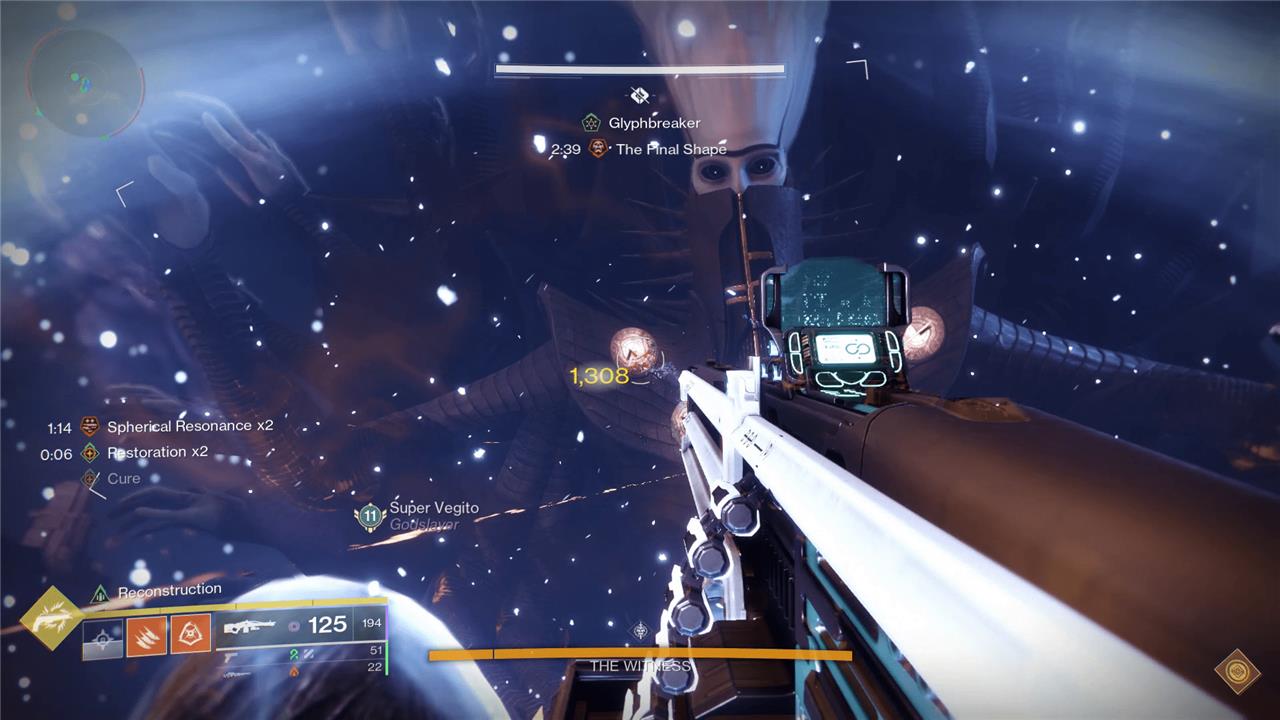
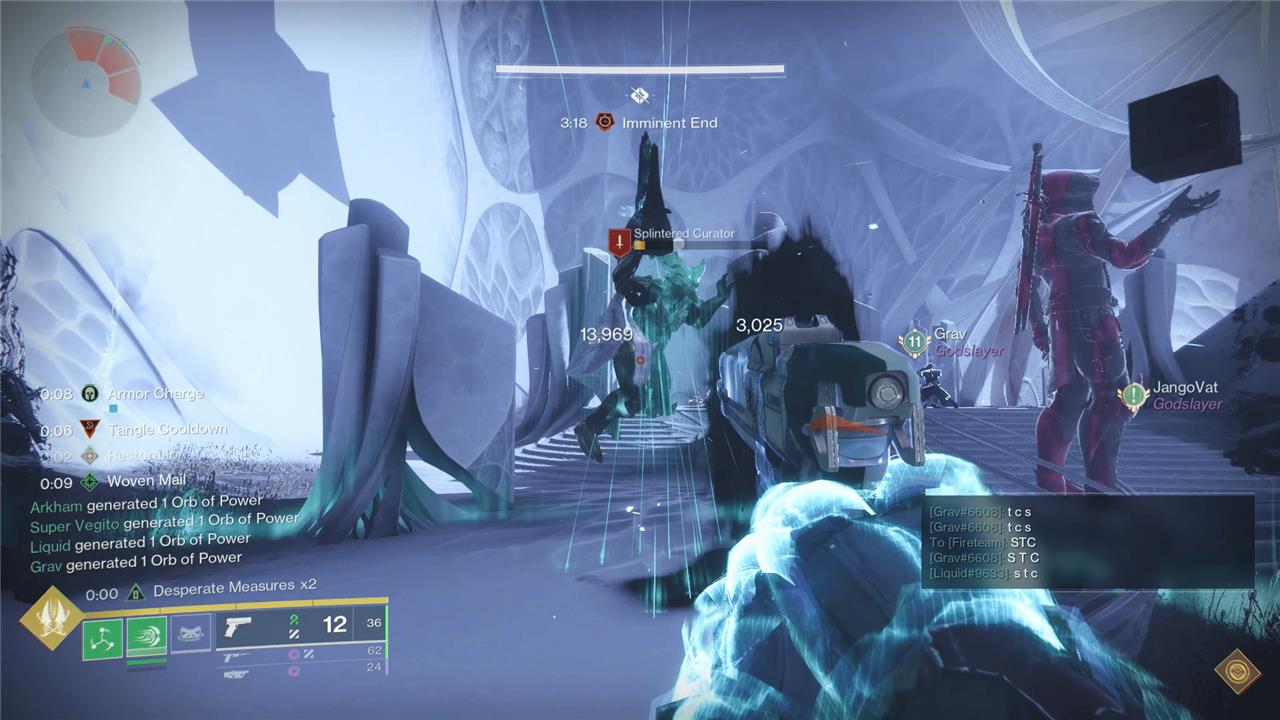
The Coordinated Efforts challenge is for the fifth and final encounter in Salvation’s Edge, The Witness.
To complete this challenge, you need to break all six of The Witness’ seals (the buttons on its jacket) within a few seconds of each other. This requires all six players to have Glyphbreaker at once.
The best strategy here is to break into two groups of three as normal. But instead of three runners and three enemy slayers, you swap roles once the first three hands have been popped. The only thing to keep in mind here is that the first players to get Glyphbreaker need to keep an eye on their Resonance timers, as you’ll die if they expire. To get around this, have your most experienced Glyphbreakers go first and have them keep their Resonance under x3. If their timer is getting close to zero, they just need to get another stack to refresh it.
Once everyone has Glyphbreaker, head to the middle, do a countdown, and pop all six buttons on The Witness simultaneously – it’s best to assign everyone a button before shooting. Note that you need to simultaneously break the seals on every phase, not just the first one.
What secret strategies can help me conquer Salvation’s Edge challenges quickly
To conquer Salvation’s Edge challenges quickly, several secret strategies can give your fireteam a decisive edge:
-
Resonance Dunking Coordination: Always let the first dunker hold 1-2 Resonances to prevent system overload, then pass Resonances back and forth until each player holds three before dunking together. This skip reduces time spent on the subjugator mechanic.
-
Loadouts for Maximum Damage: Use Izanagi’s Burden combined with Celestial Nighthawk for one-shot Tormentor kills. Twilight Arsenal and Divinity also help with precision damage. Titans should equip Banner of War for a sword damage buff, Warlocks should use Starfire Protocol for enhanced Nova Bombs, and Hunters benefit from Celestial Nighthawk’s radiant damage chains.
-
Enemy Spawn Control: In the Herald encounter, kill knights in the middle and apply the Stolen Valor buff to spawn blights. Quickly clear blights and spam damage to manage adds efficiently.
-
Ghost Phase Skip: During the final six-player ghost phase, fractured players should jump into the well and die, leaving one unfractured player on top. This tactic skips the ghost sequence entirely, saving time.
-
Symbol Management: Equip unique Ghost Shells or Festival of the Lost masks to easily distinguish players during chaotic symbol swaps, reducing confusion and mistakes.
-
Rocket Grapple Shortcut: Use a low-speed rocket to grapple directly from the elevator area to the Witness platform, skipping a large section of the raid and saving significant time.
-
Breaking Witness Glyphs: Break all glyphs before starting the running phase using a Two-Tailed Fox rocket and self-damage to consistently break them, allowing you to skip the running sequence.
-
Team Positioning and Roles: Split into two teams of three for certain encounters to manage door control and enemy spawns efficiently. Assign a ‘Closer’ with only one Resonance stack in the second encounter to avoid death and maximize resonance deposits.
-
Damage Phase Strategy: Focus on radiant chaining with Hunters, support buffs from Titans, and sword damage for quick boss kills. A two-phase clear works if perfection is unattainable, but one-phase clears require tight coordination.
Implementing these advanced tactics will streamline your run, reduce wipe chances, and help you conquer Salvation’s Edge challenges swiftly and efficiently.
How can I use resonance skipping to save time in Salvation’s Edge
To use resonance skipping to save time in Salvation’s Edge, focus on efficient management of resonance stacks and timing during the second encounter:
-
Avoid Picking Up Resonance Prematurely: Do not pick up resonance too early, as it starts a timer that can kill you if you don’t dunk in time.
-
Coordinate Resonance Dunking Order: When depositing resonance stacks, the player with the fewest stacks should dunk first. This maximizes the additional time gained on the encounter timer because each stack adds 20 seconds, but the first dunker only adds 20 seconds regardless of their stack count Destiny 2″ target=”_blank” href=”https://www.bungie.net/fi/Forums/Post/264127671?sort=0&page=0&path=1″>.
-
Back-and-Forth Pulsing: Use the plates to pulse energy back and forth to spawn all resonance charges before collecting them. This ensures you have the maximum resonance available for dunking, allowing for more time extension.
-
Hold Up to Three Resonance Stacks: Each player can hold up to three resonance stacks safely. Having multiple players holding three stacks maximizes the total time extension when depositing.
-
Timing Plate Pulses and Pillar Shots: Synchronize stepping on plates and shooting the corresponding pillars while holding the matching resonance shape to close circuits efficiently and prevent subjugator spawns that delay progress.
-
Skip Excess Dunking: By carefully timing resonance collection and dunking, you can minimize the number of dunk cycles needed, effectively “skipping” some resonance phases and saving significant encounter time.
Implementing these resonance management and dunking strategies allows your fireteam to extend the timer efficiently and bypass unnecessary resonance cycles, speeding up the completion of Salvation’s Edge challenges.