Embark on a thrilling scavenger hunt across the galaxy in Starfield’s second main quest, “The Old Neighborhood.” Join Sarah Morgan as your steadfast companion and delve into the mysteries of the Nova Galactic Staryard, uncover hidden clues about the elusive Moara, and battle hostile mercenaries in a race to secure a powerful artifact that could change everything for Constellation. Ready your weapons and prepare for a journey through space that blends exploration, combat, and intrigue like never before. This walkthrough guides you step-by-step through key locations, combat tips, and essential loot to ensure your success in this pivotal mission on PC and Xbox.
Like most Starfield missions, your visit to Sol pertains to a lead on a mysterious artifact. You’ll need to track down a missing Vanguard recruit and help them out of a tight spot to get it.
In this Starfield guide, we’ll walk you through how to finish “The Old Neighborhood” main story quest.
A possible bug at launch is that players are sometimes unable to follow the scanner. If this happens to you, we recommend returning to orbit and waiting by passing time. Consider shutting the game off and launching it fresh as well, just in case.
Also, when you make to re-land on the planet, be absolutely sure you’re picking the Scanner Anomaly Site. If you land anywhere else by accident, the temple won’t appear on the map and you won’t be able to find it.
Follow Sarah’s lead on the artifact
During the quest “The Old Neighborhood” in Starfield, following Sarah’s lead on the artifact is crucial. Sarah Morgan will guide you through the investigation, starting by informing you about a lead from the UC Vanguard regarding a strange metal object. She becomes your locked companion for the mission, accompanying you as you track down clues, speak to contacts, and eventually locate the artifact. Following her directions, you will visit key locations such as the MAST building and Neptune, where you confront hostiles and retrieve the artifact from Moara’s ship. After securing the artifact, return with Sarah to the Lodge to place it with other artifacts and complete the mission, earning rewards and officially joining Constellation.
Sarah has a lead on the location of another mysterious artifact. Talk to her and interrogate an acquaintance of hers to find it.
Talk to Sarah // Talk to Sarah’s Contact
Once you’ve fully acquainted yourself with the Lodge and its members, talk to Sarah about Constellation and she’ll tell you about a contact she has who can help you get a bit more information.
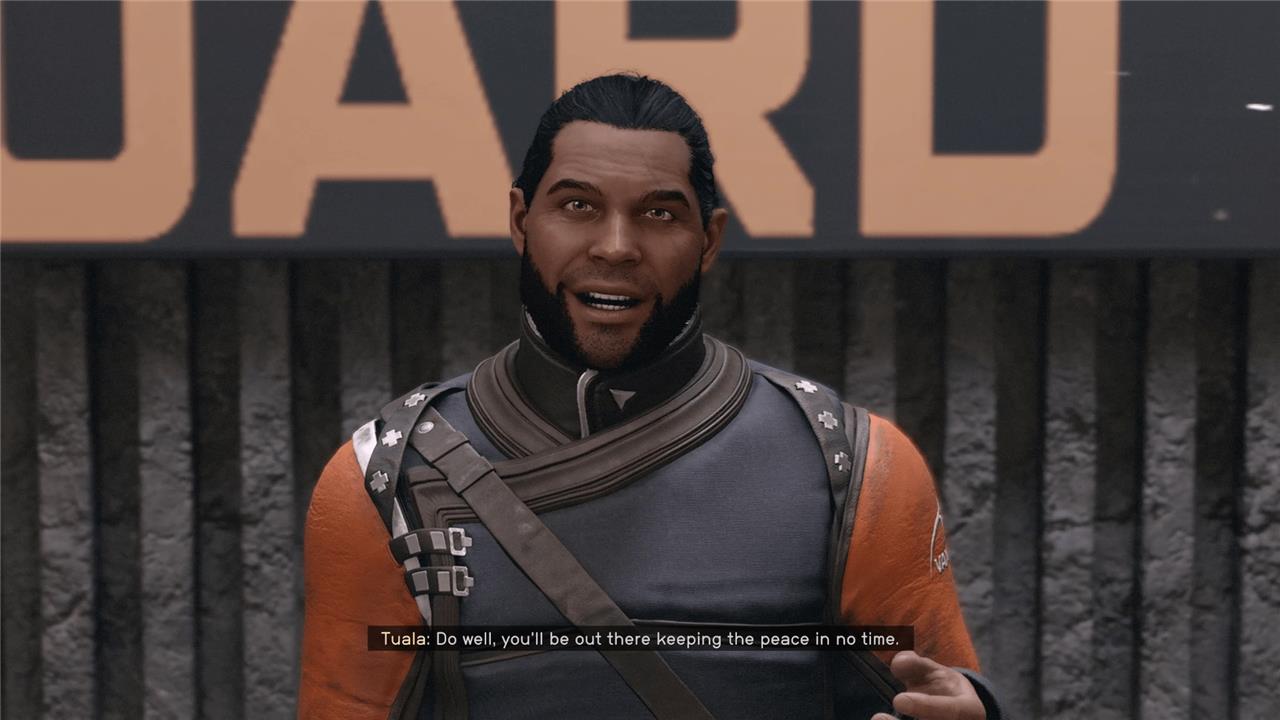
Leave the Lodge and follow the waypoint to the Vanguard signup center. Talk to Sarah’s contact about Constellation business and they’ll tell you to head to the Sol system and find a recruit named Moara.
Ask about Moara in Cydonia
Head back to your ship and travel over to Mars in the Sol system – home sweet home. Head into orbit around Mars and select Cydonia, a small mining town.
Make your way into the mining center by following the waypoint. Once you reach the watering hole (also known as the bar), talk to the bartender, Jack. You’ll have a few choices here on how to proceed. You can either pay him 2,500 credits to get the information on Moara, get Sarah to talk him down to 1,000 credits, or use Persuade to convince him to give up the information for free.
Jumping around the Sol system
In “The Old Neighborhood” quest in Starfield, you embark on an interplanetary journey within the Sol system, visiting key locations such as Mars, Venus, and Neptune. Starting from The Lodge on Jemison, you follow Sarah Morgan’s lead to investigate clues about Moara and a mysterious artifact. The mission involves docking at the Nova Galactic Staryard, clearing hostile enemies, and approaching Moara’s ship near Neptune, where you engage in space combat and board the ship to uncover further secrets. This quest highlights the expansive travel and exploration mechanics as you jump around the Sol system to advance the story.
Moara seems to be in a bit of trouble. You’ll need to hop from familiar planet to familiar planet if you want to rescue him (and the artifact).
Go to Venus // Talk to Sarah
Once you get the information from Jack, head back to your ship and travel over to Venus. Once you’re in orbit, turn your ship completely off. You’ve got some Zealots to deal with here, but you can get around them with some spaceship stealth.
Sarah will teach you how to be sneaky in space (remove all the power from your ship outside of one or two power slots in your engine).
Examine the satellite
Alongside this quest step you’ll also get the “(optional) use minimal power to avoid detection step.” You can go guns blazing here, but the game is trying to teach you to stealth, and we recommend following the tutorial.
Basically you just want to lower the power on your engine, as previously mentioned, and slower putter your way over to the satellite. Once you’re within 500 meters, you can connect to it.
Go to Nova Galactic Staryard // Talk to Sarah
After you connect to the satellite, it’s time to get out of Venus’ orbit without dealing with the enemies – unless you really want to.
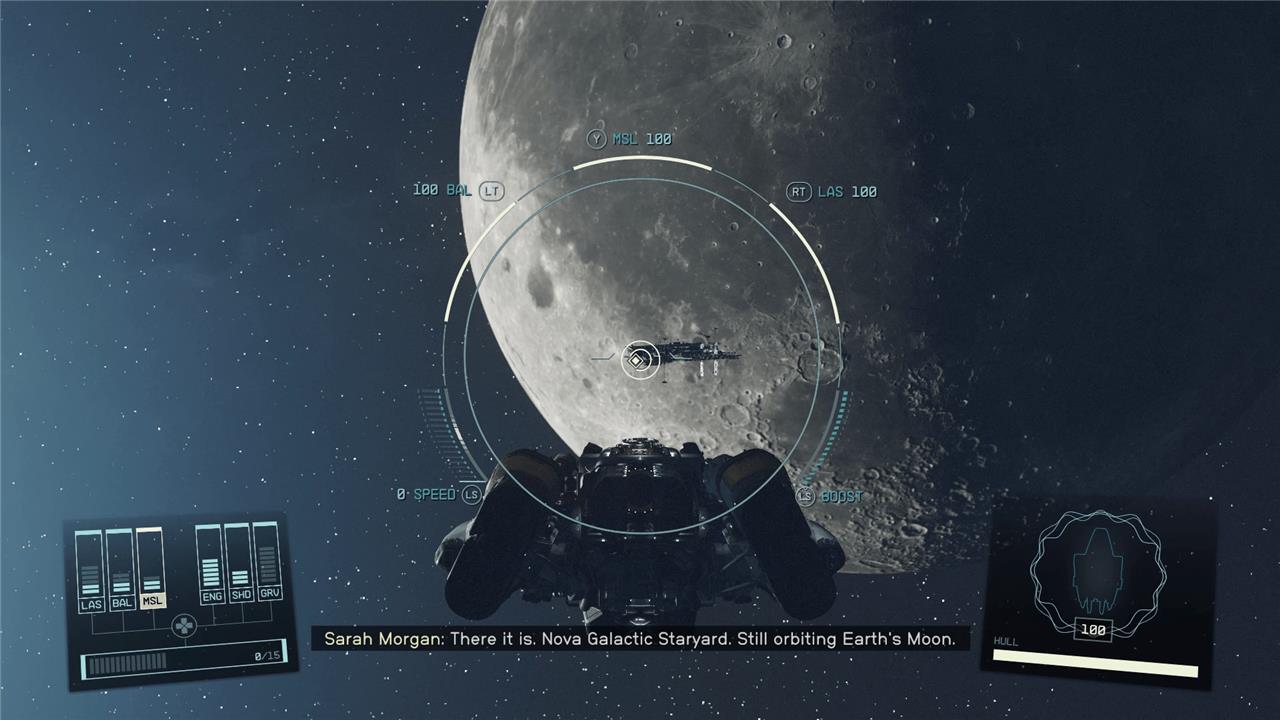
Travel to Earth’s moon, Luna. Note that if you travel to Earth’s orbit and try to fly to Luna, it will take way too long. You have to specifically travel to Luna via the star map. Once you’re in orbit, you’ll see the Nova Galactic Staryard in front of you. You can either go do this now, or listen to Sarah when she suggests taking a quick look at Luna’s surface.
If you do decide to go down to our moon, be warned that there are some higher level enemies in some of the research stations. However, we did find some excellent loot here after struggling against some difficult enemies. It’s a good way to kickstart your arsenal if you don’t mind getting a little frustrated.
Dock with Nova Galactic Staryard // Find any clues about Moara
Once you’re ready to proceed with the quest, dock your ship with the Nova Galactic Staryard. You’ll need to take down a lot of baddies here, so ready yourself and take on the two warring factions: the Spacers and Ecliptics.
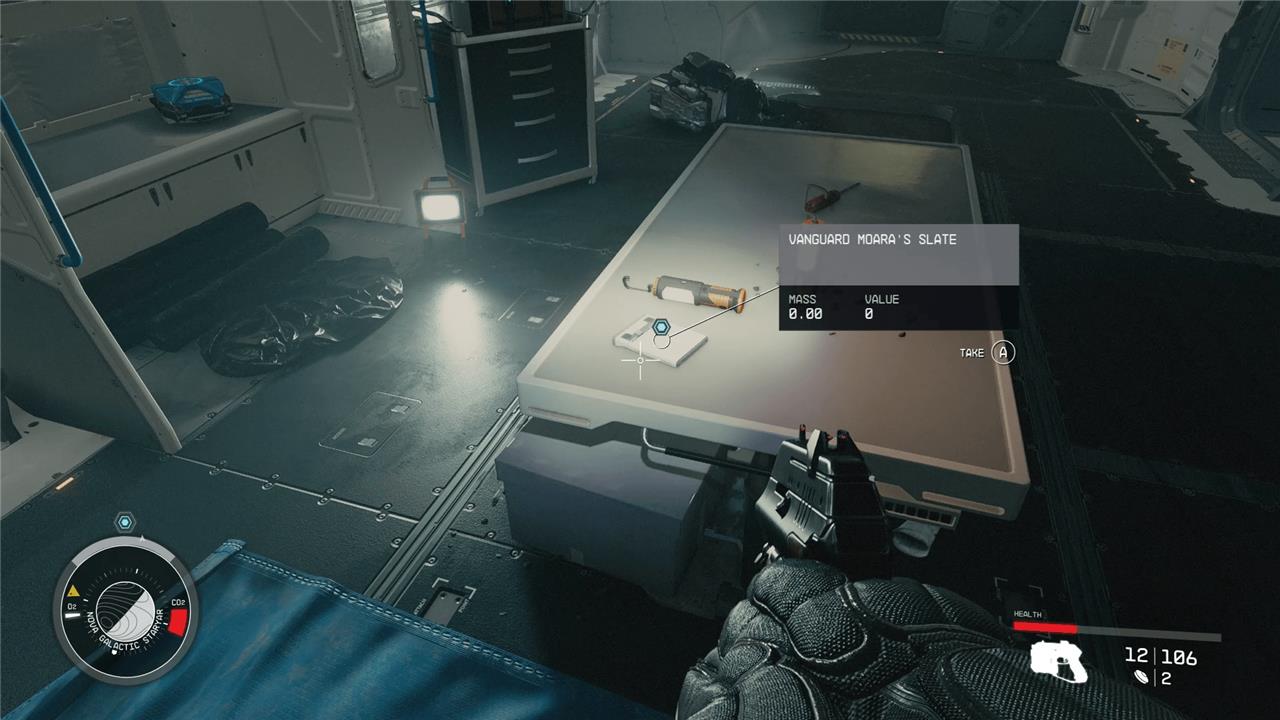
Progress through the station, following the waypoint. Eventually you’ll find what is essentially the shell of a spaceship. Go inside. You’ll find a log called “Vanguard Moara’s Slate” resting out on a table that will tell you Moara is in distress near Neptune.
Once the station is clear and you’ve looted all of the bodies for credits, head back to your ship.
Rescuing Moara and the artifact
To rescue Moara and secure the artifact in the “The Old Neighborhood” quest, you first follow clues to locate Moara’s ship near Neptune, which has been hijacked by Ecliptic mercenaries. You must disable the ship by shooting it until its health is depleted, allowing you to dock safely without destroying the vessel. After boarding, eliminate the hostile mercenaries, retrieve Moara’s Ship Key from a marked corpse, and free Moara. He will then hand over the sought-after Artifact Beta. Finally, return to the Lodge in New Atlantis to place the artifact on the table and complete the mission, officially joining Constellation and earning rewards including credits and gear.
Now that you know where to find Moara, it’s time to rescue him and see if he’s willing to hand over the artifact.
Go to Neptune // Approach the ship
Travel to Neptune’s orbit and you’ll see Moara’s ship floating in space. Fly up to it and you’ll discover that the ship has been taken over by villains. This interaction will turn the ship hostile, and it’ll start shooting at you.
Evade fire // Damage Moara’s ship
This step is a little unclear, which also makes it a bit anxiety-inducing. Sarah tells you to avoid fire from Moara’s ship while also dealing damage to it. But, since Moara and a potential artifact are aboard, Sarah also doesn’t want you to blow it up. Instead you’re meant to damage the ship without destroying it.
How do you do that? You just shoot the ship until its health reaches zero – nothing to stress about. When the health bar reaches zero, the ship will stop shooting and shut down.
Dock with Moara’s ship // Clear Moara’s ship of hostiles
With Moara’s ship disabled, fly up and dock with it. Clear out the Ecliptic in here (be careful, as it’s a really crowded space). Once they’re all taken care of, you’ll be able to continue the quest.
Talk to Moara // Take the artifact
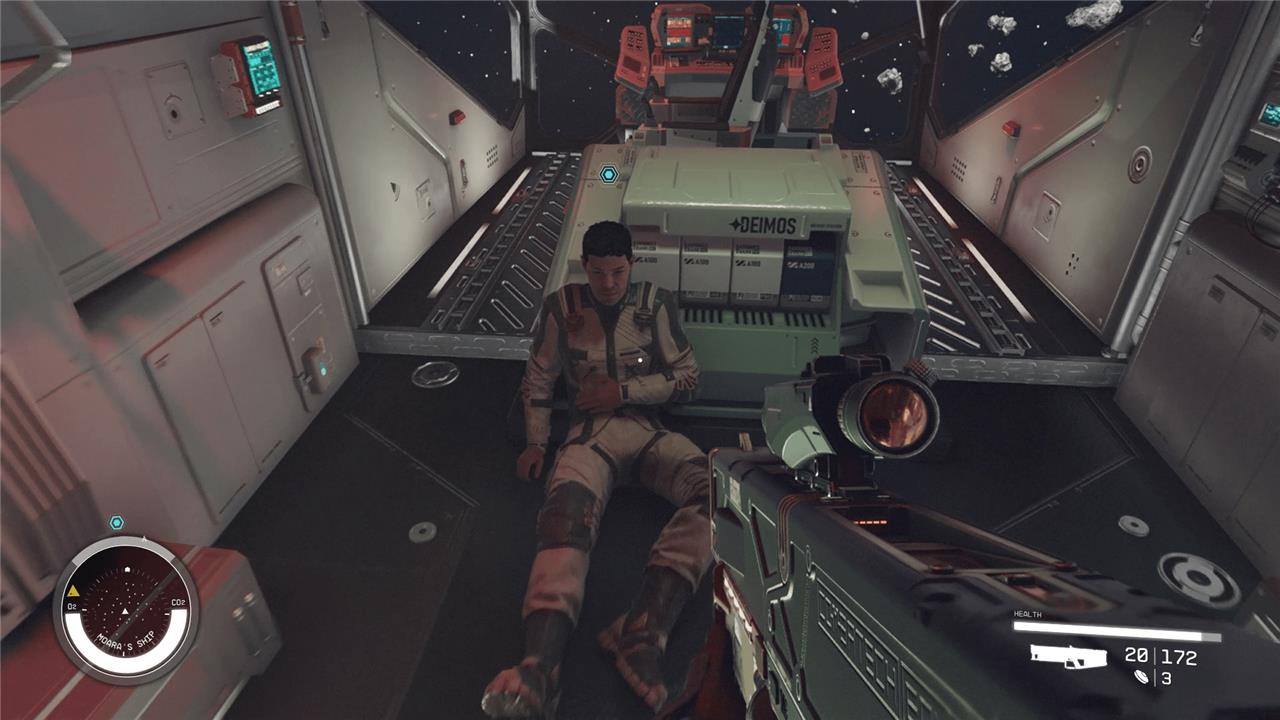
With the enemies cleared out, talk to Moara. Turns out he does have an artifact, and it’s just hanging next to his pilot chair looking tacky. As a thank you present for chasing him down and saving his life, Moara will gladly part ways with the artifact.
Pocket the artifact, loot the rest of Moara’s ship if you feel like making his day even worse, and head back to your ship.
Return to the lodge // Add the artifact // Wait for Sarah // Talk to Sarah
Another artifact down, it’s time to do four objectives in quick succession.
Head back to New Atlantis and the Lodge. Once you reach the Constellation clubhouse, add the artifact to the ever-increasing pile and watch as it joins the spinning orb above the table. Wait for Sarah to walk in and comment on your work. Have a quick chat with her to finish Starfield’s second quest.
What hidden secrets does “The Old Neighborhood” reveal about Constellation’s past
“The Old Neighborhood” quest in Starfield uncovers hidden secrets about Constellation’s past by revealing the organization’s ongoing pursuit of mysterious Artifacts scattered across the galaxy. Through the mission, players investigate leads on a Vanguard Moara, a figure tied to Constellation’s history, and uncover clues about lost technology and covert operations linked to the early days of interstellar exploration. The quest highlights Constellation’s efforts to reclaim powerful relics and sheds light on the shadowy connections between the group and the UC Vanguard, deepening the lore around Constellation’s origins and its role in safeguarding these cosmic mysteries.
What does Sarah Morgan’s investigation reveal about Constellation’s history
Sarah Morgan’s investigation in “The Old Neighborhood” quest reveals critical insights into Constellation’s history, highlighting her role as a key figure who helped steer the organization through a period of decline and uncertainty. She joined Constellation in 2320, bringing expertise in astrodynamics, and became Chair in 2325 after Aja Mamasa’s retirement. Under her leadership, Constellation shifted focus toward uncovering and understanding powerful artifacts scattered across the galaxy, which are tied to the group’s deeper mission of exploring intelligent life and cosmic mysteries.
Her investigation also uncovers Constellation’s complex past, including its formation in 2275 by Sebastian Banks and a diverse founding team, its struggles during the Colony War, and the loss of members. Sarah’s leadership marks a revitalization phase, with new members joining to inject motivation and resources, including financial backing from Walter Stroud and strategic additions like Matteo Khatri. The quest and her role emphasize Constellation’s ongoing quest to reclaim lost knowledge and artifacts, revealing the organization’s layered history of exploration, secrecy, and survival in the face of galactic challenges.