Deep in the Rosymorn Monastery, a legendary mace pulses with divine light-yet its holy essence demands a perilous quest through crumbling ruins and forgotten traps.
If (and when) you choose to take Baldurs Gate 3‘s Mountain Pass, you’ll come to the Rosymorn Monastery, and the Githyanki Creche below it. As you climb the outside, you’ll find a room with a stained glass floor that is clearly a puzzle of some kind – but you won’t start getting clues about it until you travel to the lower floors and pick up the “Find the Blood of Lathander” quest. Turns out, the monastery houses a hidden holy relic: the Blood of Lathander mace.
Our Baldur’s Gate 3 guide will show you how to solve all the puzzles (including where to find the Dawnmaster’s crest and how to turn the Lathander Statues) so you can find the Blood of Lathander hidden below the Githyanki Creche in the Rosymorn Monastery.
Where to find the Dawnmaster’s Crest
In Rosymorn Monastery, enter the room with a shattered stained glass window encircled by four altars bearing Dawnmaster plaques. Gather the Ceremonial Longsword, Battleaxe, Warhammer, and Mace from nearby areas like eagle nests, guardian fights, and debris piles, then position each on its matching altar. A hidden panel opens on the north wall once all weapons align correctly, revealing a pouch with the Dawnmaster’s Crest inside.
Your first stop on your way to the Blood of Lathlander will likely come before you pick up the quest. Near the top of Rosymorn Monastery, you’ll find a room with a large (and slightly broken) stained glass window on the floor surrounded by four plaques and altars.
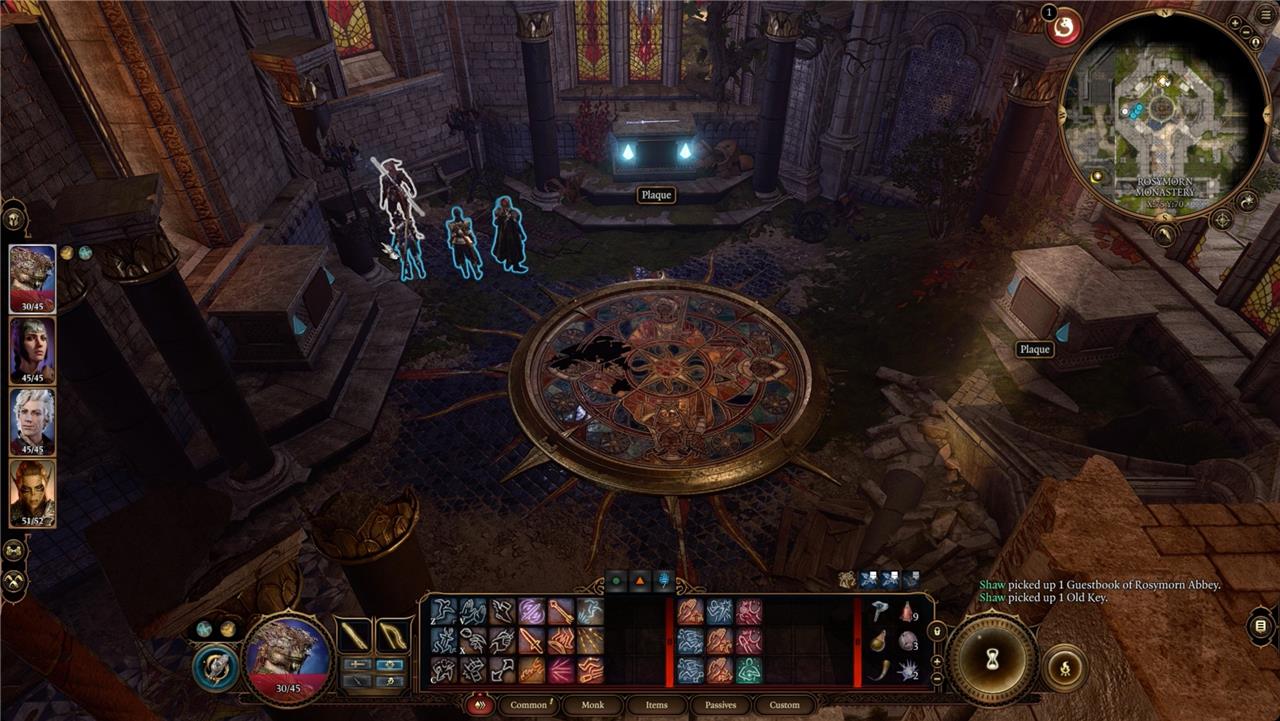
If you interact with the stained glass window, you’ll see four previous Dawnmasters of the Rosymorn Monastery and – more importantly – their weapons. If you check the altars, you’ll see that they’re named after the Dawnmasters. One of them – Dawnmaster Welkinglory’s to the northwest – has a glowing Ceremonial Longsword on it. Leave it there for now.
Your job is to head out and find two more ceremonial weapons (we’ll get to the third in a minute) – the Ceremonial Battleaxe and the Ceremonial Warhammer. Luckily, they’re relatively close by.
Where to find the Ceremonial Battleaxe
Head southeast out of the stained glass floored room and jump across the gap in the monastery’s roof. There’s a broken cabinet against a broken window there – smash through it and then climb inside.
Defeat the Guardian of Faith in the room, and you’ll be able to retrieve the Ceremonial Battleaxe from the floor.
Where to find the Ceremonial Warhammer
Exit the stained glass room heading south and smash through the first wooden barricade along the west wall. Climb the knotted roots there to the roof, and then head east to find a pair of giant eagles. (You may have met an angry blue jay on your way to the monastery who told you about them.)
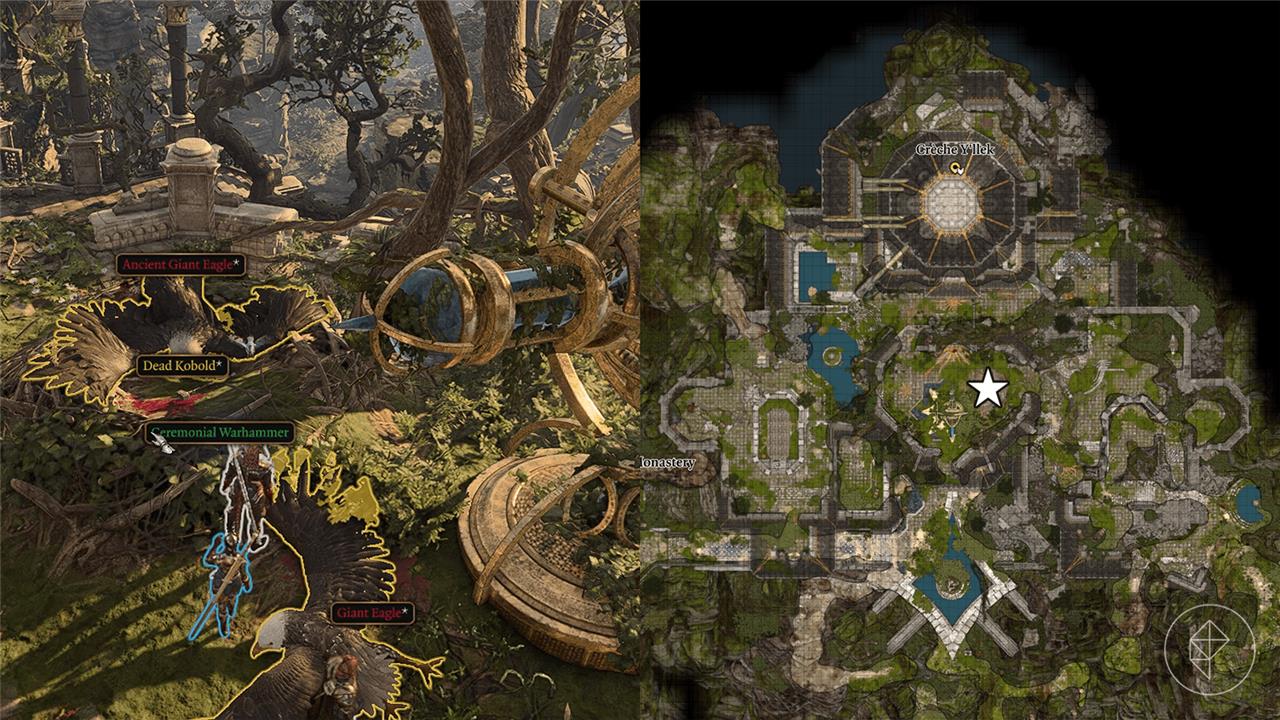
It’s possible to talk your way past the eagles with a Speak with Animals spell or potion, but you’re probably going to end up fighting (and killing) them. Once they’re dealt with, grab the Ceremonial Warhammer from the nest.
Where to place the ceremonial weapons
Head back to the stained glass room. Your next task is to place the weapons on the appropriate altars. You can check the stained glass to see each Dawnmaster’s weapon, and then check the plaques for their names, or:
- Dawnmaster Seed carries the Ceremonial Warhammer. Their altar is to the northeast.
- Dawnmaster Vaseid carries the Ceremonial Greataxe – you can see everyone else’s so this is just process of elimination. Their altar is to the southwest.
You can stand on the altars and then drop the weapons from your inventory. Or you can open your inventory and right-click on the weapons. Choose throw and then aim it at the appropriate altar.
For the final altar – Dawnmaster Stockhold‘s to the southeast – place literally any weapon. There’s even a few rusted weapons around the rooftops and those work here too.
When the weapons are all placed, a secret panel will open in the north wall. Open the pouch it reveals for the Dawnmaster’s Crest. You won’t need it for a little bit, though.
Optional: Where to find the Old Maintenance Records
Old maintenance records hide in the Rosymorn Monastery’s eastern tower. Climb the ladder inside the main chamber to reach the upper level, then head right past the waypoint shrine. Check the wooden shelf near the edge overlooking the broken stone bridge for a dusty notebook containing the clues.
Exit the Guardian of Faith’s room heading west – through the DC 15 locked door – and then take two lefts through the door to the south.

There’s a book on the ground to the right with a clue for later – a note talking about greasing the machine.
Optional: Where to find the Blood of Lathlander Plaque
The Blood of Lathander Plaque sits on the massive statue of Lathander in Rosymorn Monastery’s central courtyard. Interact with it upon arrival to pick up the “Find the Blood of Lathander” quest and receive clues about the hidden relic ahead. Coordinates around (X:-18, Y:116) place it north of the entrance for quick access.
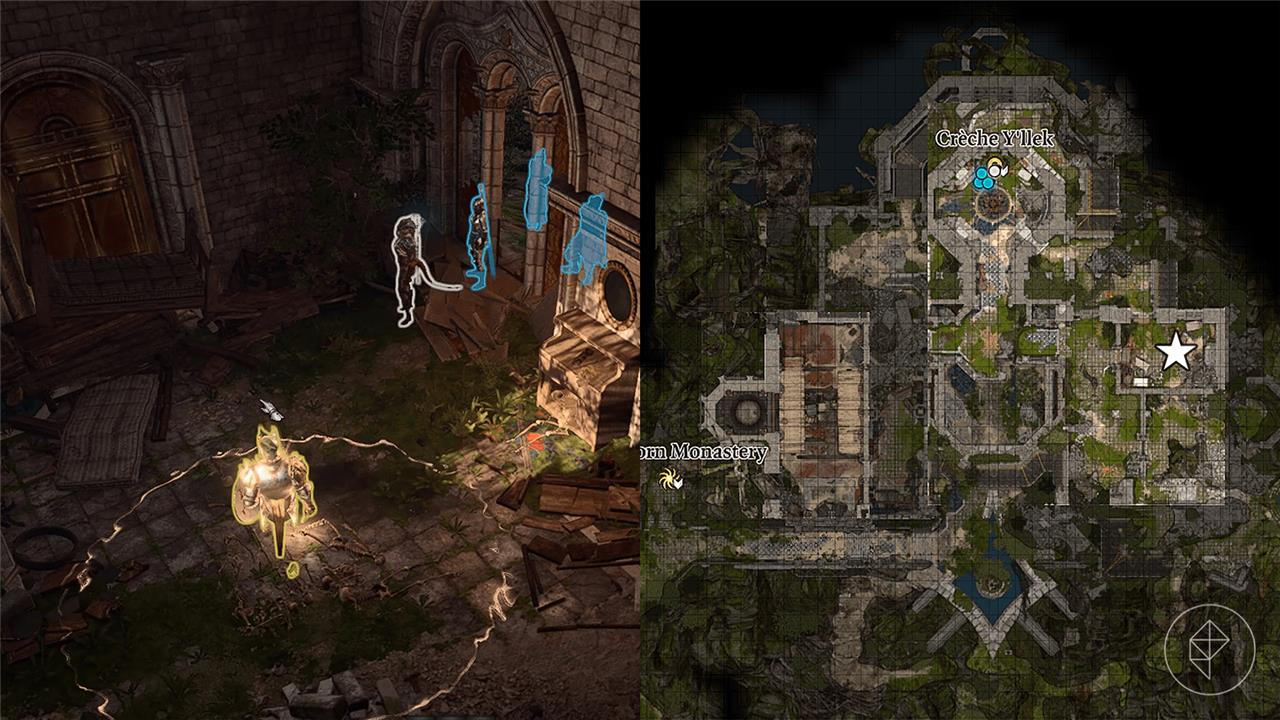
From the Old Maintenance Records, continue down the stairs. Smash through the wooden barricade to the west, and go through the door to the right. A little west of there, you’ll find the entrance to the Githyanki Creche.
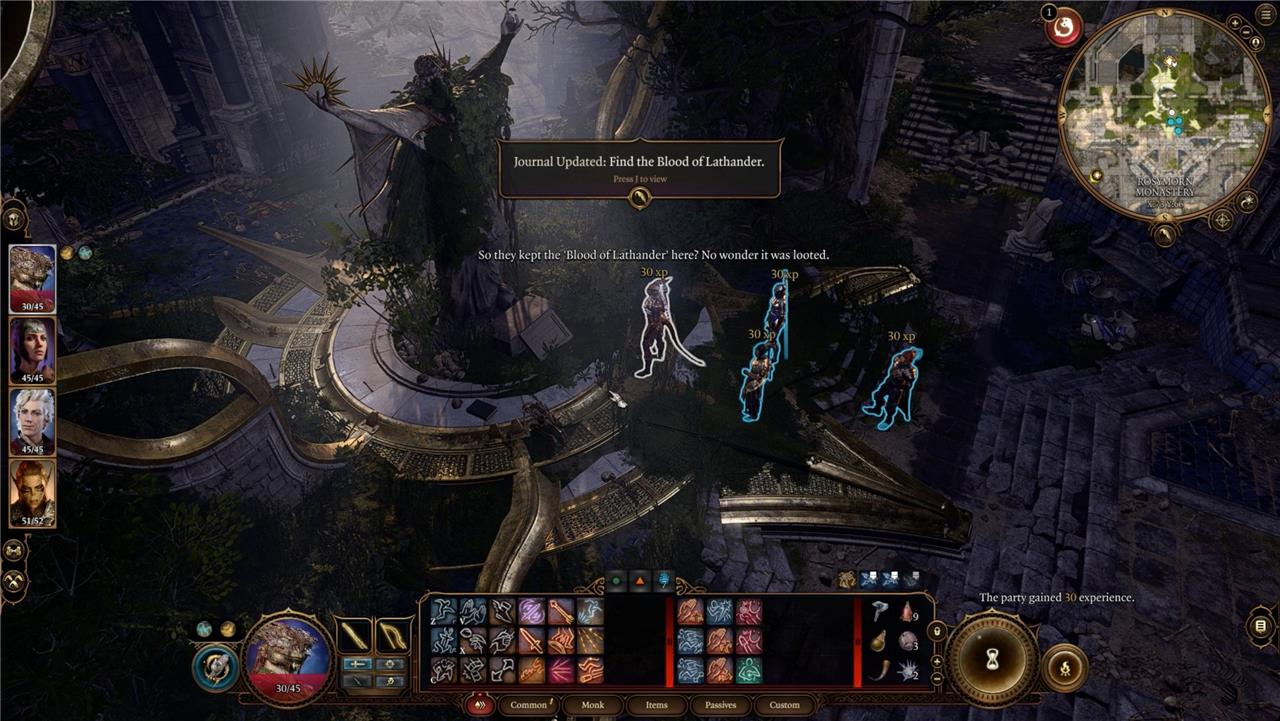
Before you walk in, check the plaque on the huge statue of Lathander to the north. This will officially give you the “Find the Blood of Lathander” quest.
Reach the Inquisitor’s Chambers
Progress through the Githyanki Creche Y’llek until you reach the inner sanctum, where the Inquisitor’s Chambers are heavily guarded. Defeat the enemies patrolling the corridors and disable any traps along the way. Inside, you will find clues pointing to the Blood of Lathander and mechanisms connected to the relic’s final resting place. Examine the area thoroughly-hidden switches and secret passages may be key to advancing further.
There’s a lot going on in the Githyanki Creche (and most of it doesn’t go well). For our purposes, though, you’re heading to the Captain’s Quarters in the northeast. Once you turn on the Githyanki Barrier Disruptor, you’ll be able to enter the Inquisitor’s Chamber.
The conversations inside go about as well as every other conversation you have, but after a fight, an argument with a god, and a quick jaunt to the Astral Sea, you’ll be able to explore.
How to turn the Lathlander statues in the Inquisitor’s Chamber
To turn the Lathlander statues in the Inquisitor’s Chamber, locate the two movable sun statues positioned on either side of the room. Align each statue so its light beam points toward the central crystal mechanism on the floor. The correct alignment causes the beams to converge, triggering the hidden mechanism that opens the barrier to the Blood of Lathander. Be careful of traps and sentinels that may activate during this process.
Inside the Inquisitor’s Chamber, head to the west to find a pair statues. You can turn them, but the one on the left is stuck.
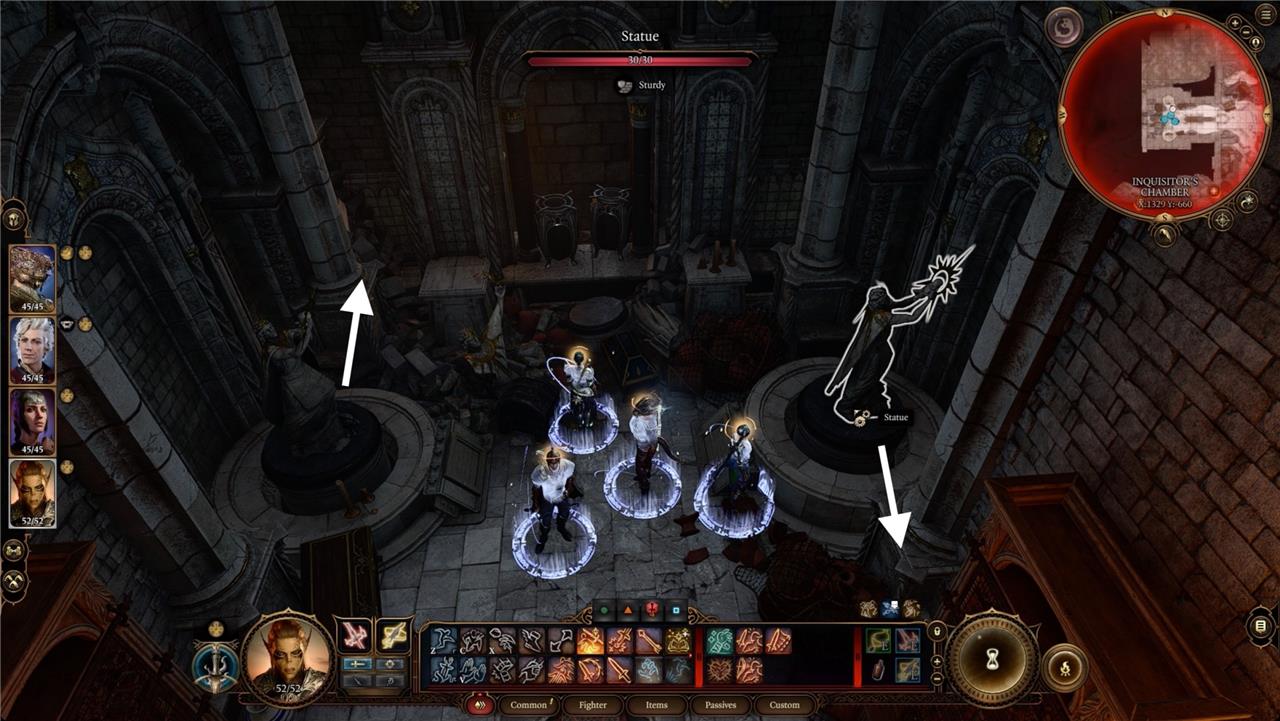
If you read the plaques – always read the plaque – you’ll learn that the one on the right (north) is supposed to be blessing the rising sun and the one on the left (south) is saying a fond farewell to the setting sun. Your goal is to rotate them to face the appropriate direction.
- For the freely moving statue on the right, turn it so it’s facing east, back the way you came – toward the main room of the Inquisitor’s Chamber.
- For the one on the right, you need to hit it with Grease first (remember the Old Maintenance Note we found?) either from a bottle or as a spell. Once it’s greased, it’ll spin and you can face it to the west, toward the end of the hallway.
How to deactivate the traps in the Secret Chamber
To deactivate the traps in the Secret Chamber, locate the two Dawnmaster statues and rotate them so that their beams of light point toward the center of the room. This action disables the magical defenses blocking access to the relic. Be cautious while adjusting the statues, as traps may trigger if you move too quickly or in the wrong order. Once both beams align correctly, the chamber will be safe to enter, allowing you to claim the Blood of Lathander without triggering further danger.
At the bottom of the stairs, you’ll enter a Secret Chamber. Your path forward is blocked, though. This time, you’ll need to deactivate some traps and destroy the energy sources of some barriers.
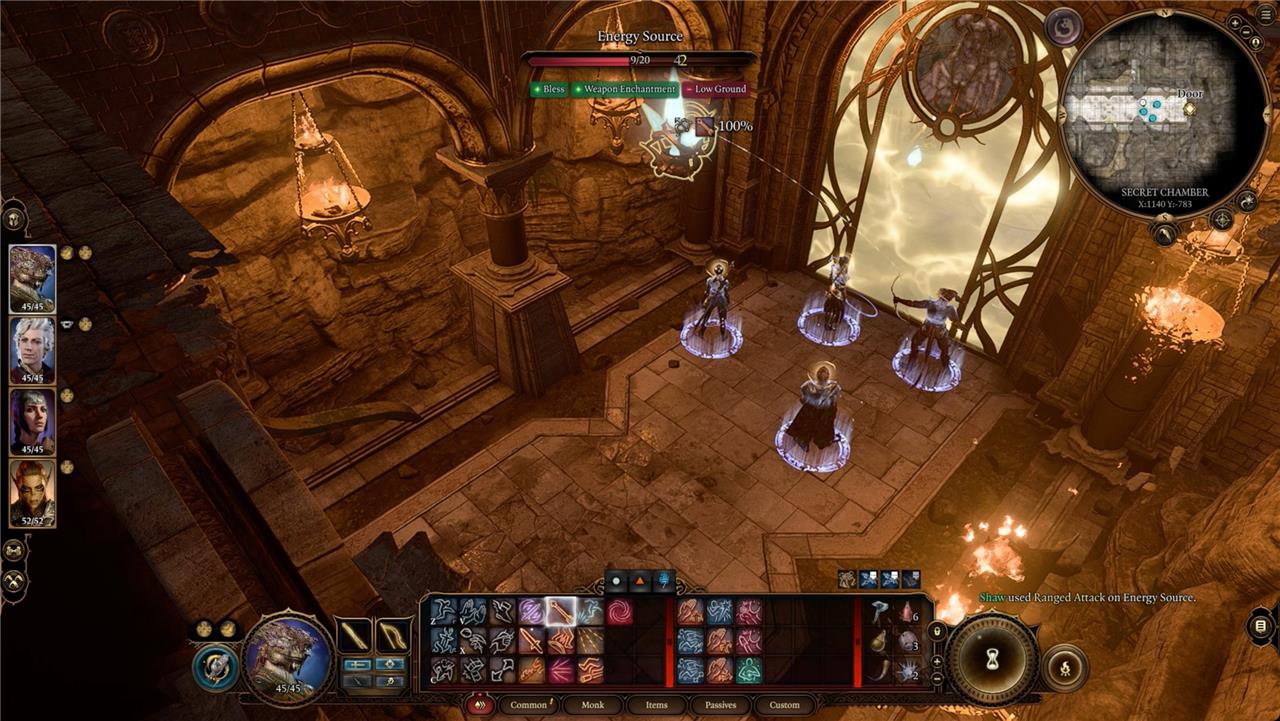
The first energy source is hanging just to the left of the first barrier. It’s got 20 hit points, so just keep hitting it until it’s destroyed. The barrier will drop and you can pass.
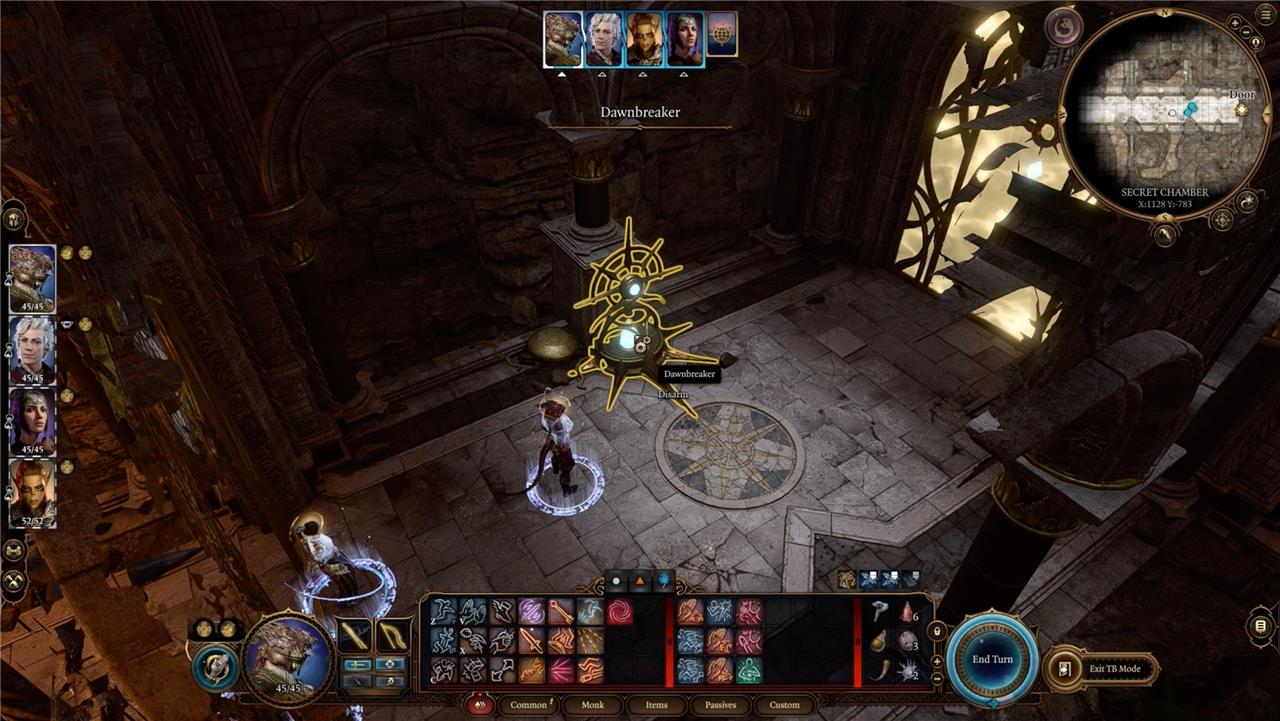
In the next room, you’ve got two challenges. First, you have to Disarm the Dawnbreaker trap with a DC 14 Sleight of Hand check. Be careful as you approach because this trap can and will wipe out your entire party.
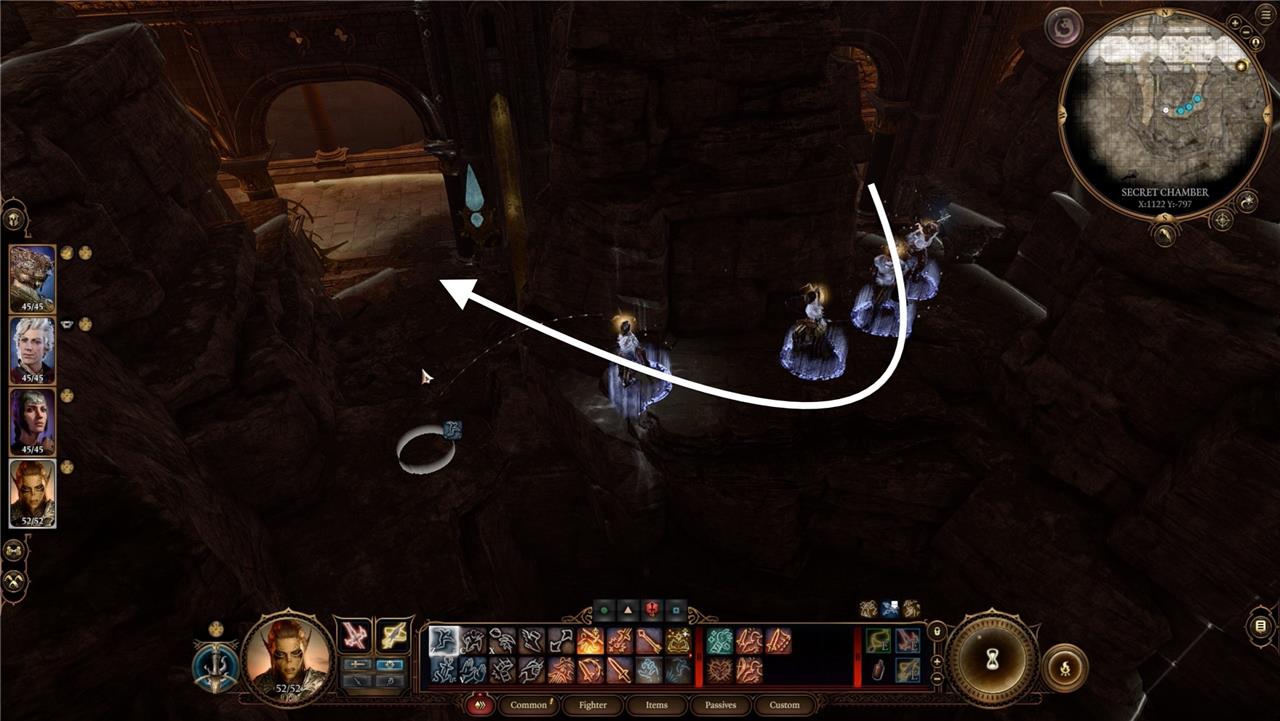
Once that’s done, look on the left (south) side of the hall to find a U-shaped path. Use that to go around the barrier. On the other side, disable another Dawnbreaker trap and destroy the energy source to drop the barrier you just went around.

The final energy source is below you on the right (north) side of the hall.
How to get the Blood of Lathander
To obtain the Blood of Lathander in Baldur’s Gate 3, head to Rosymorn Monastery and collect three ceremonial weapons-a battleaxe, warhammer, and mace-from guarded rooms around the upper floor, then place each on its matching pedestal in the stained-glass puzzle room to form the Dawnmaster’s Crest. Take the crest into the Githyanki Creche below, solve the statue puzzle in the infirmary to access a hidden passage, and enter the secret chamber where the mace floats above a pedestal. Insert the crest into the control panel beneath it to disable traps before grabbing the weapon, or risk sunrise destruction otherwise.
When you enter the final room, walk up to the Crest Panel and insert the Dawnmaster’s Crest.
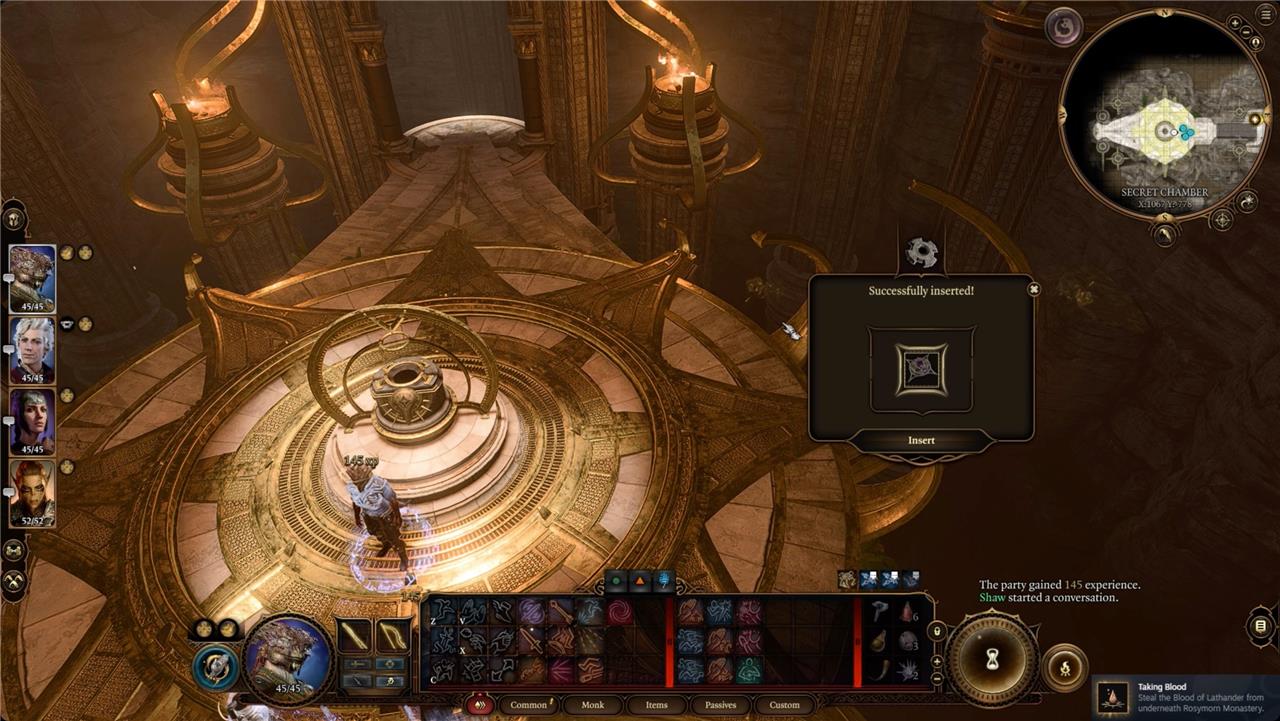
After a cutscene, you’ll be able to claim the Blood of Lathander mace – a magical mace with some healing properties that also lets you cast Sunbeam (and it’s a flashlight!).
Where is the Daybreak Chamber located in Rosymorn Monastery
The Daybreak Chamber, also known as the Secret Chamber, lies within the Githyanki Creche Y’llek beneath Rosymorn Monastery in Baldur’s Gate 3’s Mountain Pass region.
Access Path
Enter the Creche via the monastery basement after dealing with githyanki forces. Head to coordinates around X:1330 Y:-660 in the Incubator area, where two Lathander statues stand before a wall-rotate the right statue eastward and unjam the left one westward (using grease or oil if stuck) to reveal a hidden door and stairs leading to the Daybreak Gate.
Chamber Features
This trapped corridor and cavern hold the Blood of Lathander mace behind light barriers, crystals, and beams requiring Githyanki Shards or high Sleight of Hand (DC 14) to navigate. It’s accessible even if the Creche turns hostile, offering a safe rest spot or escape route.
How to open the Daybreak Chamber door puzzle
The Daybreak Chamber door puzzle in Baldur’s Gate 3 involves rotating two Lathander statues in the Githyanki Creche’s Incubator area at coordinates X:1330 Y:-660.
Statue Alignment
Position the left statue (initially jammed) westward by applying grease or a Strength check to unjam it first, then rotate it. Turn the right statue eastward to match the directional clues, opening the hidden door and revealing stairs to the chamber.
Chamber Entry
This unlocks the trapped Daybreak Gate corridor with light barriers and crystals leading to the Blood of Lathander. No Dawnmaster’s Crest is needed here-focus on Sleight of Hand disarms (DC 14) or Githyanki Shards for barriers beyond.