Hidden deep in the frigid Hebra Mountains, the Oshozan-u Shrine challenges players with a gravity-defying puzzle that tests precision and timing. This guide explains how to reach its frozen perch and solve every step of the Shrine’s clever “Fire and Ice” trial.
When you’re done, our shrine locations page or interactive Hyrule map can direct you toward something else to do.
Oshozan-u Shrine location
Oshozan-u Shrine is located in the Hebra Mountains region at coordinates (-1405, 3677, 0288), near the center of the icy peak southwest of Rospro Pass. The area is cold and requires cold-resistance gear or elixirs to explore safely. Reaching the shrine involves climbing icy cliffs or gliding from nearby high points, and it can be spotted by its faint green glow among the snow-covered rocks.
The Oshozan-u Shrine is found within the Hebra Mountains region. Its exact coordinates are (-1404, 3677, 0288).
This shrine is on a hilltop, although it’s not a super-tall one. You can climb it if you’ve got the stamina (and cold-weather wear like the Snowquill Armor set) for the task. We opted to light a fire and throw in a Hylian pine cone, using the upward gust to paraglide up to the shrine’s entrance.
Oshozan-u Shrine walkthrough
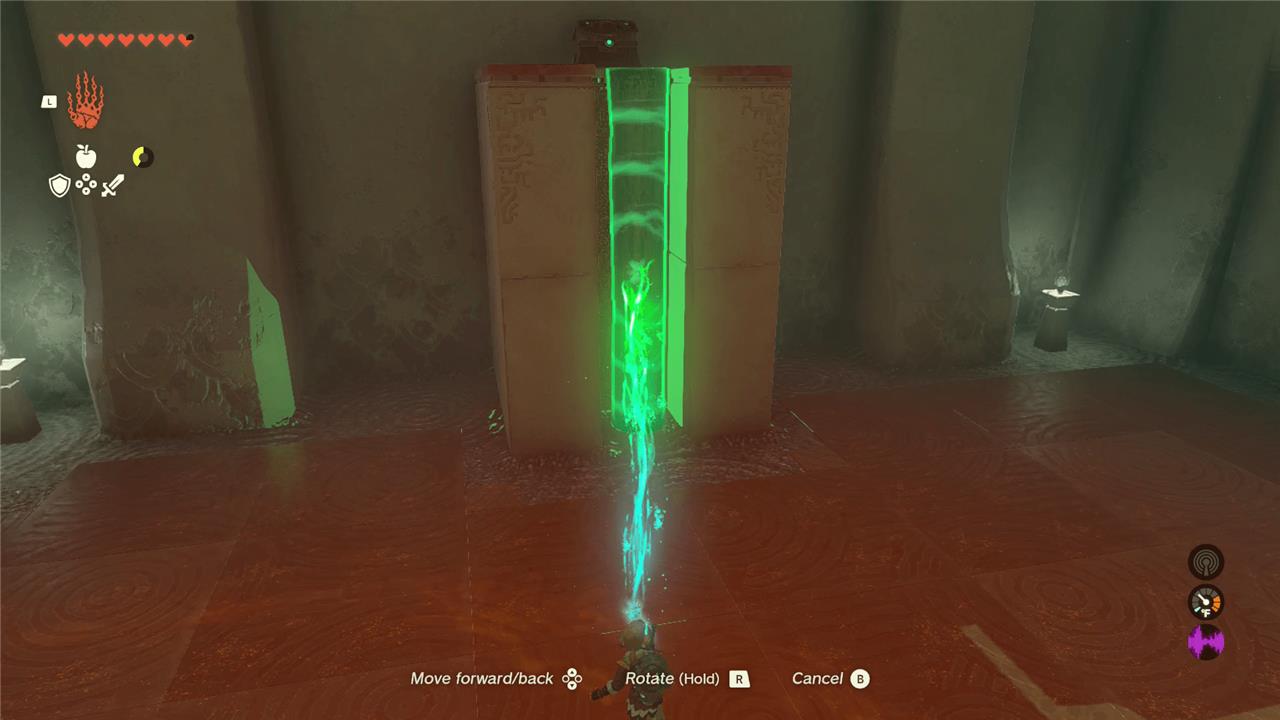
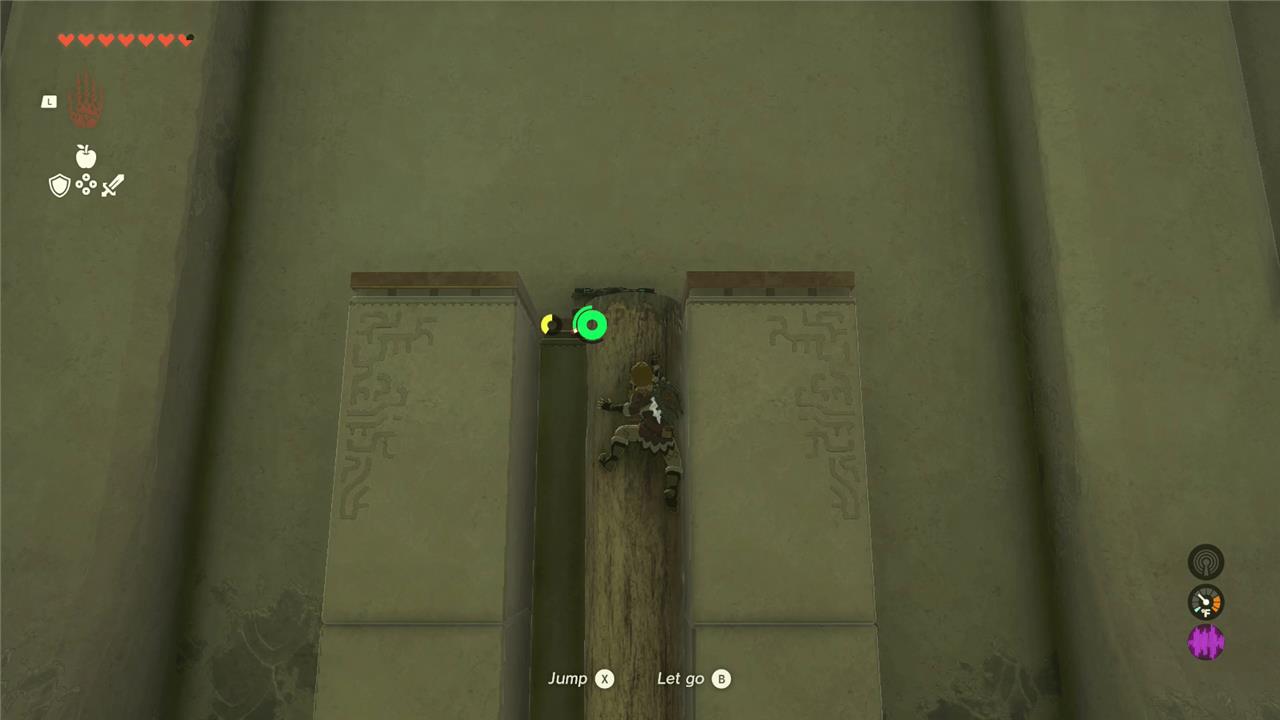
Enter Oshozan-u Shrine on the Great Sky Island’s western edge, north of Ukouh Shrine. Inside, use Ultrahand to lift the two large metal blocks and slot them into the wall slots, opening the path ahead. Glide down to the spinning platform below, then attach a metal cube to its edge with Ultrahand to stop the rotation and reveal a chest with a Lightscale Trident. Climb the ladder, fuse the remaining metal block to your shield for a weight boost, and cross the gap to strike the final switch with your fused weapon.
As the puzzle name “Mallet Smash” suggests, you’ll need to construct a big mallet to hit a target in order to solve this shrine. Oshozan-u Shrine provides Link with a few tools to get the job done.
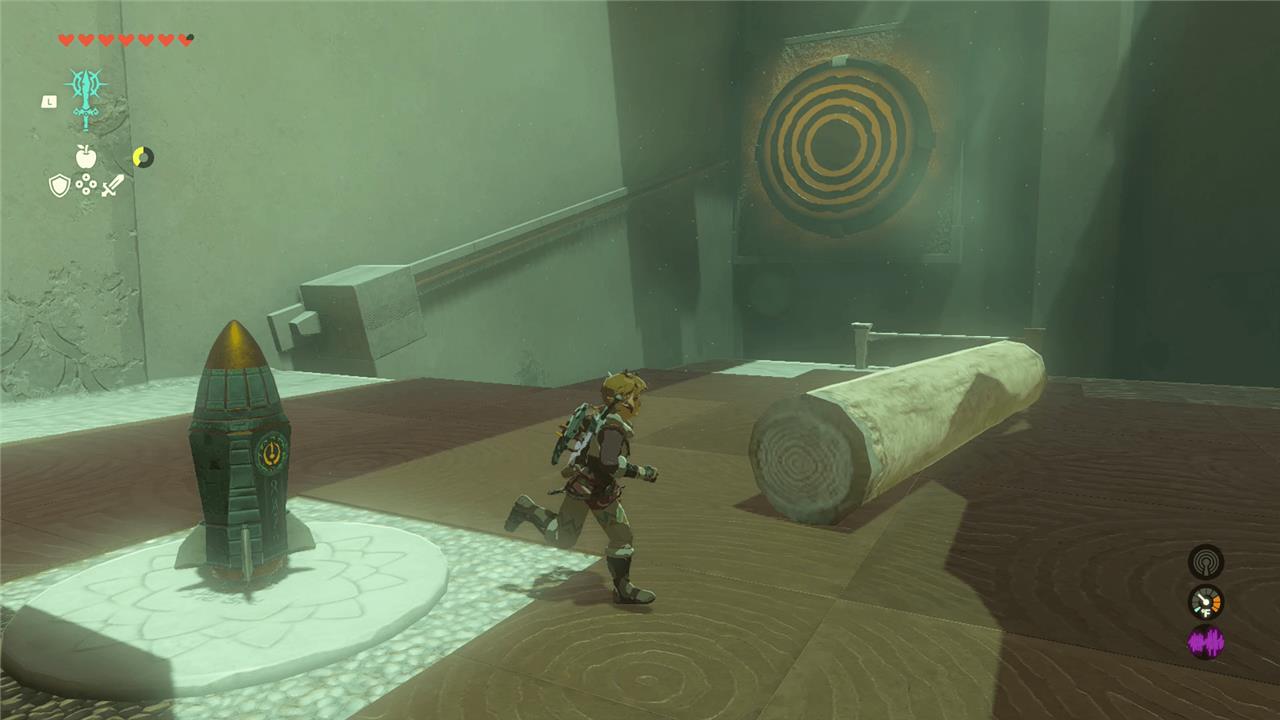
1. Walk down the steps into the first cavern. There are no enemies here – just some objects to use for solving this puzzle. There’s a wooden log and a rocket Zonai device on the ground. On the back wall, there’s a stone block affixed to a sliding track that aims towards a big yellow target on the adjacent wall.
2. Use Ultrahand to attach the log to the stone on the sliding track. You’ll want to angle the log so that one end of it is aimed towards the yellow target. Check out our picture for reference if you can’t figure out the right angle.
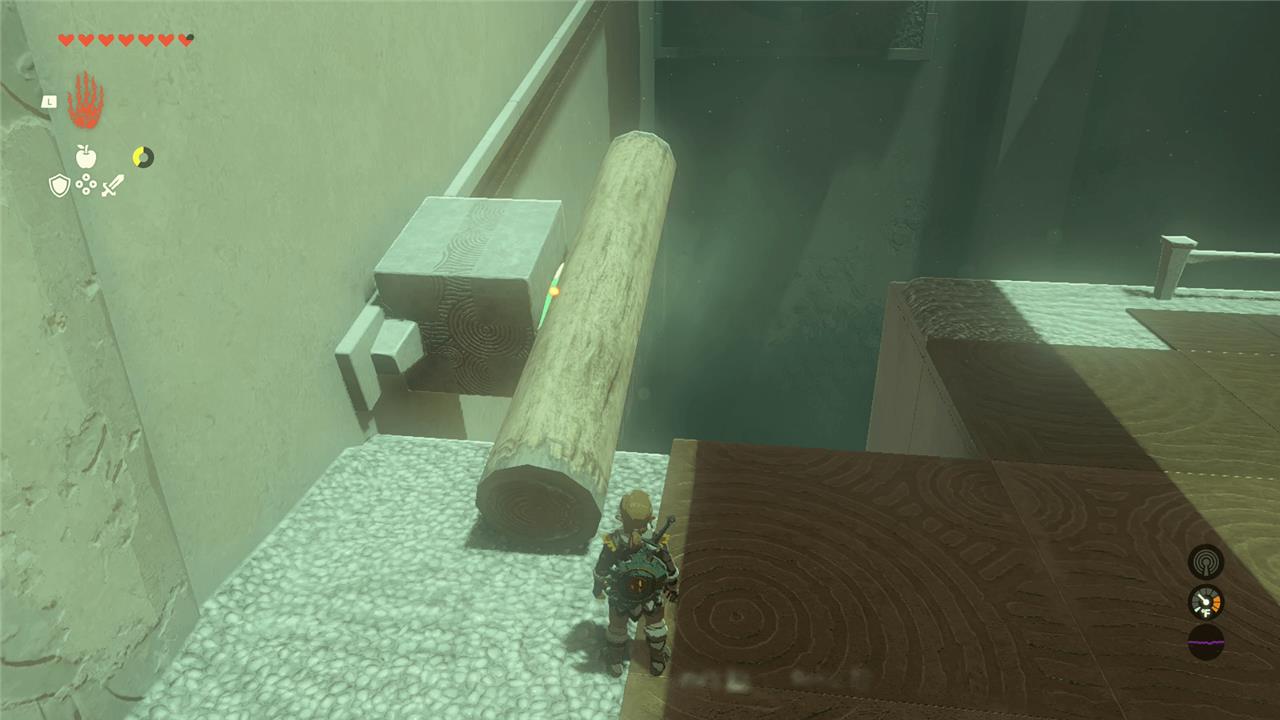
3. Use Ultrahand to pick up the rocket, and attach it to the back end of the log.
4. Hit the rocket to light it up, and watch the log shoot into the target. Once it hits, a gated doorway behind you will unlock. Head into the next cavern.
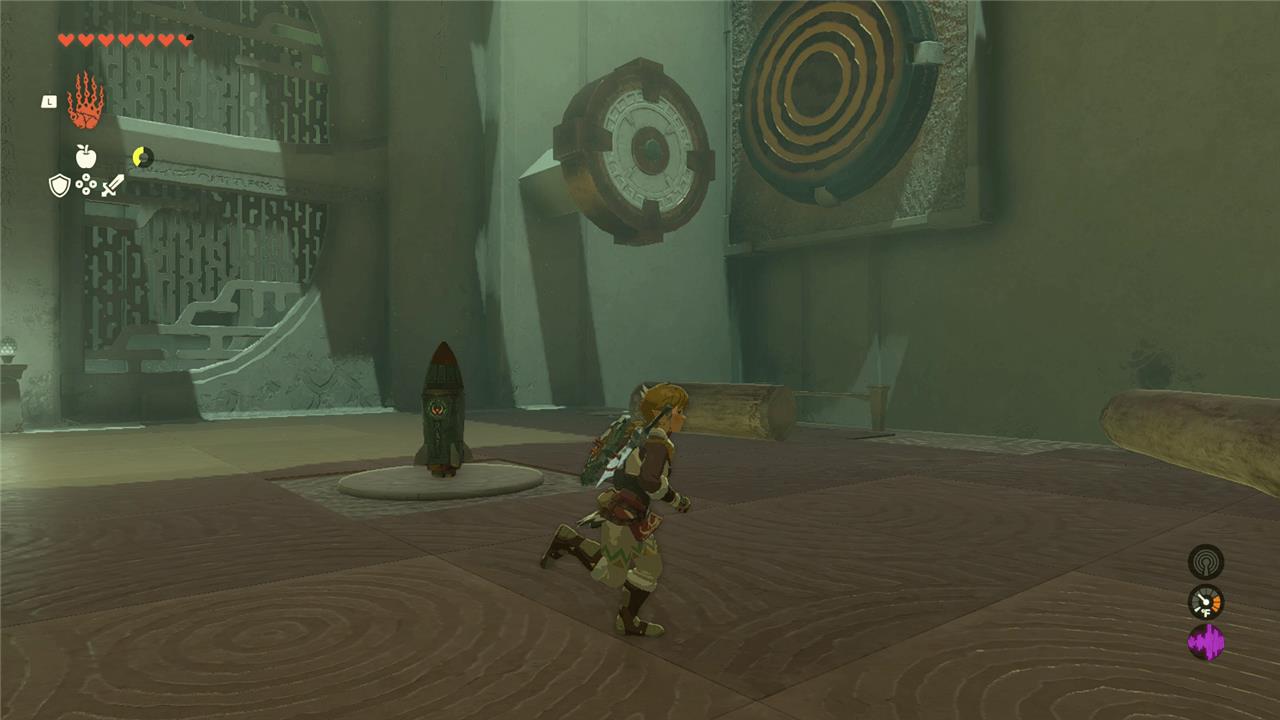
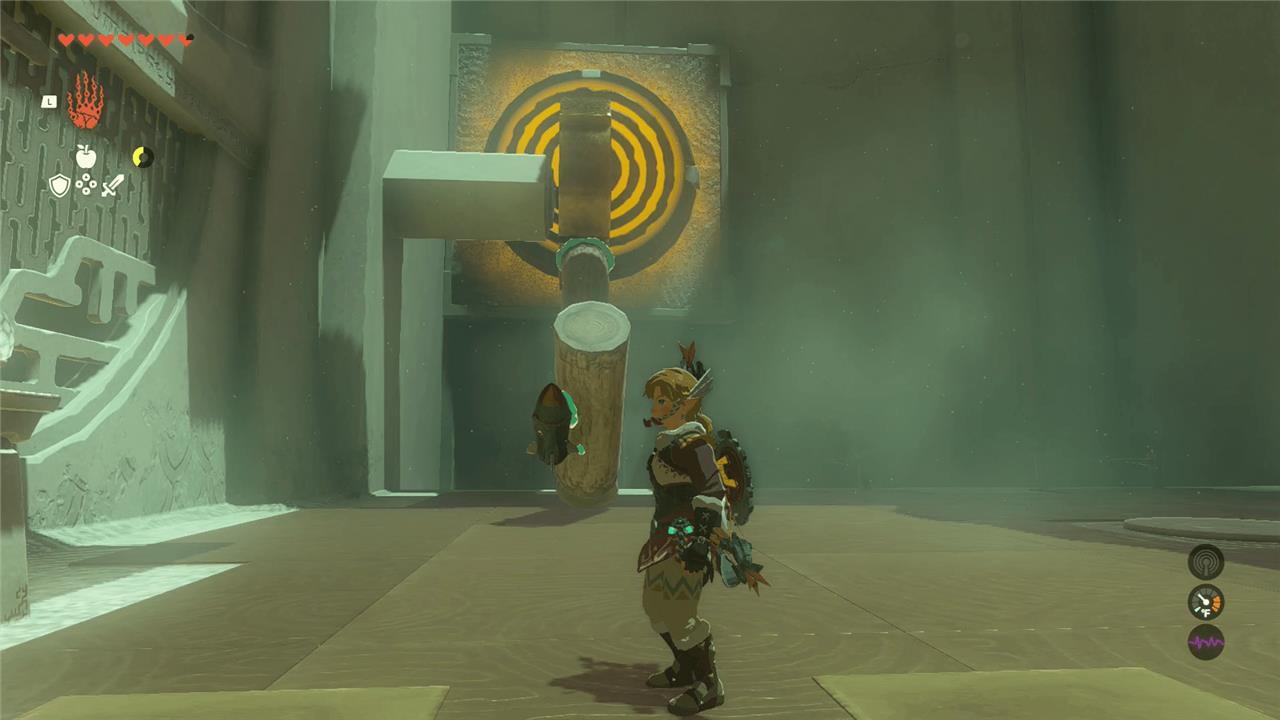
5. This next room has two more logs (one longer than the other), a rocket, and another big yellow target on the wall – as well as a huge, circular gear protruding from the wall adjacent to the target.
6. Behind you, there’s a treasure chest up on a high platform with a divot in it. Use Ultrahand on the longer of the two logs, and balance it in the divot. Climb up the log to get to the chest. Inside, you’ll find a Zonaite bow.
7. Hop off the platform. Using Ultrahand, attach the longer log to the side of the stone gear. The weight of the log will cause the gear to turn.
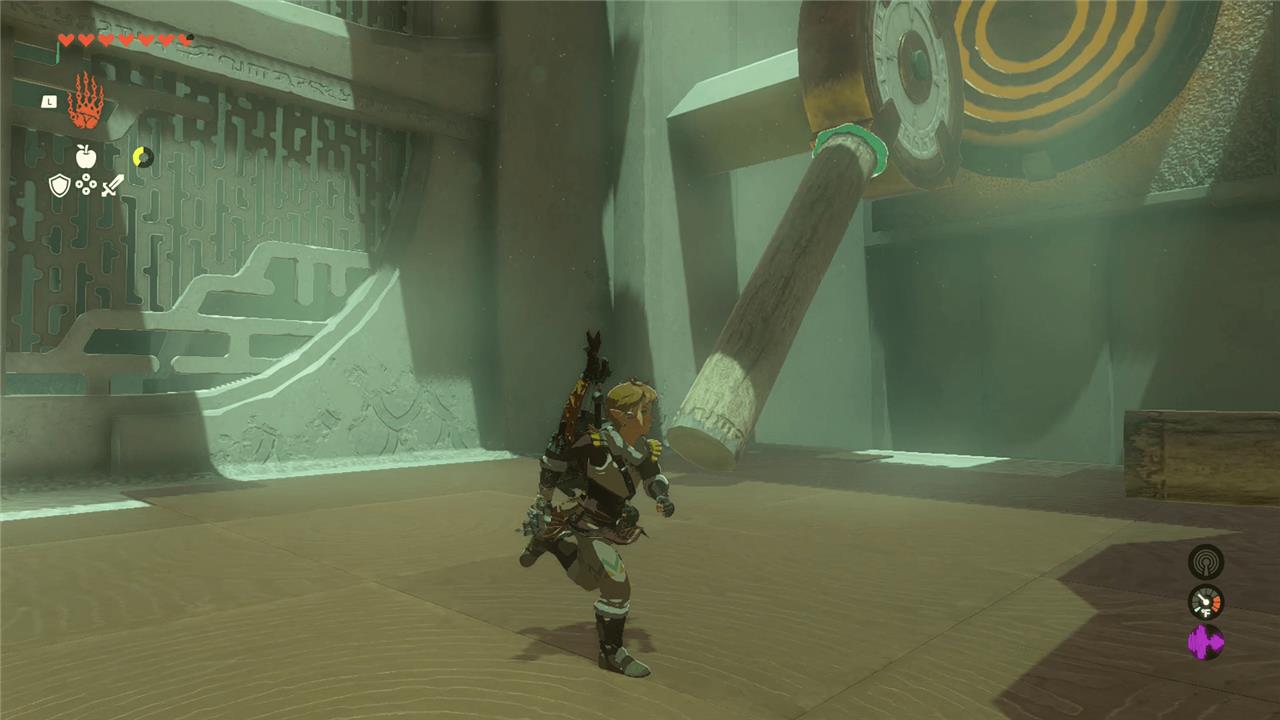
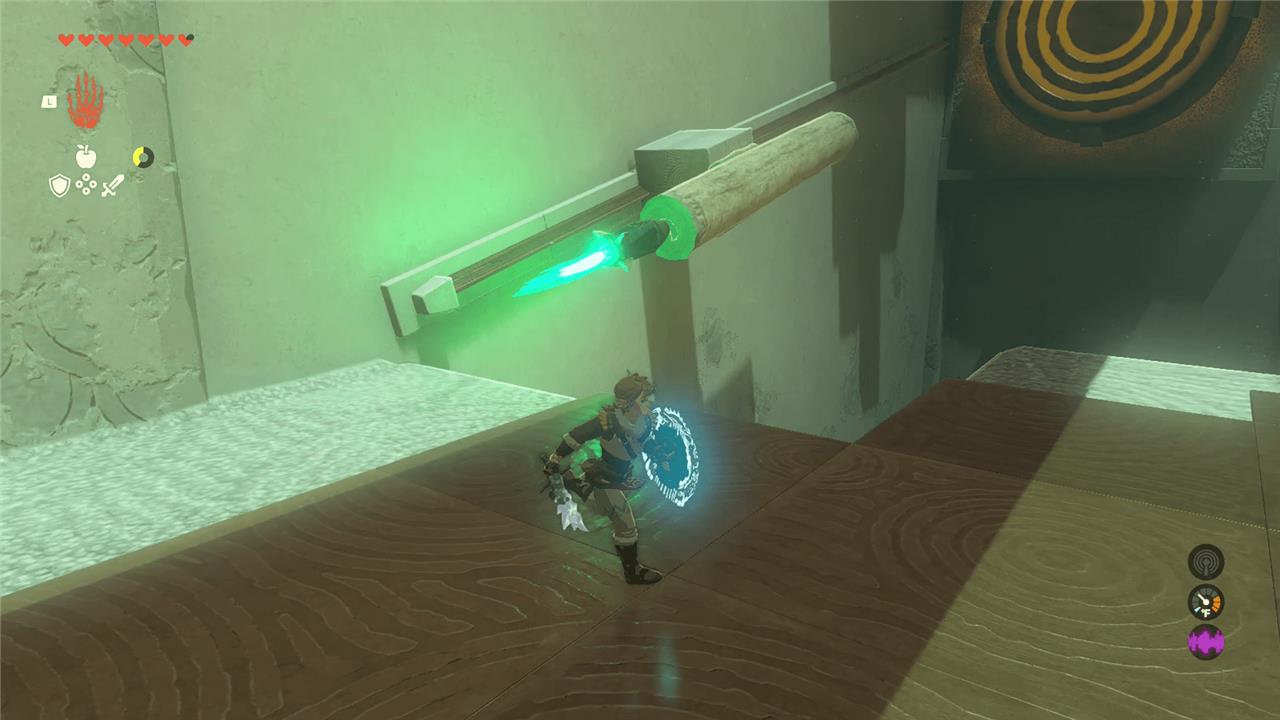
8. Time for more Ultrahand. Grab the smaller log and attach it to the end of the longer log at a perpendicular angle, like a little hammer. Or even a mallet … for smashing!
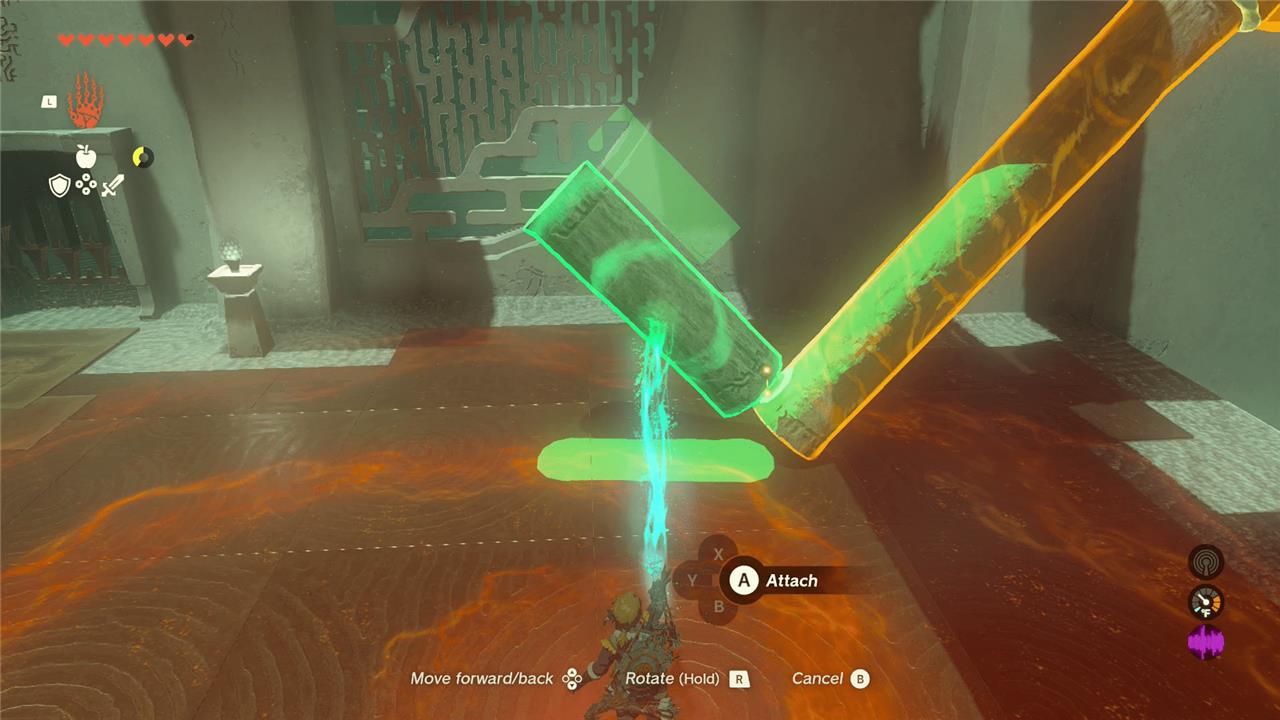
9. Last but not least, use Ultrahand to attach the rocket to the short log at the end of your hammer. Hit the rocket to light it, and watch your mallet do its job.
How to get cold resistance for Hebra Mountains
Cold resistance is essential for surviving the Hebra Mountains’ extreme chill in Zelda: Tears of the Kingdom, where level 2 protection is often needed to avoid health drain.
Armor Options
The Snowquill Armor set, available at Rito Village in the Hebra region, provides scalable cold resistance: Snowquill Headdress (1,000 rupees, level 1), Snowquill Tunic (600 rupees, level 1), and Snowquill Trousers (1,000 rupees, level 1). Wearing two or more pieces grants level 2 resistance, ideal for deep Hebra areas like the North Tabantha Snowfield near Oshozan-u Shrine.
Early-game Archaic Warm Greaves are found on Great Sky Island in a chest inside a hollow tree trunk near Gutanbac Shrine, offering basic level 1 protection that pairs well with food buffs.
Ruby Circlet (purchased in Gerudo Town for 1,300 rupees) or fusing a Ruby to a shield/weapon also delivers reliable level 1 cold resistance.
Food Recipes
Cook spicy ingredients in a pot for temporary buffs-the more used (up to 5), the higher the level and duration (e.g., 5 Spicy Peppers yield 12+ minutes of level 2 resistance).
-
Spicy Peppers: Common in Gerudo regions or Hebra edges; cook alone or sauté multiple for “Spicy Peppers” dish.
-
Warm Safflina: Found in Eldin Canyon or Gerudo Highlands/Desert.
-
Sunshrooms: Forage in hot areas like Gerudo Canyon for longer-lasting effects.
-
Sizzlefin Trout: Catch in Eldin Canyon or Hebra waters.
Elixir Recipes
Combine monster parts (e.g., Bokoblin Horn) with critters like Warm Darner (Akkala Highlands/Faron Grasslands) or Summerwing Butterfly (Eldin Canyon/Gerudo Highlands, or buy from Beedle at stables) for Spicy Elixir-scales with quantity for level 2 coverage.
Quick Tips
Stock up at Rito Village en route to Hebra shrines, pair one armor piece with a level 1 food/elixir for level 2, and cook under a Blood Moon for boosted potency. Torches or fire-fused weapons (e.g., Fire-Breath Lizalfos Horn) offer minor supplemental warmth but aren’t reliable for long treks.
Where to buy Snowquill armor in Rito Village
Snowquill Armor pieces are sold at the Brazen Beak shop in Rito Village.
Shop Location
The Brazen Beak is the main armor and general store in Rito Village, located at coordinates (-3628, 1792, 0186) near the village center.
Fast travel to Gatakis Shrine for easy access, then head downhill into the village hub.
Vendors and Availability
-
Before clearing the Wind Temple: Purchase from Kheel.
-
After clearing the Wind Temple: Purchase from Nekk.
All three pieces are always available for purchase, no quests required.
Piece Prices
| Piece | Cost | Effect |
|---|---|---|
| Snowquill Headdress | 650-1,000 Rupees | Level 1 Cold Resistance |
| Snowquill Tunic | 500-600 Rupees | Level 1 Cold Resistance |
| Snowquill Trousers | 1,000 Rupees | Level 1 Cold Resistance |
Purchase Tips
Wearing 2+ pieces grants level 2 resistance for Hebra Mountains; upgrade later at Great Fairy Fountains for more.
Farm rupees nearby by selling gems, monster parts, or helping with Hudson signs before buying the full set (total ~2,150 rupees).