Sifumim Shrine lies hidden behind a whisper of rocks and wind; finding it means following a trail of clues etched into the very earth, where every puzzle tests your wits and every step unlocks a fragment of the shrine’s ancient memory.
When you’re done, our shrine locations page or interactive Hyrule map can direct you toward something else to do.
Sifumim Shrine location
Sifumim Shrine is located in the Gerudo Highlands region, sitting southwest of the Gerudo Canyon Skyview Tower. You can spot it near the edge of a cliff at coordinates roughly (-2845, -3175, 0055). The area can be challenging to reach due to steep terrain and extreme temperatures, so equipping heat- or cold-resistant gear is recommended. Gliding from a high point or using Zonai devices can help you access the shrine more easily.
The Sifumim Shrine is found within the East Neculda region, just northwest of Lurelin Village. The exact coordinates are (2826, -3271, 0078).
Sifumim Shrine walkthrough
The Sifumim Shrine puzzle centers on controlling water flow and using floating platforms to reach higher areas. Use Ultrahand to position planks and platforms over water streams, creating walkable paths or rafts. Activate switches by placing spheres where needed, often using water currents to move them into position. Precision and patience are key to aligning each object correctly. Once all mechanisms are activated, a final path opens, leading to the shrine’s end chest and the exit.
Sifumim Shrine is a “Proving Grounds” combat shrine that strips you of your gear and pits you against a fleet of Constructs. A combination of your abilities and sword skills will set you free.
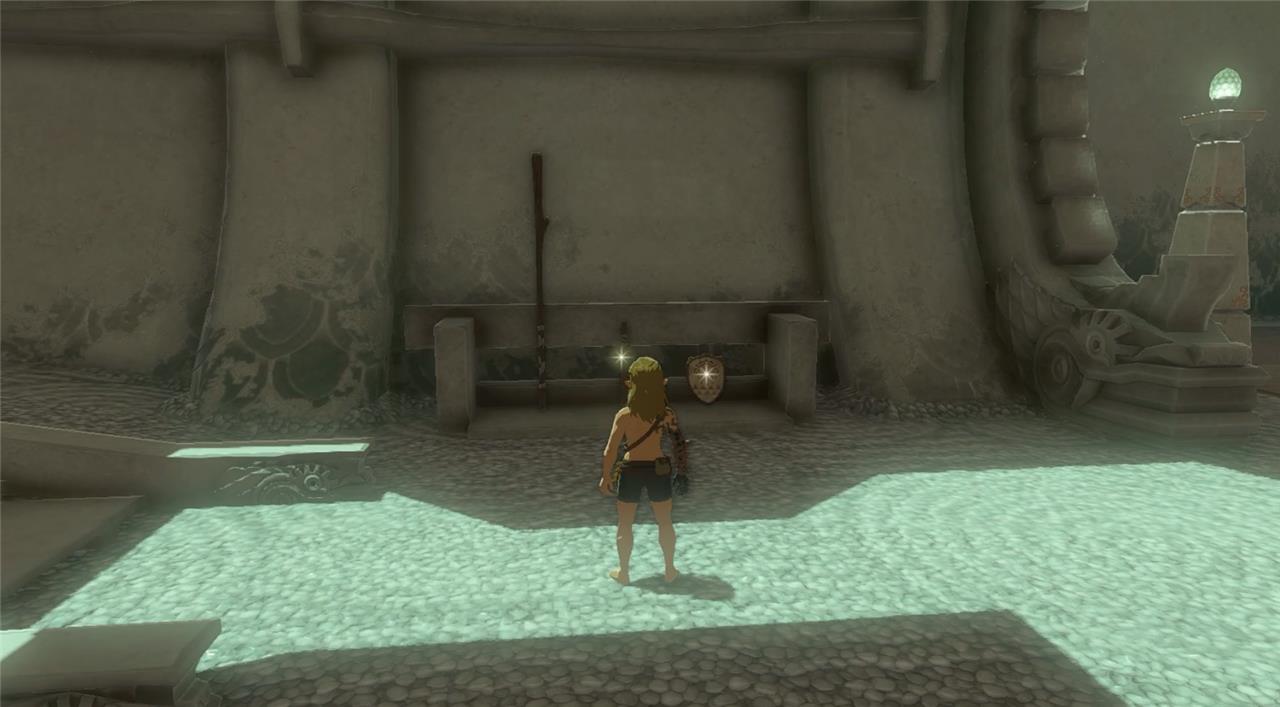
1. You need Fuse fodder to take out some robots, so enter the shrine and pick up the long stick, wooden stick, and old wooden shield waiting for you on your left.
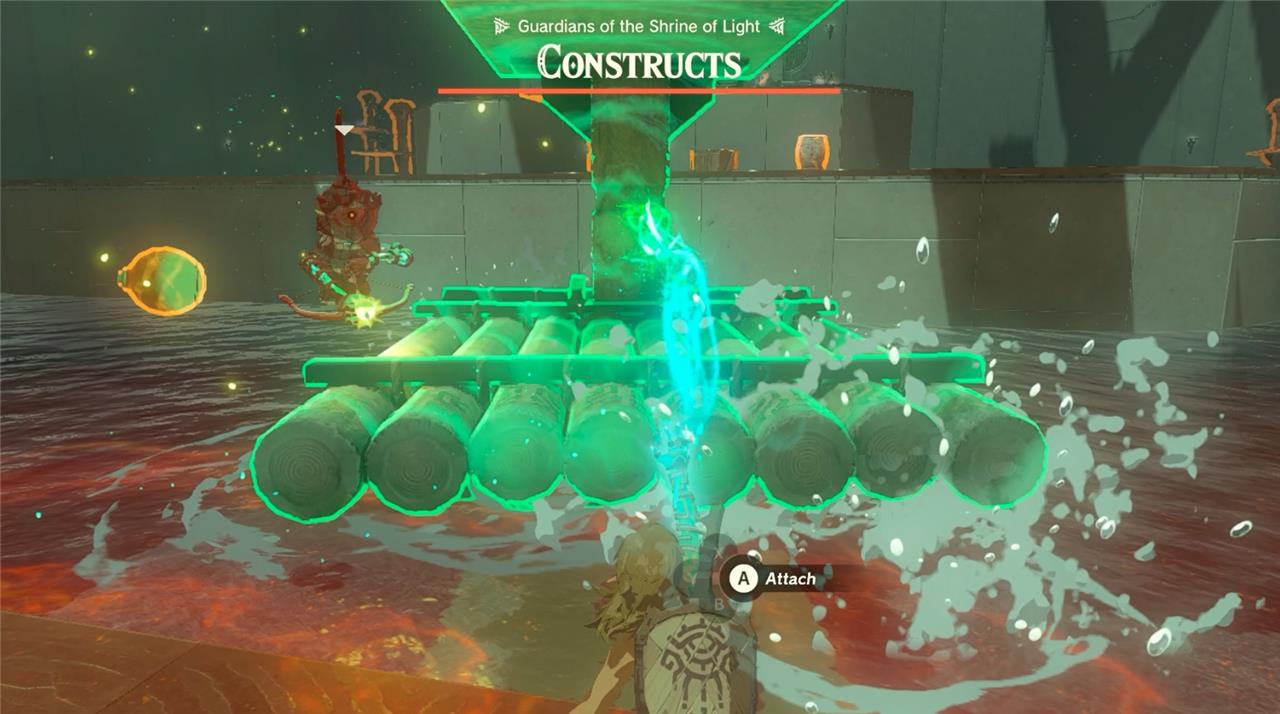
2. Run into the main shrine chamber, activate Fuse while wielding the wooden stick, then attach one of the barrels in front of you. Beware of Constructs firing arrows.
3. Knock out the Construct on a nearby raft before he puts an arrow in your eye. Here’s one easy way to do it: Grab the raft with Ultrahand and dunk that sucker! When the bots hit the water they instantly explode.
4. While avoiding the second Construct firing arrows further back in the Shrine, jump on to the floating raft and Ascend to the middle level. Ascend again to reach the top of the raft.
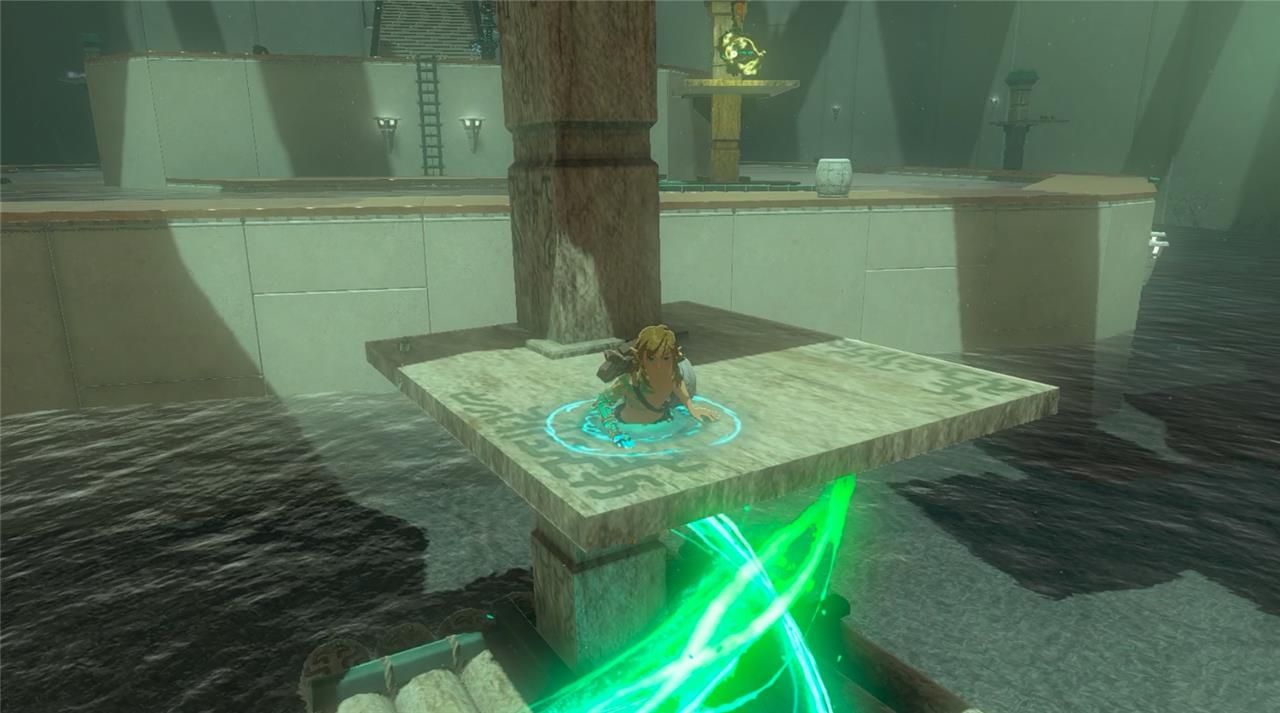
5. Once atop the raft, paraglide down to the next section of platform ahead. Run to the left to find a sturdy wooden stick. Activate Ultrahand to grab the boat in front of you and send another Construct to its watery doom.
6. Race around the octagonal platform and continue to grab rafts and flip two more Constructs into the water. Don’t feel bad they deserved it!
7. Once the sailor Constructs are cleared, head toward the ladder on the right side of the shrine to sneak up on another arrow-firing Construct.

8. Pelt the Construct with available ice fruit and/or just knock it out with your barrel on a stick. If you can hit the Construct off the edge of the platform, it’ll break immediately in the water.

9. After you defeat the final Construct, the shrine will return your gear. But if you’re low on solid weaponry, there’s a spiked ball you can Fuse to a sword before you jet.
Where is the Sifumim Shrine exactly located on the map and how to reach it quickly
Sifumim Shrine sits at exact coordinates 2826, -3271, 0078 in the East Necluda region, on a hilltop ledge overlooking Lurelin Village.
Map Position
The shrine appears on the in-game map as a glowing golden structure west of Mount Dunsel and northeast of Tuft Mountain, northwest of Lurelin Village in the Eastern Atun Valley area.
Quickest Access
Fast travel to Rabella Wetlands Skyview Tower, then launch from the tower and glide southwest toward the coordinates; the shrine is visible on a prominent ledge just below Mount Dunsel.
If on foot from Lurelin Village, climb the hill northwest or use Ascend on rock faces for speed.
How to complete Sifumim Shrine walkthrough
Sifumim Shrine, known as Proving Grounds: Flow, challenges players to defeat Constructs using only shrine-provided items after all gear is stripped upon entry.
Starting Gear
Grab the Long Stick, Wooden Stick, Old Wooden Shield, and barrels near the entrance to fuse into weapons for melee combat against arrow-shooting Constructs.
Main Chamber Steps
-
Use Ultrahand to grab the first raft with a Construct and dunk it into the water below, causing the enemy to explode.
-
Jump to a floating platform, use Ascend twice to reach higher levels, and glide to the next area while avoiding distant archers.
-
On side platforms, repeat by tossing rafts with Constructs into the water or melee them with fused barrels; collect dropped bows and arrows.
Final Fight and Exit
Climb the ladder on the right to confront the central Captain Construct-fuse Ice Fruit to arrows for stuns or knock it off the edge into the river with a long weapon.
Gear returns after victory; open the chest for a Captain IV Reaper, then interact with the sigil for the Light of Blessing.