Hidden beneath Lanayru’s flowing waters lies Mogawak Shrine-a puzzle built around the raw power of electricity. This guide shows how to locate the submerged sanctuary and solve its clever energy circuit challenges to claim its secret reward.
Mogawak Shrine location
Mogawak Shrine is located in the Lanayru region, near the Great Zora Bridge and the Zora’s Domain. You can find it to the west of Zora’s Domain, at coordinates roughly (3299, 0423, 0112). To access the shrine, you’ll need to complete a nearby side quest involving fixing a water generator that powers the shrine. Once activated, the entrance becomes available, allowing you to begin the challenge inside.
Mogawak Shrine is in the Lanayru region to the east-southeast of the Upland Zorana Skyview Tower. You’ll find it right underneath the Zora’s Domain settlement. The exact coordinates are (3298, 0424, 0112).
Mogawak Shrine walkthrough
Inside Mogawak Shrine, you’ll need to use the power of electricity to activate different devices and open the path forward. Connect power sources using metal objects or Zonai tools to complete circuits that power gates and moving platforms. The final section requires charging a terminal by linking generators correctly, which opens the door to the exit and rewards you with a Light of Blessing.
Mogawak Shrine is laid out in a cross. When you enter, there’s a waterspout and some Zonai circuitry to your right, a Zonai battery and a lift in front of you, and a small moat with a gate (hiding a chest behind it) to your left.
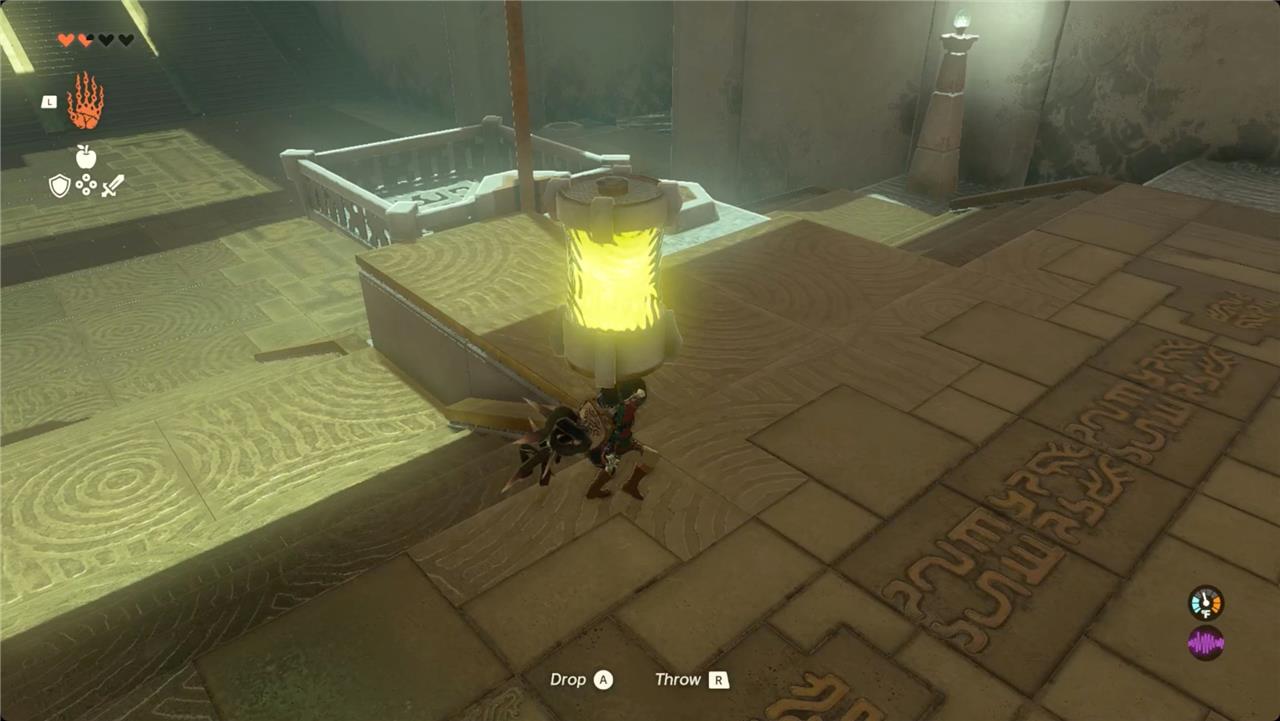
1. Grab the Zonai battery with Ultrahand and carry it up the ramp to the right. Place it on the charging pad on the right side.
2. Head to the left side of the pool of water, and use Ultrahand to pull up a chest with a magic scepter inside.
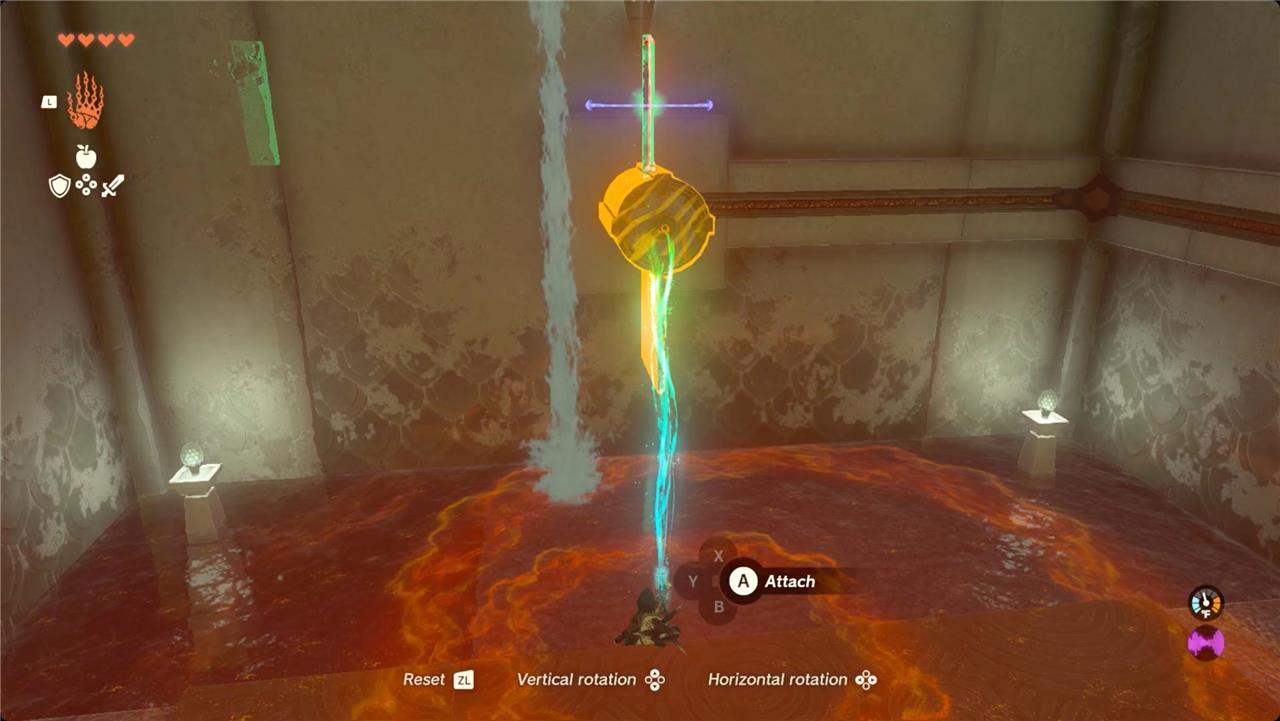
3. Pick up the panel floating in the water to your right. Attach it to the hub on the wall to make a waterwheel-like contraption. Use Ultrahand to start it moving. (It’s possible to get it running permanently by placing the panel opposite the existing one, but you can also set it at a 90° angle – the waterwheel will generate electricity even if it’s just bouncing a little.)
4. When the battery is fully charged, carry it back down to the middle room.
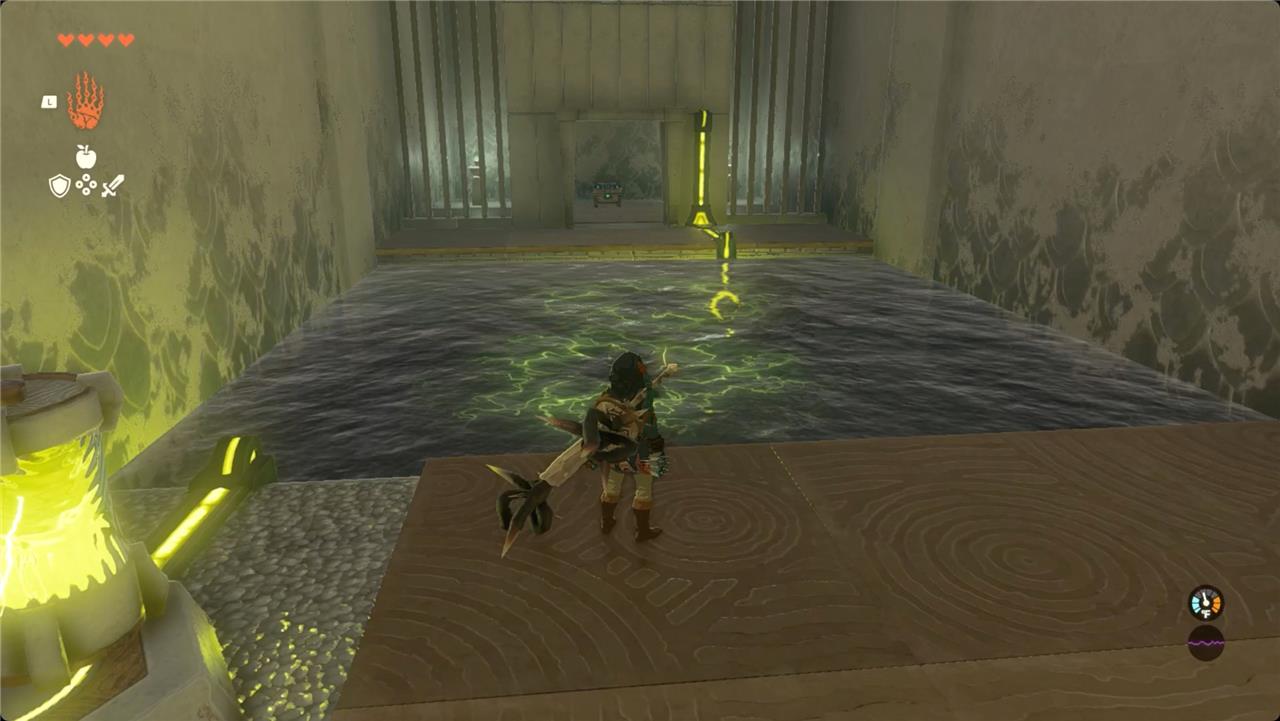
5. Carry the charged battery across to the moat on the far side. Your goal here is to power the gate on the far side of the water without electrocuting yourself in the process.
6. Make sure the balls in the water are positioned so they’re as close to each other as you can get them, and then place the battery on the pad.
7. The range of electrocution in water is relatively short, so just stick to the wall to get past. You can also go grab the panel from your waterwheel and use it as a floating platform to help you cross the water.
8. Open the chest behind the gate you opened for an opal.
All treasure chests and rewards in Mogawak Shrine
Mogawak Shrine contains two treasure chests and one main completion reward.
Treasure Chests
Two optional chests hide within the shrine’s water-based puzzles.
-
The first chest, found immediately to the right upon entering, sits submerged in a pool beneath a water stream; use Ultrahand to pull it out for a Magic Scepter.
-
The second chest appears behind a gated moat after charging a battery with a waterwheel turbine, then positioning electrified metal spheres to complete a circuit across the water-carefully swim along the edge to open it and claim an Opal.
Completion Reward
Finish the shrine by recharging the battery, placing it on the central elevator’s pad, and riding up to the altar for a Light of Blessing, essential for health and stamina upgrades.
Step by step Mogawak Shrine walkthrough
Mogawak Shrine, known as “The Power of Water,” features puzzles involving water streams, electricity, and Ultrahand mechanics.
Initial Setup
Descend the stairs into the main chamber, where a central elevator awaits power, a water stream flows to the right, and a gated moat sits to the left.
-
Grab the empty Zonai battery with Ultrahand from near the elevator and place it on the charging pad beside the right-side water stream.
-
Pull the submerged chest from the pool below the stream using Ultrahand to claim a Magic Scepter.
Charge the Battery
Retrieve the square panel submerged in the water near the stream.
-
Attach the panel to the top of the wall-mounted turbine hub using Ultrahand, aligning it vertically with the existing panel.
-
Spin the turbine with Ultrahand so one panel faces the water stream; it will rotate continuously, generating electricity to fully charge the battery (watch for the yellow glow).
Access Second Chest
Carry the charged battery to the pad across the chamber by the gated moat.
-
Position the floating metal spheres in the water close together with Ultrahand to form a conductive chain.
-
Place the battery on the pad to electrify the water; the current will arc across the spheres, opening the gate-quickly swim along the edge (avoid the center to prevent shocks) and open the chest for an Opal.
Complete the Shrine
Return to the right-side turbine to recharge the now-depleted battery.
-
Carry the recharged battery up the ramp beside the central elevator.
-
Step onto the elevator first, then place the battery on the adjacent pad to power it and ascend to the altar for your Light of Blessing.