High above Hyrule, the Great Sky Island hides the first secrets of Tears of the Kingdom. This guide walks you through every shrine puzzle, hidden chest, and clever trick needed to master the opening hours and set you on the path to the surface below.
The Great Sky Island is largely defined by four shrines (bespoke puzzles that comprise brief dungeons). Our walkthrough will guide you through Tears of the Kingdom‘s Great Sky Island area, outline the order to tackle the Great Sky Island’s shrines – including how to get to the third and fourth shrines – and get you on your way to Hyrule.
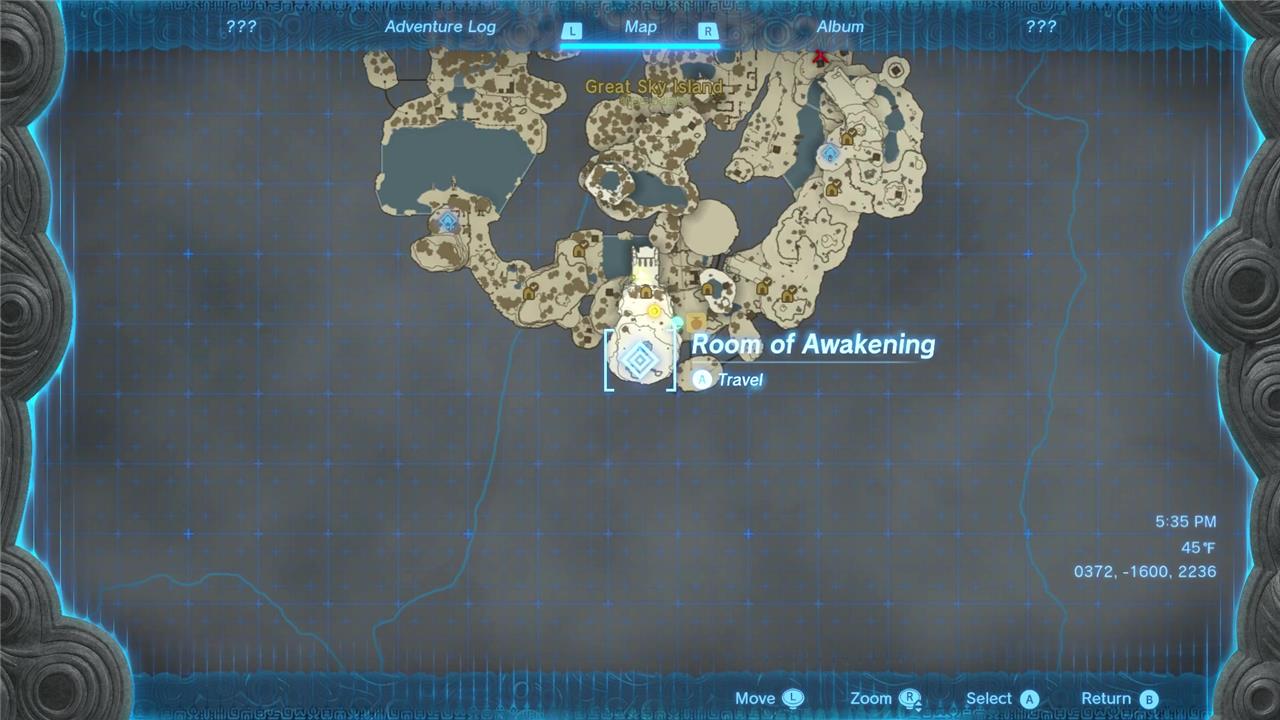
Great Sky Island walkthrough
Great Sky Island serves as the tutorial area where players begin their adventure in The Legend of Zelda: Tears of the Kingdom. Here, Link must explore floating islands, collect new abilities from the Shrines of Light, and repair the broken Zonai arm to progress. The area introduces mechanics like Fuse, Ultrahand, Ascend, and Recall, teaching how they interact with the environment and puzzles. Completing the four shrines grants the energy needed to reach the Temple of Time and descend to Hyrule below.
After a series of cutscenes, you, as Link, will awaken in a room full of roots. There’s only one direction you can go. Leave the room to trigger another series of cutscenes introducing Rauru, your ghastly guide for this segment of the game. (Pro tip: If you see his ghost apparition appear, it generally means you’re going in the right direction.)
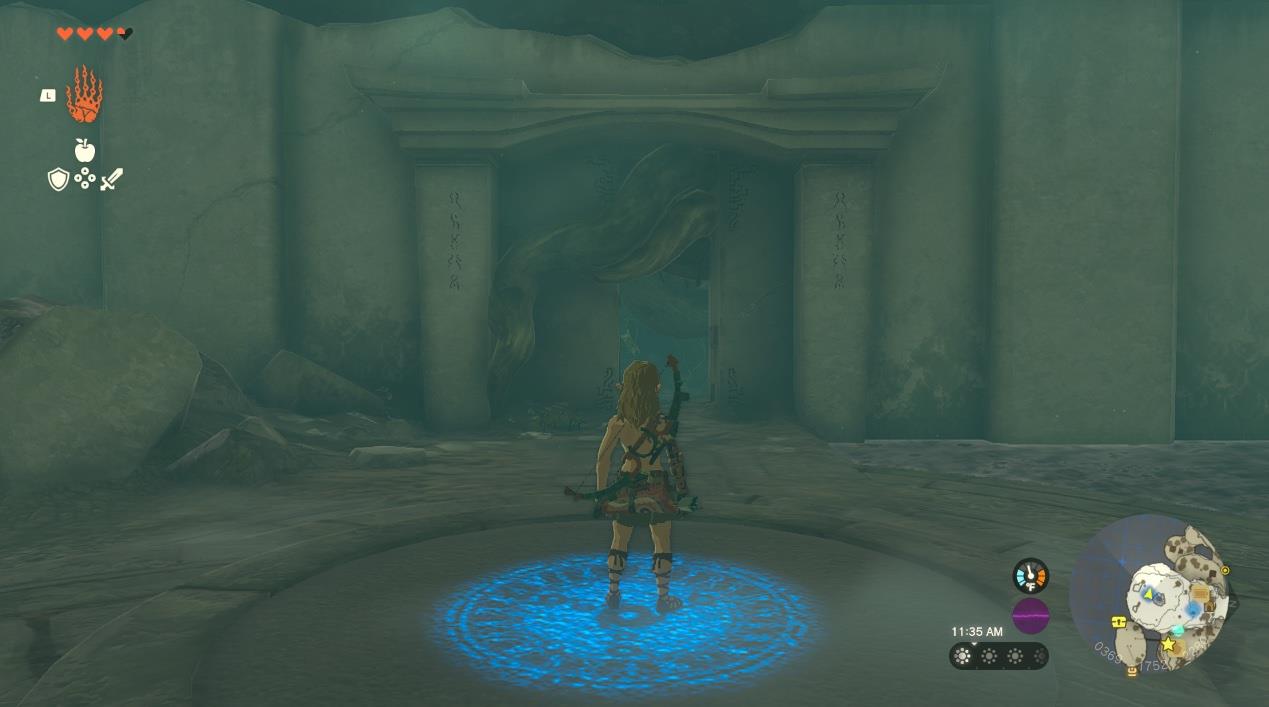
After following Rauru through a series of linear tunnels, hang right after you’ve taken a pretty deep plunge into a small pool of water and you’ll be outside. You’ll need to make another jump into a large, oval-shaped pool full of lily pads. Again, you’ll speak to Rauru, who will point you in the direction of the Temple of Time.
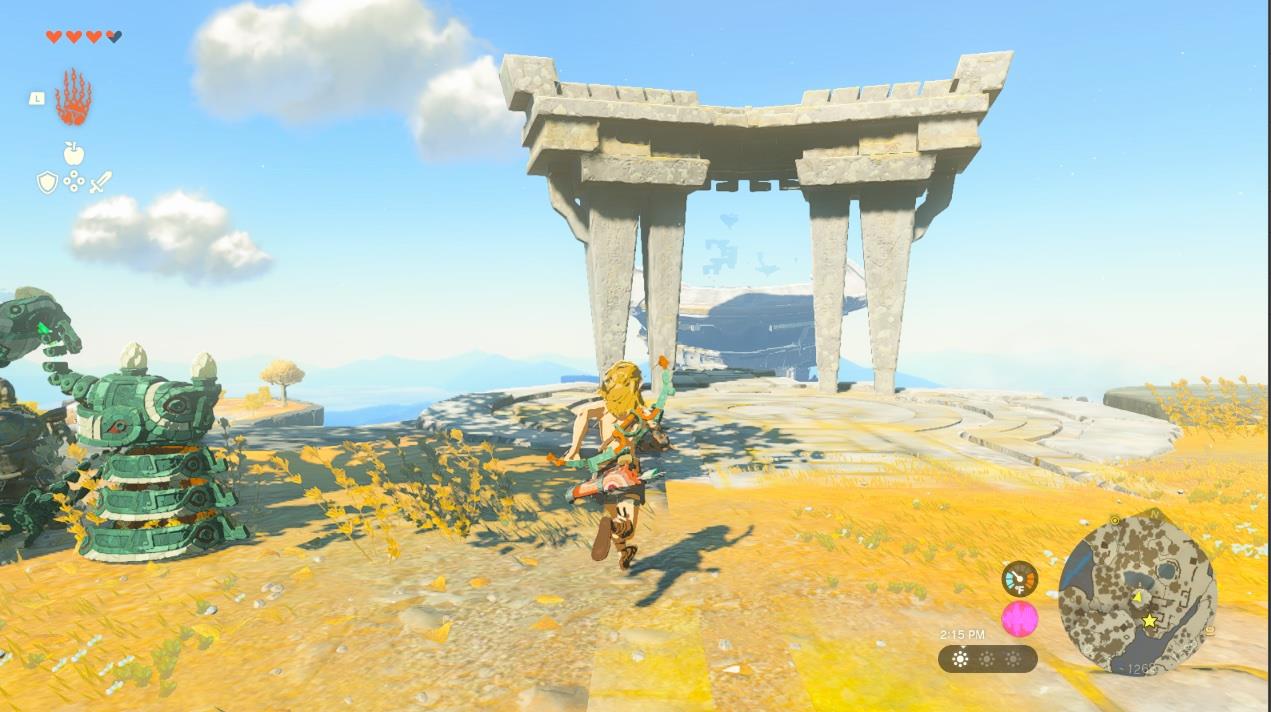
The Temple of Time is impossible to miss. Head north toward the massive structure, and speak to the Steward Constructs along the way, who provide helpful hints and tutorials.
Go to the area with the stone gates and dive to the islands below. Keep in mind that making the leap will lock you into this archipelago, so you’ll want to thoroughly explore and scour for resources before moving on, and maybe grab some apples from the nearby tree for cooking. Once you’re at the island, keep going north and you’ll make it to the steps of the Temple of Time.
How to get to the first Shrine
After you wake on the Great Sky Island and collect the first equipment from the nearby chests, move toward the large temple-like structure visible ahead. Follow the glowing trail of Steward Constructs to reach the edge of the cliff, where a broken bridge blocks the path. Use the nearby fallen tree to create a simple bridge across the gap. Continue along the path and descend toward the glowing portal marker on your map. The first Shrine, Ukouh Shrine, stands on a raised platform just beyond a few stone ruins.
Unfortunately, you can’t enter the Temple just yet. You’ll need to unlock the three blessings on the island in order to open the door. Rauru will point you in the general direction, but there is a specific order Tears of the Kingdom wants you to follow. From the Temple of Time head west on your map. Head down the path and to the set of stairs leading to your first shrine.
The Ukouh Shrine gives you the Ultrahand ability, which allows you to connect items together. The puzzles here will have you utilizing this ability to cross otherwise impassable obstacles to progress and to obtain treasures. For help with its puzzles, you can read our Ukouh Shrine solution page can show how to solve it.
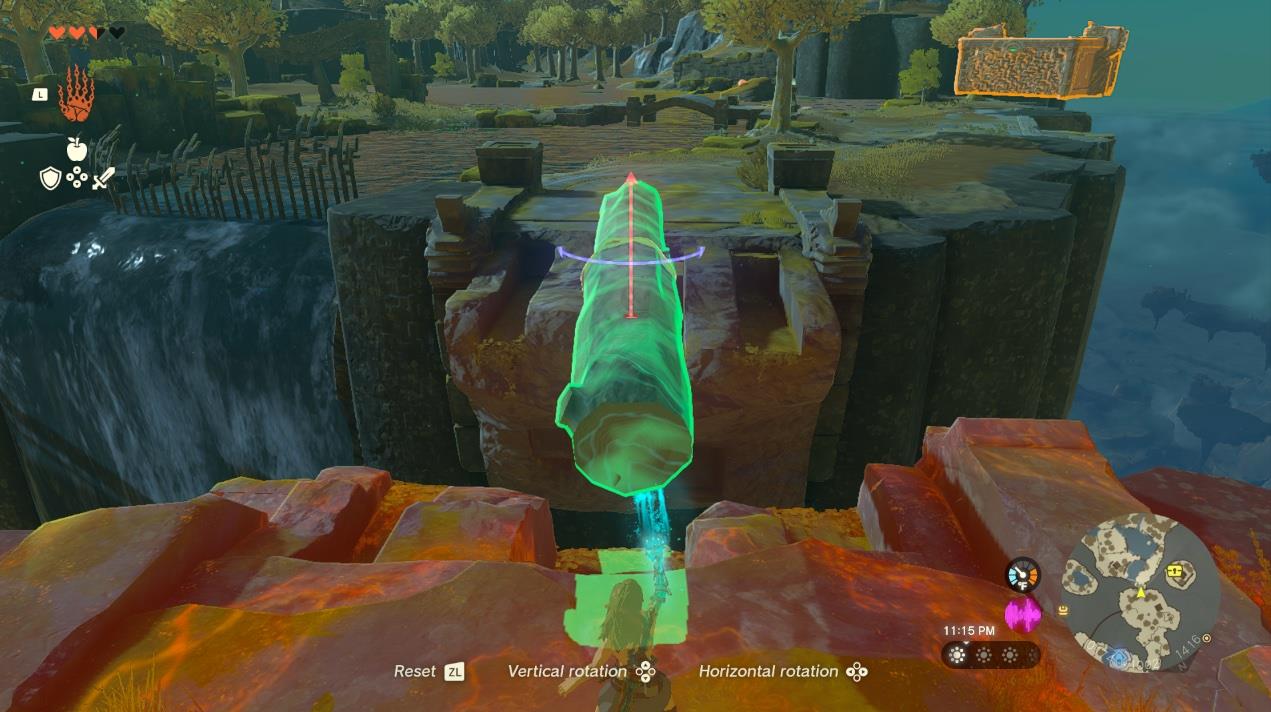
Once you’ve left the Ukouh Shrine, continue westward. Using your newfound ability will allow you to get to the next section of the island. You can do this by either connecting some planks on a platform just below you, or through a more creative method by attaching a hook to a plank and riding this makeshift platform down a rail. If you feel like you haven’t attached anything properly, use the right stick to break the construction apart and reconnect it in a way that fits.

You’ll come across a prefabricated raft. Go forward and take the stone ax from the tree stump. You’re going to need this to make some logs. Cut down two logs and fuse them together to make a makeshift bridge. Place the logs in the crevices along the broken bridge. This will hold them in place, which will allow you to cross safely.
How to get to the second Shrine
After completing the first Shrine, glide down to the river below and cross it using makeshift rafts from nearby logs. Follow the path leading uphill to the snowy region, where you’ll find the entrance to the next Shrine at the top of a cliff. You’ll need to craft a simple campfire and cook spicy peppers along the way to withstand the cold. Keep an eye out for broken bridges and use your abilities to build safe crossings or attach hooks to rails for faster travel.
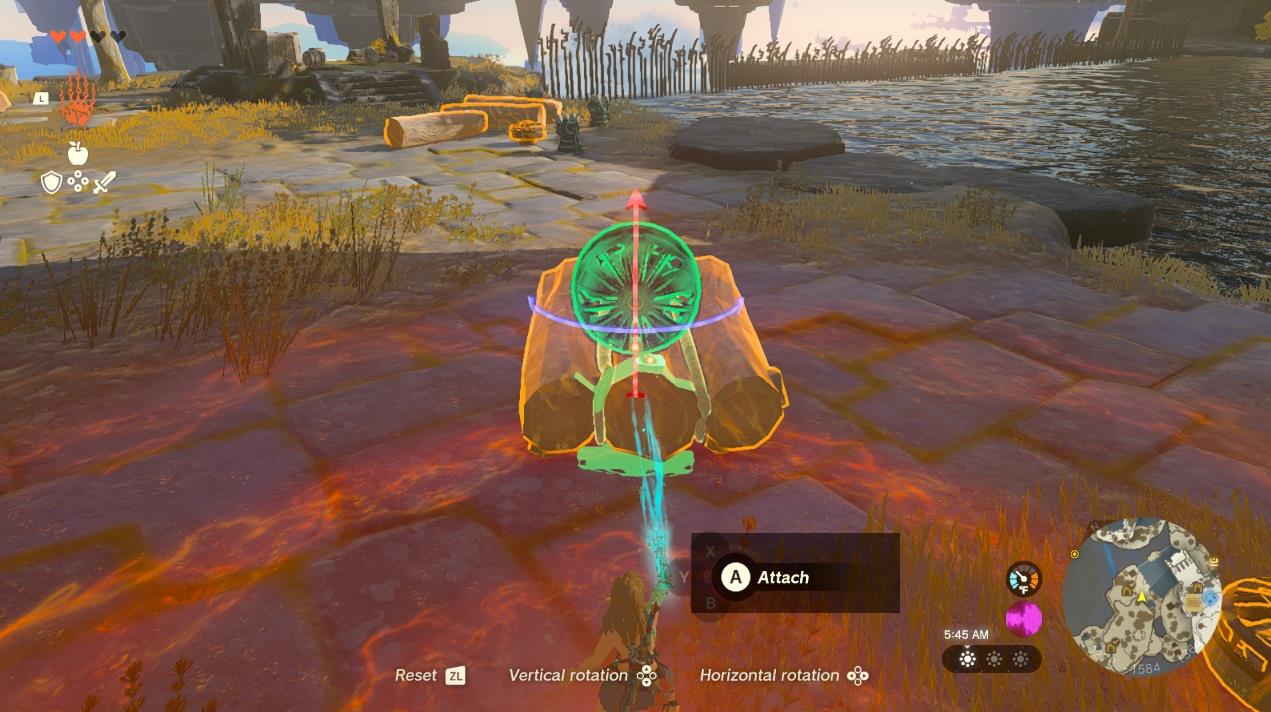
From here, head south toward the lake. There are several methods that’ll get you there, but however you go, make sure to pick some stamina bulbs on your way. You’ll need them for later. Kill the Zonai Soldier Constructs and keep heading south until you find some logs and two sails next to another stone ax.
Cut down a tree and assemble three logs together. Attach a sail and drag your raft to the edge of the lake. Get ready to hop on and take the journey across. Once you’ve reached the shore, head to up the steps to the next shrine.
The In-isa Shrine grants you the Fuse ability, which allows you to slap ingredients and weapons together to make more powerful weapons. This includes weapons with special effects, or to even increase their overall durability. This shrine will teach you the basics of Fusing weapons, but if you’re stuck on the puzzle, our In-isa Shrine solution page can help you solve it. South of the shrine, you’ll find the Archaic Tunic.
How to get to the third Shrine
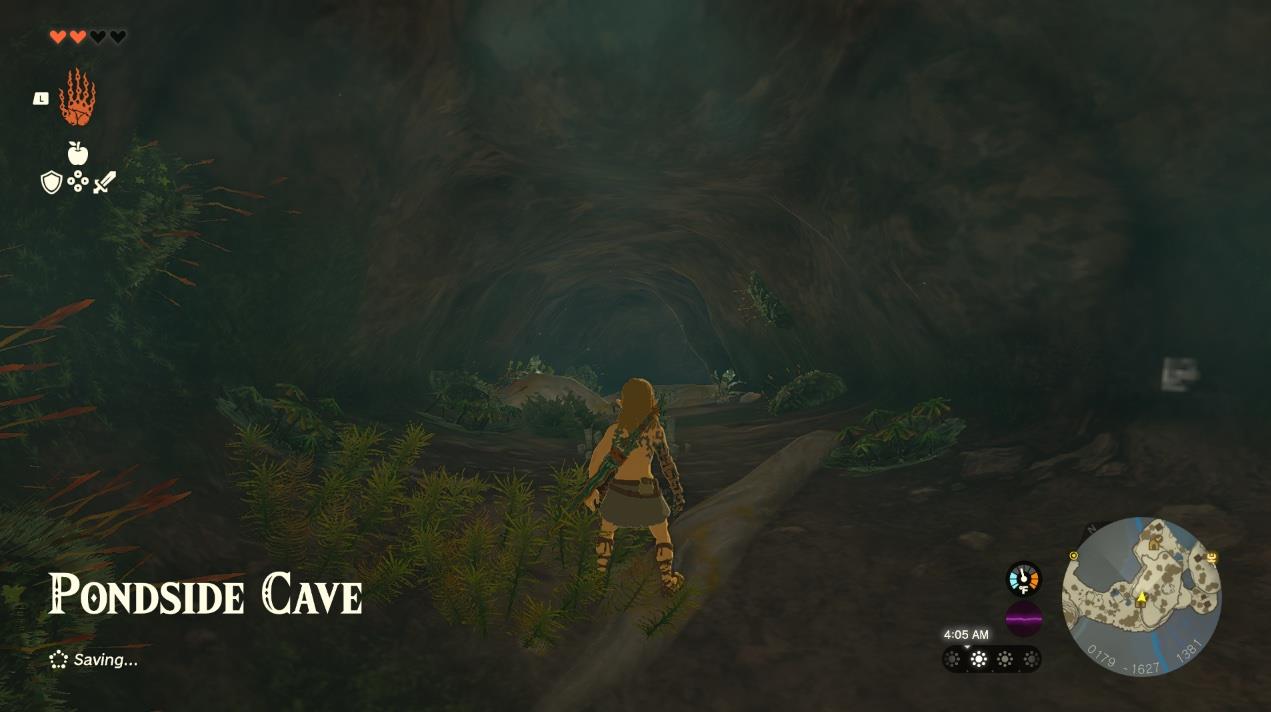
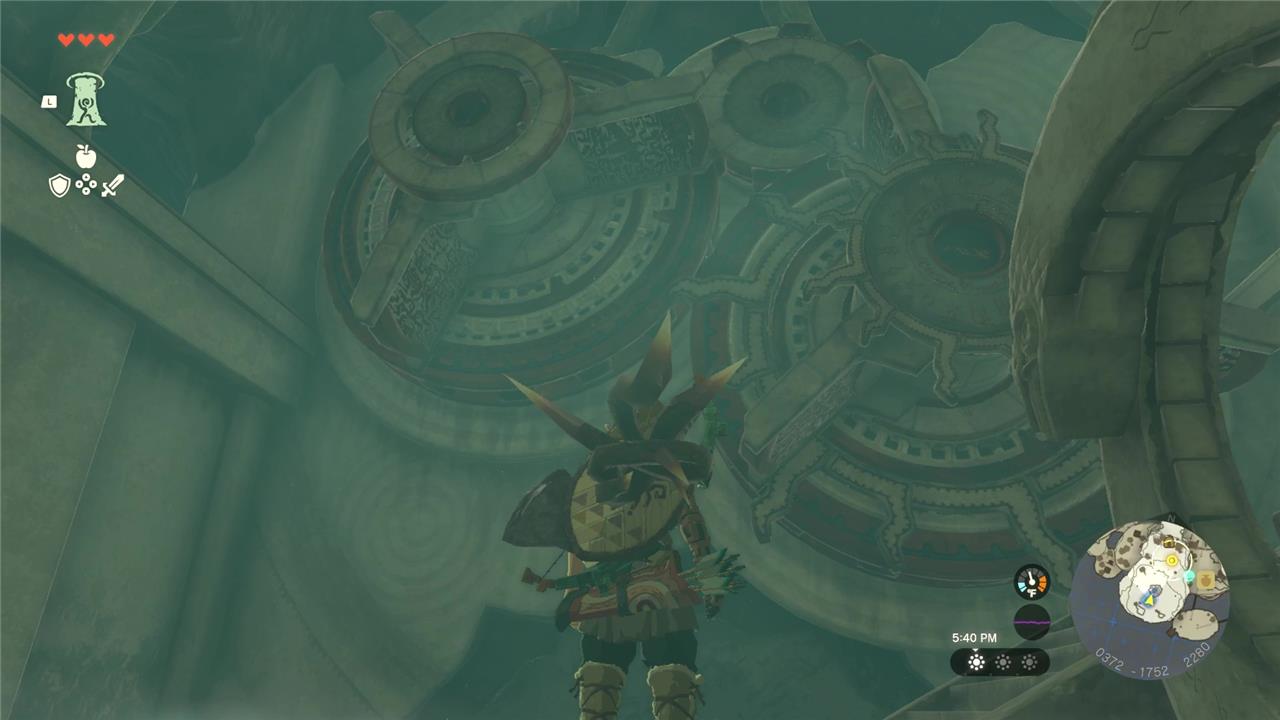
After completing the second Shrine, glide northwest from the Room of Awakening’s cliff using the nearby Zonai wing. Land near the floating island with broken rails and assemble a functioning rail cart with a fan to cross to the next section. Follow the icy path ahead, fighting or avoiding the Constructs along the way. Continue upward across the frozen platforms until you reach the Pondside Cave; inside, use a torch or fire fruit to melt the ice blocking the exit. Once outside, climb the final ledges to reach the third Shrine, the Gutanbac Shrine.
Once you’ve finished the In-isa Shrine, head east. You’ll encounter a lot of Zonai Soldier Constructs, which you can quickly eliminate with your Fused weapons. Definitely take these guys out to obtain more materials for fusion. These will create decently powerful weapons for the Great Sky Island. Heading south, you’ll find the Pondside Cave. Enter this and grab the brightbloom bulbs, then break the rocks inside to obtain amber, flint, and other valuable materials. Break open the wall at the back to get even more materials. After you’re done scouring, head left to go deeper into the cave.
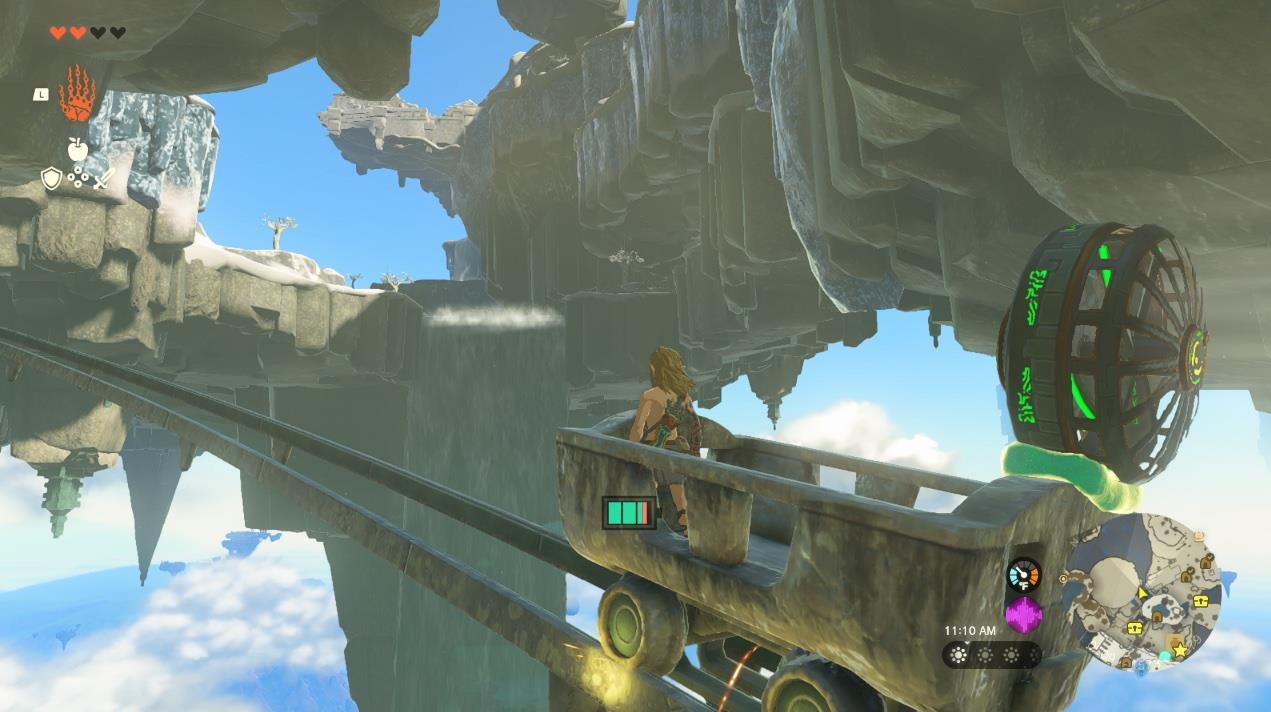
Outside you’ll see several Maker Constructs standing around some logs and fans. Speak to the Maker Constructs to get a breakdown of how to use the Zonai Devices – namely, the fans – scattered around the shore. Cut down some trees and use Ultrahand to slap some logs together and two fans to make a boat. Move it into the water; once you’re ready to depart, hit the fan with a weapon. This will activate the device, sending you across the pond.
There is a cooking station here if you want to make use of it, though you’ll find plenty of others on the island. Once you’re ready to continue, follow the stairs up. Head into the mining cave. It’ll be very dark inside. Brightbloom seeds – either smacking them or attaching them to you weapon – can help. But another way to light your path is to have the Ultrahand ability active. This effectively scans the area, covering it with an overlay and providing a de facto light source, which you can use to navigate unlit areas.
You’ll meet a few Maker Constructs in the final area of the mining cave, whom you should interact with; you’ll meet a merchant you can obtain crystalized charges and Zonai charges from, and will also get you a Zonai Capsule containing a fan. Go into your inventory and select the Zonai Capsule. Backing out of your inventory will drop the item on the ground. Attach it to the back of the minecart and give it a good whack to turn it on. This will take you onward and upward to the next area.
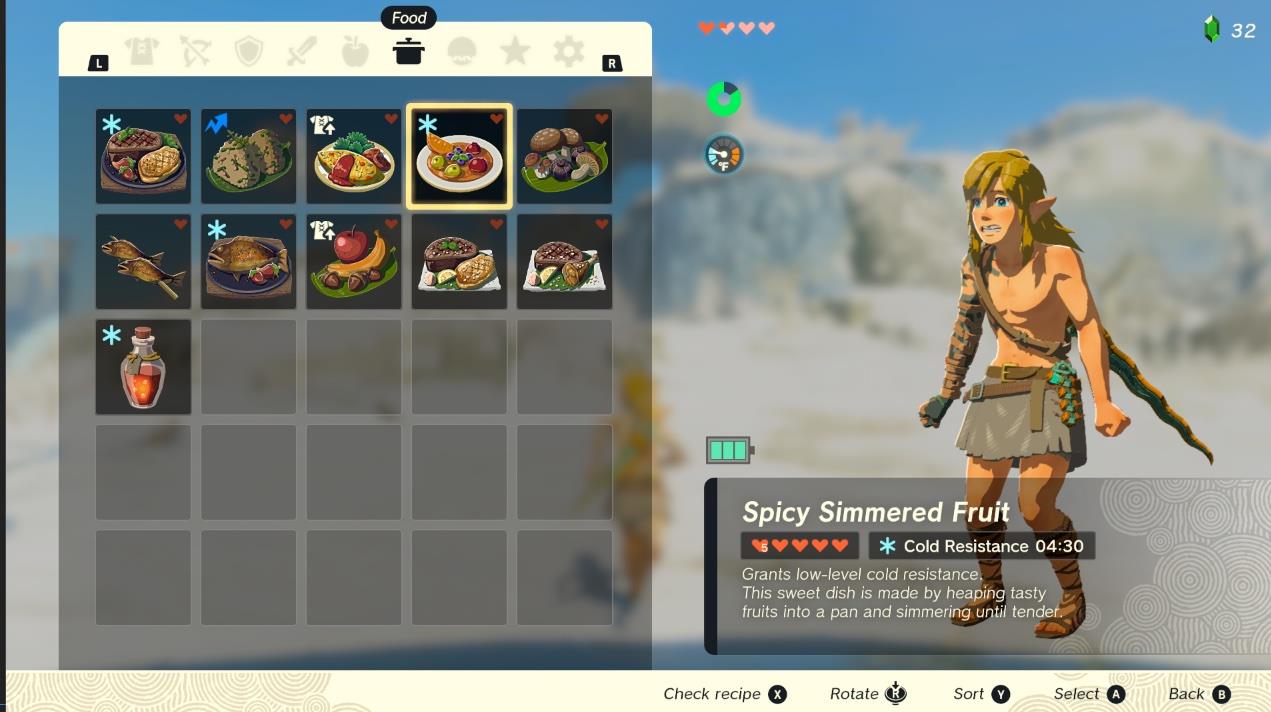
Once again, swing left and head into the pit cave and pick the spicy peppers next to the Maker Construct. You’ll see a bowl for cooking; cook any ingredient – mushrooms, meat, anything, really – with the spicy peppers to create a dish that will stave off the cold. Now head deeper into the pit cave.
Keep climbing up, grabbing spicy peppers on the way, until you find yourself in a much chillier climate. Eat the food you’ve prepared and get ready to book it to the next shrine. Head north until you come to an impasse, then swing another left, taking you down to the mouth of the bottomless cave.
Grab the bombs, because you’ll need them. Keep going up until you run into a Like-Like. Fuse your bombs with some arrows, as you’ve probably picked up a bow from Zonai Soldier Constructs, and once the Like-Like has opened its mouth, fire at its weak spot. Once it’s on the ground, attack it with a melee weapon. You’ll only need to do this two or three times before it’s dead. (You can avoid fighting them altogether by just running as well if you don’t want to spend the resources.)
Once you’ve gotten out of the bottomless pit you’ll see a very long root. Climb this root to be taken to the Gutanbac Shrine.
The Gutanbac Shrine is where you’ll get the Ascend power, allowing you to pass upward through terrain, essentially a cheat code for Tears of the Kingdom‘s platforming. This shrine will help you flag what you can and can’t pass through, teaching you the basics of vertically phasing through items. Our Gutanbac Shrine solution page can help you with its puzzles.
After completing the shrine, you’ll need to make your way back to the Temple of Time. Eat some more cold resistance food if you have any, then head northeast. You’ll come to an area with some stone gliders in the shape of birds. Use your Ultrahand ability to slot one of them into one of the carved out crevices and climb aboard. Use the glider to reach the Temple of Time, jumping off at the right moment to dive into the water surrounding it.
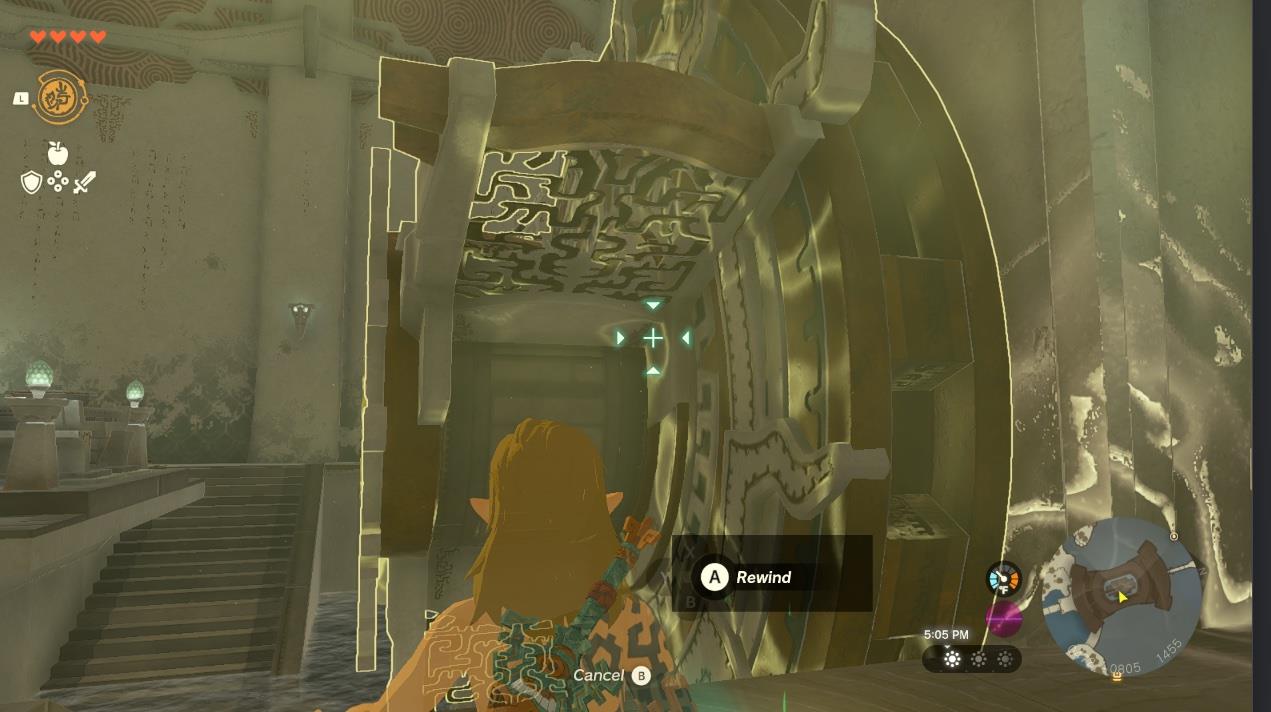
In the temple, you’ll get the Recall ability, which allows you to freeze items momentarily, then reverse the flow of time. You will need this to progress. Climb either the right or the left side of the inner chamber and use the Recall power to jump onto the water wheels at the right time to be taken to the center platform. Use Recall again to ride the final water wheel into the main chamber. Approach the double doors and hold the A button to learn that you’ll need to locate the final fourth shrine, which Rauru says is hidden somewhere on the island.
How to get to the fourth Shrine
From the third Shrine, glide southeast toward the large pond below the central island. Spot the floating platform with rails in the water and use Recall on the moving stone block to ride it upward. Jump off at the top to reach the stone spire, then climb or use Ascend on the hollow section inside to emerge near the fourth Shrine entrance. Enter to begin the puzzle.
Head back to the Room of Awakening – where you started your journey.
Look immediately to your left and you’ll see water wheels, just like those inside of the Temple of Time. Use Ascend to get to the platform to the wheels themselves, and then use Recall to platform over the wheels into a long passage that will take you to the final, hidden shrine on the Great Sky Island.
The Nachoya Shrine will test your understanding of Recall. Use it to platform through the dungeon to obtain the necessary Light of Blessing you need in order to progress. Our Nachoya Shrine solution page can help you if you get stuck.
Head into the Temple of Time and use the Recall power to get back to the room with the Goddess Statue to exchange your Lights of Blessing for a heart container. This will give you the necessary health you need to open the final chamber in the Temple of Time. Head out and a series of cutscenes will play. And that’s the Great Sky Island! If you choose to leave the island after this point, you can always return whenever you want to comb through it for anything you may have missed.
How to get all chests and hidden items on Great Sky Island
You can absolutely 100% the Great Sky Island, but there is no single in-game list of “all chests and secrets,” so the best approach is to sweep the island region by region and use a checklist pattern: shrines, caves, waterfalls/cliffs, Zonai ruins, and Korok spots. Below is a practical structure you can follow to grab every chest, armor piece, and hidden goodie before you leave.
1. Use the map and shrine icons
-
Make sure all four shrines are cleared and each shrine’s icon on the map has the small chest marker next to its name (that means you opened its internal chest).
-
If a shrine name on the map is missing the tiny chest symbol, re-enter and look for side platforms, Ascend spots above you, or destructible walls to reach the hidden chest.
2. Room of Awakening area
This is the very first indoor area and easy to miss a few things in.
-
Before you jump out of the starting cave, look for a side path with a chest that contains an early armor upgrade (part of the Archaic set).
-
Break any suspicious rock walls with a fused rock hammer or bomb flowers when you revisit; several side chambers hide weapons, arrows, and a couple more chests.
3. Temple of Time plateau and central field
Work the main plateau and surrounding grassland thoroughly.
-
Search around the Temple of Time base and the nearby broken bridges for open chests, buried chests that can be pulled up with Ultrahand, and small enemy camps guarding chests.
-
Check behind staircases, around broken pillars, and near the waterfalls facing the big drop; several chests are tucked on ledges beneath the obvious paths.
4. Ukouh → In-Isa route (west side)
The “Ultrahand tutorial” side of the island hides a lot along the rails and lakes.
-
Along the way from Ukouh to In-Isa, scour:
-
Both ends of mine-cart rails,
-
Islands just off the main bridges,
-
Under bridges and near waterfalls.
Many chests are simply out of sight from the main path or across a short rail segment you must cross using a cart with hook + fan.
-
-
Clear every small enemy camp you see, especially ones with wooden platforms or “bad boy nests”; almost all of them have a chest as a reward.
5. Snowy Gutanbac region (north)
The cold area and its caves hold multiple gear pieces and hidden treasure.
-
Before or after Gutanbac Shrine, explore the snowy cliffs around it: look for caves, small ledges beside waterfalls, and spots reachable only by climbing from lower ponds; several chests are positioned this way.
-
One of the Archaic Warm gear pieces is found in a chest in this snowy section, plus extra weapons, bows, and mater
How to defeat Flux Construct on Great Sky Island
The Flux Construct I on Great Sky Island looks scary, but the fight is very consistent once you know the pattern: always focus on the single glowing cube and ignore everything else.
1. Prep before the fight
-
Have at least 4 hearts and a couple of cooked meals; its big slam can one-shot low-HP Link.
-
Bring a bow with plenty of arrows and a few fused weapons (rocks, horns, or Zonai parts on sticks/spears work great).
-
Optional but strong: Bomb-flower arrows or other damage-boosting fuses (like Zonai devices) to chunk its health faster.
2. Core mechanic: the glowing cube
-
In every form (walker, wall, platform), one block glows with green energy – that’s the weak point.
-
Your goal is always: expose that cube, knock the Construct down, then rush in and hit only that glowing block until it reforms.
-
Ways to expose it:
-
Shoot the glowing cube with arrows to stagger it.
-
Or use Ultrahand to grab and yank the glowing cube (if it’s on the outside and in reach); pulling it out instantly collapses the body.
-
3. Humanoid / walking form
-
Stay mid-range so you can see its attacks: it may charge or slam its body forward. Keep moving sideways and don’t panic-roll too early.
-
When you have a clear angle on the glowing cube (often on its torso, shoulder, or “head”), lock on and shoot an arrow.
-
Once it crumbles into a pile, sprint straight to the glowing cube and mash attacks with your strongest fused weapon until the blocks start flying back together. Then back off.
4. “Wall” / long rectangle form
-
It may turn into a flat, moving wall or slab and slide around trying to crush you.
-
Stay to the side, run along it, and look for where the glowing cube is placed (often at one end or slightly embedded).
-
Either:
-
Shoot the glowing cube from the side with arrows, or
-
Run close and, when it’s low enough, grab the glowing block with Ultrahand and pull it out to make it collapse.
-
-
As always, rush the glowing cube on the ground and combo it until it starts to reassemble.
5. Floating platform form
-
Eventually it may become a big floating platform with the weak cube protected on top or the sides.
-
Don’t stand directly under it; stay just off to the side to avoid stomps or drop attacks.
-
Options to reach the core:
-
Look for where the glowing cube is on an edge and shoot arrows at it.
-
If the platform dips low enough, quickly grab the glowing cube with Ultrahand from below or the side.
-
If chunks fall off near you, climb the dropped blocks, then jump and glide onto the main body for a melee approach to the glowing cube.
-
-
Once you collapse it, repeat the combo on the core.
6. General survival tips
-
Always prioritize staying alive over squeezing in one more hit: when you see blocks starting to reform or rise, back away immediately.
-
Keep moving in a circle around the boss; standing still makes it much easier for its slam and charge attacks to connect.
-
If you’re struggling with damage, fuse stronger horns or Zonai parts onto a long weapon (like a spear) and focus all hits on the core block.
7. Rewards and why it’s worth it
-
Beating this Flux Construct I drops multiple Zonai Charges, Zonai devices (like flame emitters), and a powerful Flux Construct I core you can fuse to a weapon for a huge early-game attack boost.
If you