High above Lanayru, Wellspring Island floats in serene mystery-its shifting platforms, water puzzles, and hidden Zonai tech challenge even seasoned adventurers. This guide leads you through every trial to reach the island’s secret heart and claim the rewards waiting in the clouds.
Before heading up, prepare any necessary health-replenishing foods you think you may need. We also recommend bringing a good number of splash fruit and keese eyes for the journey ahead. If you realize you need more during this part of the game, don’t fret – there will be a checkpoint that you can teleport directly to.
Wellspring Island focuses on a handful of repeated gimmicks: floating in water bubbles and using these to clean up mud, swimming up waterfalls, and using a hydrant to clean up even more mud.
The gravity on the island is weird and you’ll jump higher and fall slower, which can take some getting used to.
Wellspring Island walkthrough (first half)
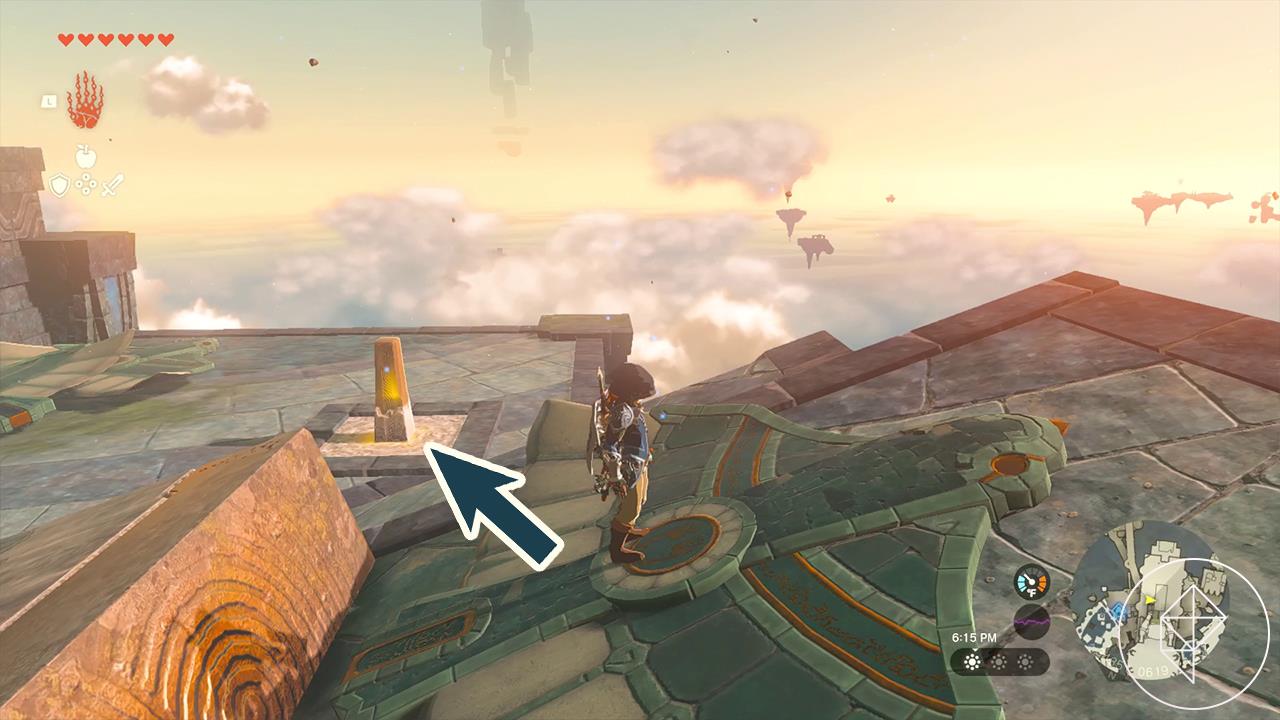
Wellspring Island begins with a series of floating platforms connected by wind currents and water jets. Use the Zora Armor to swim up waterfalls and glide between islands using the paraglider. Activate each water wheel by aligning the stone mechanisms to restore the flow of water across the island. Watch for Constructs patrolling the paths-they often drop useful materials for crafting. The first half of the island ends once you reach the large waterfall chamber, where the next set of puzzles introduces rotating platforms and timed switches that open the path deeper into the island.
Right off the bat, you’ll see tons of water bubbles shooting out of the ground and floating up to the sky. You can use Ultrahand to pick up and move these bubbles to wash away mud puddles.
A chest with a Soldier II blade is covered in mud next to a nearby bubble maker.
Meet up with Sidon ahead, who will scamper off. Take the bubble that shoots diagonally next to where you talk to him to head deeper into the island. Continue on, riding the bubbles and jumping from one to another.
When the ball inside the bubble begins to blink, that means the bubble is going to pop soon, so you can use that as a pretty good signal to jump off at that point.
After the series of bubbles, you’ll take on two constructs. Beat them and head forward to be greeted with a ton of sludge and a Zonai hydrant shooting water out. Use the Ultrahand to grab the hydrant and clean off the sludge. Once you do so, you’ll see an opening with a chest inside:
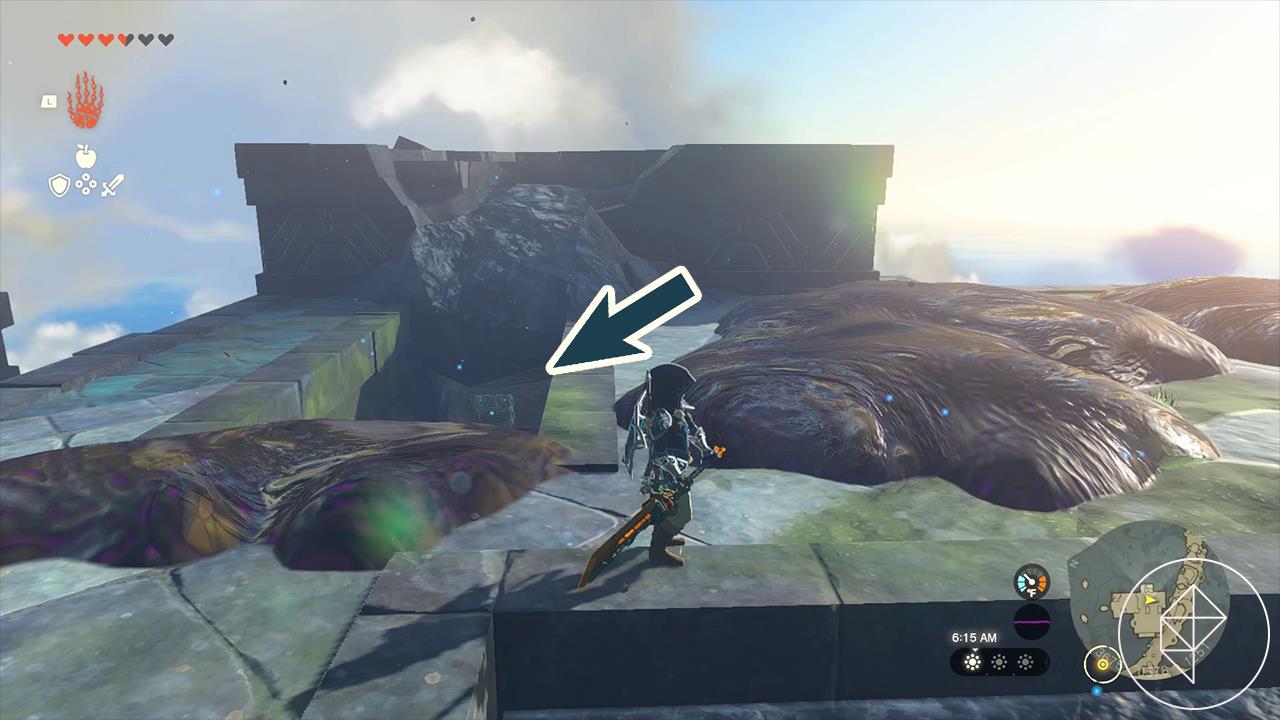
This chest has a treasure map that you’ll need to head to the Depths to find, but we’ll keep focusing on the island for now.
Note that the hydrant can be turned on and off by hitting it, and it does drain your battery while it’s running.
Take the hydrant up the only path forward, cleaning off the mud as you leap up.
Make sure to check nearby crevices – you’ll find some health-restoring items like silent shrooms and hearty radish that will help aid you.
Mash off some mud that’s clogging up a waterfall directly ahead. Before you jump into the waterfall, make sure to use the hydrant to clean off sludge at the top of this platform (marked below), as there’s a chest with a portable hydrant inside:
You can Ultrahand the hydrant up to clean the sludge or you can use a splash fruit.
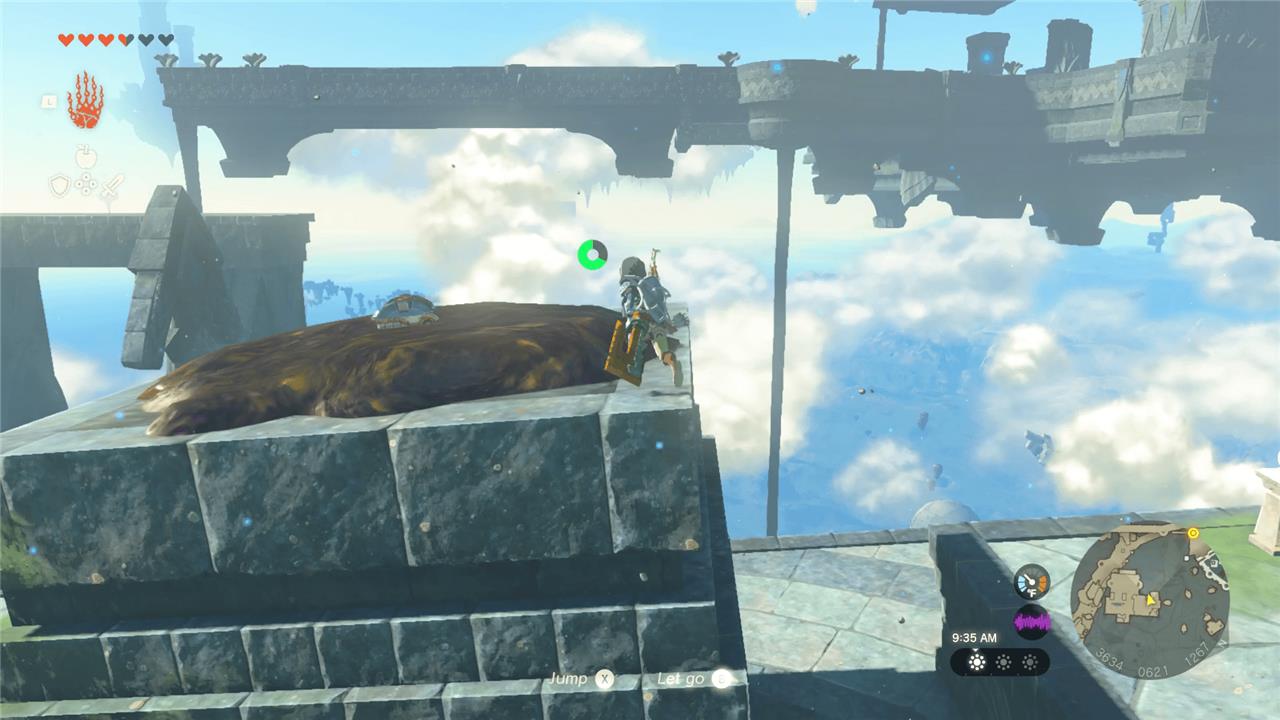
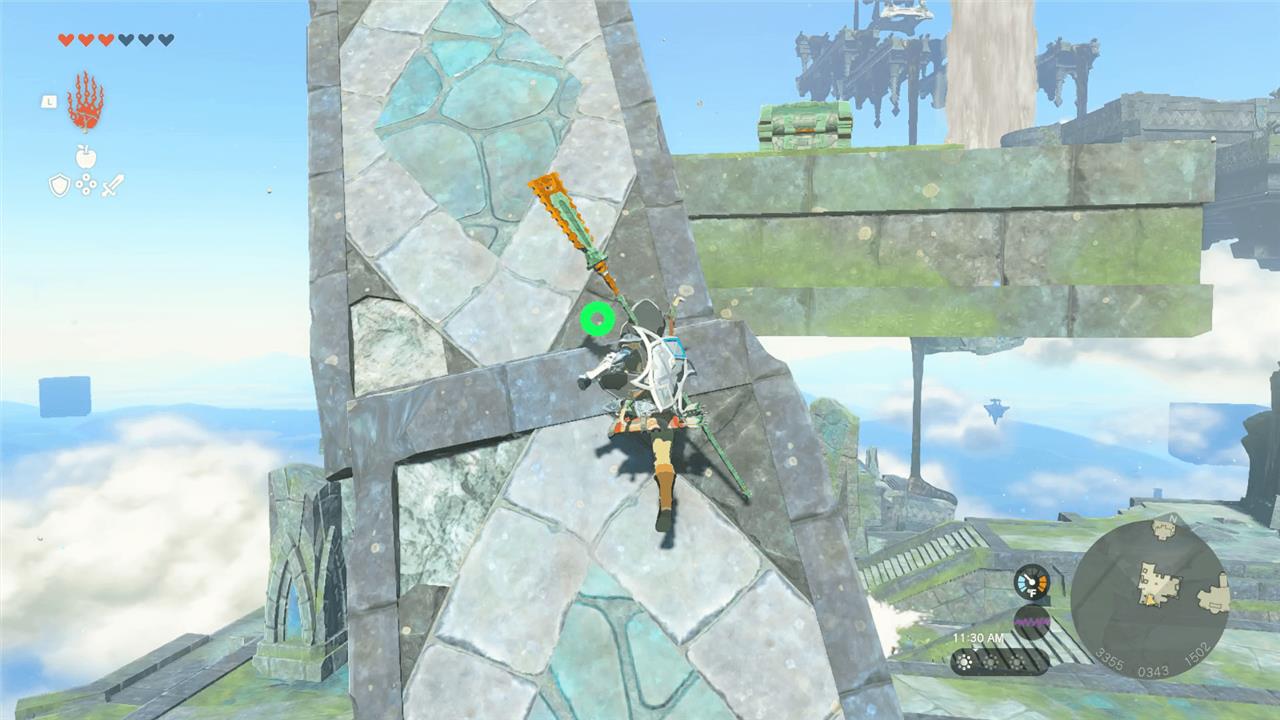
Glide down towards the waterfalls and make sure you have the Zora armor on. Link will shoot up them high into the air when he makes contact, so you’ll need to use the boost from one waterfall to make it to the next. Make sure to ride the waterfalls to the north so you can grab the chest with three hover stones inside:
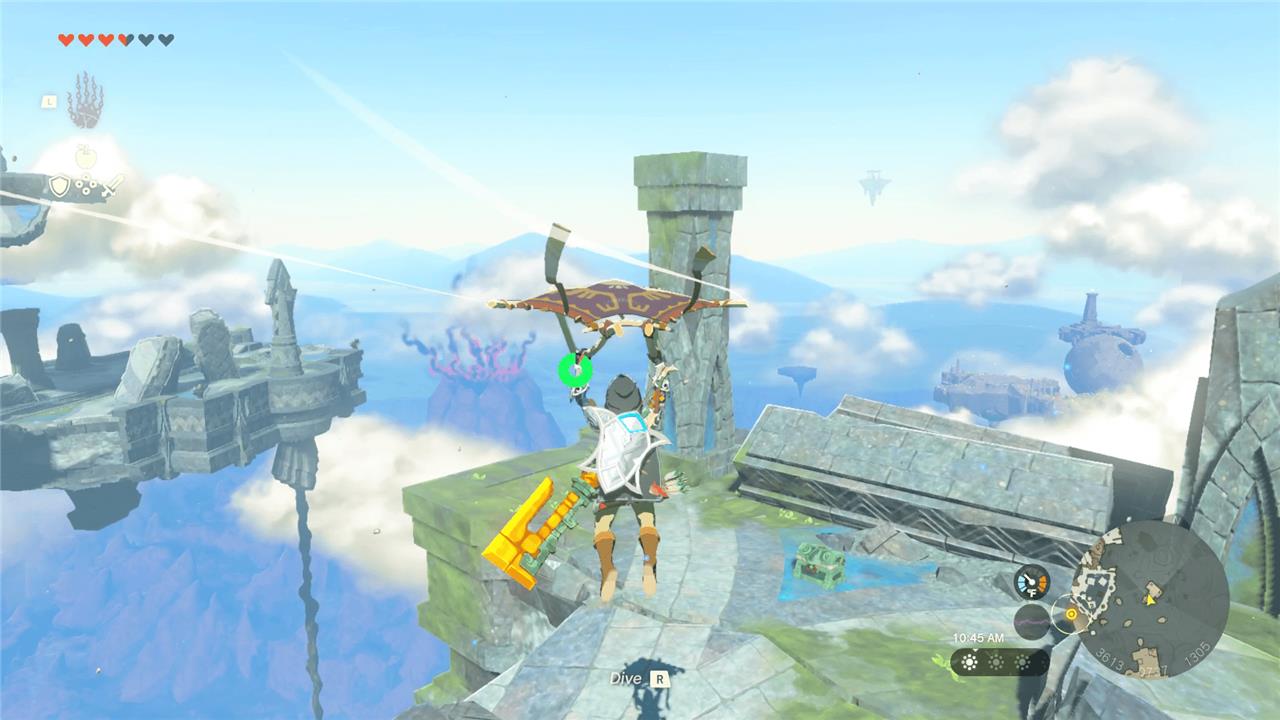
Keep climbing towards the shrine that you’ll see in the distance, which serves as a good half-way point of Wellspring Island.
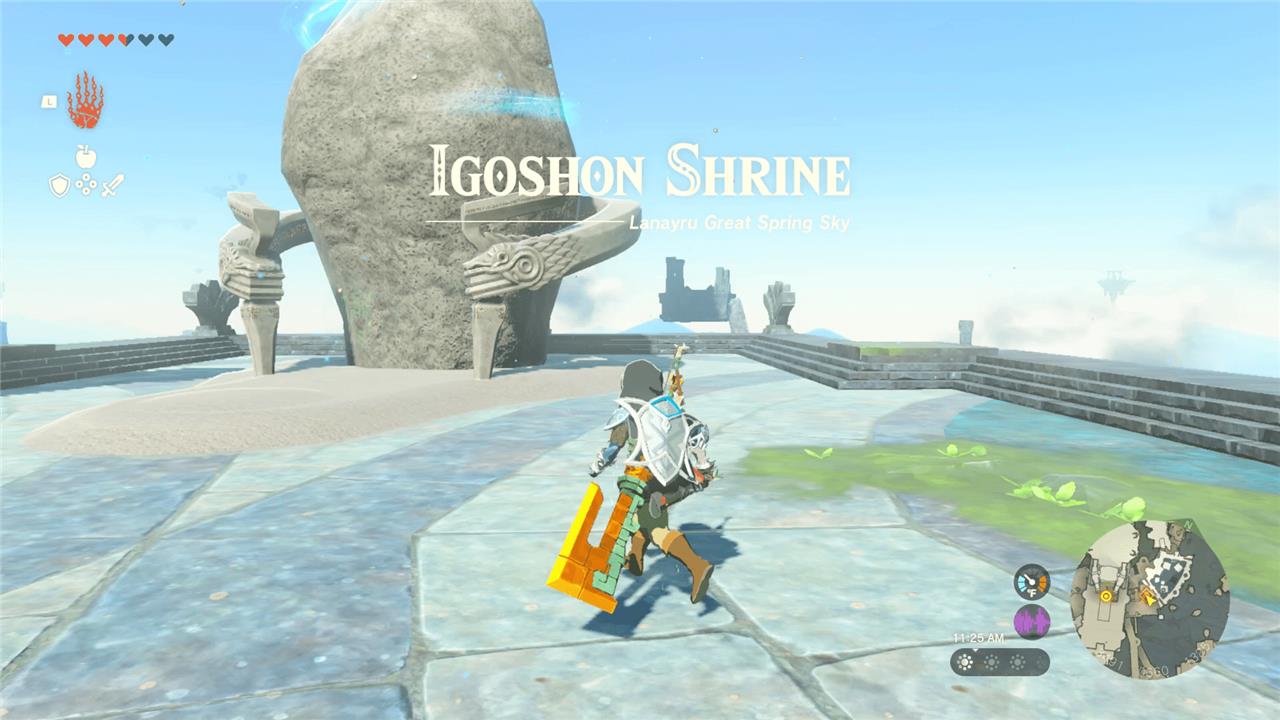
Igoshon Shrine uses the water bubbles that you’re already familiar with. For a full walkthrough, you can check out our Igoshon Shrine guide.
Wellspring Island walkthrough (second half)
After reaching the upper platforms, glide toward the large water wheels and use your abilities to manipulate their flow to reach new areas. Activate the Zonai devices nearby to open paths and create stepping stones across the moving water. Solve the bubble puzzles by timing your movements carefully, then follow the current toward the shrine entrance. Once you stabilize the water pressure mechanisms, the path to the Water Temple will reveal itself.
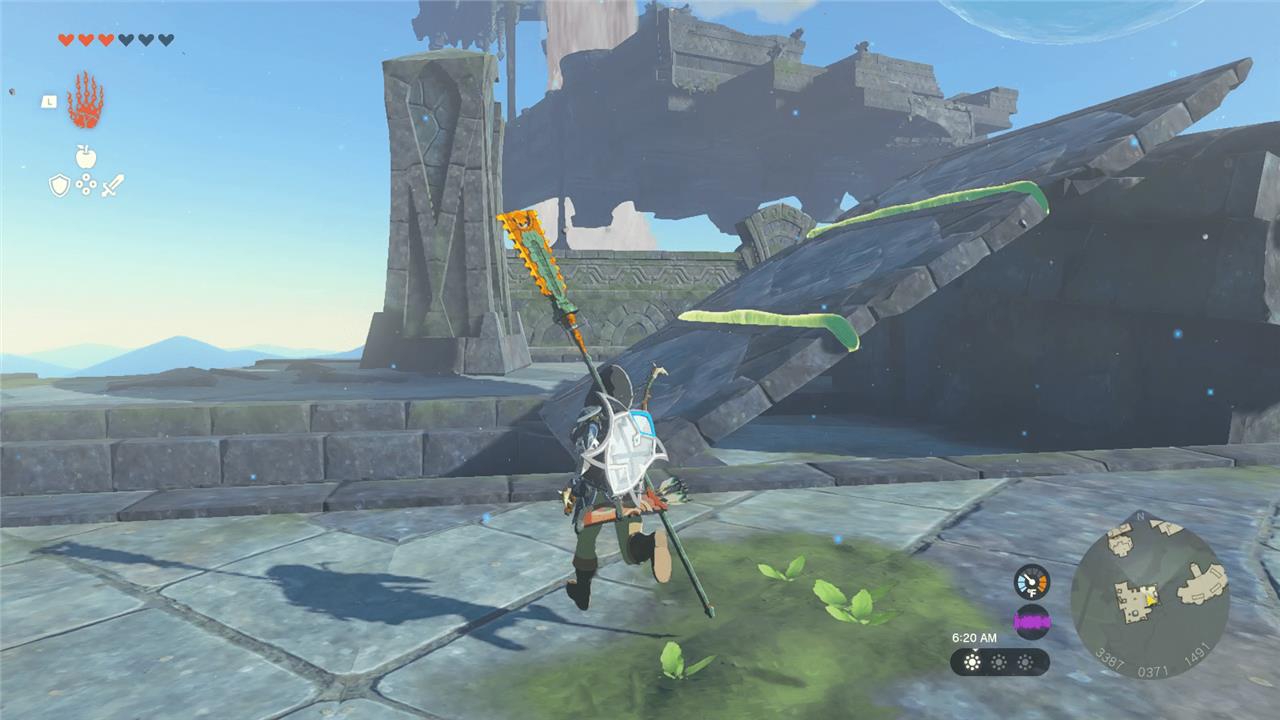
After you complete the shrine, head up the stairs. Use Ultrahand on a bird to place it on the ramp, facing forward. Once you stand on it, hit the orange glowing switch on the left with an arrow to launch the bird forward.
Continue on the path to another construct, though this one will have a flame-emitter club. Once it’s defeated, jump on to the waterfall in the southeast to head higher up. Head to the western-most platform to get another old map from a chest. Keep riding the waterfalls up, similarly how you did in the first half of the island.
After you head up, there’ll be three constructs defending a chest. Take them all out and open the chest to get a Soldier III blade.
Climb up the walls of the ruins to see more water bubbles. Use Recall on a bubble and jump on to it in order for it to carry you to the far island.
Use Ultrahand on the nearby rectangular pieces to create a ramp to the small floating platform above the water to claim a Captain II reaper weapon from the chest like so:
Stitch together more of the rectangles with Ultrahand to create a ramp for the water bubbles, so that they move diagonally to the next platform. Ride it up.
Use either a splash fruit or the Hydrant capsule item (you picked one up from an earlier chest) to rinse the mud off the chest for an opal.
With Ultrahand, attach a fan on each wing of a bird and attach a wheeled cart to the bottom of the bird like so:
How to complete the Water Temple on Wellspring Island
You complete the Water Temple by turning on four faucets around the dungeon, then defeating the boss Mucktorok. I’ll outline each step and the common puzzle tricks so you can finish it cleanly.
Basics and goal
-
Inside the Water Temple, activate the central device first to reveal four faucets marked on your map; each is a mini-puzzle.
-
You must use Sidon’s water shield to:
-
Clear sludge from mechanisms.
-
Spin water wheels or hit switches with water.
-
Tip: Carry Splash Fruit, Chuchu Jelly (blue), or a Zonai hydrant if you brought one from Wellspring; these clear sludge without needing Sidon.
Faucet 1 – Simple water wheel
Usually the first faucet is closest to the starting area and is the easiest.
-
Clear any sludge blocking the path or the wheel using splash arrows or Sidon’s shield.
-
Once you can see the water wheel, talk to Sidon to activate his water aura, then swing your weapon into the wheel to hit it with water.
-
The wheel spins, the faucet beside it turns on, and one of the four icons on the central device lights up.
If yours is gated, look for a nearby switch or sludge-covered gate and purge it first.
Faucet 2 – Electricity and water bubble circuit
This area has a gate powered by electricity and moving water bubbles.
-
Follow the path to a room with a spinning turbine, stone slabs in water, and a “broken” electric connection to a locked gate.
-
Use Ultrahand to attach one or two stone slabs to the water wheel so the waterfall hits the slabs and forces the wheel to spin continuously.
-
When the wheel spins, an electrical node powers up on one side but does not reach the other.
-
Grab a water bubble with Ultrahand and hold or place it between the two electric terminals so that the bubble’s water bridges the gap.
-
The circuit completes, the gate opens; rush inside before the bubble pops.
-
As with the first faucet, call Sidon, get his shield, and hit the water wheel to activate the second faucet.
If the wheel stops, reposition the slab so the waterfall keeps pushing it as it turns.
Faucet 3 – Draining pool and orb in a hole
This one involves raising a pillar with a Hover Stone and placing an orb into a socket.
-
Go to the faucet marker that leads to a large shallow pool with a tall stone pillar or block that plugs a drain in its floor.
-
Use Ultrahand to attach a Hover Stone (or similar levitating device in the room) to the golden part on top of the pillar.
-
Lift the pillar upward; the Hover Stone will hold it there, and the pool drains.
-
In the drained area or nearby, find a large ball (orb). Use Ultrahand to move it toward the now-visible socket (a circular recess).
-
Drop or carefully place the orb into the hole; this usually opens the way or powers the nearby water wheel.
-
Get Sidon’s water shield and hit the wheel to switch on the third faucet.
If the pillar falls because your battery runs out, use Zonai charges or redo the lift quickly, then move the orb.
Faucet 4 – Bubble lift and vertical path
The last faucet is often the trickiest and uses multiple levels, bubbles, and Ascend.
-
From the central area, head toward the last glowing marker (often southeast). Look for a platform below with a Fire Like or enemies; clear them.
-
Under that platform, there is usually a spot where you can use Ascend to reach the top easily instead of complex climbing.
-
Up top, you’ll find a bubble emitter and some Hover Stones or sliders. Use Ultrahand to create a ramp or moving platform so the bubbles carry you or items upward and across gaps.
-
Ride a bubble up, then jump and glide to the higher platform leading toward the final faucet room.
-
In the faucet room, you may need to:
-
Clear sludge off a bubble emitter or wheel,
-
Use a bubble to carry an orb into a socket, or
-
Water Temple all chests locations and contents
Here are all the treasure chests in the Water Temple on Wellspring Island in Tears of the Kingdom, with what they contain and a quick note on how to reach each.
Chest list and contents
-
Chest 1 – Arrows x5
-
Chest 2 – Strong Zonaite Longsword
-
Chest 3 – Opal
-
Chest 4 – Large Zonai Charge
-
Chest 5 – Sapphire
-
Chest 6 – Large Zonaite
-
Chest 7 – Silver Shield (often listed as a Zora-type shield or defensive chest reward in some guides)
Locations and how to get them
I’ll follow the typical numbering used by many online maps for the Water Temple. Exact floor labels can vary slightly between guides, but the room setups match.
Chest 1 – Arrows x5
-
Found near one of the early water-wheel rooms on the 1F (often the east or northeast faucet path).
-
Clear sludge around a nearby chest or small platform, then open it for Arrows x5.
Chest 2 – Strong Zonaite Longsword
-
On a high platform reached by swimming up a sludge-blocked waterfall outside one of the faucets.
-
Shoot the sludge with a splash fruit or blue Chuchu Jelly to restore the waterfall, then swim up with the Zora armor and open the chest next to or behind the fiery enemy you defeat there.
-
This chest contains a Strong Zonaite Longsword.
Chest 3 – Opal
-
Located in the drained pool room tied to the north/east water wheel puzzle.
-
After you hit the switch that drains the pool so you can access the wheel, jump into the empty basin and check the north side, under debris or in a corner cave.
-
Open the chest there to get an Opal.
Chest 4 – Large Zonai Charge
-
In the Bubble-ramp / Hover-platform puzzle area associated with one of the side faucets (often the B1 or high-east side).
-
There’s a bubble shooter sending bubbles horizontally; attach a stone tablet to a floating platform to form a ramp so the bubble goes upwards instead.
-
Ride the bubble up or glide to the high ledge with the chest, which contains a Large Zonai Charge.
Chest 5 – Sapphire
-
On the southwest side of the upper level, below the main platform in a pool of water.
-
Drop down to a round pool with lily pads; stand on a lily pad and use Ultrahand to pull a submerged chest up from the middle of the pool.
-
This chest rewards a Sapphire.
Chest 6 – Large Zonaite
-
Attached to a floating platform near the ceiling in the lower (B1) section of the temple.
-
Shoot the floating platform with an arrow to deactivate it so it drops, then open the chest that falls with it.
-
You obtain a Large Zonaite.
Chest 7 – Silver Shield
-
A final reward-type chest often noted in full-clear routes of the temple.
-
Typically found along one of the side paths once the various water puzzles are solved (for example, near a cleaned waterfall or as a hidden extra in one of the faucet areas).
-
Opening it gives you a Silver Shield (or similar shield reward, depending on your progression/guide version).
Quick reference table
| Chest | Rough area / puzzle | Contents |
|---|---|---|
| Early 1F wheel / sludge chest | Arrows x5 | |
| Sludge-blocked waterfall, high platform | Strong Zonaite Longsword | |
| Drained pool (north side, under debris) | Opal | |
| Bubble ramp puzzle, high ledge | Large Zonai Charge | |
| SW pool under main area (lily pads) | Sapphire | |
| B1 ceiling platform, shoot to drop | Large Zonaite | |
| Extra side reward path (shield chest) | Silver Shield |
If you tell me which faucet or room you’re standing in (for example, “the electric gate room” or “the drained pool room”), I can give exact step-by-step directions from there to any remaining chest.