Sands shift under Gerudo threats in Tears of the Kingdom-Riju calls on you to harness lightning and reclaim her town.
Riju is in the Gerudo Town desert and before she helps you, you’ll need to assist her in freeing Gerudo Desert from a terrible sandstorm.
What you need to know before starting Riju of Gerudo Town
Before starting the “Riju of Gerudo Town” quest, make sure you’ve completed the Regional Phenomena main quest and reached the Gerudo Desert. Bring heat-resistant gear or elixirs to handle the intense desert temperatures during the day and warmth for the cold nights. Stock up on arrows and ingredients for elixirs or food, as combat and quick preparation play a major role. You’ll also need to help with the Sand Shroud problem in Gerudo Town, so plan for some exploration and puzzle solving before meeting Riju herself.
Getting to Gerudo Town can be hectic, but if you start from the Kara-Kara Bazaar and just keep heading in one direction without turning or getting distracted, you should be able to get there with no problems.
Once you actually arrive in Gerudo Town, Buliara will prevent you for getting tossed out. You’ll be free to explore the now-underground town, buy stuff from the vendors, and most importantly, find Riju.
Before you head off on this long journey, consider farming up some hydromelons and cooking them to give you heat resistance. You will frequently need to cool down if you’re caught out during the daytime and it’s better to have the cooling food on-hand before, so you don’t have to run back and forth between the town and wherever you’re supposed to be.
You can find hydromelons around Gerudo Desert, so feel free to lose yourself in the sandstorm to find them, as long as you have the nearby shrines unlocked to teleport back to.
How to find Riju through the Valley of Silent Statues
Follow the marked path south from Kara Kara Bazaar toward the Valley of Silent Statues, watching for sand shrouds that limit visibility. Use your map to stay aligned with the canyon’s entrance and light torches or use brightbloom seeds to mark the route through the darker sections. As you pass the stone figures, keep to the main trail that winds between them until you spot Riju waiting near the stone arch at the valley’s end.
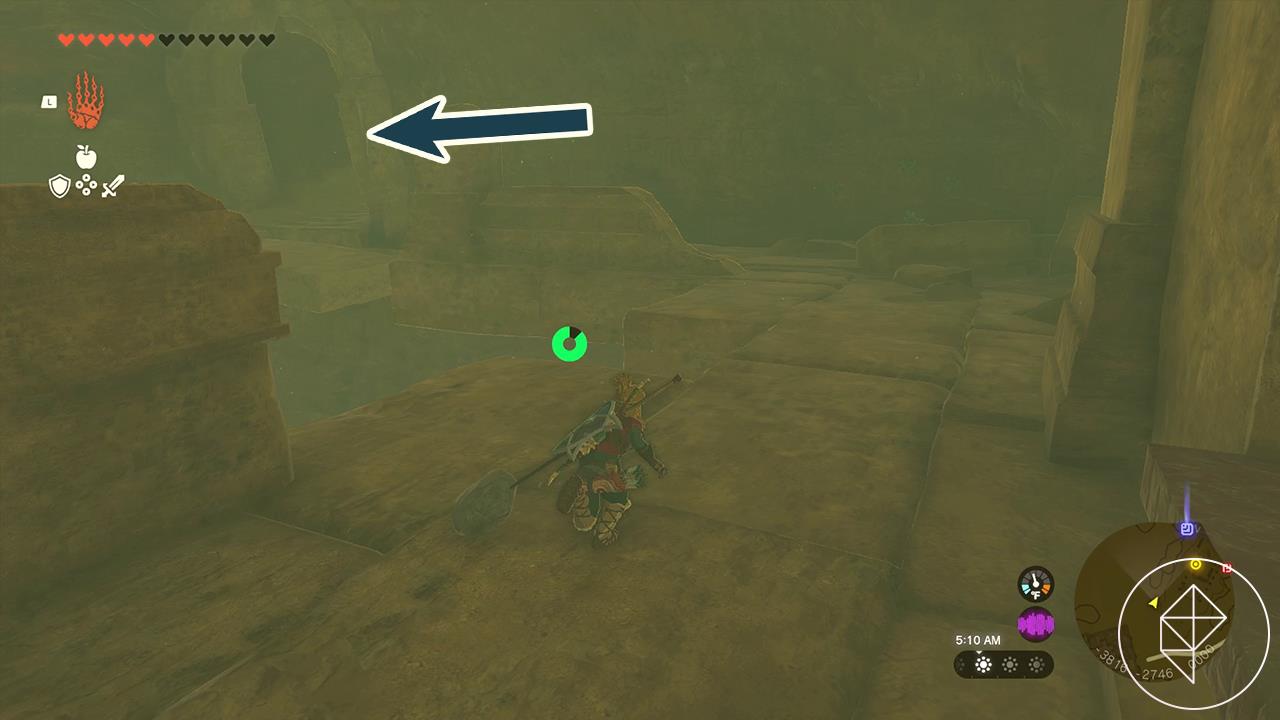
To find Riju, you’ll need to head deep into these caverns, heading this way:
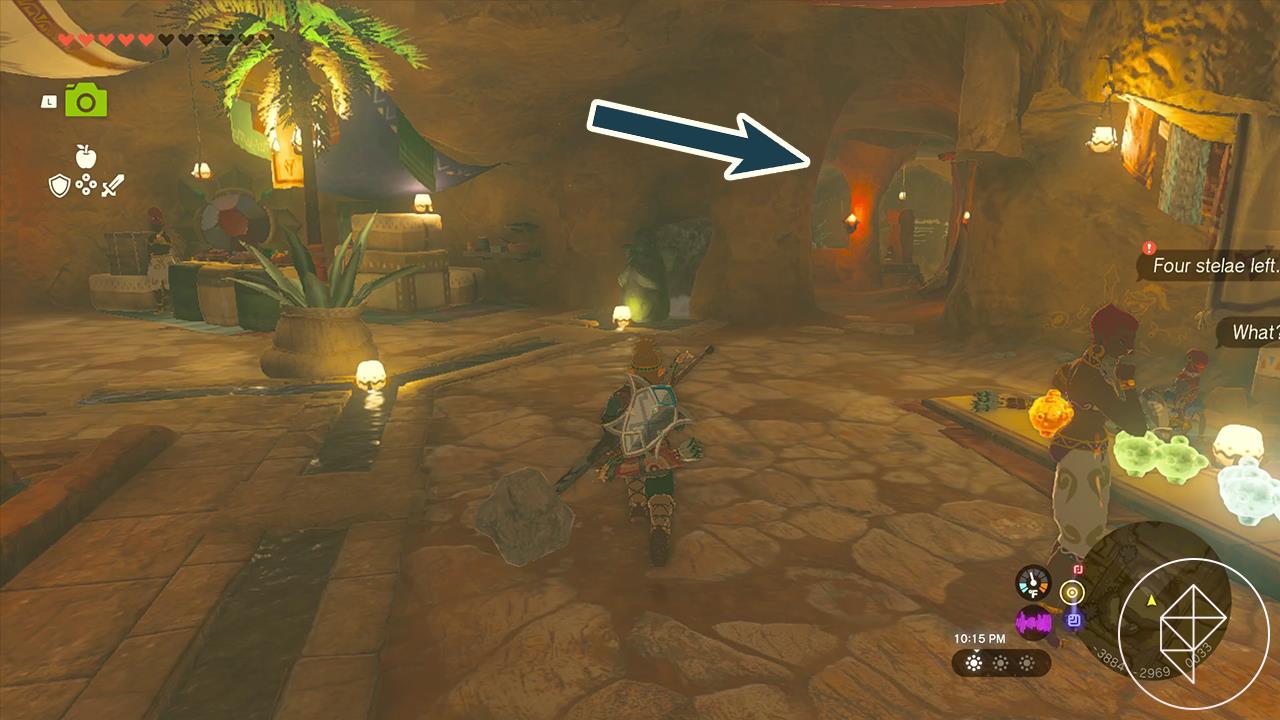
Keep following the path and you’ll eventually hit the Valley of Silent Statues, which drops you into a pit with moving quicksand. Luckily, there’s tons of Ultrahand-able planks to help you cross.
You’ll need to set up the planks to drop from one rock to the next, but be quick – the planks move with the quicksand. That being said, you’ll want to set the planks a bit further out, so they drift past you, allowing you to quickly jump from one platform to the next.
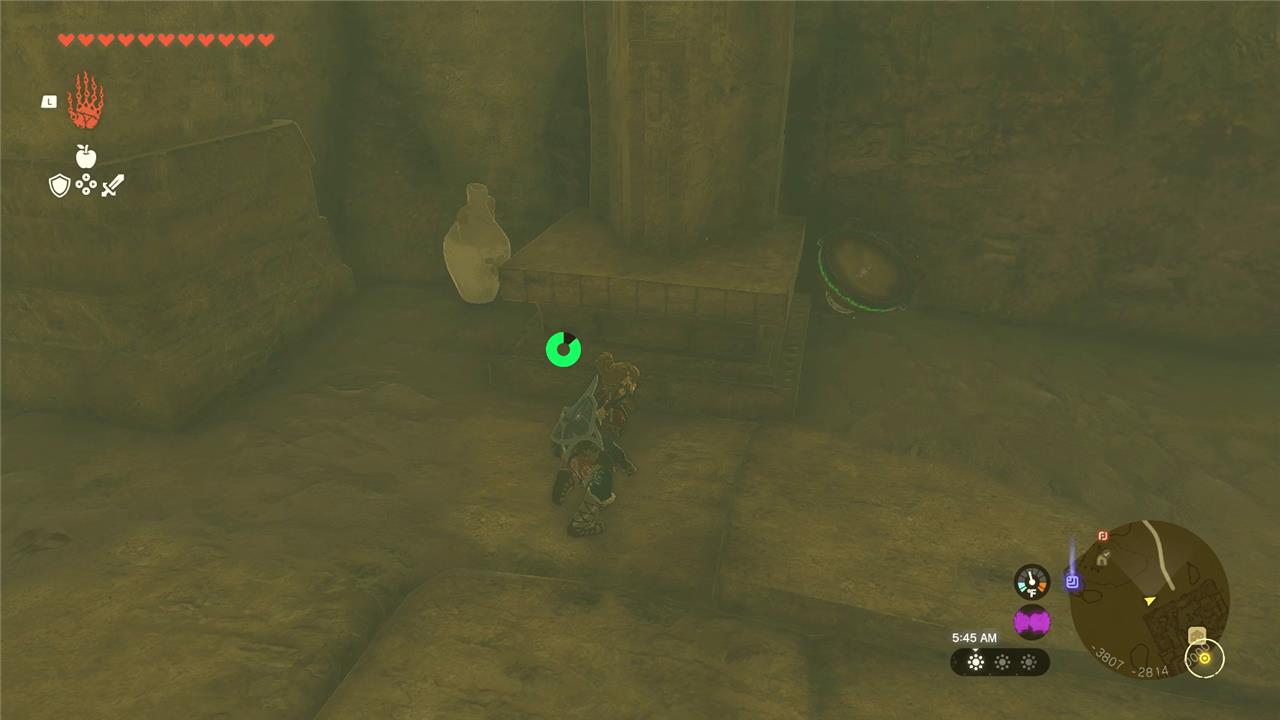
Once you get to the other side (with vases and some ore), you can climb up both manually and/or using Ascend.
Optional: Solve the mirror light puzzle
This optional puzzle involves angling mirrors to direct sunlight onto specific targets around the temple entrance. Activate or rotate the mirror devices until the reflected light strikes each marked spot, which powers the mechanism ahead. If you align them correctly, a hidden section opens, allowing quicker access to the next stage of Riju’s trial. Pay attention to the position of the sun, as its height can affect the reflection path.
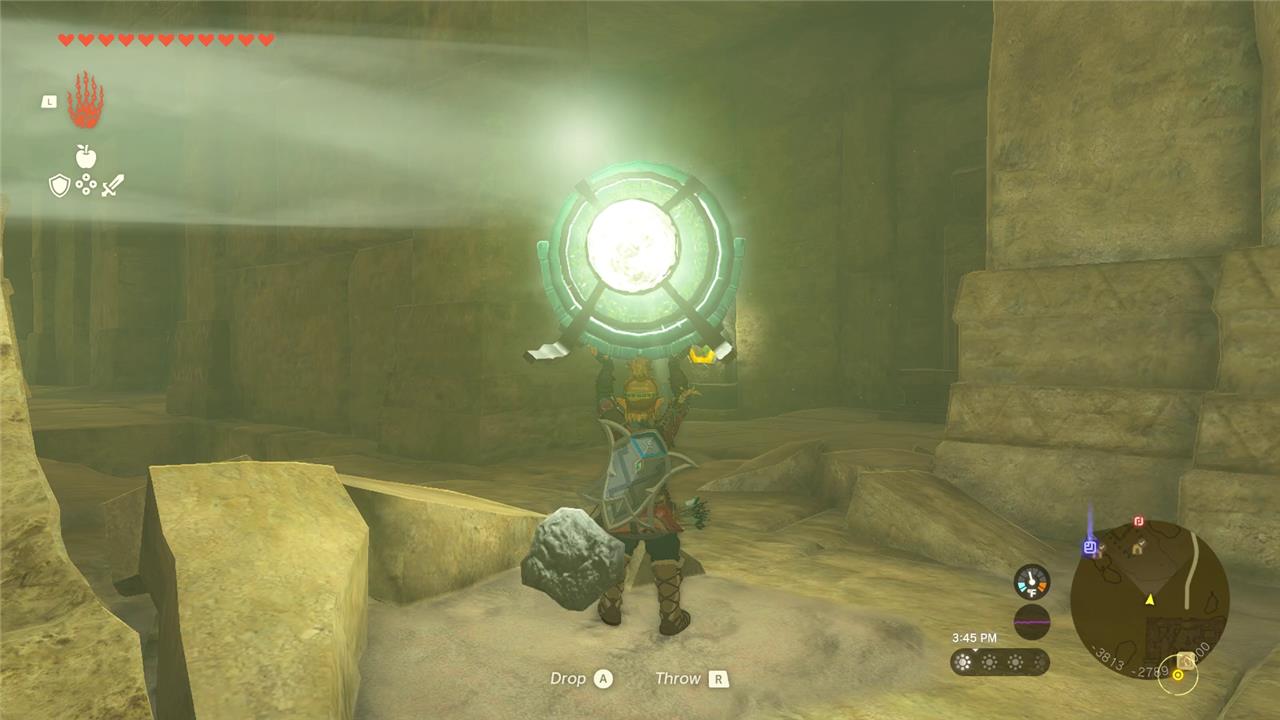
At the top of the quicksand, there’s some suspicious statues holding up orange plates that you may have seen in the Soryotanog Shrine. On the other side of the platform, you can see some rocks blocking a light source. Do not break the wooden box that is in front of the lightsource.
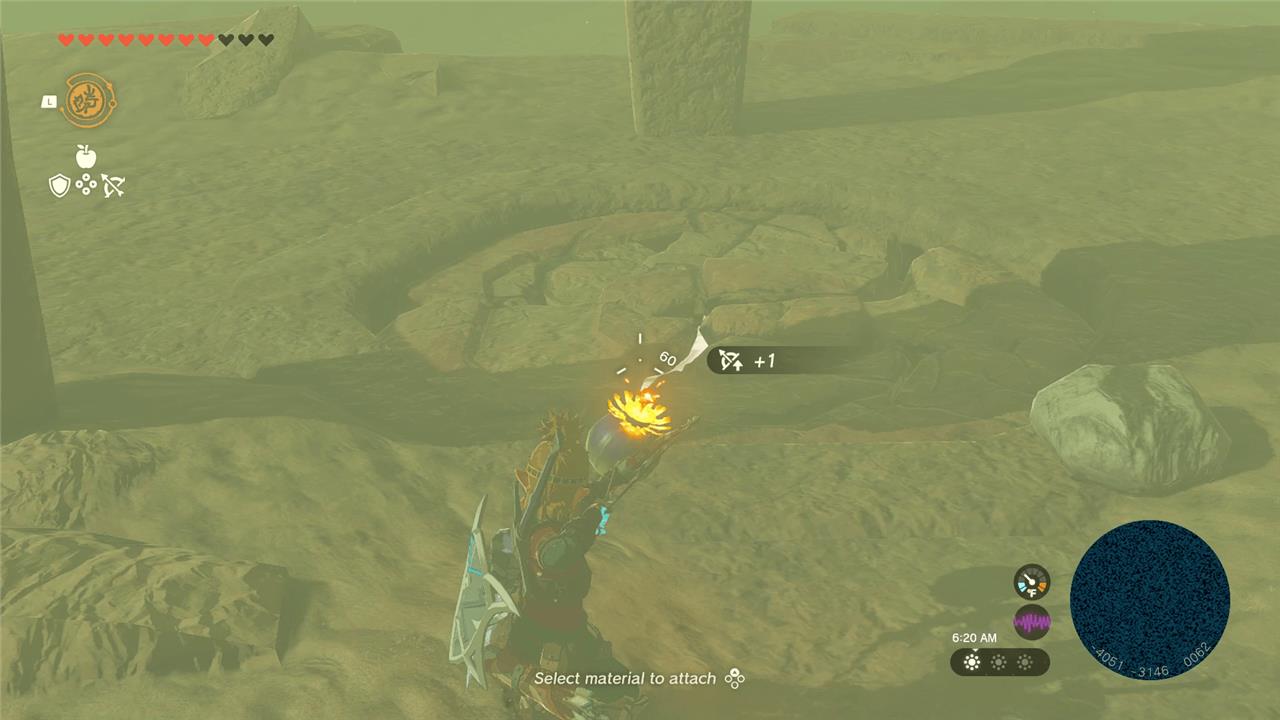
Attach a bomb flower to an arrow and fire it off at the rocks to free the light. There are bomb flower on the walls of this area.
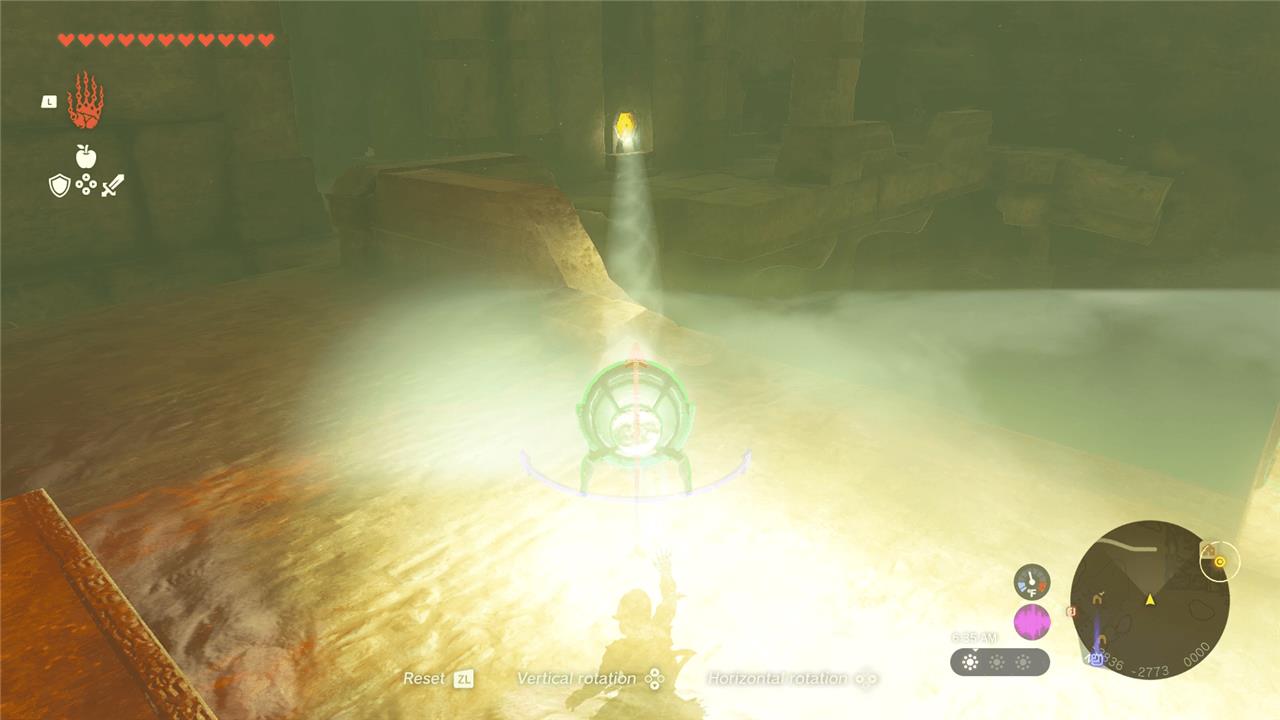
Once you break the rocks, pick up this mirror:
Carry the mirror into the light beam and aim it diagonally at the two orange plates on each side of the area, like this:
This will move the statues, allowing you to step on a switch and open up new rooms. The left room has a Bubbulfrog inside and the right room has a fan and a sand pile inside.
After taking out the Bubbulfrog, head to the newly-opened right room and pluck the fan out of the sand with Ultrahand. Use the sand to blow away the dirt pile to reveal second mirror.
Head back to the first mirror in front of the light, and set it up on top of the nearby wooden box like so, using Ultrahand. (This is why we said not to break the box.)
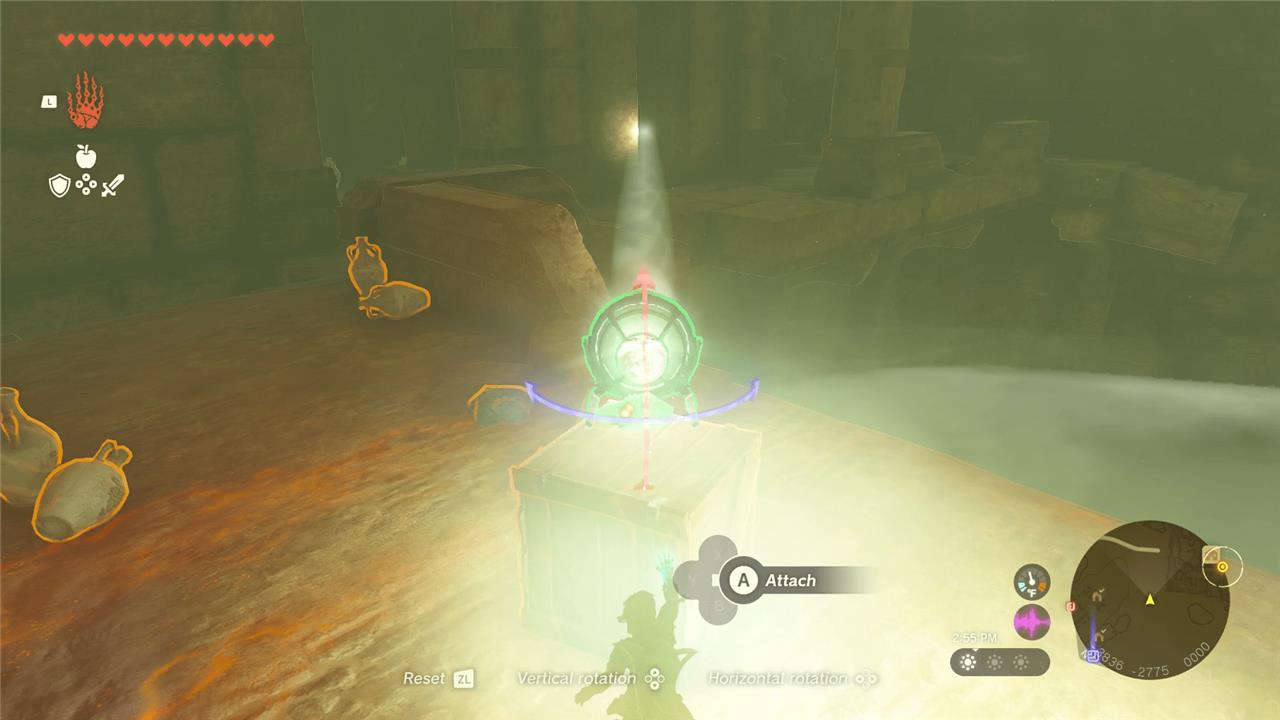
Grab the second mirror, stand in the reflected light beam, and aim it at the orange plate behind the wall like so:
The last room will open up, similarly to the other two rooms. Inside, there’s a shock like enemy, some arrows, and a bow. Defeating the shock like rewards you with a Gerudo shield and the chest behind it has a topaz inside.
Head through the following door and keep following the path forward, defeating the baddies, until you find Riju:
She’ll teach you how to use her ability: you fire an arrow, and her lightning will strike where it lands. After this tutorial, it’ll be time to put your skills to the test in Kara-Kara Bazaar.
Teleport to Mayatat Shrine and jump straight into the action. You’ll just need to use arrows with Riju’s lightning to take out the Gibdo, and then hit the center of the hive with a final blow when prompted.
If you run out of arrows, one of the nearby Gerudo warriors will provide you with some more.
Now that you know how the game’s psuedo-horde mode works, it’s time to really put all that practice to the test …
Defending Gerudo Town
Link the Voe and You class with Riju’s Lightning Helm to charge up her power. Position yourself near the sand seals as Gibdo swarm the town walls. Call out commands to direct Riju’s lightning strikes at the enemy clusters below. Keep an eye on her energy bar and reposition if seals take hits. Repeat strikes until the Gibdo waves fall back.
Once you head back to Gerudo Town, Riju will talk about preparing for battle. One Gerudo woman has tons of loot that you can freely take, including rupees, weapons, and other valuable materials. She’ll also place one barricade at one of the Gerudo Town entrances.
The other woman will direct soldiers where to go, and you can place them at various entrances.
To beat out the baddies, we placed the barricade in the east, and just set one group of Gerudo warriors per entrance. It doesn’t seem to matter too much where you place the barriers.
Once you’re done looting and setting up, you can talk to Riju in the throne room to start the fight.
You will largely be using arrows for this fight, directing Riju’s lightning around, while defending Riju in the center. Keep your eyes on Riju’s health, because if she dies, it’s game over (literally).
The best way to navigate the town is to climb up and run along the roofs, since you’ll be mostly using arrows anyway. Try to focus on one hive at a time, leaving whichever one you barricaded for last.
Each hive will be immune to damage until it glows like so:
When it glows like this, hit it with an arrow to direct Riju’s lightning and take it out. Just like in the tutorial, Riju’s lightning can only reach far when it’s charged up, so make sure that the points you’re firing at are within the range of her lightning, as indicated by the yellow glow.
Between taking out hives, make sure to clear out the Gibdos around Riju and monitor her health. The Gerudo warriors can hold up pretty well, but you still need to make sure that Riju isn’t being attacked, so make sure to pay attention to her health. (We keep repeating it because she’s pretty squishy and can’t survive long if you leave Gibdos attacking her.)
Once you take out all three hives, you’ll just need to clean up any straggling Gibdos. The gang will celebrate and Riju will tell you to meet her back in the bunker downstairs.
Before you head down, we recommend picking up any of the drops that killed Gibdo left behind during the fight, as they all add a ton of attack power to your weapons.
Solving the red pillar puzzle
To solve the red pillar puzzle, shoot the glowing eye above the central pillar with an arrow to lower it. Climb the now-accessible pillar and strike the cracked section with a fused weapon until it breaks open. Repeat for the two side pillars, targeting their eyes first, then smashing the cracks. This reveals the hidden switches beneath-press all three to open the sealed door ahead.
After you meet up with Riju, she’ll read the mural in the bunker, talking about being back to back from the throne, red pillars, and light.
Starting from the beginning, head to the throne room upstairs and look out into the distance. You’ll see – gasp – three red pillars straight ahead. Run straight there and try not to take any unnecessary turns, as your map will still be obscured by the sandstorm.
There will be Gibdo along the way, so use elemental arrows and weapons to take them down.
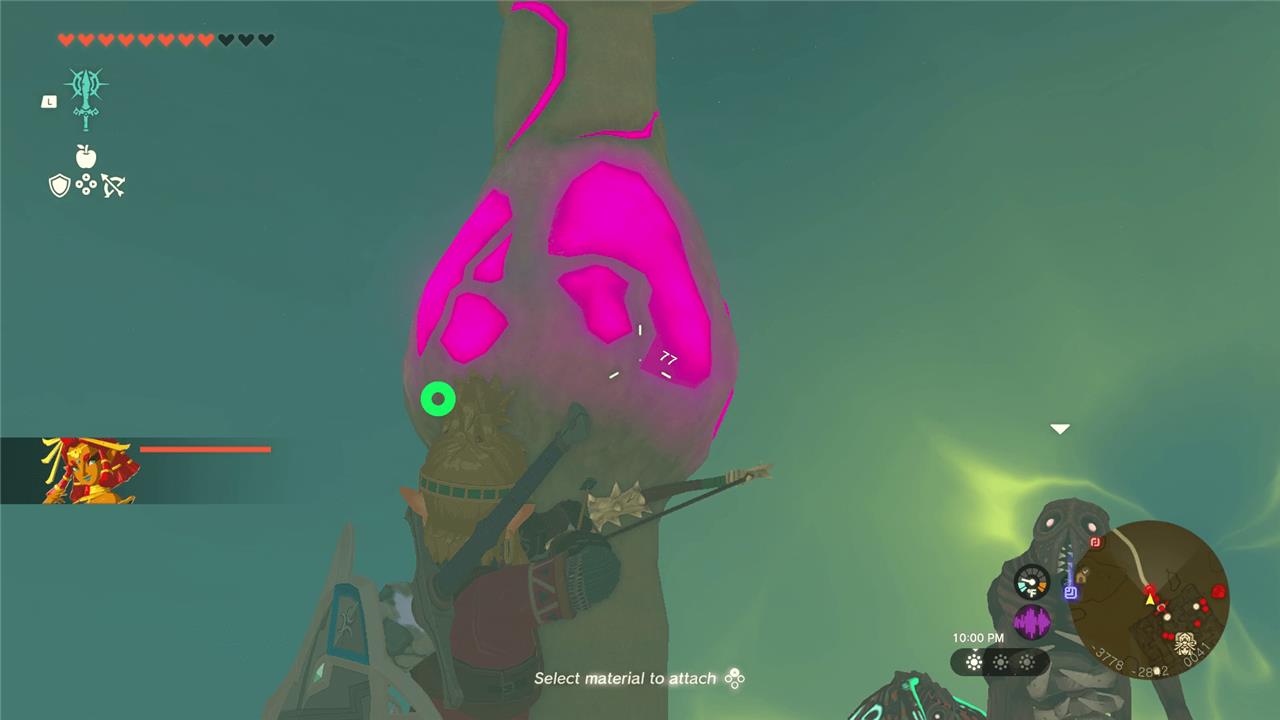
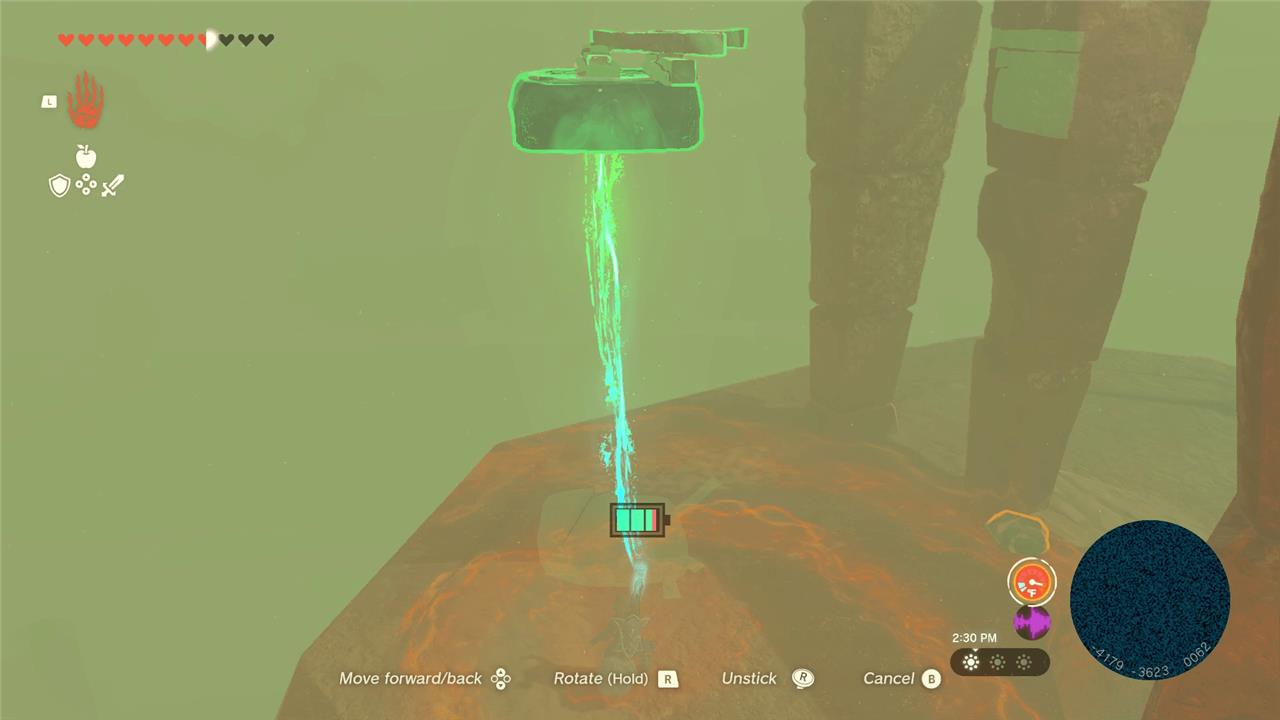
Climb up the tower and break the cracked rocks in the center using bomb flower arrows or a hammer-type weapon:
This will free the light, now firing off a beam of light in a new direction. Follow the light to find the next tower. There are still Gibdo along the way, but there are also updrafts you can take to ease the trip.
At the second tower, use Ascend to climb up this nearby rock and use Ultrahand to spin the crank at the top:

The rock can be hard to see in the sandstorm, but it is faintly visible from the pillars.
Just keep spinning it and eventually the mirror in the tower will flip, shooting a beam of light to a new direction. Again, follow the light.
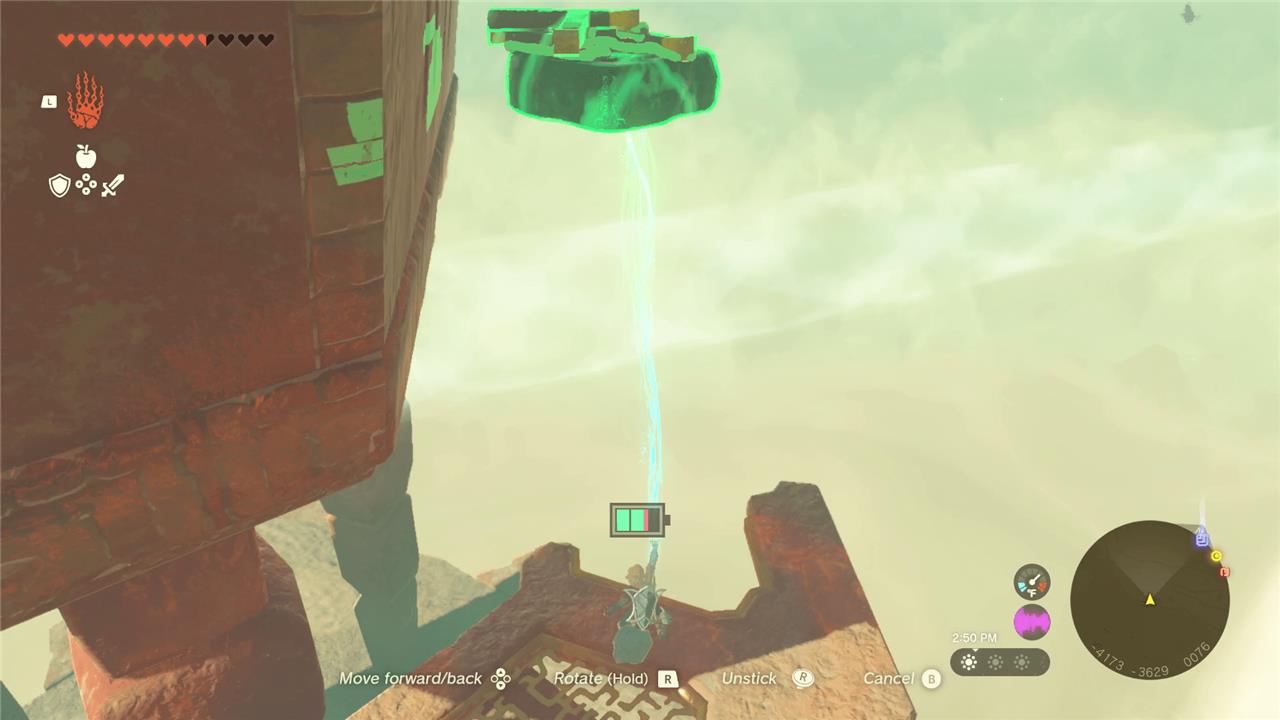
At the third tower, break the rocks at the bottom of the tower to see some platforms and tiny pillars. Using Ultrahand, attach at least one of the tiny pillars to a platform, and float the platform as high as you can, like this:
Ascend up the tower and jump down to the grated floor. Use Ultrahand to pick up the platform and float it as high as you can again, like so:
Jump down, re-Ascend up the tower, and use Ultrahand to grab the platform and the small pillar(s). Attach a small pillar to the broken crank at the top of the tower and spin it, aiming the mirror’s light towards the first tower. When the light lines up, it’ll automatically play a cutscene, showing a suspiciously lightning-rod-shaped statue appear from the ground.
Queen Gibdo boss fight strategy and weaknesses
Queen Gibdo is the boss of the Lightning Temple in The Legend of Zelda: Tears of the Kingdom, encountered during the “Riju of Gerudo Town” quest. Her primary weakness is her protective armor, which turns white and exposes vulnerabilities when hit by elemental attacks, especially Riju’s lightning power.
Phase 1 Strategy
Dodge her charge attacks by sidestepping, block or evade mud beams and slams with a strong shield, and avoid tornadoes by sprinting sideways. Hit her eyes or armor with Riju’s lightning-charged arrows (summon Riju via left D-pad, then shoot an arrow through her strike) to strip protection and stun her, then rush in with melee weapons like spears or swords for massive damage.
Repeat until her health halves, triggering a cutscene; prioritize stamina management and arrow stock.
Phase 2 Strategy
Four Gibdo Hives activate around the arena, spawning adds-destroy at least one to create weakening light pillars that strip lesser Gibdos’ armor automatically. Queen Gibdo gains diving attacks and larger tornadoes, but the same lightning strategy stuns her longer if you hit her weakened form again.
Clear hives first to reduce chaos, then focus on repeating the strip-stun-damage cycle while keeping Sages active for extra hits.
Key Tips
Upgrade armor for defense, use attack-boosting meals, and equip Sand Boots for mobility against sand effects. Spears excel for quick hits on downed weak points. Victory yields story progression and rewards like the Vow of Riju fully unlocked.
Best gear and food buffs for Queen Gibdo fight
For the Queen Gibdo boss fight in The Legend of Zelda: Tears of the Kingdom, prioritize gear and buffs that boost attack power, defense, and elemental arrow effectiveness to exploit her armor-weakening weakness.
Recommended Armor
Upgrade mid-to-high defense sets via Great Fairies for survivability against her charges and beams-aim for 40+ total defense. Soldier’s Armor or Barbarian set offers strong base stats and Attack Up bonuses when upgraded; Desert Voe works early-game but fuse high-damage materials like Lynel horns to weapons for melee phases.
Radiant armor (from Depths) provides excellent all-around protection if available.
Best Food and Elixir Buffs
Cook Attack Up meals/elixirs (e.g., 3 Mighty Bananas + 1 Monster Extract for Level 3, lasting 30+ minutes) to maximize stun-phase damage. Defense Up (e.g., 3 Armored Carp + 1 Ironshroom) counters Gibdo adds and tornadoes.
Stock Hearty Durians for full heal + temp hearts; pair with Stamina Overfill for dodging.
Essential Arrows and Fusions
Fuse 50+ arrows with Fire Keese Eyeballs, Yellow Chuchu Jelly, Shock Fruits, or Fire Fruits-these reliably turn her black armor white alongside Riju’s lightning. Gibdo Bones add 40 raw damage for sniping eyes; Bomb Flowers stun via explosion.
| Category | Top Picks | Benefits |
|---|---|---|
| Armor | Soldier’s/Barbarian (upgraded) | High defense + Attack Up |
| Meals | Mighty Banana Attack Up L3 | +3 attack for DPS bursts |
| Arrows | Fire/Yellow Keese Eyeball | Tracks foes, weakens armor |
| Weapons | Fused spears (Lynel/Gibdo) | Quick hits on stunned weak points |