High above the Great Sky Island lies the Ukouh Shrine, the first real test of creative thinking in Zelda: Tears of the Kingdom. Its puzzles challenge players to master the new Ultrahand ability, turning simple planks and hooks into clever solutions that bridge the gap between curiosity and progress.
On this page, we’ll help you find the Ukouh Shrine location, solve the puzzle, and walk through the “Ability to Create” trial to collect the chest and earn a Light of Blessing.
When you’re done, our shrine locations page or interactive Hyrule map can direct you toward something else to do.
Ukouh Shrine location
Ukouh Shrine sits on the western edge of the Gerudo Highlands in Zelda: Tears of the Kingdom, at coordinates (-4632, -2857, 0483). Players reach it by heading southwest from the Gerudo Highland Skyview Tower or paragliding down from nearby sky islands. The entrance appears as a standard shrine pedestal amid rocky terrain and sparse snow, just north of the Southern Oasis. Activate it with a Light of Blessing to enter.
The Ukouh Shrine is found on the northern section of the Great Sky Island region. It’s just southwest of the Temple of Time. Its map coordinates are (0275, -0910, 1460).
Ukouh Shrine walkthrough
Inside Ukouh Shrine, use the Ultrahand ability to connect large stone slabs and create bridges across gaps. Place one slab to cross the first pit, then attach two slabs end to end for the next section. Build a ramp using the same method to reach the final platform, then attach a stone slab to the mechanism near the gate to raise it. Open the chest for a reward before exiting to complete the shrine.
1. Use Ultrahand to lift the the slate of rock to your right, then drop it as a makeshift bridge across the first gap.
2. On the next platform, use Ultrahand to fuse the two slates together perpendicularly, creating a longer makeshift bridge than your first one. Place it across the second gap.

3. After you cross the gap, look to the back right corner. On top of a pedestal, you’ll see the Ukouh Shrinechest. Use Ultrahand to grab the bridge you just walked across, then rotate it at a 45º angle. Drop the high edge on the ledge of the pedestal, thus creating a ramp. Walk up said ramp and open the chest. You’ll be rewarded with a piece of amber.
4. In the next section, use Ultrahand to fuse the hook to the slat of wood.
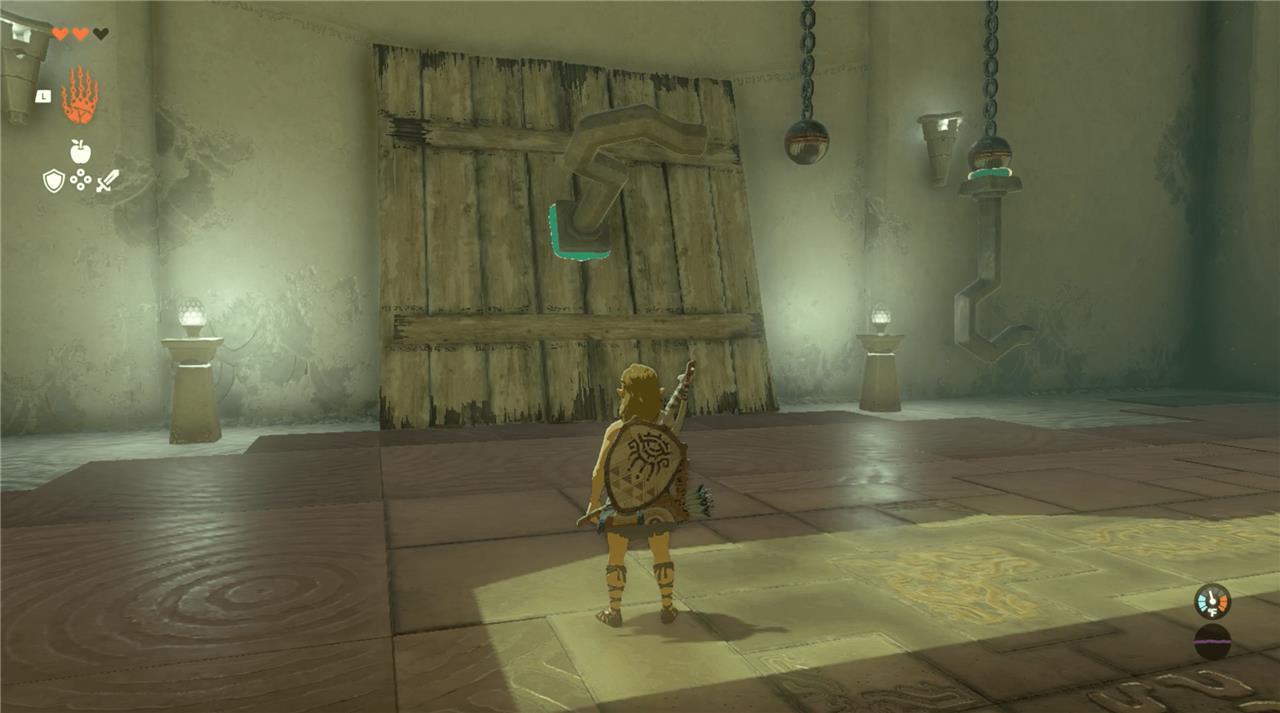
5. You’ll see a zip wire. Hook your new creation as far back as you can on the wire – so it’s flush with the anchor pillar – then jump on the the wooden slat before it slides out of reach. Ride it all the way across the chasm.
Next shrine after Ukouh on Great Sky Island
The next intended shrine after Ukouh on Great Sky Island is In-Isa Shrine.
In-Isa Shrine basics
-
Name: In-Isa Shrine – “The Ability to Combine” (Fuse tutorial shrine).
-
Recommended order on Great Sky Island: 1) Ukouh, 2) In-Isa, 3) Gutanbac, 4) Nachoyah.
-
Location: Western/south-west section of Great Sky Island, coordinates around ,-,0027, -1503, 1408,-,.
How to get to In-Isa from Ukouh (short version)
-
From Ukouh’s exit, turn right and move downhill toward the southwest, following the path of broken islands.
-
Use Ultrahand and nearby wooden boards to build simple bridges across gaps and over the lake you must cross.
-
Keep heading toward the large island with a Zonai construct camp and a clear shrine glow in the distance; In-Isa is on that island’s higher ground.
In-Isa Shrine walkthrough and puzzle solution
In-Isa Shrine teaches the Fuse ability and has a short linear puzzle: break rocks, grab two chests (arrows + key), then beat a Construct and smash one last wall to finish.
Shrine basics
-
Name: In-Isa Shrine – “The Ability to Combine” (Fuse tutorial).
-
Location: Southwestern Great Sky Island, around coordinates ,-,0027, -1503, 1408,-,.
-
Main reward: Light of Blessing, plus two optional chests (arrows and a Small Key chest you must get to finish).
Step-by-step puzzle walkthrough
1. Get Fuse and break the first wall
-
On entering, you receive Fuse and see a Rusty Claymore and several rock boulders.
-
Equip the claymore, use Fuse to attach a boulder to it, then smash the stone wall ahead to open the next area.
2. First chest – arrows
-
In the next room are four stone pillars, one with a chest on top.
-
Hit the pillar under the chest with your rock-fused weapon to break it and drop the chest, then open it for 5 arrows.
3. Gather bow and Fire Fruit
-
Look to the right side of this room: there are Fire Fruit trees, more arrows on the ground, and an Old Wooden Bow.
-
Pick up all Fire Fruit, the bow, and any loose arrows so you are stocked for the next puzzle and fight.
4. Second chest – Small Key (mandatory)
-
Face the far wall: a wooden platform with a chest is held up by vines.
-
With the bow equipped, Fuse a Fire Fruit onto an arrow, then shoot the vines to burn them and drop the chest.
-
Open the chest to get the Small Key, then go back up and unlock the nearby closed door at the top of the stairs.
5. Combat room – Captain Construct
-
Through the locked door is a hallway that leads to a room with a Captain Construct I enemy.
-
Useful tricks:
-
Fuse Fire Fruit to arrows and shoot the leaves or wooden parts near it to burn, dealing extra damage.
-
There are spike strips or other Fuseable parts on a ledge; Fuse them to your weapon for higher damage.
-
-
Defeat the Construct to get its weapon, often a stick already fused with a boulder, and sometimes a Construct Bow.
6. Final wall and exit
-
Use the boulder-fused weapon (or Fuse a new rock if yours broke) to smash the stone wall behind/after the Construct.
-
Go through to the last chamber, interact with the green sigil to complete “The Ability to Combine,” and receive your Light of Blessing.
Quick tips
-
Keep at least one rock-fused weapon intact until you finish; you need it for multiple stone walls.
-
Practice fusing different things (rock, spikes, Fire Fruit) so you see how Fuse changes power, durability, and effects for later shrines.