Deep in Resident Evil 4 Remake’s Chapter 11, the Mines erupt into chaos with the Hive’s monstrous swarms and a searing Blast Furnace showdown that tests Leon’s every move.
Our Resident Evil 4 remake Chapter 11 walkthrough will ensure that you don’t miss any items from the beginning of the chapter through the Mines, Blast Furnace, a couple of mine cart rides, the Stopover, and the Hive.
Throughout this walkthrough, we’re not going to mention every item that anyone (or anything) you shoot drops – if you kill something, look for a loot drop.
Also, there’s a little randomness to the contents of crates based on your inventory and weapons, so you probably won’t find the exact same things listed below. The crates and barrels themselves will always be in the same locations, though. And all other items – keys, collectibles, and resources not found in crates – should be the same.
Make your way to the surface (still)
Keep moving through the tunnels until you reach a section filled with crates and minecarts. Clear out the enemies before operating the lever to power the lift. As you ascend, more Ganados will attack-watch for dynamite throws and use the rifle or shotgun to keep them from crowding the platform. Once you reach the upper level, check the area for ammo and healing items before proceeding toward the Hive section ahead.
Chapter 11 starts in a Merchant safe room. Grab the Foreman’s Log file to the left of the typewriter and smash the crate to the right for pesetas and gunpowder.
The Merchant isn’t selling anything new, but he’ll trade you a gold token for 3 spinels. We cashed in all of our treasures not long ago, so if you’ve been following along with our chapter walkthroughs, you probably won’t have anything to sell.
There’s also a Shooting Gallery here if you’re looking for new Charms to hang on your Attache Case.
Mines
The Mines section in Resident Evil 4 Remake’s Chapter 11 traps Leon in dim tunnels crawling with Ganados and traps. Swing the wrecking ball into clustered enemies to clear paths quickly, and shoot chains to drop ore carts on groups below. Collect resources from crates while avoiding dynamite tosses from elevated foes. Push forward through gates, using the merchant for upgrades before the Hive’s horrors and the Blast Furnace showdown. Stay alert for ambushes around every corner.
Climb the ladder off to the northwest of the walkway (railway) above you. Take a right to smash a pair of crates for gunpowder and magnum ammo. Head back to the left and follow the tunnel.
At the intersection, keep heading forward to find the Blast Zone lock(?). Turn around, grab the Explosives Storage Notice file from the mouth of the tunnel on the left (north), and take that fork to the north.
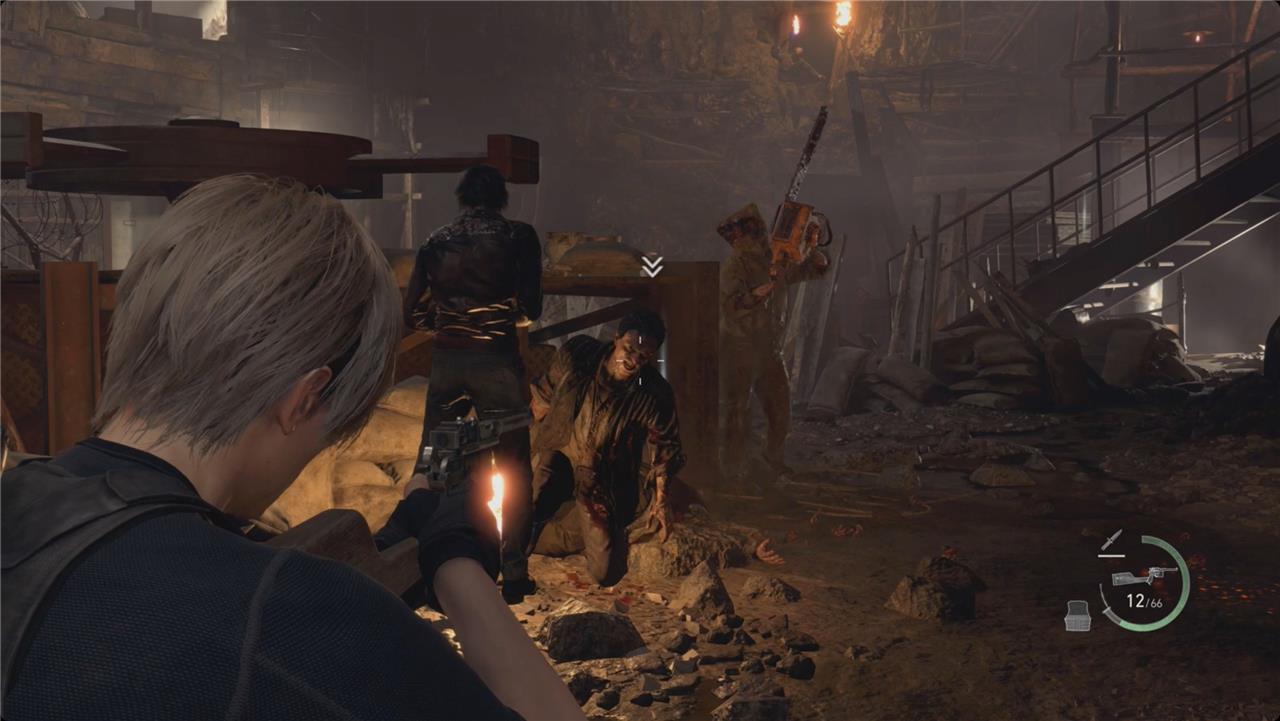
At the top, you’ll enter the Mines. If you have the ammo, take a second to snipe any villagers you see. When you vault the railing here, there will be several more villagers – including a chainsaw villager – that attack from the left.
Watch for the explosive barrel around the corner to help you out. Around when you think you’re done, another chainsaw villager will come down the stairs to the left.
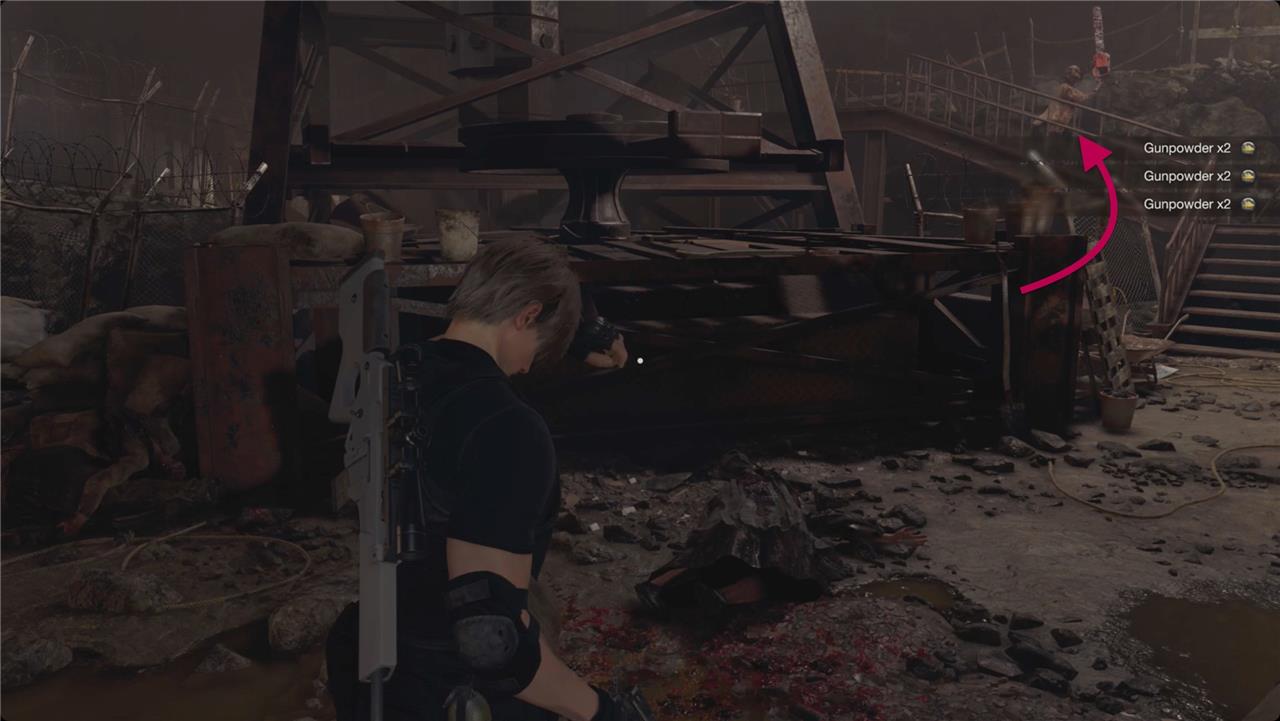
From where you drop down, duck under the walkway for a crate with handgun and rifle ammo. Head all the way to the left (past the stairs) and follow the wall around to find a green herb.
Head up the stairs in the southern part of the Mines. Follow the path into the building and smash the crate for a heavy grenade and some gunpowder.
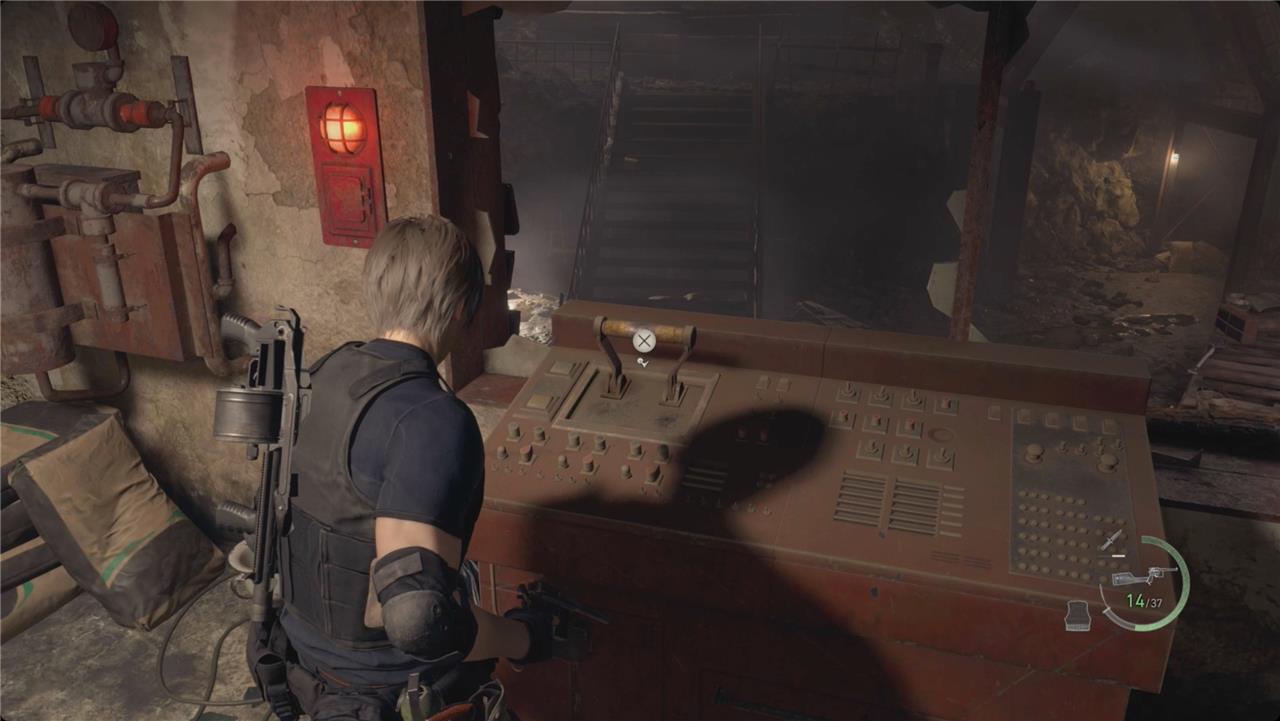
Go pull the bridge lever on the console and a few more villagers will come up behind you.
Head downstairs and smash the crate for shotgun shells, rifle ammo, and handgun ammo.
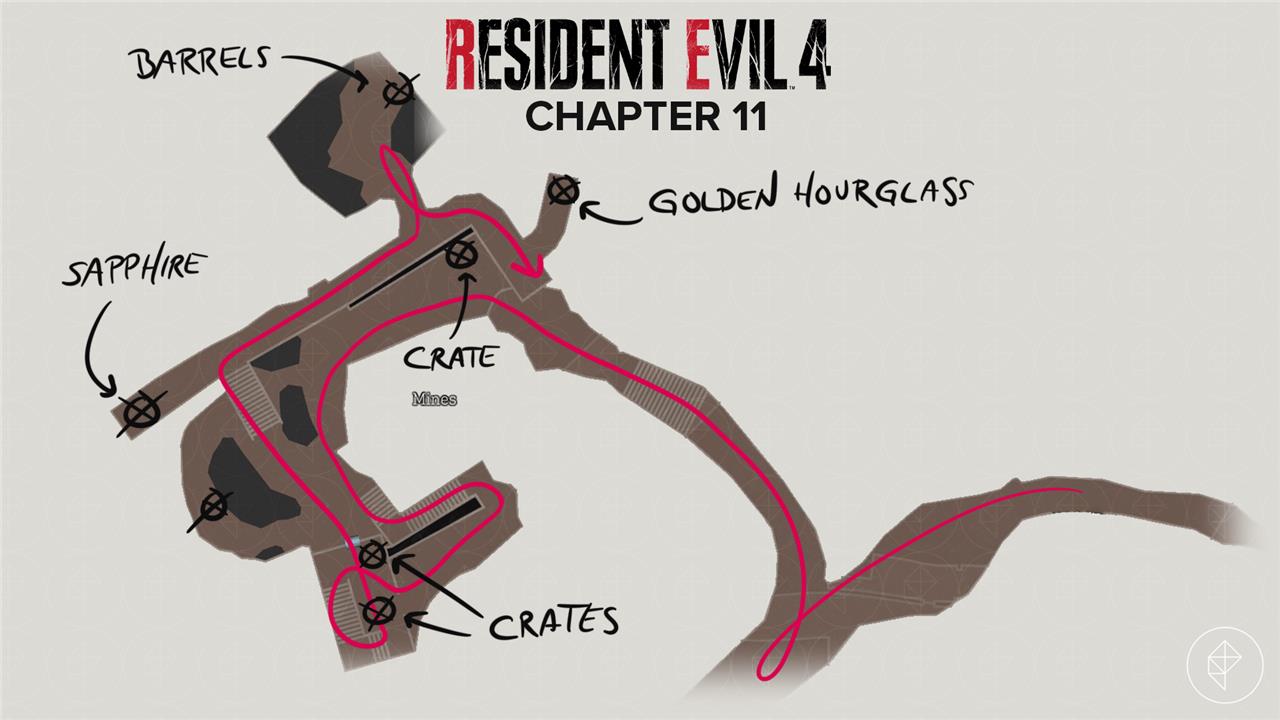
Unlock the door and head through. Go up the stairs across from the door. Turn to the left and look up for a lantern with a sapphire.
Cross the bridge you just lowered and take the tunnel on the left. There’s a crate and some barrels to the right with handgun, rifle, and magnum ammo. Grab the dynamite from the boxes in the center.
Outside, take a left and follow the walkway. At the end, take the left to find a chest with a Golden Hourglass. Drop off the ledge and head back to the Blast Zone “lock.”
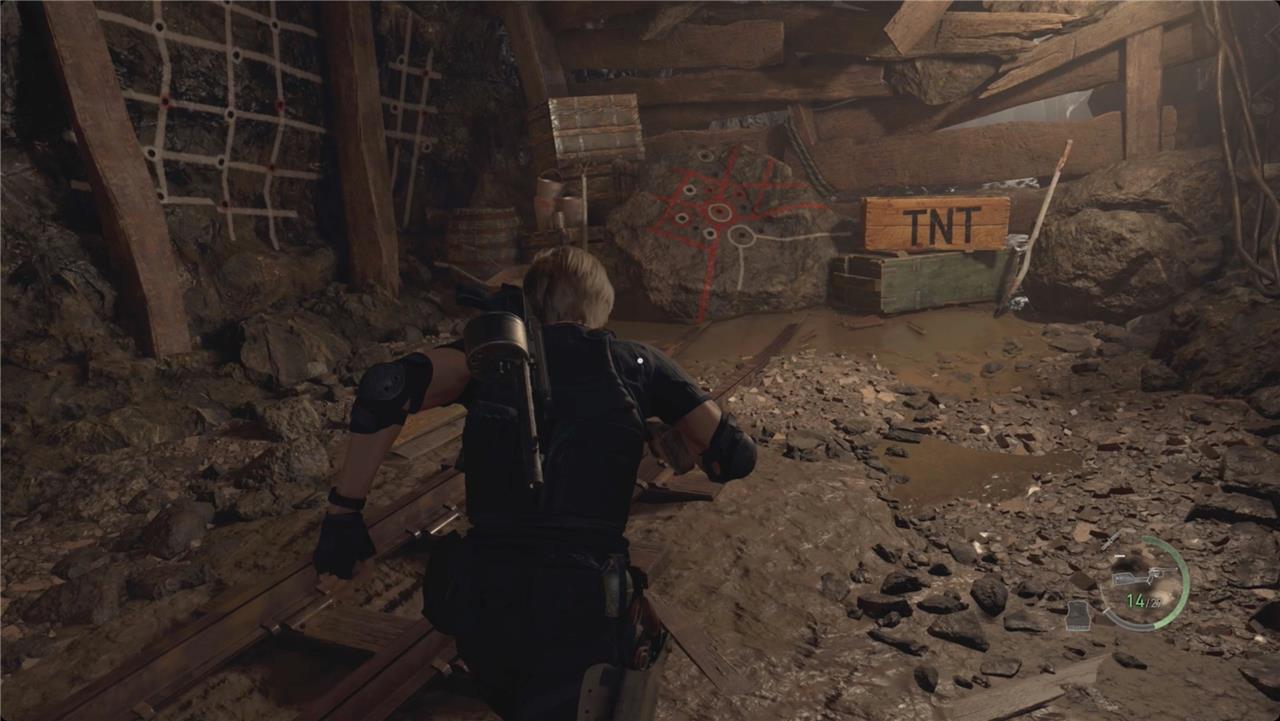
Use the dynamite and then run back into the tunnel – you need to avoid both the blast and the rocks that come tumbling past afterward.
Follow the tunnel up and into the dead end. Smash the crate and barrel for pesetas and rifle ammo. Take the tunnel on the left and kick through the grate to meet another Armored Giant. Oh, and he brought a friend.
Defeat the two giants // Blast Furnace boss fight
In the Blast Furnace, face off against two massive El Gigante bosses that emerge from the lava below. Activate the three coolant valves scattered around the arena to flood sections with water and weaken them. Target their exposed weak points with grenades, magnum shots, or the TMP while dodging stomps and grabs. Lure one into the central crusher mechanism by activating it with the nearby lever, then repeat for the second after sufficient cooling. Stay mobile on the elevated walkways to avoid the fiery hazards.
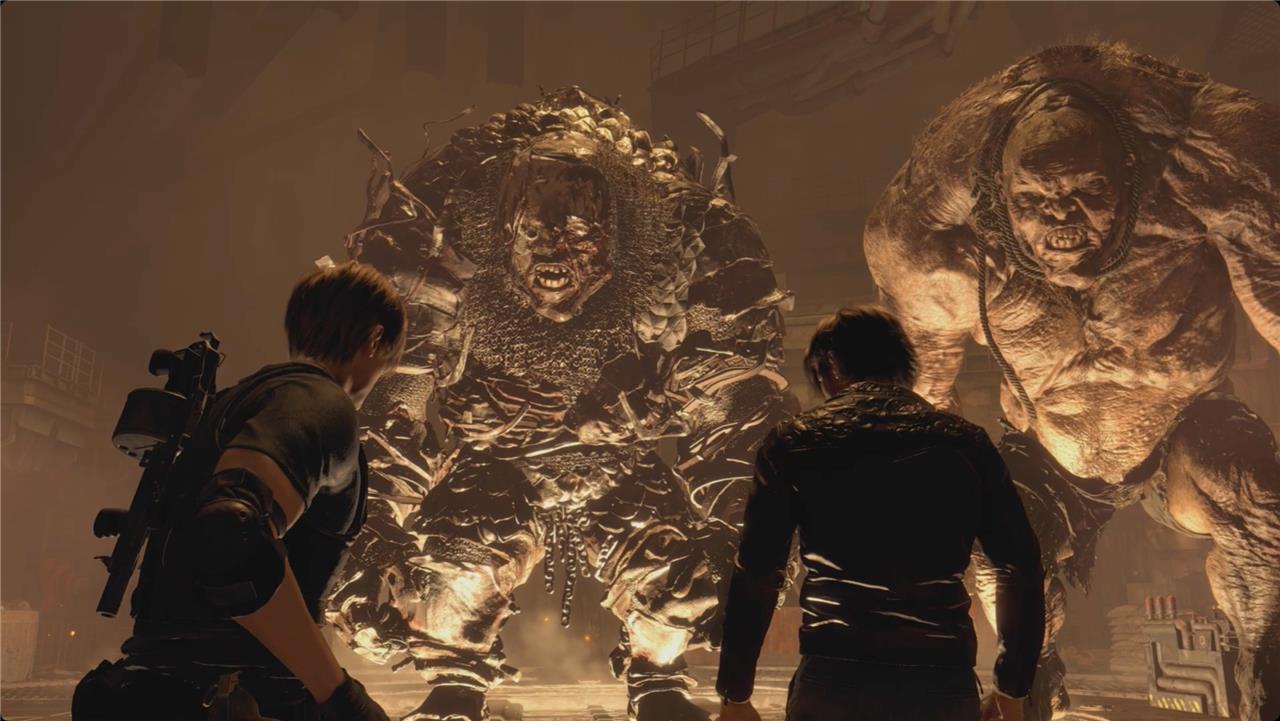
There’s a lot going on in this fight – specifically, dealing with two giants and not having a cannon handy to take out the armored one. (Their official name should really be “Un Gigante” or “Los Gigantes” at this point.)
Luckily, this fight can end much more quickly than the previous two. There’s a console in the northeast (it’s along the right side when you enter) with a switch. Holding the switch will open a grate in the center of the room that drops into a vat of molten metal.
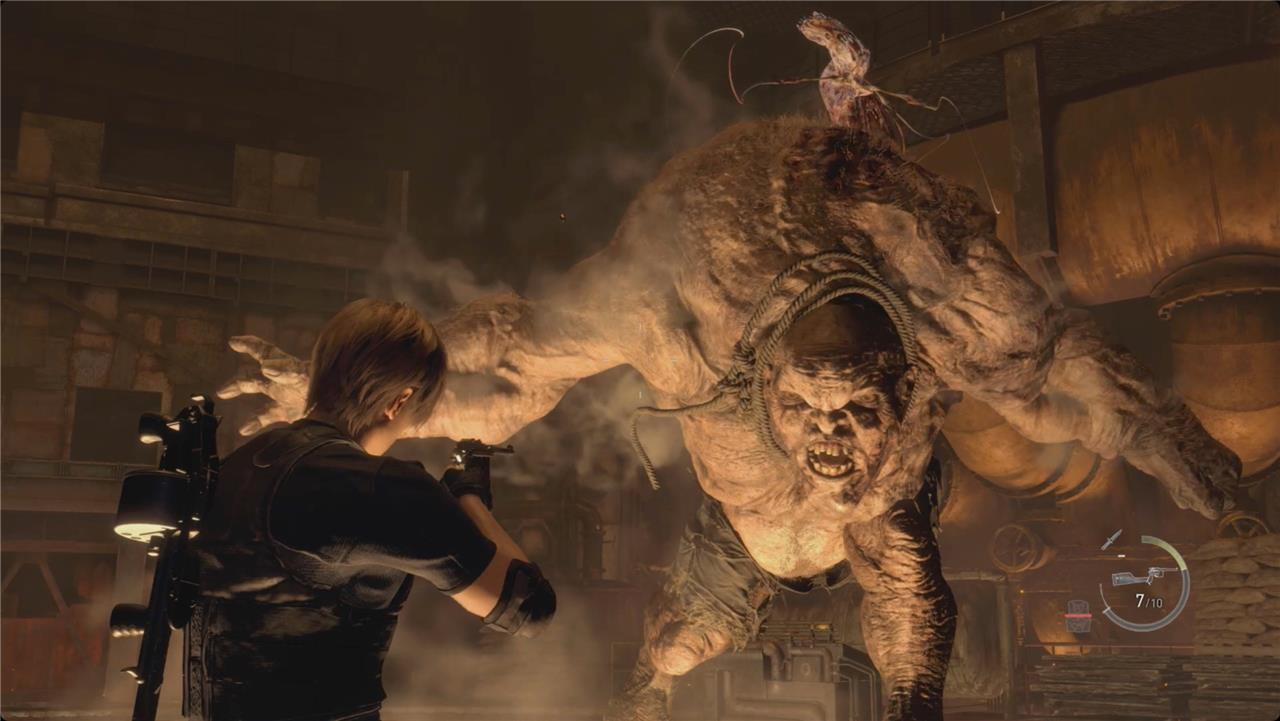
Start by focusing on the unarmored giant. Just like the first fight, shoot it enough to get the parasite to pop out, and then shoot that (or press the button prompt to jump on it and start stabbing). Your goal this time is to get it to drop to its knees in the center of the room – and really, it only needs to be vaguely close to the hatch. When it’s in position, Luis will tell you to hit the switch. Do so.
The giant won’t always be cooperative, though, so you might have to repeat the parasite-popping process a couple times.
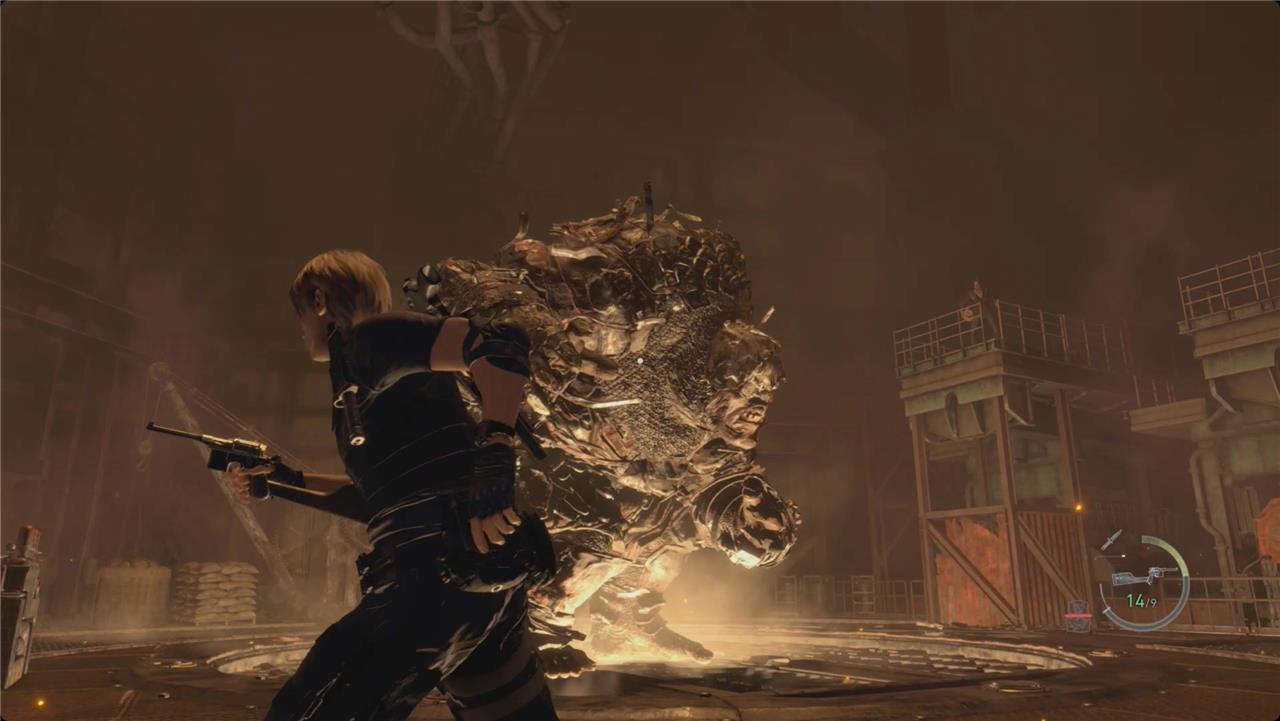
The armored giant is a bit harder to deal with because of the, well, armor. Don’t bother shooting it. Just keep it occupied by running away until Luis heads off on his own errand. A few seconds later, he’ll return with a bundle of dynamite.
Lure the armored giant over to Luis’ tower so he can plant the bomb, and then shoot the dynamite to expose this giant’s parasite. Shoot it for a while, and then give this giant it’s Gollum-at-the-end-of-Return of the King moment, too (get it to kneel in the middle of the room, hit the switch to open the hatch, and drop this one into the molten metal.)
Sweep the edges of the room for any crates and items. You’ll find handgun ammo, gunpowder, submachine gun ammo, and a hand grenade. There are also several crates and barrels with (a lot of) pesetas and a velvet blue.
When you’re done, head over to Luis and boost him over the door.
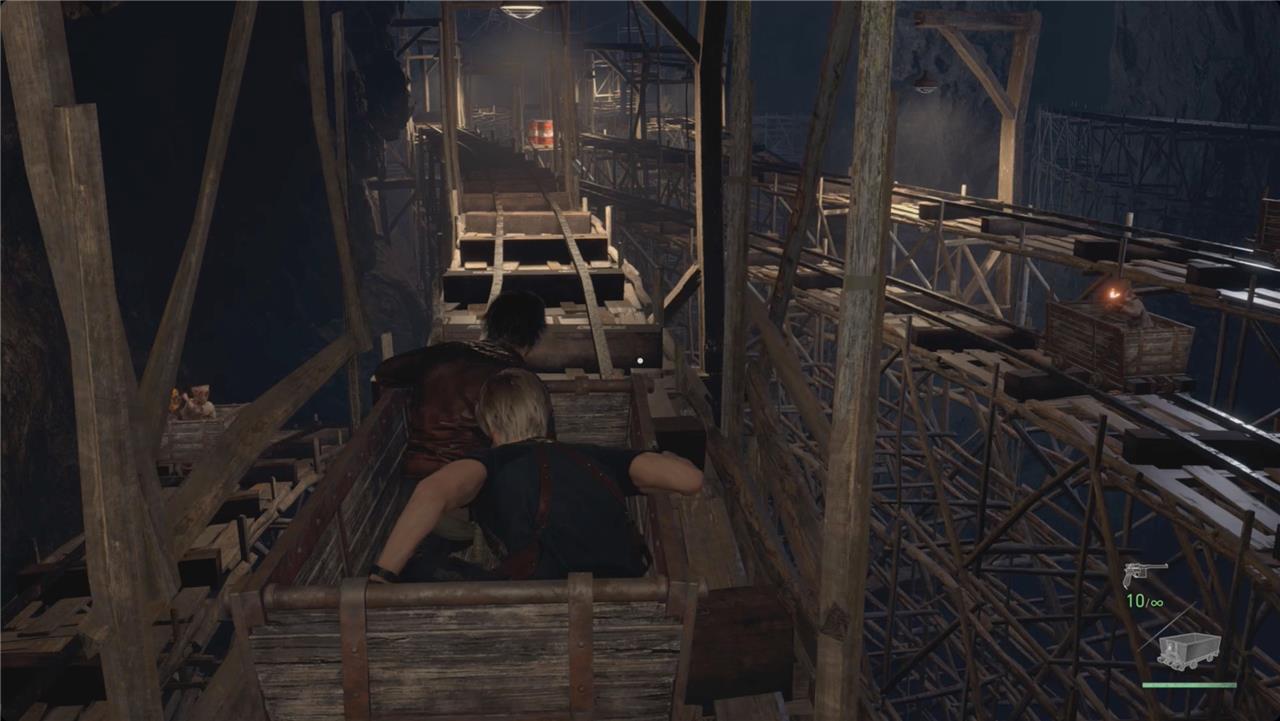
Mine cart 1
The first mine cart ride throws Leon into a frantic escape sequence filled with tight turns, collapsing tracks, and Ganados attacking from nearby carts. Keep your weapon ready to take out enemies at a distance, especially those with crossbows or dynamite. Use the mounted brake lever wisely to avoid derailment on sharp corners, and collect treasures or ammo from fallen foes if possible. Precision and timing make the difference between a clean run and a deadly crash.
In the maintenance room, check under the stairs for a pair of barrels with even more pesetas, and then head up the stairs to grab a green herb on the landing. Continue up the stairs and down the tunnel.
When you come to the mine cart room, stick to the left to find a typewriter. Drop down and join Luis in the mine cart.
You might notice that you now have infinite ammo in your pistol. That’s for a reason – things are about to get all sorts of interesting.
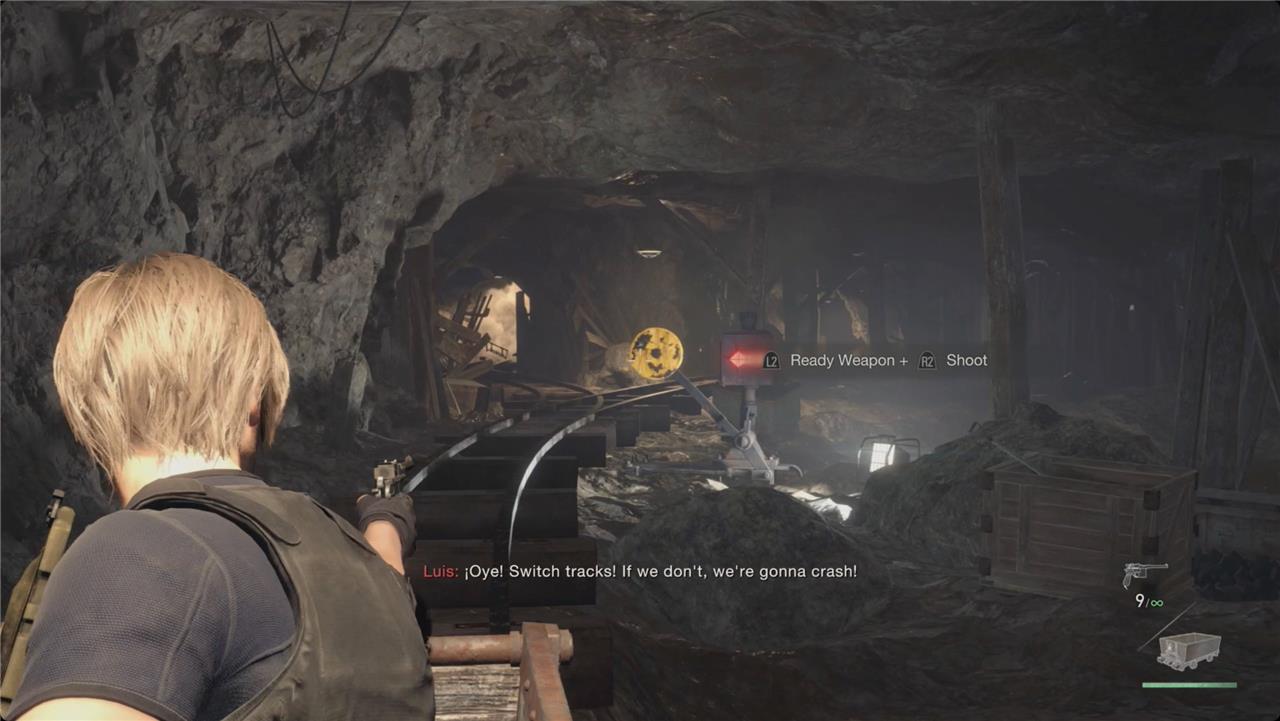
First, you’ll have to lean the same way the track is curving to keep the cart stable – lean left if the track curves left. Next, you’ll have to shoot through boards blocking the tunnel and then, immediately after, shoot a switch to divert your cart onto a less deadly route.
Several carts with villager arbalists (with flaming bolts) will show up at this point, shooting past you on parallel tracks. Take your time and land your shots here – you don’t have to be perfect, but it takes a long time to aim and the cart is pretty weak. Try to reload in the gaps – like when you go through a tunnel – because you’re not going to have a lot of time for it while getting attacked.
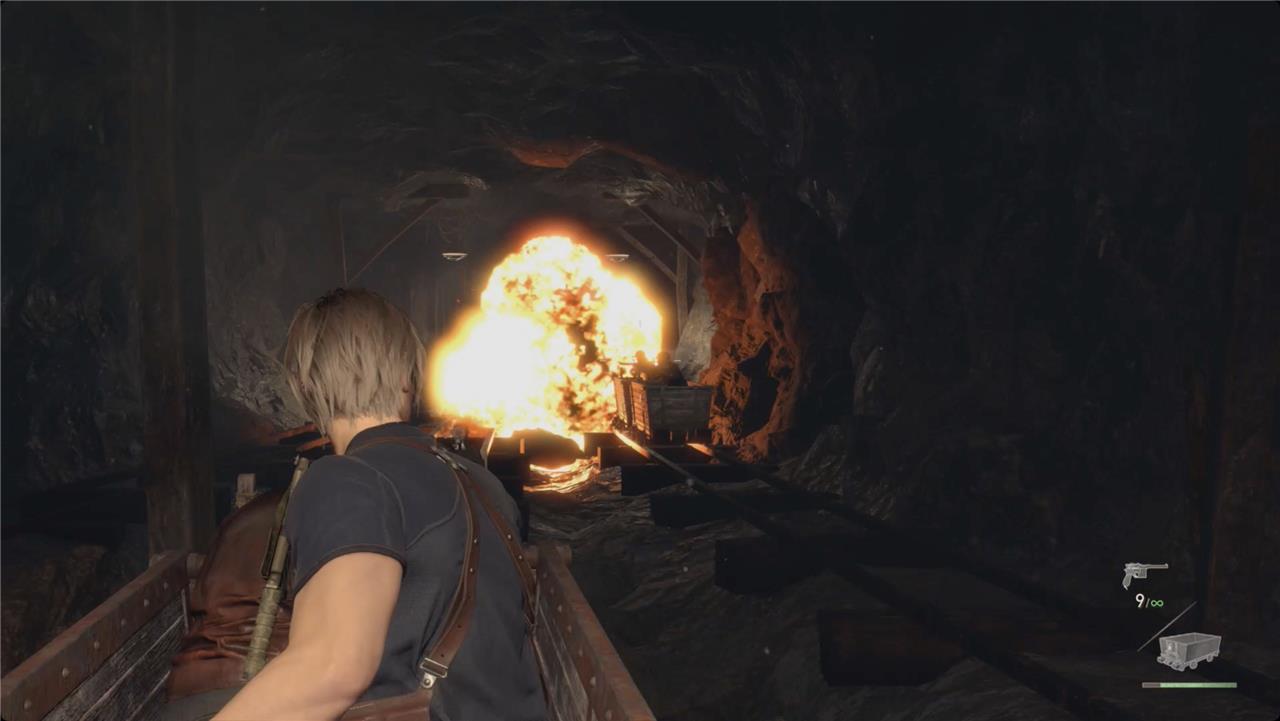
Watch for explosive barrels to make your work easier and keep an eye out for a villager holding dynamite on your track.
After the exploding barrels section, shoot another switch to divert your cart again. You’ll eventually end up at the Stopover.
Stopover
Leon and Luis take a short break inside the mine lift area before continuing deeper underground. This section lets you restock supplies, tune weapons at the Merchant, and plan ahead for the insect-like Plaga threats below. It’s a brief pause between waves of danger, giving you a chance to prepare for the Hive’s traps and the Blast Furnace battle that follows.
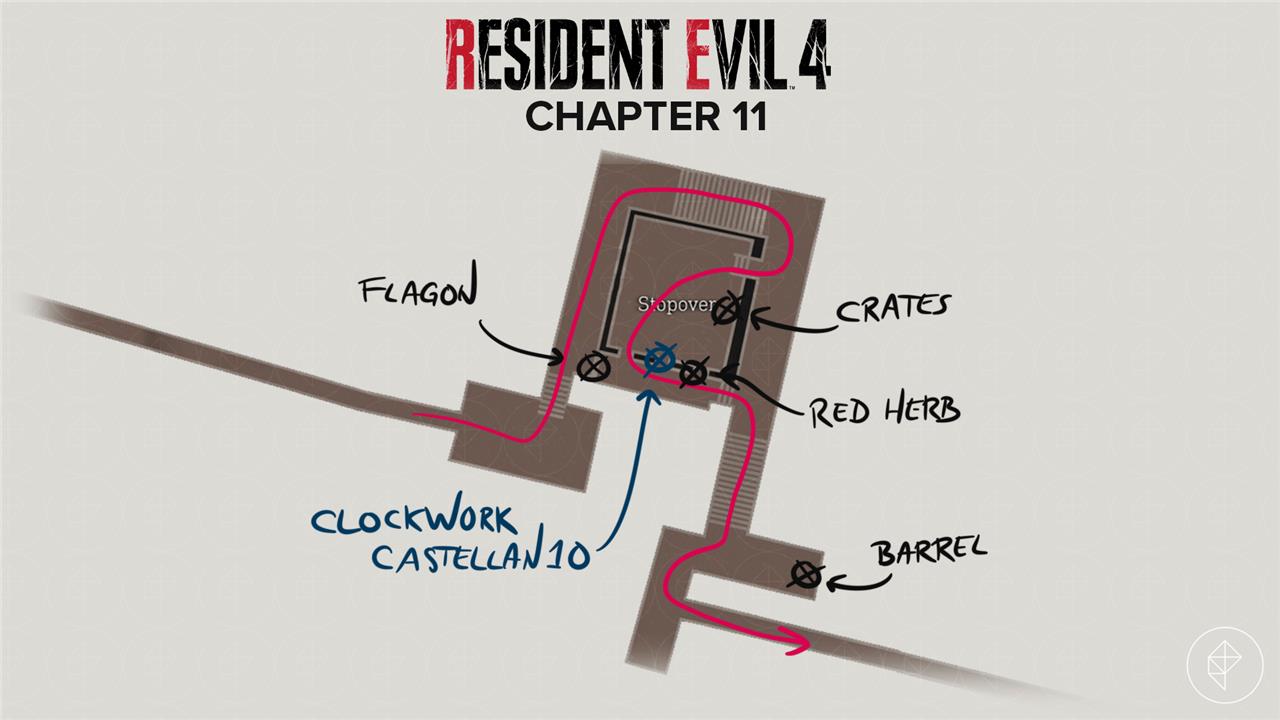
Head up the stairs and around the corner. You’ll get jumped by three villagers including one inside throwing dynamite. Head into the main room to find two crates with pesetas.
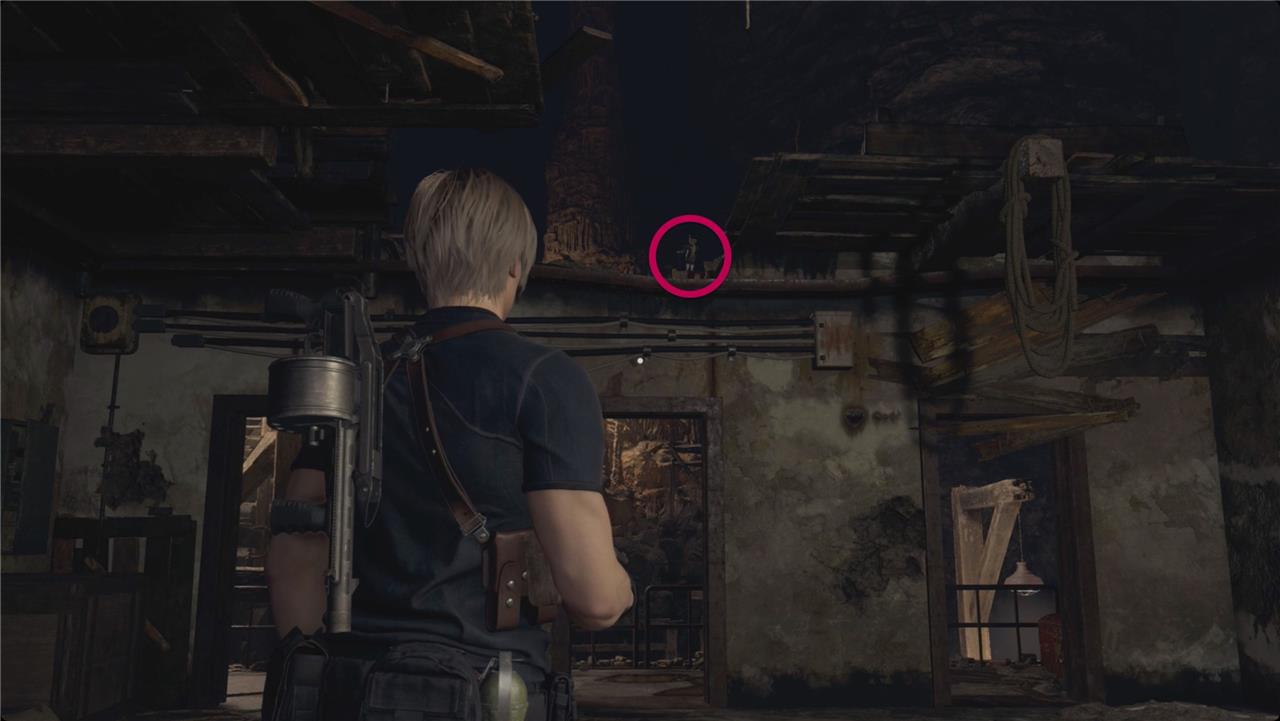
Look up at the top of the southern wall to see Clockwork Castellan 10 of 16. Head through any of the doors on that same wall and open the chest on the right for a Flagon. Turn around and grab the red herb as well, and then continue up the stairs.
At the top, take a left to smash a barrel with more pesetas.
Mine cart 2
Push the mine cart down the tracks to smash through the gate and clear the path forward. It hurtles past enemies, crushing them under its weight before crashing into the barrier. A second cart waits nearby; activate it the same way to break open another obstruction and proceed deeper into the mines. These quick rides save time and ammo while thinning out the Ganados horde.
This mine cart ride comes with trouble music, so you know it’s serious. You’ll have to deal with more turns and a swarm of villagers in mine carts right away. There will be a chainsaw villager in a cart on your left, but don’t worry about him yet. Watch for more exploding barrels and another dynamite villager on your track.
When you briefly head outside, watch for a stack of barrels in the tunnel entrance. After that, the chainsaw villager will get much closer to you. Just deal damage until his cart swerves away, and then turn your attention to the arbalists that harass you constantly.
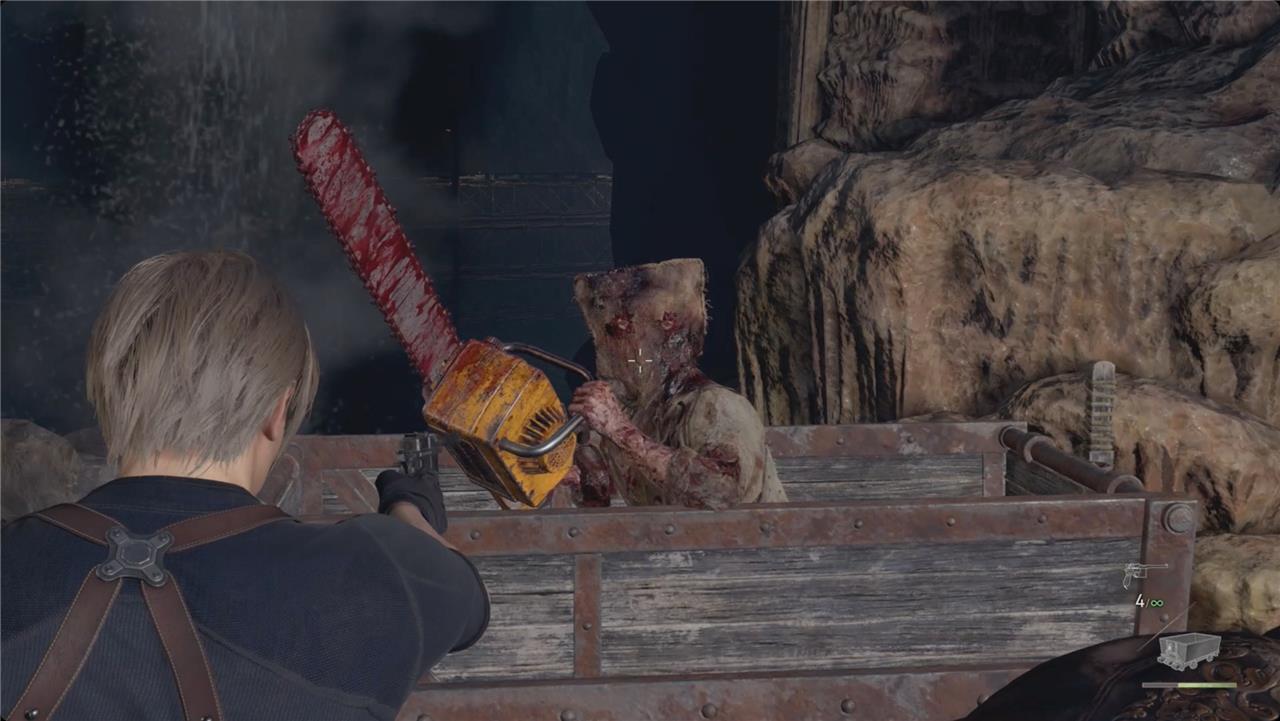
Eventually, the chainsaw villager will switch to the other side. Just keep pumping rounds into his head. Not long after that, a tower will collapse ahead of you. Watch on the right for a(n oddly hard to hit) switch.
After some quick sightseeing, the ride will come to a very exciting end.
Hive
The Hive section of Chapter 11 takes you through a dark network of tunnels filled with insect-like Plagas enemies. Use flash grenades to clear out swarms quickly, as they are especially vulnerable to the light. Keep an eye out for hives on the walls or ceilings, which spawn more enemies until destroyed. Move carefully between cover points, conserve ammo, and focus on taking out the core structures before advancing deeper into the mines.
There’s a typewriter ahead of you after the cutscene. Head to the left until the bridge you’re on collapses.
Drop down the ledges and ladders and start to follow the path around to the right.
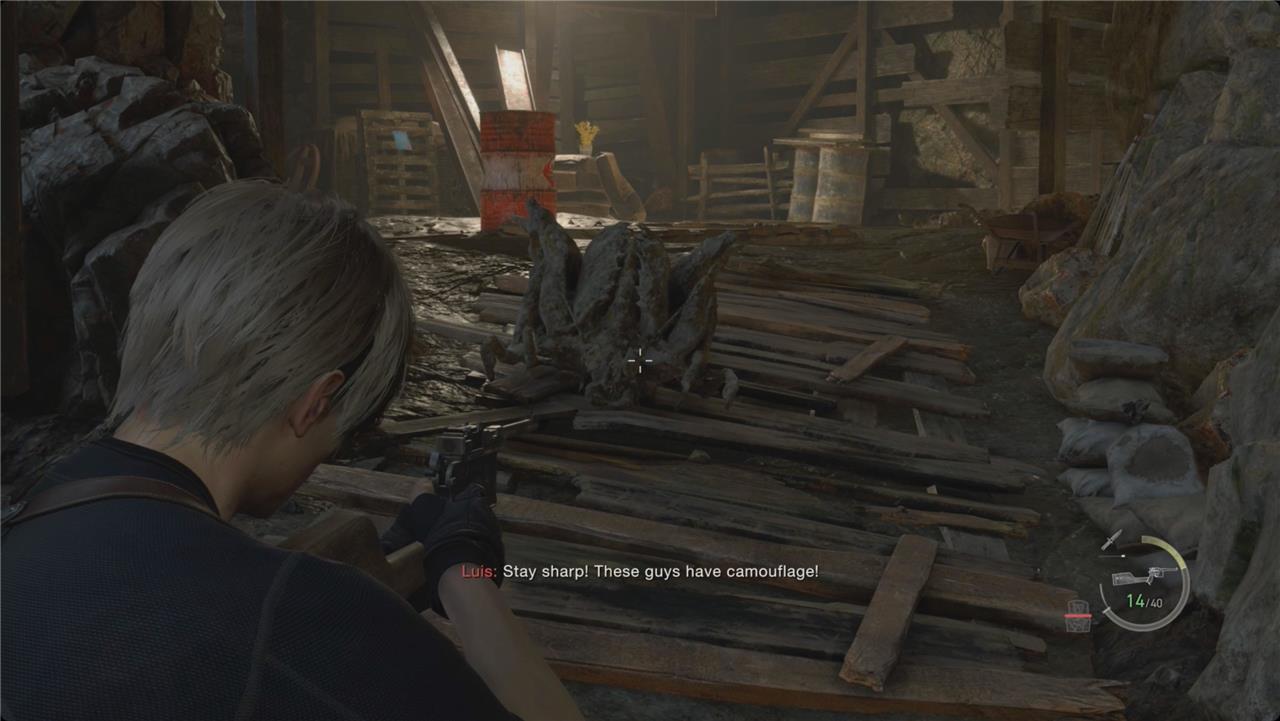
Throughout the Mines, keep an eye out for camouflaged novistadors. If you shoot them before they un-camouflage, it usually only takes one shot to put them down.
At the first branch, you’ll get jumped by a few flying novistadors. Deal with them, then look high above you in the middle of the room.
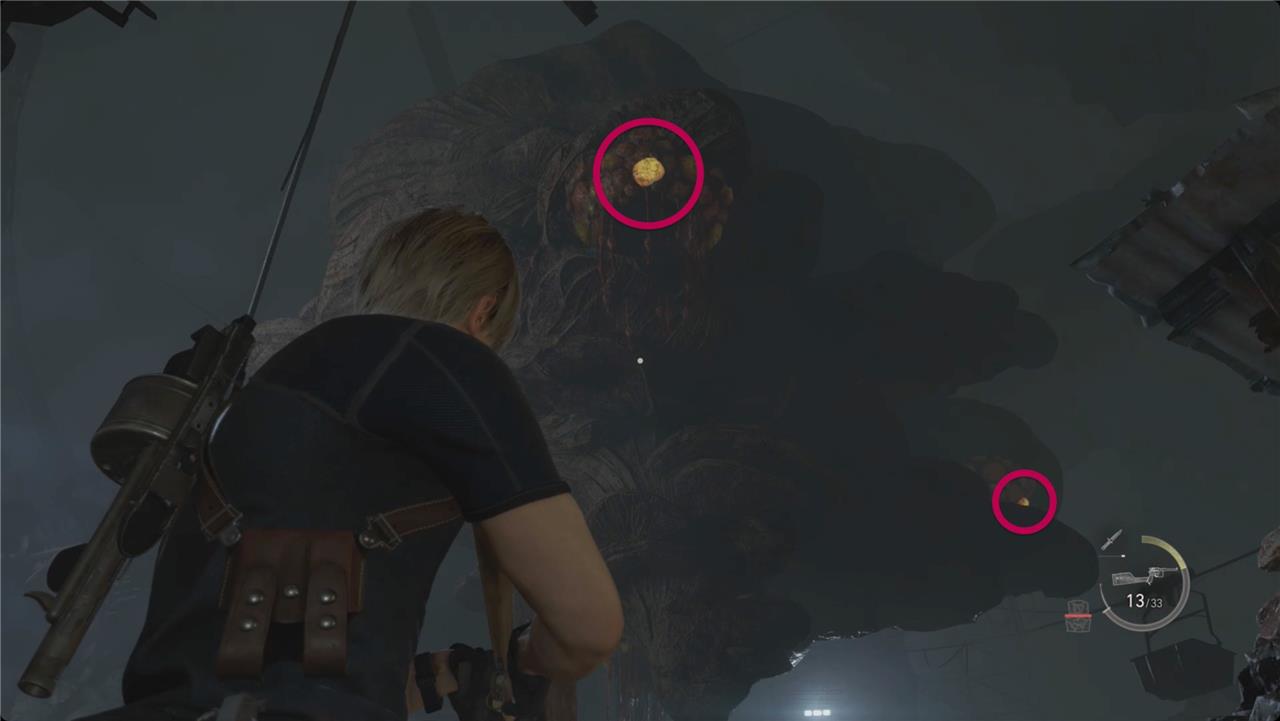
Shoot the glowing yellow nodule (gross) on the nest to start the Insect Hive Blue Note Request. Head to the right and grab the yellow herb and the Blue Note Request you just started.
Stick to the right wall and follow the tunnel further up. When you exit, look up for Insect Hive 2 of 4.
Take a sharp right to find some crates in the corner with pesetas and handgun ammo.
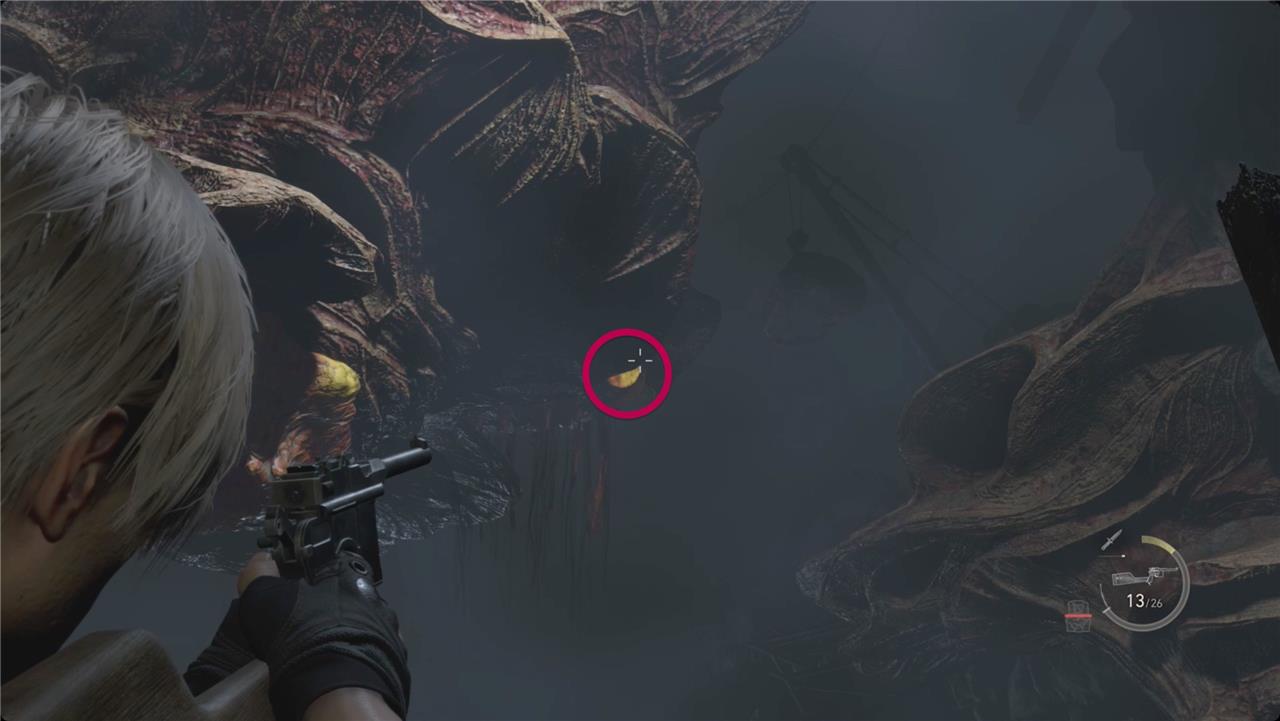
On the right, go past the tunnel and smash the barrel for some pesetas. Look up again to get an angle on Insect Hive 3 of 4.
Follow the tunnel down and take the first right for two barrels holding pesetas, a velvet blue, and some magnum ammo.
At the top of the tunnel, take another right into another dead end to find crates with pesetas and handgun ammo.
Take the western branch into a very dark tunnel to find a chest with a gold bar (L) inside.
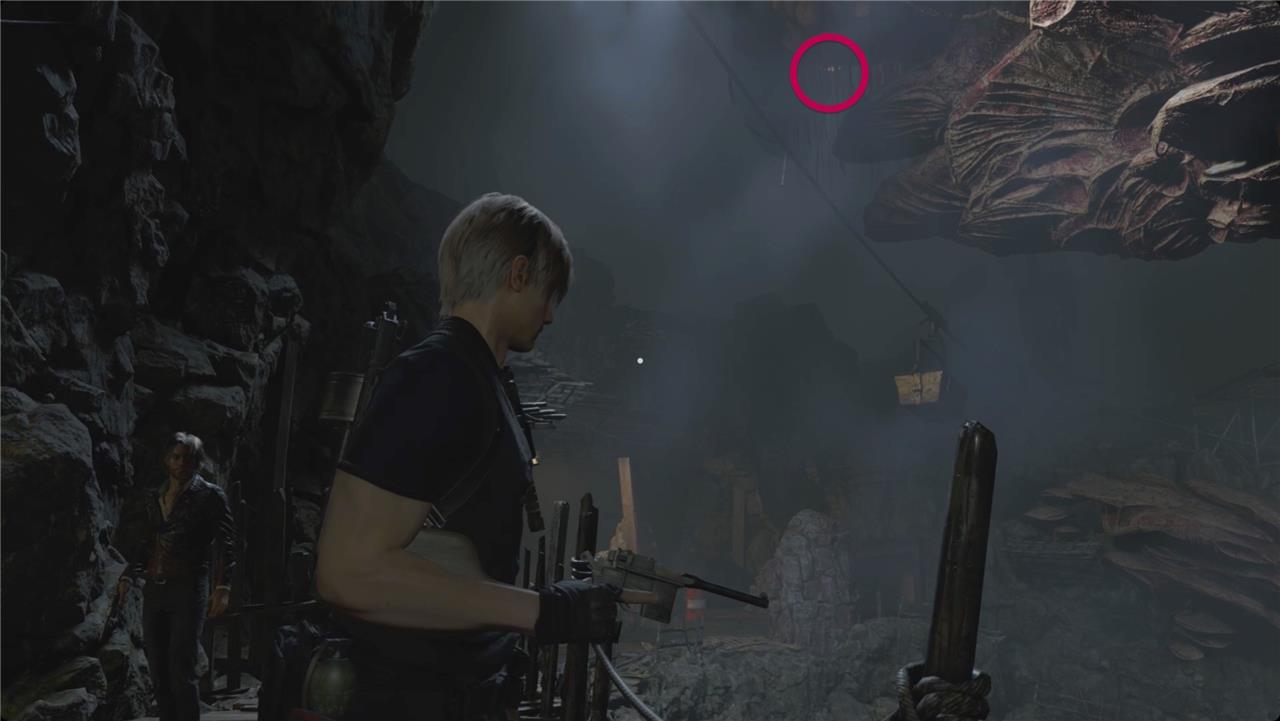
Head back and take the final branch back toward the middle of the Hive. At the end, look up at the main hive. Off to the left and in the distance, you’ll spot Insect Hive 4 of 4. Head right.
Duck into the tunnel on the right to find a Merchant room. Drop a couple gemstones into the Flagon, and then sell it along with the Gold Bar (L), Golden Hourglass, and any velvet blue you’ve picked up.
Fix up your knife (and Body Armor, if you bought it), and pick out a tune-up or two. Save at the typewriter, and then head back out.
Take a right to get to that elevator. After a cutscene and a quick reunion, you’ll have to face off with a character from Leon’s past (who wasn’t in the earlier games, just a part of Leon’s backstory).
Fight Krauser
Krauser attacks Leon in a tense close-quarters fight marked by quick movements and close combat. Focus on parrying his knife strikes and countering whenever you have an opening. Use flash grenades or well-timed shots to interrupt his aggressive lunges. During later phases, Krauser uses his mutated arm to deal heavy damage-keep your distance, aim for his exposed weak spots, and stay mobile to avoid his deadly leaps.
After some villain monologuing, you’ll get control again. Grab the Boot Knife on your right as you back away.
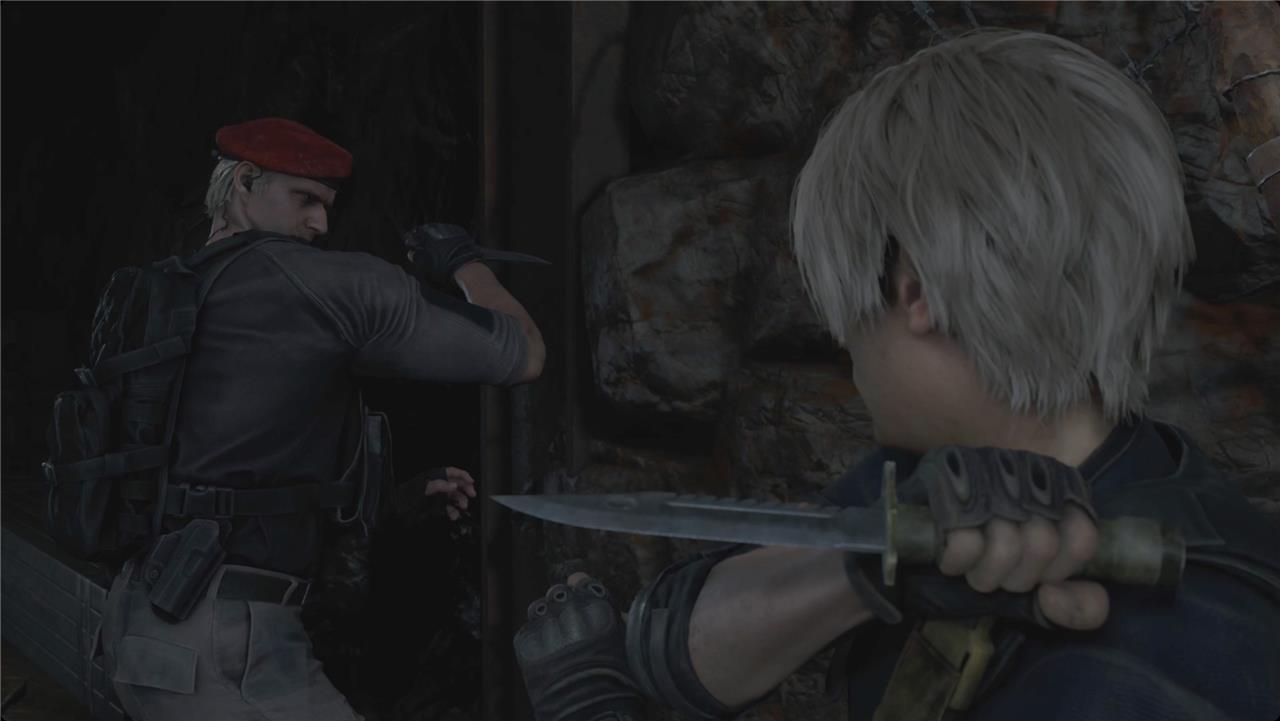
Your job in this fight is to parry constantly with L1. Eventually, you’ll get a melee prompt. When you do, kick Krauser in the head. You’ll get some exposition while the beefcakes fight.

When Krauser jumps behind you, remember that you have a quick turn control with R1 back on the left thumbstick. After you kick him a few times, watch for the evade prompt when he tries to return the favor (we missed every single one). He’ll also start slashing multiple times in a row.
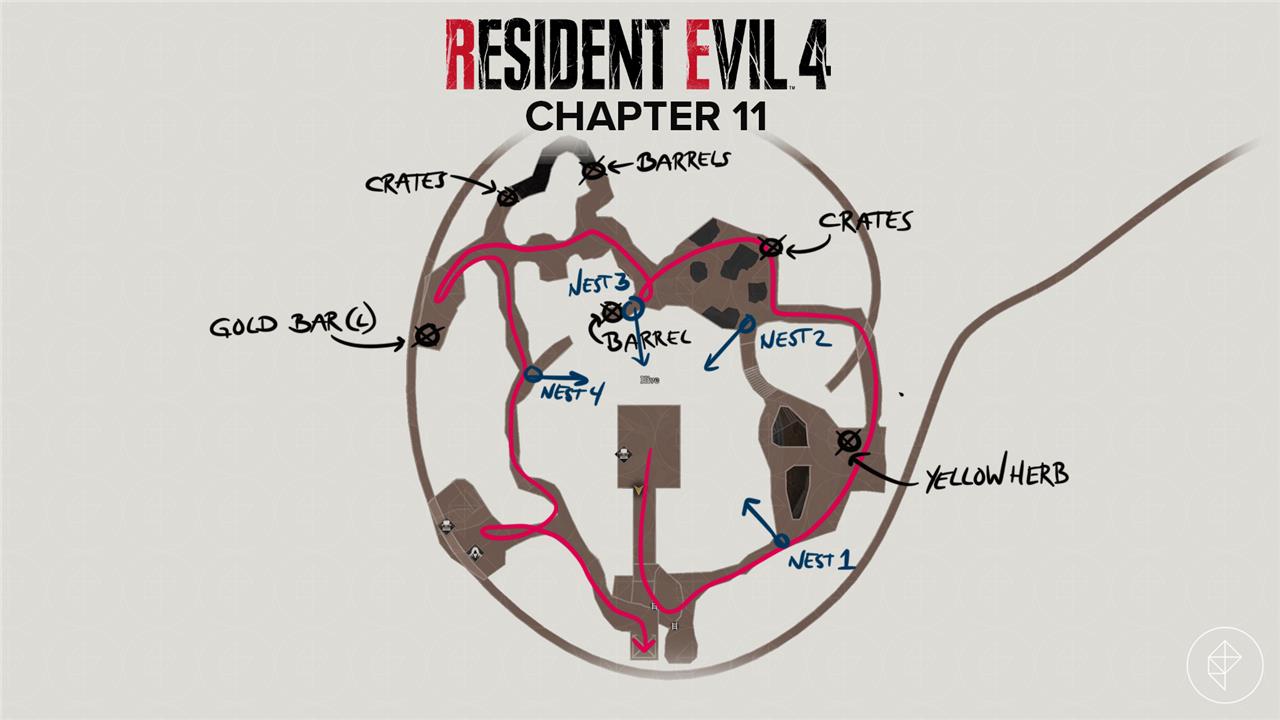
Chapter 11 all collectibles and treasures locations
Chapter 11 of Resident Evil 4 Remake features 14 key collectibles, including treasures, Clockwork Castellans, and Insect Hives tied to the Merchant Request. Prioritize grabbing them during your initial pass through Mines, Stopover, and Hive to avoid missing spots before areas become inaccessible.
Treasures
-
Sapphire: In the Mines’ first enemy area, climb right-side stairs and shoot the hanging silver container on rusted bars above.
-
Golden Hourglass: After pulling the bridge lever in Mines, cross to the path’s end alcove, just outside the Dynamite room.
-
Flagon: At Stopover balcony after the first minecart ride-grab before the second cart.
-
Gold Bar (Large): In Hive’s west tunnel, shoot the red explosive barrel to clear rubble, then open the chest behind.
Clockwork Castellans
-
Castellan #11: On Stopover building wall, immediately right of the Flagon; shoot from inside before second minecart.
Insect Hives (Merchant Request)
Complete the “Insect Hive” request by destroying all four (reward: Spinel).
-
Hive #1: Early in Hive section after request activation.
-
Hive #2: Shortly after Hive #1 in the same area.
-
Hive #3: West Hive, post-tunnel with Gold Bar (L).
-
Hive #4: Same spot as Hive #3; shoot both remaining from there.
Additional Notes
Other pickups like the Boot Knife (during Krauser fight) and Explosives Storage Notice are story-related but count toward 100% completion. Check the Merchant in Hive for sales/upgrades using gems from treasures like Flagon.
How to solve Chapter 11 puzzles and boss fights
Chapter 11 of Resident Evil 4 Remake has minimal traditional puzzles but features environmental challenges like lever pulls and explosive locks, alongside two major boss fights. Use quick reflexes, precise aiming, and environmental hazards to progress efficiently.
Key Puzzles and Mechanisms
Lower the bridge in the Mines by pulling the lever at the top of the southern stairs after fighting villagers-this connects paths to the Golden Hour chest and dynamite room.
Place dynamite from the storage room into the Blast Zone lock (found early in tunnels) and detonate it to clear debris; retreat to the nearby tunnel for cover during the blast.
During minecart rides, shoot glowing switches on the right to redirect your cart, avoiding collapses and enemy fire from arbalists or chainsaw villagers.
Blast Furnace Boss (Two El Gigantes)
Target the unarmored giant first: shoot its body to expose the parasite, then shoot the parasite or melee-stab until it kneels near the central hatch. Hold the northeast console switch (prompted by Luis) to drop it into molten metal.
For the armored giant, evade while Luis plants dynamite-lure it over, shoot the dynamite to unmask its parasite, damage until it kneels centrally, then activate the hatch again. Dodge flaming arbalest bolts and explosive barrels throughout.
Krauser Knife Fight
Parry Krauser’s knife slashes with L1 (or equivalent) to counter; watch for melee prompts to deliver head kicks. Quick-turn (L1 + thumbstick) to track him during retreats, evade his multi-slash combos, and pick up the Boot Knife mid-fight. Continue until the scripted conclusion.