Leon’s mission through the cursed village isn’t just a fight for survival-it’s a test of instinct, timing, and precision. Before you face the infected hordes, here are eleven pieces of insight that could mean the difference between walking out alive or becoming another shrieking echo in the dark.
A few of the elements covered in this guide are similar in nature to the original, but there are a few intertwining mechanics that recontextualize those elements in the remake. As such, here are some vital tips for your time in the Resident Evil 4 remake, covering combat, exploration, and, of course, the ever-enigmatic merchant.
Invest in the combat knife first
A good combat knife can save a lot of ammo and open up stealth options early on. Upgrading it first gives you faster parries, greater durability, and stronger melee follow-ups, which are all useful against aggressive groups and bosses. Since ammo and crafting materials are limited at the start, the knife becomes your reliable backup weapon that can turn risky encounters into manageable fights.
Leon’s combat knife is no longer just a useful secondary weapon, but a vital tool across the whole experience. As the Resident Evil 4 remake no longer has QTEs, plenty of the sections that originally relied on them – such as the fight against Krauser – now rely on your parry, which is performed with the knife. But there is more to it.
Here’s the gist: You start with your trusty combat knife, which has its own durability. You should upgrade this in the merchant’s shop, as well as its speed and damage, as soon as possible. Make a few upgrades to your usual weapons as well every now and then, but if you can fully upgrade your combat knife promptly, it will make a huge difference in the long run.
Parrying is vital in the remake; it has saved me dozens of times from a fatal attack. That being said, even at maximum durability, the combat knife is bound to break at some point, especially in long encounters. Thankfully, enemies tend to drop weaker knives that can serve as plan B, such as kitchen or boot knives. You won’t be able to repair them afterward, but they can save you in a time of need. Or, if you’re confident in your abilities, you can go ahead and sell them to make a quick buck.
Don’t watch the mouth – watch the hands
Enemies in Resident Evil 4 Remake often fake you out-what they say isn’t what matters, it’s what they do with their hands. A villager raising an axe might suddenly throw it, or a cultist could pull a hidden weapon after pretending to stumble. Watch for subtle movement cues instead of waiting for audio warnings or voice lines. Noticing those gestures early gives you a split second to dodge, parry, or fire first-and that’s often the difference between surviving an ambush and taking a hit.
First of all, you should always be aiming at enemies’ heads as much as possible, in order to stun them and follow up with Leon’s signature kick. That said, much like the original, it’s vital to keep an eye on their hands as well. Shooting them will cause the weapon they’re using to drop, which can range from torches (which can set them on fire), lit dynamites (which will explode when shot at), or even other melee weapons (which… are sharp).
Especially later on when enemies tend to show up with morning stars and electrified polearms, being able to get those factors out of the way, in particular when facing large groups, will make encounters much easier.
Also, keep in mind that parrying enemies that attack with their bare hands will automatically cut off their arms, which is even more helpful to dodge any grabs from them.
If you see an enemy twitching on the ground, knife them
If you down an enemy and see them twitching on the ground, don’t waste bullets-move in and finish the job with your knife. This quick action saves ammo and can prevent the enemy from getting back up to grab or attack you. Timing matters, though; wait until the prompt appears before stabbing to ensure a clean execution. Knifing grounded enemies also helps conserve resources early in the game, when every bullet and blade strike counts.
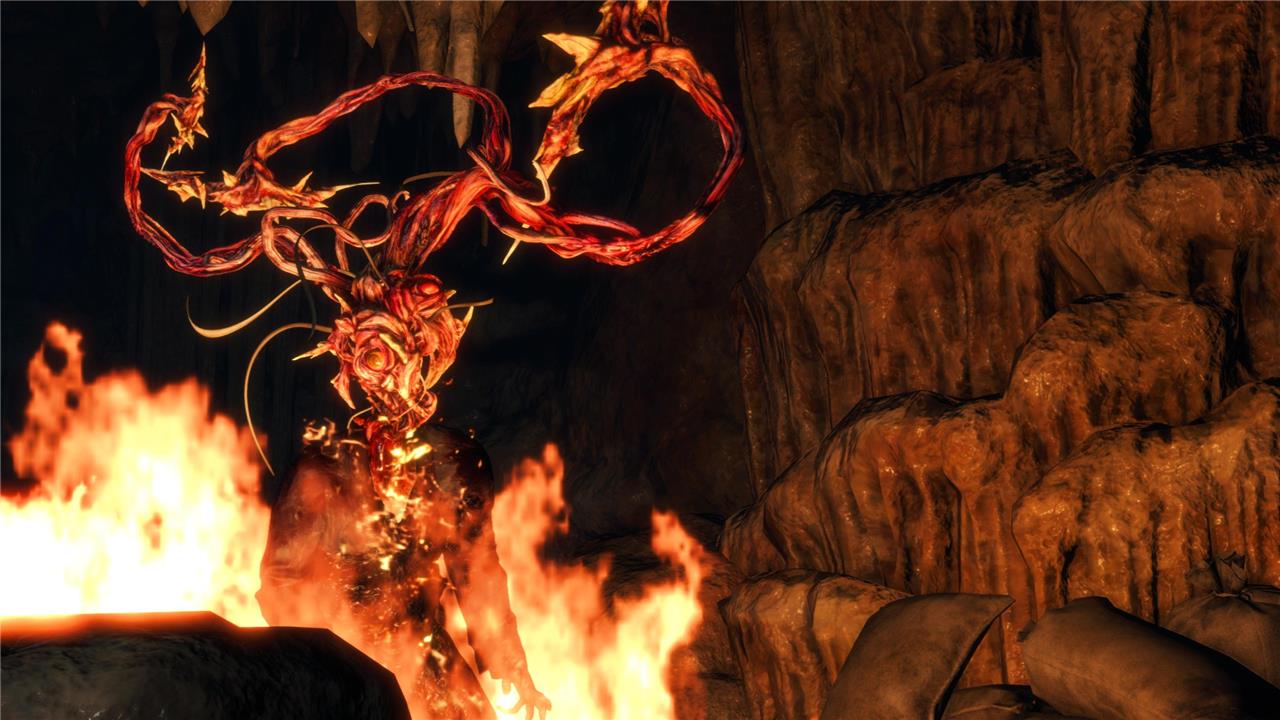
In the beginning, enemies will randomly have a second wind of sorts after being defeated, where they’ll be twitching on the ground and then get back on their feet with their necks cracked.
As you progress through the game, though, they’ll expose the Plagas inside of them, becoming awful creatures that will be extremely annoying to deal with in mob groups. Once you’re deep within the castle, some of these enemies will have the ability to kill you in one hit, similarly to the chainsaw, if you’re unable to pull off a parry on time.
You won’t always have the opportunity, but whenever you see someone on the ground who is about to turn, signalized by the body twitching and the knife icon above their head, stop whatever you’re doing and take care of them before they turn into a major problem.
You can combine herbs with an easy drag-and-drop
You can mix your recovery herbs through a quick drag-and-drop in the inventory menu, making crafting health items fast and convenient. Combine a green herb with a red or yellow one to create stronger healing mixtures without extra steps. This small feature saves time during tense moments and keeps your focus on the action instead of menu management. It’s a simple but practical improvement over the original game’s item handling.
The attache case is your most trustworthy partner in Resident Evil 4, and that hasn’t changed in the remake. One neat trick is that you don’t have to select a herb, open the menu, and select the option to combine with others every time. Simply drag and drop the herbs on top of each other. If it fails, it’s because the combination you’re trying to do isn’t possible.
You can also make herbs in the crafting menu alongside ammo, if that’s easier for you. Also, remember that there is a storage menu available in the remake, which you can access via typewriters.
There are more upgrade tiers later on
Upgrades for your weapons start off fairly basic, but more options become available as you progress through the story. Merchants in later chapters sell higher-tier upgrades that significantly boost damage, reload speed, and other stats. These advanced tiers can make a huge difference in tougher encounters, so it’s smart to hold onto some cash and tune up your favorite weapons once these upgrades appear.
If this is your first time playing, bear in mind that the first selection of upgrades isn’t the final list. Starting in Chapter 9, the merchant has a second tier, which also includes the exclusive ability of each weapon.
After you’ve gotten all upgrades, you can get this final bonus with an often big sum of money or an Exclusive Upgrade Ticket, the latter of which you can get by trading Spinels.
The merchant will warn you about points of no return
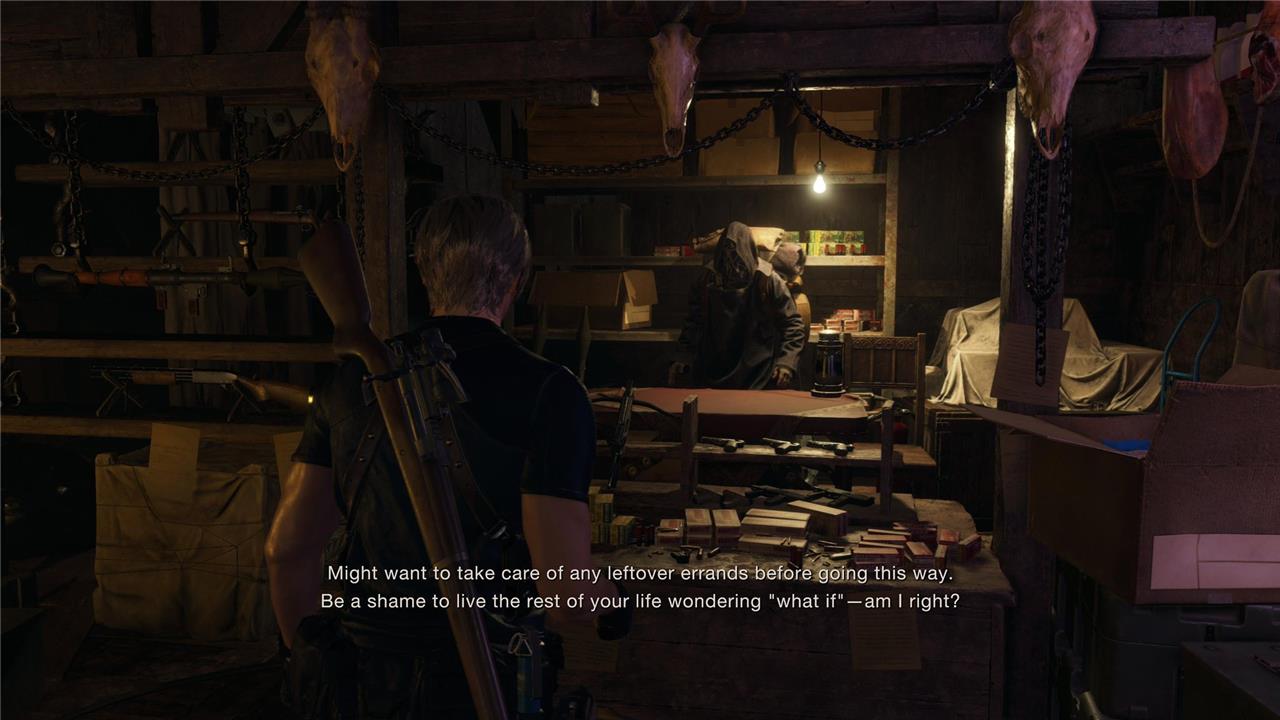
The merchant occasionally cautions you before key sections of the game, signaling that you’re about to cross a point of no return. These moments usually mean you won’t be able to backtrack to previous areas to gather missed items or treasures. It’s wise to save and upgrade your gear before proceeding, as major encounters or story shifts often follow. Paying attention to his warnings can save you from losing valuable resources or skipping content you intended to collect.
The story structure is slightly different this time around, as it’s divided into chapters. While the big picture of most areas will be immediately familiar if you played the original, there are moments of no return that you may not recognize.
The presence of the merchant not only signalizes a natural stopping point for shopping or for saving your game – it can also warn you about these instances. If he says something about “taking care of any leftover errands before going this way,” that means you’re about to hit a point of no return.
If you’re trying to complete all requests, or collect both treasures and collectibles in one go, make a quick manual save as a backup. Otherwise, you will have to tackle them in a second playthrough after finishing the game once.
You can wait for Ashley to recover on her own
Ashley doesn’t always need immediate help after taking damage-sometimes she will recover on her own if you give her a moment. This can save you precious healing items during tougher encounters. It’s a small bit of patience that can make your supplies last longer, especially on higher difficulty levels where resources are scarce. Keep an eye on her health and positioning, but don’t rush every rescue unless she’s actually in danger.
The Resident Evil 4 remake lets you opt between two stances for Ashley when she’s tagging alongside Leon. She can stick close to him, or try and find cover on her own, keeping her distance from enemies.
Now, enemies are bound to get to her if you’re not careful. If she’s grabbed, you’ll see a particular icon and you’ll need to shoot whoever is carrying her to interrupt the action and avoid the game over screen if they escape. Sometimes, however, she’ll get hurt. This is signalized by a yellow icon, as well as an animation of her sitting on the floor.
You need to manually get close to Ashley and press the button prompt to stabilize her, which is an action that takes a few seconds and leaves you both exposed to attacks. But, as long as she’s not attacked again, she can recover herself after a few seconds without your help. Just beware of any long-range attacks that might miss Leon and hit Ashley instead.
Lure enemies into fighting one another
You can save ammunition and time by letting enemies take each other out. Some attacks-like thrown dynamite, crossbow bolts, or wild swings from larger foes-can harm nearby enemies if you position them well. Try dodging behind another target right before a projectile lands or baiting a mob into attacking through crowded areas. With a bit of timing, you can thin the horde without firing a single shot.
There are far more special enemies in the remake, which can sound daunting. The upside, however, is that you can use them to your own advantage. Most of them tend to be aggressive, charging towards Leon or using big-sized weapons that can cover a lot of ground around them. If you circle around a group of enemies for them to be in between the special infected and Leon, I recommend going for a quick bait-and-switch maneuver, getting close just enough so the special enemy begins the attack and gets everyone else but you.
Here’s how to change Leon and Ashley’s outfits
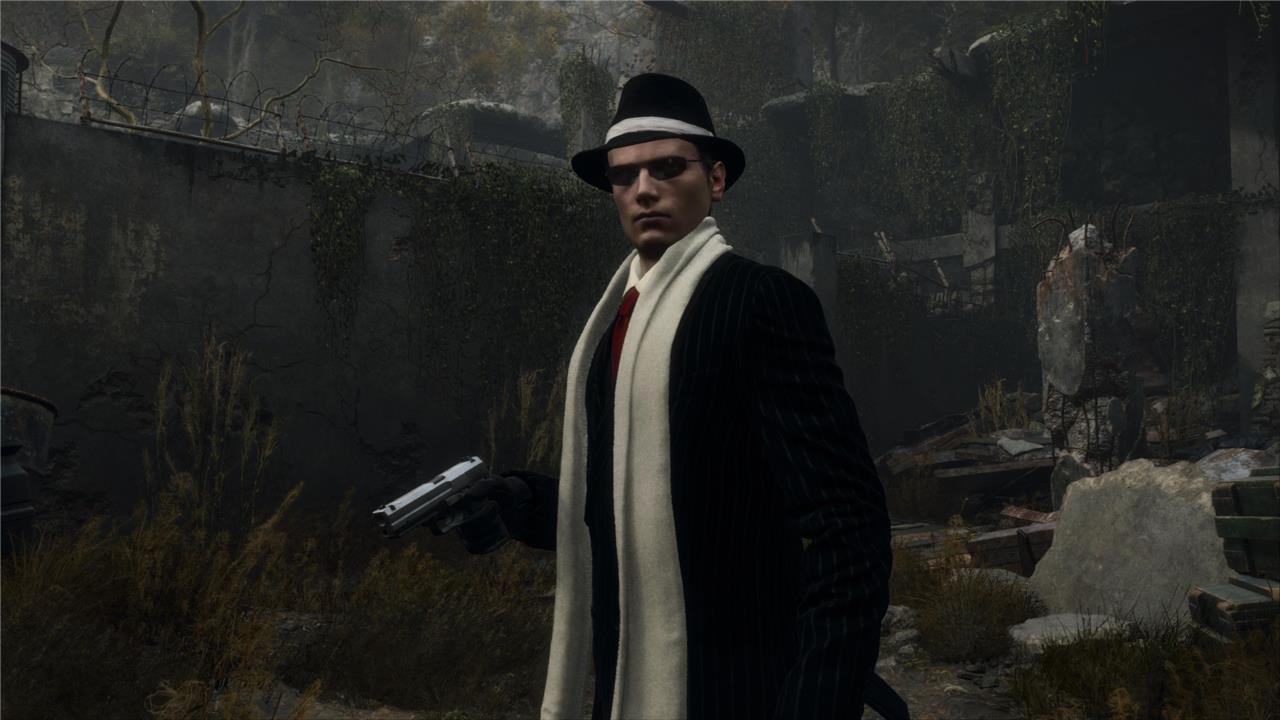
Access the extras menu from the main title screen, then select Leon or Ashley to swap their default clothes for alternate costumes like the gangster outfit or romantic horror dress. These changes carry over to New Game Plus and alter appearances without affecting gameplay stats. Note that some outfits unlock after completing specific missions or achieving ranks like S+ on Professional mode.
If you’re wondering about the cosmetic options for both Leon and Ashley in the Resident Evil 4 remake, similarly to the original, you first need to beat the story at least once before unlocking them. Once you do, head over to the Extras tab from the main menu and pause screens, and purchase them at the Bonus Shop. There is an inner tab called Apparel, which will signalize all the ones you’ve unlocked yet. Such as the in-game models, they’re purchased using the currency gained from completing challenges.
Bear in mind that you can only change outfits from the main menu, but accessories can be switched in-game at any time from the pause screen. If you’re looking for specific accessories, you can check the challenges list to find out what the requirement is.
You may want to hold on to get the body armor, though
Body armor can make a big difference once enemy attacks grow stronger, but it’s better to wait before buying it. Early in the game, money and inventory space are tight, and other upgrades-like increasing weapon power or capacity-offer better returns for survival. You’ll find stronger armor options later, often right before tougher encounters, making your purchase more worthwhile. Hold off until you can afford better gear without sacrificing your offensive upgrades.
Toward the end of the story, the merchant will have the body armor up for sale. The product description is enticing, protecting Leon “completely” from short and explosions, while reducing damage from close-quarter attacks. Yet, unless you’re having a ton of trouble in the difficulty you’ve selected, I recommend relying on first aid sprays and herbs for your first playthrough.
The reason why is that weapons are everything in Resident Evil 4, and you should prioritize using your hard-looted cash to upgrade them instead. The more damage you can cause, the faster you’ll take enemies down. The body armor needs to be repaired, similarly to the combat knife, and the cost is quite high (around 10,000 ptas. in normal difficulty).
That said, if by the time you’re on your second walkthrough your favorite weapons are all fully upgraded, it might be beneficial to invest in the body armor. Up to you either way, but remember that weapon upgrades should be your top priority.
Is the dog alive in the Resident Evil 4 remake?
In the Resident Evil 4 remake, players can once again encounter a trapped dog early in the game, but this time the outcome is different. Unlike the original version, the dog is already dead when you find it, removing the famous rescue moment that helped Leon in his first fight against El Gigante. This change adds a darker tone to the story and hints at the remake’s grimmer approach to its familiar scenes.
If you want to discover whether the dog is present in the remake by yourself, you can go ahead and stop reading from this point on.
Well, Capcom really tried to pull one on all of us in the trailers, but thankfully, the dog is alive and well, and you can find them in Chapter 3. After exiting the manor, take a detour toward the backyard, where you’ll stumble upon a few bear traps. The dog is stuck in one of them. Set them free and you’ll see them back for That One boss fight later on.
Best weapons to unlock and upgrade first in RE4 Remake
Prioritize the knife, Red9 pistol, and W-870 shotgun as your first unlocks and upgrades in Resident Evil 4 Remake for early-game survival and efficiency.
Knife
Upgrade durability and damage first on your starting combat knife-it’s available immediately and vital for parries, grabs, and finishing moves without wasting ammo. Exclusive upgrades later make it indispensable on higher difficulties.
Red9 Pistol
Unlock in Chapter 3 from a lake treasure chest; pour Pesetas into power, capacity, and the stock for precision. Its 1.5x exclusive power boost turns it into a boss-killer and main handgun, outperforming the starter SG-09 R long-term.
W-870 Shotgun
Grab it free in Chapter 1’s village square; max power and capacity early for close-range crowd control against Ganados. Sell it later for the Riot Gun upgrade path if you transition, but it carries you through the first half reliably.
Stingray Rifle
Buy in Chapter 7 for 30,000 Pesetas; upgrade power, fire rate, and add a scope for mid-range spam in castle areas. It edges out rifles like the SR M1903 for DPS once enhanced.
Blacktail Pistol
Available from Chapter 7 merchant; focus on accuracy, fire rate, and capacity as a versatile sidearm or Blacktail exclusive pick for hardcore runs. Pairs well with shotguns for utility staggers into melees.
| Weapon | Unlock Chapter | Priority Upgrades | Cost (Base) | Why First? |
|---|---|---|---|---|
| Knife | 1 (Start) | Durability, Power | Free | Ammo-free defense |
| Red9 | 3 (Chest) | Power, Capacity, Stock | Free | High damage potential |
| W-870 | 1 (Village) | Power, Capacity | Free | Early crowds |
| Stingray | 7 (Merchant) | Power, Fire Rate | 30k Pesetas | Mid-game range |
| Blacktail | 7 (Merchant) | Accuracy, Capacity | 24k Pesetas | Reliable backup |
Where to buy or find the Riot Gun and Stingray
Riot Gun and Stingray are both merchant-purchased shotguns in Resident Evil 4 Remake, available mid-game for key upgrades over starting weapons like the W-870.
Riot Gun Location
Purchase the Riot Gun from the Merchant starting in Chapter 6 for 14,000-28,000 Pesetas (sources vary slightly on base price). It’s ideal before the Village Chief boss and early castle fights, offering faster fire rate and more power than the free W-870 from Chapter 1.
Stingray Location
Buy the Stingray semi-automatic rifle from the Merchant in Chapter 7 for 30,000 Pesetas, right as you enter the castle with Ashley. Add scopes later for precision; it outperforms bolt-actions like the SR M1903 for rapid mid-range shots.
Quick Comparison
| Weapon | Chapter | Cost | Ammo Type | Best For |
|---|---|---|---|---|
| Riot Gun | ~28k PTAS | Shotgun | Close crowds | |
| Stingray | 30k PTAS | Rifle | Mid-range staggers |