Rain lashes the ancient stone as Leon climbs the castle battlements, where every shadow hides danger and every clang of steel means survival. Between relentless enemy waves and the confounding Lithograph puzzle, this chapter turns the fortress into both a battlefield and a riddle box waiting to be solved.
Throughout this walkthrough, we’re not going to mention every item that anyone (or anything) you shoot drops – if you kill something, look for a loot drop.
Also, there’s a little randomness to the contents of crates based on your inventory and weapons, so you probably won’t find the exact same things listed below. The crates and barrels themselves will always be in the same locations, though. And all other items – keys, collectibles, and resources not found in crates – should be the same.
Find Ashley
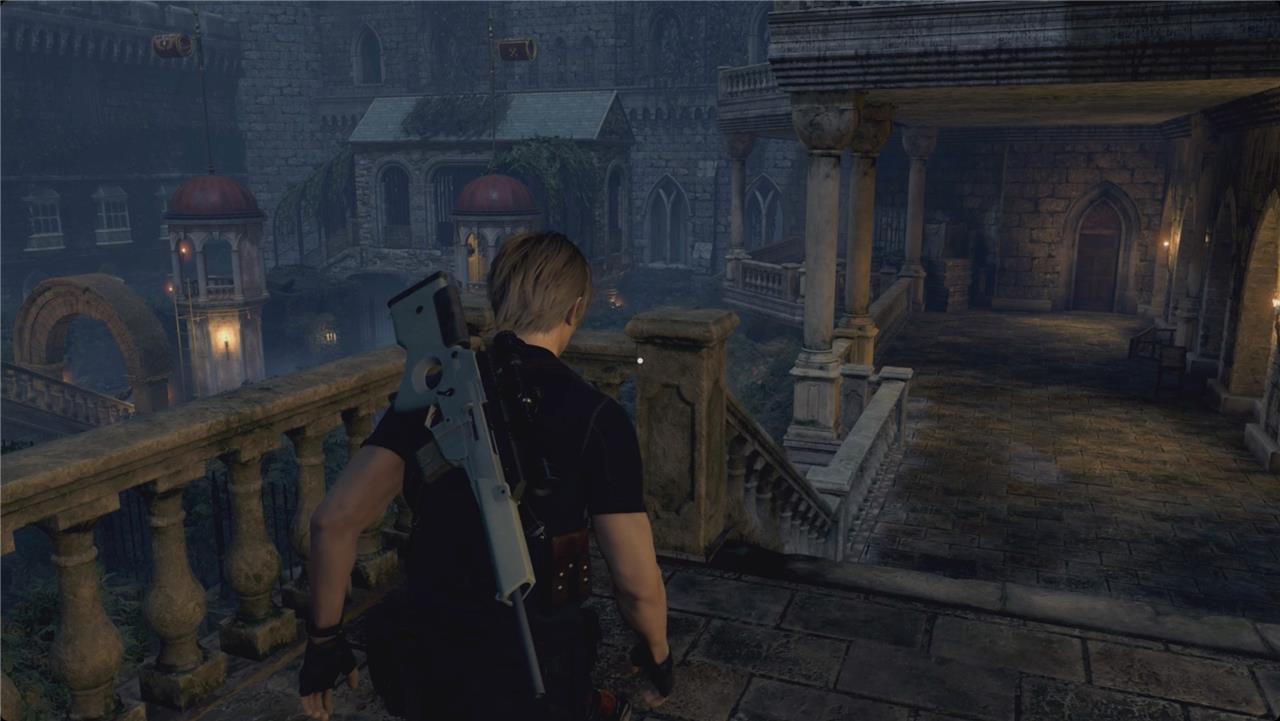
Head to the main plaza after the knight fight and spot Ashley atop the highest tower. Climb the ladders on the left side to reach the upper walkway, then cross the wooden bridge while fending off attacking Ganados. Once there, grab her and carry her down safely to continue the chapter.
Another phone call later, Leon will be on his own facing the newly closed gate.
Head left. There’s nothing over by the fountain, so just head straight. There’s a vase with pesetas to the left of the door. Inside, head left and go through the door to find the Merchant.
He’s got the Body Armor now. Our beginner’s guide recommends you don’t buy it (yet). You’ll end up spending too much on repairing it for it to really be worth the time.
He’s also got the Matilda handgun on the Trade tab. You probably won’t have the spinels for it yet, though – and the Red9 is a lot more fun anyway.
We also won’t have any treasures to sell at the moment, so just repair your knife and save at the typewriter. If you have extra cash on hand, buy a tune up.
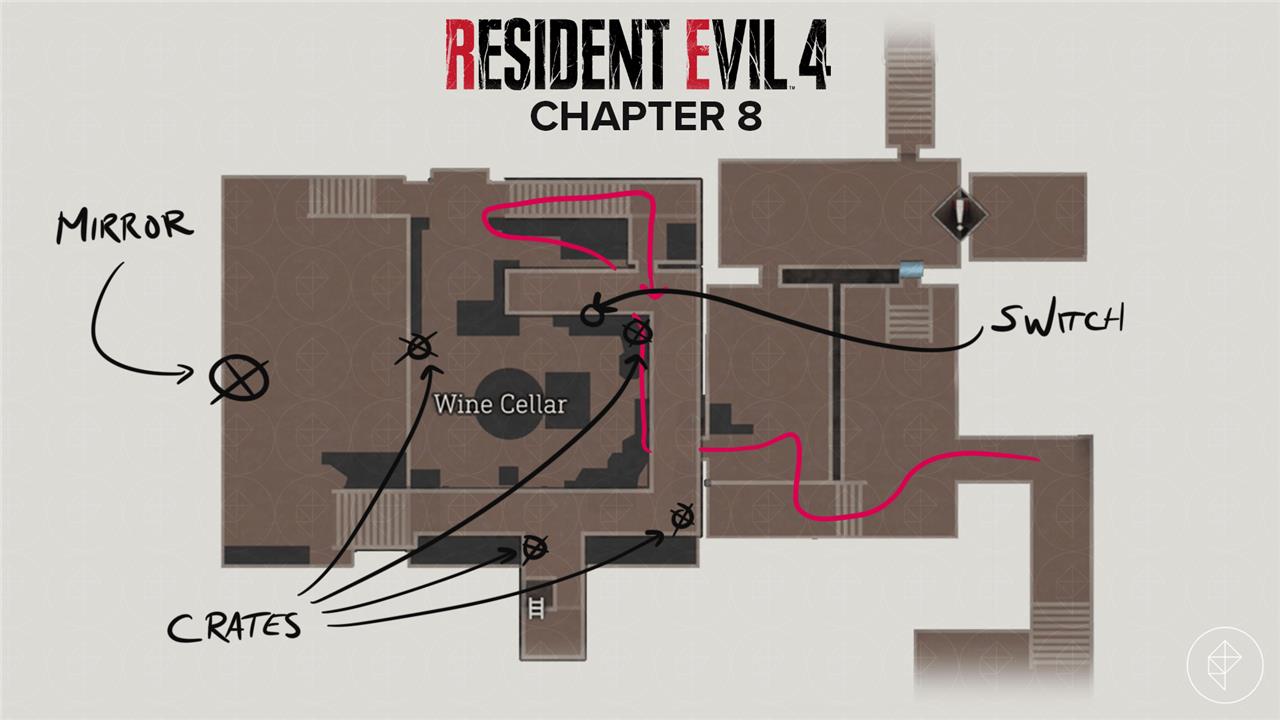
Wine Cellar
The Wine Cellar is a dark, narrow section beneath the castle where Leon faces waves of zealous cultists in close quarters. Visibility is low, and torches cast long shadows that can hide enemies until they’re almost upon you. Use the shotgun or flash grenades to manage groups efficiently and keep an eye out for traps along the floor. Exploring thoroughly rewards you with ammo, treasure, and resources useful for the upcoming Lithograph puzzle.
Outside, head up the stairs. At the top, there’s a crate to the right with pesetas and magnum ammo. Take the next set of stairs up.
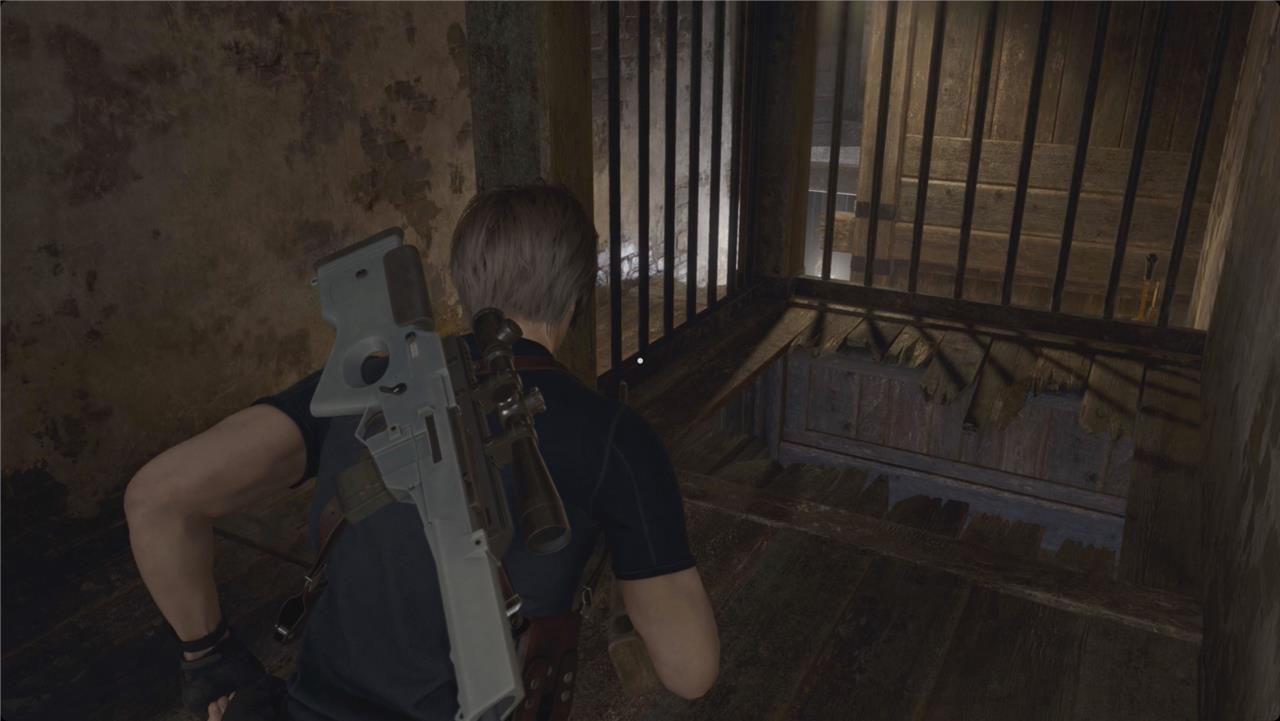
Inside, you’ll find some kneeling (dead) zealots. Ignore them, and keep to the left. In the hallway, watch for a gap to vault on your right.
When you land, look left for the Consign the Crimson Flame file for a clue about what you’re doing next. There are two statues at the end of the room guarding a locked door. We’ll be back for that in just a minute.
Crouch, and head through the door in the front left corner of the room. Things are about to get interesting, so reload all of your weapons and craft anything you need – flash grenades are going to be really useful.
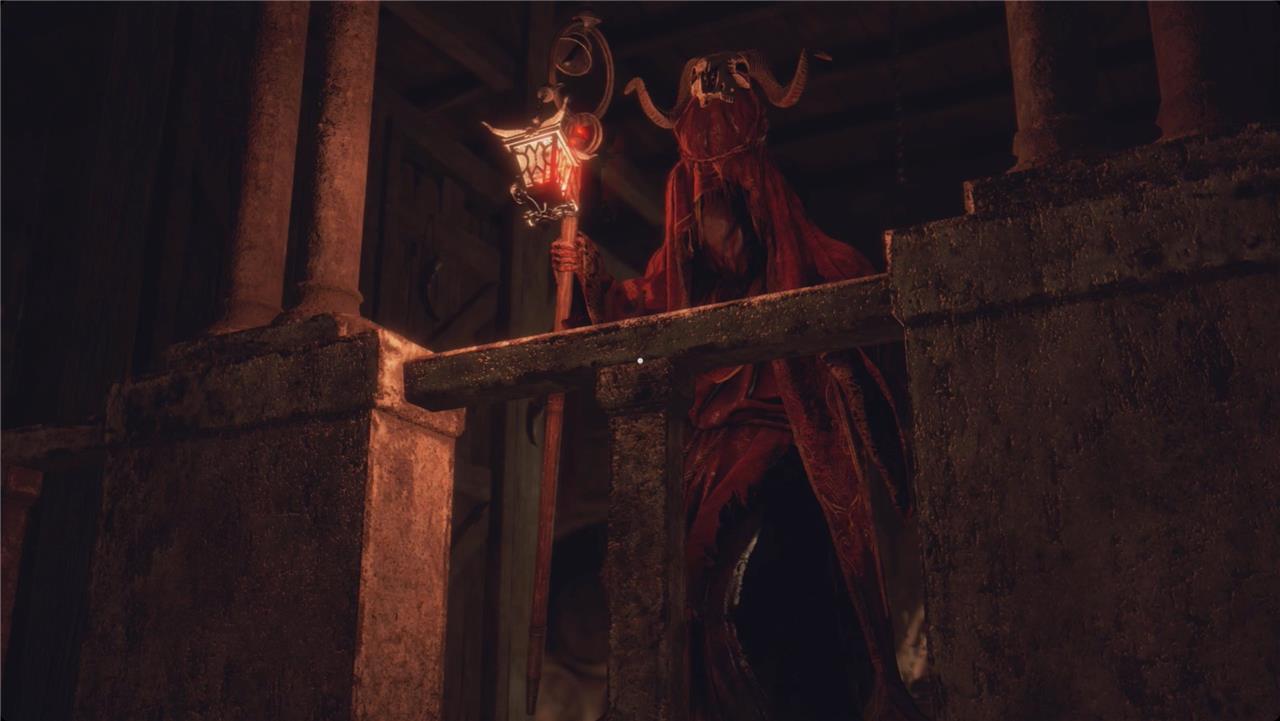
You’ll see a (the?) cow skull-headed guy – he’s just called a zealot (staff) by the game – from back at the El Gigante boss fight turn some zealots into angry Plaga Mandibulas. Stay crouched and cut to the right.
Smash the crate (silently, apparently) for some pesetas, and continue around the room.
You’re going to have to fight them all at some point, and it’s going to be messy, but we can cut down on some of the drama by being careful right now. While you’re maneuvering, take note of any explosive barrels you see.
When you reach the stairs, take two rights to climb up over where you entered. At the top of the stairs, you’ll be able to stealth kill a zealot. There’s a pair of zealot arbalists up here with you – one to your right, and one on the far side of the room opposite them. Sneak up on them both and dispatch them.
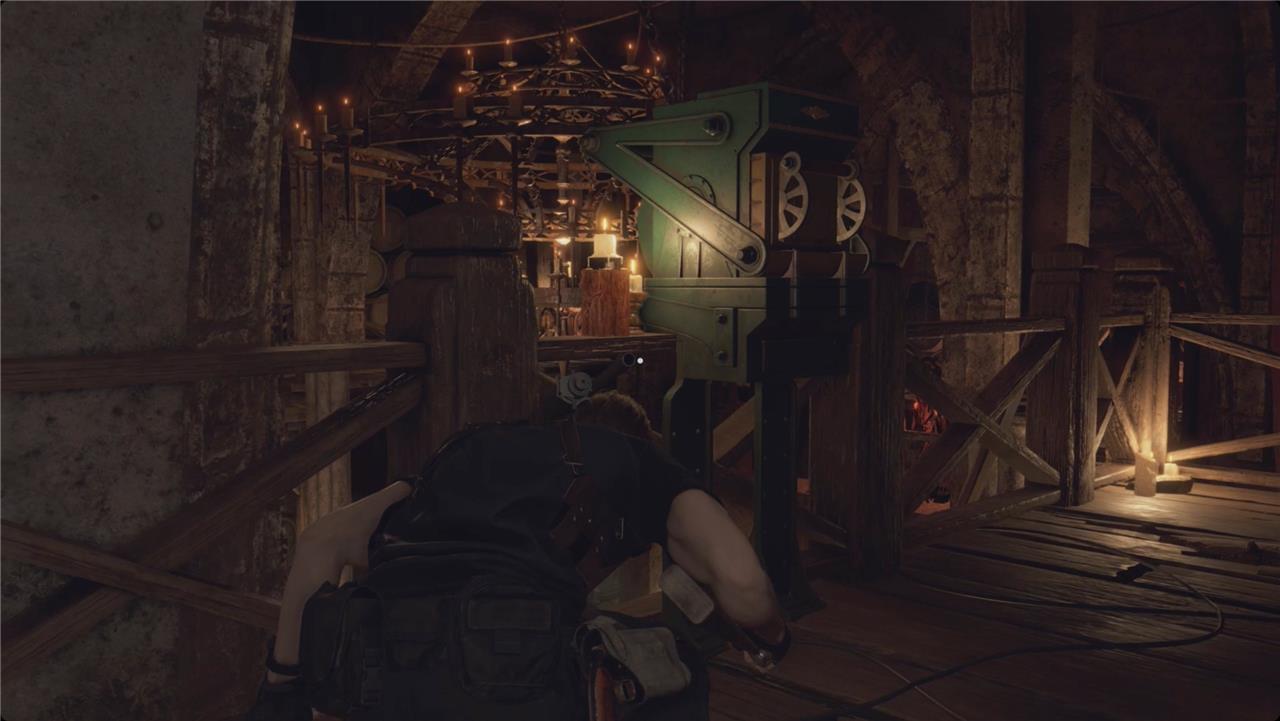
Over by where you came upstairs, there’s a switch overlooking the room. Throw it to drop the oddly deadly chandelier, and it will kill several of the zealots at once. From there, it’s just about cleaning up the rest. Use the exploding barrels as much as you can to save on ammo.
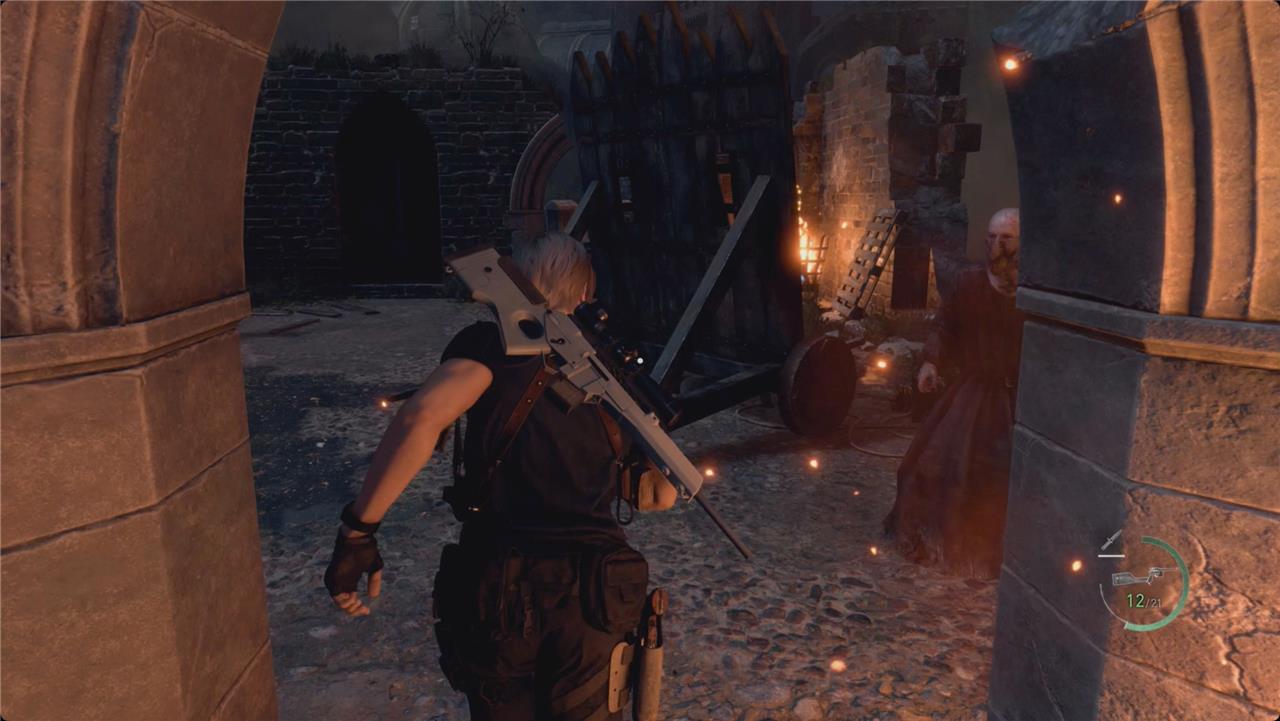
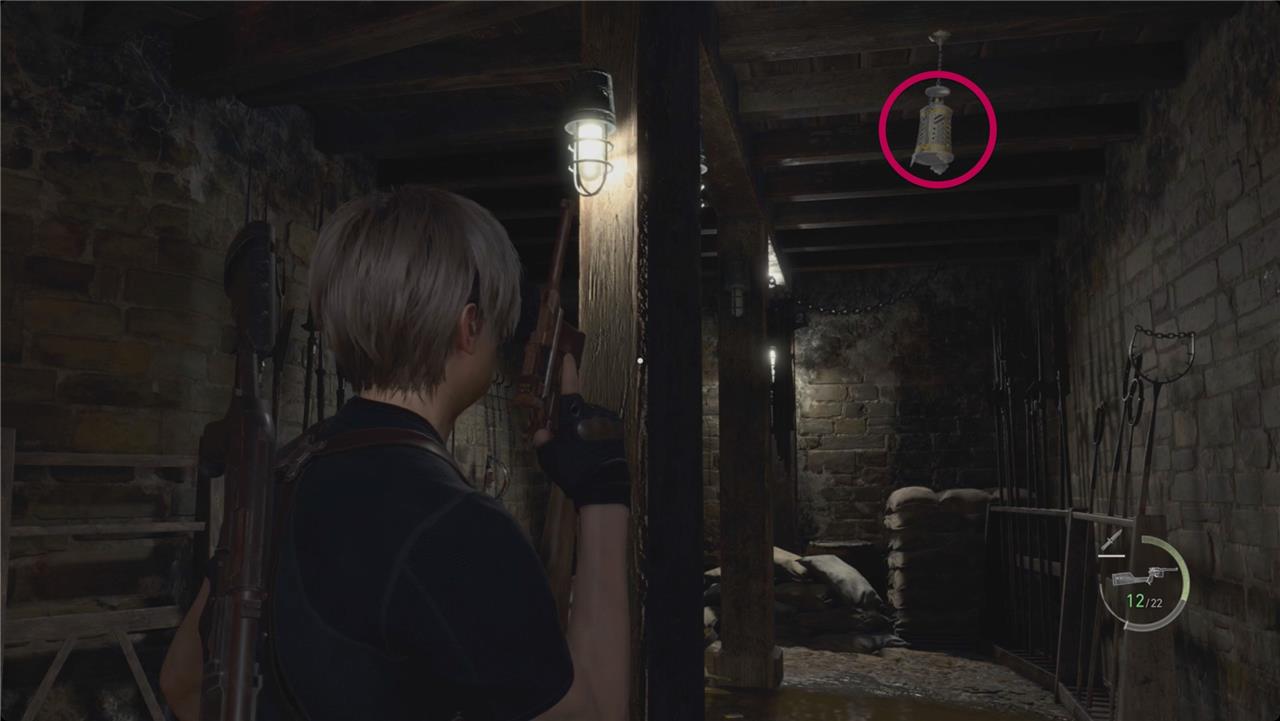
Your real goal is to take out the zealot in red robes. He’s nasty, but a few shots to the head with the Riot Gun will put him down. Pick up the Crimson Lantern from his corpse.
Sweep the room for loot and crates. There are two up on the walkway with pesetas, and two more downstairs also with pesetas. When you’re done, head to the west side of the room – over by where the priest started – and open the chest for a Mirror with Pearls and Rubies.
Head back to the first room, and place the Crimson Lantern in the hand of the Stone Statue to open the gate.
In the next room, unlock the door on the right to open a shortcut back the way you came. Head up the stairs on the left and through the door.
Bindery // Wall with Four Slots puzzle
In the Bindery, you’ll encounter a wall mechanism featuring four empty slots that must be filled with Lithograph pieces found nearby. Each piece corresponds to a specific symbol and material-stone, iron, or wood-and must be placed in the matching position for the mechanism to function. Examine the shapes and colors of the slots carefully to match each tile correctly. Once all four are inserted in their proper spots, the wall will slide open, granting access to the next area.
Smash the barrel in the next hallway for a spinel, and then continue into the next room for a cutscene.
After Ada says her Batman goodbye, sweep the room for loot. Starting from the door you entered through and working clockwise, grab the Lithographic Stone C, Lithographic Stone D, and Lithographic Stone B. Skip the puzzle for now, and open the chest by the fireplace for an Extravagant Clock.
Head back to the Wall with Four Slots puzzle. You have to match the images on the Lithographic Stones to the symbols on the puzzle. The trick here is that each Lithographic Stone has a different image on the back, and you can’t quite see all four symbols.
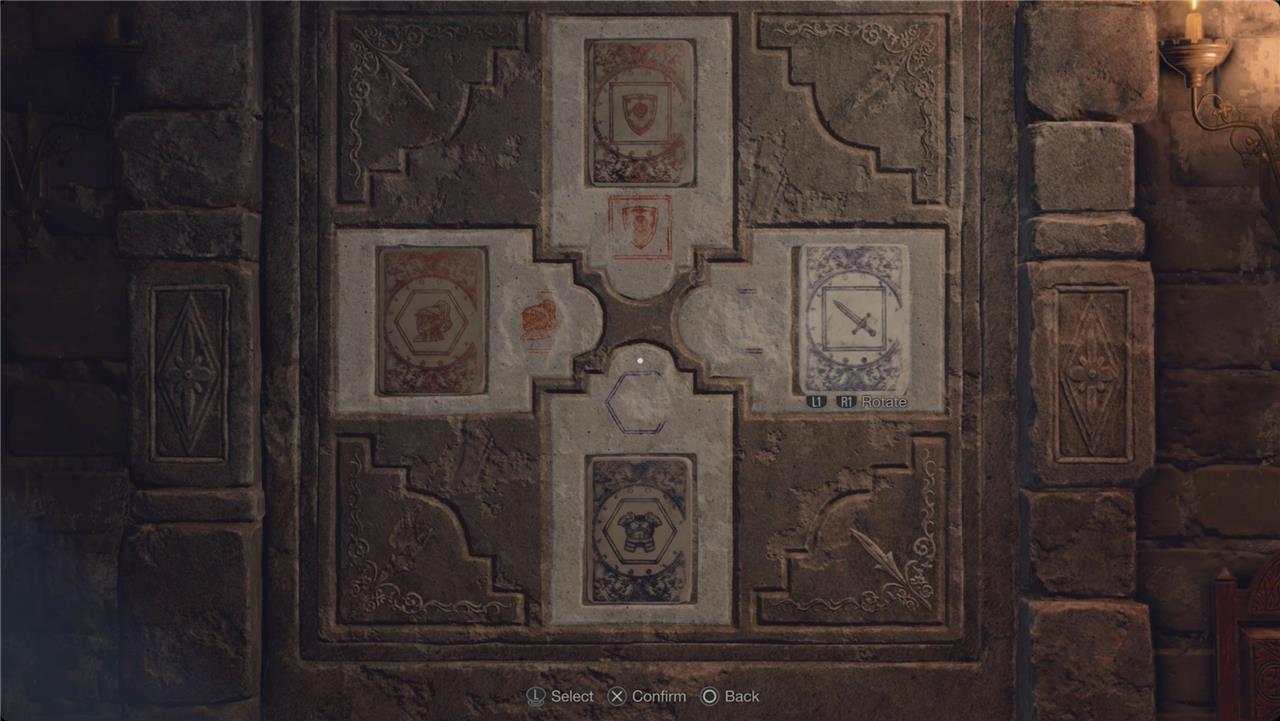
Starting at the top and working clockwise, flip the tiles to find and place the:
- red shield in a square
- blue sword in a square
- blue chest armor in a hexagon
- red helmet in a hexagon
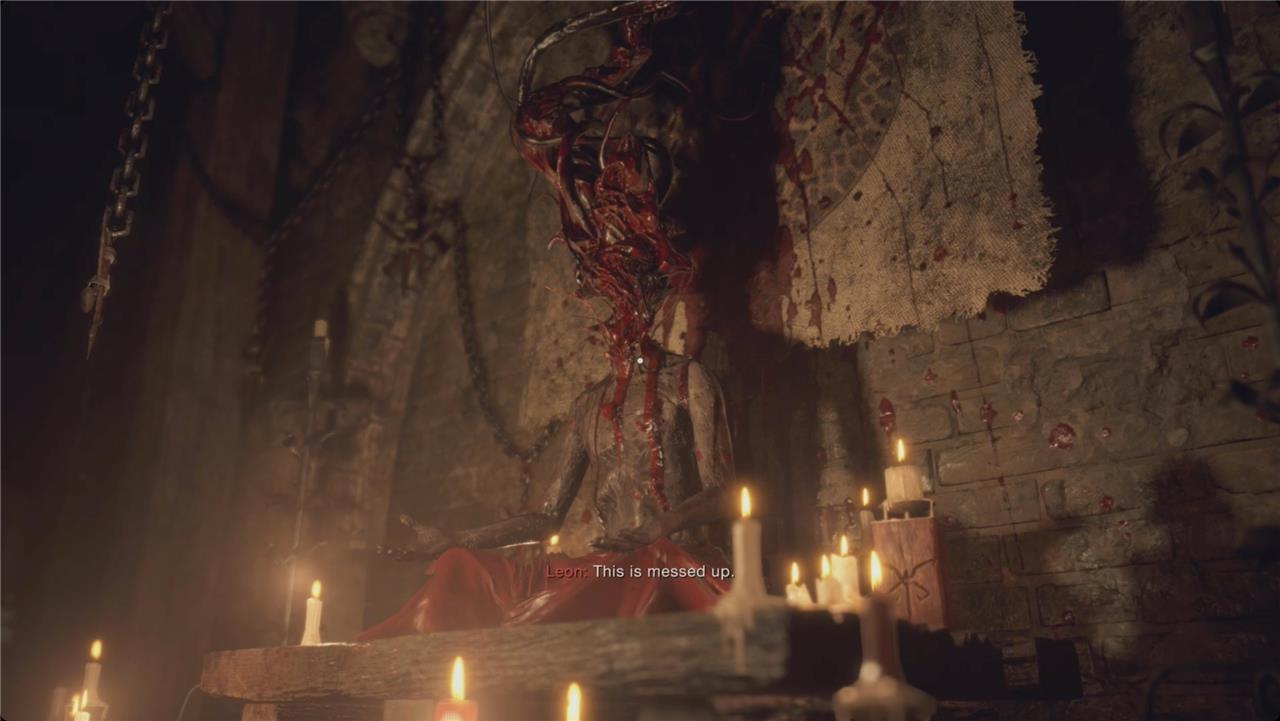
A door will open ahead of you. Follow the hall to the end. In the next room, ignore the corpse with the wiggling face tentacles, smash the barrel on the left for some rifle ammo, and grab the Iliuminados 3:2 file from the table.
Head through the door and up the stairs. Turn left at the top to find a small key. Duck under the bookcase through the door on the right, and deal with the new spider-y parasite. The game calls them Plagas and, when they attach to a zealot, Plaga Arañas. We’ll just stick with spiders to avoid the confusion there.
At the end of the hall, loop around to the right and go down the stairs to find the Merchant.
Merchant
The Merchant appears near the start of Chapter 8, offering a valuable chance to resupply before heading across the battlements. He stocks upgraded weapons, ammunition, and healing items that prove useful against heavily armored cultists. Players can also tune up their gear or sell treasures gathered from earlier sections. It’s a smart moment to invest in firepower, as enemies ahead are more aggressive and resistant to weaker weapons.
We’ve got a few treasures to unload, so inlay any gems you can – the Extravagant Clock takes one round and one square gemstone. You can earn up to 27,500 pesetas with a red beryl and a yellow diamond.
Sell the Mirror with Pears and Rubies and the Extravagant Clock. Our advice remains the same about the Body Armor, so just repair your knife and buy a tune up or three.
When you’re done, save at the typewriter, and then attack the counterweight to open the gate.
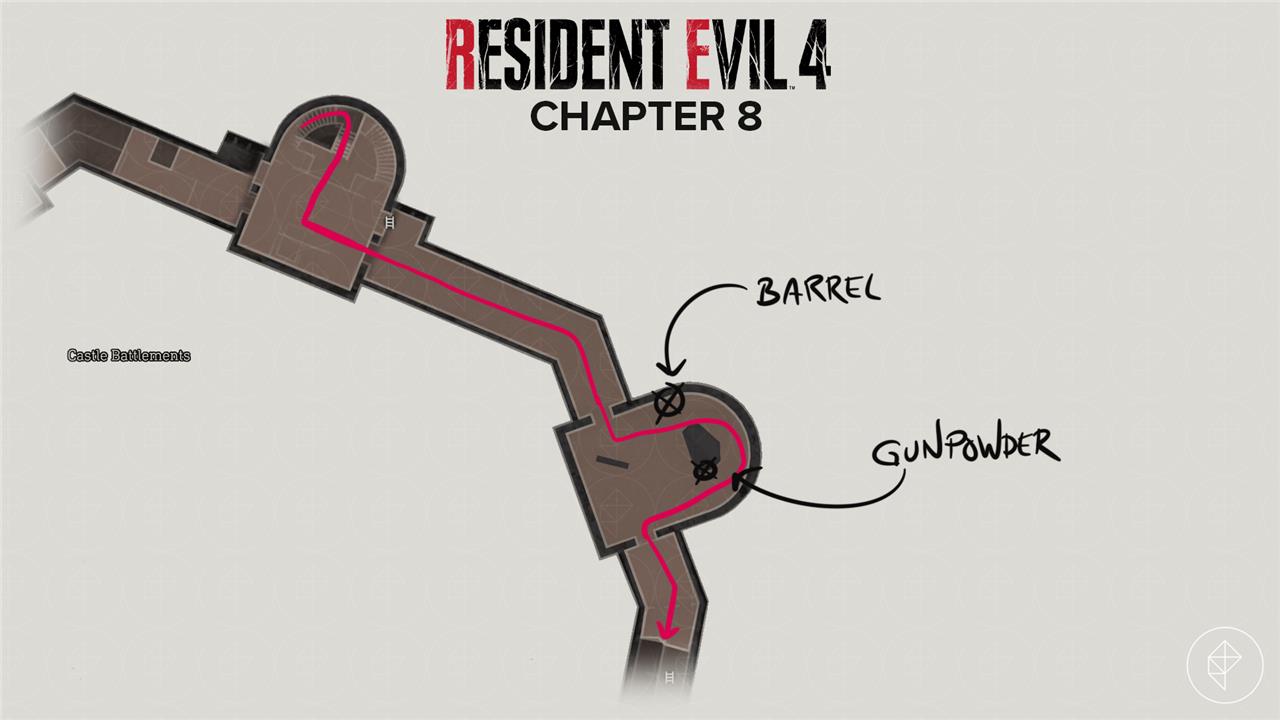
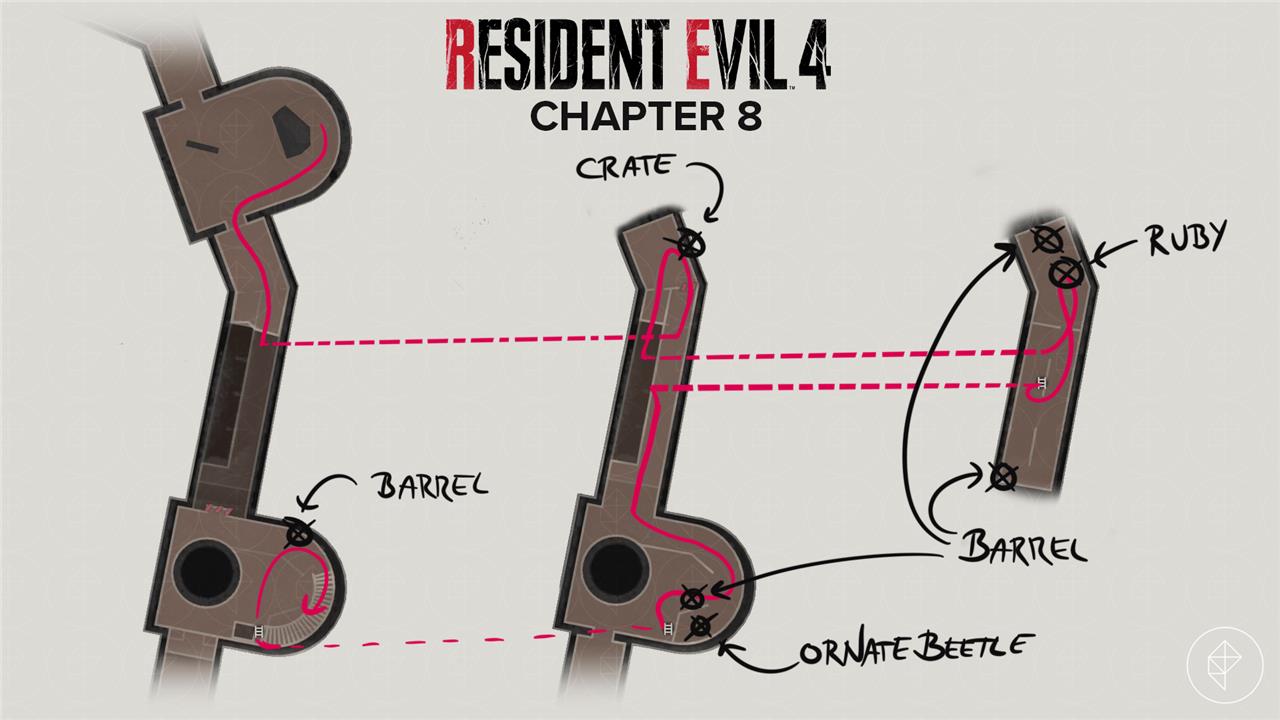
Castle Battlements
The Castle Battlements section begins with Leon facing waves of zealots armed with shields, crossbows, and catapults. Keep moving to avoid heavy fire and use the nearby cannons to destroy enemy positions and gates. Watch for ambushes on higher walkways and use explosive barrels to thin out groups. After clearing the area, collect resources before proceeding to the Lithograph puzzle room, where careful placement of the stone plates is needed to reveal the path forward.
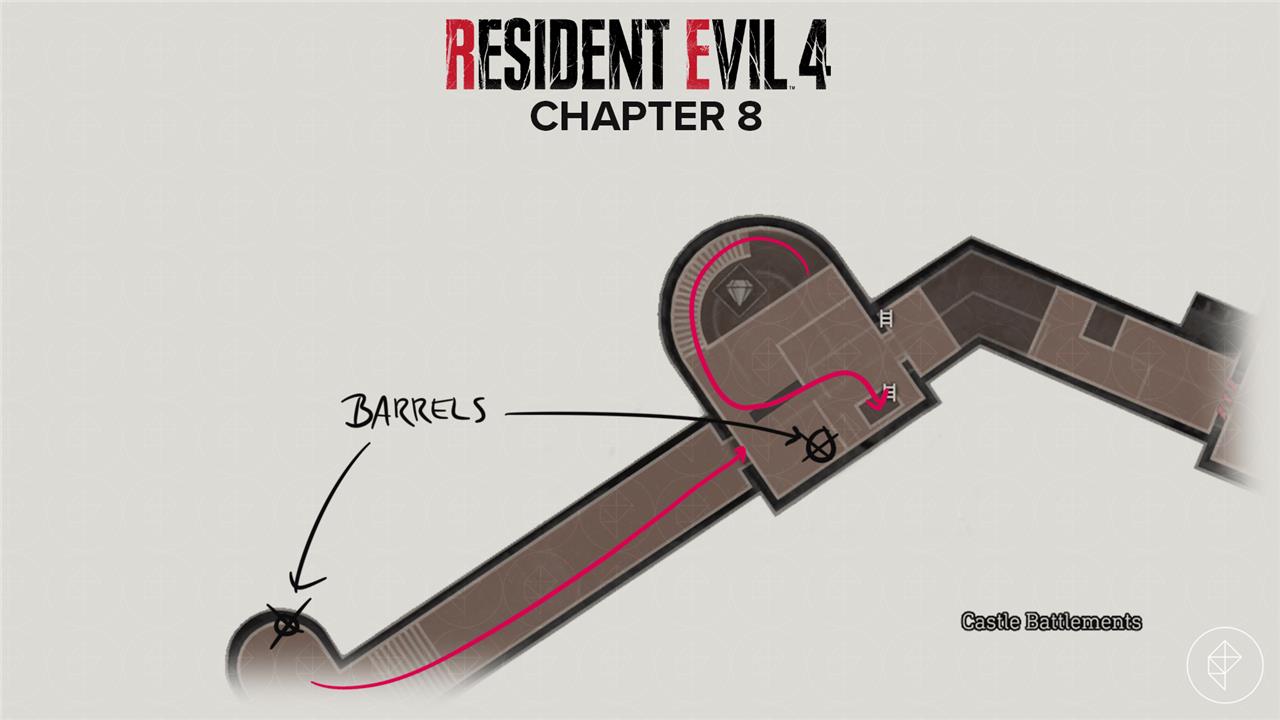
Outside, take the first left for a barrel with resources (S) and pesetas. Check the top of the tower ahead of you for a few zealot arbalists.

Save one shot for the counterweight to the left of the drawbridge. When you shoot that, the drawbridge will lower and you’ll get attacked by a few more zealots.
When you hit the first tower, ignore the lock and lever ahead of you and turn left. Watch for a spider parasite to come down the stairs along the wall (ick), and head up. Deal with the zealot and a second spider up top, and then smash the barrels for resources (S) and pesetas.
Step through the door with a sun symbol above it – ignore this lever too. Drop down the ladder and smash the barrel for rifle ammo. Turn around and go through the sun door.
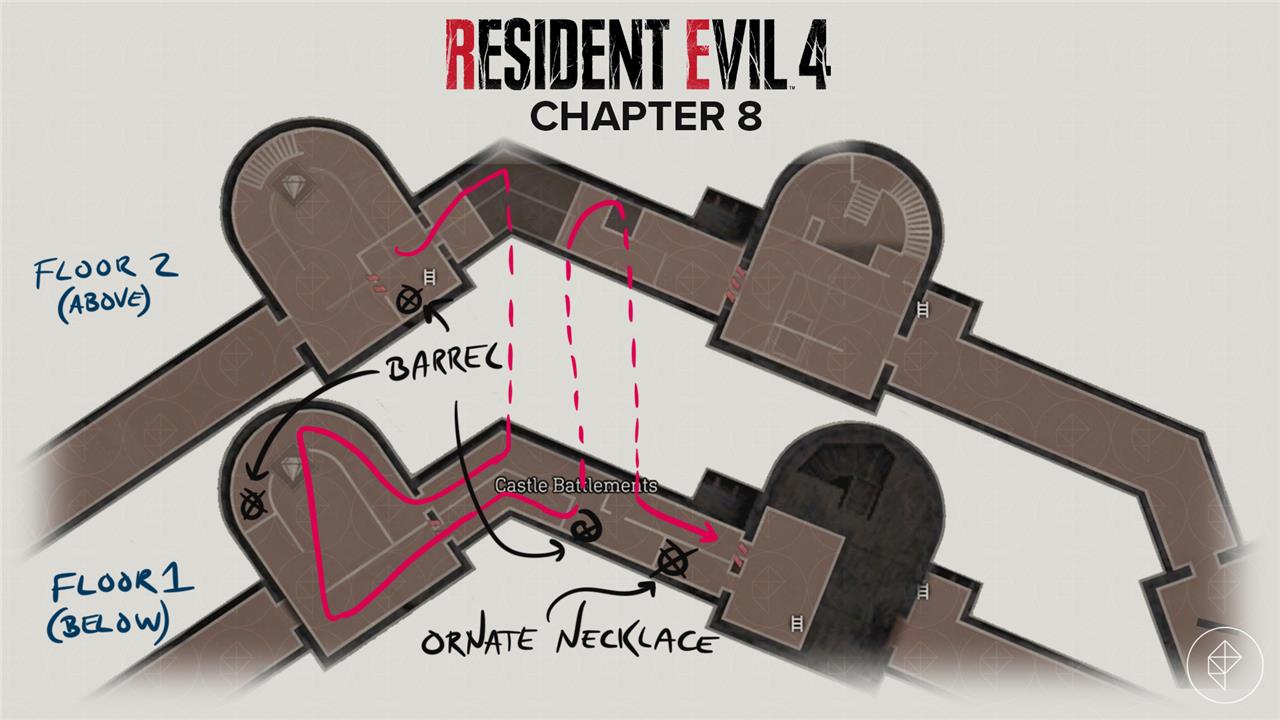
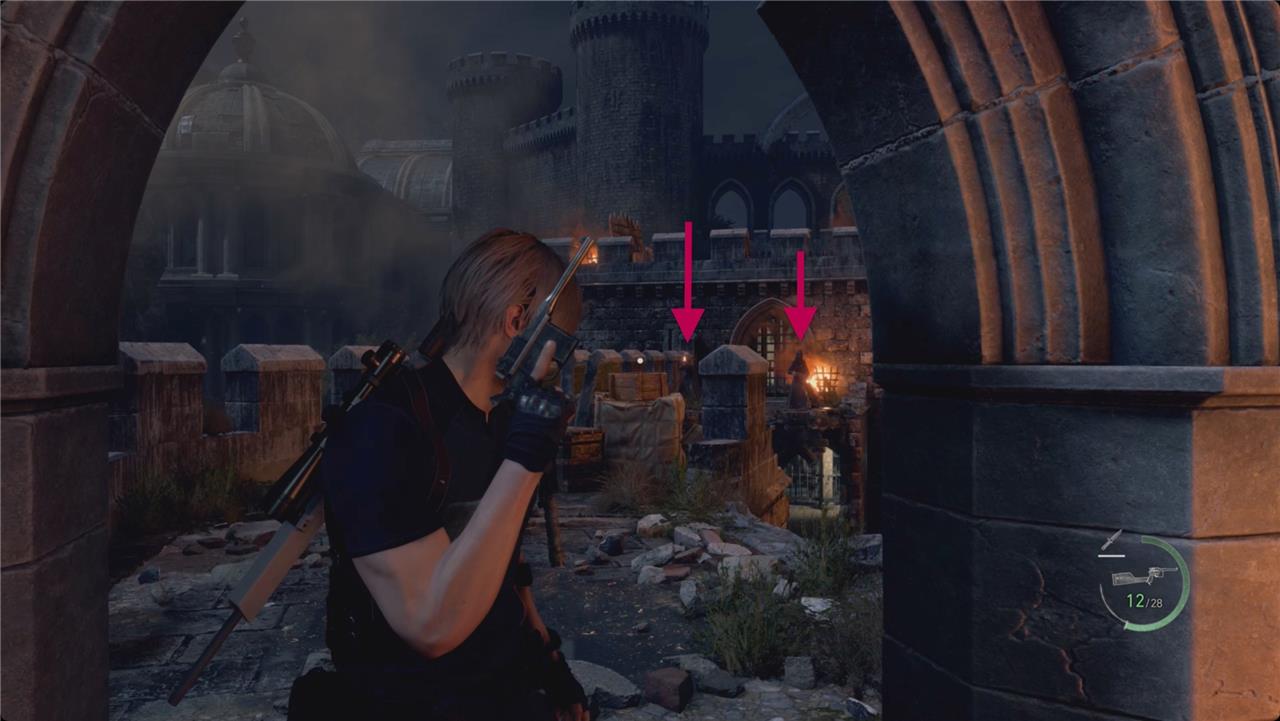
Drop down to the next level. Head forward and into the dogleg for a barrel with some pesetas. If you shoot the two zealots from here, it’ll save you some trouble later. Head back into the tower and follow the hall around. Deal with the zealots and spiders, and follow the hall to the far side for a barrel with a green herb. Pass through the room in the center and turn around to the right to find another lever. Hit it, and then follow the hall behind you.
Through the moon door, use the boards to climb up. Climb onto the platform on your left and deal with the two zealots a little farther to the right. Turn around, and drop through the hole in the floor.
Deal with two more zealots, and head into the room at the end of the hall – you’ll be in the next tower at this point. Loop around to the right to find a chest with an Ornate Necklace. (It holds two square and two round gemstones.)
Climb the ladder back up and smash the barrel to the left for some handgun ammo and pesetas. Unlock the door, and take the stairs up. There are four zealots waiting for you – shoot the lantern over the arbalist across from you on the stairs for some fun.
In the room at the top of the stairs, smash the barrel for some rifle ammo. If you look through the gate by that barrel, you’ll spot another counterweight on the tower you just came from. Shoot it to open a path back – we’ll get to it (much) later. Continue up the next set of stairs.
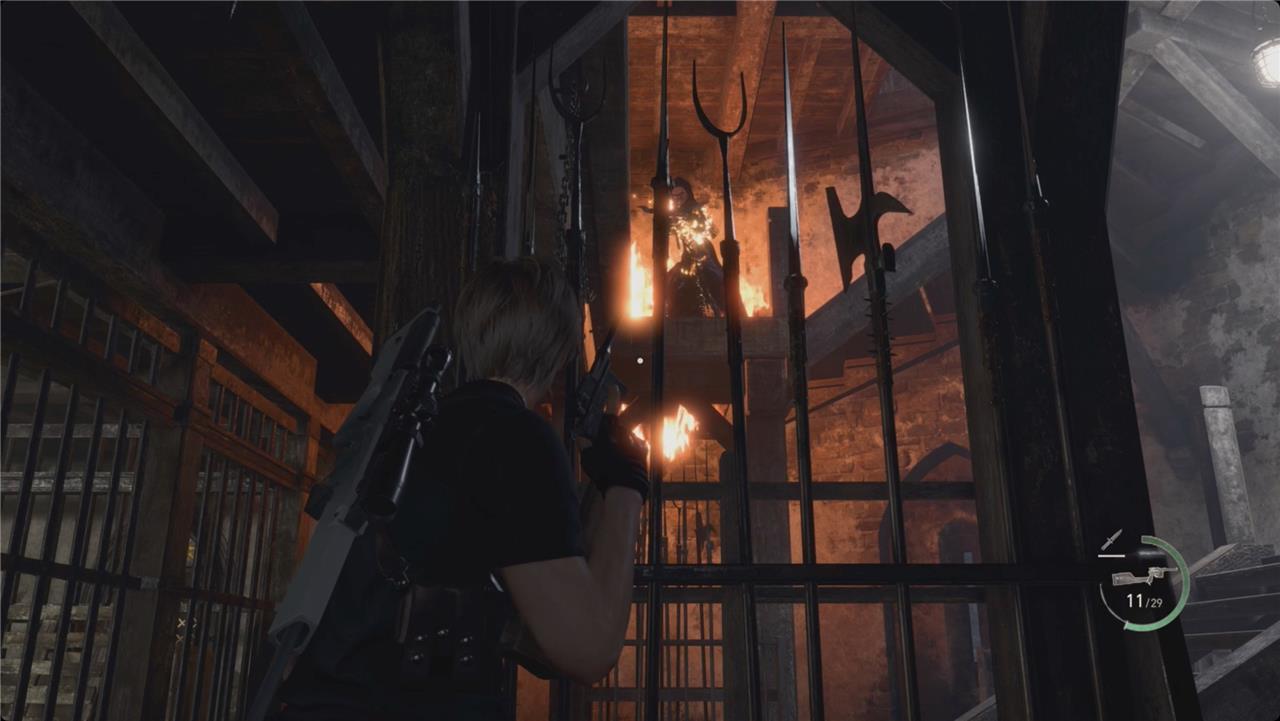
Armored Giant boss fight
The Armored Giant bursts into the arena surrounded by flaming debris, forcing Leon to keep a safe distance while aiming for the exposed weak points revealed by the furnace’s heat. Use the environment to your advantage-trigger the trap mechanism when the creature stands over the center grate to send it into the molten pit below. Precision and patience are key here, as its armor deflects most direct shots until the right moment presents itself.
After a cutscene and some Leon-brand wordplay, you’ll regain control.
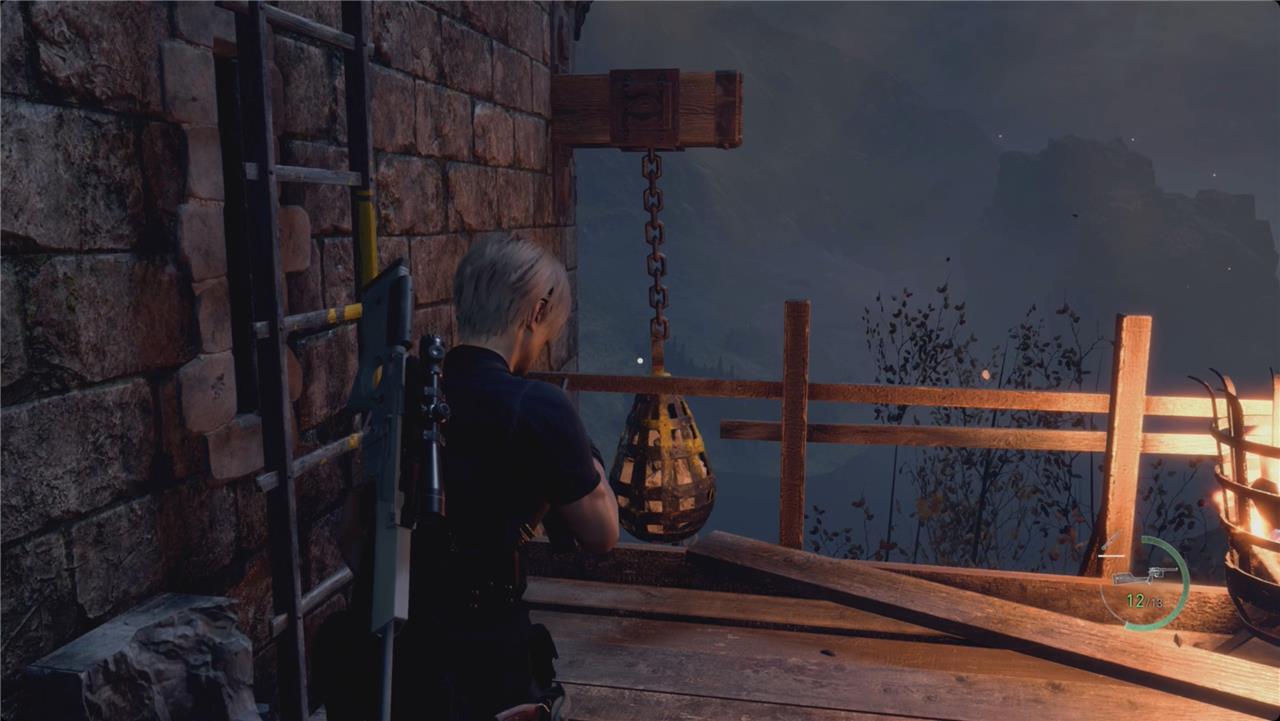
As soon as you can, sprint to the shield ahead of you and to the left – it’ll protect you from the giant’s projectiles. Don’t waste any ammo shooting at him. Wait for a gap in the stuff he’s throwing, and drop off the ladder to the left.
At the bottom, turn left again and shoot the counterweight hanging there. Sprint across the battlement ahead of you and duck behind the next shield. Deal with the two zealots. Face away from the giant, and run behind the wall. Smash the barrel on the way for a green herb. Around the far side of that chunk of wall, there is some gunpowder to grab.
Duck into – but not through – the doorway on the left. Before you go running, there are two arbalists ahead of you to deal with, and taking them out from here will save a lot of trouble.
You’re not going to make it all the way to where they were standing – the battlement doesn’t go that far. Instead, run forward and, when you drop, keep running forward. You’ll hit a locked door guarded by a zealot. Get behind the wall for protection from the giant, and the deal with the zealot – and the second one coming up behind you.
Turn around and head back the way you came to find a small room. Smash the crate on the right for some resources (S) and pesetas. Throw the switch and go through the sun door.
When you drop, immediately turn left and get behind the wall. Deal with the zealot, and then go smash the barrel against the far wall for some pesetas and handgun ammo.
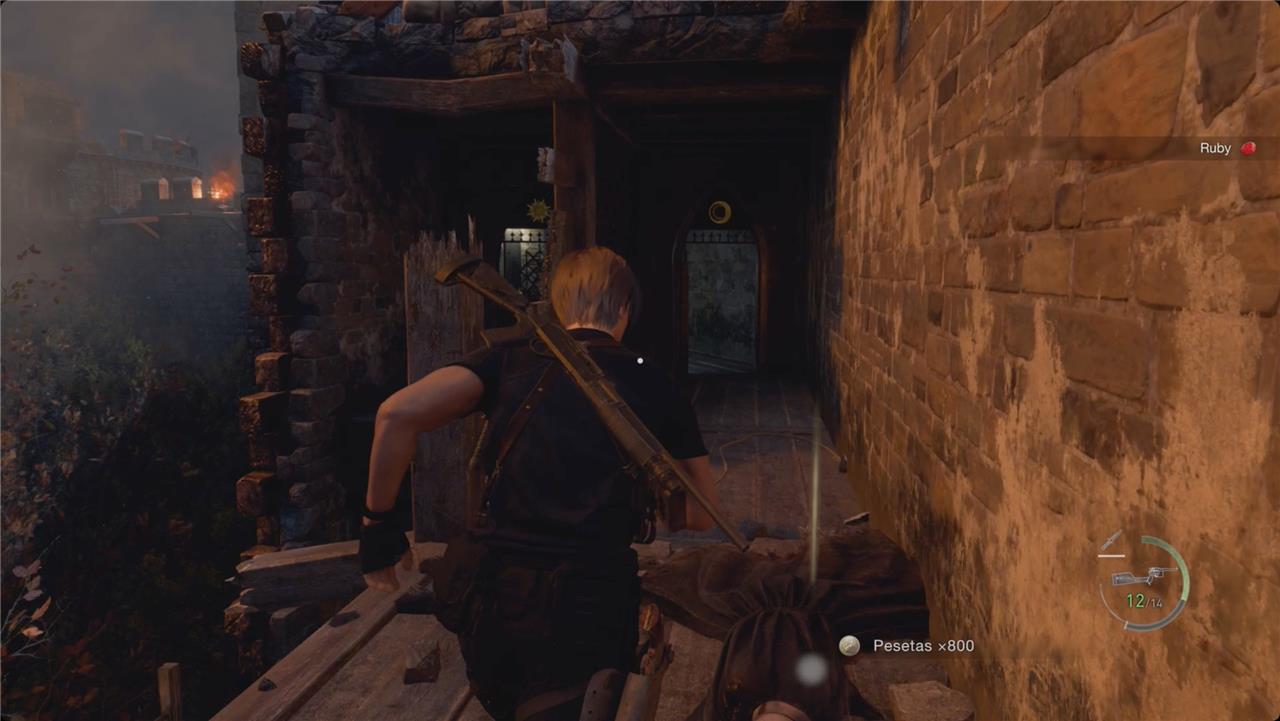
Head back the other way and through the sun door. Look up as you enter to see a lantern with a ruby. Smash the (non-explosive) barrel inside for some pesetas.
There is a ladder against the first wall outside – on the giant’s side, of course. Wait for an opening and sprint out to climb it. Take a right at the top and run into the next tower.
Loop around. Before you go free the counterweight, use a small key on the drawer to the left for an Ornate Beetle treasure.
In the main room, smash the barrel for pesetas and hit the counterweight. Deal with the zealot, and then climb the ladder. Take a left and smash the barrel at the foot of the stairs for handgun ammo. Go hit the counterweight and take the stairs up.
Use the two shields at the top to loop back to the barrel behind you for some more handgun ammo. Wait for another attack, and then sprint to the cannon.
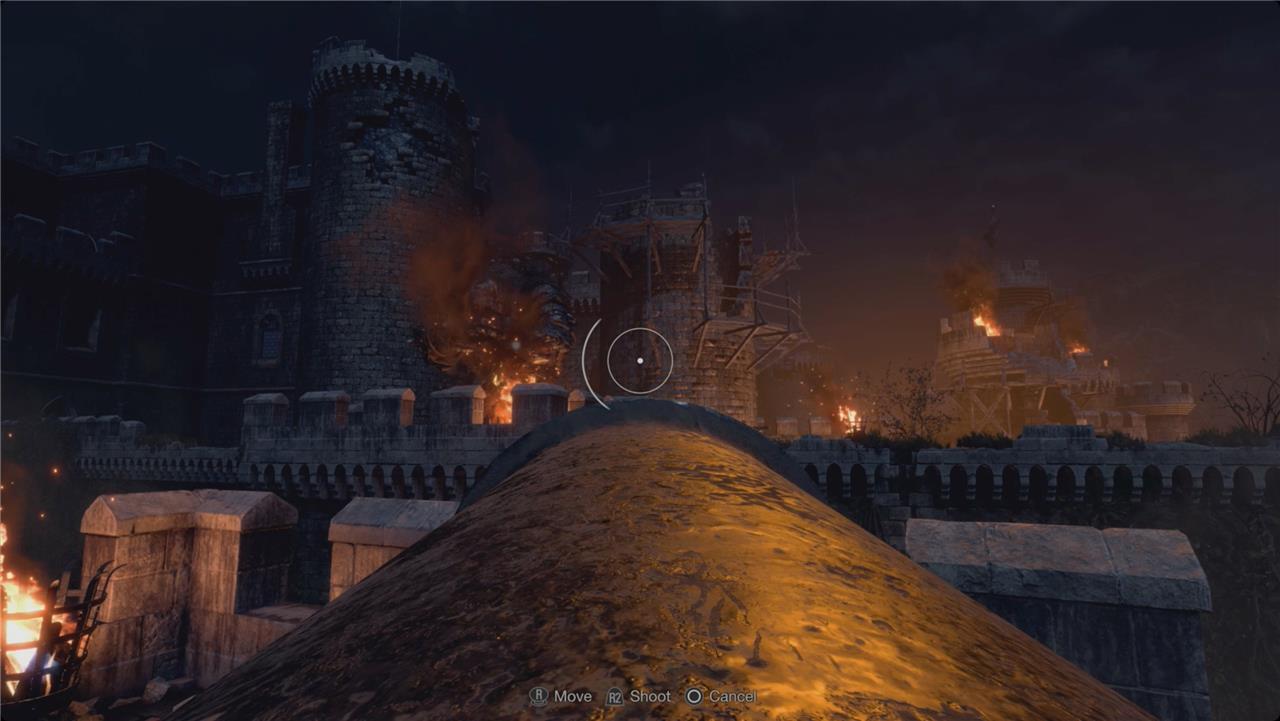
Use the cannon to put down the Armored Giant, and then turn it to the left. Shoot the zealots in front of the gate, and then the gate itself to open your path forward.
Drop off the ledge to the south (left from the cannon). Shoot the counterweight to your left, and then drop down again. Head all the way to the gate you just shot open.
At the far end, things will get exciting in a cutscene. Afterward, follow the hallway inside. The next door you push through will bring you to the Courtyard (finally).
How to defeat the Armored Gigante in Chapter 8
The Armored El Gigante (also called Armored El Gigante) in Resident Evil 4 Remake’s Chapter 8 appears on the castle rooftops during the Castle Battlements section.
Battle Strategy
You cannot defeat it with regular weapons-focus on survival and reaching the cannon.
-
Use cover from boulders by hiding behind wooden walls, battlements, and portcullises (shoot nearby counterweights to open them).
-
Clear Zealots and crossbow enemies quickly with headshots or explosives while timing runs between rock throws.
-
Progress up ladders and towers: Collect items like Emerald, Yellow Herb; destroy counterweights to elevate the cannon twice.
Cannon Finish
On the final roof, hide behind the barricade until a boulder salvo destroys it, then sprint to the cannon, rotate to target the Gigante’s head, and fire for an instant kill.
Swing the cannon left afterward to blast the gate and enemies ahead.
How to dodge Armored El Gigante thrown objects
Dodge the Armored El Gigante’s thrown boulders and rocks in Resident Evil 4 Remake’s Chapter 8 by prioritizing cover and timing your movements.
Key Dodging Tactics
Hide behind wooden walls, battlements, boulders, or portcullises (lowered gates) scattered across the rooftops-these block projectiles completely.
-
Listen for the Gigante’s wind-up roar or rock-scraping sound before each throw to anticipate timing.
-
Peek out only after the salvo lands; sprint to the next cover while clearing Zealots or crossbowmen quickly.
Path to Cannon
Time dashes across open areas post-throw: shoot counterweights to raise/lower gates for extra shielding, climb ladders between safe spots, and hug walls to minimize exposure.
Stay mobile without lingering-circle if needed, but never fight back directly until the cannon phase.