Hidden passages, ancient mechanisms, and clever clues await across Hogwarts Legacy’s most cryptic challenges. From the Viaduct Bridge riddle to the Clocktower’s shifting doors and the elusive Key of Admittance, here’s how to crack each mystery and claim their rewards.
You can find and complete these challenges at any point in the game, and only need a few early spells and the Alohomora charm to finish them. The Secrets rewards include conjuring recipes for the Room of Requirement and some rare equipment that needs identifying.
Hogwarts Secrets explained
Hidden throughout Hogwarts Legacy are a series of clever puzzles that reward sharp observation and timing. The Viaduct Bridge riddle requires lighting the correct braziers in sequence, while the Clocktower Doors test your sense of rhythm and gear alignment. The Key of Admittance puzzle takes players deep into the Headmaster’s Office, challenging them to use specific spells and items to access the secret chamber beyond. Each solution deepens the magic of exploration and rewards curiosity with rare treasures and lore.
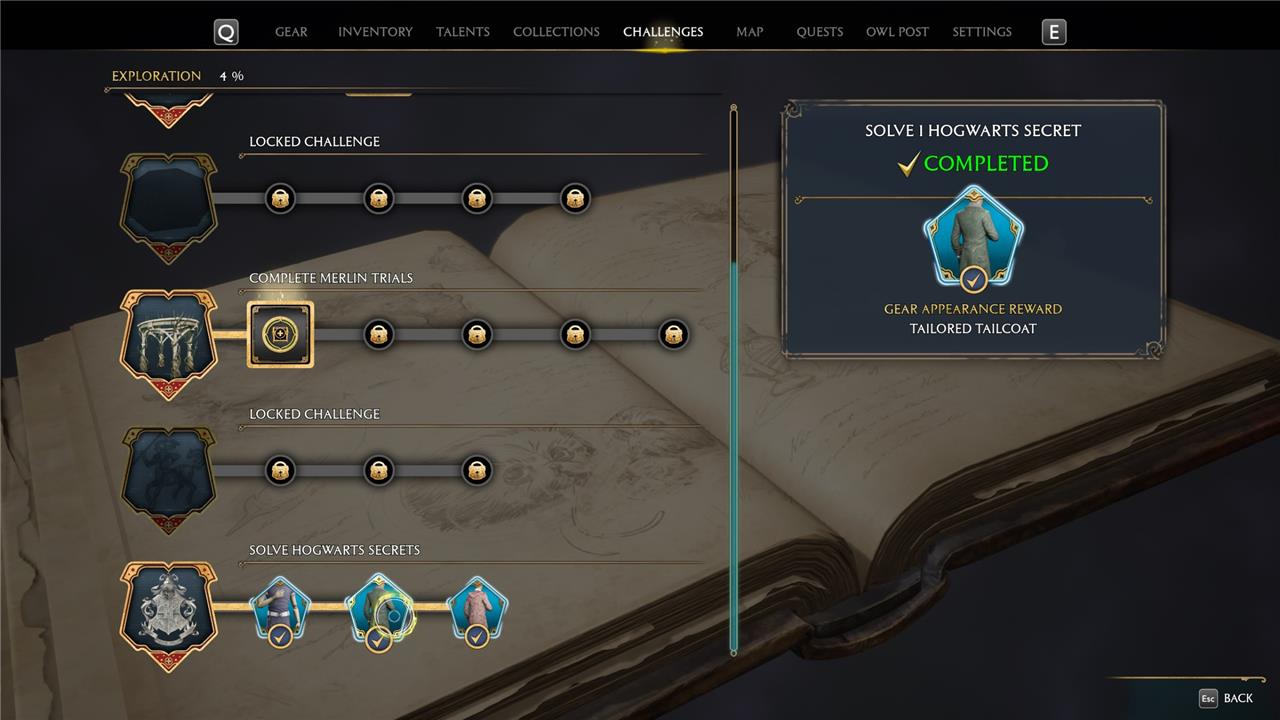
Hogwarts’ Secrets occupy a section in your field guide under the “Challenges” section. There are three secrets in total, and completing them earns you field guide progress, three unique outfits, and a bundle of randomized loot you can identify in the Room of Requirement.
The secrets are a mix of puzzles and exploration challenges that send you around Hogwarts, though you need to make a bit of progress with your school classes before you can finish any of them. Even if you’re not keen on the actual rewards, you’ll need to clear all three secrets for field guide and achievement progress.
Hogwarts Legacy Viaduct Bridge puzzle and solution
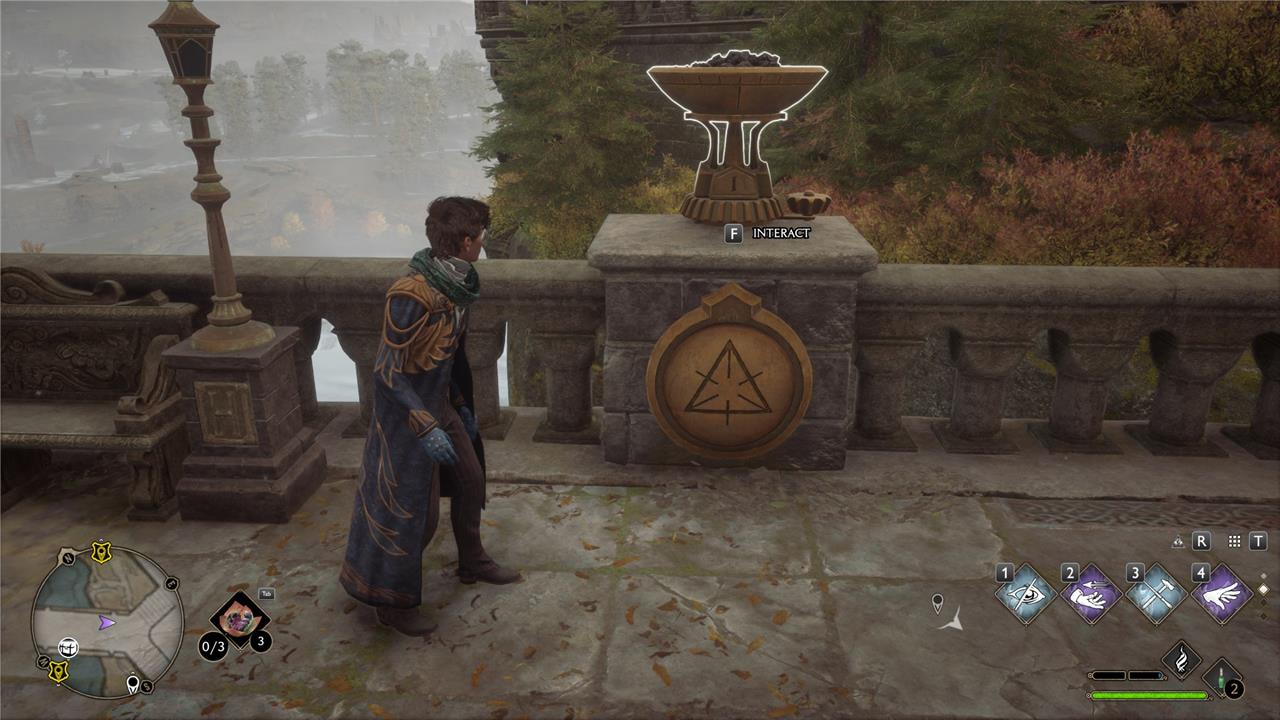
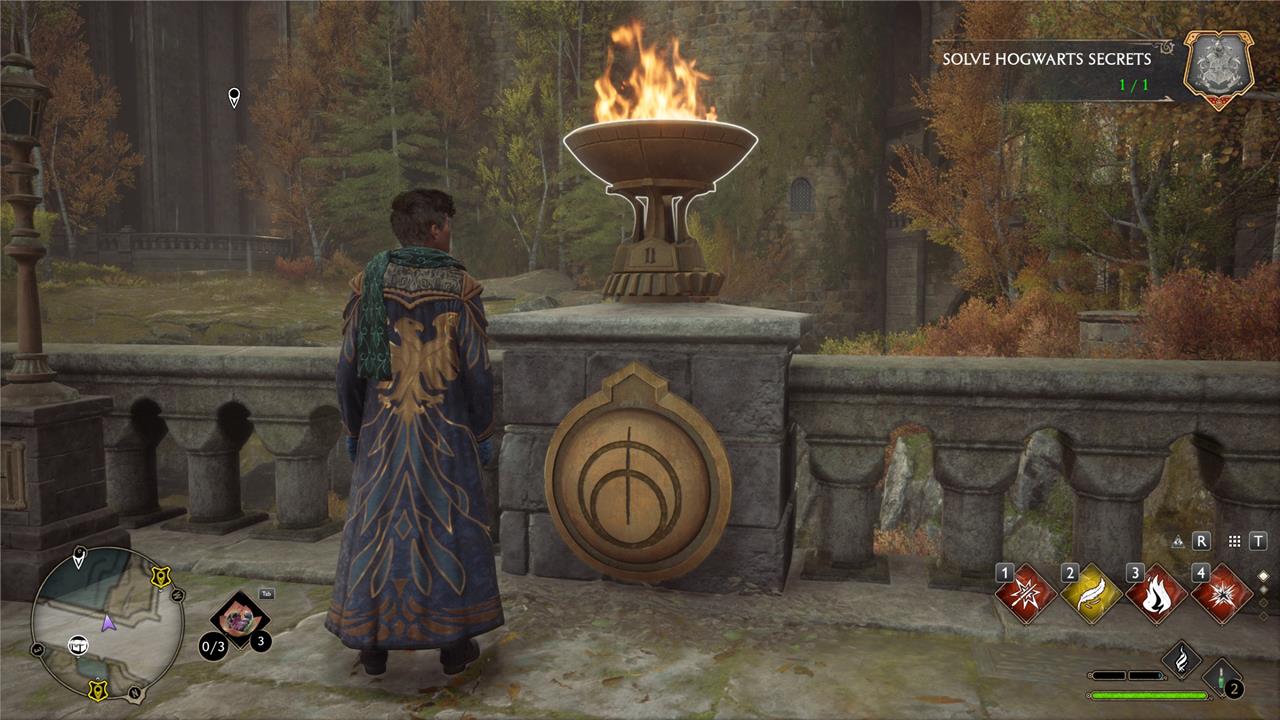
The Viaduct Bridge puzzle in Hogwarts Legacy features four stone braziers placed around a symbol plate on the bridge. Each brazier has a Roman numeral that must match the symbol carved on the plate nearby. Light all four braziers with the Incendio or Confringo spell, rotate their dials to align the symbols with the correct numbers, and the hatch in the bridge will open, revealing a hidden chest filled with rewards.
The Viaduct Bridge puzzle is likely the first one you’ll encounter, and it only requires Incendio or another fire spell to complete. If you’re trying to knock out challenges and haven’t found the puzzle yet, you can reach the Viaduct Bridge from the the Central Hall. Climb the staircase, and exit via the large double doors near where you can find a Daedalian Key.
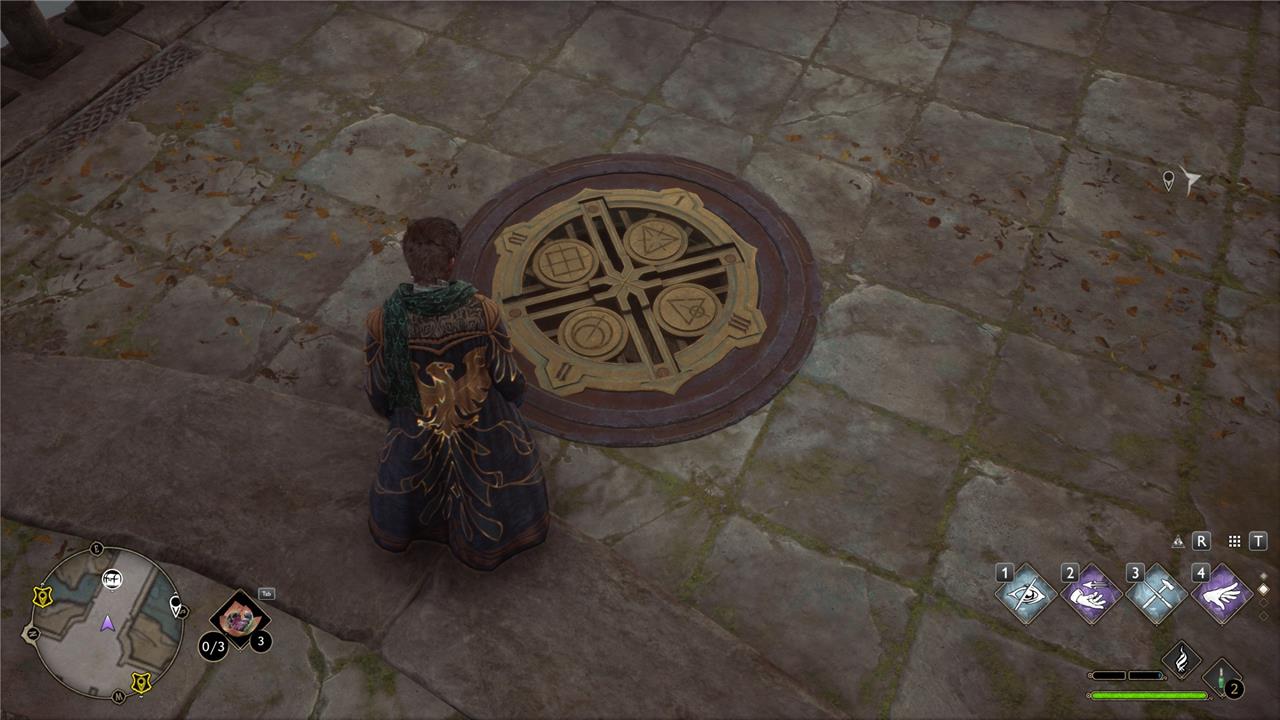
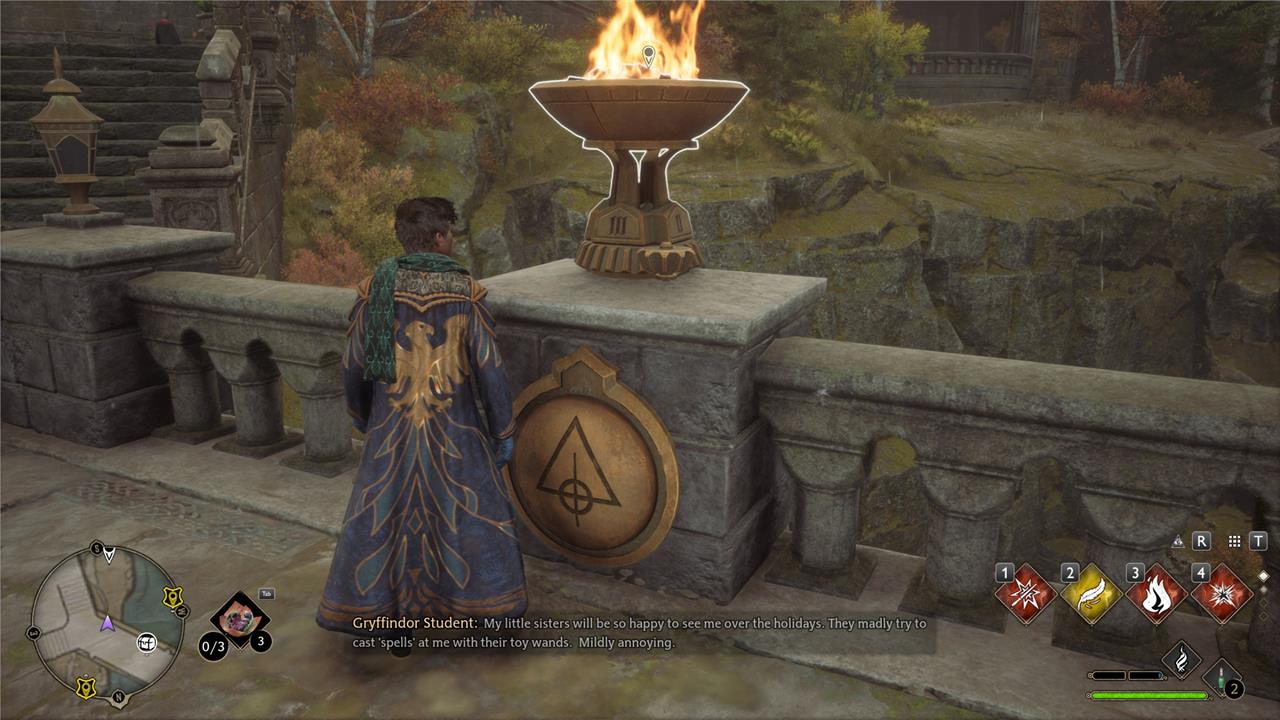
The puzzle solution is engraved on a manhole cover at the end of the bridge. It shows four symbols and four Roman numerals. Your task is lighting the braziers and turning a knob at their base so the Roman numeral matches the numeral and symbol on the manhole cover.
Make sure to change the time to day or use Lumos. Even with the braziers lit, it’s nearly impossible to see the numeral on the knob.
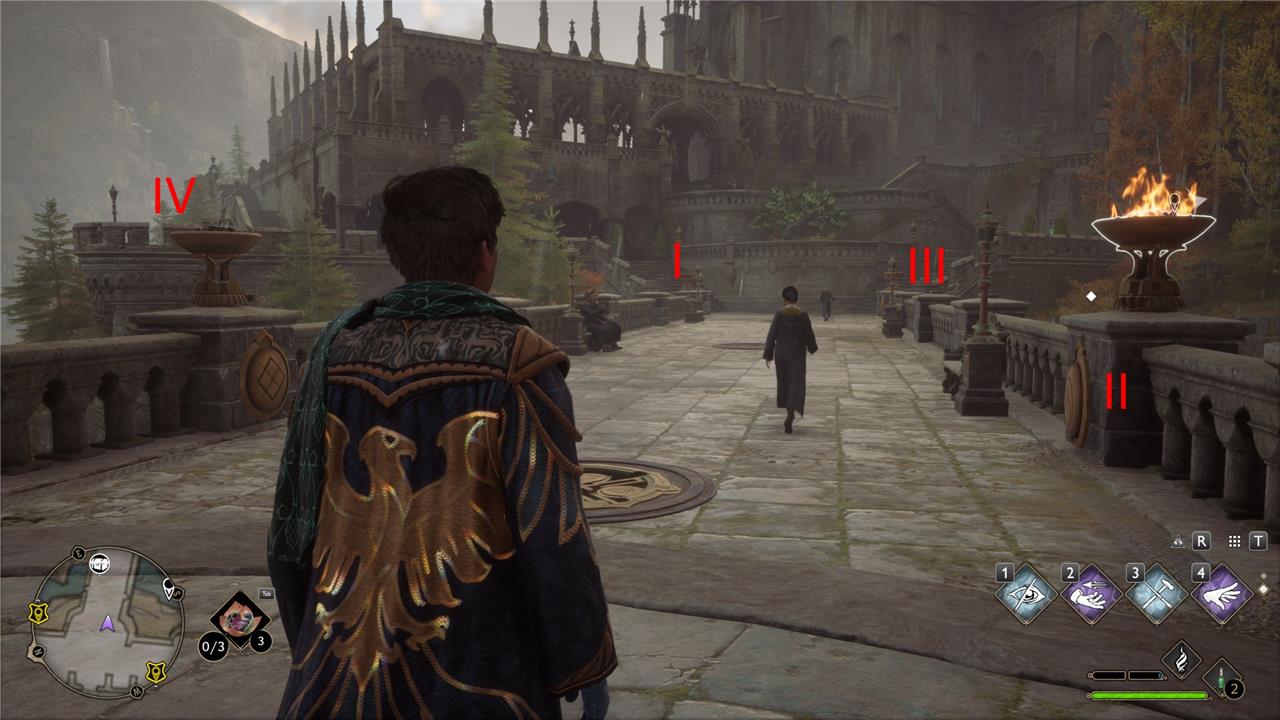
If you’re standing at the manhole cover looking away from the Viaduct Entrance, the Viaduct Bridge puzzle order is:
- Far left – I
- Near right – II
- Far right – III
- Near left – IV
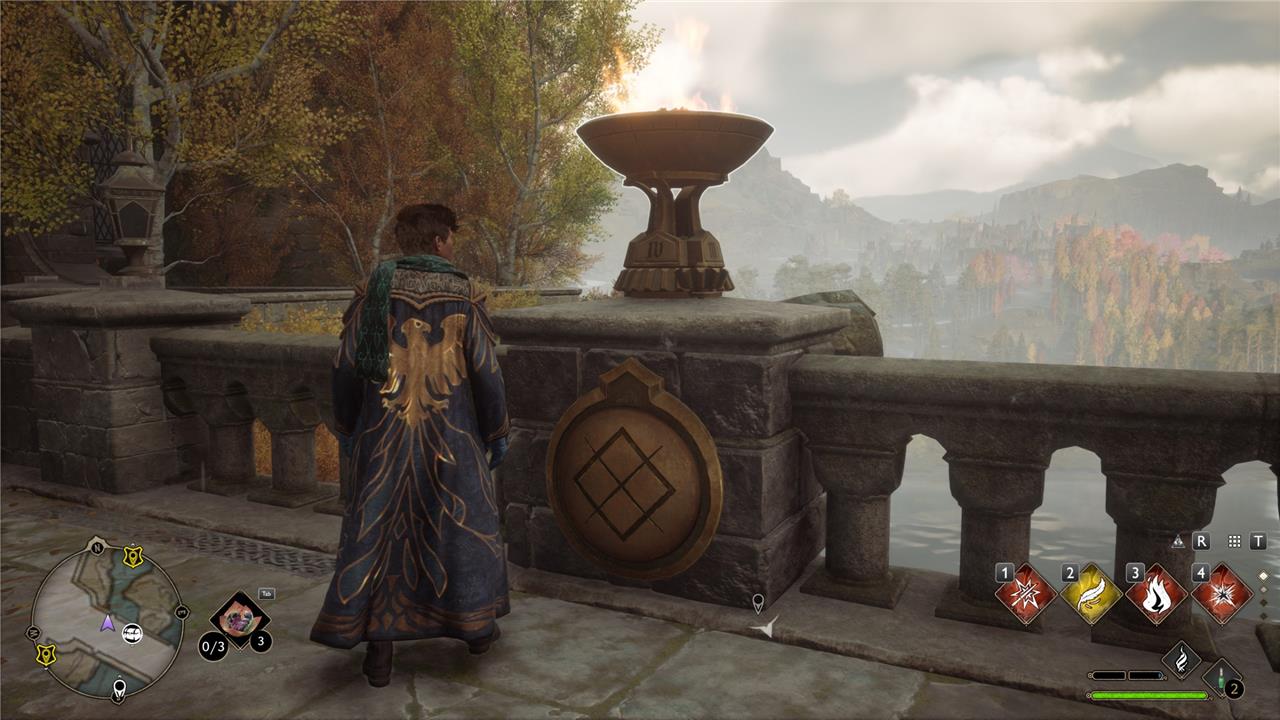
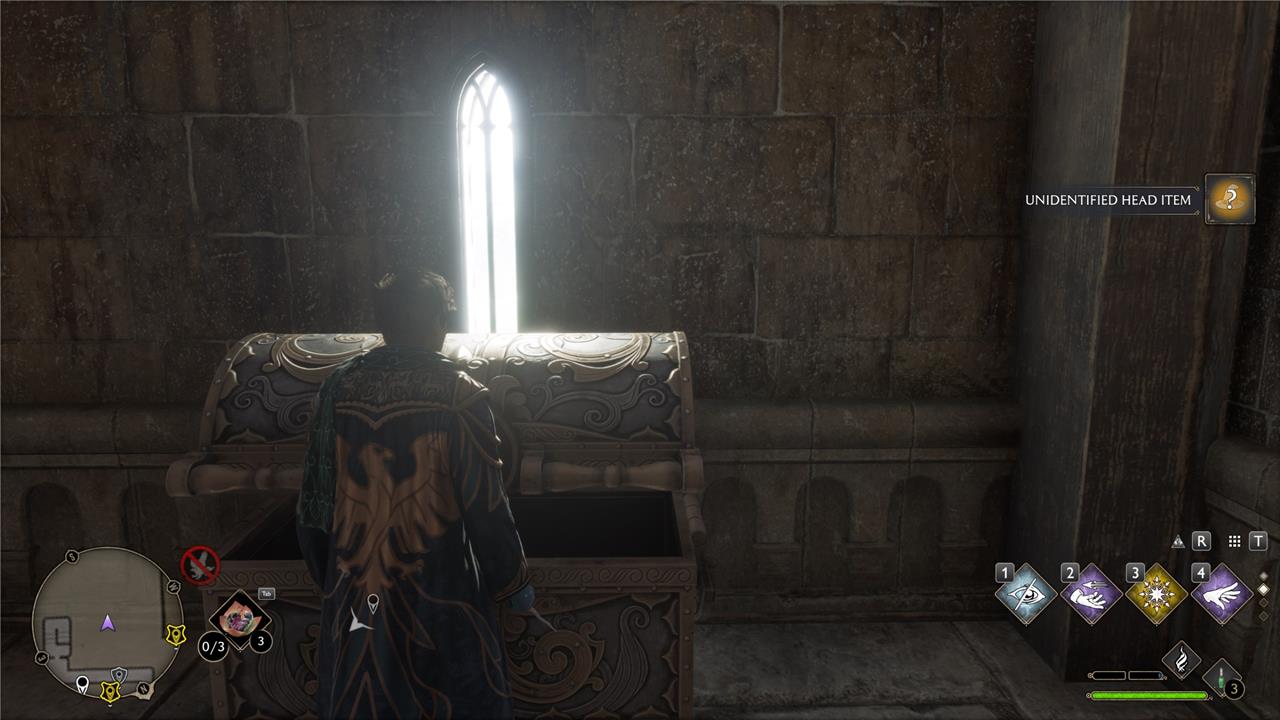
After turning the last knob, the manhole cover opens, and you can climb down to the lower viaduct. Open the giant chest at the end for an Unidentified Neck Item. Take that to the refinement table Professor Weasley had you conjure in the Room of Requirement to get a new piece of equipment.
The smaller chest contains a conjuration recipe.
Hogwarts Legacy Clocktower doors puzzle and solution
The Clocktower doors puzzle blocks entry to hidden areas above the Astronomy Wing. Align the four moon phases on each door-crescent, half, gibbous, full-by striking the large clock face with Incendio five times at specific hours matching the icons: 2 for crescent, 6 for half, 9 for gibbous, and 11 for full. Activate the central bell afterward to swing the pendulums into position and open both doors simultaneously.
Solving the Clocktower puzzle lets you get through the doors with metal grates that shut before you can open them. You need the Glacius spell or Arresto Momentum, both of which you get from completing Madam Kogawa’s assignments and popping balloons on a broom. You also need Alohomora at level one, so make sure to finish Gladwin Moon’s story quest if you haven’t already.
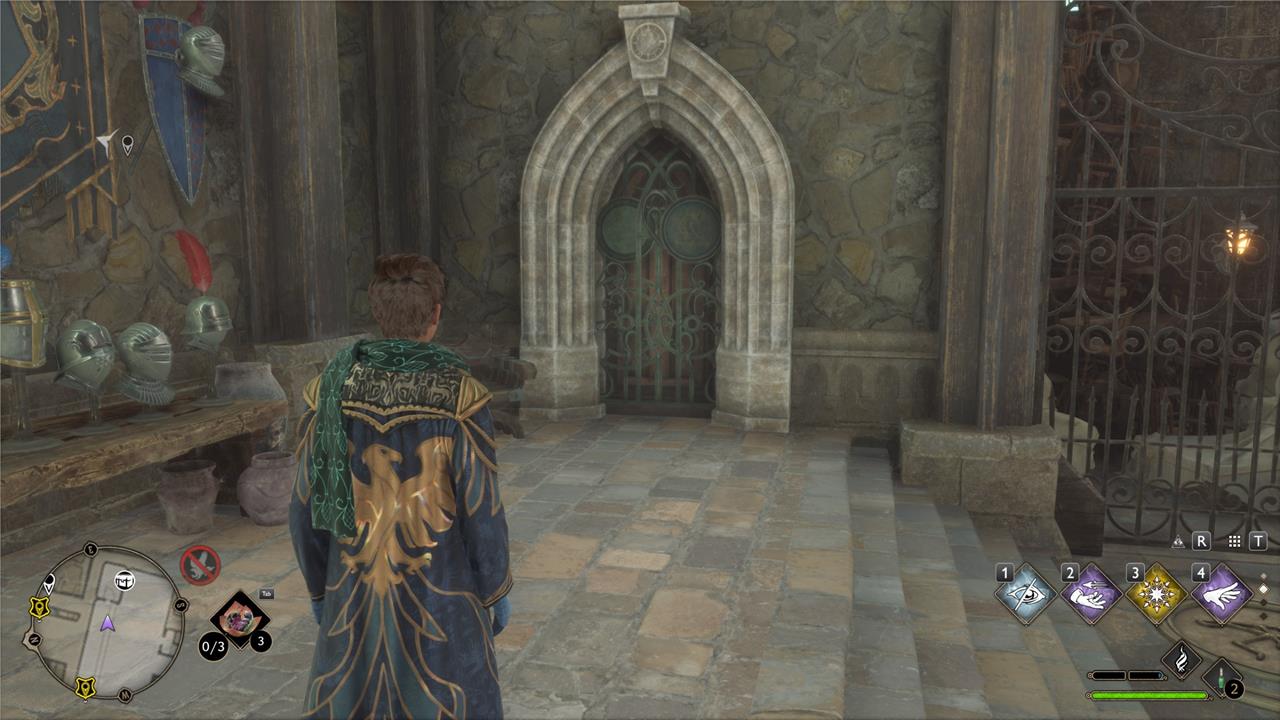
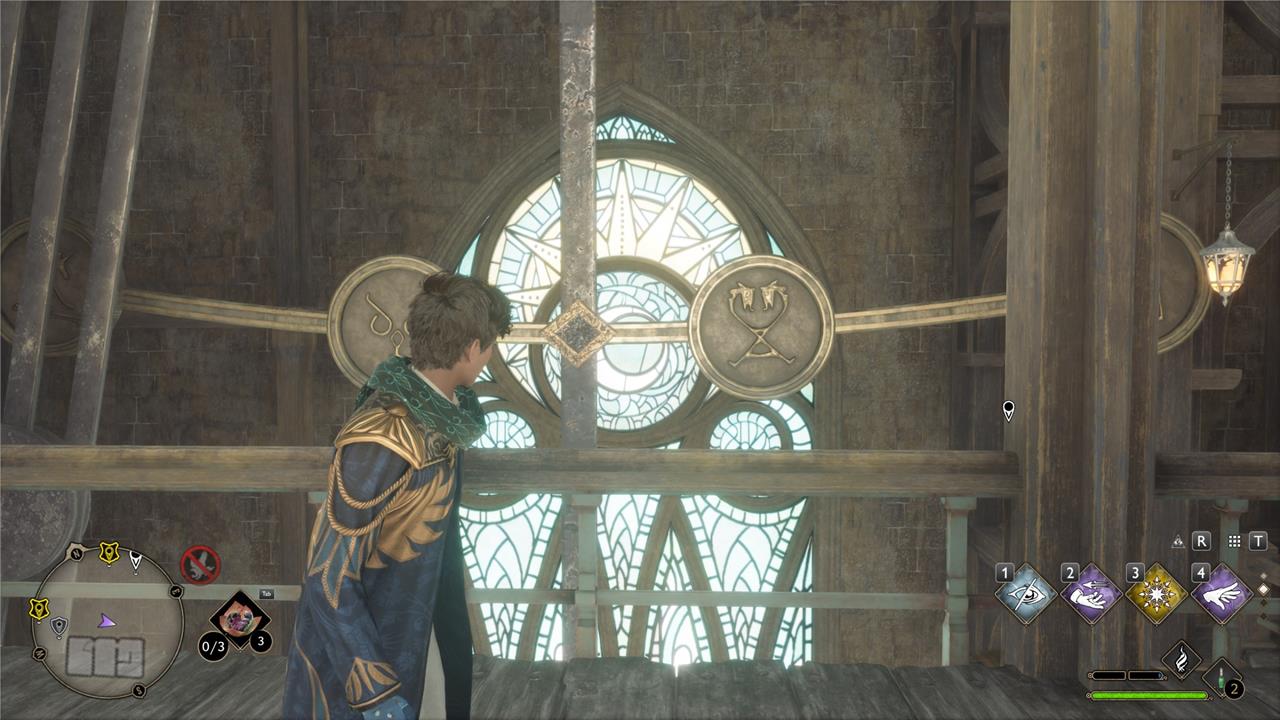
Travel to the clocktower, and look up. You’ll see four symbols along a metal bar. Each symbol corresponds to a door, starting with the unicorn door at the ground floor and ending with. well we’re not entirely sure what it is, but some fans think it’s a scarab.
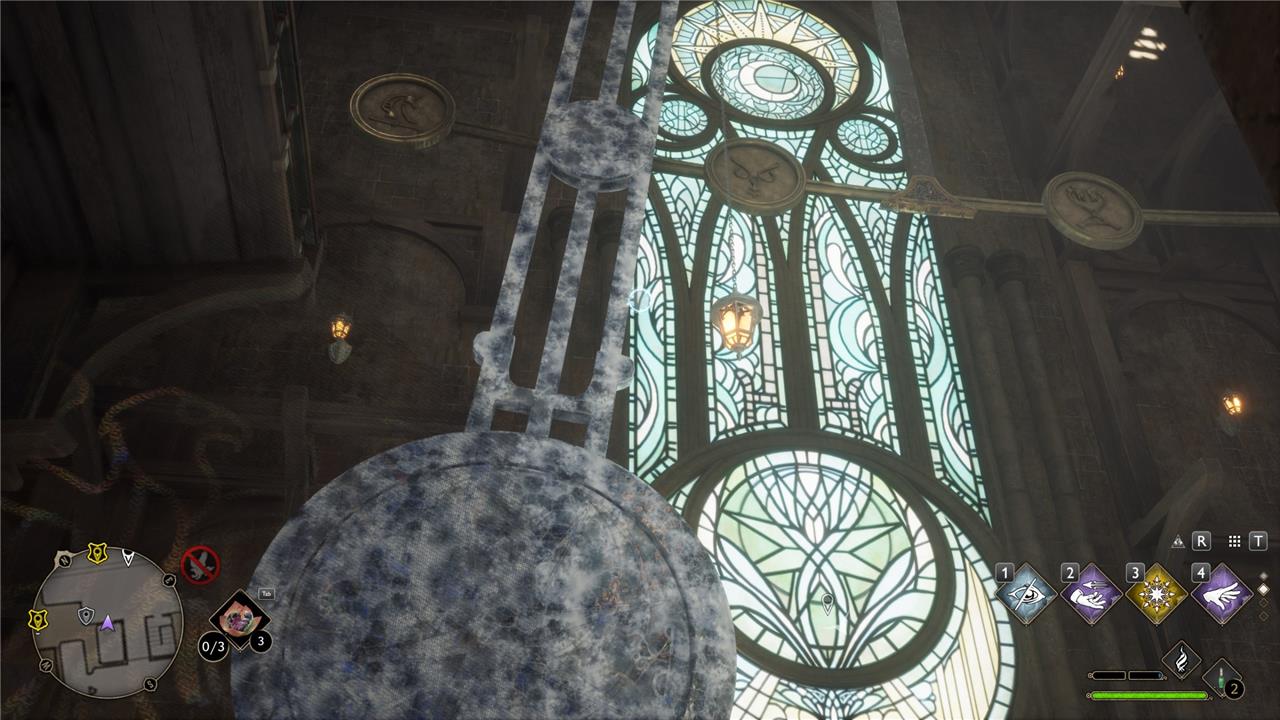
Wait until the pendulum stops over the symbol corresponding to the door you want to open – the unicorn first – and then cast Glacius or Arresto Momentum. The spell remains active for roughly a minute, so you have time to race over to the unicorn door. Head inside, and open the chest.
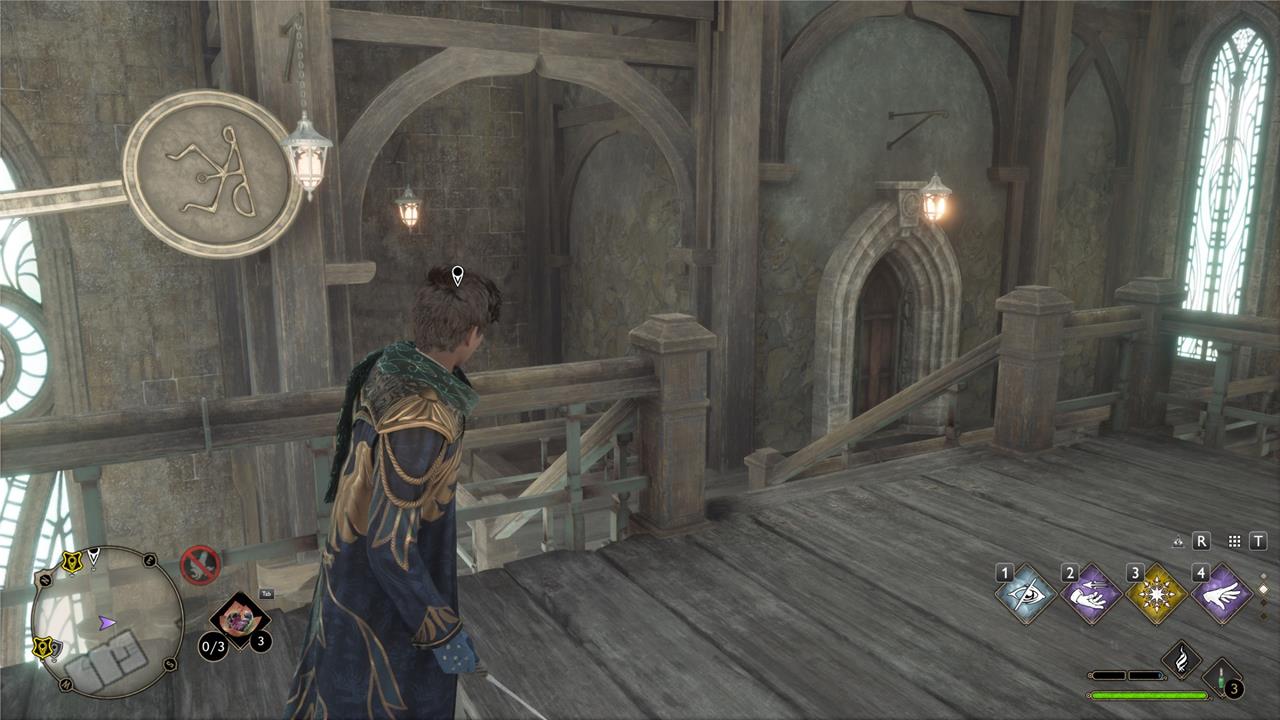
Head up the stairs to the wooden balcony, where you can also find another Daedalian Key.
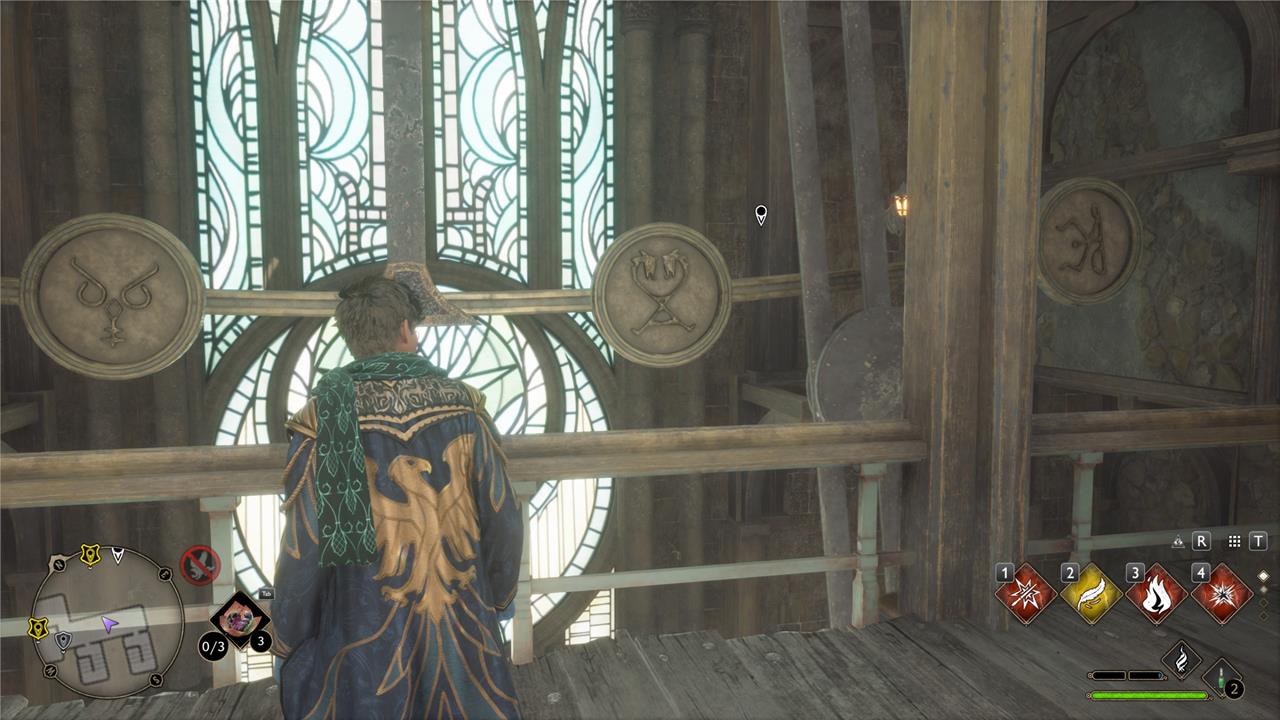
Stop the clock over the second symbol, the one that resembles an owl, and run left to the end of the balcony. Cast your disillusionment charm, enter the door, and open the eye chest.
Third, go up the next flight of stairs, and once you reach the landing, cast your spell to stop the pendulum over the double dragon symbol.
Turn right, and go down the short flight of stairs at the end of the balcony to find the dragon door.
The final one is slightly different. Unfreeze the pendulum with a fire charm or wait for it to start moving again. Freeze it over the last symbol, the run up the stairs.
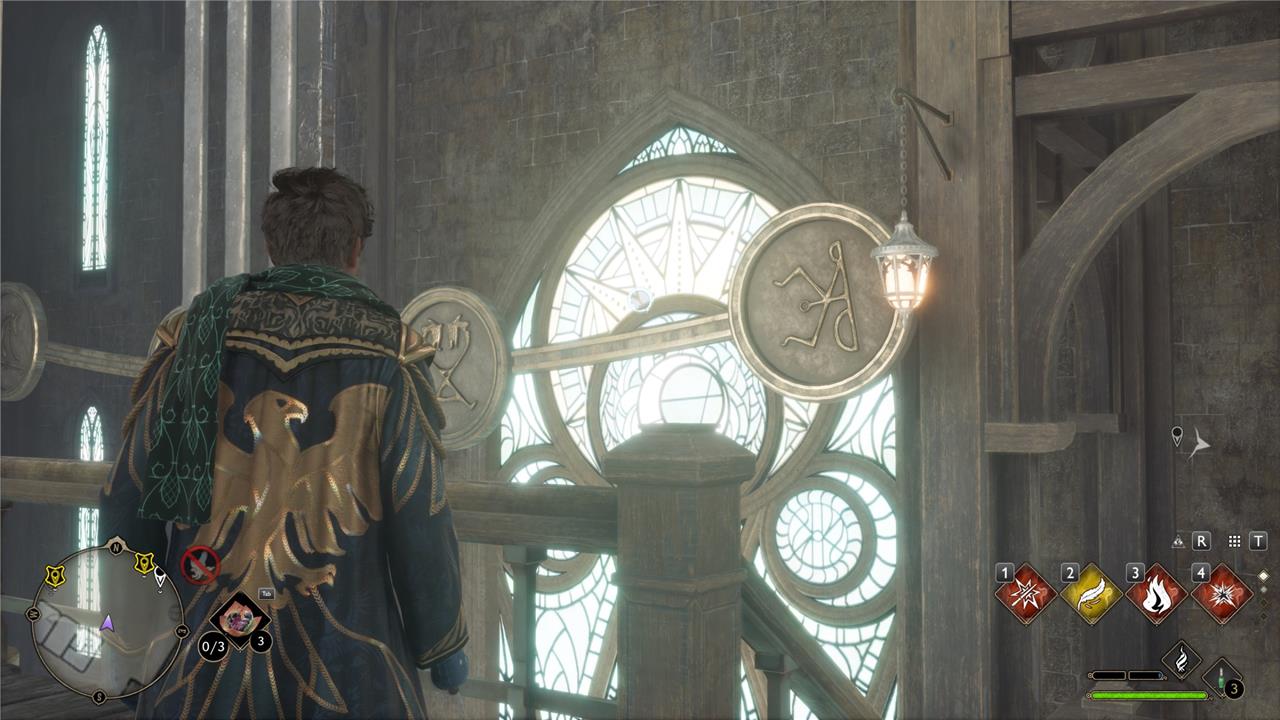
Go through the door on the small landing, and the final clock door is in front of you.
Hogwarts Legacy Key of Admittance puzzle and solution
The Key of Admittance puzzle is hidden within the Headmaster’s Office, accessible only after completing the main story questline that grants entry to this area. Inside, players must acquire the Key from a pedestal and use it to open a mysterious door upstairs, revealing a secret room filled with lore and rare loot. The puzzle itself is simple: once the Key is collected, head to the locked door above the office and use it to gain access-no extra clues or spellwork required beyond progression and exploration.
The final secret challenge takes you to the headmaster’s quarters in the castle’s tallest tower and requires Alohomora level three. You’ll need to collect more than a dozen Demiguise Moons for the caretaker to upgrade your unlocking charm. They’re not the easiest items to track down, so check out our Demiguise Moon locations guide for a helping hand.
Once you upgrade Alohomora, you have two ways to get to your destination. You naturally visit the Trophy Room and headmaster’s office during The Polyjuice Potion main story, but if you want to tick this challenge off early, that’s possible too.
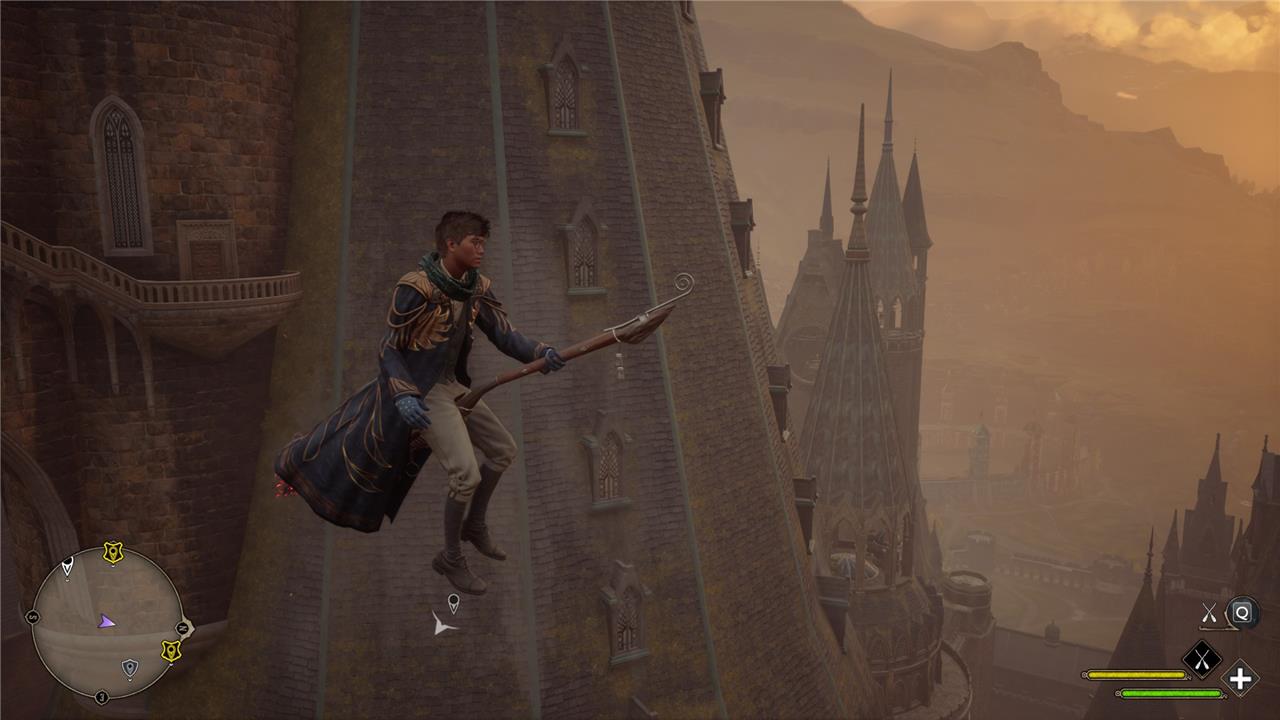
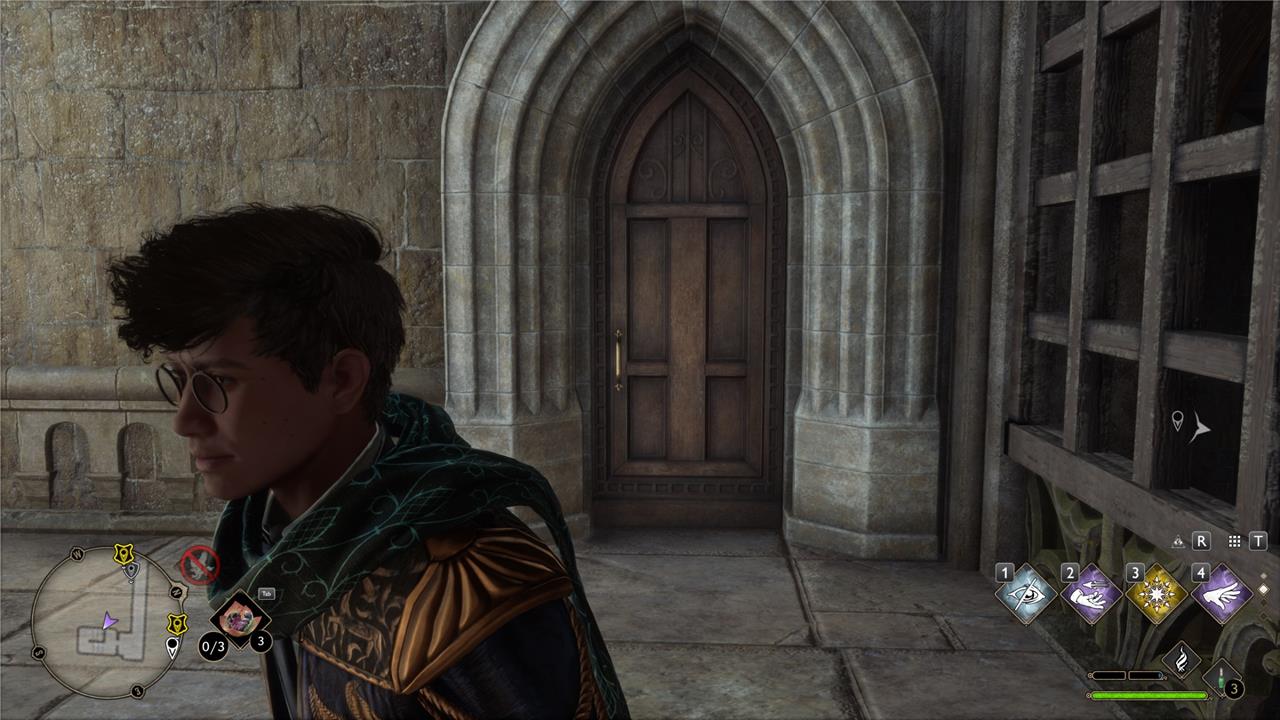
Hop on your broom or mount, and fly up to the tallest tower where the headmaster’s office is. It’s beyond the Grand Staircase and at the opposite end of the castle from the Quidditch pitch. A small walkway runs along the outside of the tower, and while you can land on it, you may encounter some problems. I had issues landing near the door and a glitch that kept pushing my broom down.
If that happens to you, turn around, ascend quickly, and land at the top of the walkway instead.
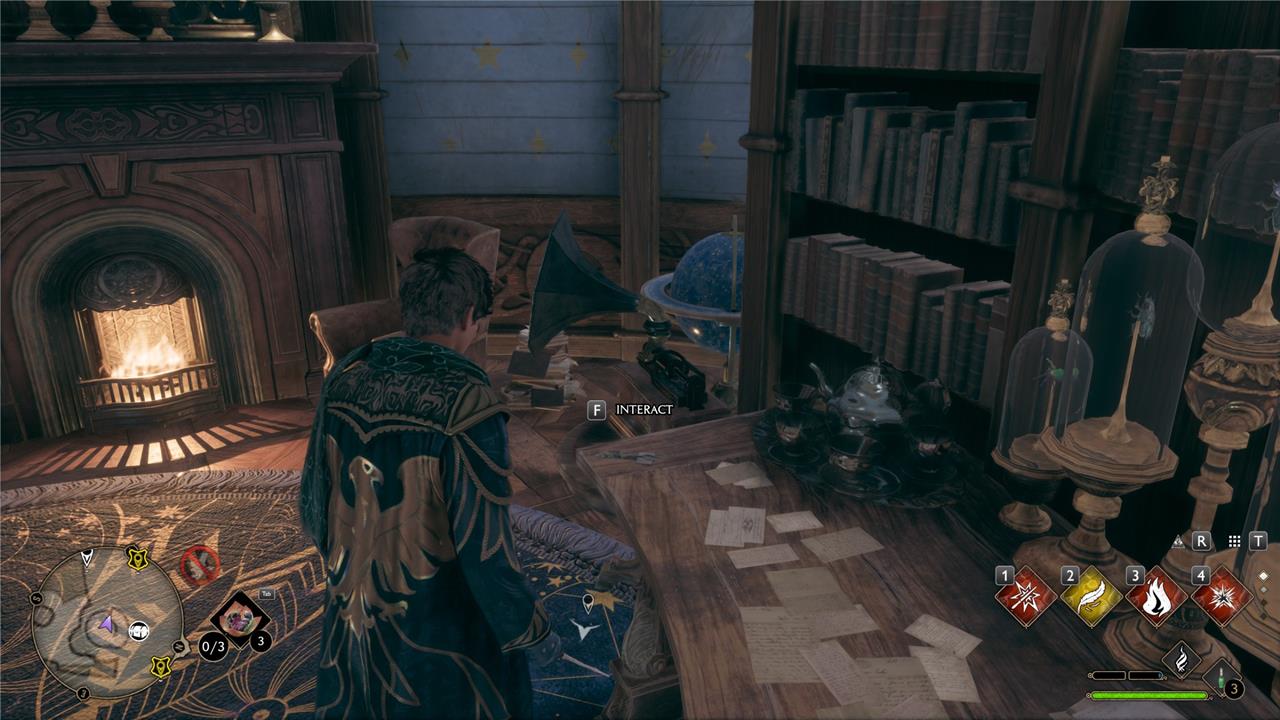
Unlock the door, head inside, and grab the Key of Admittance from the headmaster’s desk. If you do this before The Polyjuice Plot, you’ll need to fast travel out of the office. Leaving via the eagle statue staircase causes a glitch where you’re stuck in midair.
Travel to the Trophy Room either by Floo Flame or by the corridor at the top of the Grand Staircase.
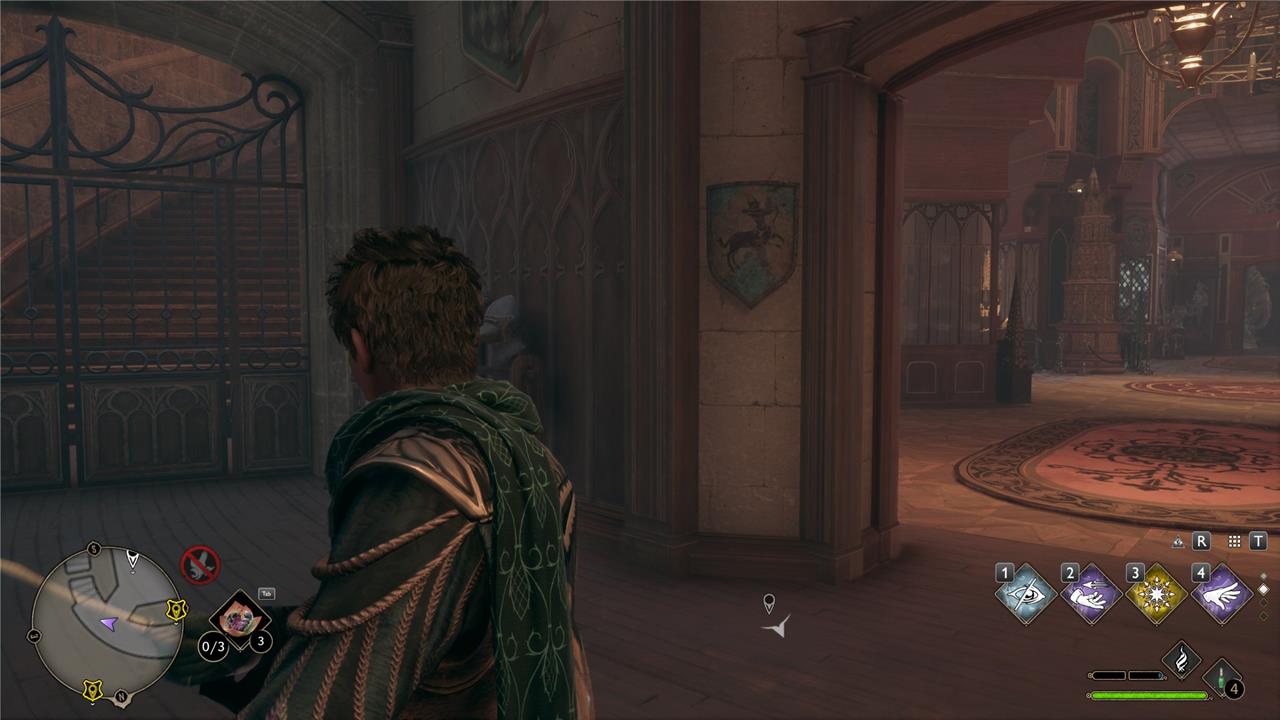
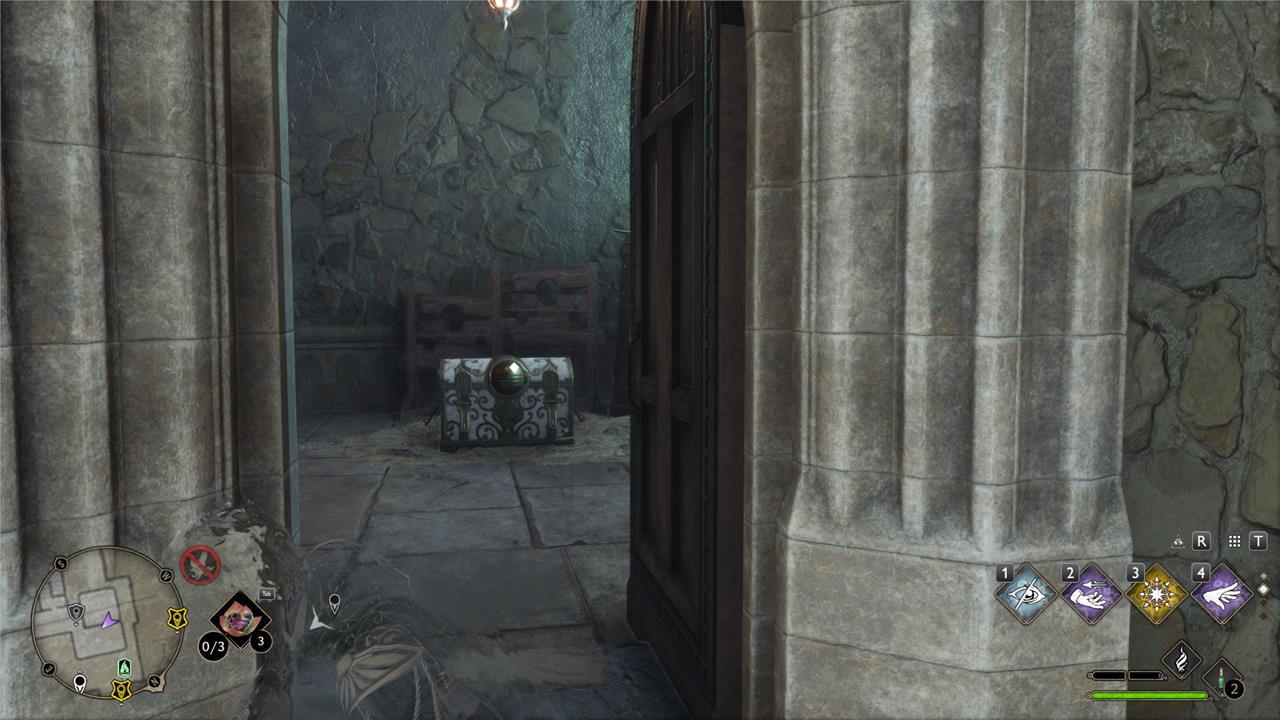
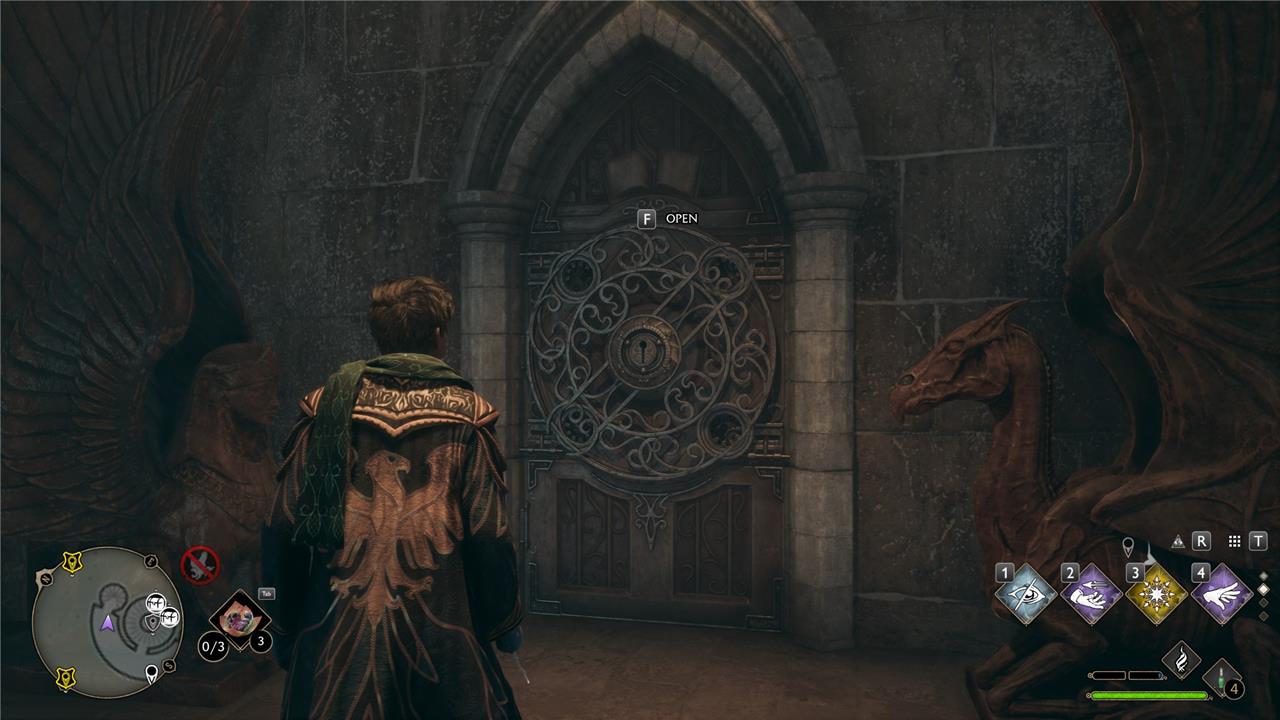
On the other side of the gallery, opposite from the Floo Flame, is a large, circular door. Interact with it, and you’ll enter a short hallway with a spiral staircase at the center.
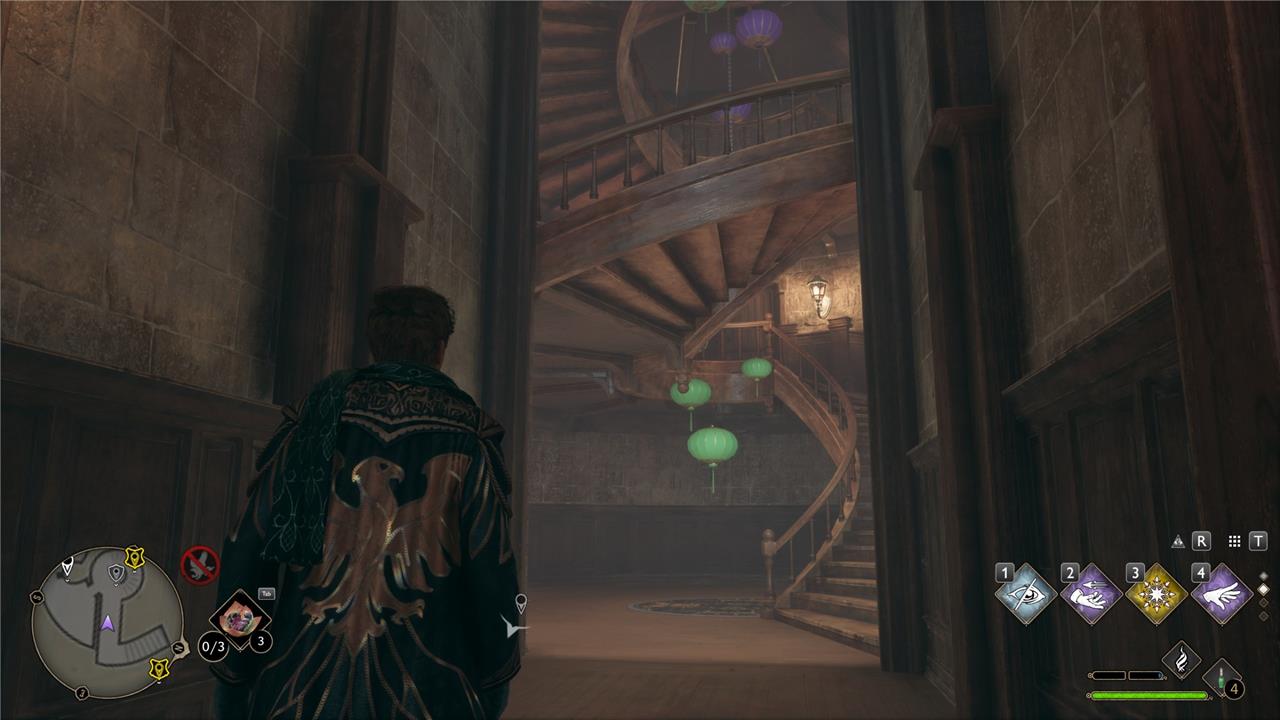
Unlock all the doors you see, and swipe the treasure – mostly Unidentified equipment – and head up the stairs.
The Room of Admittance is at the top of the stairs, with the final chest inside. While you are here, be sure to cast Revelio for a new Field Guide page as well.
Hogwarts Secrets Rewards
Solving Hogwarts secrets yields powerful rewards like rare spells, talent points, and exclusive gear. Viaduct Bridge chests grant combat upgrades, Clocktower Doors reveal hidden lore with ability boosts, and the Key of Admittance opens treasure vaults packed with gold and cosmetic outfits. These prizes strengthen your wizard and speed up progression through the castle’s mysteries.
Completing each secret earns you three new outfits you can use to alter your appearance without changing your stats. Make sure to claim the outfits from the secrets bar of the “Challenges” menu, or they won’t show up in your outfit selection.
You get the following rewards for finding all Hogwarts Secrets:
- Secret Solver’s Bathing Costume
- Tailored Tailcoat
- Fashionable Dress Robes

To wear them, open the “Gear” menu. For the two robes, hover over the “Cloaks and Robes” icon, and choose the “Change Appearance” option. Depending on what else you have on, you may need to reset your appearance and choose the robe again for the change to take effect.
Do the same for the bathing costume, but under the “Outfits” icon instead.
On numerous occasions in recent years, billionaire and Harry Potter creator J.K. Rowling has taken public stances against inclusive transgender laws and trans rights, and has written fiction that has been condemned by LGBTQ organizations for its use of harmful anti-trans tropes. Hate crimes, as well as legislation that denies the rights of trans people, have become more prevalent in the U.K. since 2019, and, more recently, in the United States as well.
According to an FAQ from Hogwarts Legacy publisher Warner Bros. Interactive – the parent company of Avalanche Software, the game’s developer – Rowling is “not directly involved” with the creation of Hogwarts Legacy. Regardless, the sales and widespread attention generated by a AAA video game will benefit Rowling, and that has led some fans to decide not to buy the game. For a more in-depth explainer of the yearslong controversy leading up to Hogwarts Legacy‘s release, read AELGAMES’s breakdown.
How to solve Clock Tower pendulum puzzle in Hogwarts Legacy
To solve the Clock Tower pendulum puzzle in Hogwarts Legacy, you need to use a freezing/slowing spell on the swinging pendulum when it lines up with specific symbols that match the locked doors’ grates.
Requirements and location
-
Go to the Clock Tower Courtyard Floo Flame in the South Wing and enter the tower with the large swinging pendulum.
-
You need:
-
Alohomora (Level 1 is enough for the first door; more for upper doors if locked).
-
A spell to freeze/slow the pendulum: Arresto Momentum or Glacius.
-
How the puzzle works
-
Above the pendulum are four symbols (commonly described left to right as Unicorn, Owl, Goblet/Two Dragons, and Scarab/Mantis).
-
Each barred metal door in and around the tower has one of these symbols on its grate.
-
When you freeze the pendulum as it passes over a symbol, the door whose grate shows the same symbol opens briefly.
Step-by-step solution
-
Identify the door you want to open
-
Stand by a locked metal gate and note the symbol on its grate (e.g., Unicorn, Owl, Two Dragons, Scarab).
-
-
Find the matching symbol above the pendulum
-
Look up from the main clock room: you’ll see the same set of symbols along the arc that the pendulum swings over.
-
Locate the symbol that matches your door’s symbol.
-
-
Freeze the pendulum at the symbol
-
Wait until the pendulum is directly in front of that symbol.
-
Cast Arresto Momentum or Glacius on the pendulum to hold it in place at that symbol.
-
-
Run to the corresponding door immediately
-
When the spell lands, the matching door’s bars/metal grate will slide open for a short time.
-
Sprint through before it shuts again and loot the chest(s) inside.
-
-
Repeat for all four doors (for the Hogwarts Secret)
-
Each symbol corresponds to a different door on different levels (some slightly up or down stairs, one may be outside on an upper level).
-
Open all four symbol doors to fully complete the Clock Tower Hogwarts Secret and get all rewards.
-
Door symbols and rewards (general idea)
-
Unicorn door: Basic chests (often gear or cosmetic rewards).
-
Owl and Two Dragons/Goblet doors: Gear and wand handle chests.
-
Scarab/Mantis door: Usually a Legendary gear chest.
If you tell me which door/symbol you’re stuck on (e.g., “the outside door” or “the Scarab door”), I can give you exact directions from the Courtyard Floo Flame to that specific gate.
What rewards are behind each Clock Tower door
Each Clock Tower symbol door has a fixed reward, plus you get progress toward the Hogwarts Secrets challenge.
Individual Clock Tower door rewards
From lowest to highest / typical opening order:
-
Unicorn symbol door
-
Reward: Random Legendary gear piece from the chest inside.
-
-
Owl symbol door
-
Reward: Fwooper Statue conjuration (Room of Requirement decoration).
-
-
Double Dragons/Goblet symbol door
-
Reward: Disillusionment Chest containing 500 Galleons.
-
-
Scarab/Mantis symbol door
-
Reward: Huge Decorated Table conjuration (large Room of Requirement decoration).
-
Opening all four also counts as completing the Clocktower Doors Hogwarts Secret, which contributes to the Hogwarts Secrets challenge that ultimately grants cosmetic outfits (Secret Solver’s Bathing Costume, Tailored Tailcoat, Fashionable Dress Robes).