Steel walls echo with alarms as Agent 007 infiltrates the chemical facility, racing to secure classified data before Soviet guards close in. Precision, timing, and stealth decide whether Bond leaves undetected-or not at all.
Read on to figure out how to find Dr. Doak, rendezvous with 006, and destroy the gas tanks with ease.
Tips before starting Facility in GoldenEye 007
Before entering the Facility, take a moment to equip the silenced PP7 for a stealthier approach and avoid triggering alarms early on. Study guard patrol routes to plan silent takedowns and preserve ammunition for tougher encounters later. Pay attention to security cameras-shoot them quickly to prevent alerts. Collect keycards and ammo from defeated enemies to keep progress smooth through the lab areas. Saving scientists is optional but helps maintain a low profile and minimizes resistance deeper inside the Facility.
- Throughout, we recommend shooting your weapon at the floor to make the enemies come to you. Take them out one by one to slowly but surely progress through the facility.
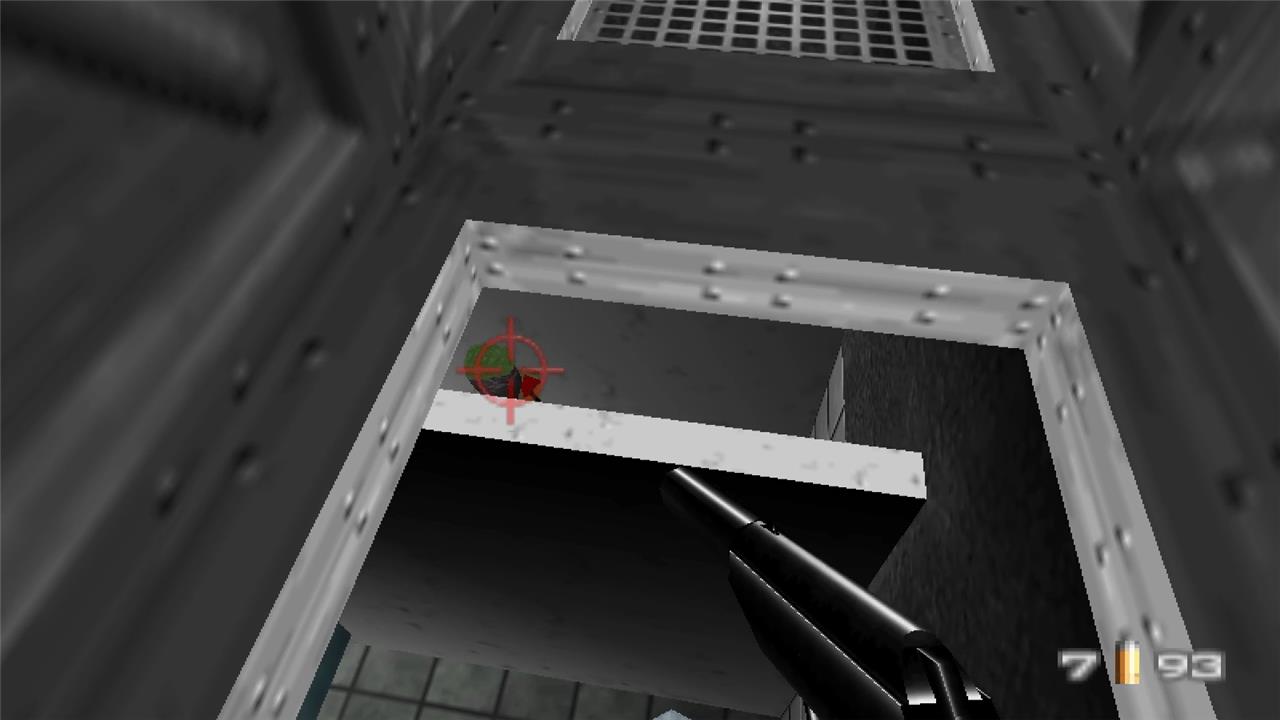
- After interacting with the panels, there is a timer for how long the associated door can be opened. Move quickly so you don’t have to go back and forth.
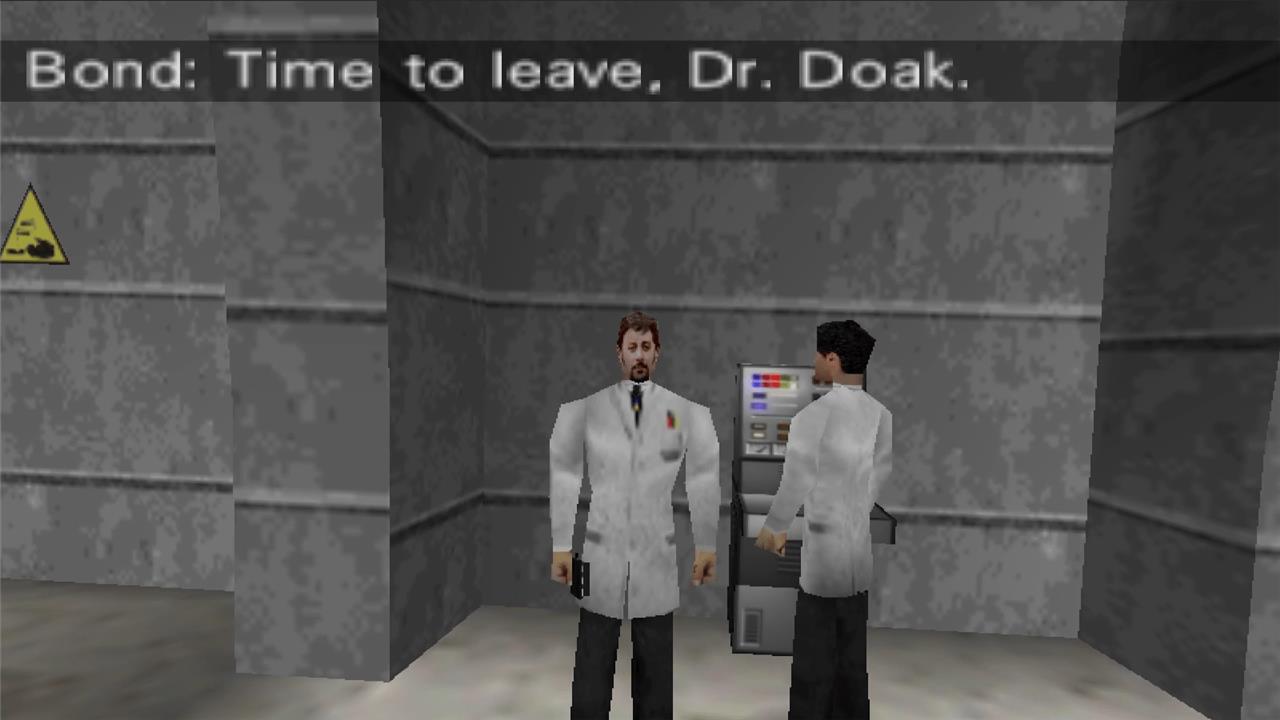
- The Double Agent, Dr. Doak, can spawn in one of six locations. You must find him to receive the door decoder to progress in the level on Secret Agent difficulty and above. He is dressed up as a scientist with an object in his hand, so you’ll have to search the rooms in the walkthrough for a scientist who is not afraid of you.
- Wait for your conversation with 006 is done to complete the rendezvous objective.
- At the end, make sure to place the remote mines in a position that will destroy two tanks at once. They are lined up in two rows of five tanks, so if you place the mines in between two tanks it should take out two at once.
- After placing the remote mines, position yourself at either the double doors or the conveyor belt exit for a quick escape. Blow up the tanks with the fire button when you’re in position and leave immediately.
Facility objectives
The Facility mission challenges players to infiltrate a Soviet chemical weapons plant, gather intelligence, and assist Dr. Doak in escaping. Players must avoid triggering alarms while neutralizing guards and cameras with precision. The main goals include locating keycards, planting explosives on gas tanks, and reaching the bottling area for extraction. Success relies on stealth, timing, and careful management of ammo and resources throughout the operation.
Depending on the difficulty, you can have up to five primary objectives to complete at the Facility. The five objectives are as follows:
- Obj. A – Gain entry to laboratory area (Agent difficulty and above)
- Obj. B – Contact double agent (Secret Agent difficulty and above)
- Obj. C – Rendezvous with 006 (Agent difficulty and above)
- Obj. D – Destroy all tanks in the bottling room (Agent difficulty and above)
- Obj. E – Minimize scientist casualties (Agent difficulty and above)
Restroom
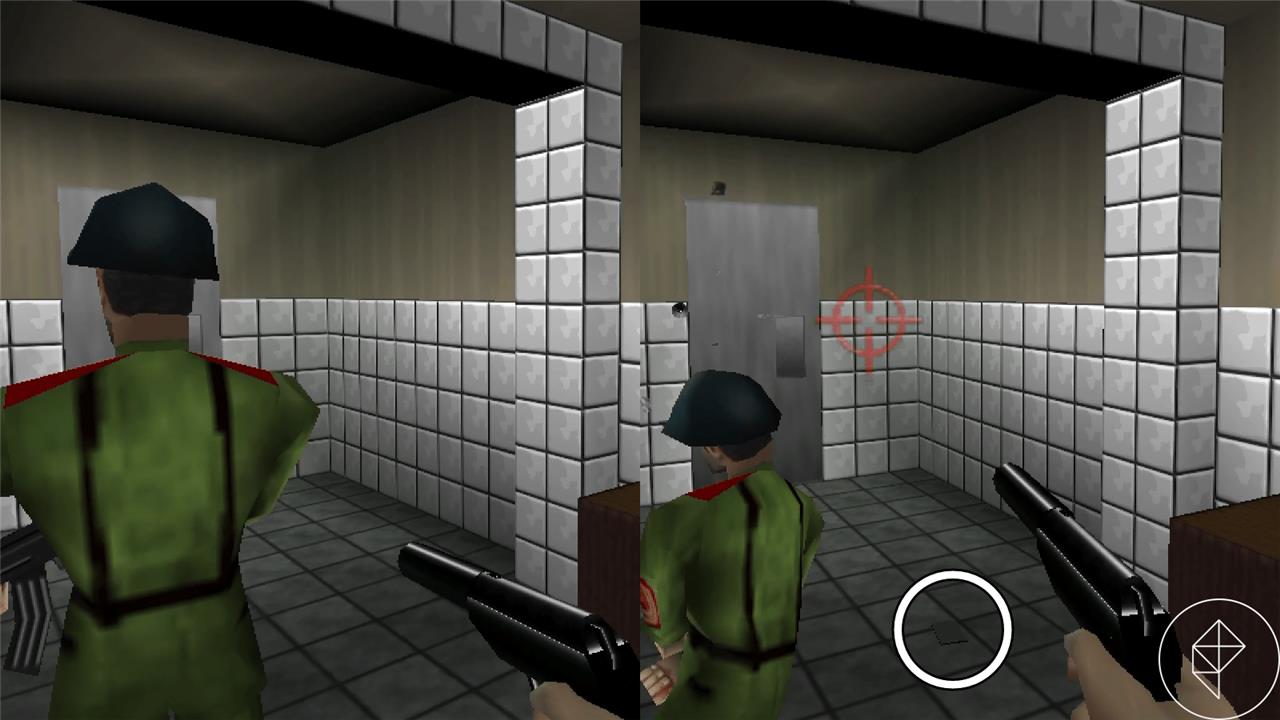
Move through the restroom area quietly to avoid alerting guards. Use the silenced PP7 to take down enemies before they can call for reinforcements. Check each stall carefully; one of them hides a guard who can surprise you if ignored. After clearing the room, follow the vent above the sinks to progress deeper into the facility without triggering alarms.
- Move towards the left through the air ducts to find an open vent that leads to a restroom, but don’t drop down just yet.
- Take out the guard inside the stall with your silenced pistol. Once dealt with, drop down into the restroom.
- Defeat the four other guards in the bathroom. Some of them will be in the stalls, so make sure to check them.
- Exit the bathroom’s two doors to the first floor.
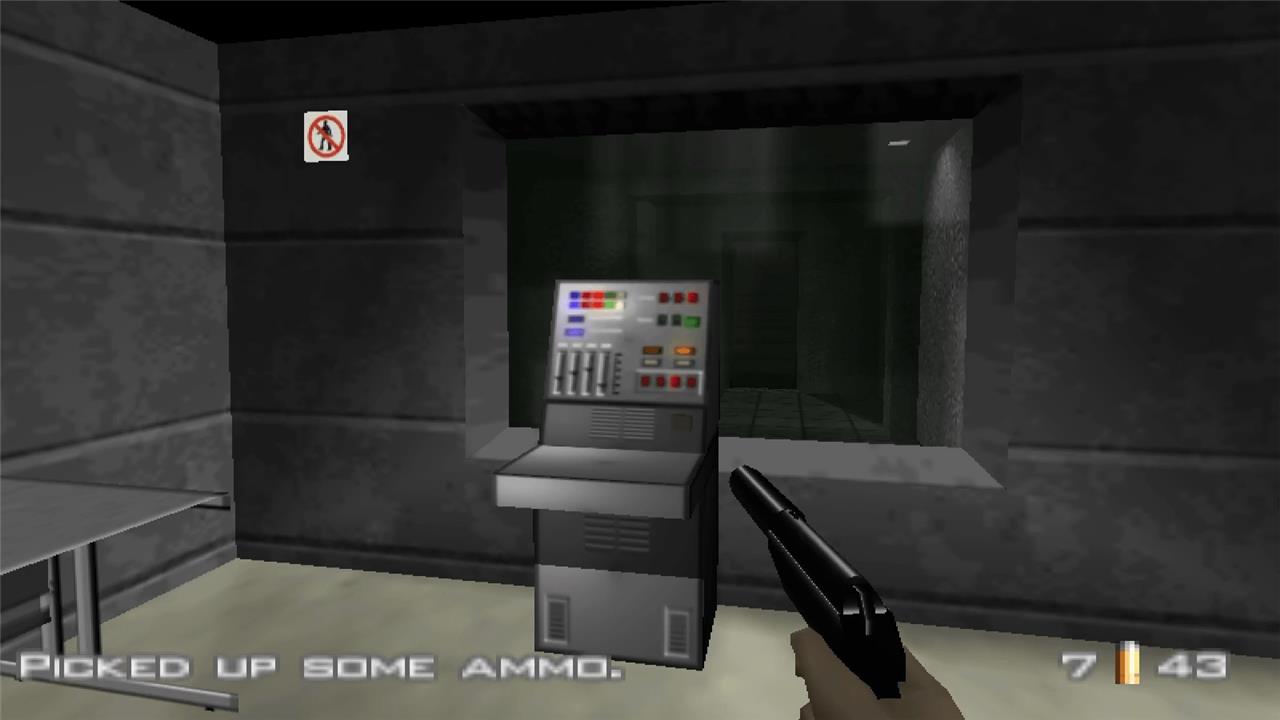
Activating the Control Panel and gaining entry to the laboratory area
After clearing the upper corridors, approach the Control Panel near the security room and activate it to disable the alarm system. This action grants access to the locked laboratory section below. Head through the newly opened doors, neutralize any guards patrolling the hall, and descend the stairwell leading to the research area. Keep your silenced weapon ready, as scientists or armed soldiers may react unpredictably once entry is gained.
- Stick to the left until you find a double door.
- Proceed through the double doors and eliminate the guard at the bottom of the stairs. Another guard may come through the double doors at the bottom of the stairs, so be ready to take out another enemy.
- Go down the stairs and head through the double doors.
- Hug the left wall to find a guard facing the opposite direction.
- Take out the guard and pick up Clearance B Keycard off of his body.
- Move through the double doors in the hallway, and hug the left wall until you reach another set of double doors.
- Go through the double doors and eliminate the enemies inside.
- Proceed down the hallway on the left and defeat any enemy that comes out of the connecting rooms. If you’re using the silenced pistol, the guards will stay in their rooms, so head into each room and defeat any enemies inside.
- Enter the first door on the right, and defeat any enemies inside while avoiding the panel on the right.
- Interact with the panel inside to activate the security door, and quickly exit the room.
- Stick to the left side of the hallway, and interact with the door to open it. If the door doesn’t open, return back to the panel and try again.
Locating the Double Agent
Move through the facility halls until you reach the large laboratory section where Dr. Doak may appear. His location changes each time you play, so check different rooms, especially those with scientists in white coats. When you find him, approach without raising alarms, and he will hand over the door decoder needed to access the gas tanks. If guards are alerted too early, he might disappear, so keep your weapon holstered until you’ve spoken with him.
Before we begin, know that Double Agent, Dr. Doak, can spawn in one of six locations. You must find him to receive the door decoder to progress in the level on Secret Agent difficulty and above. He is dressed up as a scientist with an object in his hand, so you’ll have to search the rooms in the walkthrough for a scientist who is not afraid of you.
- Defeat the two guards in the locker room.
- Open the door ahead, and take out the three guards inside without shooting the scientists. If you’re using the KF7 Soviet rifle, more enemies may come from behind you, so make sure to take them out as well.
- Check the rooms on the left and right of the hallway to see if Dr. Doak, the Double Agent is inside.
- If he is inside one of these opening rooms, he will give you the door decoder, which you’ll need to open the bottling room door later on. If he isn’t here, don’t worry – you can appear later in the level (which we highlight below) and is required to unlock the final area of the game, so you technically can’t miss him.
- Proceed down the hallway through the first door. Prepare yourself to face off against many enemies behind the next door.
- Defeat the enemies by either waiting for them to come to the door or facing them head on. Once defeated, head through the door ahead of you to find two panels similar to the one before.
- Activate the panel on the right to unlock the door on the right, and take a left out of the room.
- Proceed down the hallway to a locked door which will open once the door behind you closes. In the next room, you’ll be checking to see if the Double Agent is inside, but there are multiple guards inside. You can evade the detection of the guards by peaking to see who is on top of each platform, and not fully going up the stairs.
- Return back to the central room with the two panels, and interact with the left panel.
- Take a right out of the room and proceed down the hallway through the door – completing Objective A. There will be multiple enemies in this room as well, so be prepared to eliminate multiple guards here.
- Defeat the enemies inside and go up the stairs to the next area. Follow the path and defeat enemies along the way until you reach an opening with a pillar.
- Check the three rooms here for last opportunities to meet Dr. Doak, the Double Agent – completing Objective B. Continue down the hallway to a locked door.
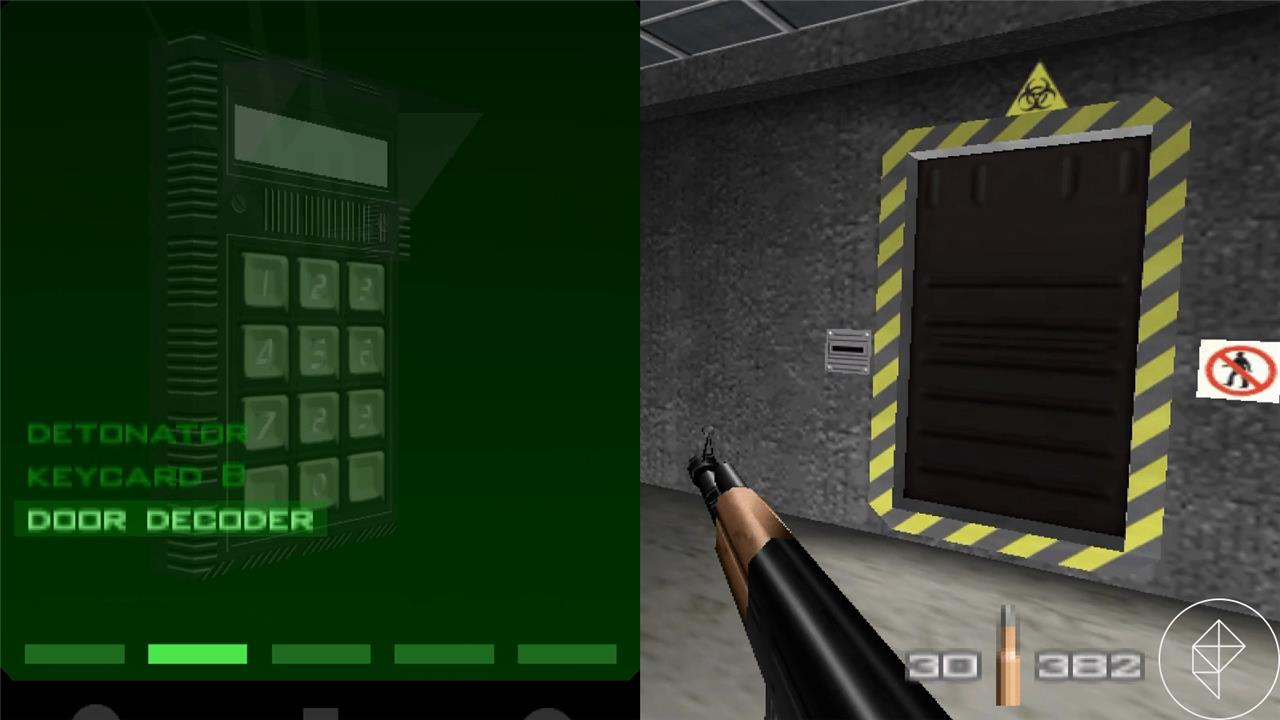
How to use the door decoder
Use the door decoder by equipping it from your inventory and facing the locked door’s control panel. Approach the keypad until the interaction prompt appears, then activate the device. Wait a moment as it completes its sequence-some doors may require you to hold position while the process finishes. Once the signal changes, the door will open, letting you continue through the restricted area without triggering alarms.
- If you are on Secret Agent and 00 Agent difficulty, this requires the door decoder from Dr. Doak – see above for his locations.
- Open your inventory by pressing the start button and select the door decoder in the weapons section.
- Unlock the door by aiming at the door and using the fire button, and enter the room.
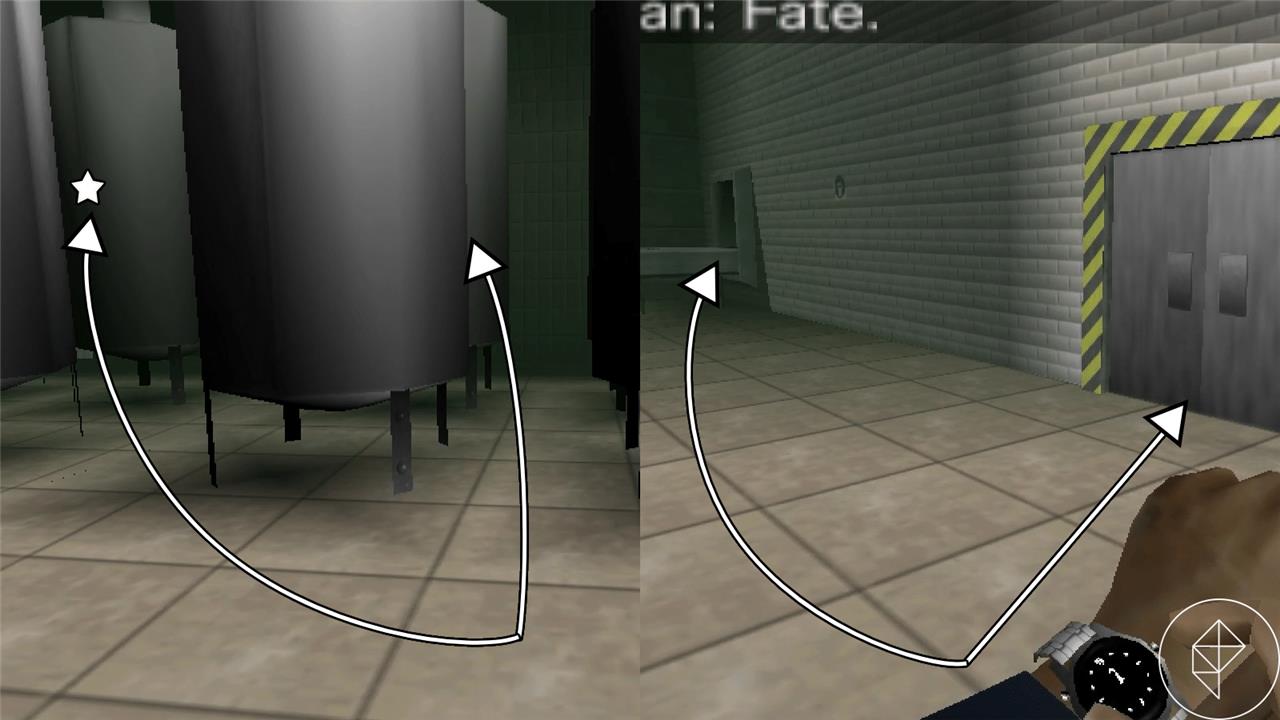
Laboratories and Bottling Room
Move through the laboratories carefully, taking out guards before they trigger alarms. Use the silenced PP7 to stay quiet and avoid damaging vital equipment. Collect the keycards dropped by scientists or guards to access new areas. Once the gas tanks are secured, head toward the bottling room where explosive barrels and guards in tight spaces demand quick reactions. Set your timers on the bombs, make sure Ourumov is neutralized, and escape before the facility detonates.
- Head down the stairs and find Trevelyan also known as 006 – completing Objective C.
- Open your inventory and switch to the remote mine.
- Throw one mine onto the front of a tank in the second row to ensure that one mine will destroy two tanks at once.
- Repeat step eight with the remaining four tanks.
- Detonate the tanks after the room is breached by enemies, and escape either through the set of doors or on the conveyor belt.
This completes Mission 1: Arkangelsk – Stage 2: Facility of GoldenEye 007, and leads into Stage 3: Runway. If you are in need of help for later missions, we have a full breakdown of Bunker 1 and Surface 2.
Facility mission 00 Agent speedrun tips GoldenEye 007
Facility on 00 Agent requires completing all objectives-lab access, Dr. Doak contact, 006 rendezvous, tank destruction, and scientist minimization-in under 2:05 for the Invincibility cheat unlock.
Core Speedrun Route
Prioritize speed over stealth; guards open doors if you make noise near them.
-
Vents Start: Skip bathroom drop-left strafe through vents to first corridor. KF7-spray guards to alert others for door opens. Grab keycard from first downed guard.
-
Console Dashes: Hit first console, sprint to timed security door (double-tap B). Repeat for second console upstairs-lab objective triggers automatically.
-
Dr. Doak Luck: He spawns randomly (6 spots); pray for late rooms (final 3 viable for sub-2:05). Talk immediately upon sight for decoder; kill no scientists.
Key Tricks
Use noise manipulation and movement boosts.
| Technique | Execution |
|---|---|
| Guard Door Opens | KF7 burst near doors-enemies rush and trigger them without your keycard. Limit shots to avoid early fails. |
| Grenade Boost | Hold grenade 4s, drop at feet for ~3s speed burst in corridors/bottling room. |
| Door Decoder | Equip (Start menu), aim+fire at 006’s locked door. No manual throw needed post-use. |
| Tank Chain-React | 3-5 Remote Mines between tank rows; detonate after 006 kneels (he auto-kneels on approach). |
Execution Tips
Practice 55-60s splits: vents/corridors (~25s), labs/Doak (~30s), bottling/escape (~25s). Reload KF7 constantly-ammo sparse. Fade-out completes 006 rendezvous late, buying seconds. Watch video guides for visual timing.
Facility 00 Agent common mistakes and how to avoid them
Facility on 00 Agent demands precision due to scientist protection, random Dr. Doak spawns, and tight par times. Common pitfalls include excessive noise, poor positioning, and rushed objectives.
Noise Management Errors
Firing automatic weapons like KF7 unsilenced draws mobs, complicating clears and alerting reinforcements.
-
Stick to silenced PP7 for one-shot bursts on guards; tap floors to lure without panic.
-
Avoid spraying in lab areas-triggers chain reactions, killing scientists or blocking Doak access.
Dr. Doak Misses
His 6 random spawns (bathroom, corridors, labs) can fail runs if early or overlooked.
-
Systematically check all spots left-to-right (vents drop, boiler rooms, upstairs labs) before consoles.
-
Never shoot near him; strafe sideways in halls so enemy fire misses him.
Door and Console Fails
Missing timed doors or lacking decoder strands progress.
| Mistake | Fix |
|---|---|
| Timed door locks | Dash immediately after console (double B-tap); practice ~4s sprint. |
| No decoder for 006 | Talk to Doak fully (he auto-gives); equip via Start, aim+fire at door. |
| 006 rendezvous late | Clear labs silently; he triggers on approach post-decoder. |
Combat and Escape Traps
Backstabs, scientist deaths (>1 fails), or tank misplants waste retries.
-
Wait for 4 post-console guards (staggered spawns); peek C-buttons to avoid scientist doors.
-
Plant mines inward between tanks for chain-explosion; detonate only after 006 kneels and kneels clear.
-
Side-strafe explosions; no body armor exists-reload often.