Step back into the eerie depths of Rhulk’s Pyramid Ship in Destiny 2’s latest dungeon, Sundered Doctrine. This thrilling new challenge combines familiar mechanics from the Vow of the Disciple raid with fresh puzzles, relentless Dread enemies, and the chance to claim the coveted exotic fusion rifle, Finality’s Auger. Whether you’re navigating maze-like corridors or mastering symbol-based riddles, prepare for a concise but intense journey that tests your skill, teamwork, and wits in the heart of Savathûn’s Throne World.
Sundered Doctrine is on the shorter side as far as dungeons go, with just three encounters and two not-so-tough boss fights. Provided you can get your head around memorising all those symbols, you should have no problem completing Sundered Doctrine – and if you’re lucky, receive the Finality’s Auger exotic linear fusion rifle while you’re at it.
How to start Sundered Doctrine
To start the Sundered Doctrine dungeon in Destiny 2, first visit the Tower and speak with Ikora to pick up the quest called “The Drowning Labyrinth.” This quest unlocks access to the dungeon. Then, open the Director map and navigate to Savathûn’s Throne World. Look for the Sundered Doctrine node in the top left corner near the Vow of the Disciple raid. Select this node to launch the dungeon. Upon entering, follow the path by crossing a bridge, jumping to ledges, and dropping down through hidden passages filled with enemies until you reach the first encounter area.
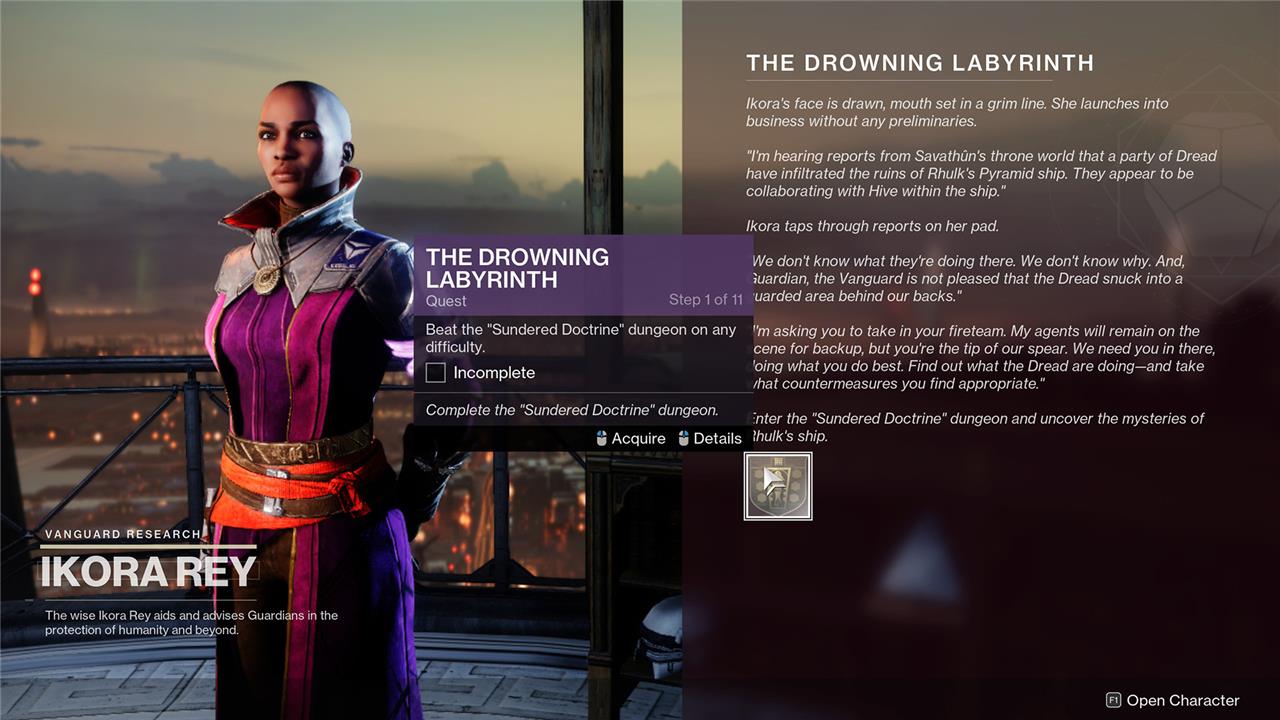
Before we begin, there’s a bit of admin to take care of first. To start Sundered Doctrine, you’ll first need to chat to Ikora in the Tower. She will give you a quest, “The Drowning Labyrinth” which unlocks access to the dungeon. Now, you just need to head to the Savathun’s Throne World section of the map, and find the Sundered Doctrine node in the top left, beside the Vow of the Disciple raid.
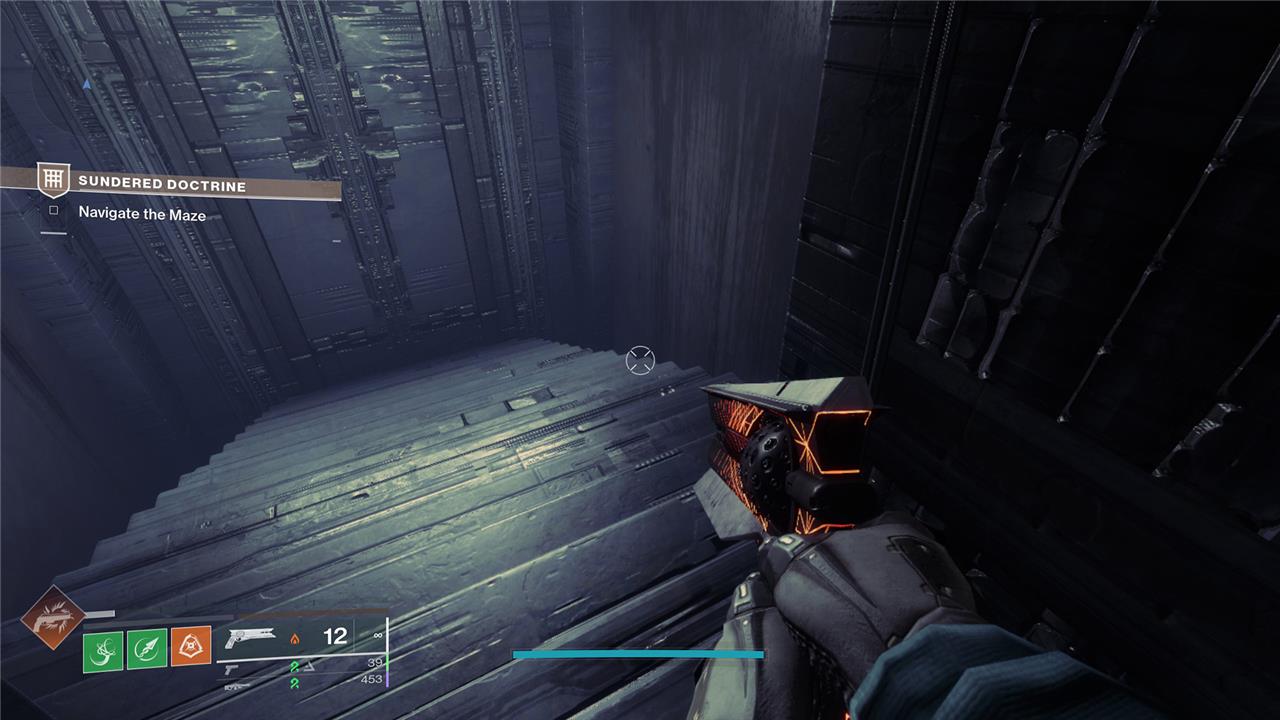
Once you load in, you’ll have a bit of a trek to get to the first encounter. Proceed forward and you’ll come to a large gap, with a bridge crossing it to your left. Take the bridge across, then jump up to the ledge on the left. Take the first right and drop down; you’ll enter a series of rooms with enemies to deal with.
Take out the Attendants and the Subjugators, then proceed forward. In the back-left corner of the second corridor, you’ll spot a large rectangle jutting out from the wall at a strange angle. Jump on it, and it will lower down, allowing you to pass through.
You’ll now be in a tight space with several ways to drop down. There’s nothing untoward here – you simply need to make your way down to the bottom. You’ll then emerge into a large, cross-shaped room with enemies to take out. Once you clear the way, look for a small waterfall. From where you enter, go straight ahead and you’ll find it on the right side.
Go under the waterfall, and follow the path down to the first proper encounter of the dungeon.
First Encounter, Flooded Inspection
The first section of the Sundered Doctrine dungeon, titled “First Encounter, Flooded Inspection,” begins with players navigating through Rhulk’s Pyramid Ship. After initiating the quest from Ikora and traveling to the dungeon node in Savathûn’s Throne World, Guardians proceed forward until they reach a large gap with a bridge on the left. Crossing the bridge and jumping onto the ledge, players take the first right and drop down into a room filled with Dread and Hive enemies, including two crowd-controllable Subjugators. Clearing this area leads to a hidden passage behind a small waterfall, marked by two red lights above, which players drop through to reach the first encounter. This initial phase involves careful traversal through linear paths and enemy waves, setting the stage for the dungeon’s puzzle and combat challenges ahead.
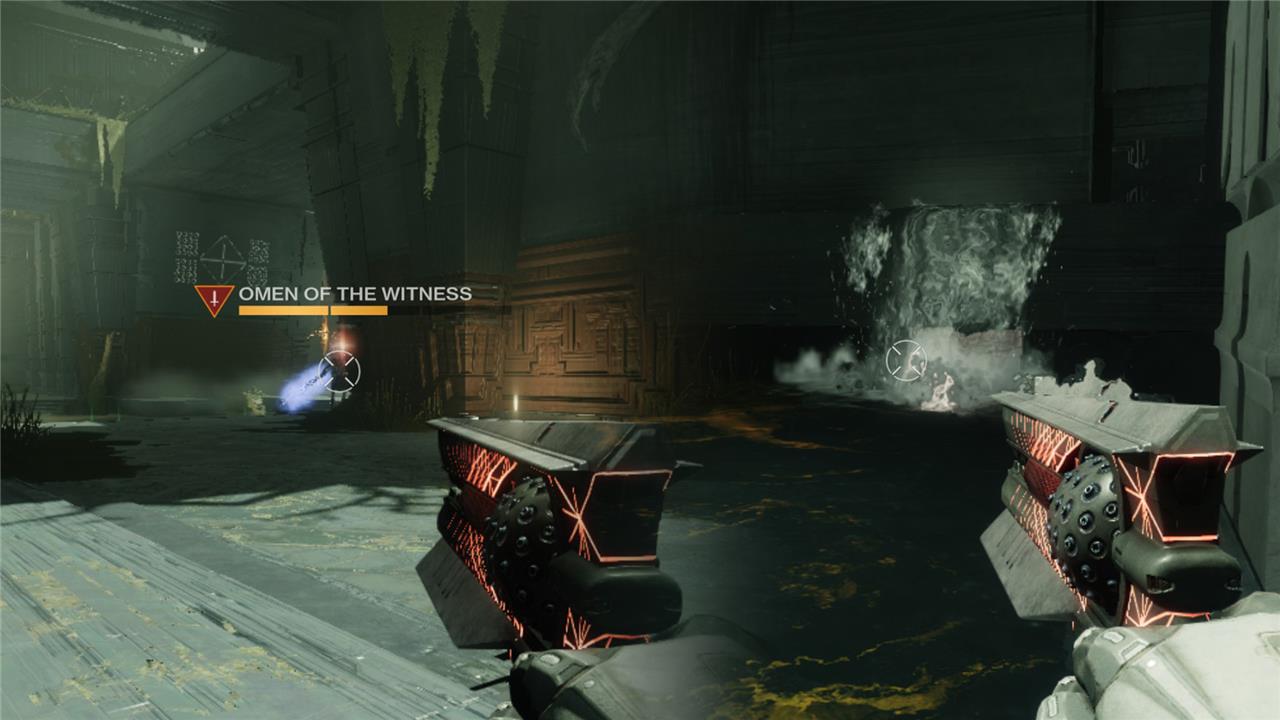
This first encounter primarily consists of two things: memorising symbols and directing light beams. You’ll begin by entering the central chamber, with three lenses in the centre and a symbol wheel above the back of the room. There are three symbol slots on the wheel, but one is empty. The objective is to find the missing symbol and connect a light beam to it.
The layout and how it works

Let’s start breaking this down. There are four rooms around the central chamber. Two on the left, and two on the right. Each room has its own symbol wheel, and each wheel has just one symbol on it. To determine which symbol you need to either know Destiny lore or locate the Truthspeaker.
The lore method
If you know your Destiny lore, here’s a quick rundown of how works. The symbols tell a story, and you’re looking for the truth. So, for example:
- If the symbols are Guardian, [something], Traveler, you’re looking for Worship, because Guardians do, in a way, worship the Traveler.
- Similarly, Pyramid, Kill then finishes with Worm, as the pyramid you’re in – Rhulk’s pyramid – enslaved and killed the worm mother.
Knowing just a bit about the lore or even what’s happened in the last few expansions can help speed this entire dungeon up drastically.
The Truthspeaker method
The Truthspeaker, meanwhile, is essentially a way to either double check your lore knowledge or provide another way to still complete the dungeon if you’re completely uninterested or unaware of Destiny’s story (and hey, that’s fair enough).
If that’s the case, in one of the four rooms per phase is a Grim labelled the Truthspeaker. When you kill it, it will drop a symbol, that is the symbol you need to link the light beam to.
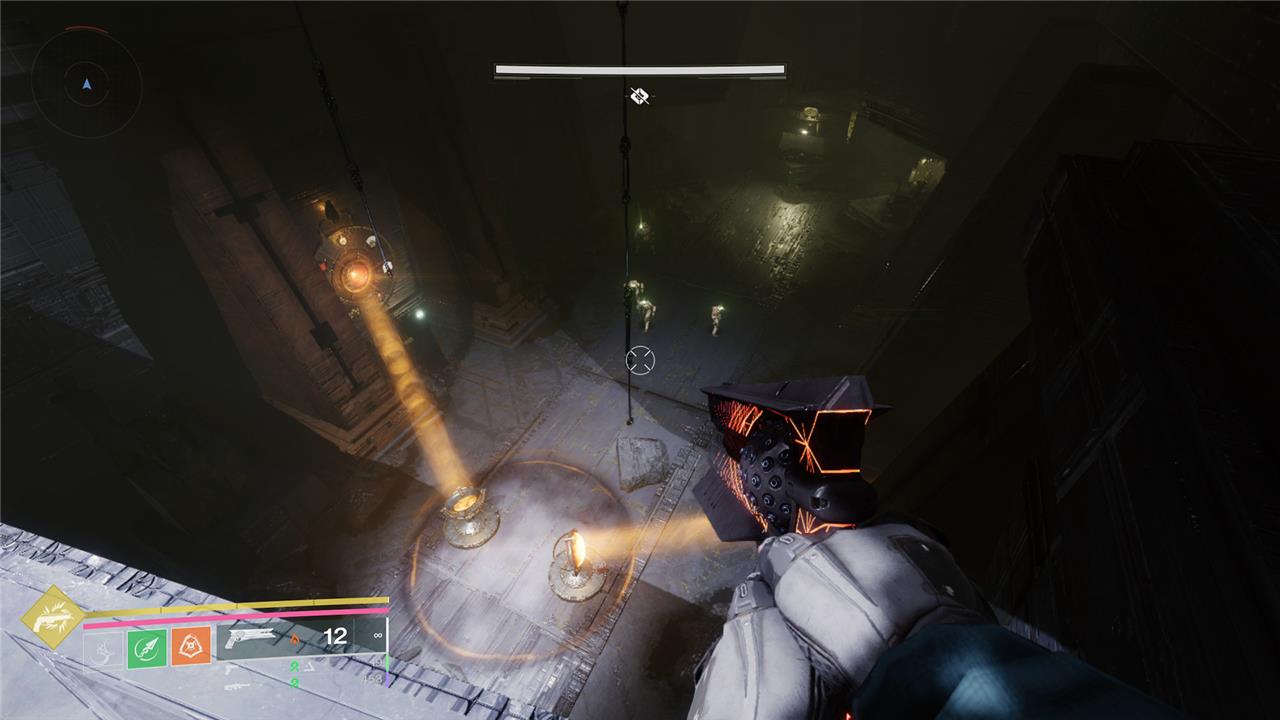
Your next step is to locate the correct symbol. It will be on one of the wheels in one of the four rooms. Once you find it, you’ll need to link the light from the central room to the wheel. To do so, you’ll first need to shoot the shard above one of the three lenses in the central room to make it produce a beam of light.
You then need to create a chain of light through various lenses from here to the correct symbol wheel. The three in the central room are ready to go, but many of the other lenses are missing.
Each of the four rooms will spawn a Lens Bearer Subjugator. Kill one, and it will drop a lens that you can pick up. Bring the lens to one of the empty slots around the encounter area and you can place it there. Once placed, a lens can be rotated to one of a few predetermined angles. You can look at the base of the lens to see which directions the light can go.
The important steps
This may seem like a lot in writing, but it is pretty simple in practice. The order of operations goes like this:
- Search room for a Truthspeaker to find the missing symbol, or use lore knowledge as described earlier
- Locate the next symbol on one of the four wheels
- Follow the path from that wheel back to the central room, noting which lenses are missing along the way
- Activate the closest light in the central room, then grab lenses from the Lens Bearers as needed
- Create a chain of light that links the central room to the correct wheel
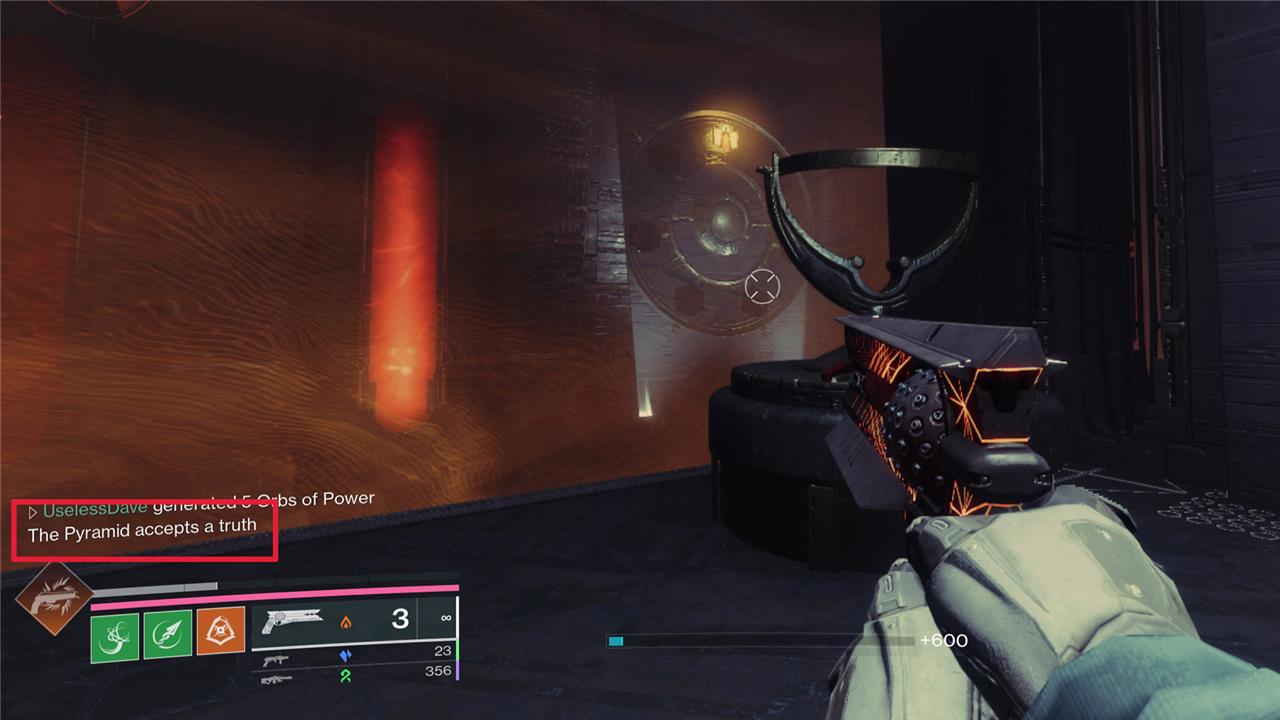
Once you create the correct chain, you’ll get a notification that says “The Pyramid accepts a truth“, meaning you have completed the objective. After you complete the first chain, return to the central room and you’ll see that two symbols are now missing from the wheel. For the second round, you’ll need to link two symbols.
The method is identical; use your lore knowledge (which becomes harder the more blanks there are) or find the Truthspeaker to get your symbol, grab lenses from Lens Bearers, and make the chain. Once you complete the first one, a second Truthspeaker will spawn to give you your second symbol. Repeat the process, and once you have the two symbols linked, the second round is complete.
This may come as a shock, but for the third round, you’ll need to link three symbols. No changes here, just repeat the steps you have been following so far. In total, you’ll have to make six links to complete this encounter.
Sundered Doctrine maze route
The Sundered Doctrine maze route begins after the first encounter, where players must navigate a small, intricate maze inside Rhulk’s Pyramid Ship. Upon entering, descend stairs to a locked door, then drop down to reach the maze area. The maze features winding paths, crumbling platforms, and sudden drops, requiring careful traversal to avoid falling. Players should look for three hidden Darkness Nodes scattered throughout the maze; destroying all three unlocks a secret chest. After clearing the maze, proceed to a staircase on the right side to exit by dropping down a ledge, leading to the next section of the dungeon. This maze segment tests both navigation skills and thorough exploration for additional rewards.
With the first encounter completed, a door will open in the central room, leading to the next encounter. Unfortunately, there is a bit of a maze and some traps ahead that would give Indiana Jones a run for his money. While it can be easy to get turned around in the maze, thankfully you can’t get too lost.
When you go through the door, you’ll immediately come to some stairs leading to a locked door. Drop off either side of the stairs, and make your way down to the bottom. Continue forward, and you’ll come to a hole, and drop down again. This brings you into the small maze.
At the first junction, turn right and go straight to the end. Drop down, then look to your right. Take the first left down this corridor, go up the stairs and follow this path to exit the maze.
(Before you head through the exit, you can double back to find a hidden chest in here. You need to destroy three Resonance crystals hidden in the maze – you can hear them if you listen closely – to open a hidden door in the main area. Once you have your bonus loot and know where the exit it, head back there and drop through the hole.)

The next part is a massive open area with some enemies to deal with. No tricks here, just make your way past the enemies and cross the bridge to the right. Through here, you’ll find a long and dark hallway. Go down it, but stop at the second exit on the left, you’ll find another hole to drop down through.
This will bring you to a long room with a pit running through the middle. Stay on the side you enter on, walk to the far end, and look across and down. You’ll see a small opening below the opposite ledge. Walk through this small passageway and emerge into what seems to be an ancient Peruvian temple, with fewer golden idols and more boulders.
The boulder section is fairly simple, you simply need to use the safe spaces on either side to avoid the giant ball of spikes rolling towards you. You don’t need to go all the way up the hill either – there is a hole about halfway up it, and that is your way forward. Through here, you just need to avoid some crisscrossing boulders and make your way down to the door to the second encounter.
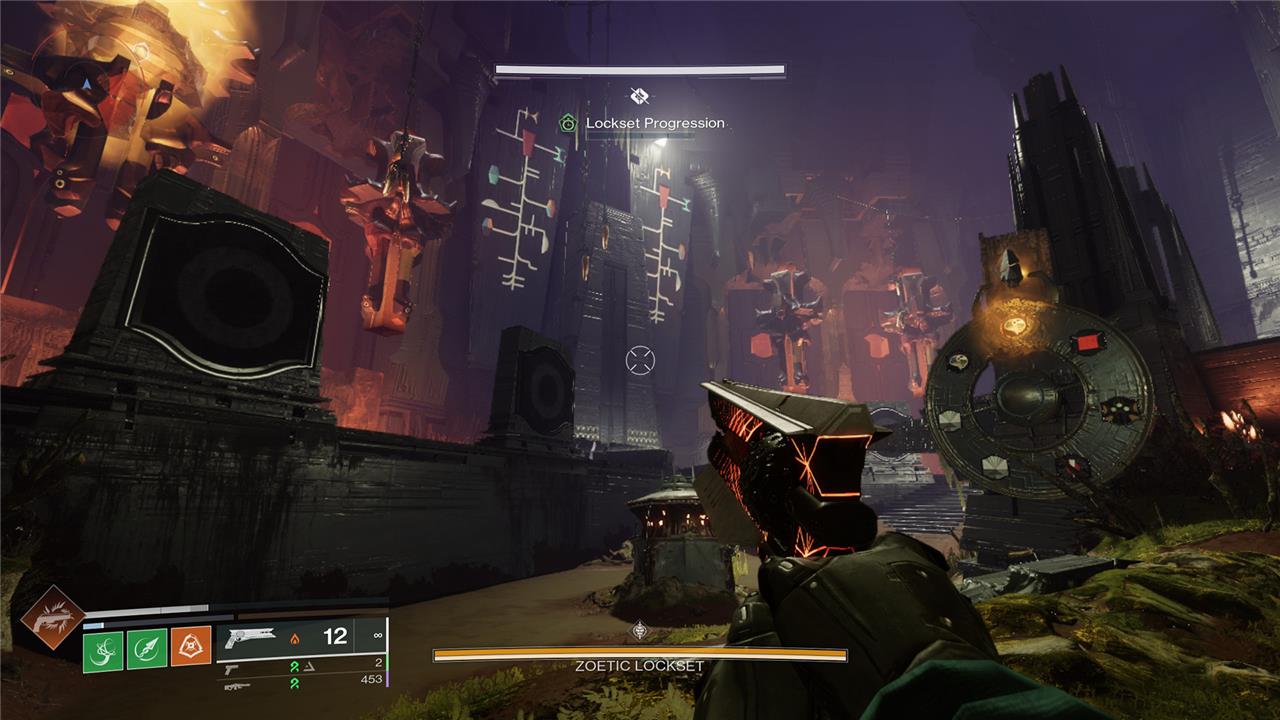
Second Encounter, Altered Convolution and Zoetic Lockset
The second encounter in the Sundered Doctrine dungeon, titled “Altered Convolution and Zoetic Lockset,” involves a two-part challenge. First, players must open a door by manipulating symbol wheels on either side. This is done by defeating Perceptor Wizards to gain stacks of Knowledge-Heightened, Brimming, or Overflowing-each allowing players to rotate the glowing symbol on the wheels a certain number of spaces. The direction of rotation is controlled by shooting a shard above the wheel. After correctly aligning the symbols, the door opens to reveal the Zoetic Lockset boss encounter. In this fight, players face a construct made of Darkness Shriekers that activate wheels with glowing symbols when gazed upon. These symbols spawn enemies or trigger phases, and players must strategically lock three wheels on “Stop” and one on “Kill” to initiate a damage phase. Managing the wheels and defeating the Shriekers during the long damage phase is key to success.
The second encounter has two parts – opening the door, and the Zoetic Lockset.
Opening the door
The door into the second encounter of Sundered Doctrine is a small test, set to teach you the mechanics you need to know. You’ll enter a room with symbol wheels on either side, enemies throughout, and a door ahead with a symbol on either side of it. You need to highlight those symbols on each of the wheels in order to open the door.
To do this, take down one of the Perceptor Wizards and grab the item it drops. This will give you Heightened Knowledge, which you can use to move the highlight on the symbol wheel one space. You can move it clockwise or counterclockwise, depending on which way the inner wheel is spinning. To change the rotation, simply shoot the shard above the wheel.
You can gather more knowledge from the Perceptors, up to three at once. This is all very relevant for the encounter ahead, so make sure you get to grips with this system.
- As mentioned, a single stack gives you Heightened Knowledge, which moves the symbol one space.
- Two stacks gives you Brimming Knowledge, which will move the symbol two spaces.
- Finally, Overflowing Knowledge will move it three spaces.
If you ever forget the names of each buff mid-combat, look at the buff icon on your screen and you’ll see one, two, or three crystals depending on how much Knowledge you have.
Once you highlight the correct symbols, the door ahead will open. Go through it to enter the second encounter room. Here you’ll find the Zoetic Lockset, a group of four Hive Shriekers along the back of the room. There are four blank signs in front of them, and four symbol wheels throughout the room.
Defeating the Zoetic Lockset
This encounter is more art than science, as there is no rigid method for completing it. Put simply, the highlighted symbols on each of the wheels cause different, specific effects. The Zoetic Lockset will cycle through those effects throughout the fight, and you need to use this to your advantage. The symbols have the following effects:
- Hive – Spawns Ogres
- Knowledge – Spawns Knights and more Wizards (giving you more Knowledge to use)
- Commune – Shriekers launch Darkness seekers that you can shoot down
- Stop – Temporarily prevents enemies from spawning, and delays the clock
- Kill – Begin the damage phase
It goes without saying, Kill is the symbol we want to focus on. However, there is an order to this, and jumping the queue can have unpleasant consequences.
The Shriekers cycle their attention from left to right, meaning they read the left symbol first, and so on, but know the Shriekers will lock symbols on the big screen at the back of the room from right to left each phase – which is why you will hear many Guardians referring to the boss, the signs, and the wheels as one to four, and from right to left. So, if it locks four symbols in the back panels before you select Kill, it’ll execute those symbols in a row.
There are various strategies you can employ here, but generally, the easiest path forward is to set the symbols in the following order, from right to left:
- Far right – Stop
- Middle right – Stop
- Middle left – Stop
- Far left – Kill
Doing this will give you as much breathing room as possible, and having Kill in the ’final’ (far left) slot gives you four cycles for the damage phase, making it much longer than when placed anywhere else.
Why you want Kill in the ’final’ slot
To break down this down further; once any of the Zoetic Lockset Shriekers read Kill on any wheel, the damage phase will start. This will cause all of the large monitors in the back of the room to reset to whatever their corresponding wheel is currently on. That means that, before damage, you need to set up favorable events on the other three wheels as well – otherwise you could end up with Ogres during the damage phase.
What makes this extra tricky is that wheels you don’t interact with for a phase will automatically tick to the right or left (depending on how their crystal is set) after the Zoetic Lockset reads them. This means you can actually set up the room if you plan ahead, starting a damage phase just as several of the wheels automatically rotate onto Stop.
Setting the room takes practice and coordination, but you can get a very long and safe damage phase once you perfect it.
Zoetic Lockset damage phase
Doing damage is ultimately quite simple: attack any of the four Shriekers, and as they cannot be killed individually, pick a target and focus all your fire there.
There are a few “safe” spots for damage, and the best we’ve found is on the floor, right next to the platform, on the left side of the arena. This will allow your team to sit comfortably in a Rift where the right Shriekers can’t see you.
The Zoetic Lockset may be a group of Shriekers, but they don’t actually take precision damage – so if you have it, Anarchy – the Exotic grenade launcher that does damage-over-time – is your best bet here, as you can attach a grenade to all four Shriekers and then deal damage with another weapon, such as a sniper rifle with Kinetic Tremors, like Supremacy.
Le Monarch, which also does damage over time, is also great here. If you don’t have Anarchy or Le Monarch, Thunderlord paired with a Titan Barricade using the Storm’s Keep Aspect does a lot of work even without precision damage.
Reaching the final encounter
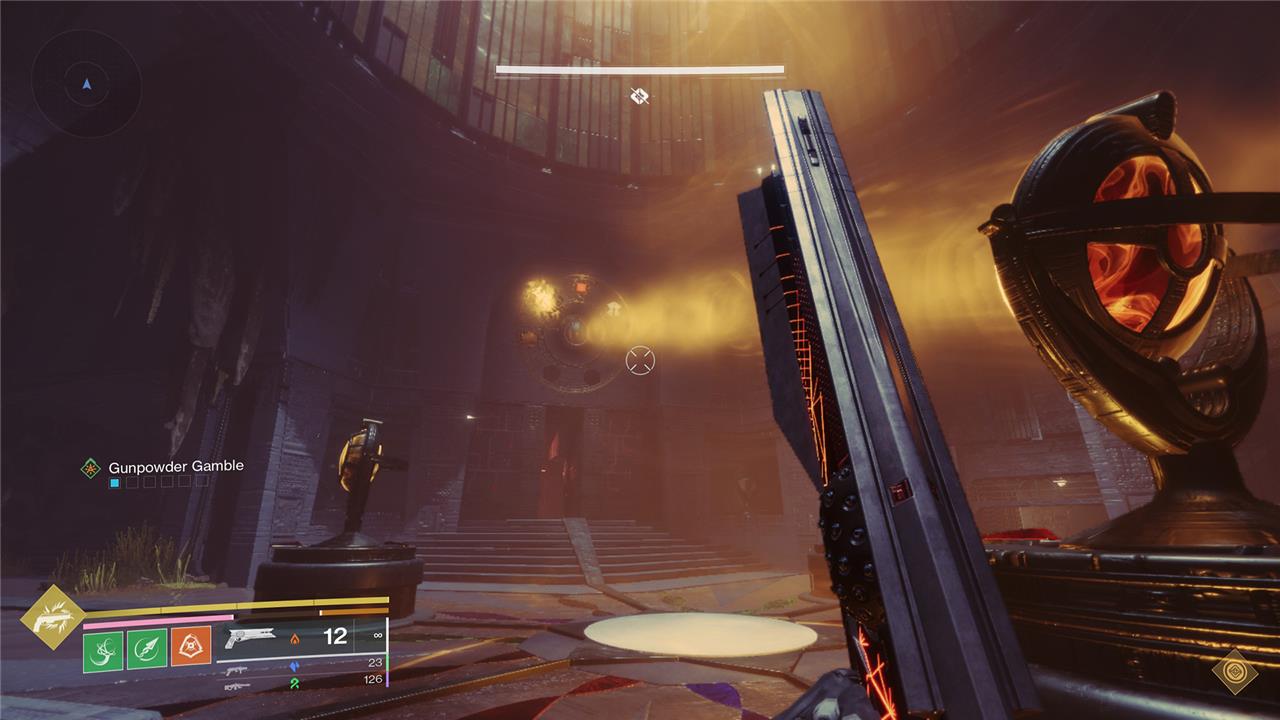
To reach the final encounter in the Sundered Doctrine dungeon, players must navigate through a series of rooms filled with enemies and puzzles inside Rhulk’s Pyramid ship. After crossing a bridge and descending through enemy-filled chambers, you’ll encounter a light puzzle involving redirecting beams to specific symbols to lower barriers. Once the barriers are down, a sealed door blocks the way; this door must be shot repeatedly to open fully, granting access to the boss room. The final encounter with Kerrev, The Erased, takes place in a large central chamber with side rooms, where players must use the light beam mechanic to illuminate specific pyramid symbols to disable the boss’s shield and initiate the damage phase.
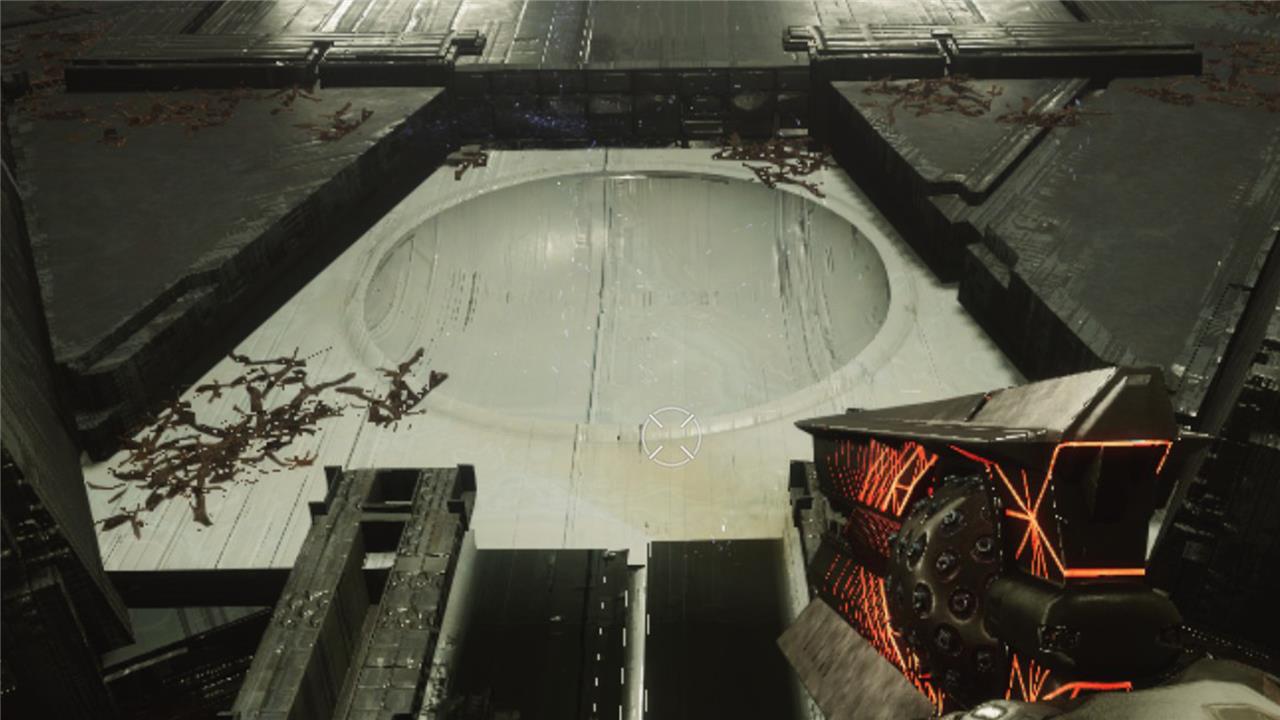
Once the Zoetic Lockset is defeated, you’ll need to open the exit door. Just in front of the loot chest, you’ll notice a concave bowl in the floor. As you likely know, when Shriekers die, the spherical core drops to the ground and makes for a pretty decent football. You need to shoot or punch one of the eyes into the bowl.
You’ll need to go the long way as there are barriers on either side of the hole, so bring one of the balls to the back of the room, then coax it across the bridge. It should fall nicely into the dish, which will open the door to the next encounter.
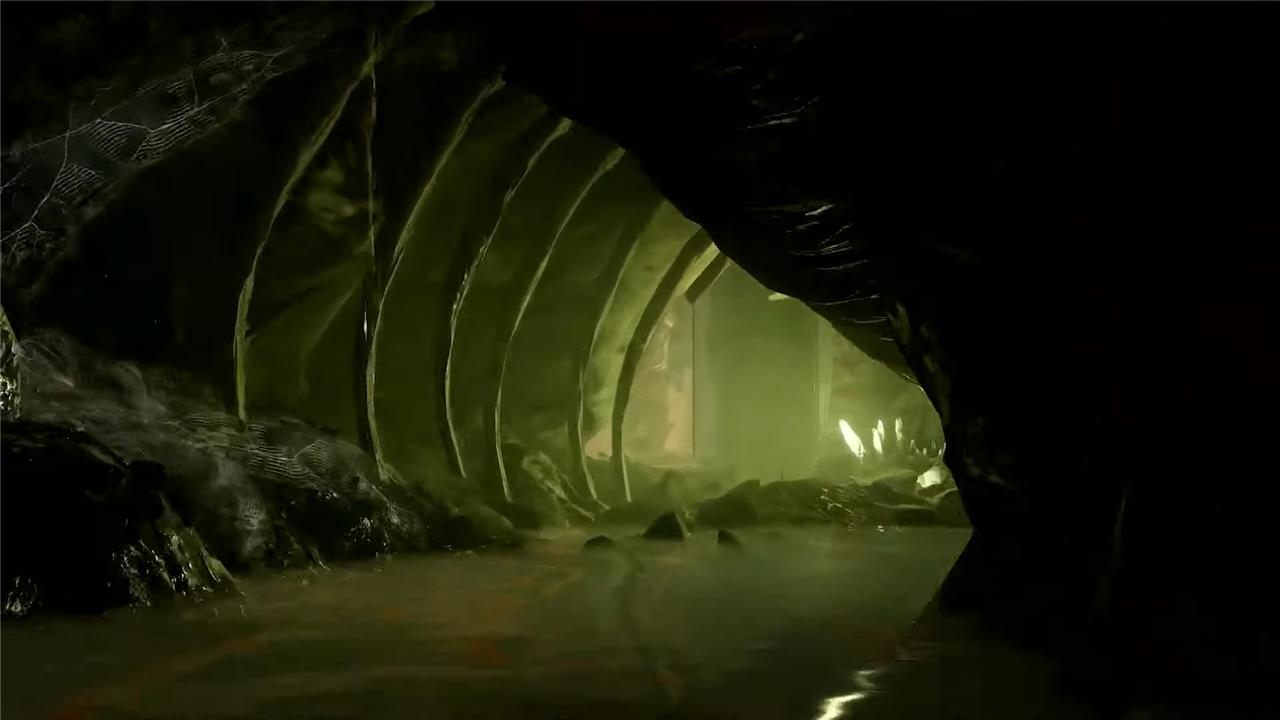
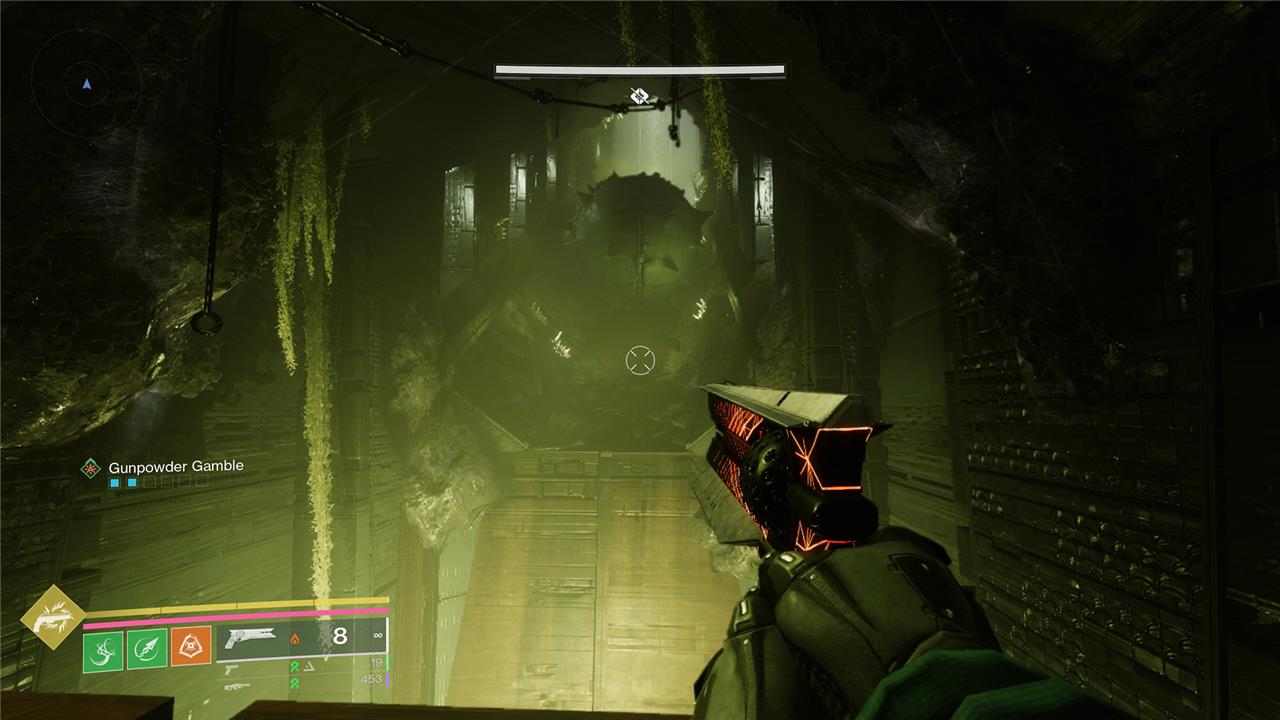
The journey here is less complicated, you should have little issue finding your way forward. Before long, you’ll come to the skeletal remains of a giant Hive worm. Go through the ribcage tunnel to enter a room with another light puzzle. If you made it through the first encounter, this part isn’t going to stop you.
You’ll find the sources of both lights on one side of the room, beside the symbols for Enter and Worm.
You’ll need to gather Lenses around the room – which you can find encased in breakable Hive gunk – and place them in the starting mirrors in front of each symbol. Once you’re ready to turn the light on, shoot the Crux near each symbol.
There is one last hurdle, as you find yourself in a room with a sealed door. There is no mechanism to open it, you simply have to shoot the door. How much it opens is directly relevant to how much damage you do, and you can only deal damage to the outside walls, not the inner ones.
Single shot weapons like an arrow can open it quickly, but rapid fire shots are more consistent. Make sure the door is all the way open before you head through it, otherwise it can (and will) crush your entire Fireteam. Respect this door and all others like it, as they’re genuinely the most dangerous traps in this dungeon
Final encounter, Isolate Preservation and Kerrev, The Erased
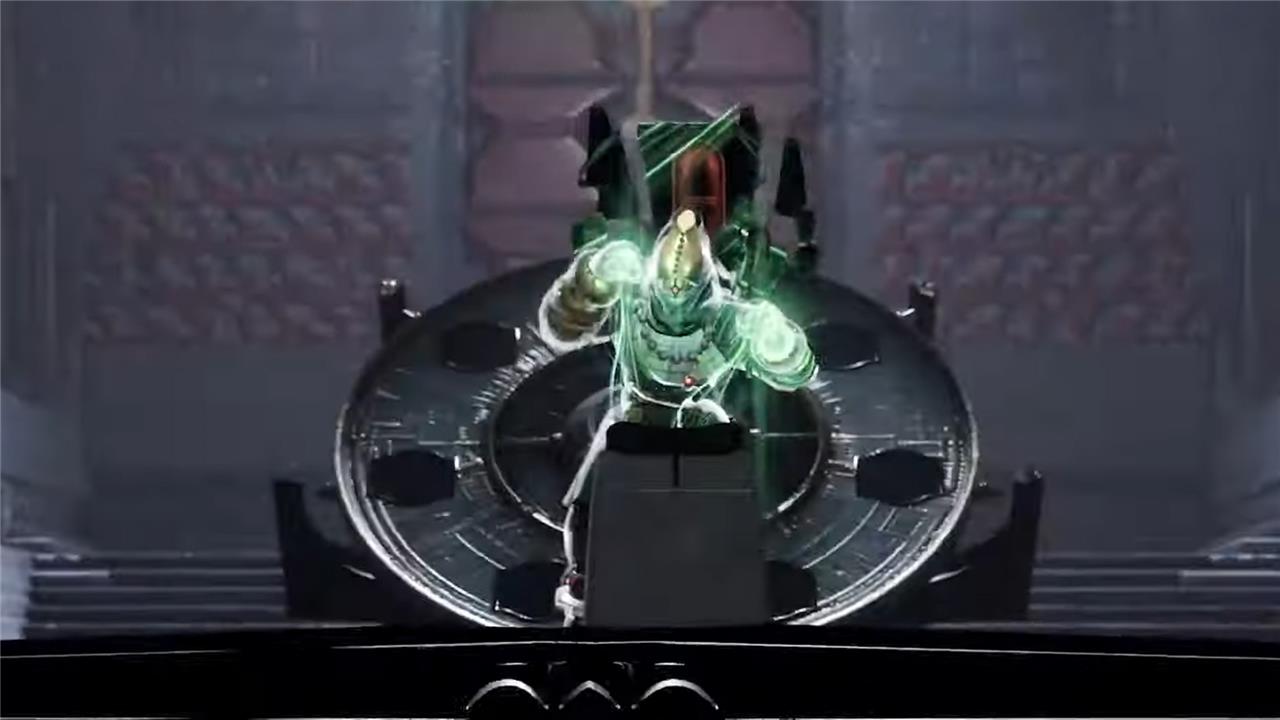
The final encounter in the Sundered Doctrine dungeon centers on defeating Kerrev, The Erased, within a multi-room arena inside Rhulk’s Pyramid Ship. Players must disable Kerrev’s invulnerable shield by solving a complex light beam puzzle involving Pyramid symbols, similar to earlier mechanics but with added difficulty. The arena includes a central area with a symbol wheel displaying two sequences-one true and one false-forming the basis of the Truth & Lie puzzle. Players must identify the false sequence and use lenses in the surrounding rooms to shine light beams on the corresponding symbols to weaken Kerrev. This encounter demands coordination to manage the boss’s attacks while manipulating the light puzzle across the middle, left, right, and lower rooms to successfully bring down Kerrev and complete the dungeon.
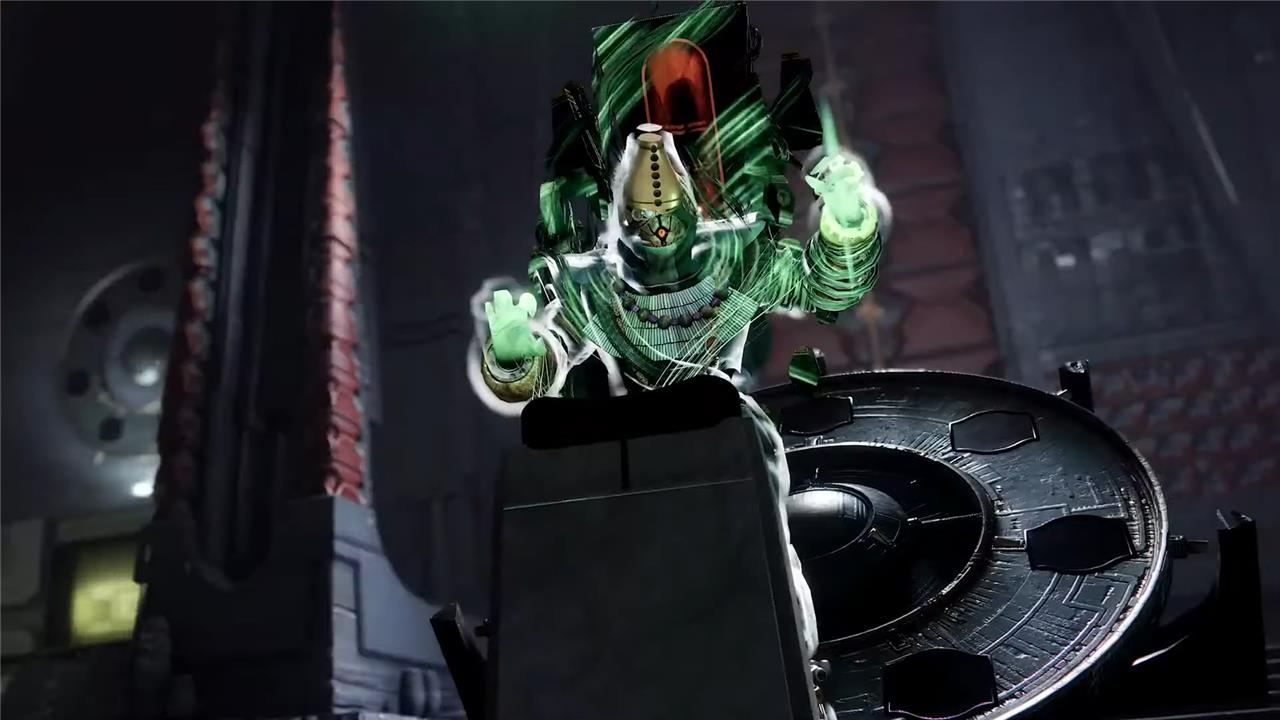
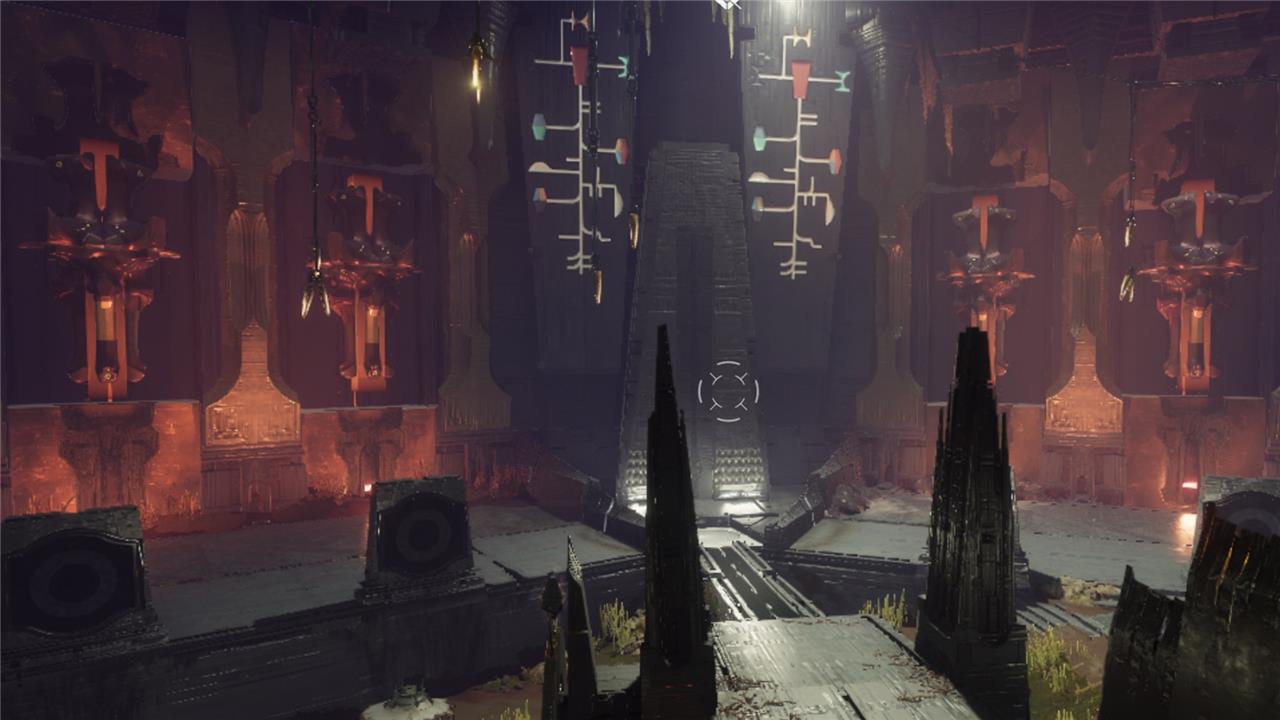
Our last task in the Sundered Doctrine dungeon is to take down Kerrev, The Erased. The final boss room consists of a large central room, with side rooms on the left and right.
Kerrev has an invincible shield, which we will need to use the mechanics to bring down. We’re back to using light beams to illuminate specific symbols like the first encounter, but there is a bit more brainwork involved this time.
How the encounter works
To clarify how this encounter works – the right side and left side are telling two different stories if you read their symbols from top to bottom, similar to the first encounter. The difference here is one symbol set is a truth and the other is a lie. You need to light up all three lie symbols, and remove the lights from any truths.
As with the first encounter, you can either use your knowledge of the game’s lore (Hive, Kill ,Witness, for example, is an obvious lie if you played The Final Shape) to expedite the process here. An alternative method is using the Truthspeakers to point you in the right direction.
Regardless of your method, the first thing you should do is take note of these symbols. Take a screenshot, type it in the chat, take a picture with your phone – whichever is the most convenient for you to reference back to. If you prefer a Truthspeaker hint, head to one of the two side rooms – left and right – as they randomly spawn in one of them after the fight starts.
How to open the side rooms for the Truthspeaker
To open the side rooms for the Truthspeaker in the Sundered Doctrine dungeon, you need to access two distinct rooms on either side of the boss arena. The left side room is behind a door that must be damaged continuously to stay open, so using rapid-fire weapons like a machine gun or fusion rifle is recommended to keep it accessible. The right side room is reached by jumping onto a slanted rectangular rock protruding from the wall; standing on it lowers the rock, allowing entry. Inside these rooms, you will find the Truthspeaker enemy, which must be defeated to obtain a symbol that reveals which side of the boss’s symbol wheel to activate or deactivate. Navigating these rooms is crucial for solving the puzzle to proceed with the boss fight.
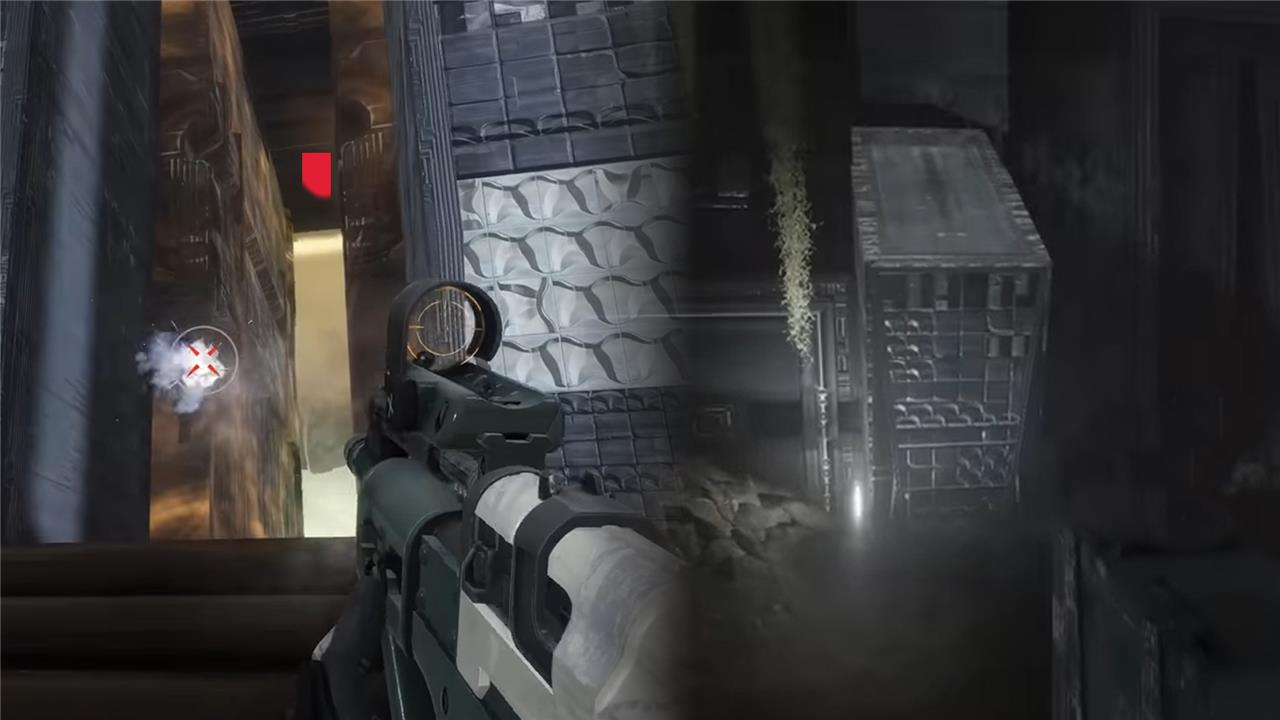
To enter the room on the right, jump onto the rectangular structure that sticks out of the wall at an angle (much like the one at the very start of the dungeon). Standing on it will lower it, and you can walk through. You cannot use this to return to the central room, you need to go through the small tunnel further along the connecting wall.
The left room is less convoluted, but the door has to be damaged to open, like the door that got you into this encounter.
Light up the correct symbols
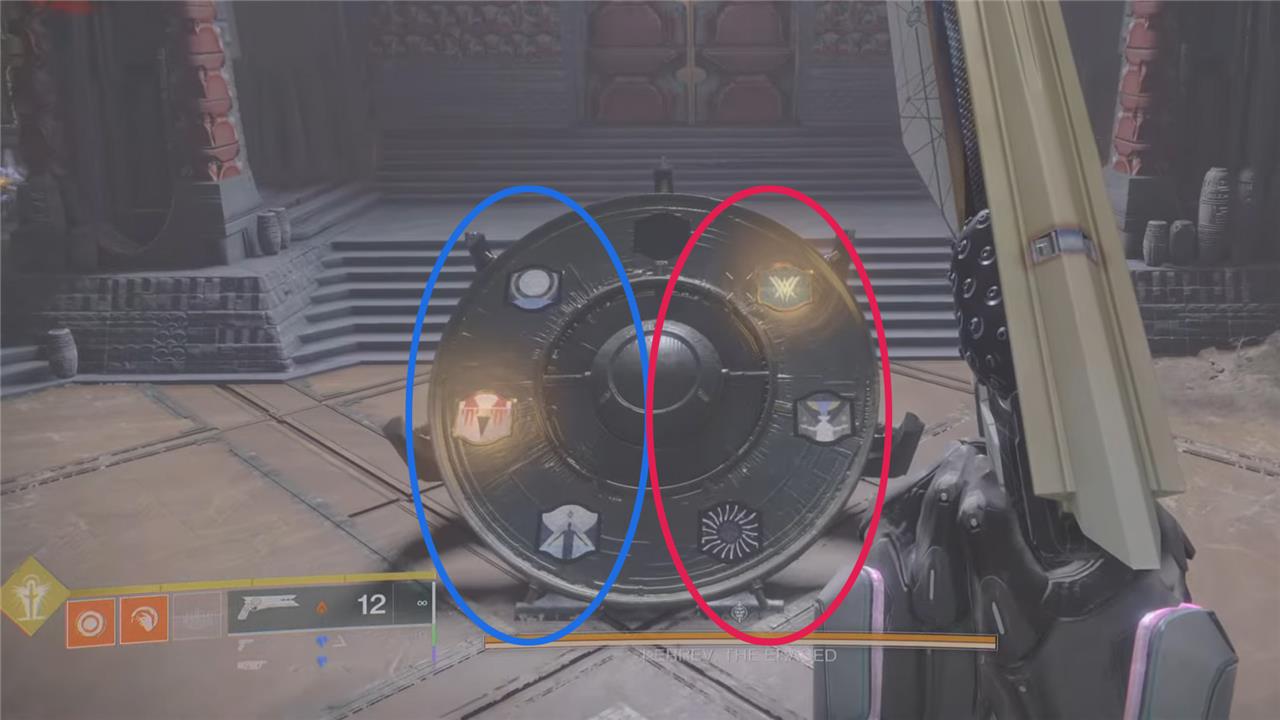
As mentioned, the aim is to look for the lie here, not the truth. Either lean on your Destiny lore knowledge, or use the Truthspeaker, remember their symbol, then darken the symbols on that side of the wheel (the truth), and illuminate the symbols on the opposite (the lie).
As an example, looking at the image above, Witch Queen, Drink, Darkness is a lie and never happened. Traveler, Give, Guardian, on the other hand, is more or less central story for Destiny. So you’d want to make sure left symbols (the truth) – Traveler, Give, Guardian – are dark, and the right three right symbols (the lie) – Witch Queen, Drink, Darkness – are lit.
How you do this is quite straightforward – each of the symbols can be found in one of the three rooms, with a lens nearby that you can use.
Either use this map made by Twitter, or the following text descriptions relative to where you start, to find each symbol:
Left Room
- Witness – Far-left corner
- Hive – Far-right corner
- Guardian – Directly right as you enter the room
- Pyramid – Ahead and to the left as you enter
- Traveller – Back-right corner
Central Room
- Worship – Back-left corner
- Kill – Back-right corner
- Stop – Downstairs, under where the boss stands
- Give – Downstairs
- Drink – Far-right corner
Right Room
- Light – Back of the room
- Darkness – Centre of the room
- Worm – Far-left corner
- Savathûn – Far-right corner
All lenses you need to interactive with will be locked down with Strand energy, and to free them, take out Unwritten Attendants to gain the Unwritten Empowerment buff, which allows you to destroy the Strand locks. Be careful, as each one you destroy will spawn a group of particularly nasty Threadlings.
Damage phase
Once you have the correct symbols switched on or off, interact with the main symbol wheel in the central room to input your answer. As soon as you do, run for cover – we recommend the back left corner on the elevated platform, behind the wall.
This triggers a massive burning effect which will quickly kill you if you are out in the open. Use the shadows of the structures in the room to find a safe space, and wait until the burning dissipates.
If your symbols are lit up correctly, the boss’ shield will have burned away, and you can start dealing damage. Kerrev is a squirrelly customer, so you’ll need to keep up as he moves around the room. A great way to maximise your damage here is to use Divinity with a couple of Linear Fusion Rifles or Machine Guns for massive critical damage. The Queenbreaker – set to Combat Sights mode – is disgusting (complimentary) if you have it.
You’ll only have a short while to deal damage before Kerrev’s shield regenerates. When that happens, repeat the steps exactly as you did before to trigger another damage phase. Repeat the process until Kerrev is dead, and the Sundered Doctrine dungeon is complete.
Fingers crossed you were rewarded the dungeon’s exotic, Finality’s Auger – but if not, the previous link delves into ways you can improve your drop rate.
What secrets and strategies will help me conquer the Sundered Doctrine dungeon quickly
To conquer the Sundered Doctrine dungeon quickly, focus on these key secrets and strategies:
-
Destroy Darkness Spikes in the Labyrinth: Locate and destroy three Darkness spikes to open a door and access a secret chest early on, providing valuable loot and shortcuts.
-
Symbol Puzzle Mastery: The dungeon heavily features symbol-based puzzles. Pay close attention to symbols like the Saboon, Enter, and Pyramid symbols, which relate to lore and puzzle solutions. For example, entering the code “Savathun enters the pyramid” unlocks quest progression.
-
Collect and Use Darkness Splinters and Knowledge Stacks: Defeat specific enemies (like the blistered ogre and preceptor wizard) to obtain Darkness splinters and stacks of knowledge (Hiding, Brimming, Overflowing). These are crucial for manipulating symbol wheels and unlocking doors.
-
Efficient Encounter Strategies: In boss fights, use the Unwritten Empowerment buff to shoot nodes that drain the boss’s shield, then hide behind pillars during area attacks. Be mindful of the boss’s strand pull and stomp attacks by maintaining distance and using cover.
-
Traversal and Secret Chest Locations: Follow specific paths to avoid getting lost in maze-like sections, and explore hidden platforms under bridges or behind waterfalls to find secret chests and collectible worms that contribute to quest completion.
-
Use Team Coordination and Loadouts: Equip weapons and abilities that maximize DPS during damage phases and ensure team members cover each other during mechanics that require hiding or movement.
-
Time-Gated Secrets and Quest Items: Some secrets, like hidden worms and exotic weapon catalysts, are time-gated or require specific quest steps, so plan multiple runs to fully unlock all content.
By combining careful puzzle solving, strategic combat positioning, and thorough exploration, you can efficiently complete Sundered Doctrine and secure its unique rewards.
What are the most effective DPS tactics for the boss fight in Sundered Doctrine
The most effective DPS tactics for the boss fight in Sundered Doctrine focus on coordinated symbol mechanics and optimized weapon choices:
-
Symbol Wheel Mechanics: Before the DPS phase, your team must correctly activate and deactivate symbols on a central wheel. The left side of the wheel shows “truth” symbols to activate, and the right side shows the “lie” symbol to deactivate. Activating the wrong symbols penalizes your team, so clear communication and precise symbol manipulation are crucial.
-
Use Divinity for Precision Damage: Applying the Divinity exotic bow helps stabilize the boss’s movement, making it easier for your team to land precision hits and maximize damage during the vulnerable phase.
-
Optimal Weapons for DPS: High-damage linear fusion rifles like Queensbreaker’s Bow (with catalyst), Sleeper Simulant, and Grand Overture are excellent choices. These weapons deliver sustained, powerful damage ideal for the boss’s shield phases. Additionally, weapons like Chaos Reach can be effective in multi-boss scenarios.
-
Positioning and Cover: During the damage phase, position your team near pillars or in elevated spots that provide cover from boss attacks and adds. One effective spot is the left side of the room near the left door, which offers good cover and reduces the risk of being overwhelmed.
-
Buff Management and Abilities: Use healing rifts, defensive supers, and abilities like Well of Radiance or Tether to increase survivability and damage output. Coordinating supers during the DPS window enhances overall damage.
-
Focus Fire on Boss Shield Nodes: Shoot the boss’s shield nodes to quickly drain its defenses. Coordinated bursts with heavy ammo and precision shots during the vulnerability window speed up the kill.
By combining precise symbol puzzle execution, utilizing Divinity, wielding high-impact linear fusion rifles, and maintaining smart positioning, teams can efficiently maximize DPS and defeat the boss swiftly in Sundered Doctrine.