Facing Balteus in Armored Core 6: Fires of Rubicon is a brutal test of skill and strategy, where patience and precision are your best allies against this missile-salvoing, shield-wielding titan. Master the art of timing your attacks during its vulnerable recovery phases, balance mid- to long-range firepower with close-quarters pulse blade strikes, and prepare to adapt as the fight escalates through fiery sword slashes and devastating area attacks. This guide will equip you with the tactics and builds to finally bring down Balteus and conquer one of the toughest bosses in the game across PC, PlayStation, and Xbox platforms.
Even so, every Armored Core 6 boss can be defeated – with a little practice, a little patience, and an understanding of the right tactics. Our guide on how to beat Balteus covers all the phases of the boss fight and recommends a best build to run the encounter.
How to beat Balteus in Armored Core 6
To beat Balteus in Armored Core 6, focus on staying close and aggressive to prevent it from gaining distance, which makes its missile attacks harder to dodge. Use a fast, lightweight build with good energy and quick boost recharge to keep up with its movements. Equip pulse guns or laser weapons to quickly break its shield, then unleash melee attacks like a pulse sword when it’s staggered. Dodge its missile salvos by boosting through the gaps rather than away from them, and jump or boost to avoid its area-of-effect flame attacks. In the second phase, keep medium range to avoid its flaming swords and cannon, using ranged attacks to chip away at its shield and health, then close in for melee strikes when the shield is down. Patience and exploiting moments when Balteus pauses to recover are key to victory.
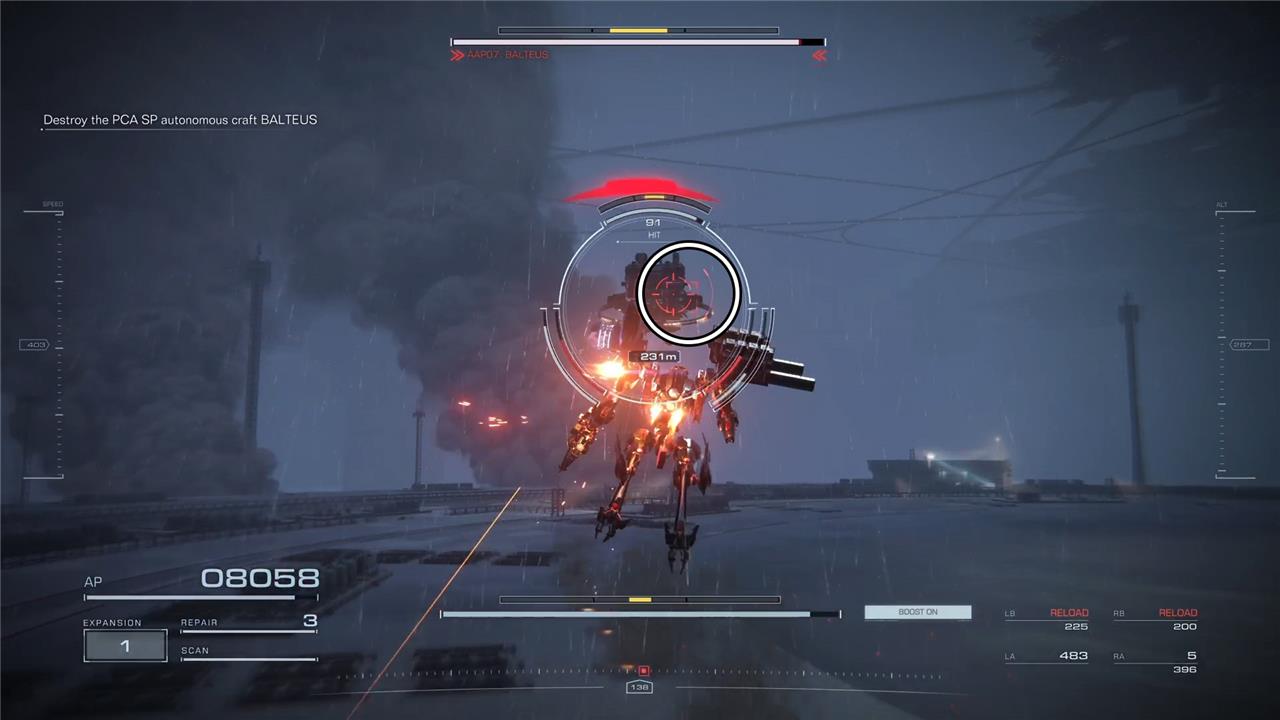
The fight against Balteus has two phases in which it uses specific attacks. Balteus also has a shield, indicated by the energetic field around it. All damage you deal is prevented as long as the shield is up. As such, your main goal throughout the fight is to attack Balteus to deplete its protection. The status of the shield is indicated by the light-blue bar located at the top of the main circle in the hud.
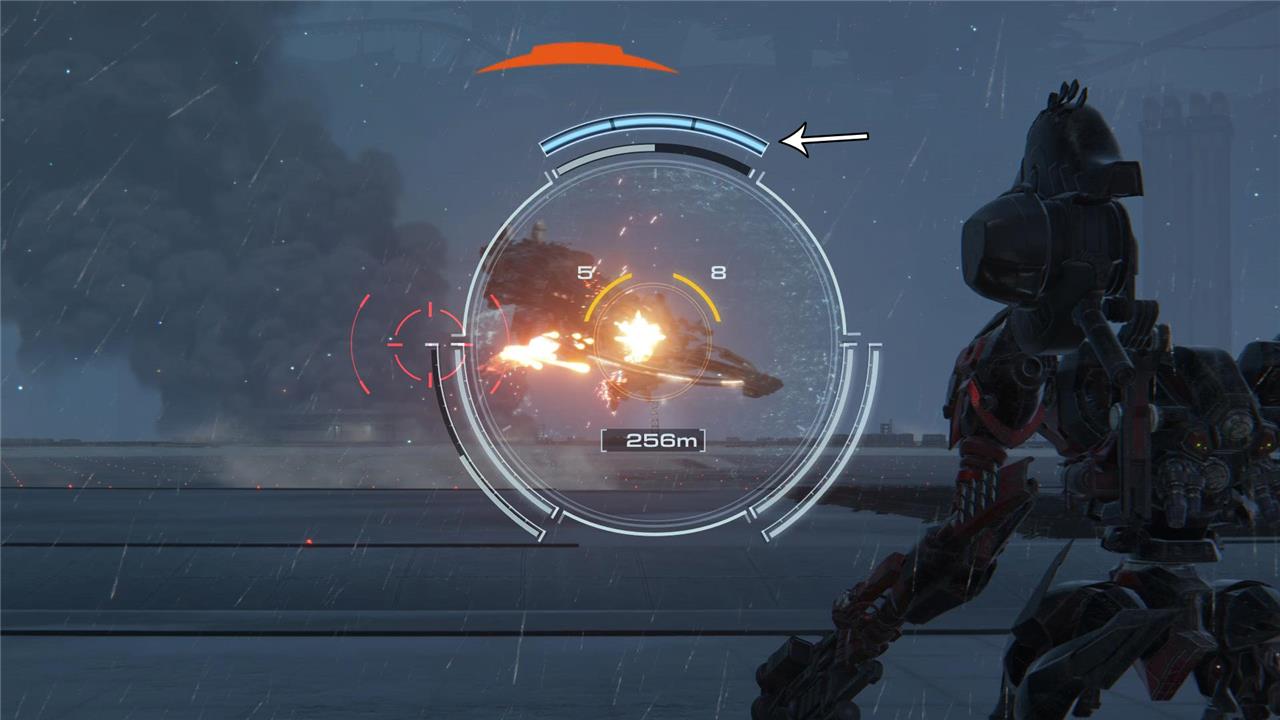
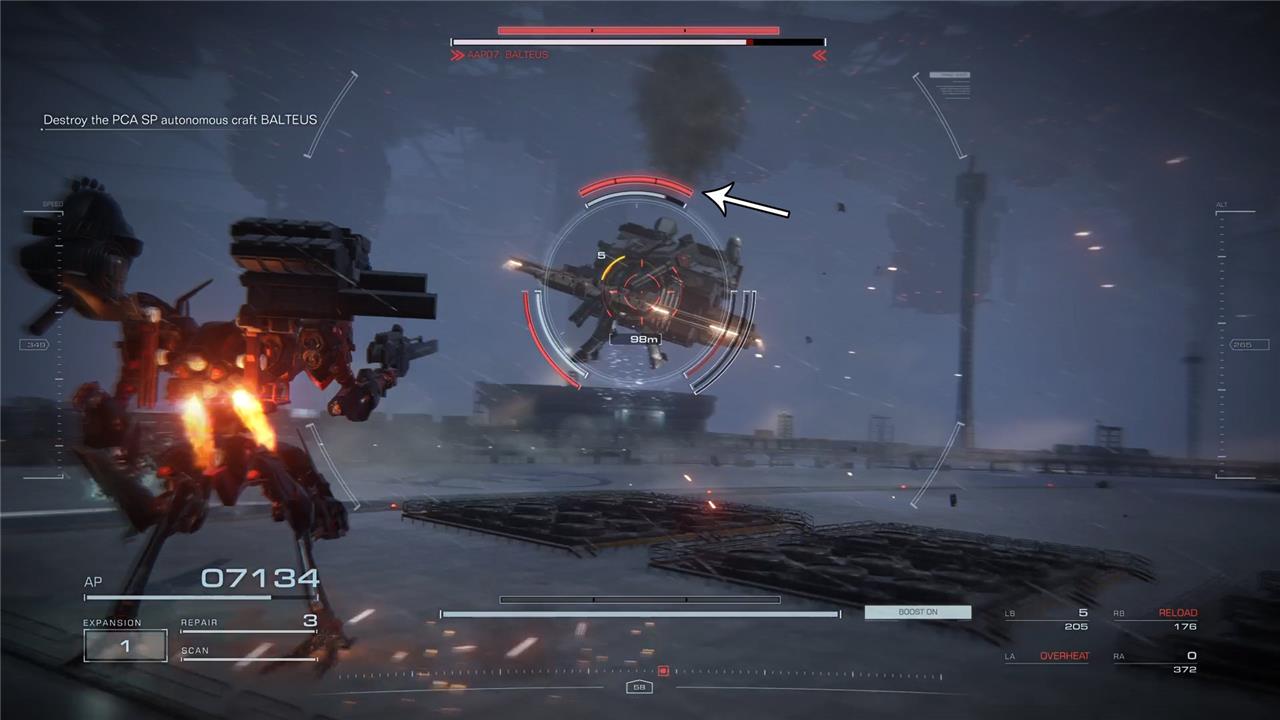
When the shield is down, the regular stagger bar appears and you can cause damage to Balteus’ AP bar. Moreover, Balteus can be staggered, which is a good strategy to extend the period the boss is without its protection. However, after a while, the boss inevitably gets its shield back.
Balteus first phase
Because the fight is not totally scripted, you can’t simply memorize the order Balteus uses its attacks – although the boss’ first attacks are usually the same ones. The idea is to understand its main moves and learn how to respond to them
Your main concern during the first phase is to survive Balteus’ missile attacks. There isn’t a specific order the boss uses them but it’s easy to identify which one Balteus is preparing to launch. The most difficult ones to avoid are when Balteus launches a barrage that comes from three different directions.
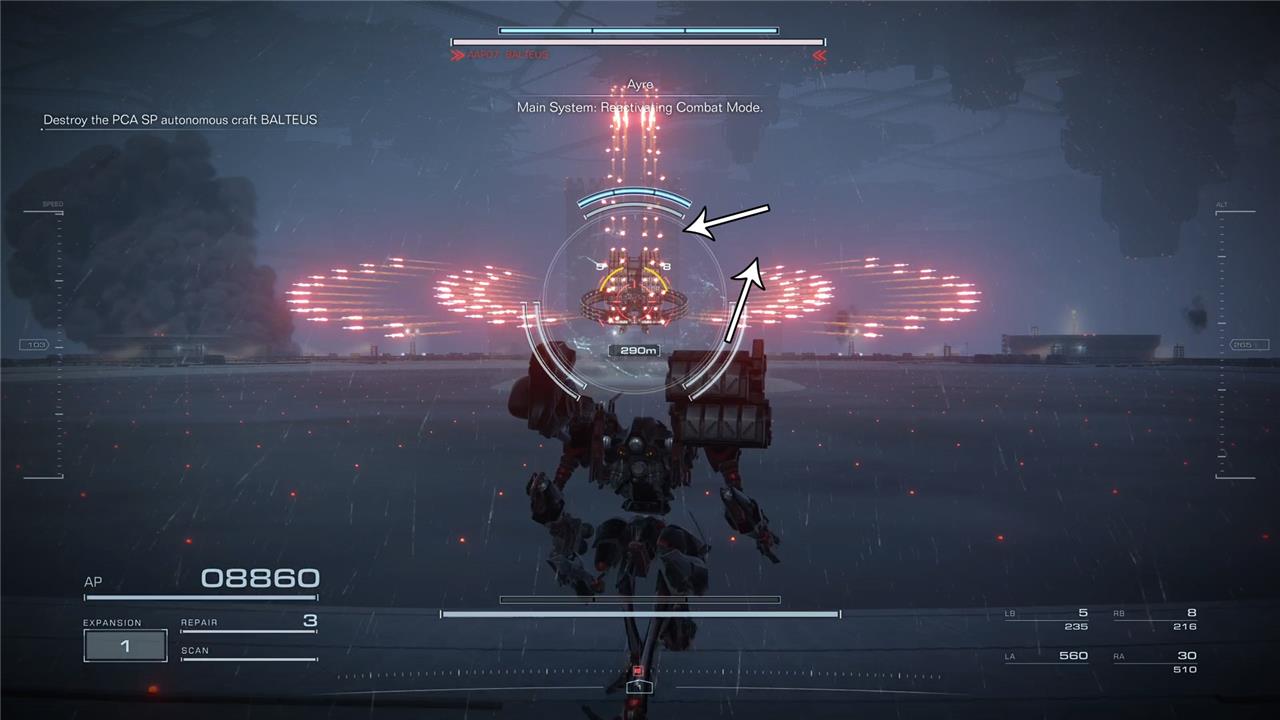
There are two ways to avoid them. First, you can bait the projectiles by flying upwards and then dodge to the opposite side. Another good way to escape from this type of barrage is to dodge towards the boss position.
These strategies work because the missiles can’t abruptly change their trajectory. So, by moving toward the boss, they can’t follow you. Performing this dodge is easier if you stay mid-range from the boss.
Still, in the first phase, another of Balteus’ attacks you should keep in mind is a single shot target at you. Whenever the boss uses this attack, you can hear an alert. You can also see a red square on the screen marking from where the attack is coming.
This attack causes a lot of stress to your stagger bar, but it’s avoidable. Facing the boss, look for the square along the sound to know when to dodge. Even though there will be many situations in which the boss is changing positions, preventing you from calmly checking from where the attack is coming, you should try to rely on the sounds to start performing evasive maneuvers.
Balteus second phase
The second phase starts when Balteus drops to 50% of AP. During the transition, Balteus begins to charge an area-of-effect attack, and you can hear Ayre saying “The waves are intensifying.” Get far from it and prepare for the second phase.
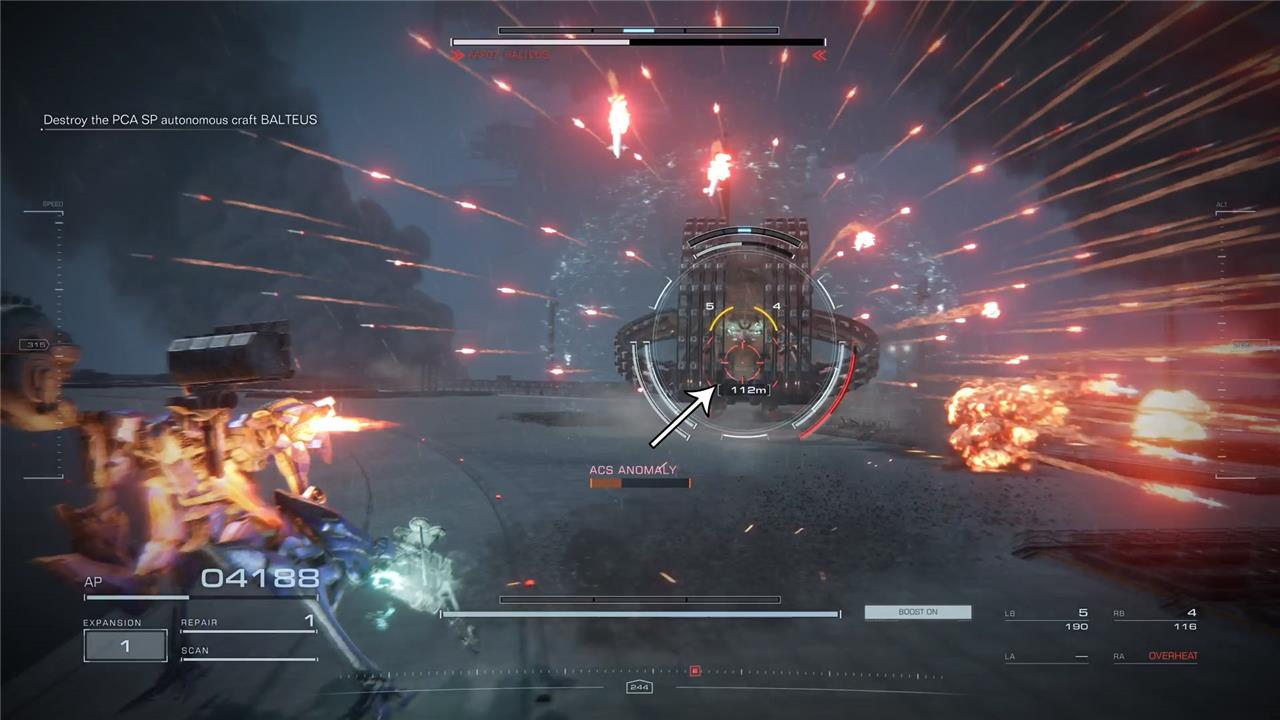
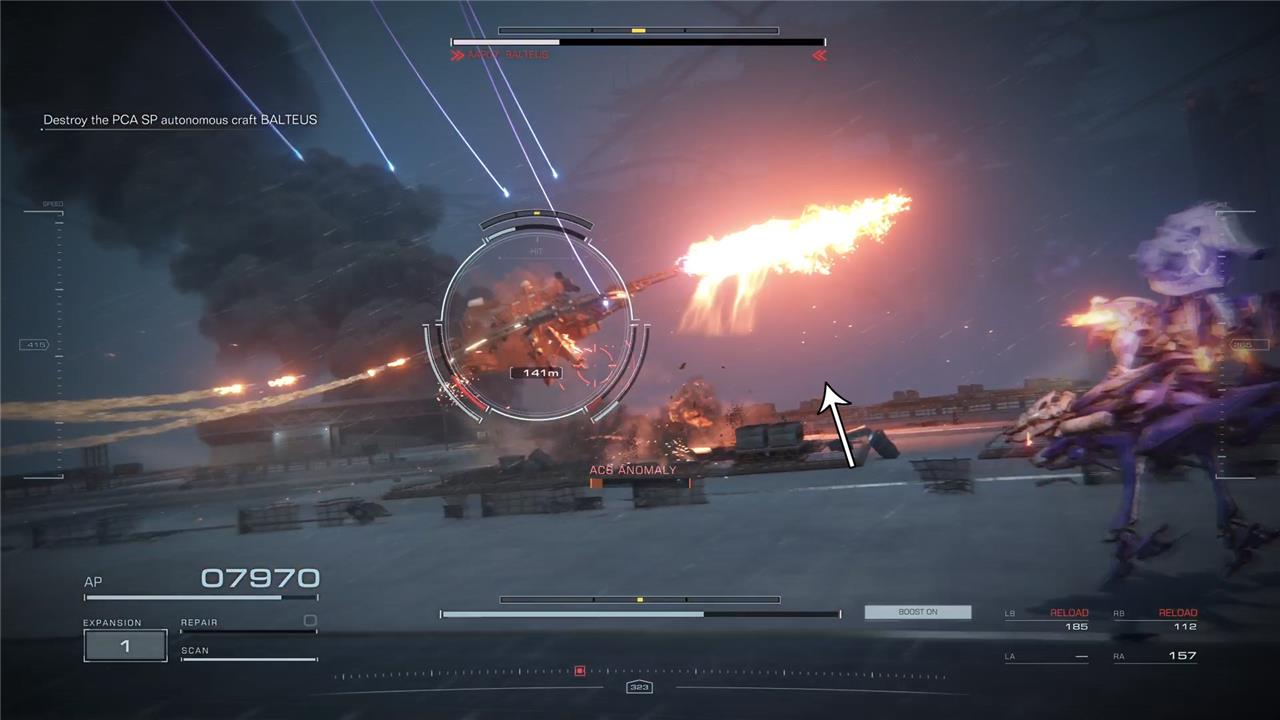
In this phase, Balteus will still use the missile attacks as well as the target-locking one. The boss has, however, a couple of new attacks using flamethrower-arms that can easily end a run if you get hit more than once.
The first new move is a flamethrower-arm swipe attack right after launching some missiles. Trying to fly out of its reach is almost impossible if you don’t already have a good distance from the boss. When mid to close-range, the best way to avoid the attack is to move forward, under the arm.
There is a variation of the swipe attack in which Balteus performs three consecutive attacks, one with an arm and two with the other. Take this into consideration to know which direction you must dodge.
The second move is a two-arm attack. When preparing to perform this one, Balteus gets some distance and starts to fly in your direction with both flamethrower-arms open. Although this attack’s reach is enormous, you can easily dodge it by going upwards after Balteus starts to move. Because the boss locks the direction it will move based on your position, you can bait it and then just fly out of the attack.

Now, the last move you should know about is when Balteus puts both arms together and throws a massive jet of fire at you. As one of the locking-target attacks, you can hear the alert sound as well as see the red square in front of the boss when it is ready to use this attack.

Escaping from the deadly flames is a matter of positioning since Balteus always aims for the ground. In case you’re far from the boss when it does this attack, your best option is to fly upwards and try to go even farther from it. On the other hand, if you are close to Balteus, then you can just move toward the boss’ direction and pass under it. After escaping this attack, you have a good window to attack the boss since the flamethrower animation locks it in position for a while.
The best build to beat Balteus in Armored Core 6
To beat Balteus effectively in Armored Core 6, the best build focuses on speed and evasion combined with weapons that rapidly deplete its pulse shield. A lightweight AC equipped with dual pulse guns to quickly drain the shield, a plasma or pulse blade for melee damage during stagger windows, and missile launchers for sustained damage works well. Prioritizing quick boost for mobility and parts that enhance armor points helps survive Balteus’ punishing attacks. The key strategy is to dodge its missile salvos and counterattack during its recovery phases, using the pulse weapons to stun Balteus repeatedly and prevent shield regeneration, making the fight more manageable through all phases.
While Armored Core 6 gives you the possibility of using different builds and making them work against the same enemy, some of them turn the fight into a smoother process than others.
This lightweight build is focused on depleting Balteus’ shield and taking advantage of when it’s down to use melee attacks. Movement is key, so you won’t be using heavy armor nor heavy weapons.

Here is the list with all the pieces you need.
Unit
- R-ARM Unit: HI-16: GU-Q1
- L-ARM Unit: HI-32: BU-TT/A
- R-BACK Unit: BML-G1/P03VTC-08
- L-BACK Unit: Vvc-70VPM
Frame
- Head: HD-012 MELANDER C3
- Core: VP-40S
- Arms: NACHTREIHER/46E
- Legs: NACHTREIHER/42E
Inner
- Booster: ALULA/21E
- FCS: FCS-G2/P05
- Generator: VP-20S
With this build, you should play close to the boss, keeping pressure. The HI-16: GU-Q1 is a key piece in this build since it is pretty strong against Balteus’ shield and quick to use.
What are the most effective strategies to exploit Balteus’s vulnerable moments
To effectively exploit Balteus’s vulnerable moments in Armored Core 6: Fires of Rubicon, focus on these key strategies:
-
Attack during recovery phases: Balteus becomes vulnerable after it launches its missile salvos or finishes a heavy attack. Use this brief window to unleash your most powerful mid- to long-range weapons before closing in for pulse blade strikes[User memory].
-
Balance ranged and melee attacks: Keep pressure with ranged fire to interrupt its shield and missile barrages, then quickly switch to close-quarters pulse blade attacks when it pauses or recovers from a sword slash[User memory].
-
Dodge and time your strikes: Balteus’s attacks are often telegraphed. Mastering the timing of your dodges allows you to avoid damage and counterattack precisely when its defenses drop[User memory].
-
Adapt to its attack patterns: As the fight progresses, Balteus cycles through missile barrages, sword slashes, and area attacks. Recognizing these patterns helps you predict vulnerable moments and exploit them efficiently[User memory].
These tactics combined will maximize your damage output while minimizing risk during the intense boss battle.
What are the key signs that Balteus is most vulnerable during combat
Key signs that Balteus is most vulnerable during combat in Armored Core 6: Fires of Rubicon include:
-
After missile attacks: Balteus is vulnerable right after it unleashes its missile salvo. This is the prime moment to assault aggressively, as its shield is down or weakened.
-
During stagger animations: When you successfully stagger Balteus by depleting its shield, it briefly becomes open to heavy damage. However, the stagger duration and its vulnerability can be inconsistent, so timing is crucial.
-
Post heavy sword slashes: Following Balteus’s powerful sword attacks, there is a short recovery window where it cannot immediately retaliate, allowing for close-range pulse blade strikes or heavy fire.
-
When shields are down: Balteus periodically reactivates its shield, but when it is down, it is significantly more susceptible to damage. Maintaining pressure to prevent shield regeneration is key.
Recognizing these moments and coordinating your attacks accordingly is essential to overcoming Balteus’s relentless offense and tough defenses.